Discover the simplicity of “how to Scotchgard a couch” right in your own living space, eliminating the need for costly professional services. Initially skeptical about the complexity and potential mess of DIY Scotchgard application, my experience has since shifted. Having undertaken this task on multiple occasions, I’m here to share that it’s not only a straightforward and economical process, but it’s also surprisingly tidy and enjoyable. If you find yourself with a quiet hour to spare—perhaps when the kids are occupied elsewhere—treating your sofa or other upholstered pieces can be an unexpectedly delightful endeavor.
What is Scotchgard spray?
Scotchgard spray is a protective treatment product developed by 3M that is designed to repel liquids and block stains on fabrics, upholstery, carpets, and other surfaces.
When applied, it creates an invisible barrier that helps prevent spills and dirt from penetrating the fibers of the material, making it easier to clean up messes and extending the life of the treated items.
Scotchgard can be used on a wide range of textiles, including furniture, curtains, pillows, and even clothing, providing a layer of protection against everyday spills and wear.
The product is available in spray form, making it easy to apply evenly across surfaces for effective protection.
It just beads on top of the fabric…which is AMAZING if you have pets or kids.
Where to buy Scotchgard
Basic Scotchgard is actually such a common product you can often find it in grocery stores (typically in the craft section), craft stores, and I have even seen it at places like Home Depot.
If you need to buy it online, I typically just purchase mine here, on Amazon in a two pack…just for the sake of convenience.
Keep in mind, before you purchase yours, that here are several types of Scotchgard that you can buy, including a formula specifically intended for outdoor furniture.
So make sure to search for the type that you need for your specific project.
How to scotchgard furniture indoors (photo tutorial found here):
This tutorial is pretty simple and straight forward.
I am just giving you a bit of direction and a little pep talk, because this is not a project to get intimidated by…even if you know that you suck at doing DIY stuff.
If you can evenly apply a can of aerosol hairspray to hair, you can Scotchgard a couch.
It’s literally just like applying really thick hair spray.
Here we go:
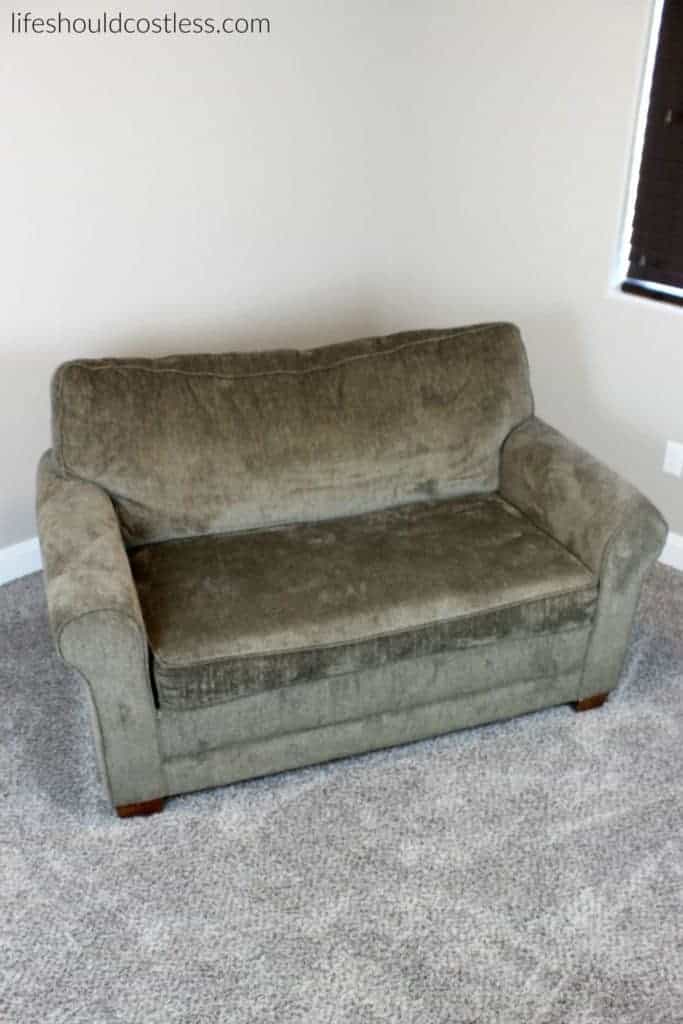
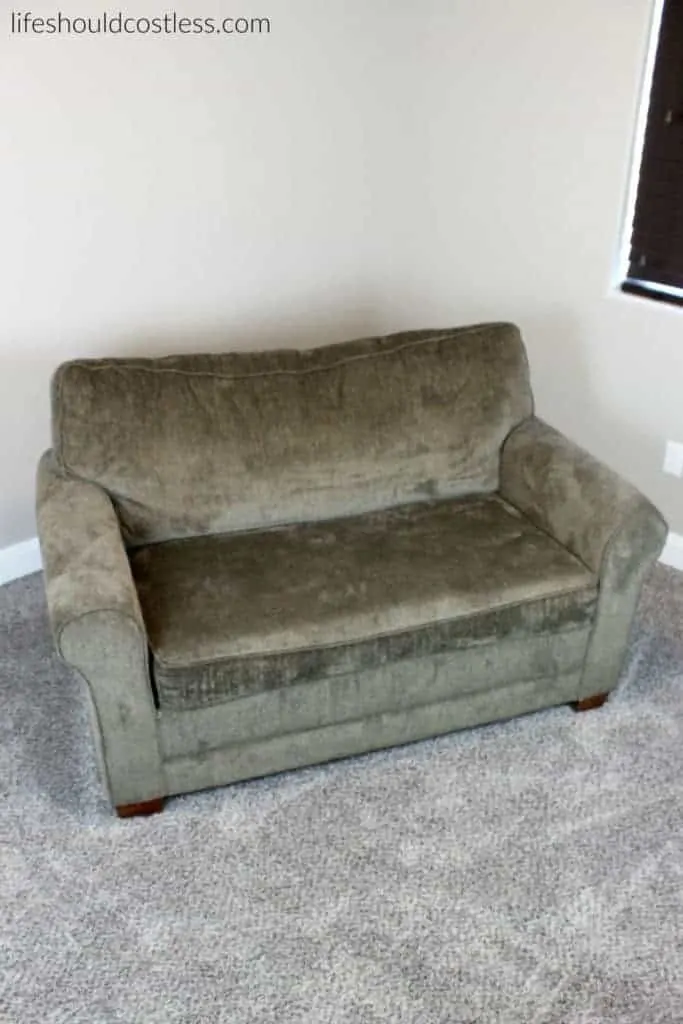
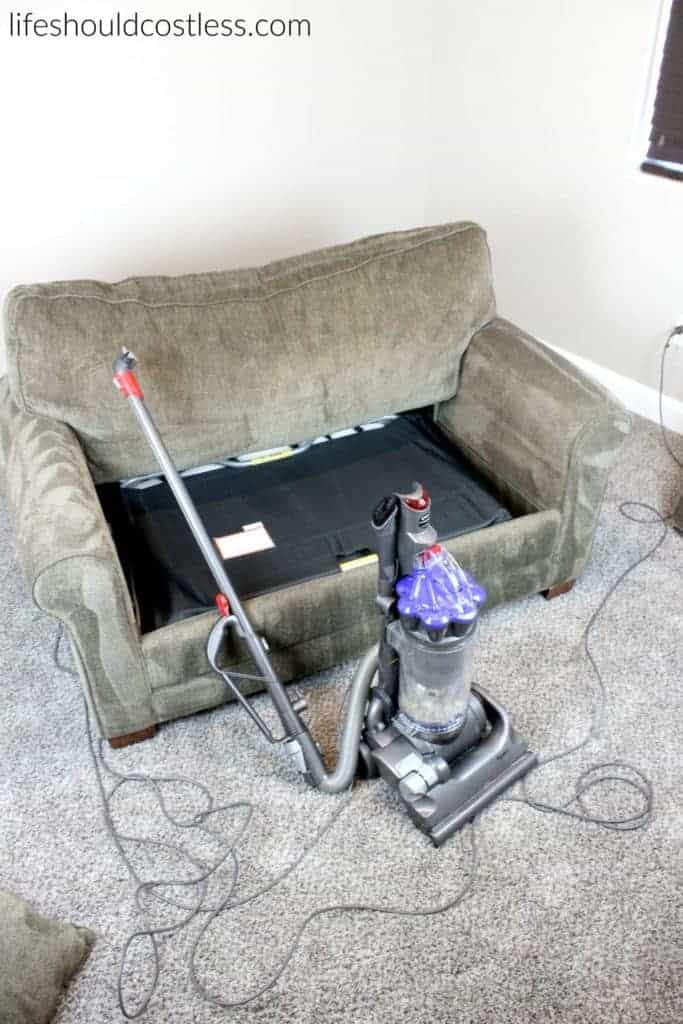
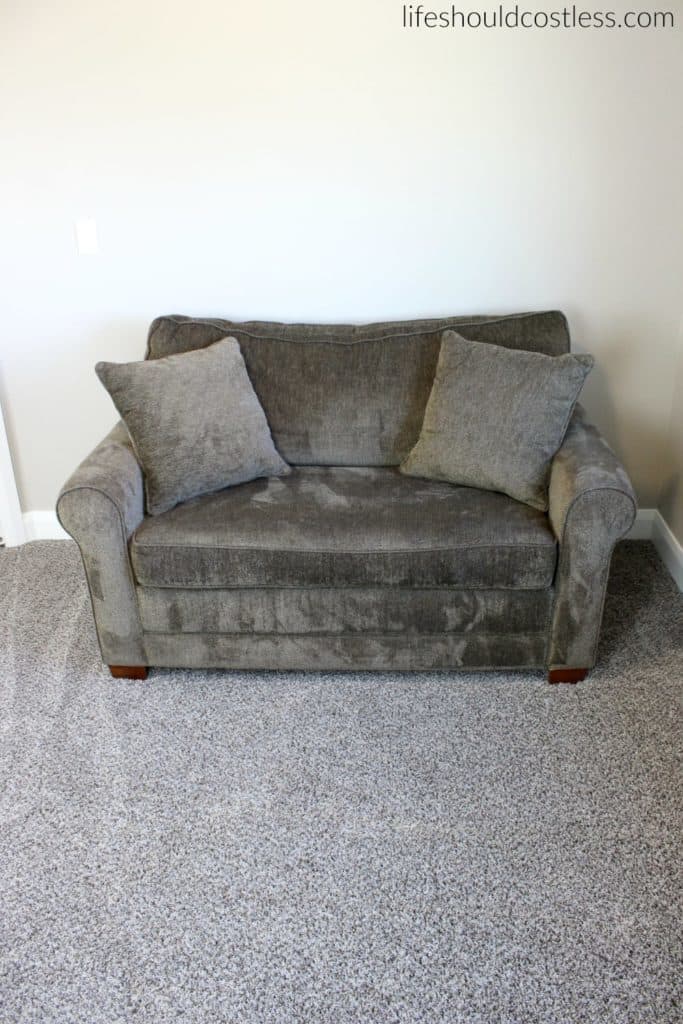
For this project I scotchgarded a little loveseat sleeper sofa.
I just knew that I needed to protect it before I put it in the kids playroom and allowed my babies to unleash their messes on it…lol.
Step 1. Vacuum & prep
The very first thing that you are going to want to do is start out with a very clean and very well vacuumed couch.
If you are working on an older couch or piece of upholstery, I would first vacuum, shampoo, and then let it dry before you do anything else…but that’s just me and I know I can be a bit of a cleaning extremist at times

Step 2. Spot test
The back of a can of Scotchgard says that you do this step first, but unless your couch is very clean, you won’t get the best result that you could.
So, ventilate the room a bit and in a non-conspicuous place on the furniture (making sure not to get any on anything else… you could put down a piece of newspaper if you need to) you are going to want to spray a little bit of Scotchgard to make sure that the spray and your couch get along…
Which basically just means that the scotchgard caused no color bleeding or anything like that.
Make sure to let it dry fully, and then come back and check on it to decide if you feel safe to use it on your entire piece of furniture.
If it looks good, you are ready to move on to the next step.
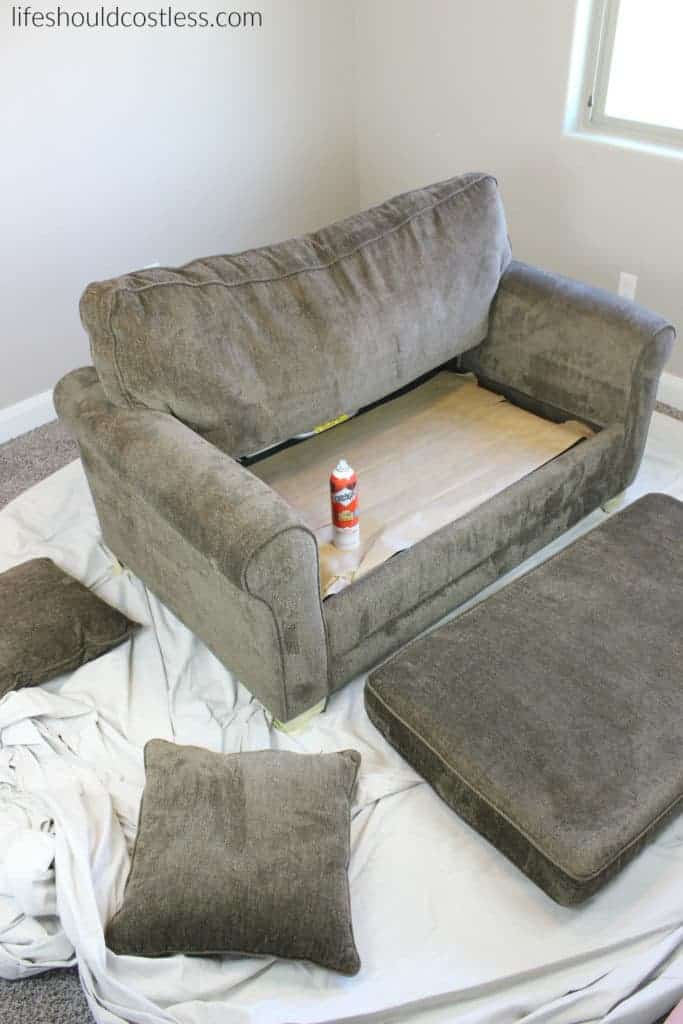
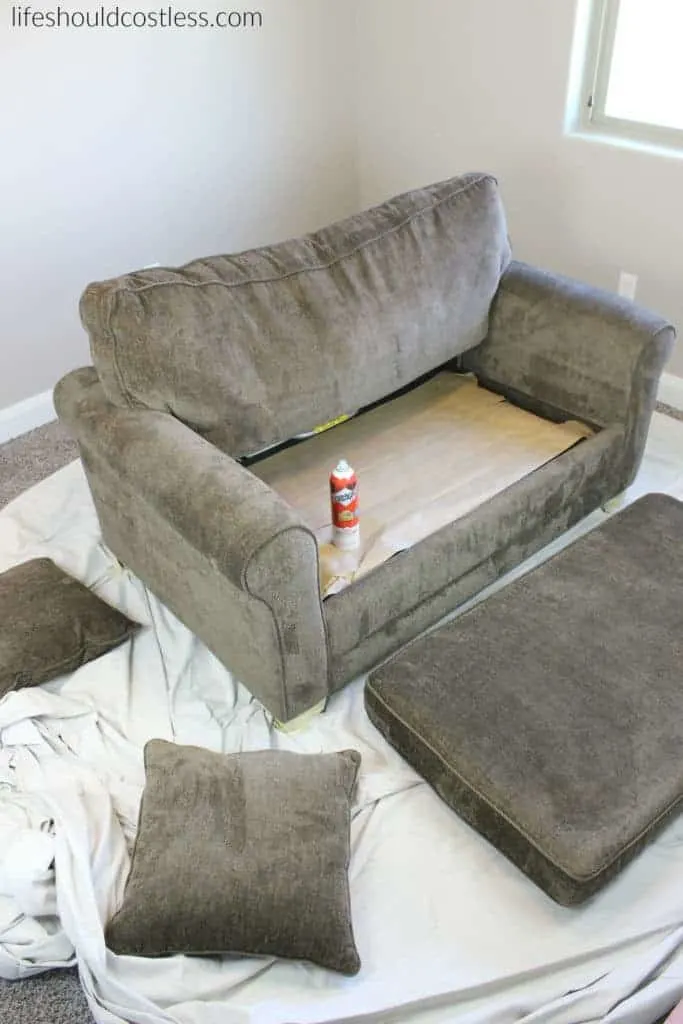
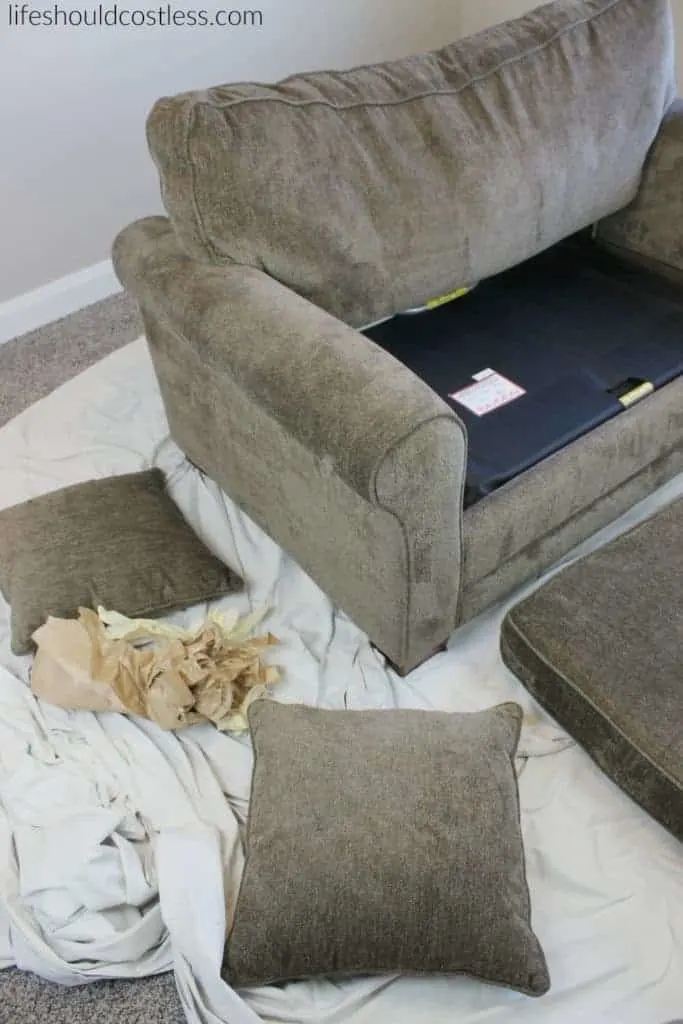
Step 3. Protect other surfaces
Next, we protect the floor and legs of the furniture.
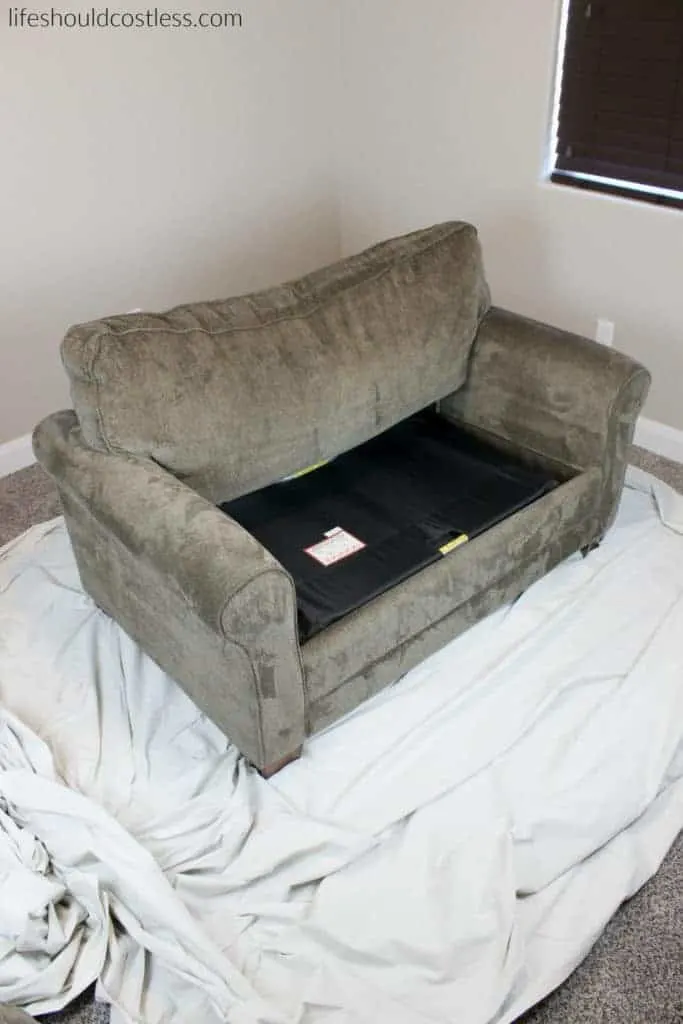
Ideally, it would be best to just take your couch or other furniture pieces outside to Scotchgard them…but sometimes weather doesn’t allow it, or sometimes we don’t have help to move the item, which forces us to do our best where the piece of furniture is at.
I didn’t have help to move my couch, and sleeper sofas are HEAVY…so this tutorial shows you how to do this indoors.
To protect the carpet of the sofa, I slid my canvas drop cloth beneath the project and spread it out.
Next, to protect the wood legs and other areas that I didn’t want to spray, I used some masking paper, and masking tape for the legs.
It was easy peasy and took like two minutes.


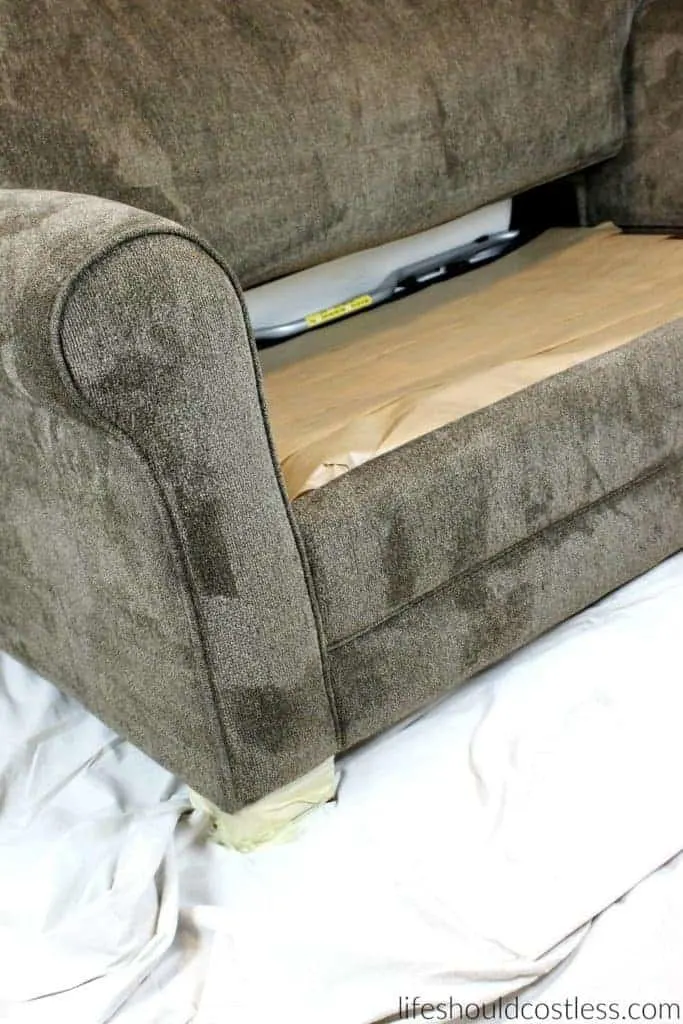
Now I was ready to tackle the whole thing.
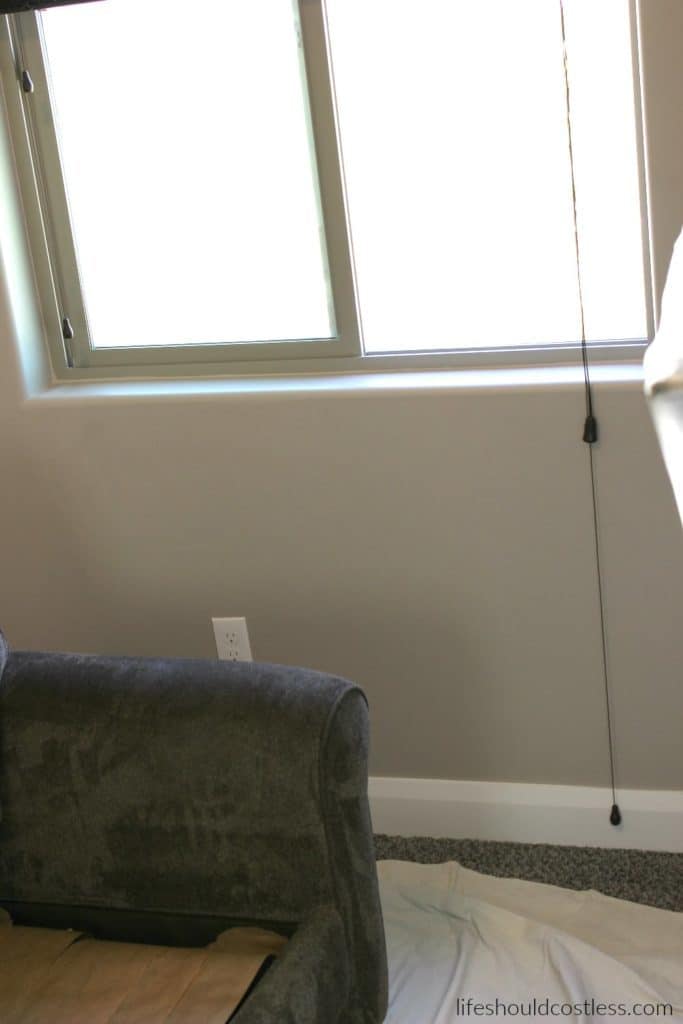
Step 4. Ventilate
Now we ventilate!
This stuff is pretty fumy…so, unless you want to get your whole family high, take a minute to get some good airflow going.
Lol, you can’t even really see that the window is open in the picture…oh well, I tried.;).

**You may even want to use a painting respirator/mask and some gloves as an extra precaution…use your best judgement for your personal situation.**
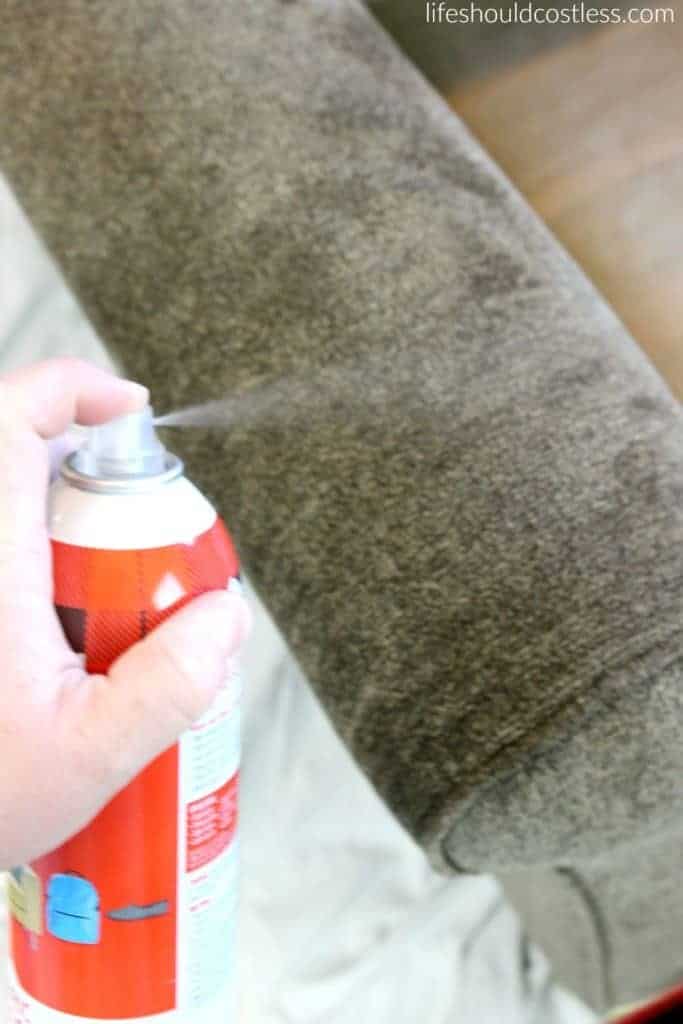
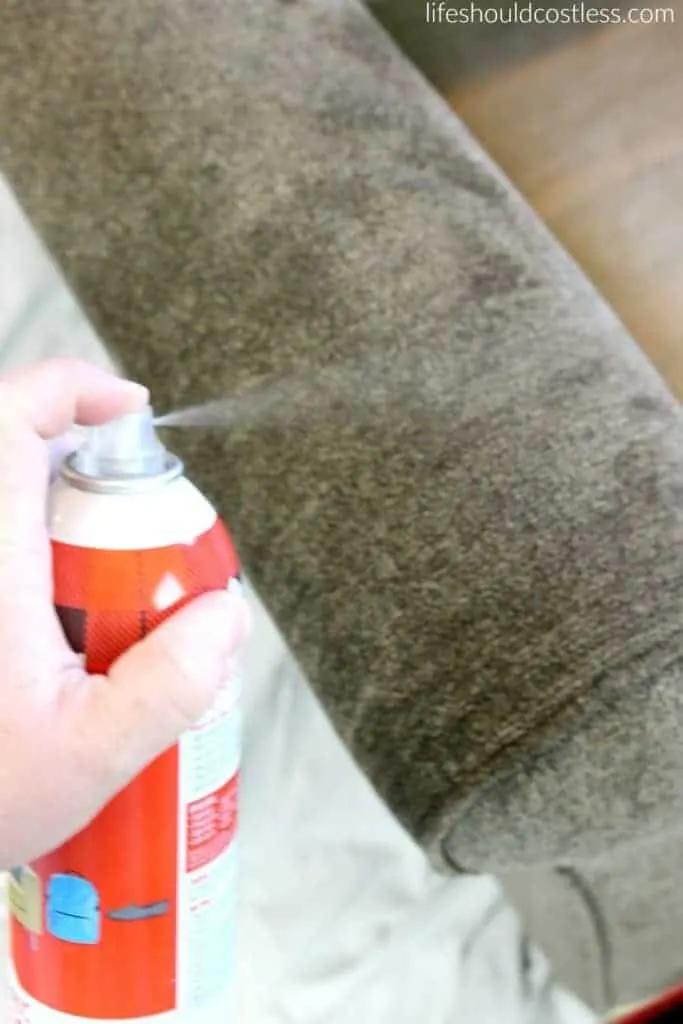
Step 5. Spray
It’s time to shake and spray!!!
Shake the can of Scotchgard well and then spray lightly (can should be upright) in even lines until the whole thing has been covered.
The can says to hold it like 6 inches away or something, but that seemed way too close for me so I did between 8 & 12″ distance between the can and the couch at all times.
I applied an even thin coat to the entire couch and then did more coats on the high-use areas, then finished up by one last coat on the entire couch.
You should let it dry between coatings.
The bottle says that one can will do one whole couch, and I was a bit skeptical at first, but it totally did…and I even did both sides of the cushions and both of the pillows too.
I just kept lightly coating until the can was empty.
It does say on the can that several thin layers is better than one thick one…btw.
Step 6. Let dry
The next thing to do is to let your furniture piece sit and completely dry undisturbed.
It dries fairly quickly, but be patient.
The air is really dry here in my neck of the woods though, so if you live somewhere that is quite humid it may take a bit longer to dry.
Just lightly touch it to be sure.
Step 7. Cleanup

Once everything was completely dry, all I had to do to finish was remove the masking tape, masking paper and throw them away, and pull out the canvas drop cloth and put it away.
Then I put the couch cushions back together and had a beautifully protected couch just ready for whatever my kids wanted to throw at it…literally.
Yay!

Conclusion
In conclusion, knowing how to Scotchgard a couch and putting that knowledge into action is a practical and efficient way to protect your upholstered furnishings from spills, stains, and everyday wear and tear.
By following the straightforward steps to apply Scotchgard, you can easily safeguard your furniture in the comfort of your own home, without the need for professional services.
Remember to allow each coat to dry thoroughly, typically 2 to 4 hours, before applying an additional layer, and ensure the treated items have a full 24 hours to set completely.
This DIY project not only extends the life of your furniture but also preserves its appearance, making it a worthwhile investment for any homeowner.
With Scotchgard, you can enjoy peace of mind knowing your furniture is protected, allowing you to relax and enjoy your living space to the fullest.
FAQ’s
When applying Scotchgard spray to a surface, it is recommended to allow the first coat to dry completely before applying a second coat.
Typically, it takes about 2 to 4 hours for Scotchgard to dry thoroughly, depending on the ventilation, humidity, and temperature of the room.
For optimal results, it’s important to ensure that the area is well-ventilated and to follow the specific instructions provided on the Scotchgard product you are using.
After applying the final coat, allow the treated item to dry for at least 24 hours before using it or exposing it to heavy traffic to ensure the protective barrier has fully set.
My sofa was completed in approximately one hour of actual work.
More time will be need to be estimated for prep-work and drying time.
Thanks so much for stopping by my blog and supporting my endeavors to make people’s lives a little easier/better/more affordable.
If you liked this post, or found it helpful in any way, please make sure to share it with your family, friends, and co-workers via social media.
Or you could even send them the direct link via email. Whichever way you choose to spread the love, I super appreciate it! ~Sarah
How To Follow & Support This Site
- If you would like to subscribe to my email list, go here.
- Make sure to follow along via social media, by going here.
- If you would like to learn how to really show your support to this site (at no cost to you), go here.
- If you would like to make a direct donation to the site, go here.
Check out my other cleaning tips
Otherwise, here are direct links to several of my other cleaning/laundry related posts that you’re also going to love:
My most popular laundry & cleaning articles
Other laundry & cleaning tips
Other good resources to protect upholstery
Maybe you don’t wanna go the way that I showed you how to do this…if that’s the case, here are some other good reputable resources that you could try instead:
- https://www.ultra-guard.com/how-to-protect-fabric-furniture-from-stains-and-dirt/
- https://magic-carpetcleaning.co.uk/how-to-protect-fabric-furniture-from-staining/
*Reposts: Please note that this article was originally posted to this website on 07/01/2017, but it was in great need of a refresh so it now is more user friendly/shareable a& will continually be updated to remain relevant.
**Please note that I do try my hardest to provide factual, but easy to understand, information about each topic. If you notice a discrepancy in my methods, facts, or see something that you deem “misinformation/incorrect” please make sure to notify me about it. I would prefer that you send me an email with a link to a more reputable resource on that subject, so that I can correct it as soon as possible. Thanks so much for helping this site become the best that it can be!