Whether your glass items or jars are second-hand, or just well-loved “old and rusty”, getting them to look clean and brand new again can be a huge hassle if you don’t know a couple of good deep cleaning tricks. Get your glass items looking brand new again in no time when you learn How To Clean Mason Jars with this cleaning regimen.
My name is Sarah, and I am an addict.
A mason jar addict.
No seriously, I love mason jars so much that it pains me to give anyone something that I canned.
That is because it literally feels like I’m giving away one of my babies when I do. It’s completely pathetic, I know, I’m a total spaz…
Every time I come home from the DI(a thrift store), I either have every single mason jar that there was in stock, or I am bummed because I came up dry & couldn’t find a single one.
I’m sure that this is shocking to most of you that know me at all, and know that I strive to be fairly minimalistic.
However, when it comes to my precious mason jars, I just can’t get enough.
Buying Mason jars used/second-hand can be a great way to save money, as long as you are not spending too much money in the process.
I usually find them at thrift shops, but I’ve heard that you can also find them at yard sales. I myself have never found any at a yard sale, but then again…
I’ve lived in Utah for most of my life, and most people around here keep them for their food storage so they’re harder to come by second-hand.
If you are actually lucky enough to find some that are second-hand, make sure that you don’t spend more than 25¢ on a used mason jar unless it is the kind with a handle, a half gallon size, or an antique blue.
Otherwise you may as well just buy them new and not have to deal with the extra cleaning, and cost of products used to clean them, that comes along with buying second-hand.
Speaking of cleaning, I wanted to share with you all what I do to clean them as easy as possible.
How to clean used/second-hand canning jars:
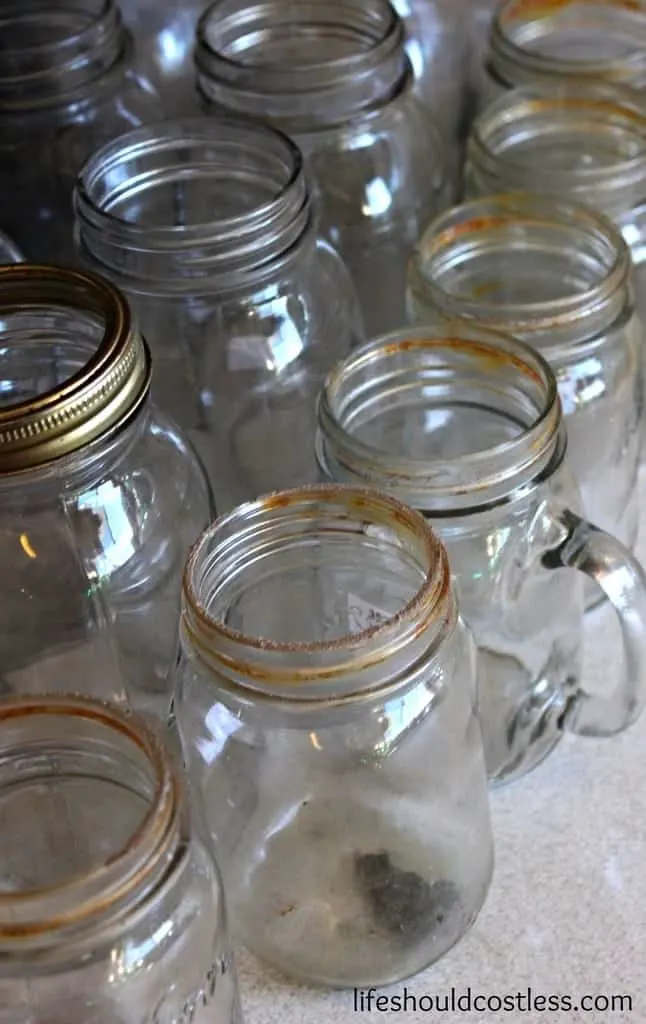
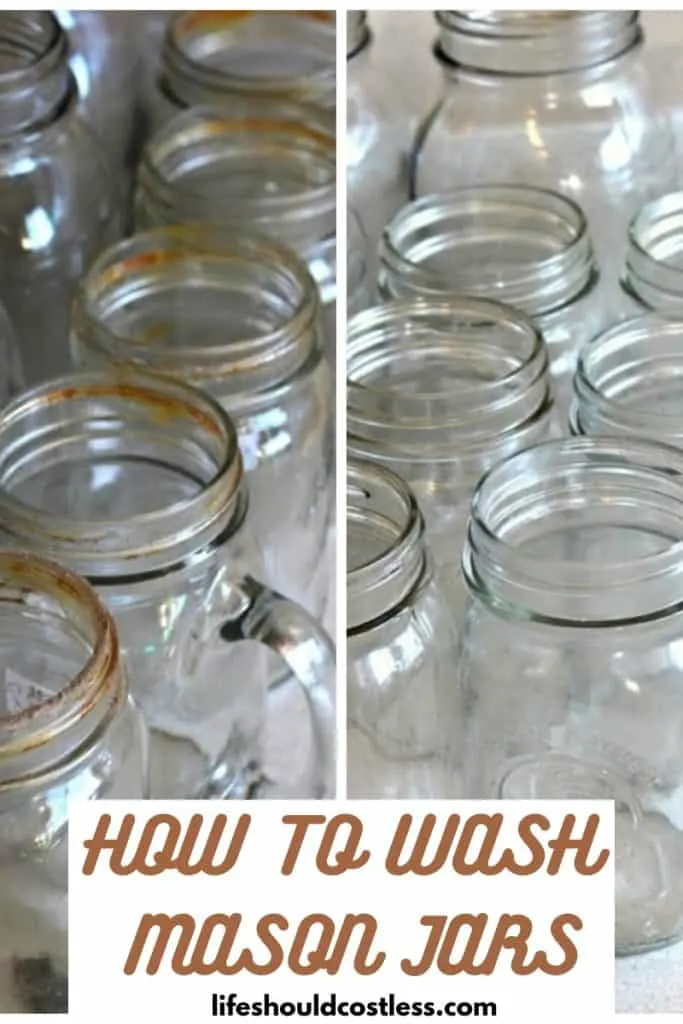
First, you start out with gathering up your nasty jars to wash them all at one time. This batch was particularly gross and covered in rust.
Please note: When I buy used jars, this is about as dirty as I dare go, otherwise it really makes you wonder what they had in that jar and I just don’t want to risk it. So you may want to set your own standard
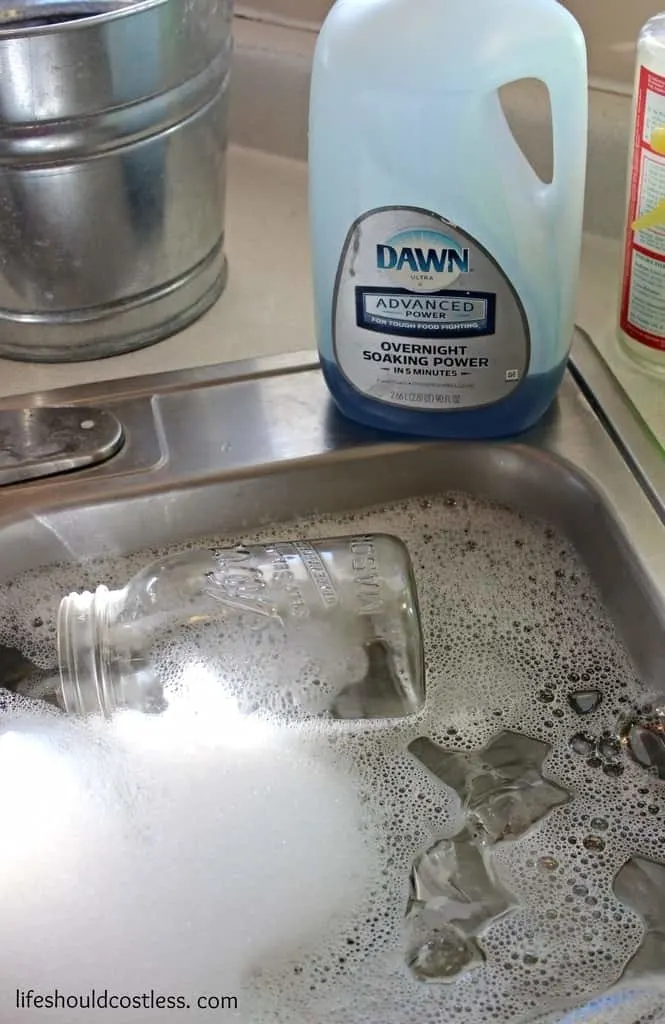
Next, I plug the sink, fill it with warm/hot water and a generous amount of Original Dawn dish soap.
I let them soak for about ten minutes…or a bit longer if I end up getting distracted by the kids.
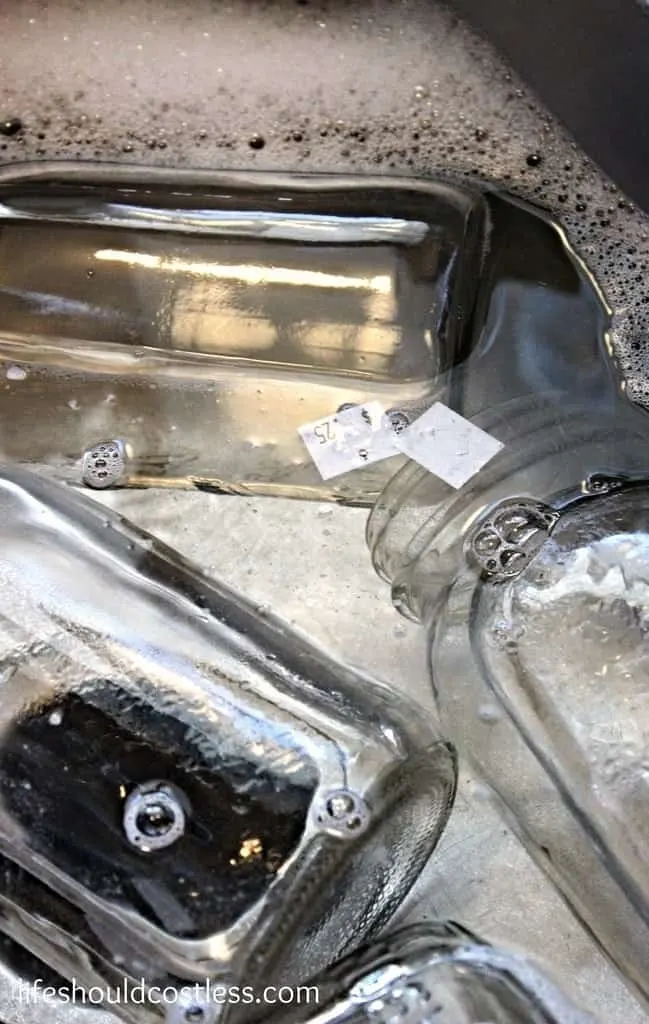
The Original Dawn dish soap usually does a pretty decent job at breaking down the adhesive on any price stickers.
Most of the time the stickers are even floating on the top of the water when I go do the next step.
Now I take a Steel Scouring Padand scrub off any rust or adhesive that is still “sticking” around…ha ha, see what I did there? Sorry, I’m such a dork…lol.
Anyway, sometimes if there is anything stuck on the inside of the jar I either use a basic bottle brush to scrub it out, or I take the Steel Scouring Pad, put it inside the jar and use a spoon to push around the Steel Scouring Pad and try to scrub it out that way.
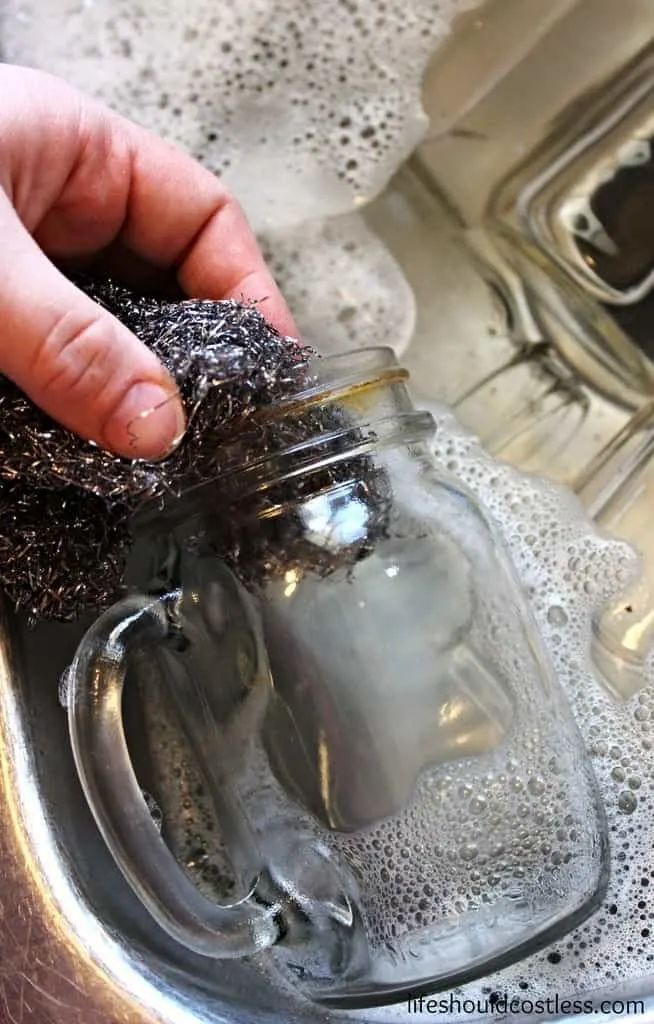
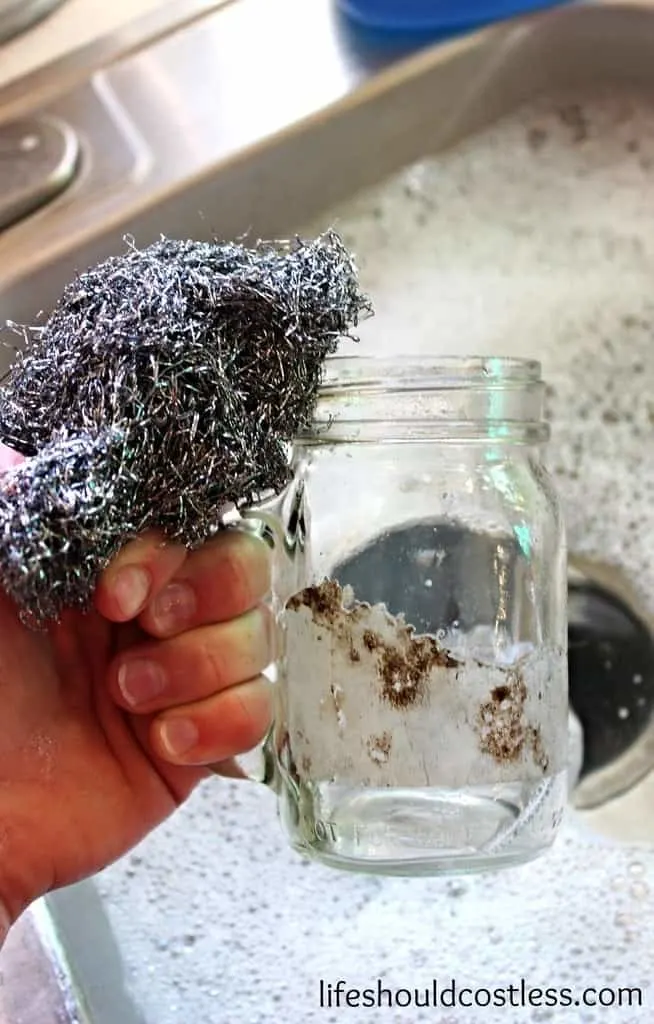
Now it’s time for the dishwasher. Here, I take one extra step to get rid of any residue that may there but I can’t see it.
I follow the directions on the back of the package of Lemi Shine Detergent Boosterand add that to a regular wash load and detergent.
Or to save even more money, I use my CopyCat “Lemi Shine” Recipe to make it even cheaper.
The jars come out super clean, like I know they’re clean to a microscopic level, and I now feel safe enough to use them to store my family’s food.
Heck, I’m more than a little bit of a hick, so we use them for basic drinking glasses too.
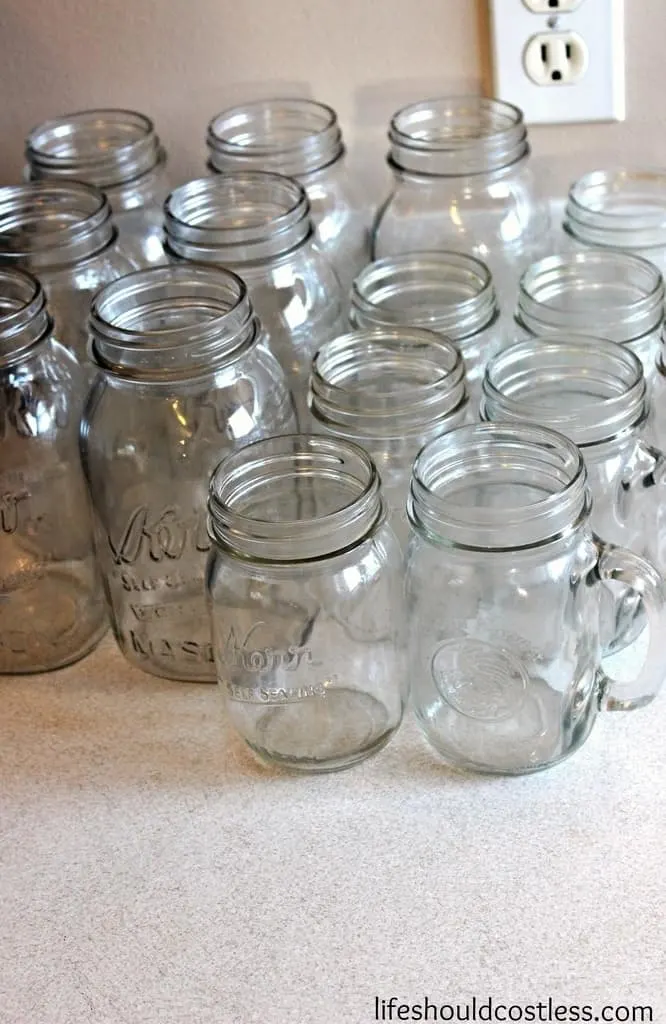
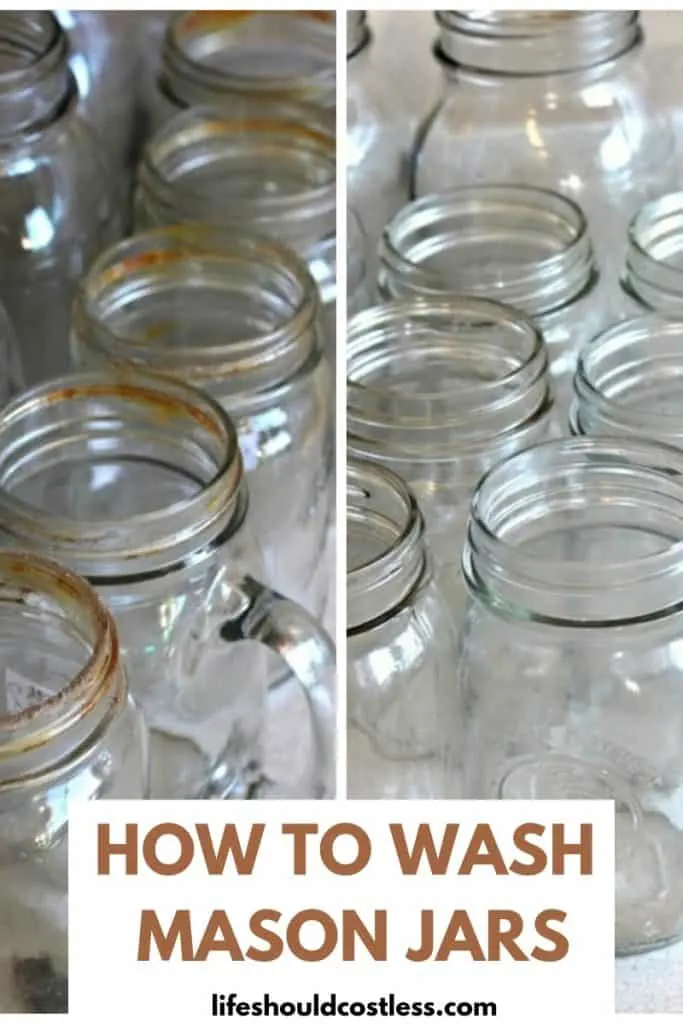
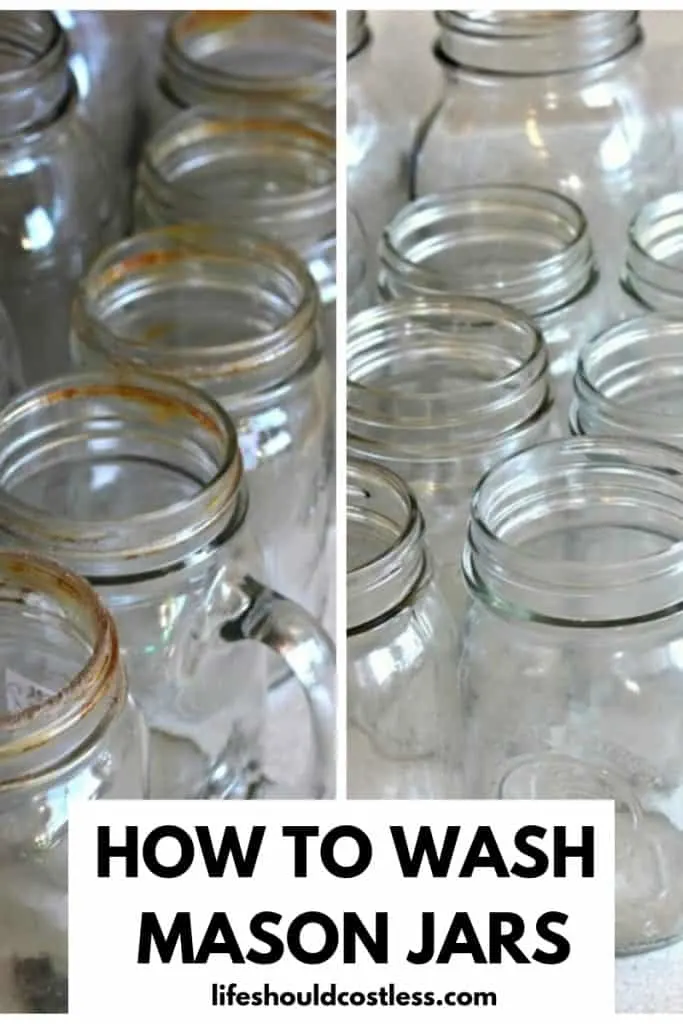
See, it was pretty simple wasn’t it? Just thought I’d show you one more pic of them before and after, side by side to get the full effect of just how well it works to clean your mason canning jars this way.
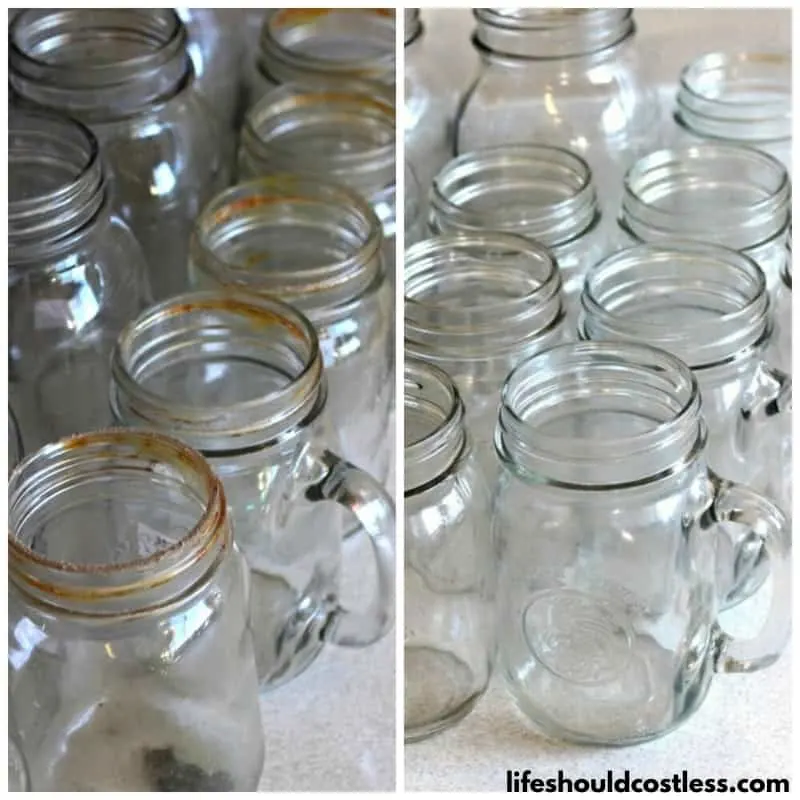
This is just what I do to clean them before I do any dry canning, or to put them in the cupboard.
Otherwise I still sterilize them in the oven before any processing. That’s it! It’s pretty easy and well worth the savings of buying them second-hand.
Thanks so much for stopping by my blog! If you liked what you saw, please make sure to share it via social media!
How To Follow & Support This Site
- If you would like to subscribe to my email list, go here.
- Make sure to follow along via social media, by going here.
- If you would like to learn how to really show your support to this site (at no cost to you), go here.
- If you would like to make a direct donation to the site, go here.
P.S. You may also want to check out all of my other cleaning posts.
Here are links to several of my other posts that you may also like:
*Reposts: Please note that this idea/post was originally posted to this website on 03/30/2015 but it was in great need of a refresh, so it now is more user friendly/shareable in general & up to date.
