Cleaning leather surfaces can often times be quite the chore, especially since you also need to condition it to prolong the life of your leather. In this article, I show you a simple method that I like to use to condition and clean smooth leather at the same time (in as little steps/effort as possible). It works on any smooth leather such as car seats, purses, jackets, couches, saddles, belts, boots/shoes, and other furniture. Join me as we learn how to clean smooth leather.

About this cleaning method
I really love this method of cleaning soft leather because it not only does a great job cleaning, but it conditions it so well that it makes the leather soft and looks and feels brand new again.
So, cleaning your leather this way should not only make your stuff look great again, but it should extend the life of your leather because it will be much less likely to get too dry and crack when taken care of properly.
Which will save you lots of money over time not needing to replace your leather items.
As usual, I will say that there are several good ways of doing things.
Cleaning leather is no exception to that truth.
This cleaning tip is just the best way that I know how to do this, so I am sharing and you can take my advice or leave it.
Leather cleaning tutorial (with printable instructions):

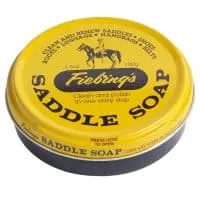
How to use Fiebing’s Saddle Soap
Make your leather last longer by conditioning it while you clean. Conditioned leather cracks less so this cleaning method will prolong the life of your leather goods.
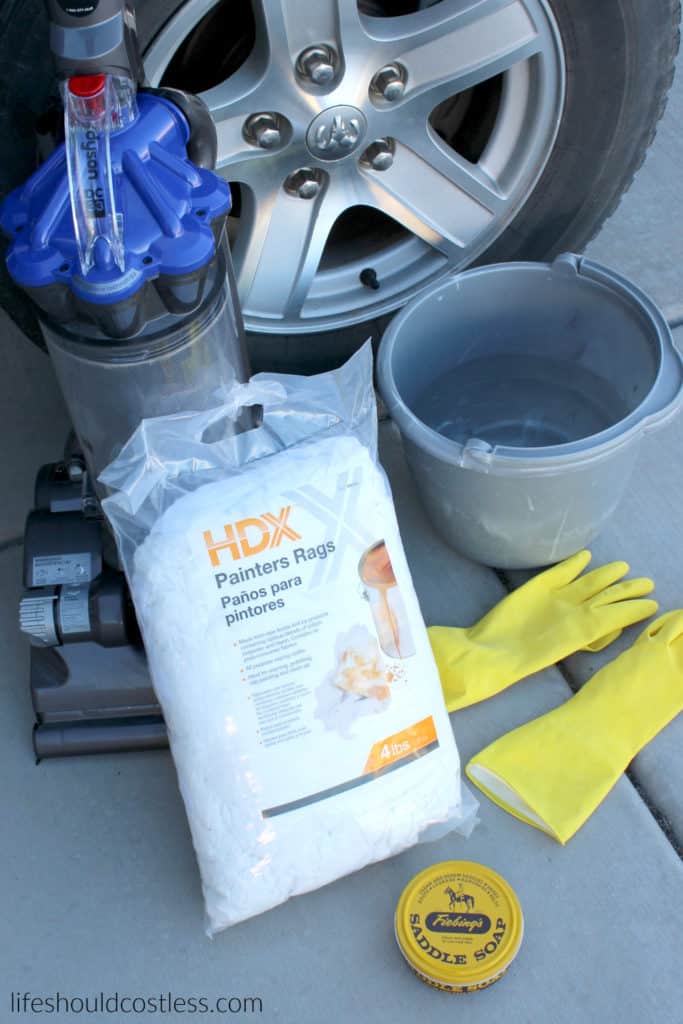
Materials
- Cleaning Rags
- Rubber Gloves
- Bucket Of Lukewarm Water
- Fiebing’s Saddle Soap
Tools
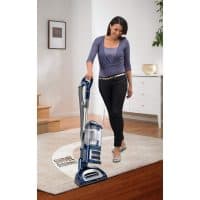
- Vacuum
Instructions
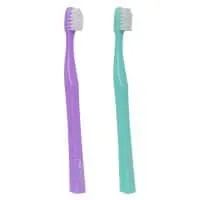
- Dry clean your leather first by gently vacuuming, or dusting it off. Pay close attention to the areas where there is any stitching. You can use a soft bristled tooth brush to dust out those areas.
- Dip a fresh rag into a bucket of luke-warm water, wring it out until it is more damp than dripping.
- Rub the damp rag across your saddle soap. Make sure there is a fair amount of saddle soap on your rag and start massaging it into your leather in a circular motion.
- Cover the entire leather surface this way, and repeat it going the other direction.
- Any time the rag is no longer leaving behind a little white film, stick it back in the bucket, ring it out, and get more saddle soap on there and continue on making sure that you don’t miss a spot.
- There should be a white film covering all of the leather. Leave it there until it dries.
- Use a fresh dry rag and buff off the white film using a circular motion.
- Repeat as necessary and enjoy your new looking, soft leather surfaces.
Notes
This cleaning tip is intended for smooth leathers only.
Saddle soap comes in a few different colors. I prefer the yellow for its versatility so that I don't have to buy a new container for each color of leather that I am cleaning.
Recommended Products
As an Amazon Associate and member of other affiliate programs, I earn from qualifying purchases.


Where to buy Fiebing’s saddle soap
When I purchase my Fiebing’s saddle soap smooth leather cleaner locally, I typically get mine at Cal Ranch or another farm-supply related store.
Once in a while you can also find it in the cleaning supplies section at your local grocery store too.
However, if that’s not an option for you, you can easily add it to your Amazon shopping cart here if that is more convenient.
Photo tutorial
Here is the process, in pictures, so that you know exactly what I am talking about.

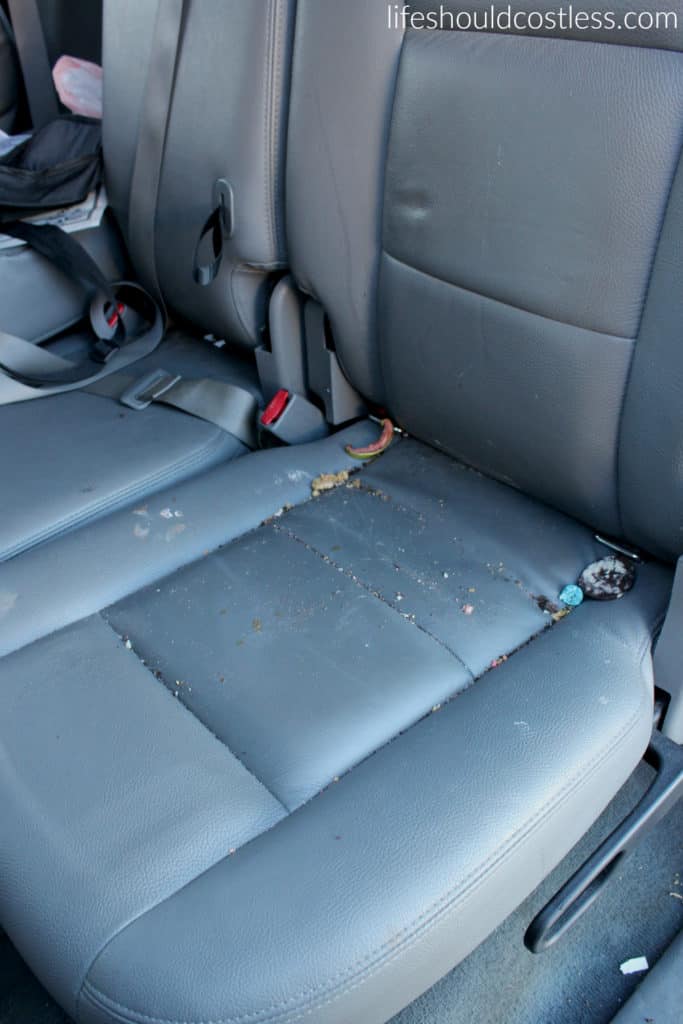
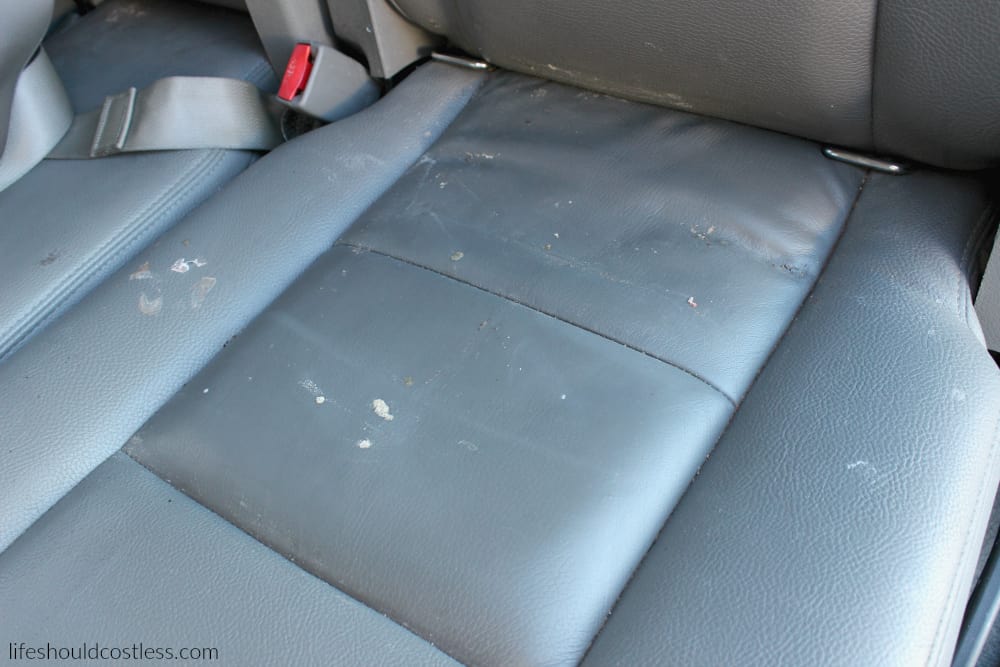
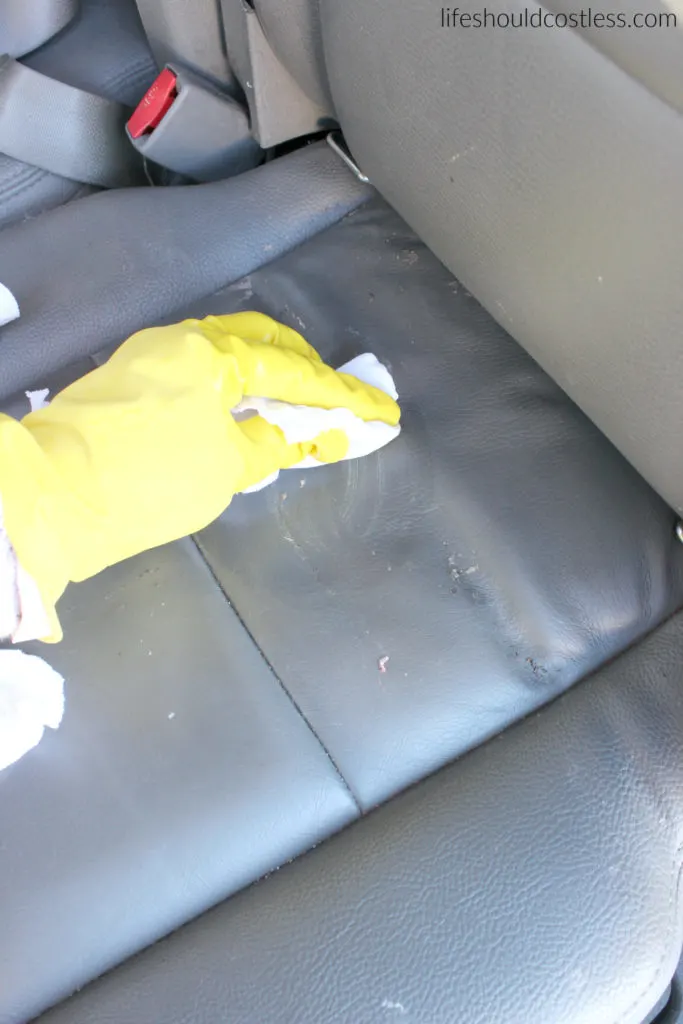
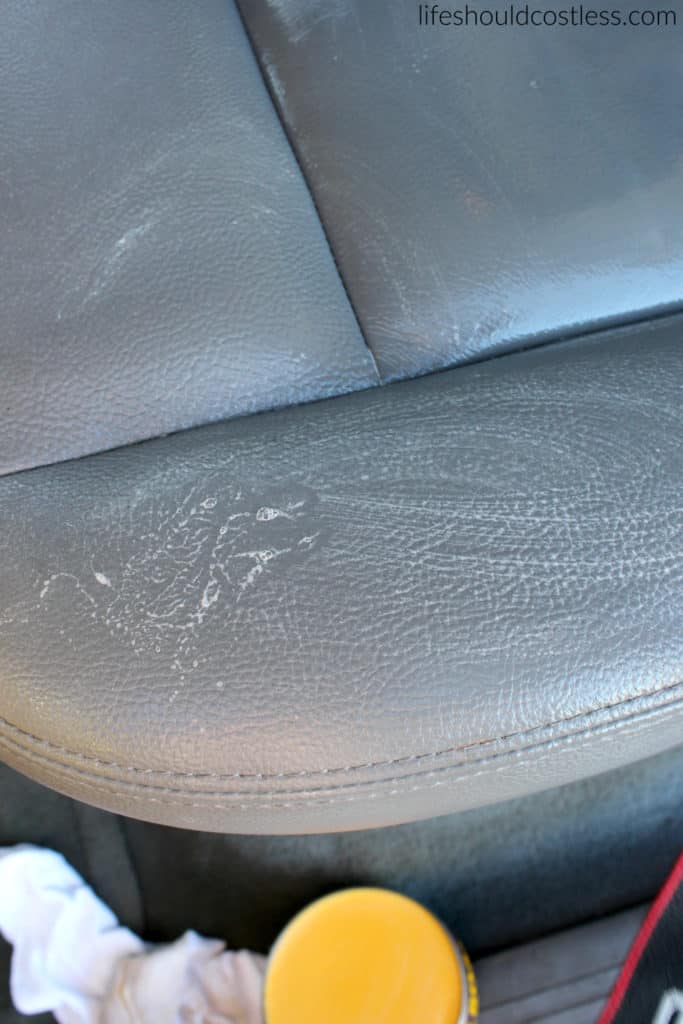
I always say that you have to dry clean something before you can wet clean something and this is a PRIME example of why…
The seat that I chose for this tutorial just happens to be the seat that is just under my very messy youngest child’s car seat.
It’s pretty gnarly under there and it had only been a couple of weeks since this area of the car got a good cleaning. I’m sure anyone with kids can relate.


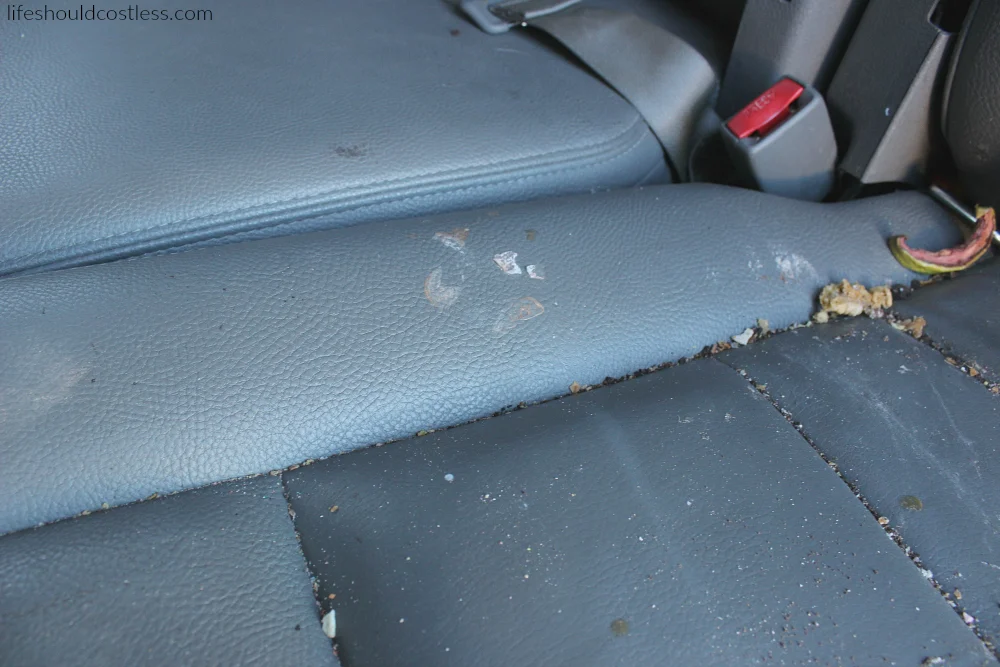
So, very first I got out my vacuum and using a brush attachment I gently vacuumed the leather paying close attention to the areas where the stitching is because that is where spills and crumbs tend to settle and they get looking gross pretty fast.
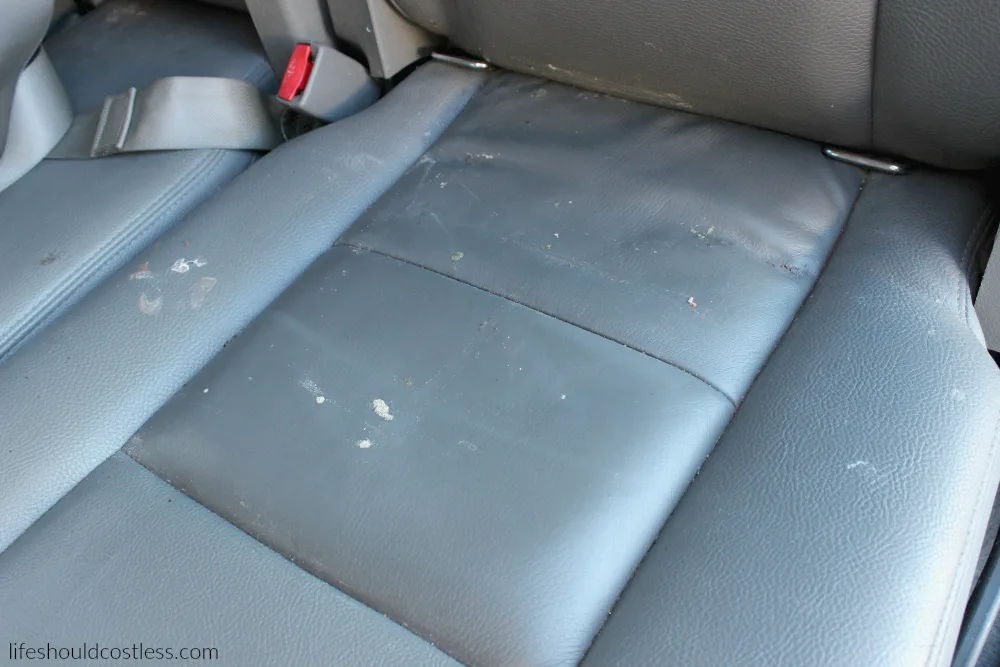
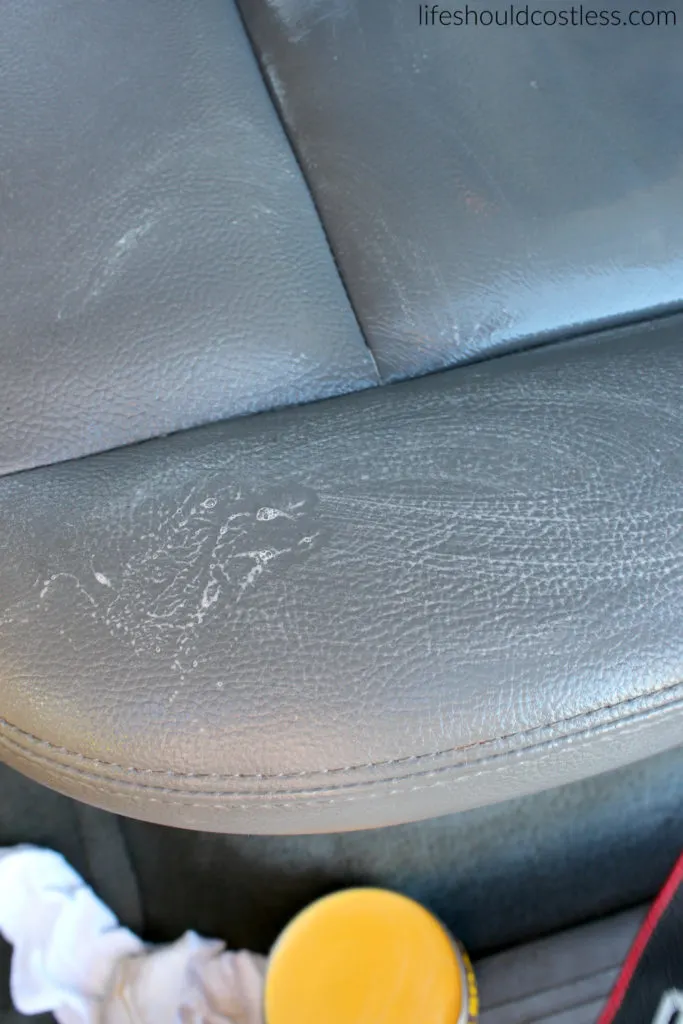
If you have gunk stuck down in the stitching that won’t come out with simple vacuuming, you can also use a dry soft-bristled tooth brush and gently scrub/dust it out with that and then vacuum it up.
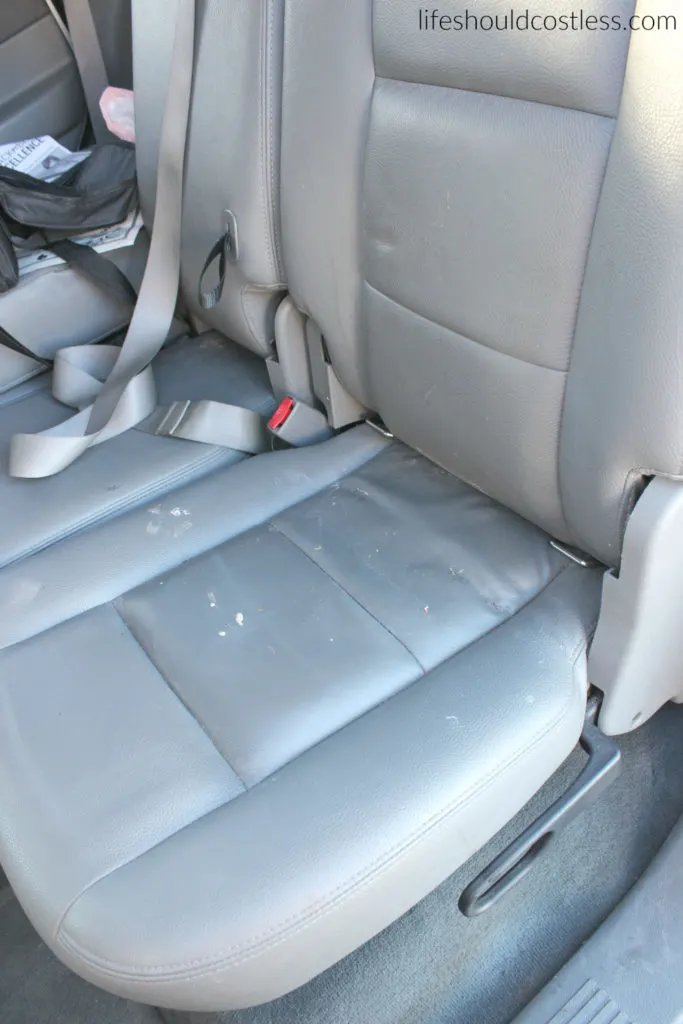
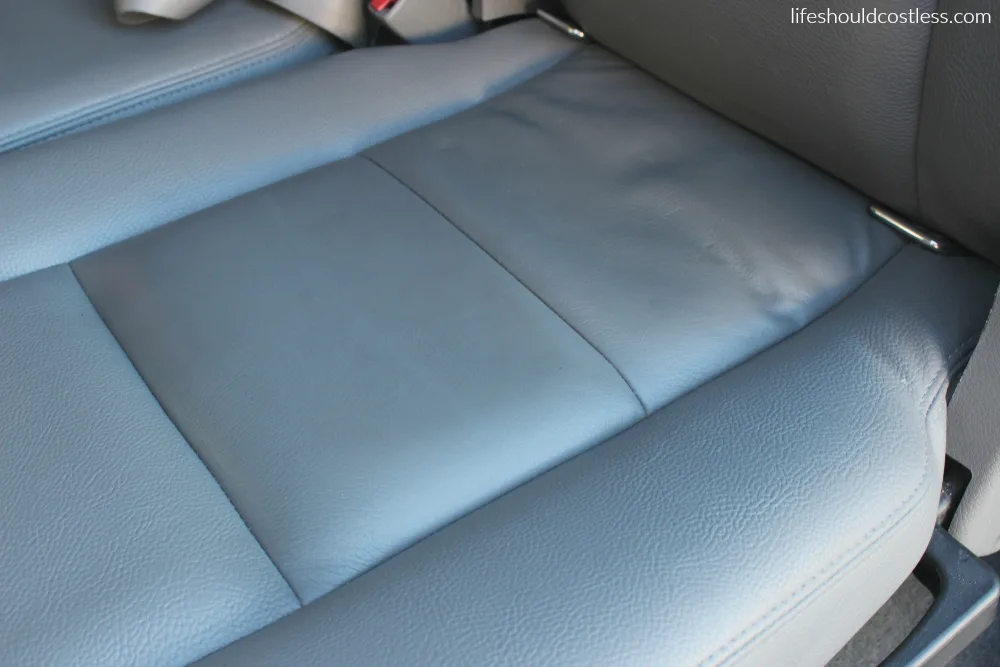
See, it looks so much better already with just vacuuming and it is now ready for the wet cleaning portion of the tutorial.

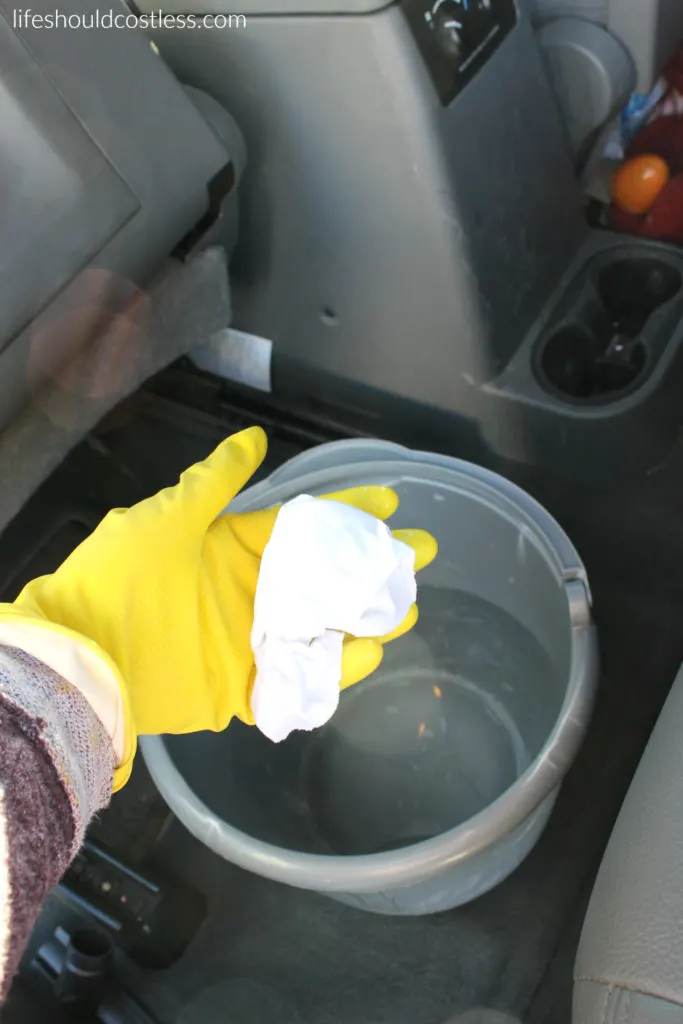
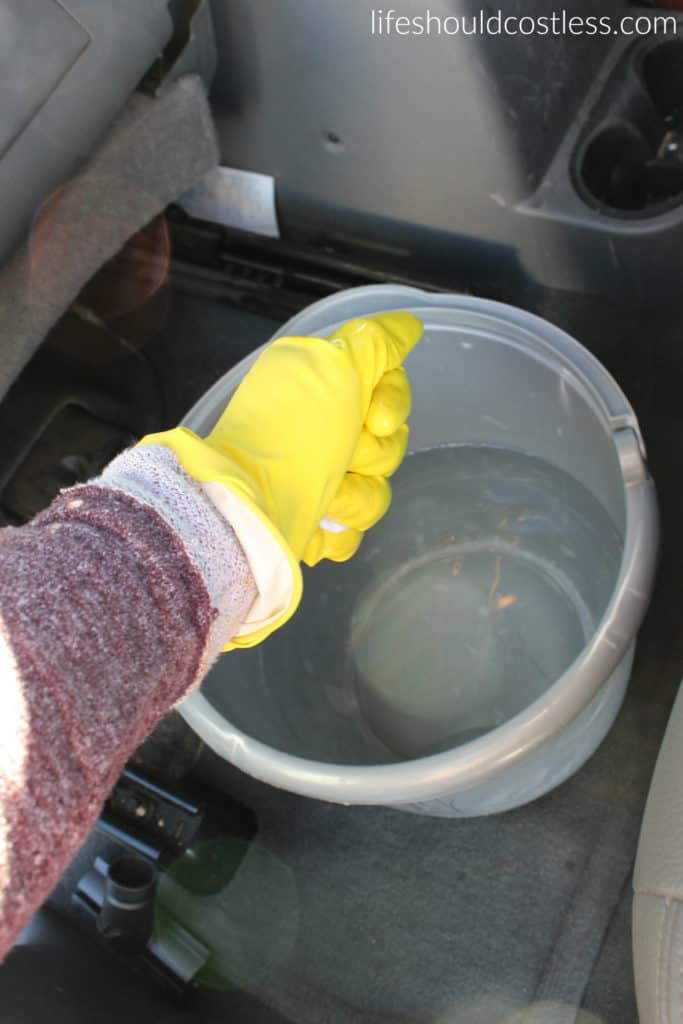
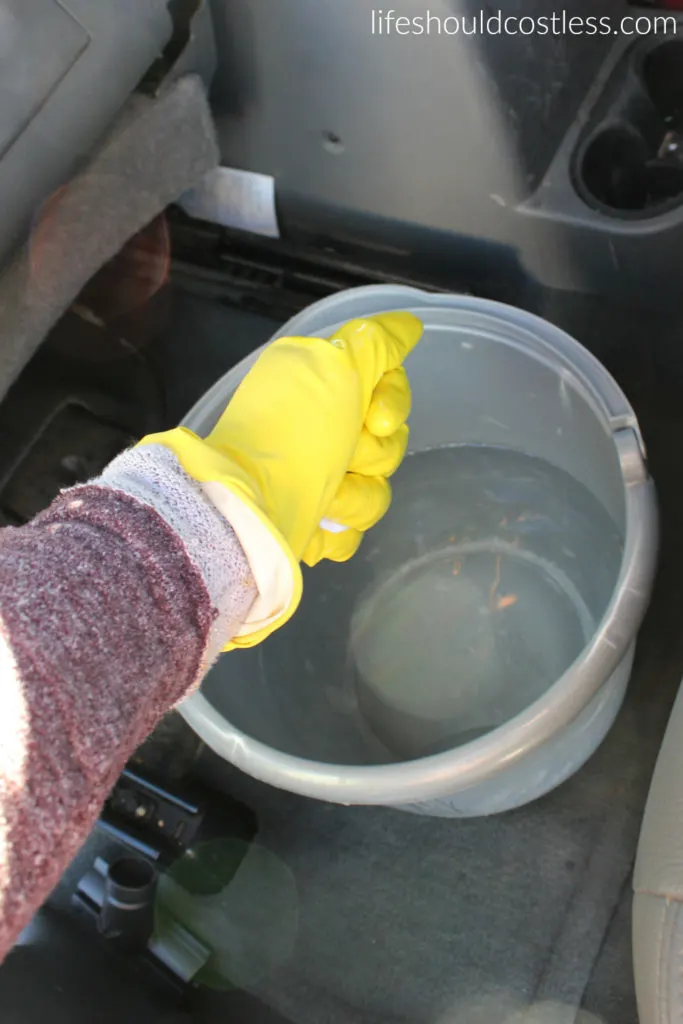
For the wet cleaning you will need to start out with a fresh rag, dip it in the bucket of fresh luke-warm water, and then ring it out really good.
You are going more for damp than dripping.

Now is where the magic is going to start to happen!
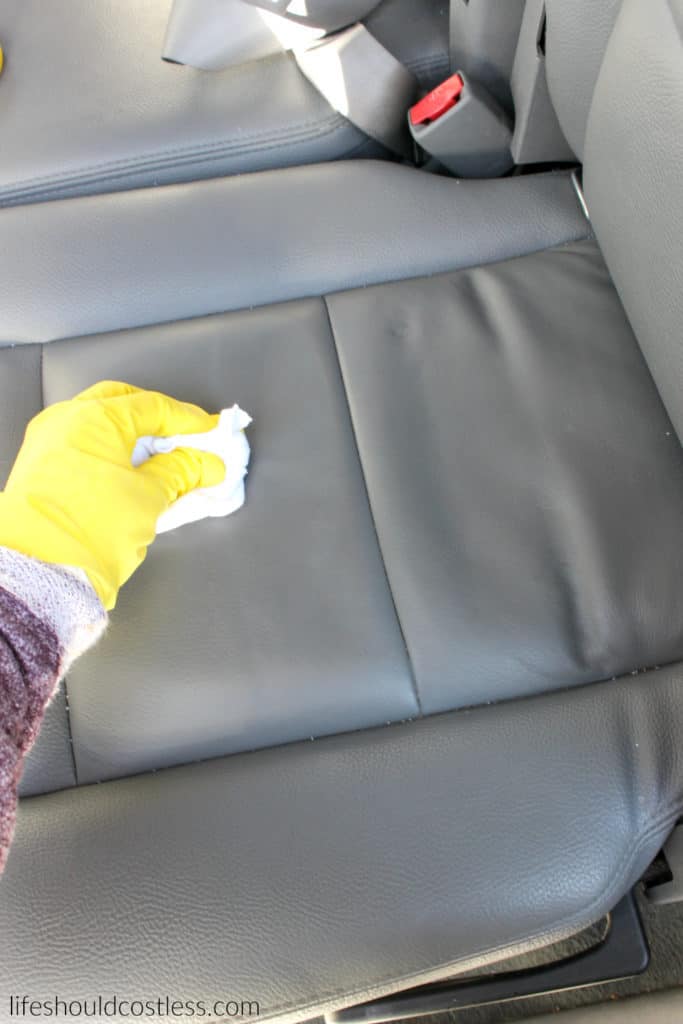
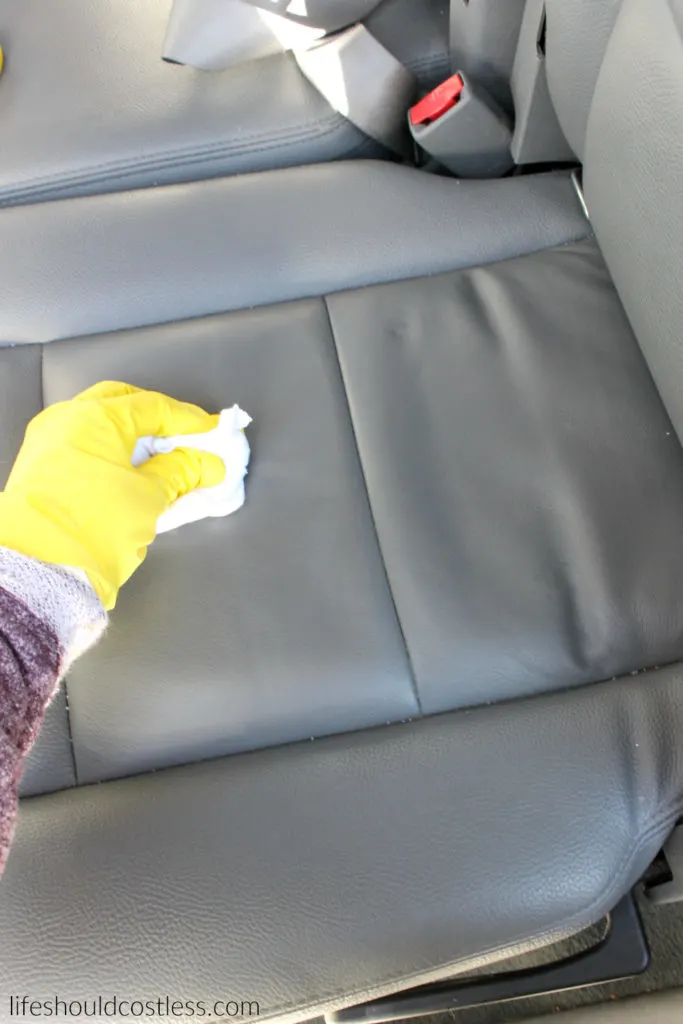
Take your damp rag and rub it across the Saddle Soap.

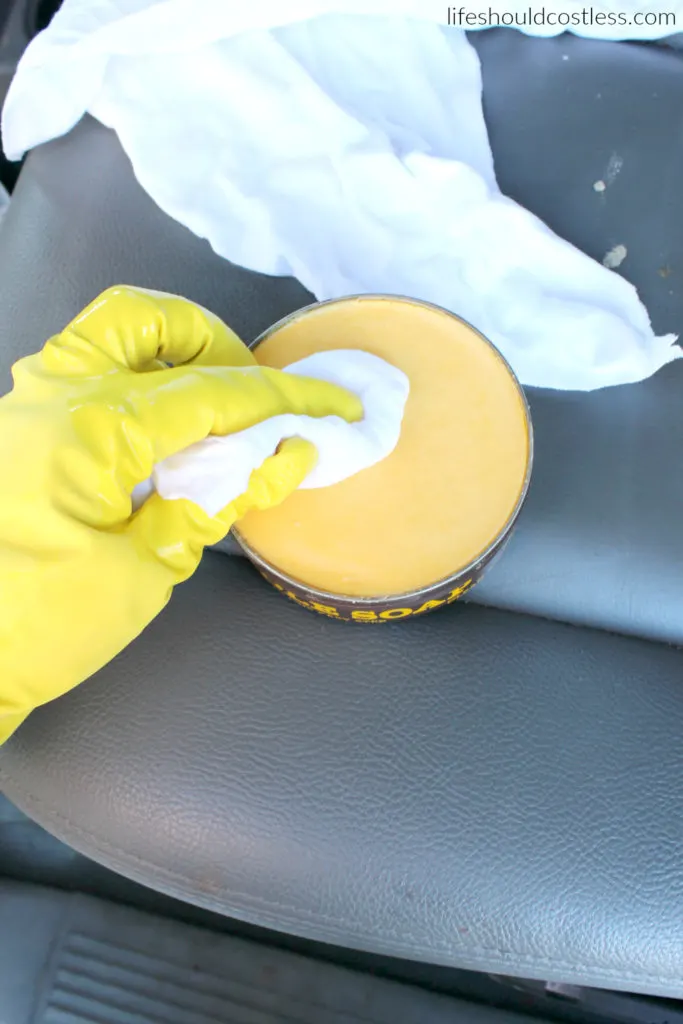
Make sure that there is a fair amount of saddle soap on the rag, as pictured below, and start working it into your leather in a circular motion.
I like to go clockwise, and cover the whole surface, and then repeat going counter clockwise (or vise versa…it’s not rocket science, that is just my preference making sure to clean it from every direction).

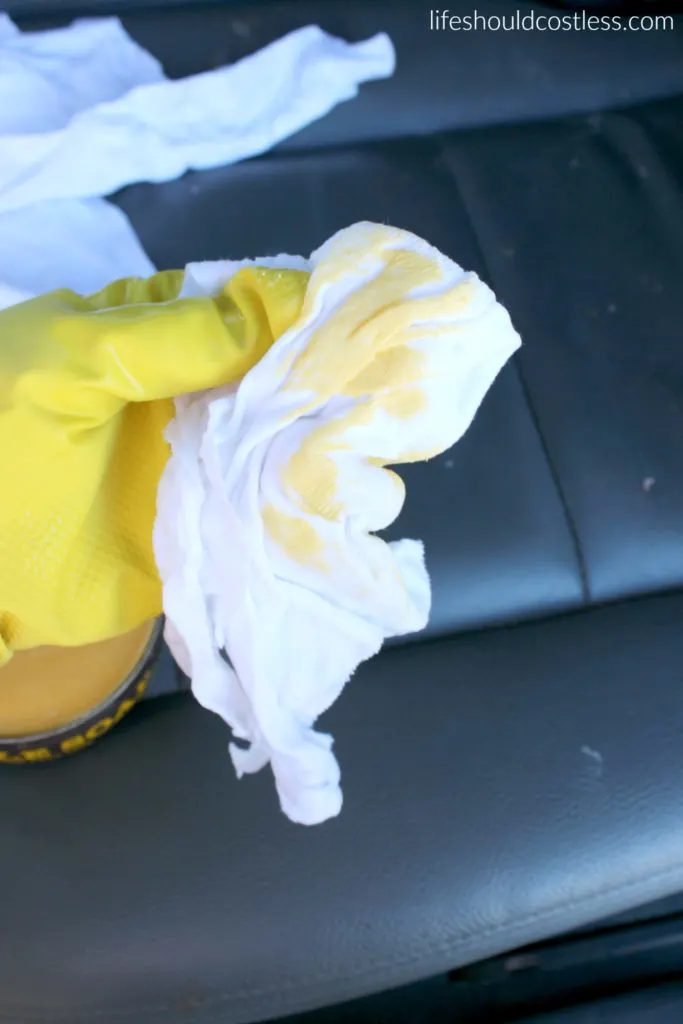

Any time the rag is no longer leaving behind a little white film, stick it back in the bucket, wring it out, and get more saddle soap on there and continue on making sure that you don’t miss a spot.
Leave the white film there until it dries.
This is the part that will really condition the leather and leave it super soft.
I like to get all of my leather to this point where it has the white film on it and then come back around with a fresh dry rag to buff it off.
This will give it a great shine and takes off any lingering gunk or grime.
It’s time to buff with a fresh dry rag!
These new rags that I had bought left behind little white chunks of themselves, so I had to vacuum those out of the cracks when I was done, but barring any rag mishaps…(lol, like that will even happen to anyone else.
I’m sure that was just me being special there ;)) you are done once you buff off all the white film.
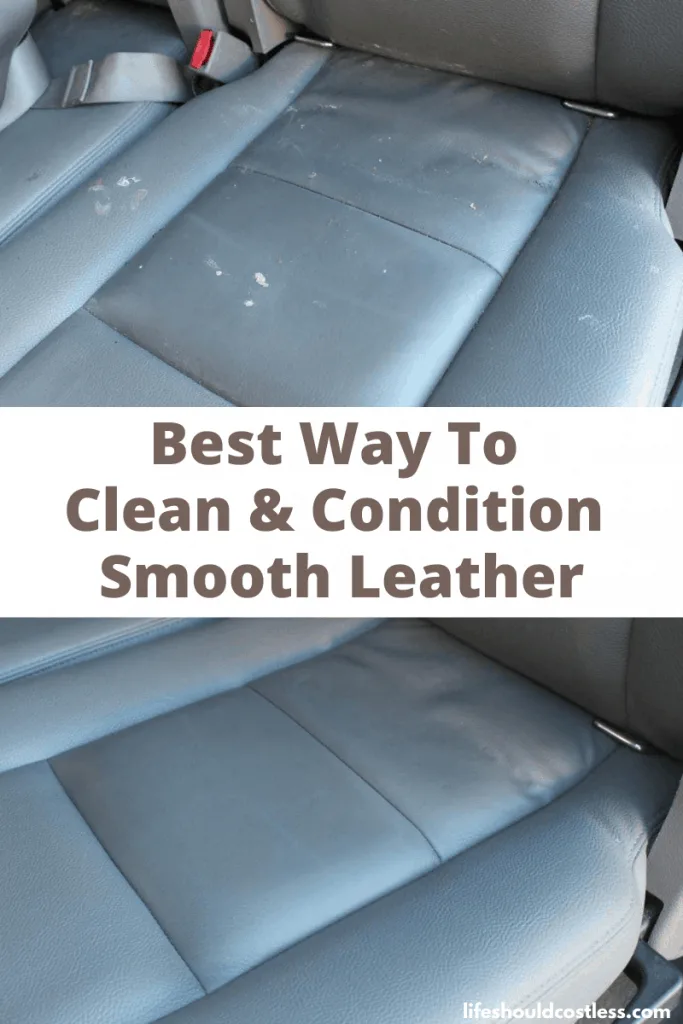
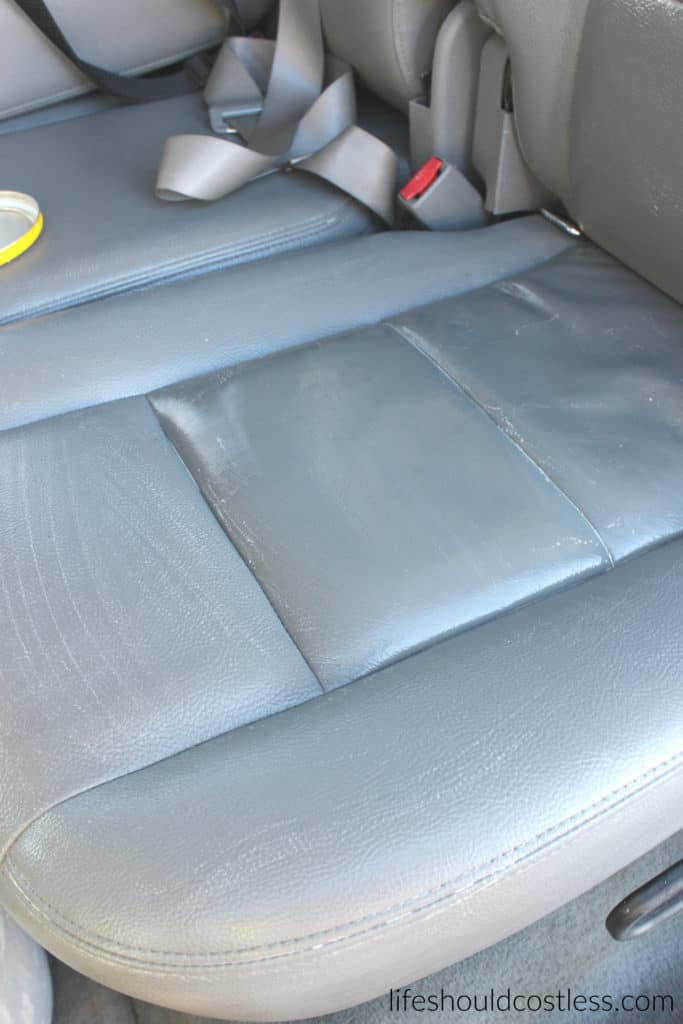
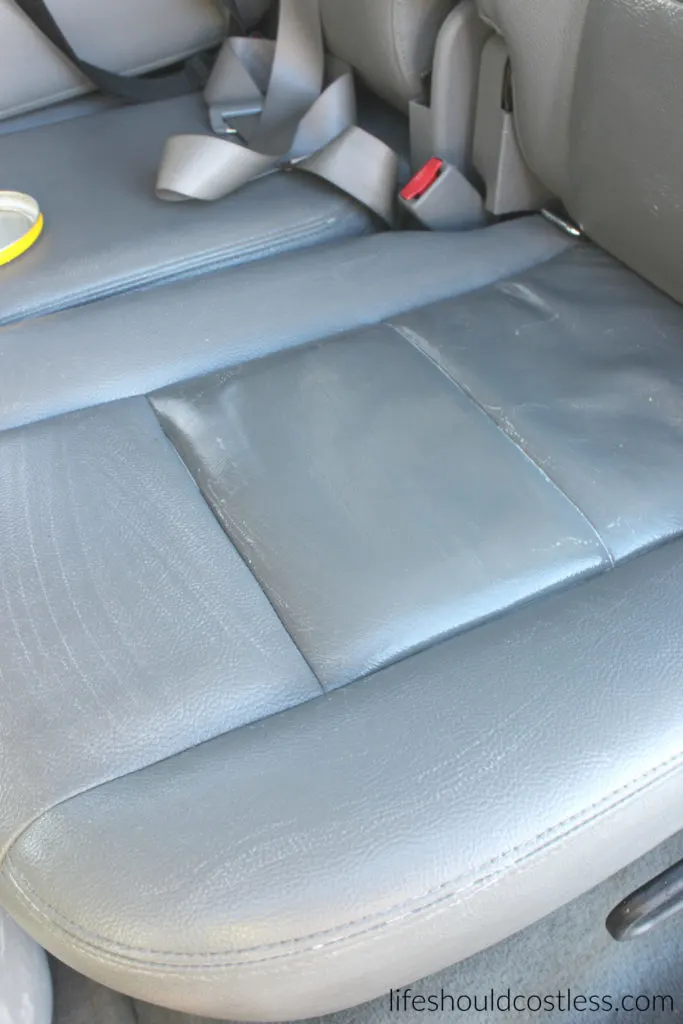
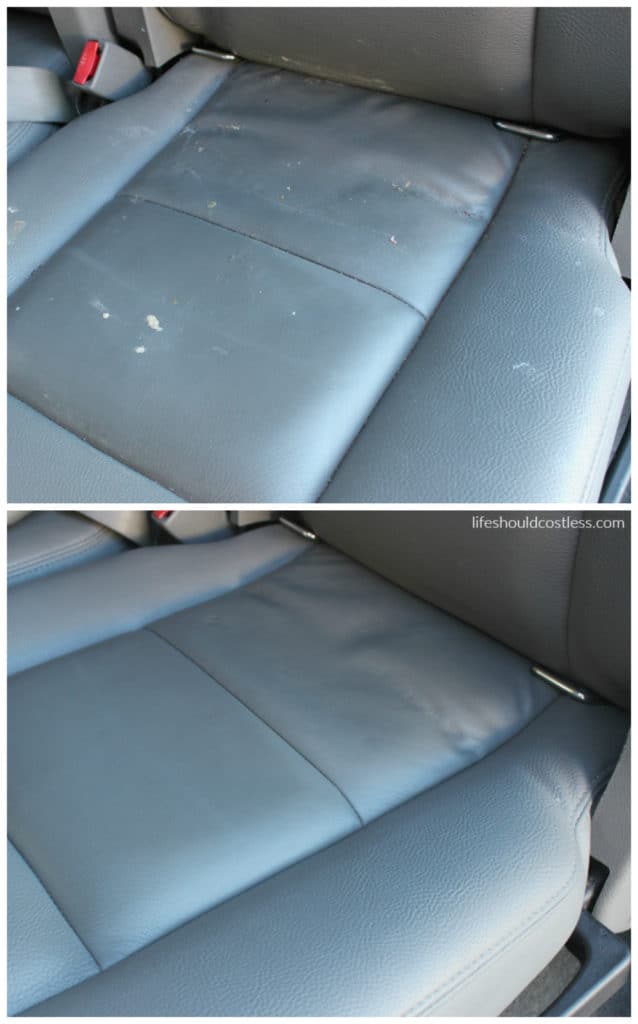
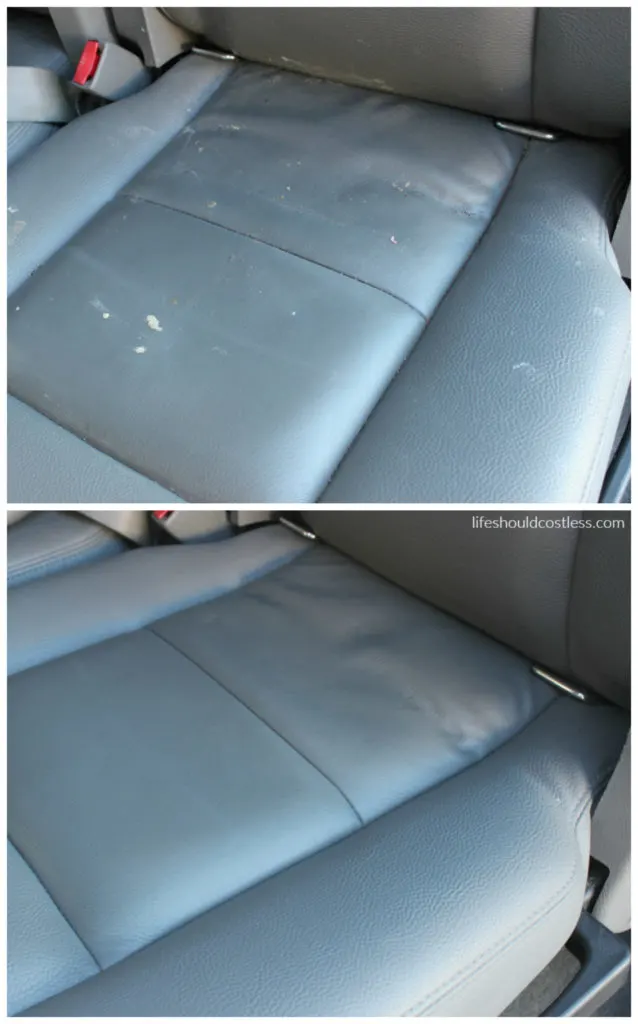
Now look how great the leather looks now!!!
Can you believe that it is even the same seat?

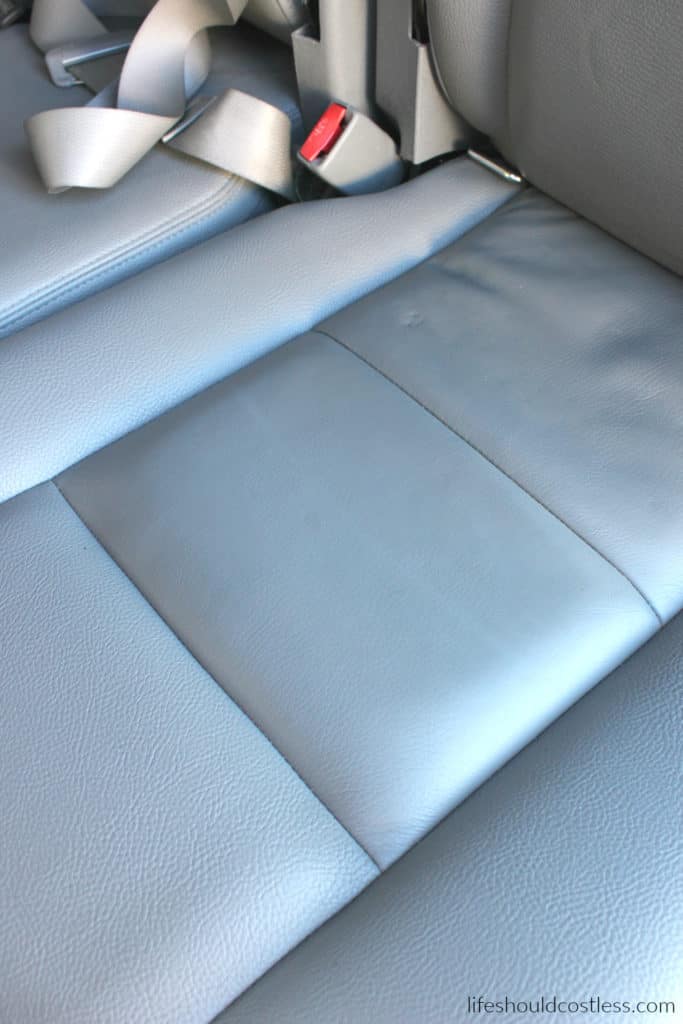

I thought I’d show you the before (after the vacuuming) and after together so that you can get the full effect. All I can say is WOW!
Conclusion
This method for how to clean smooth leather is a great way to take really good care of any soft leather that you have around the house.
I would even do this to boots, belts, obviously saddles, couches, and any other soft leather that you have…maybe even a leather jacket!
It’s really easy, not very time consuming, and actually does not take much elbow grease, which I’m sure is wonderful news for any of you that have limited mobility.
If you’re nervous to try it, just remember to do a test area first in an inconspicuous place before you do your entire piece of leather.
Thanks so much for stopping by my blog and supporting my endeavors to make people’s lives a little easier/better/more affordable.
If you liked this post, or found it helpful in any way, please make sure to share it with your family, friends, and co-workers via social media.
Or you could even send them the direct link via email. Whichever way you choose to spread the love, I super appreciate it! ~Sarah
How To Follow & Support This Site
- If you would like to subscribe to my email list, go here.
- Make sure to follow along via social media, by going here.
- If you would like to learn how to really show your support to this site (at no cost to you), go here.
- If you would like to make a direct donation to the site, go here.
Check out my other cleaning tips
Otherwise, here are some of my other articles that you’re also going to love:
My most popular laundry & cleaning articles
Other laundry & cleaning tips
*Reposts: Please note that this idea/post was originally posted to this website on 05/14/2017, but it was in great need of a refresh so it now is more user friendly/shareable.