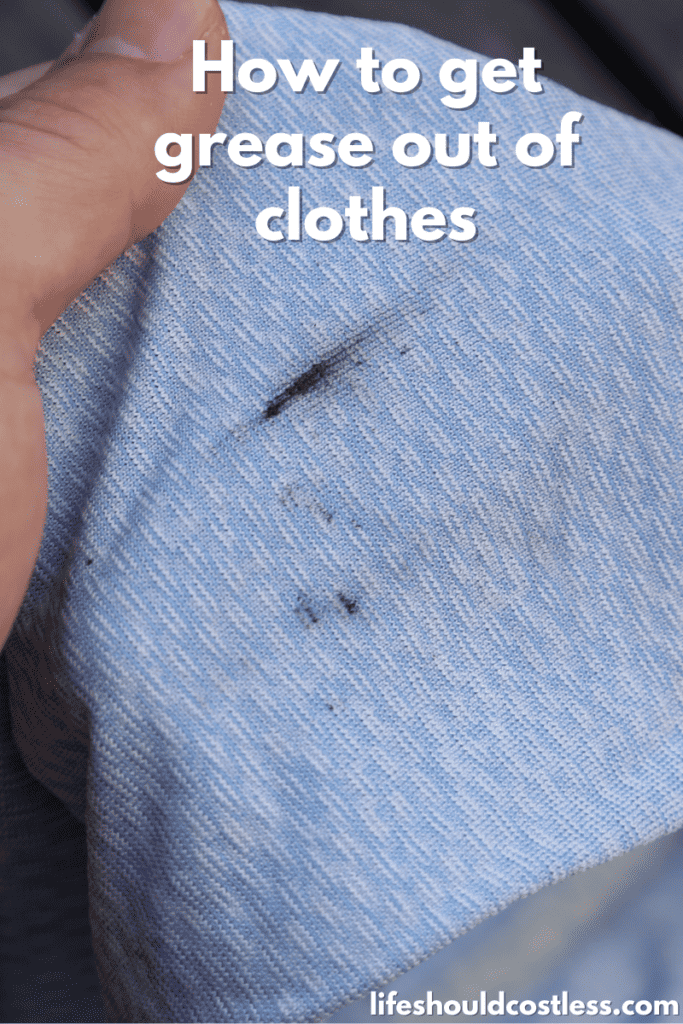
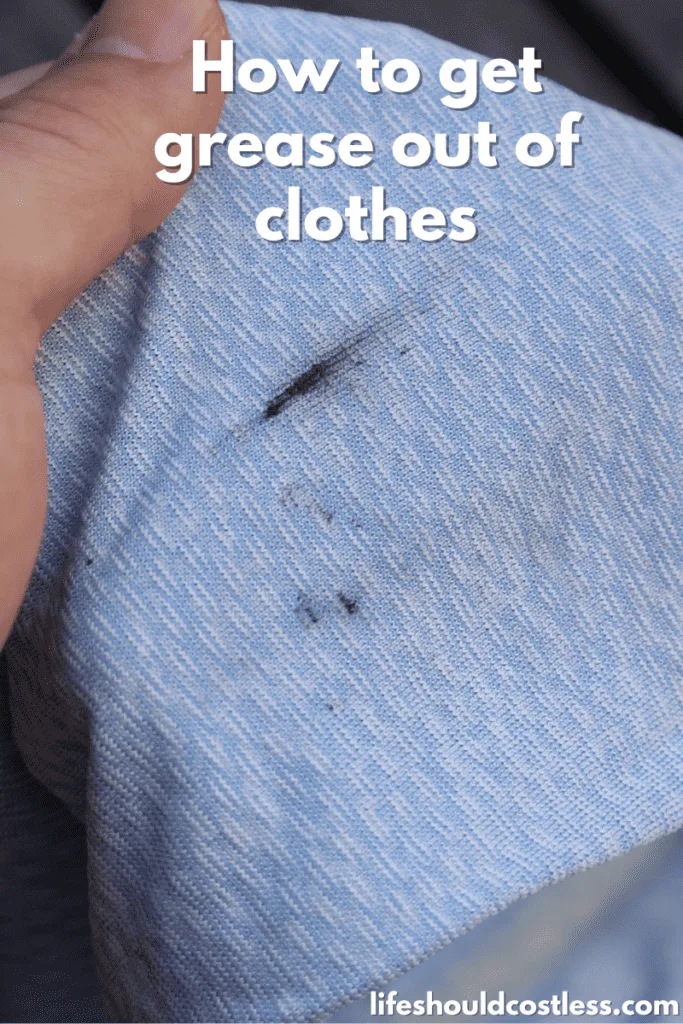
Welcome to our guide on how to get grease out of clothes! Dealing with stubborn grease stains on your favorite garments can be a frustrating challenge. Whether it’s from a cooking mishap or an accidental spill, these unsightly blemishes often seem impossible to remove. But fear not, as we’ve gathered a very effective technique to help you banish those grease stains and restore your clothing to its former glory (even if it has already been through the dryer). Say goodbye to worry, and hello to pristine attire with our tried-and-tested method for grease stain removal!
Introduction
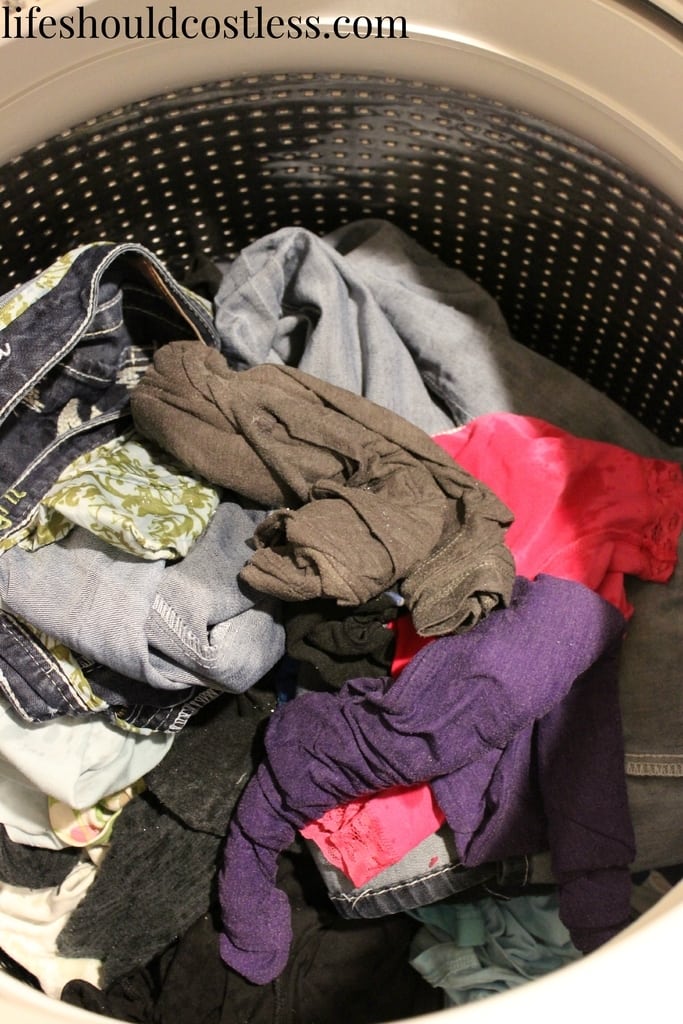
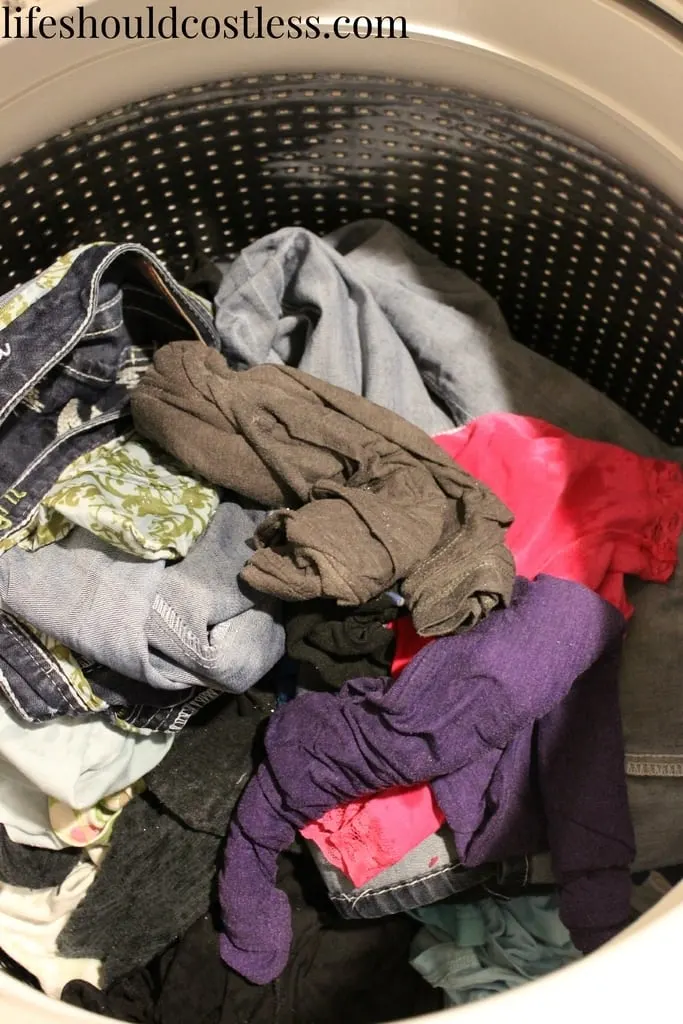
Dealing with grease stains on clothes after washing?
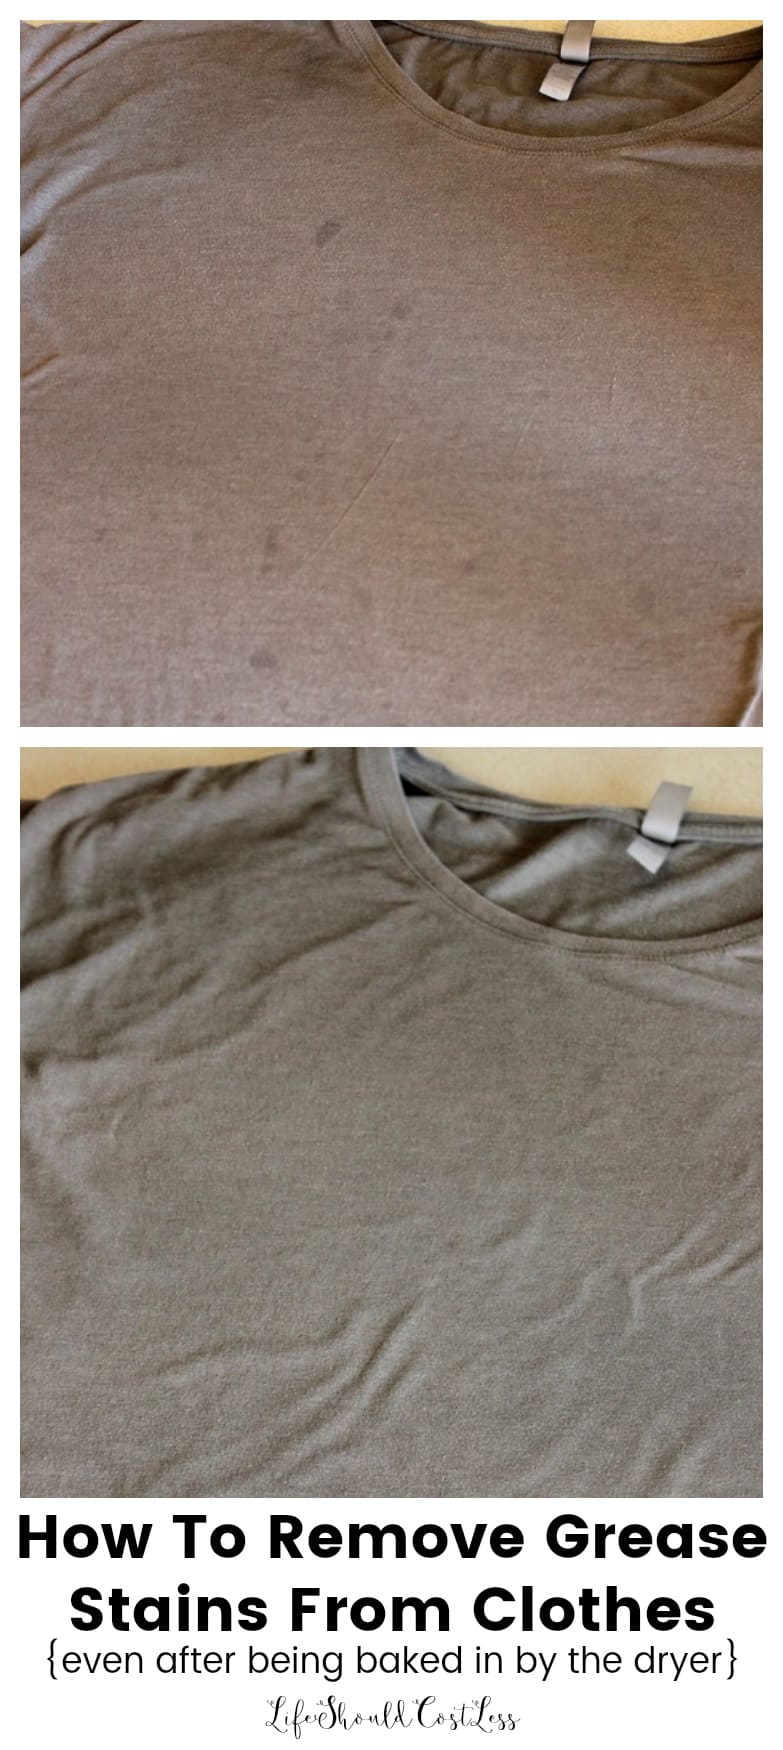
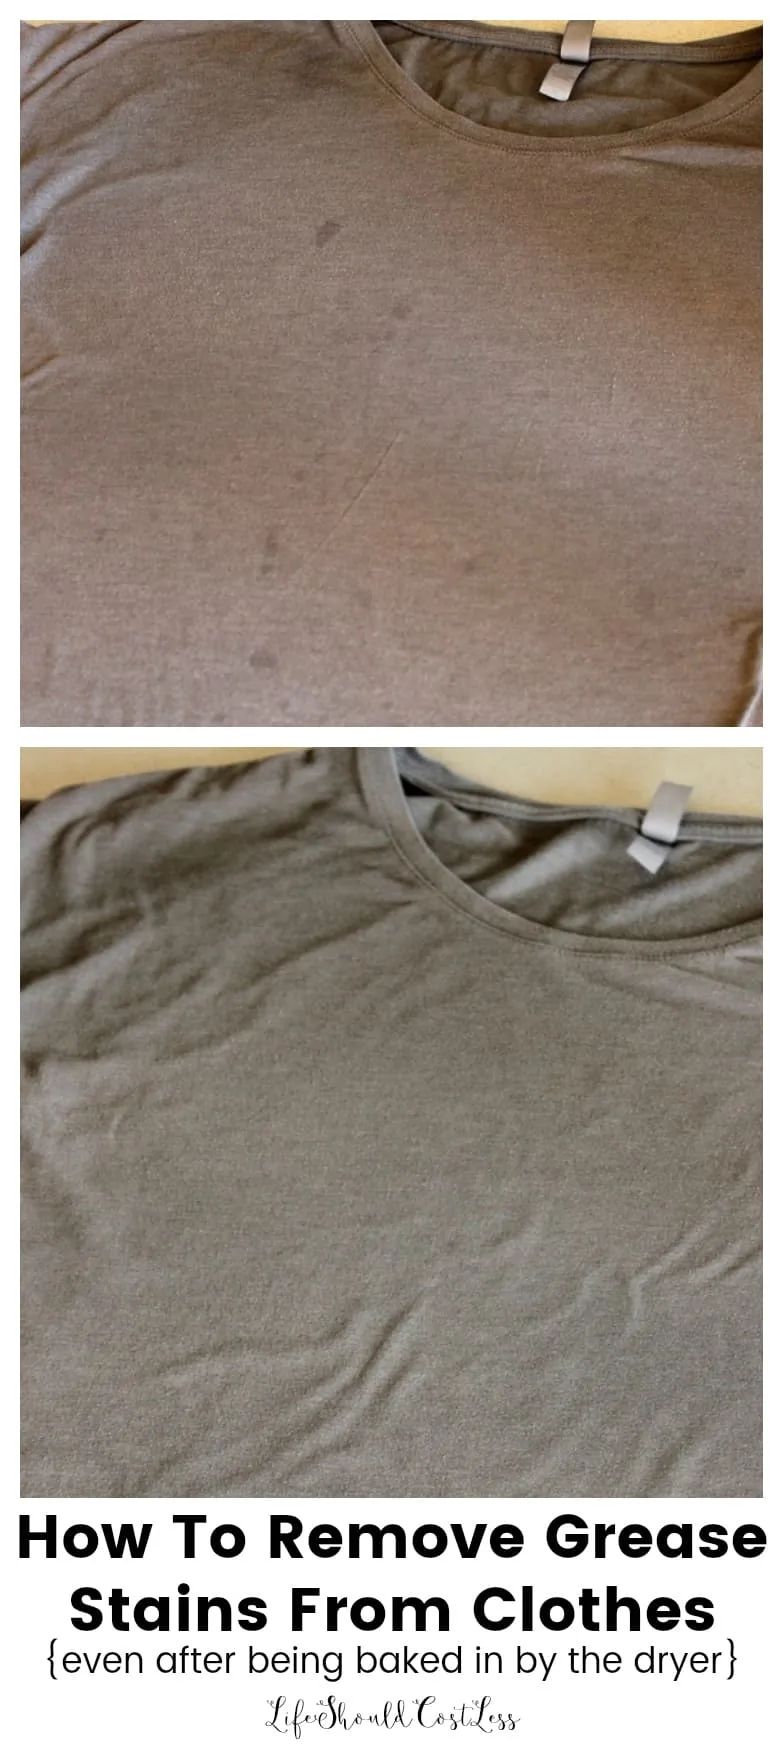
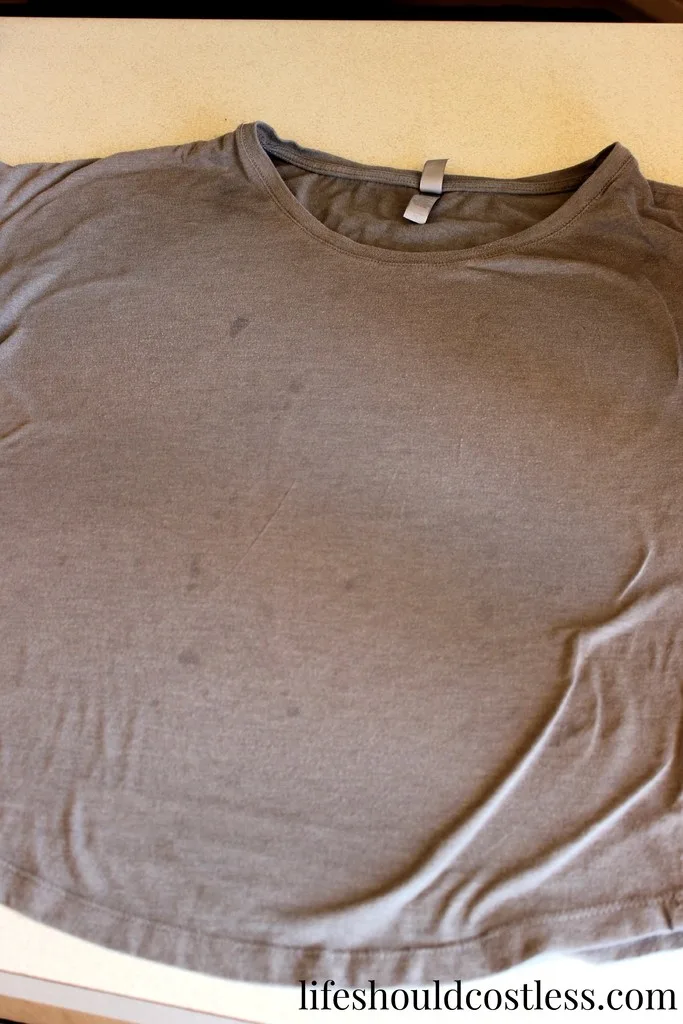
Not only had this shirt of mine been through the wash a few times (oops), but when I went to take the before pics I couldn’t get a decent shot of how bad the grease stains were with all the wrinkles…
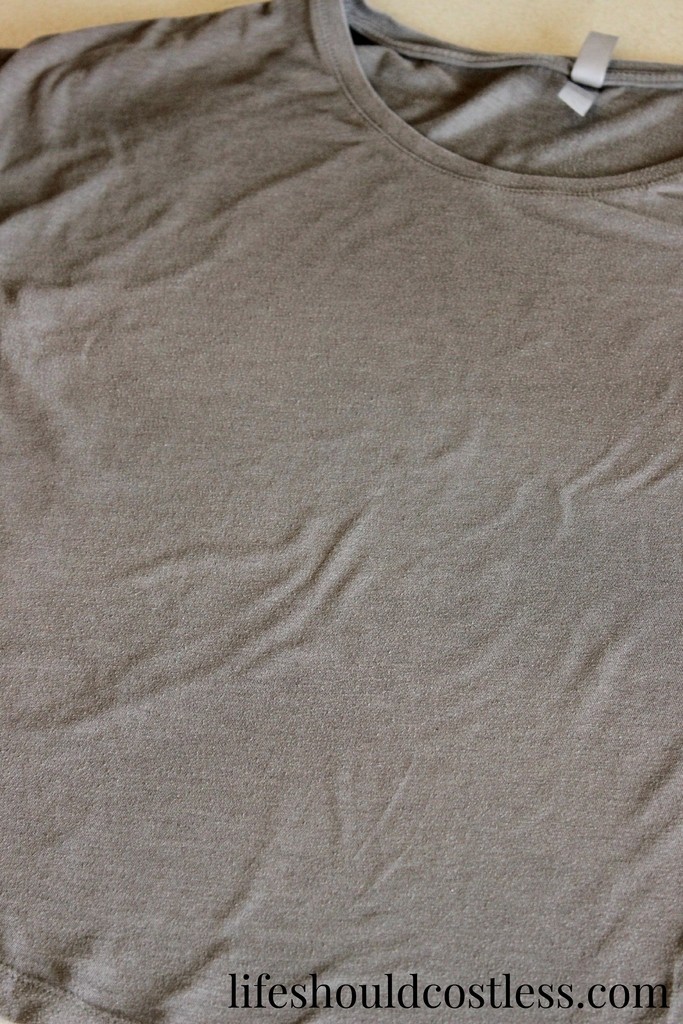
I ended up having to iron it…and even after having done that this method STILL got all the stains out (this will work whether you have already washed your item or not).

Here’s how to do my best grease stain removal trick (photo tutorial)
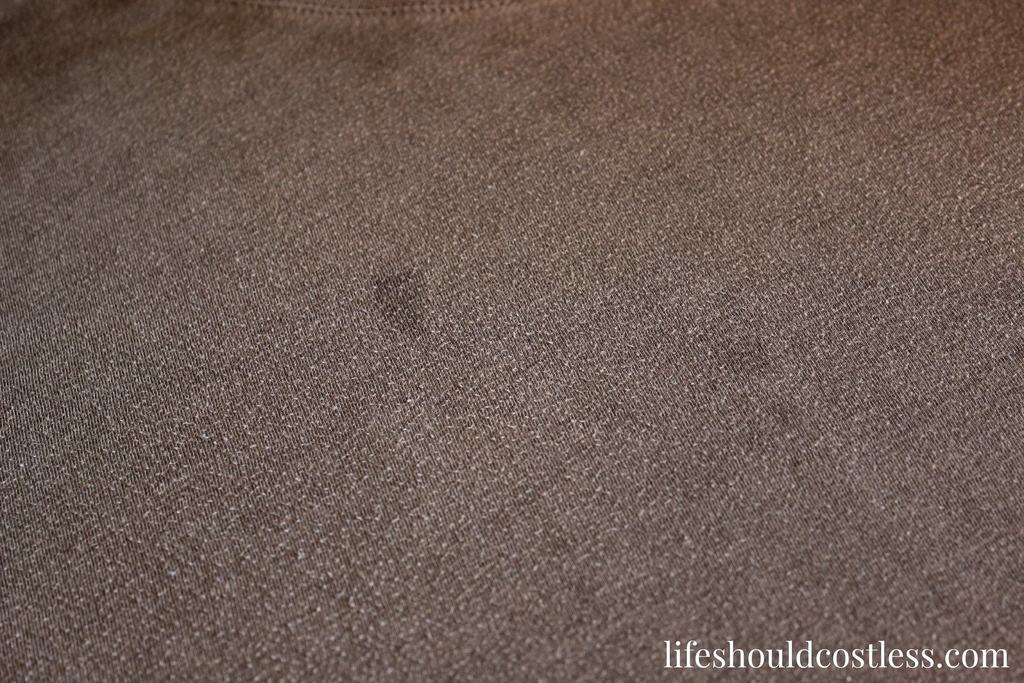
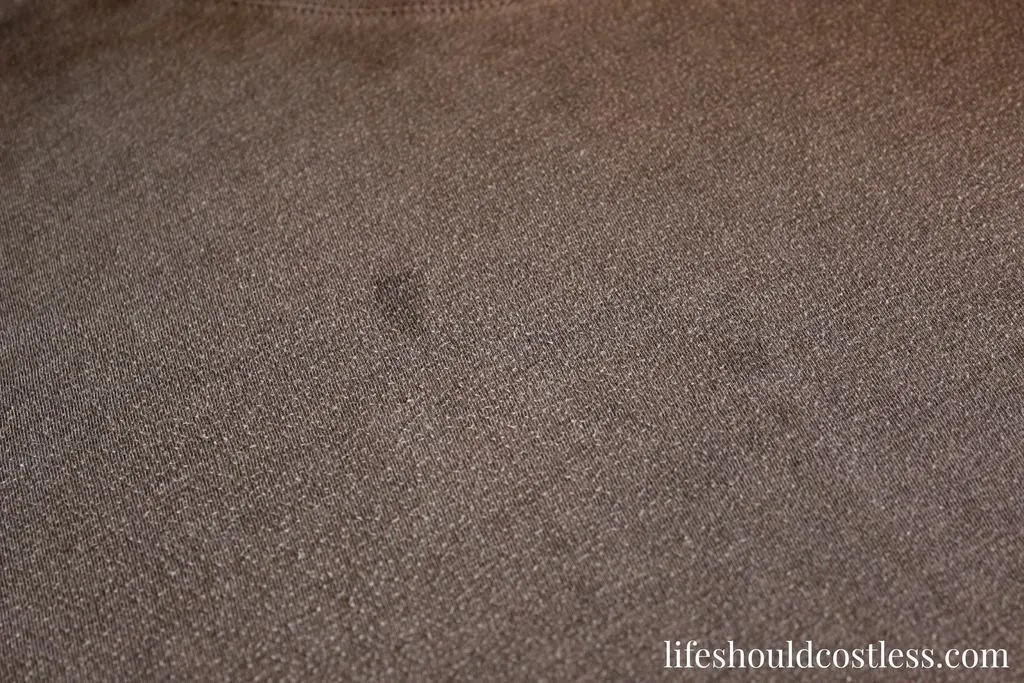
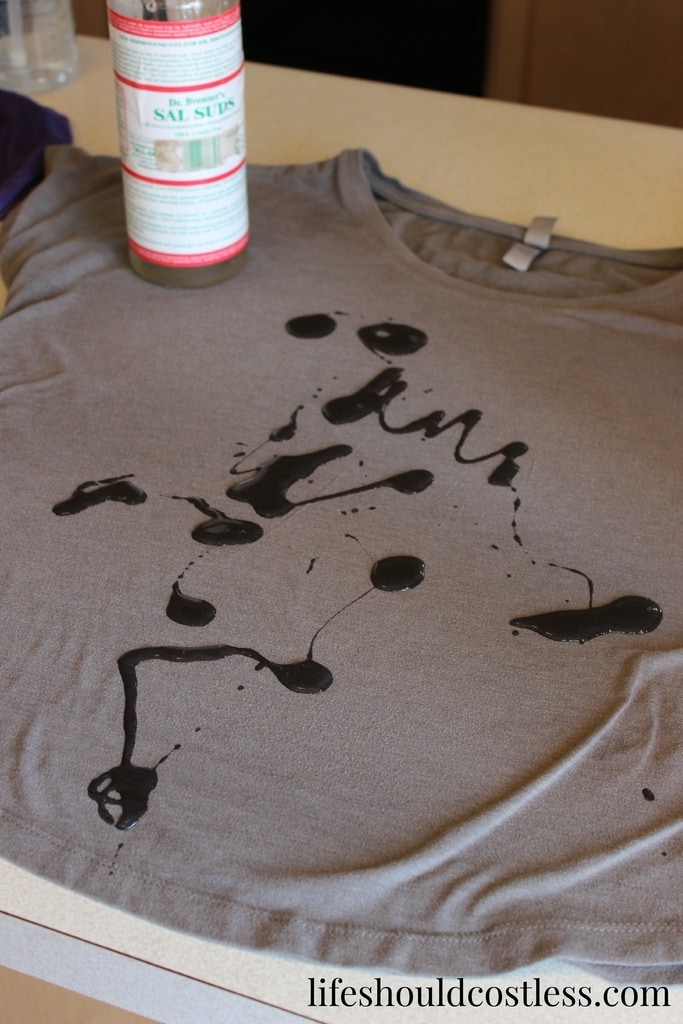
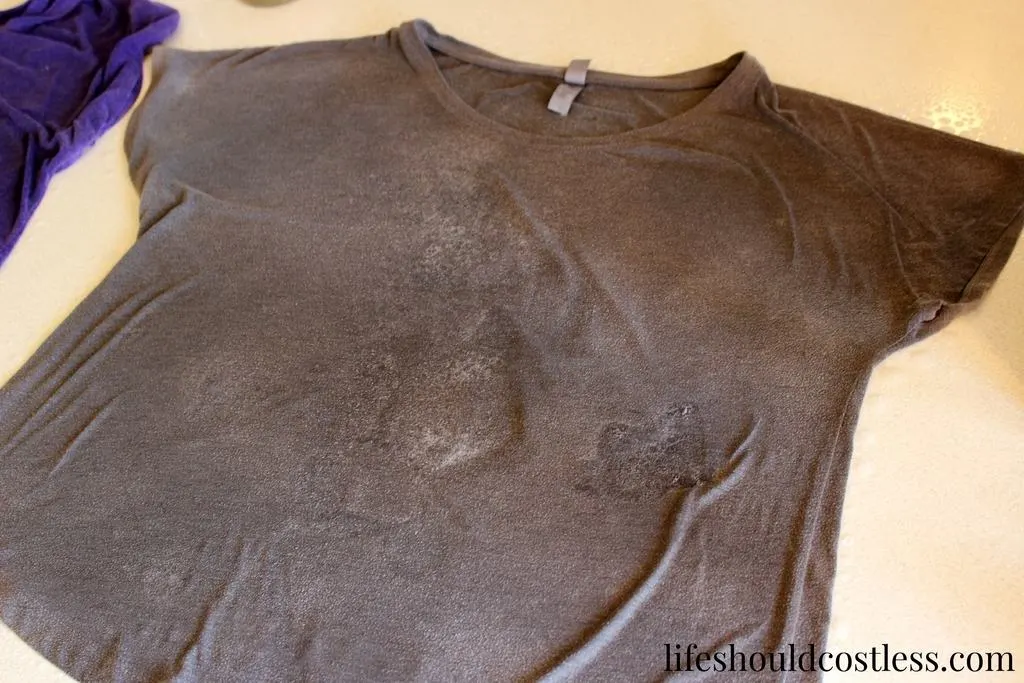
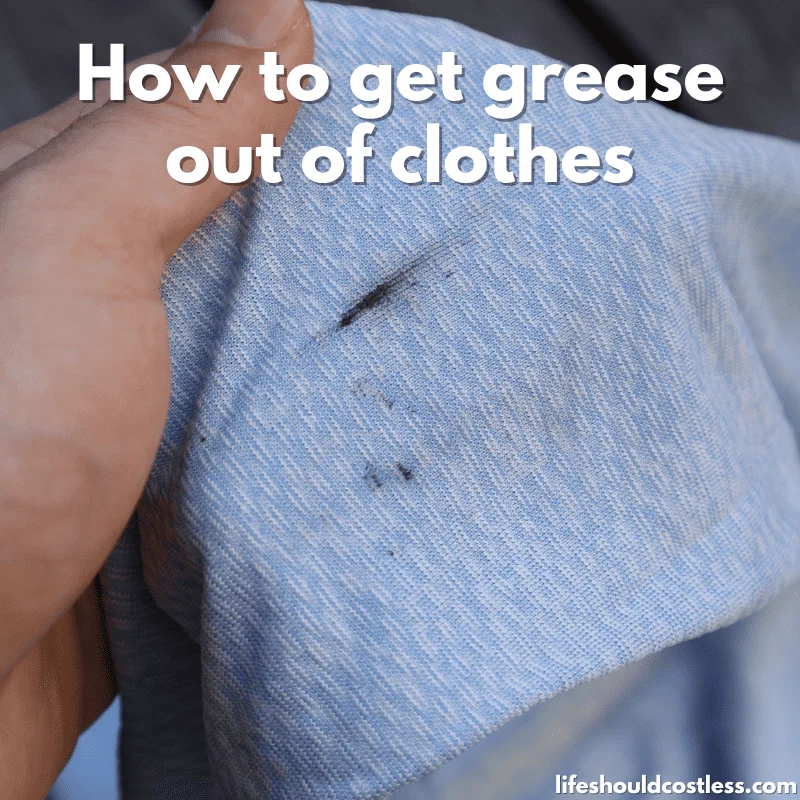
First thing you do is identify all of the stains on your fabric that you are going to need to treat.
Then you take a little bit of Dr Bronner’s Sal Suds, which can be found on Amazon here, (it can also often be found in most health food stores) and cover each of the grease stains.
Sidenote: If you’re not familiar with Dr Bronner’s Sal Suds, I also have shared why it’s the best multi-purpose cleaning product that I have ever tried (after 15+ years of use), and you can find that article with full instructions on how to use it here.

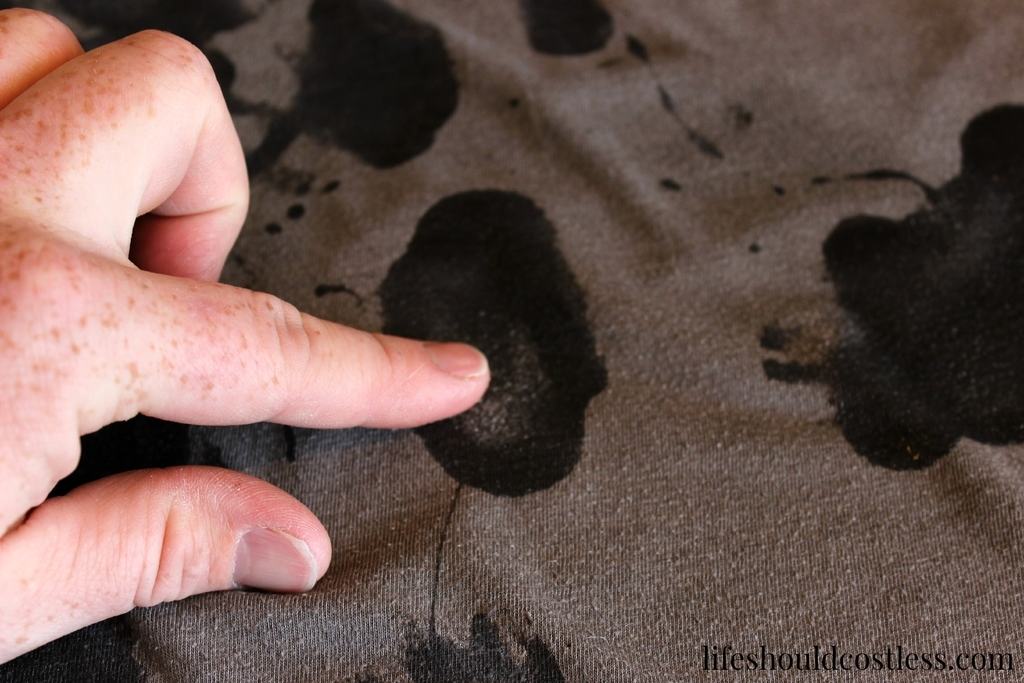
After you identify the stains, apply and rub in your undiluted Sal Suds and make sure that it has completely saturated to the other side of the fabric.
Sometimes this also means adding a little Sal Suds on the inside of the fabric too.
Also, if the fabric has a bit more texture to it, you can gently brush it in with a tooth brush instead of just using your finger.
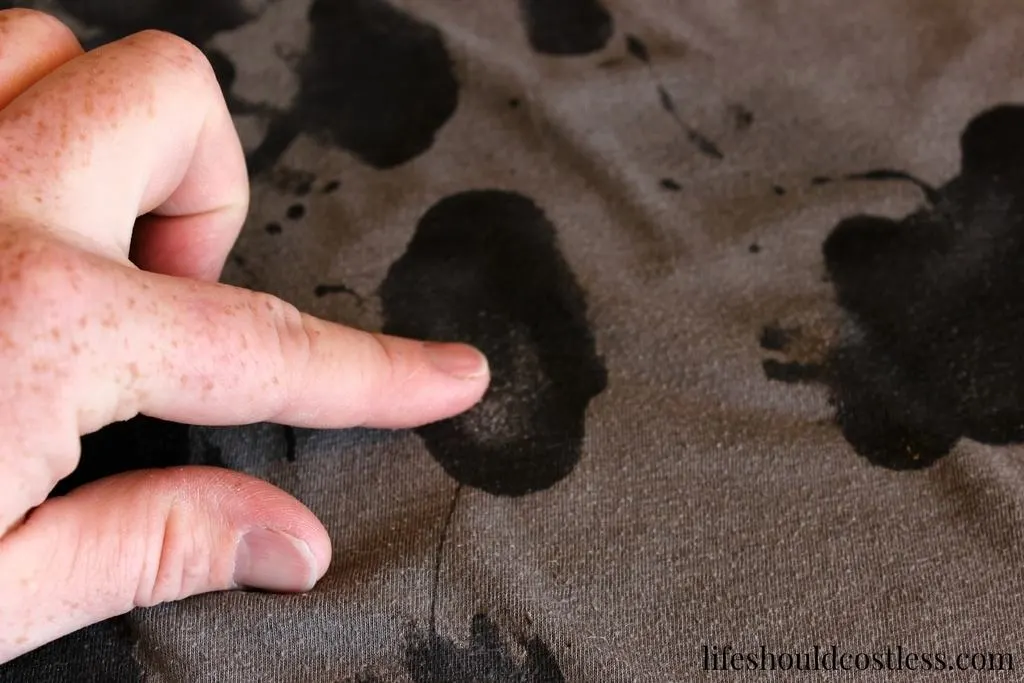

When you get to this point (having rubbed it into all of the stains completely saturating them), it’s ready to just soak, soak, soak!
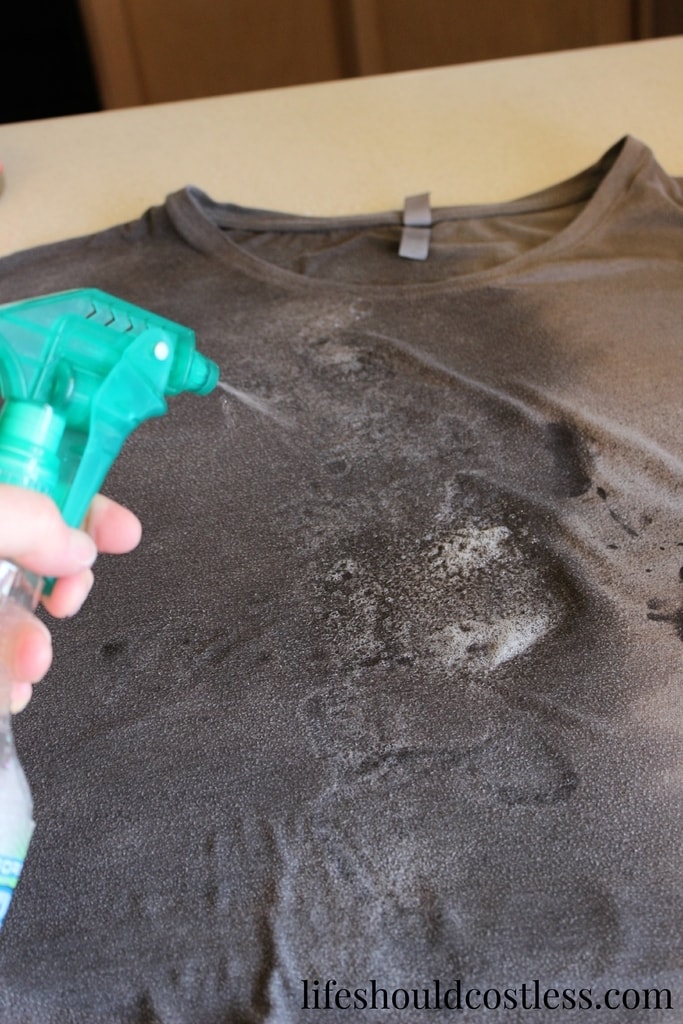
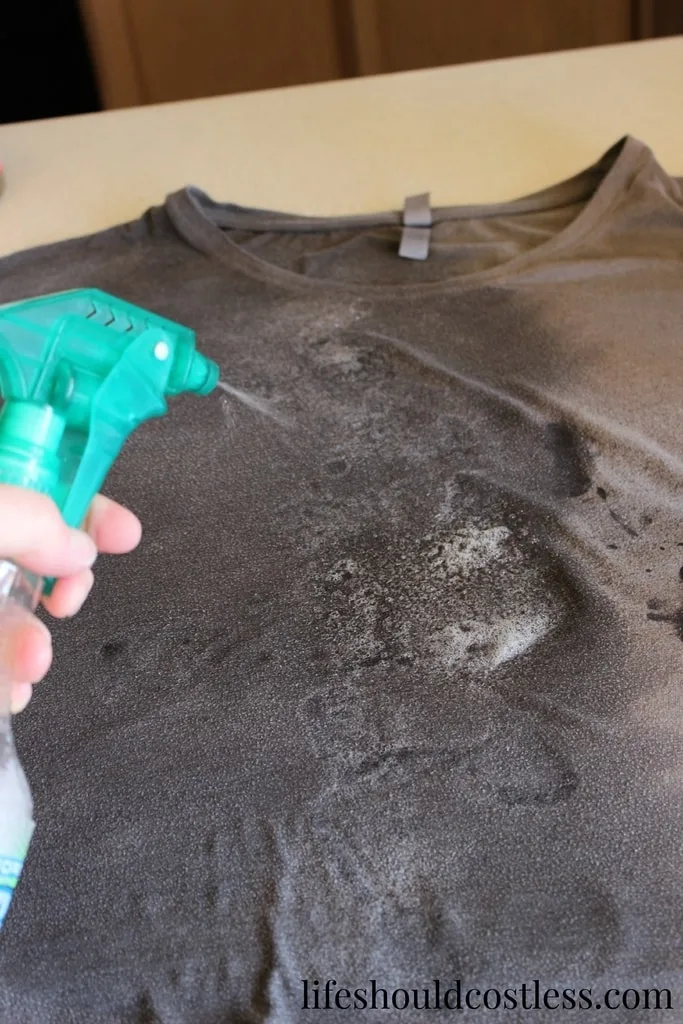
I, however, take an extra step at this point and use my Sal Suds spray bottle to saturate the rest of the shirt in case I missed a spot.
My Sal Suds spray bottle is just a standard spray bottle, filled almost to the top with water and then you add about a teaspoon, or a little less, of Sal Suds.
*If you’re new to using a Sal Suds spray bottle always add the product in at the end or else it will suds up to a point that you can’t fill the bottle without it overflowing,*

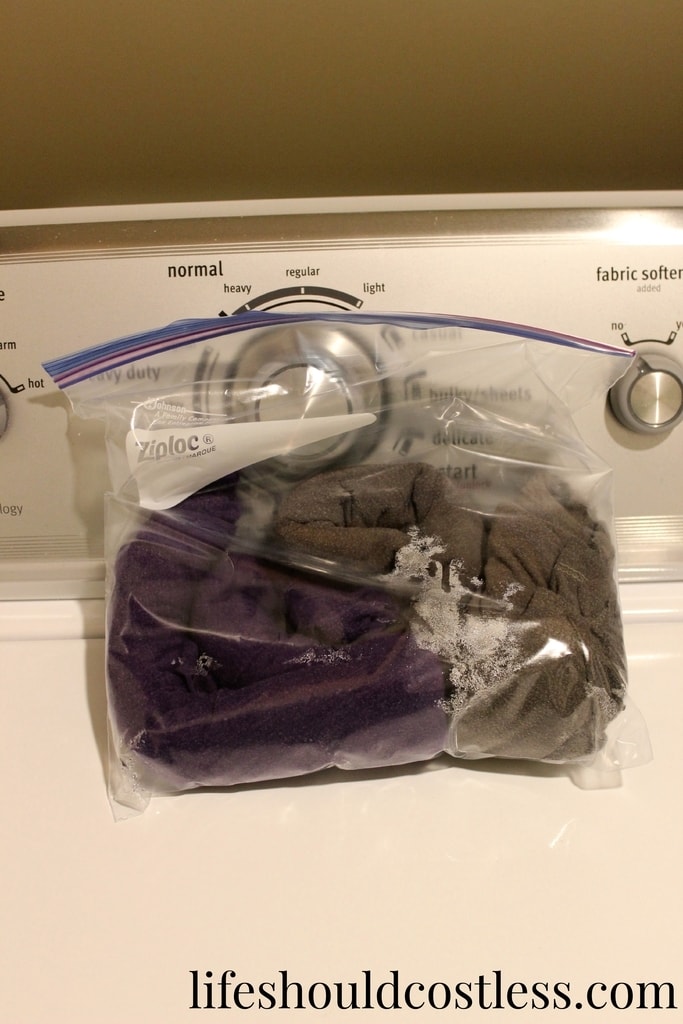
At this point, I like to roll up the clothes that I pre-treat into a roll, or ball, and then just make sure to put it somewhere so it won’t dry out while it is soaking.
For this example, I used a Gallon Ziploc Bag so it would be easy for you all to see.
Though putting it at the bottom of a pile of laundry or in a diaper pail would work too.
Whichever is easiest for you.


The Sal Suds needs time to do its thing, so I let it soak overnight.
Though if you don’t have that kind of time, I suggest letting it soak at least four hours.
Then toss it in the wash like normal, but make sure to select the extra rinse cycle to rinse out the extra suds…
I mean if the product has the word “suds” in the title… they really mean it has lots of suds, so rinse thoroughly.
Dry as you normally would.
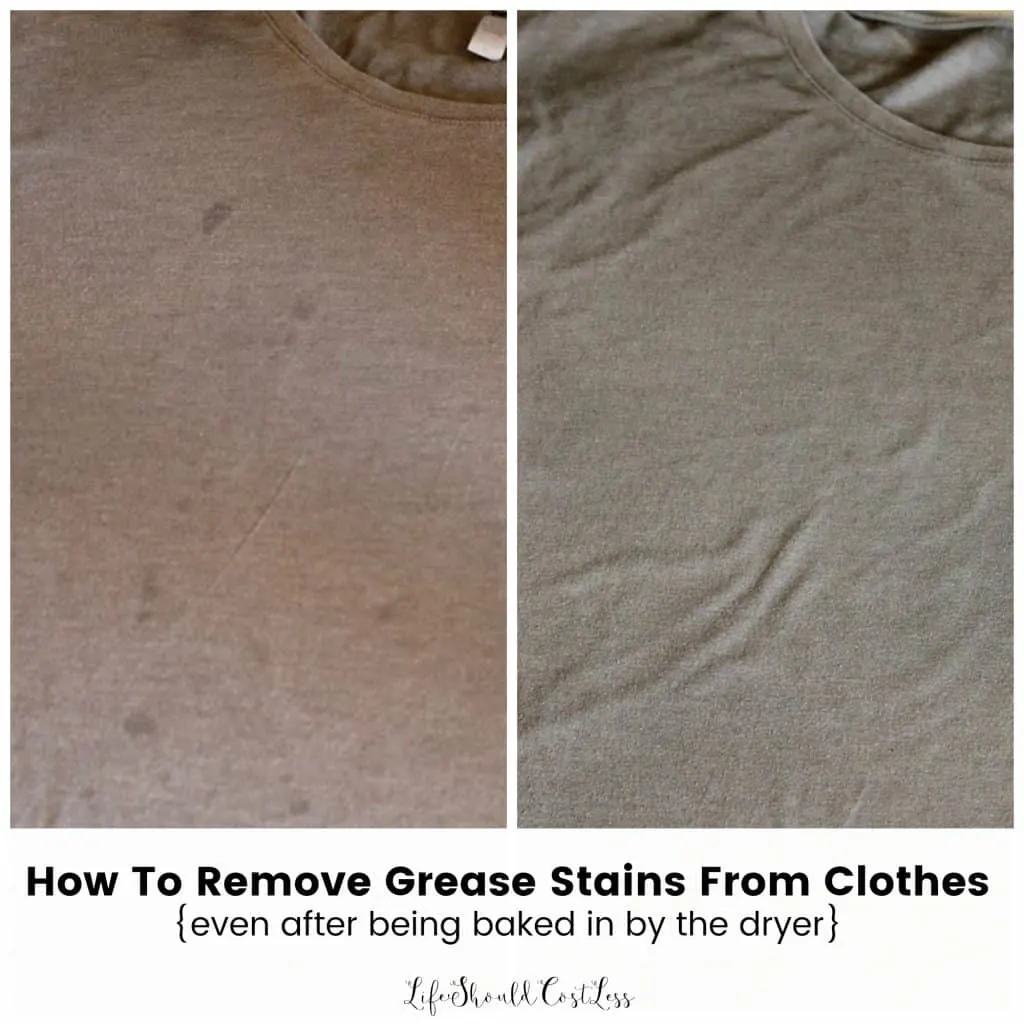
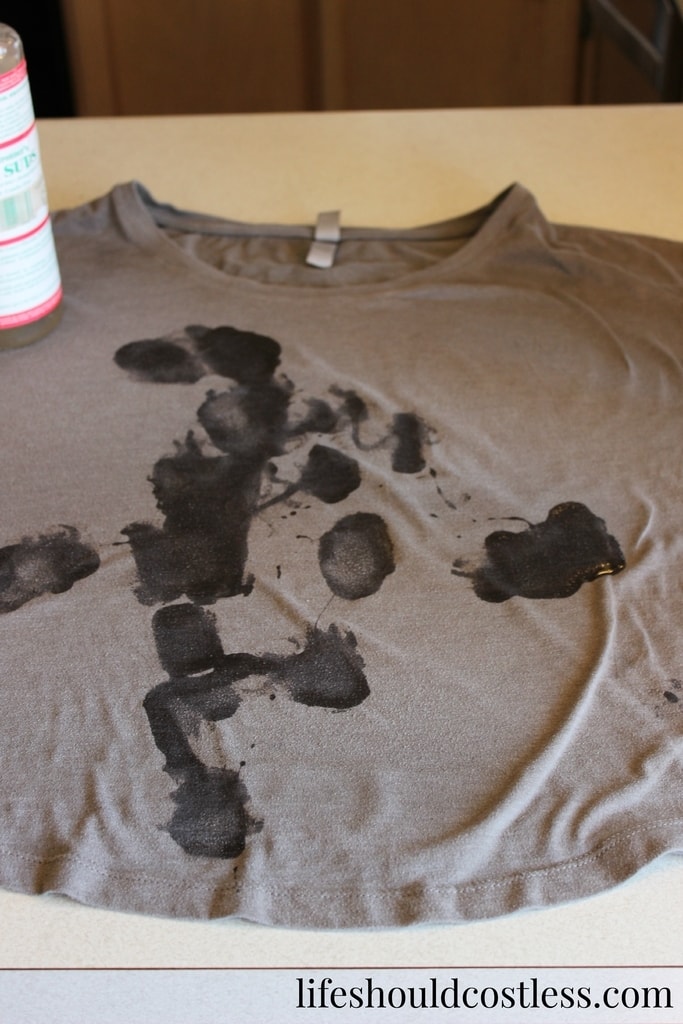
And there you have it, good as new!
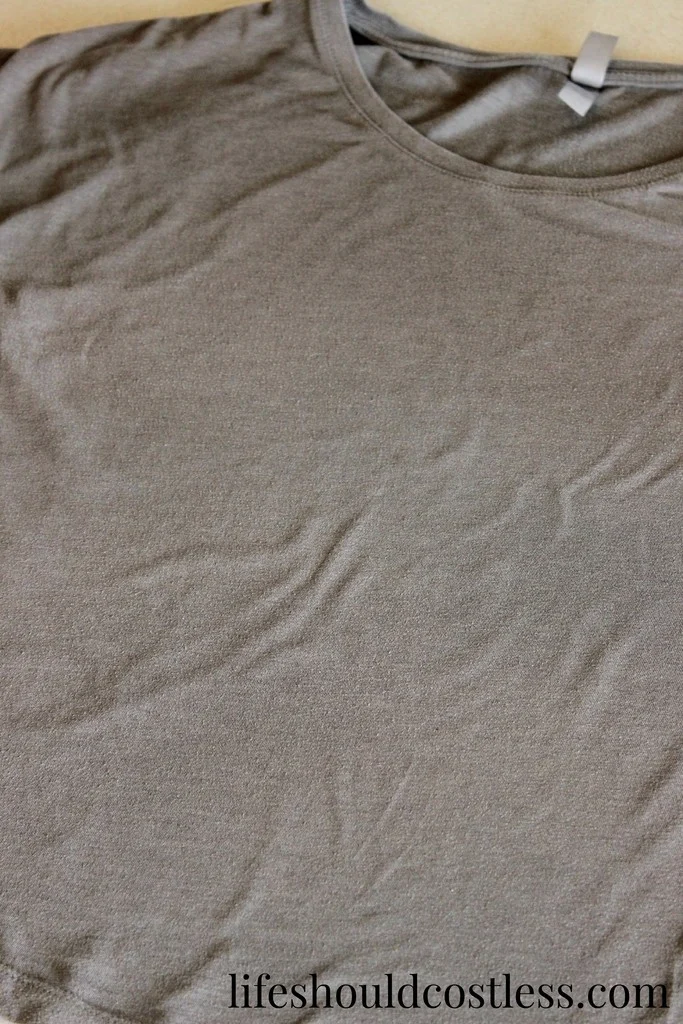
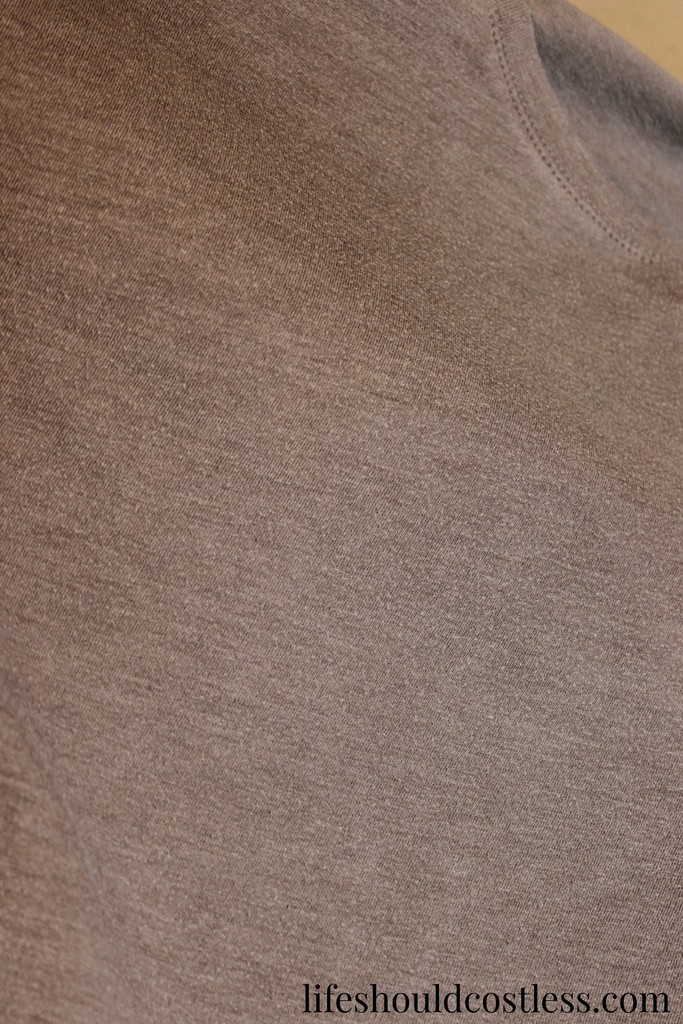
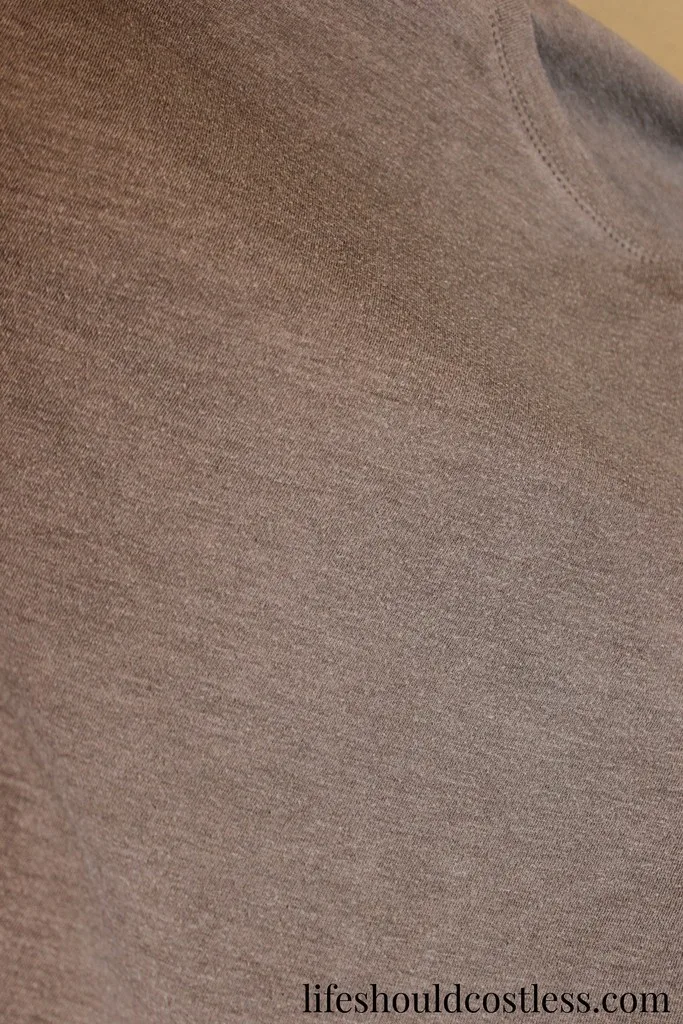
Yes, it’s the same exact shirt in the before and after shots.
It’s just hard to match the lighting when you are taking the before pictures in the afternoon and the after pictures the next morning.
Even if you don’t love Sal Suds the way that I do for all of my household cleaning, it’s still pretty handy to have around to treat stains.
Just remember that it’s ultra concentrated so a little goes a long way.
In case you missed the links throughout the post on where to get Sal Suds, you can find it here or like I said, most health food stores carry it these days.
I often buy it by the gallon because I use it so much and recommend you doing the same thing if you decide that you too cannot live without it (just to save money by buying in bulk), but it’s always a good idea to try out a little bottle first and see what you think.
Conclusion
In conclusion, knowing how to get grease out of clothes is an essential skill that can save both your favorite garments and your wallet.
By employing the right techniques and using a common household item, you can effectively combat even the toughest grease stains.
So, the next time you find yourself faced with a grease-related wardrobe emergency, don’t panic!
Just refer back to our little guide and tackle the issue head-on.
With this expert tip, you’ll be able to restore your clothes to their former pristine state and say goodbye to stubborn grease stains for good.
Remember, a little knowledge can go a long way in preserving your cherished clothing items and keeping them looking as good as new.
Together, we can all keep our clothes in top-notch condition and bid farewell to the pesky grease!
Grease Removal FAQ’s
Yes, you can definitely get a grease stain out of clothes even after they have been dried using the above mentioned method. However, if you don’t like my preferred way to do it (or have the budget to buy a new product), there are still several methods you can try:
Dawn Original Dish Soap: Apply a small amount of dish soap directly to the stain and gently rub it in. Let it sit for about 15-30 minutes, then rinse with warm water. Repeat as necessary and wash as normal.
WD-40: Spray a small amount of WD-40 directly onto the grease stain, and let it sit for a few minutes. Wash the clothing item as usual.
Baking Soda: Make a paste using baking soda and water, and apply it to the grease stain. Let it sit for 30 minutes to an hour before washing the garment.
Lemon Juice: Squeeze fresh lemon juice onto the stain and rub it in. Let it sit for a few minutes before washing.
Commercial Stain Remover: There are various commercial stain removers available that can be effective on set-in grease stains. Follow the instructions on the product label.
Before attempting any of these methods, it’s a good idea to test a small, inconspicuous area of the fabric first to ensure it doesn’t cause any damage or discoloration.
It’s essential to act quickly and treat the stain as soon as possible after discovering it. The longer a grease stain sets into the fabric, the more challenging it can be to remove completely. While success is not guaranteed, many people have had positive results with these methods, even on those dried-in grease stains.
Thanks so much for stopping by my blog and supporting my endeavors to make people’s lives a little easier/better/more affordable.
If you liked this post, or found it helpful in any way, please make sure to share it with your family, friends, and co-workers via social media.
Or you could even send them the direct link via email. Whichever way you choose to spread the love, I super appreciate it! ~Sarah

How To Follow & Support This Site
- If you would like to subscribe to my email list, go here.
- Make sure to follow along via social media, by going here.
- If you would like to learn how to really show your support to this site (at no cost to you), go here.
- If you would like to make a direct donation to the site, go here.
Check out my other cleaning tips
Otherwise, here are direct links to several of my other cleaning/laundry related posts that you’re also going to love:
My most popular laundry & cleaning articles
Other laundry & cleaning tips
Other good resources for removing grease stains on clothes
Maybe you don’t wanna go the way that I showed you how to do this…if that’s the case, here are some other good reputable resources that you could try instead:
- https://www.bhg.com/homekeeping/house-cleaning/tips/how-to-get-grease-out-of-clothes/
- https://www.thekitchn.com/best-way-to-get-grease-stains-out-of-clothing-23088967
- https://www.thepioneerwoman.com/home-lifestyle/a38634790/how-to-get-grease-out-of-clothes/
*This cleaning article was originally shared to this blog on 09/16/2015, and has since been updated to improve user experience, add video instruction, as well as to make it as shareable as possible across the social medias.
**Please note that I do try my hardest to provide factual, but easy to understand, information about each topic. If you notice a discrepancy in my methods, facts, or see something that you deem “misinformation/incorrect” please make sure to notify me about it. I would prefer that you send me an email with a link to a more reputable resource on that subject, so that I can correct it as soon as possible. Thanks so much for helping this site become the best that it can be!