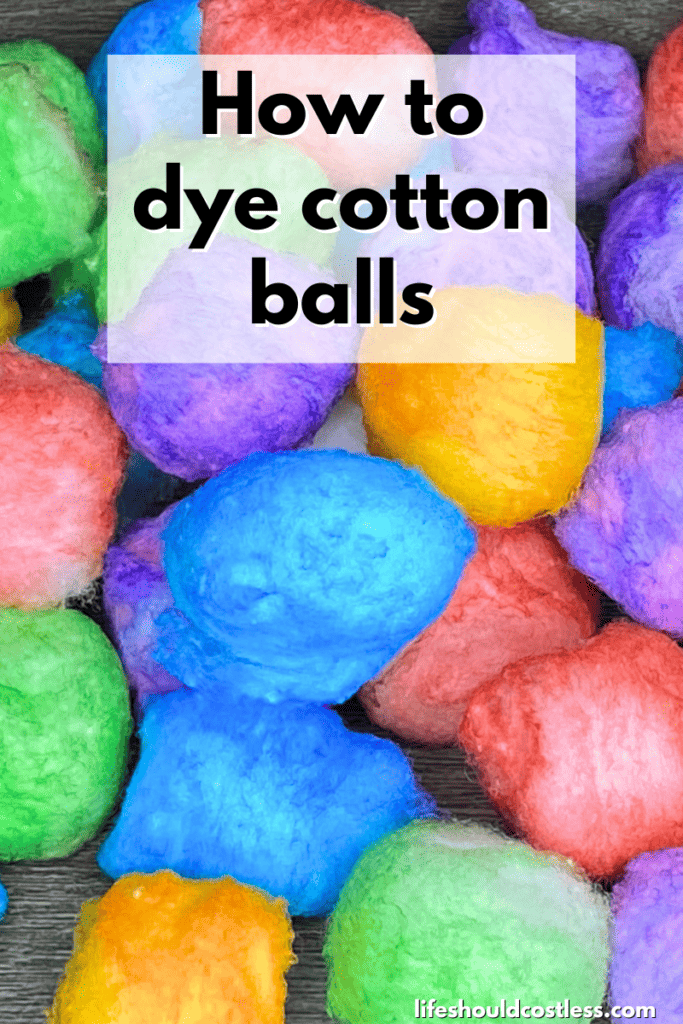
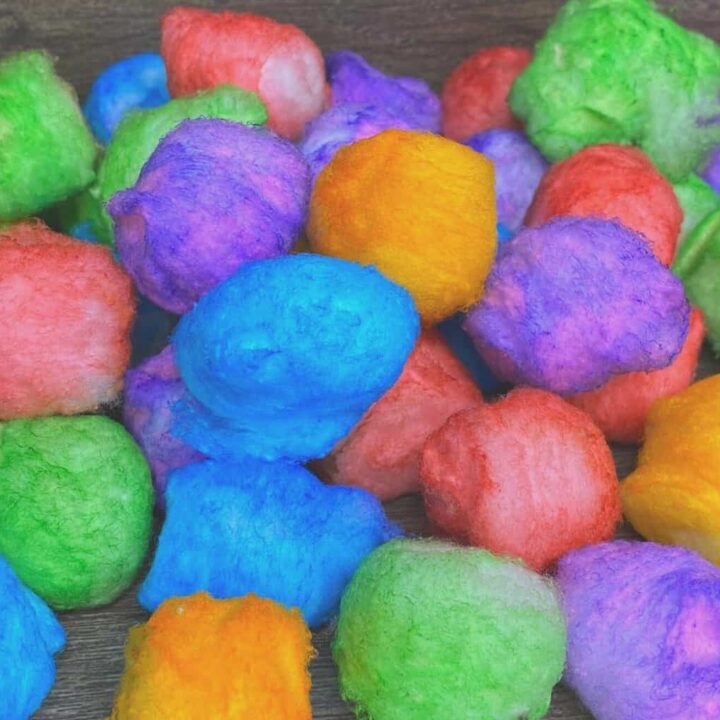
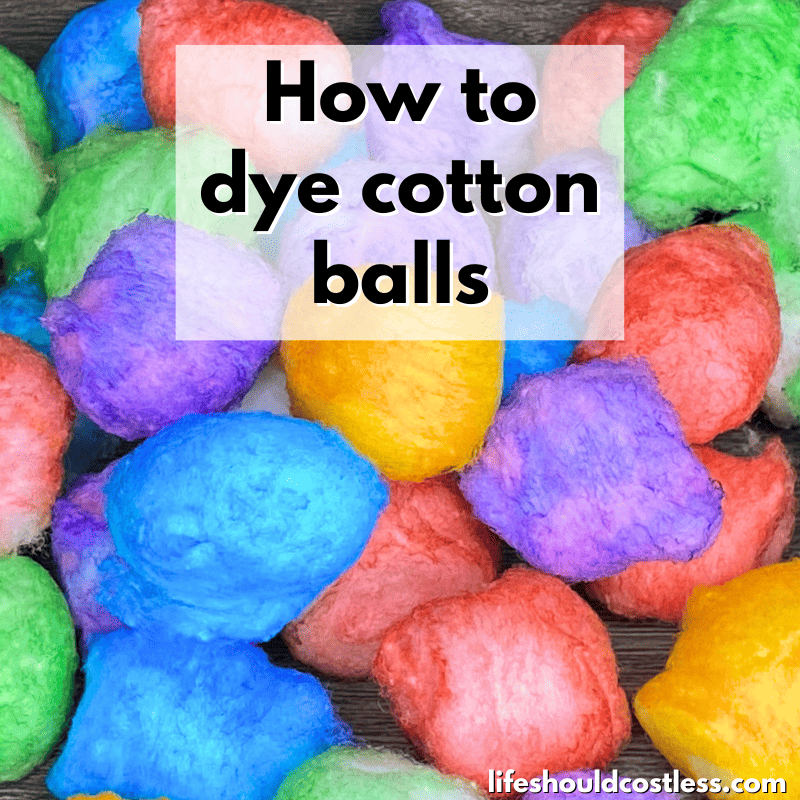
Colored cotton balls are a great way to bring your crafting projects to a whole new level of whimsical awesomeness. Luckily, the process of dyeing cotton balls any color you could want is pretty easy. It just requires you to plan ahead a little bit to allow enough drying time to add them to your craft project. Whether you are making crafts for kids, teen, or adults learning how to dye cotton balls will sure come in handy.

Introduction
If you’re wondering “can you dye cotton balls?”…I’m happy to inform you that you definitely can.
It’s a super fun and somewhat easy way to make every cotton ball craft project a little more colorful, vibrant, and to really show off ones creativity/individuality.
What kind of cotton balls can be colored?
So long as they say on the packaging that they are made with 100% cotton, those cotton balls you have on hand already will do just fine for using this little tutorials dyeing method.
Plus, you should have no trouble whatsoever getting them the exact color that you are trying to go for, especially since the starting color is a pure white.
- To see all of my homemaking articles, go here.
- To see all of my craft-related articles, go here.
- To see my kid/parent-related articles, go here.
Free printable Tutorial & Step By Step Video Found Here
How To Color Cotton Balls
Turn crafting projects into a whole new level of awesome by learning how to dye/color cotton balls any color, with this full process tutorial.
Materials
- Cotton Balls (100% Pure Cotton)
- Food Coloring
Tools
- Small spray bottles
- Pitcher Full Of Warm Water
- Paper Towels or Old Rag
- Tongs (or gloves)
- Half Sheet Pan
- Cooling Rack
Instructions
-
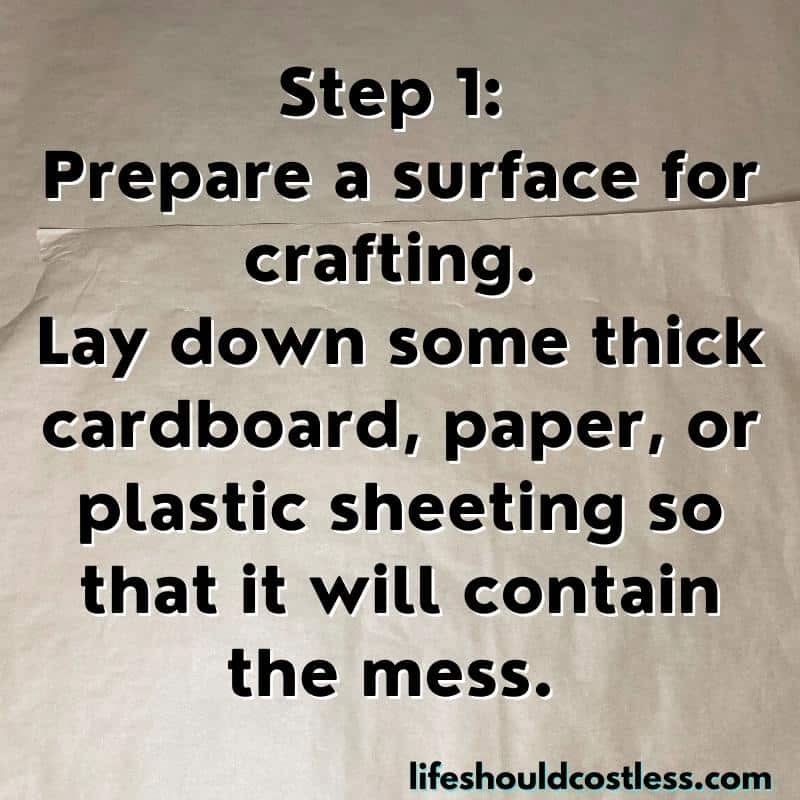
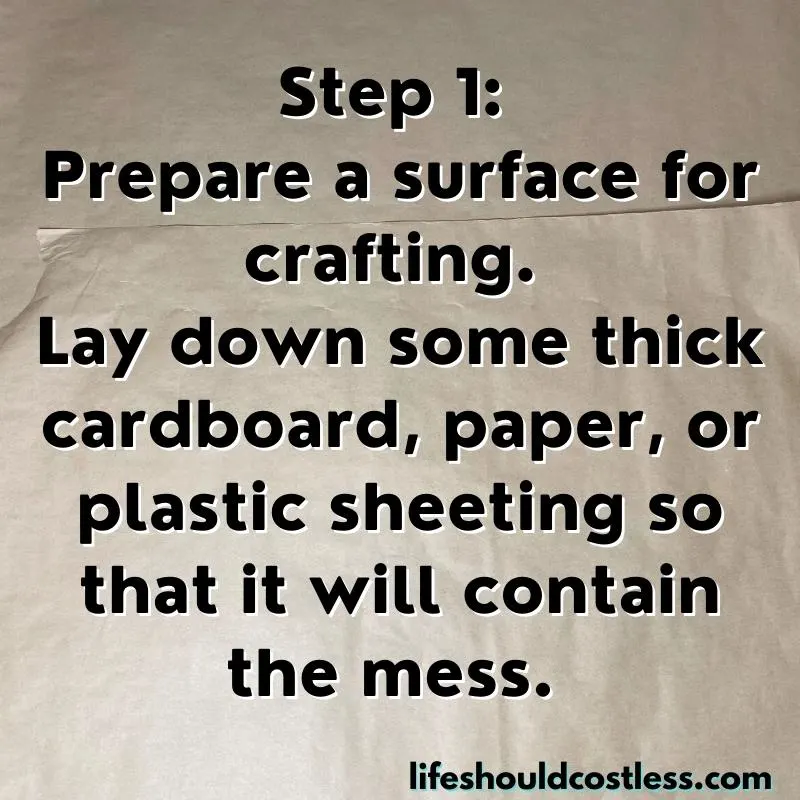 Start out by preparing a surface for crafting. Lay down some thick cardboard, paper, or plastic sheeting so that it will contain the mess.
 -
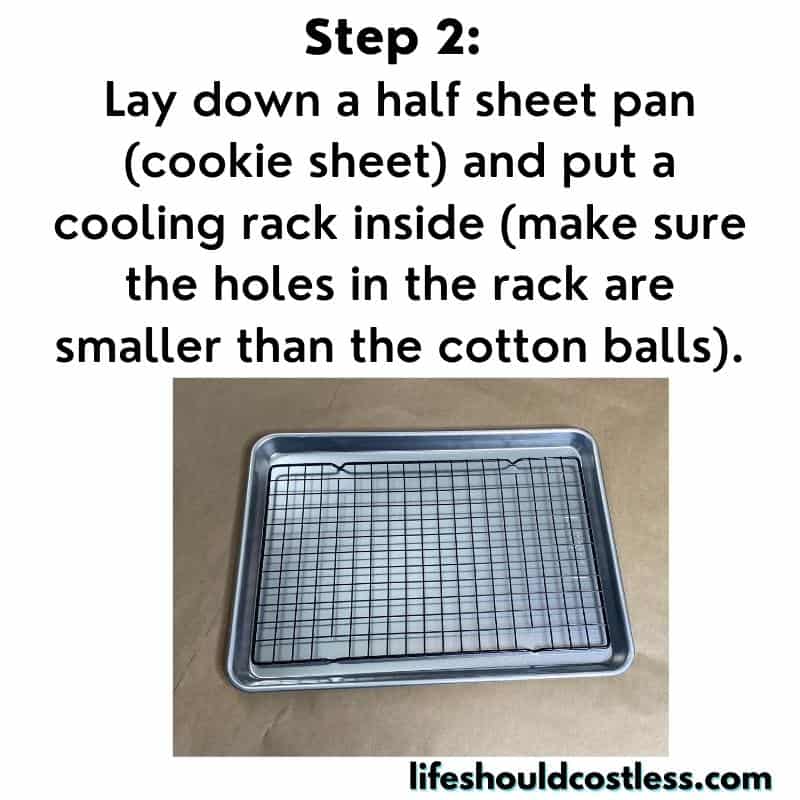
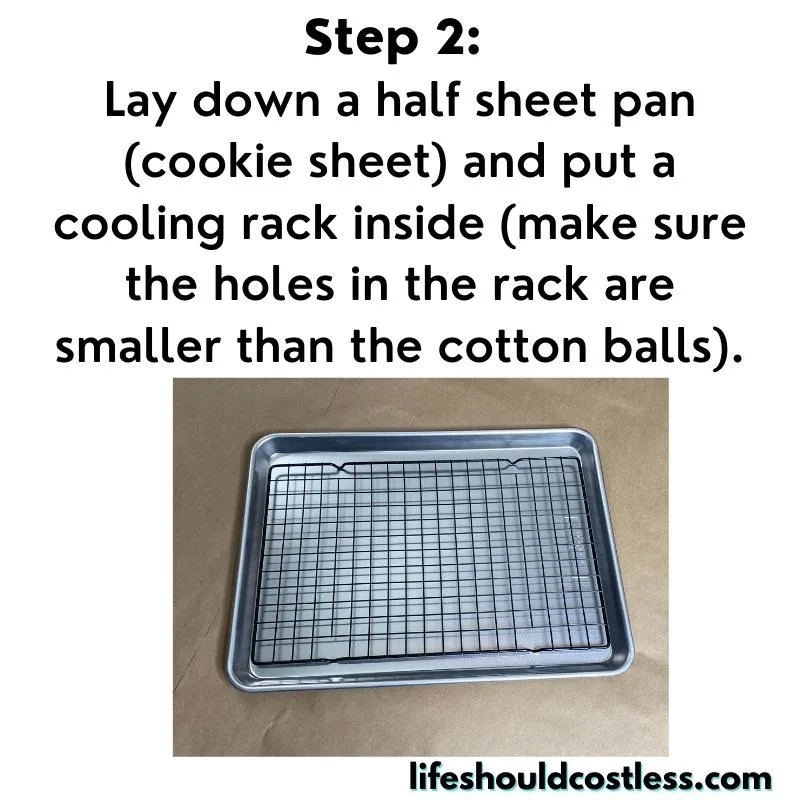 Lay down a half sheet pan (cookie sheet) and put a cooling rack inside (make sure the holes in the rack are smaller than the cotton balls).
 -
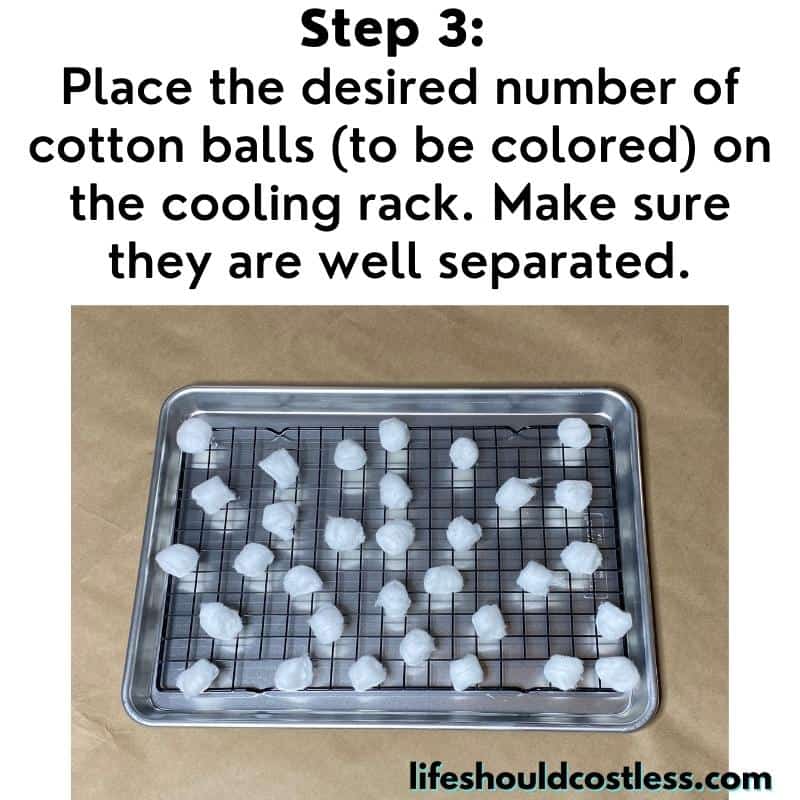
 Place the desired number of cotton balls (to be colored) on the cooling rack. Make sure they are well separated.
 -
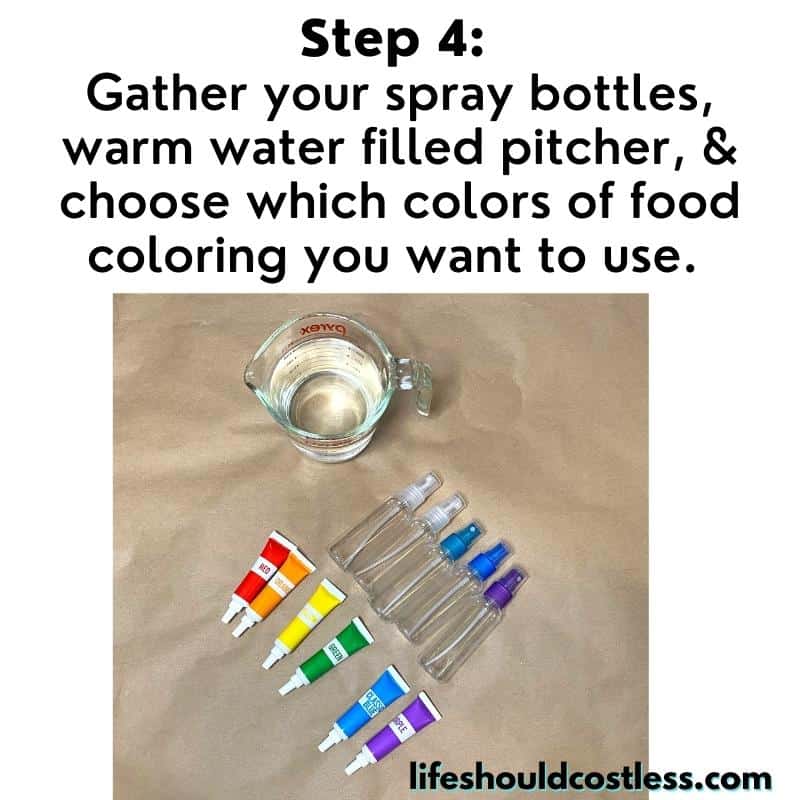
 Gather your spray bottles, warm water filled pitcher, & choose which colors of food coloring you want to use.
 -
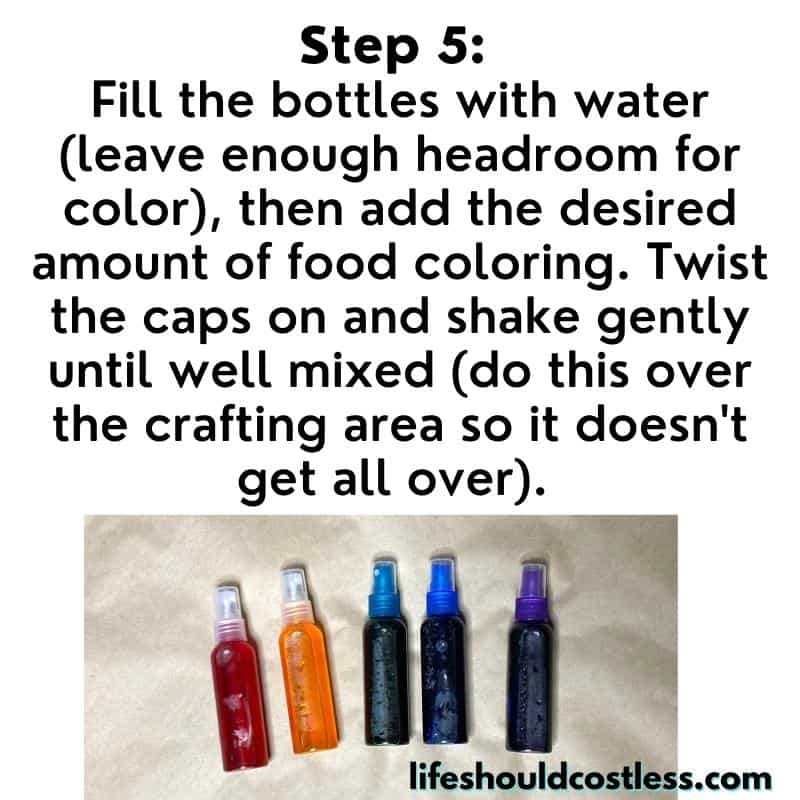
 Fill the bottles with water (leave enough headroom for color), then add the desired amount of food coloring. Twist the caps on and shake gently until well mixed (do this over the crafting area so it doesn't get all over).
 -

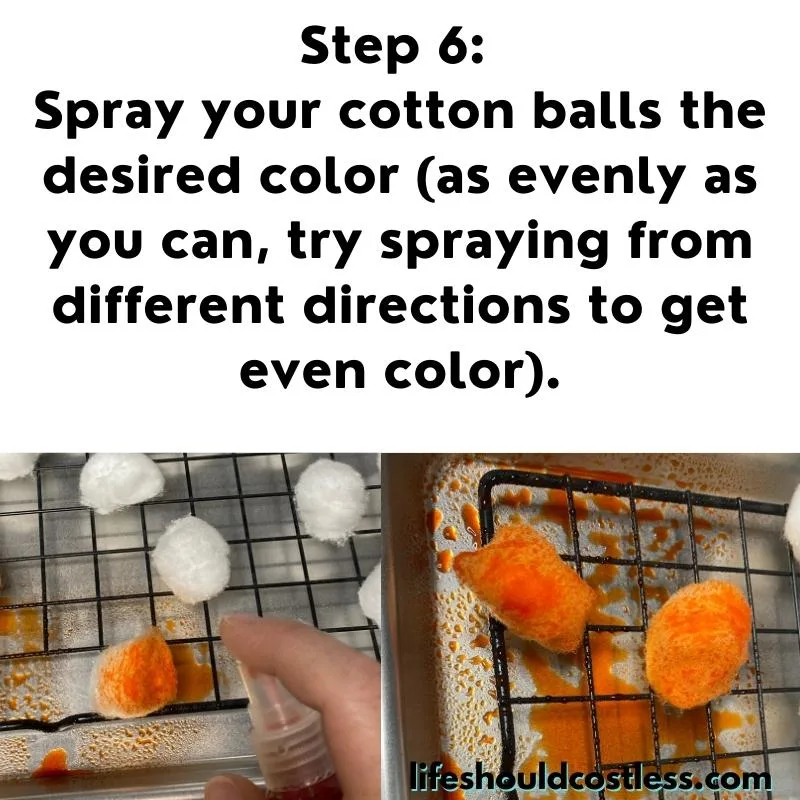 Spray your cotton balls the desired color (as evenly as you can, try spraying from different directions to get even color).
 -
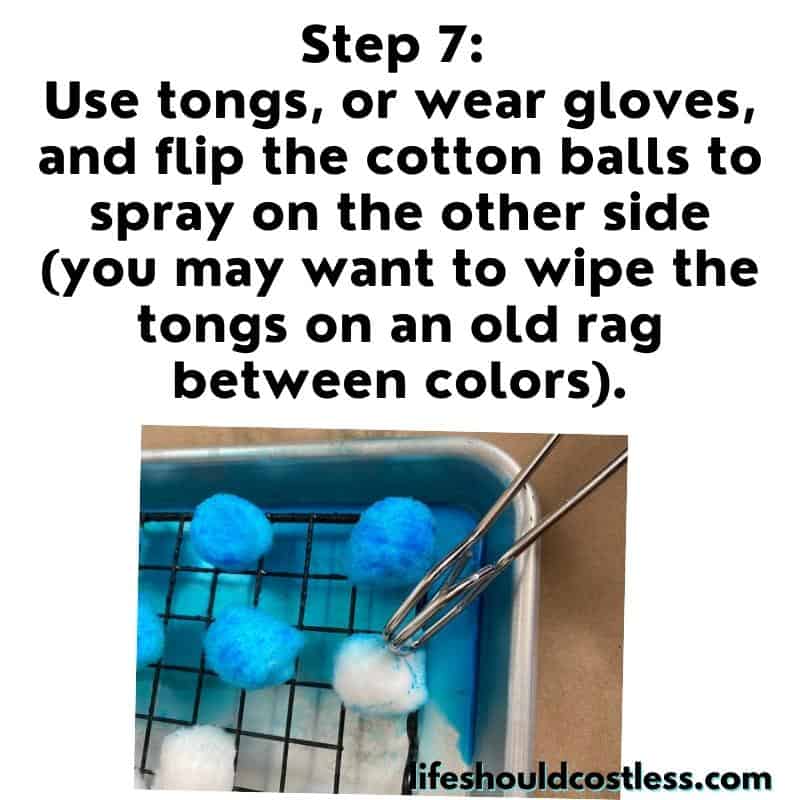
 Use tongs, or wear gloves, and flip the cotton balls to spray on the other side (you may want to wipe the tongs on an old rag between colors).
 -
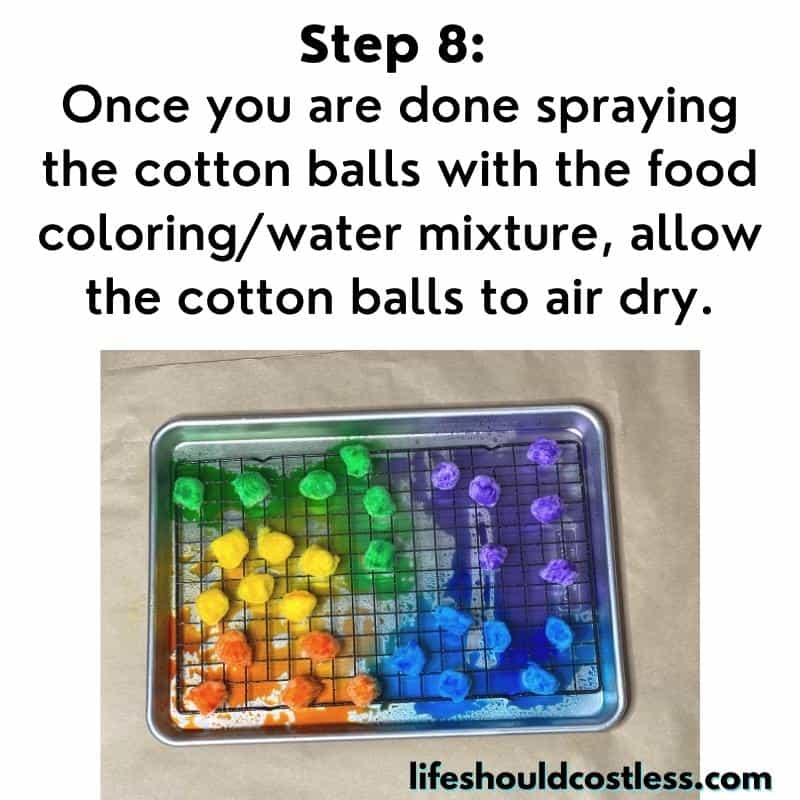
 Once you are done spraying the cotton balls with the food coloring/water mixture, allow the cotton balls to air dry.
 -

 You can speed up the drying process by running a fan pointed at the cotton balls, just make sure it's not blowing too hard or they will blow away.
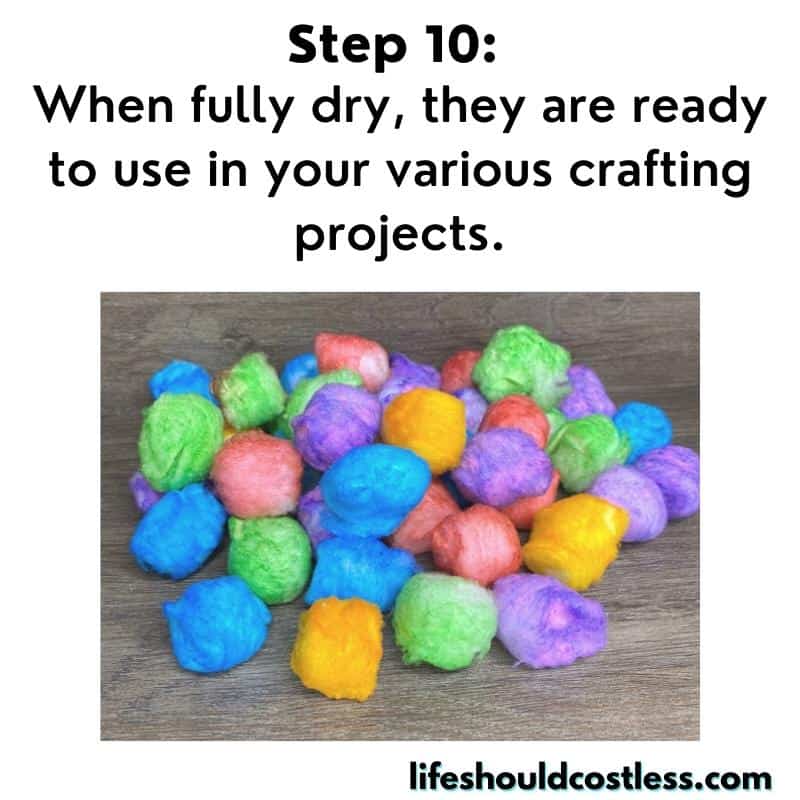
 Once the cotton balls have completely dried they are ready to use for your various crafting projects, you could even use them in place of pom poms.
Notes
Tips for troubleshooting your cotton ball dye job:
If you would like the cotton balls to be a little bit fluffier, just pull them a part a bit to fluff them back up but remember that they become a softer hue of the color the more that you fluff them.
If your cotton balls did not dry as bright, or as dark of a color as you were hoping that they would, just give them another coating of color by re-spraying them with darker food coloring in the bottle and allow them to dry fully again.
Please note that the amount of time that it takes for your cotton balls to dry will vary greatly. This is due to varying humidity levels and air flow in each individual persons home. Just make sure to plan ahead so that your cotton balls have plenty of time to dry properly before they are needed for crafting, and you can run a fan in order to hasten the drying process.
Your cotton balls will dry a little harder if you used a gel-based food coloring than if you used a liquid food coloring so keep that in mind as you are choosing which food coloring to use for your project.
To do a large batch of colored cotton balls I suggest making a whole pan of the same color at a time to make the process as easy as possible, you may want to use a larger spray bottle if so.
If you would like to do a dye bath to color your cotton balls instead, please refer to my note on dye bathing cotton balls towards the end of the post.
Recommended Products
Please note that I am an affiliate with Amazon.com. When you purchase through my suggested product links, the cost for you is the same but I do receive a small commission for everything in your shopping cart. Thanks so much for the support!
-
 Nordic Ware - 43172AMZM Nordic Ware Half Sheet with Oven Safe Nonstick Grid, 2 Piece Set, Natural
 -
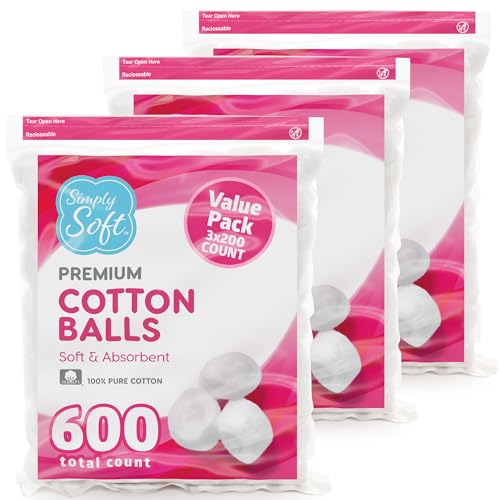 Simply Soft Premium Cotton Balls, 100% Pure Cotton, Absorbent, 200 Count (Pack of 3)
 -
 24 Pcs Spray Bottles 2oz / 55ml Clear Empty Mini Mister Spray Bottles Refillable Container Pocket Size Sprayer Set Essential Oils Travel Cleaning Solution Makeup Bottles with 2pcs Funnels 32pcs Labels
 -
 Pyrex 3 Piece Glass Measuring Cup Set, Includes 1-Cup, 2-Cup, and 4-Cup Tempered Glass Liquid Measuring Cups, Dishwasher, Freezer, Microwave, and Preheated Oven Safe, Essential Kitchen Tools
 -
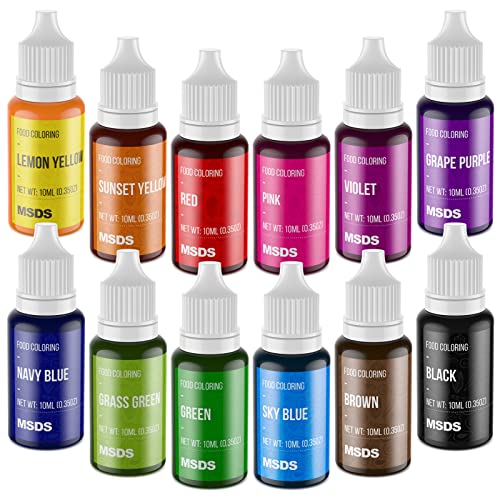 Food Coloring Set - 12 Color Food Grade Vibrant Food Dye Cherrysea Tasteless Liquid Color for Cake Decorating, Baking, Easter Egg, Icing, Fondant, Cooking, Slime Making DIY Supplies Kit - 0.35 Fl. oz (10 ml)/Bottles
 -
 Food Tongs, Hiash Heavy Duty Stainless Steel Kitchen Tongs for Cooking, Barbecue, Serving Scissors Tongs - Buffet Pliers 9 Inch
Hopefully between the “how to” card, and the video tutorial I gave you enough information on coloring cotton balls, to get you started on some pretty awesome crafting projects.
If you would like the shareable YouTube version of this colorful cotton balls video, you can find that here.
If you do share it, I do require a “do follow” link to this post when embedding it within your website or however you share it, so please keep that in mind.
If so, you may be wondering what some fun and interesting ways you can use them are, I did some searching around and found some good places to check.
Fun resources for crafting with cotton balls
Of course I first need to mention my own “how to make pine cone owls” cotton ball craft, but here are some super fun other ideas:
- 20 Great Cotton Ball Crafts For Kids
- 25 Hands On Cotton Ball Activities For Kids
- Fluffy and Fun: 15 Awesome Cotton Ball Crafts
Those are just a few good places for cotton ball craft ideas, but please let me know if you have any other great resources for crafting with color cotton balls and I will add them to this post.
Conclusion
Knowing how to dye cotton balls is not just a simple craft activity but a vibrant exploration into the world of colors and creativity.
Throughout this article, we’ve journeyed through selecting the right materials, preparing and mastering the dyeing process, ensuring that each cotton ball turns out perfectly saturated with color.
This process not only allows for the customization of colors to suit any project or occasion but also opens up a world of possibilities for creative expression and decoration.
Whether used for art projects, home decor, or educational purposes, these dyed cotton balls are a testament to the joy of making something unique and colorful with your own hands.
Remember, the key to successful dyeing lies in patience, experimentation, and embracing the beauty of imperfection.
As you continue to explore and experiment with different colors and techniques, you’ll find that the possibilities are as endless as your imagination.
Happy dyeing!
*Remember that dyeing cotton balls, or working with food coloring in general, can be super messy, so make sure that you are doing this where animals, and little ones, aren’t going to get into it and make a bigger, stain-causing, mess all over your house.*
FAQ’s
If you’ve been wondering “what are cotton balls made out of ?”…the answer is simple, it depends on which particular package that you buy.
If the package states that the cotton balls are 100% pure cotton, then that is your answer. Yes, they are made with real cotton. There is even typically a symbol that states that it is pure cotton. Check here to read about how The Seal Of Cotton is a Trademark of Cotton Incorporated and the history behind it. Looking for that symbol is a great way to make sure that your cotton is always pure.
Keep in mind that sometimes a manufacturer likes to sneak in some cheap filler and so the only time cotton balls are not made with real cotton, is when that is happening.
Just be aware, read the packaging, and watch for the authentic labels to be certain that you are buying what you need.
If you are wondering if cotton balls are compostable or if they will be biodegradable, from the research I have done the answer is NO, for many reasons.
If you would like a good resource to read as to why you shouldn’t try to compost or recycle those cotton balls, I suggest reading this post from Conserve-Energy-Future.com.
Other good tutorials for making coloured cotton balls
I’m a big believer that there is always more than one right way to do things, so if you don’t like my method, here are some other ones that I think you could find super helpful when trying to get that cotton ball colored:
- Ehow’s list of various ways to color cotton balls
- FirstPalette’s tutorial for coloring cotton in general
- Home Education Magazine shows how they give their cotton balls color here
I will mention though, that I personally was not a fan of doing a full on dye bath for my cotton balls…they dried super crispy…so keep that in mind if you are thinking about going that route for this project, but if you do make sure to use a liquid food coloring and not a gel food coloring.
Also, remember that drying time is a lot longer when doing a soaking method.
Oh, and I thought I would also mention that if you want to make your burlap related projects super fun and colorful too, don’t forget to check out my tutorial on “how to dye burlap any color” found here.
Thanks so much for stopping by my blog and supporting my endeavors to make people’s lives a little easier/better/more affordable.
If you liked this post, or found it helpful in any way, please make sure to share it with your family, friends, and co-workers via social media.
Or you could even send them the direct link via email. Whichever way you choose to spread the love, I super appreciate it! ~Sarah

How To Follow & Support This Site
- If you would like to subscribe to my email list, go here.
- Make sure to follow along via social media, by going here.
- If you would like to learn how to really show your support to this site (at no cost to you), go here.
- If you would like to make a direct donation to the site, go here.
Check out my other crafty content:
- To see all of my homemaking articles, go here.
- To see all of my craft-related articles, go here.
- To see my kid/parent-related articles, go here.
Various crafts to check out
*Please note that this article was originally shared to this blog on 02/09/2023, and has since been updated to improve user experience, add video instruction, as well as to make it as shareable as possible across the social medias.