Oh man! Christmas always seems to come quicker every year and is going to be here before we know it, so I wanted to share with you all a super fun and super simple craft idea to make your own advent calendar.

What I love most about this particular craft is that it is so easy to let your creativity soar and pick whatever colors that you want to use giving you the opportunity to really personalize it… for yourself, or if it’s a gift it’s easy to personalize it to suit the recipients tastes too.
- To see all of my Winter-related articles, go here.
- To see all of my Christmas-related articles, go here.
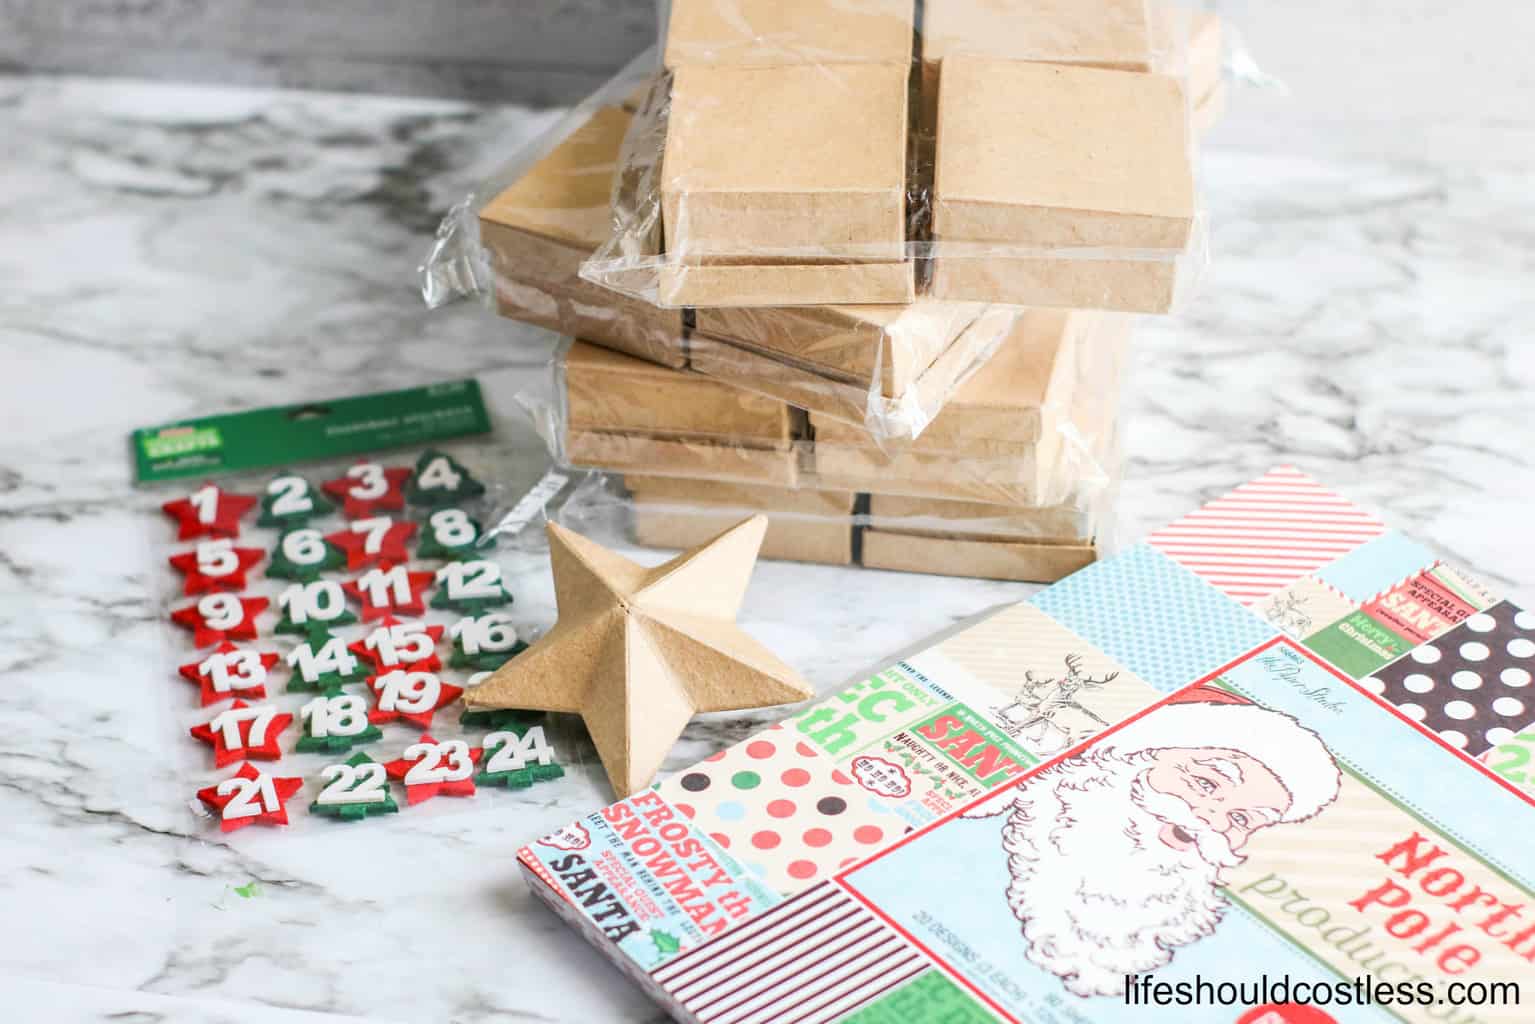
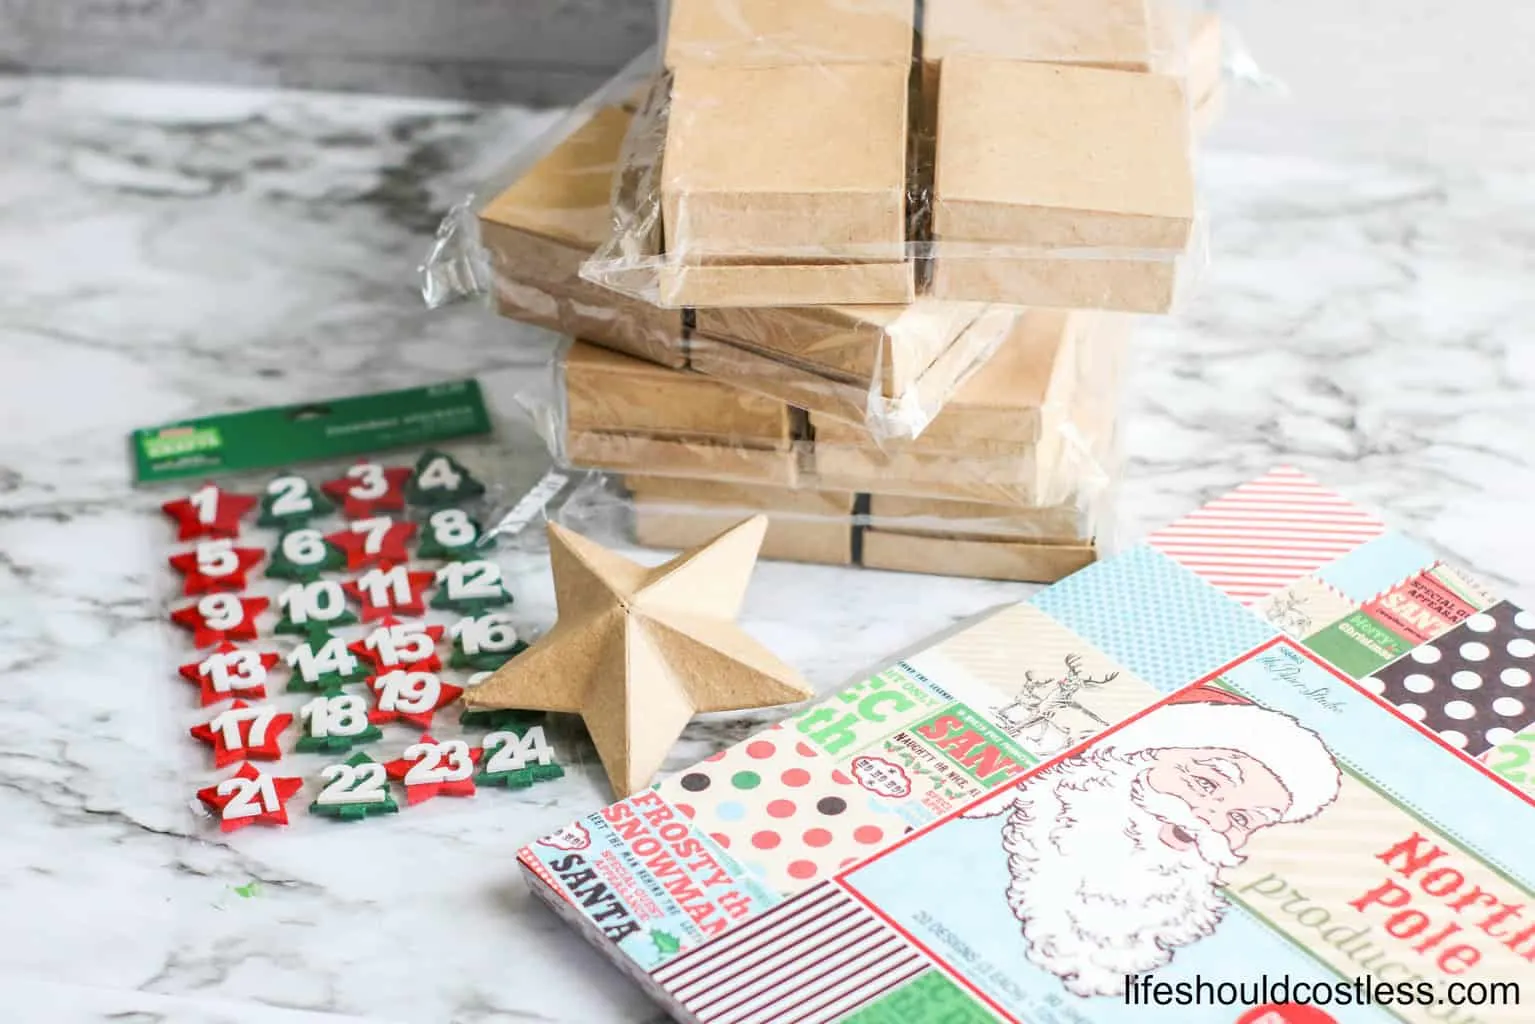
Supplies needed
Here is all of the supplies that you will need to create this fun craft (all can be found at Hobby Lobby):
- Colorful Craft Paper
- Tacky Glue
- Scissors and/or Paper Cutter
- Ruler
- Paper Mache Boxes
- Numbered Stickers
- Paper Mache Star
Photo tutorial
I will give you a little direction to go with the pics, but keep in mind that there is also a free printable “how to” card further down in the post that is a little more in depth :).
Use the lid of the box as a template to measure what sizes you will need to cut the craft paper.
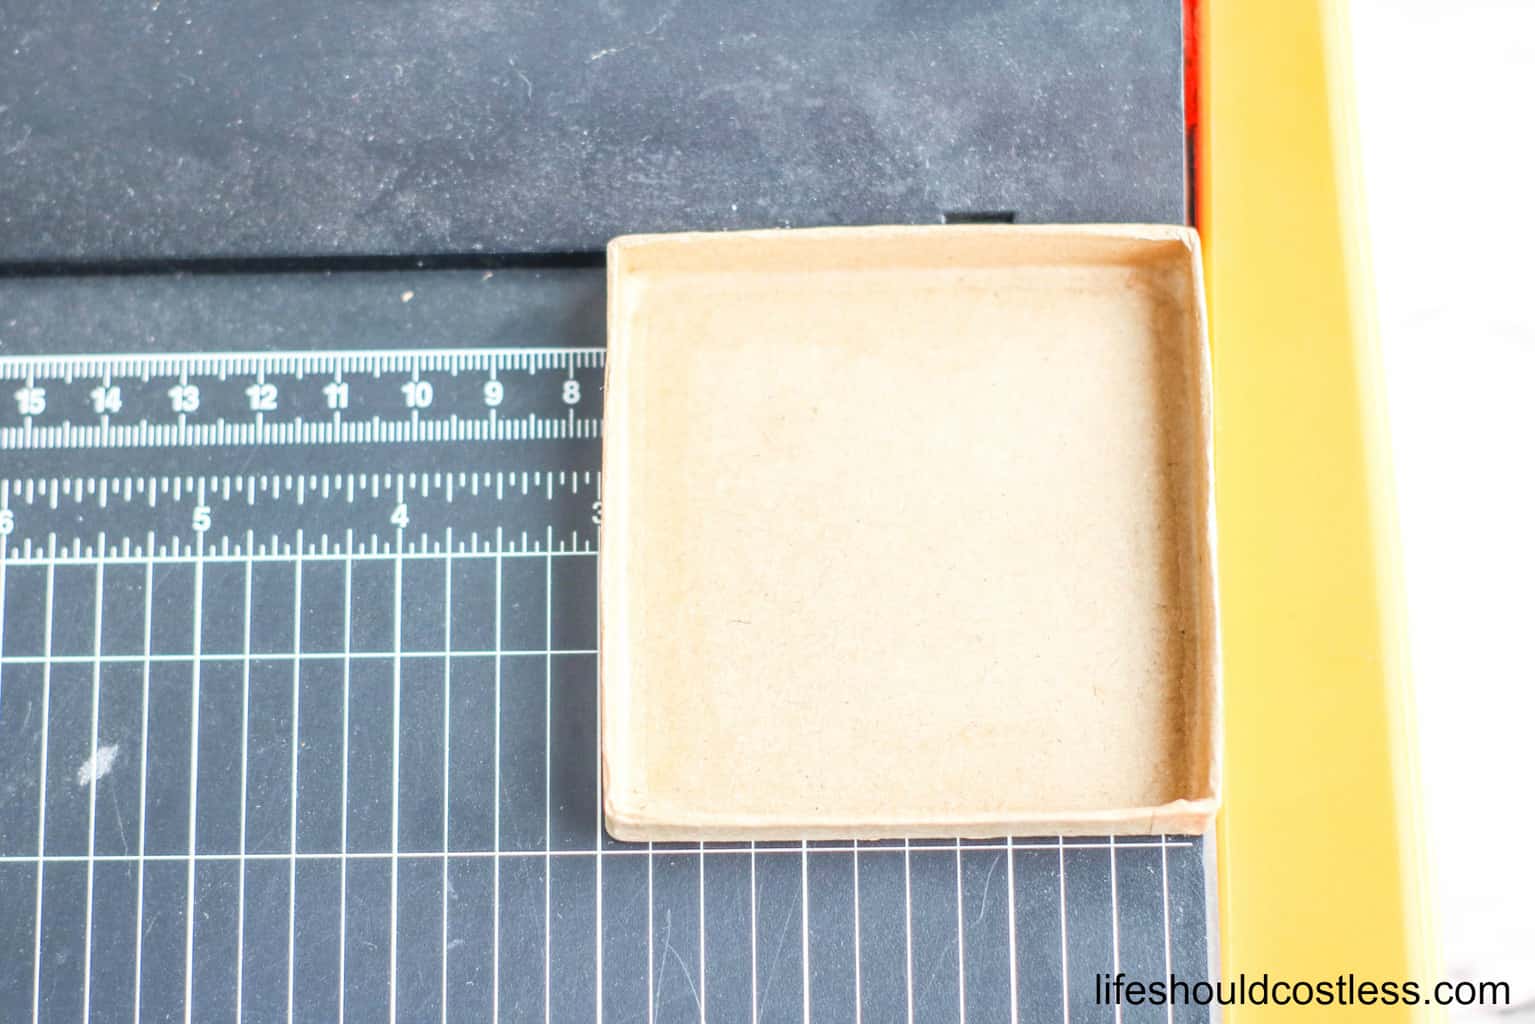
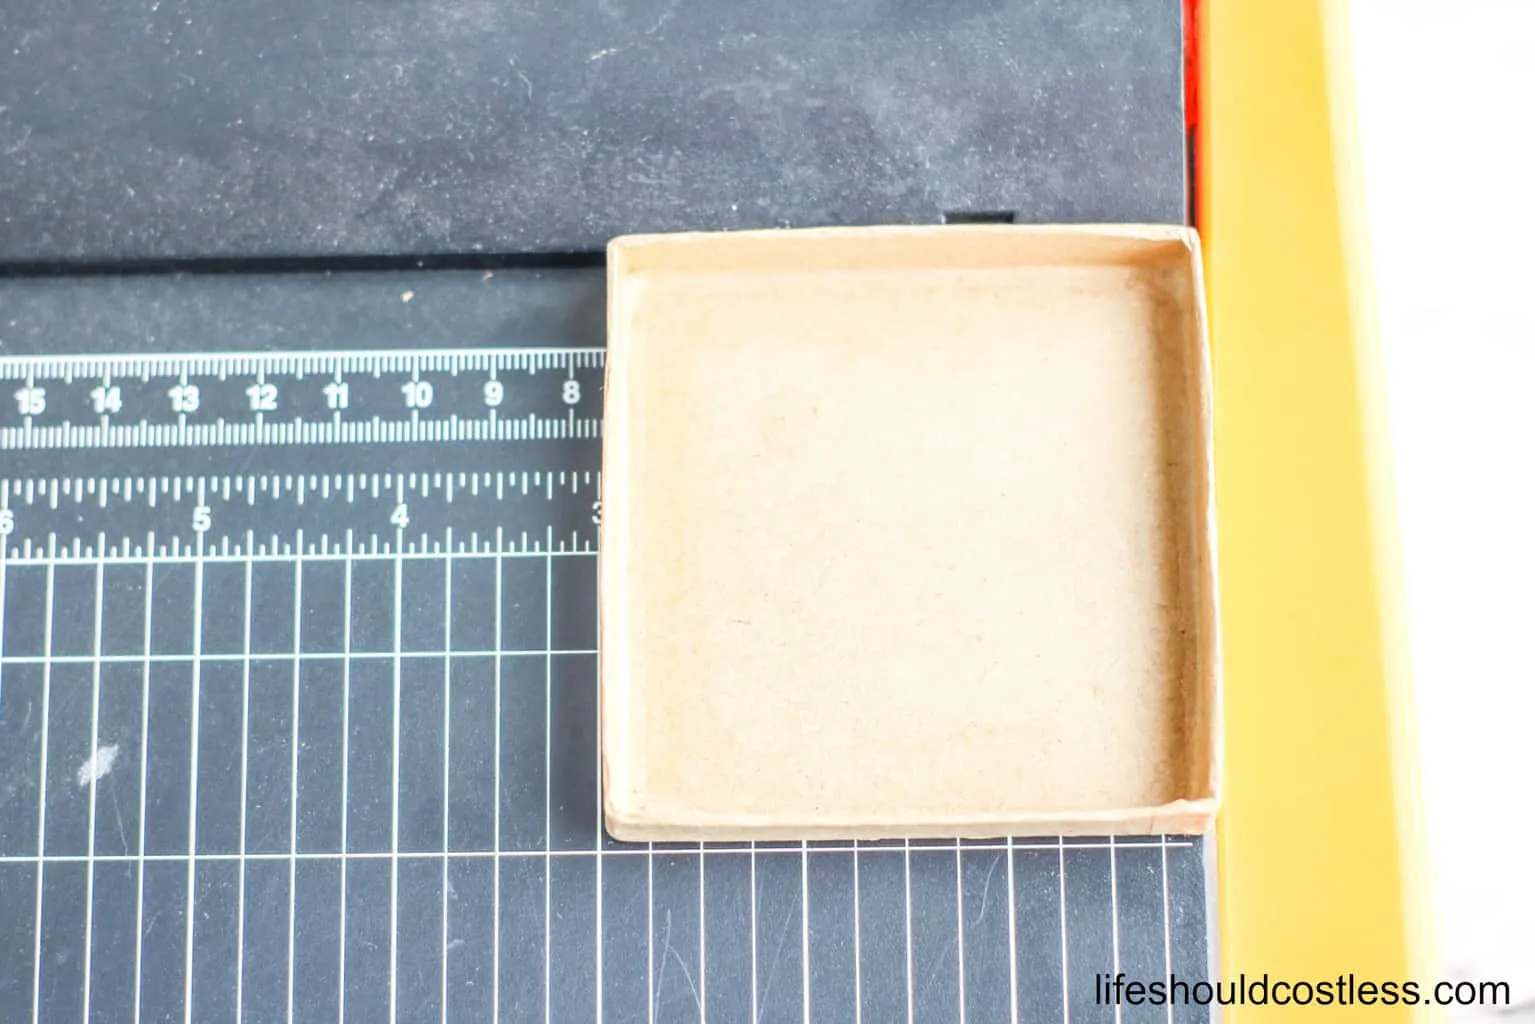
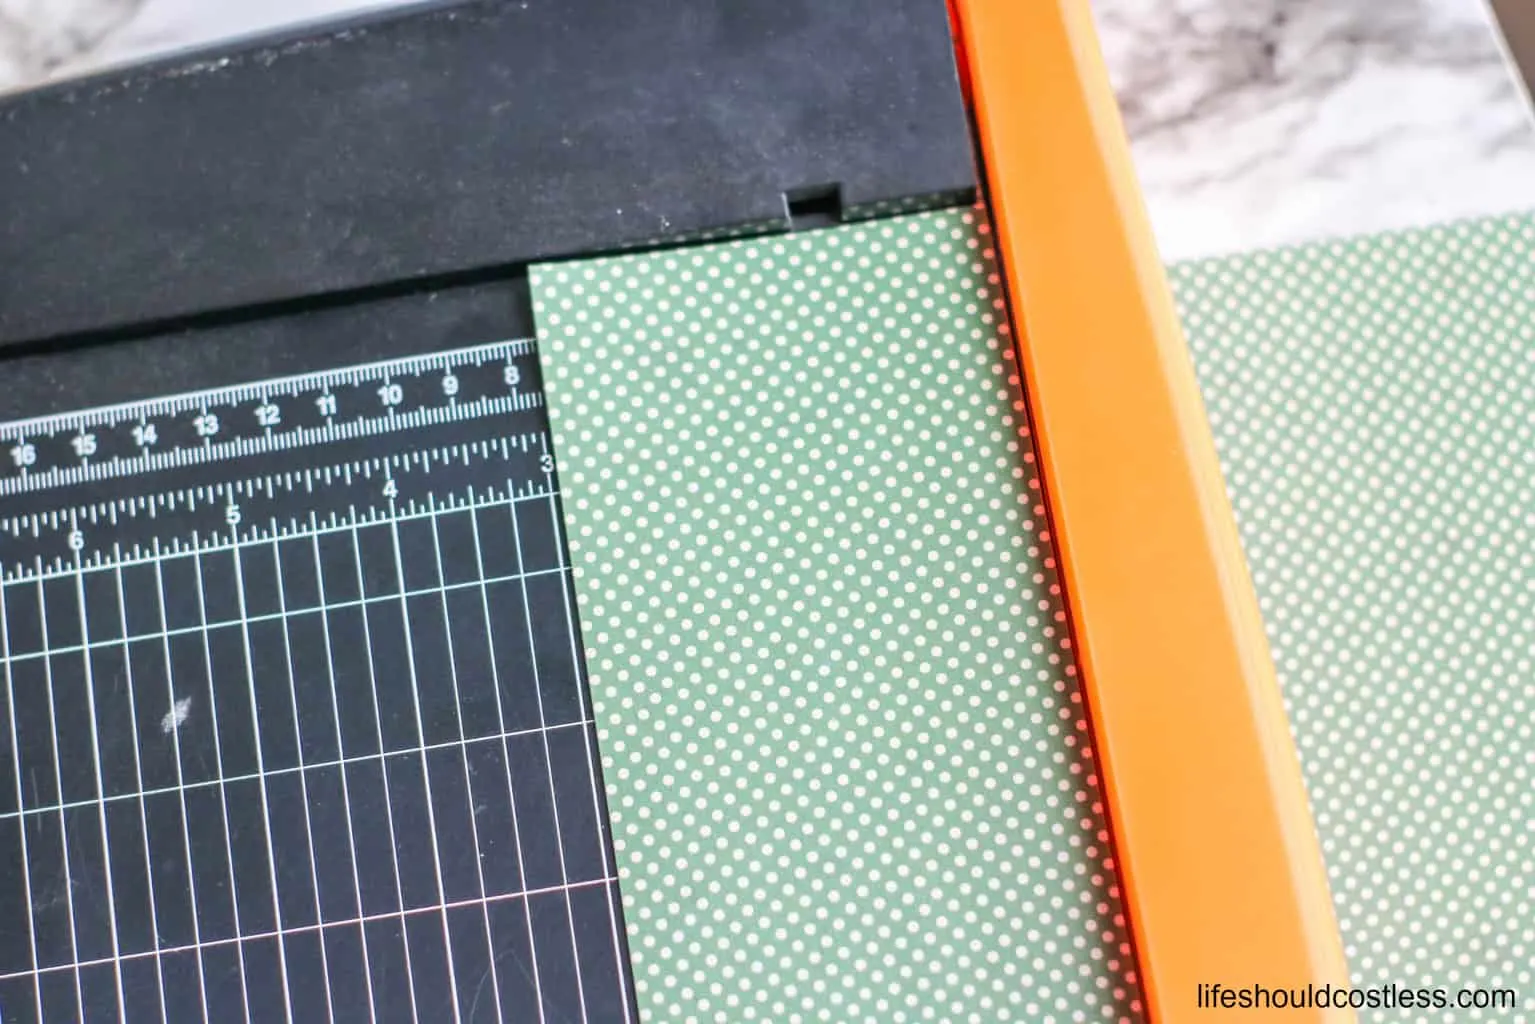
Cut paper to size.

Use Tacky Glue to apply the paper to the box lids.
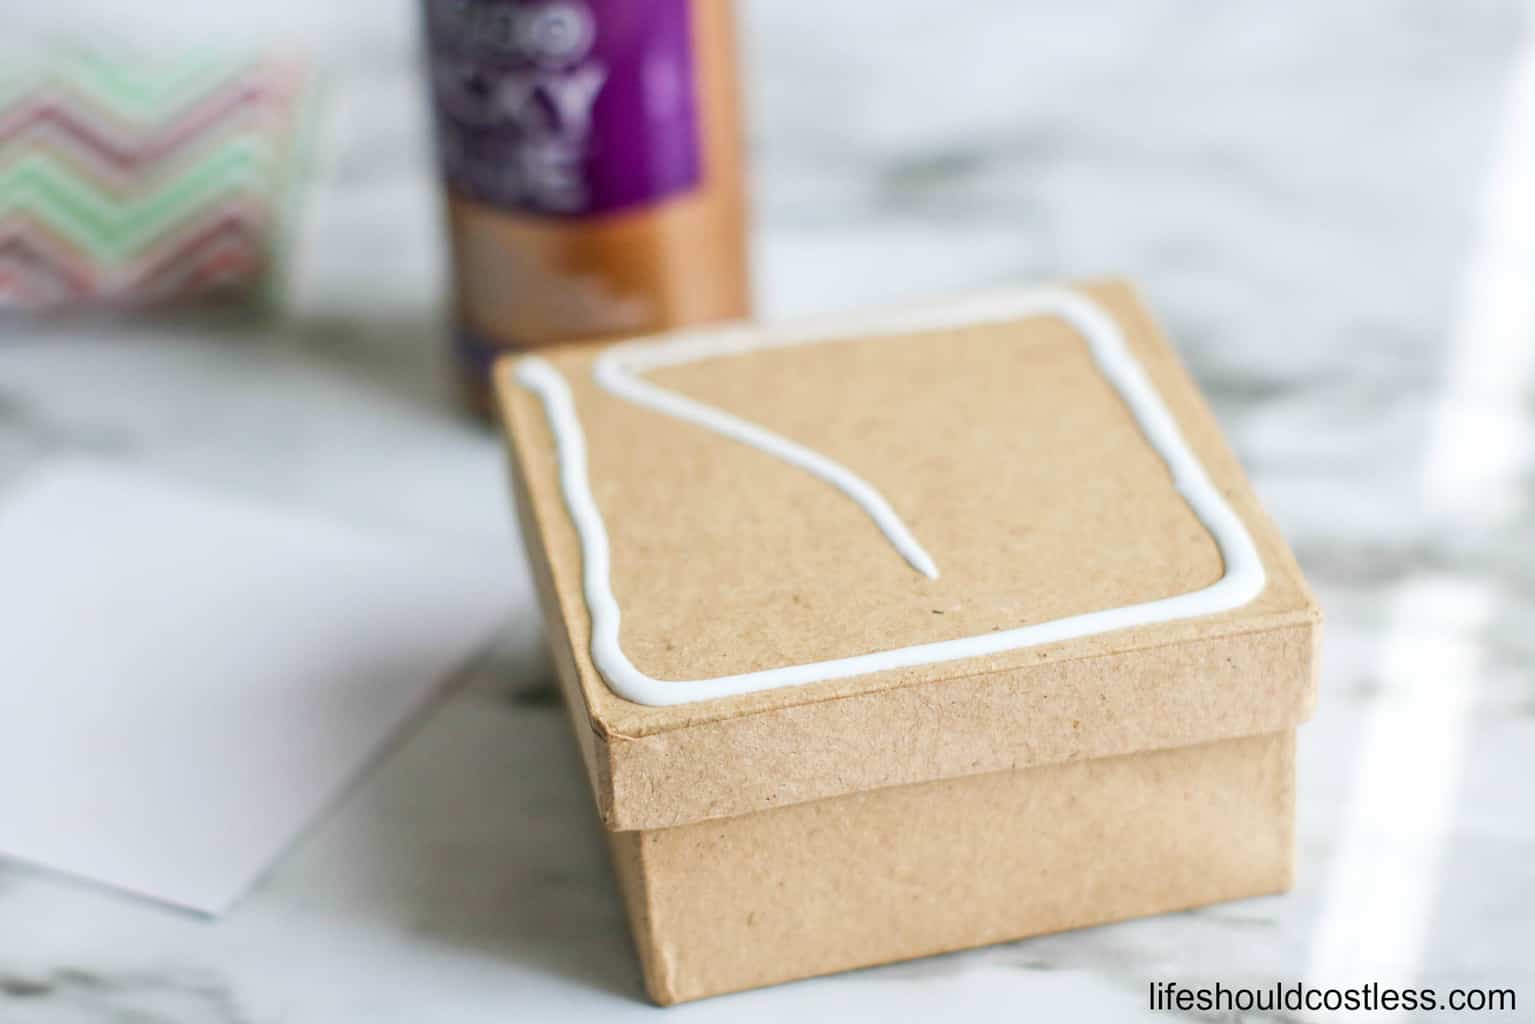

Apply your choice of patterned craft paper.


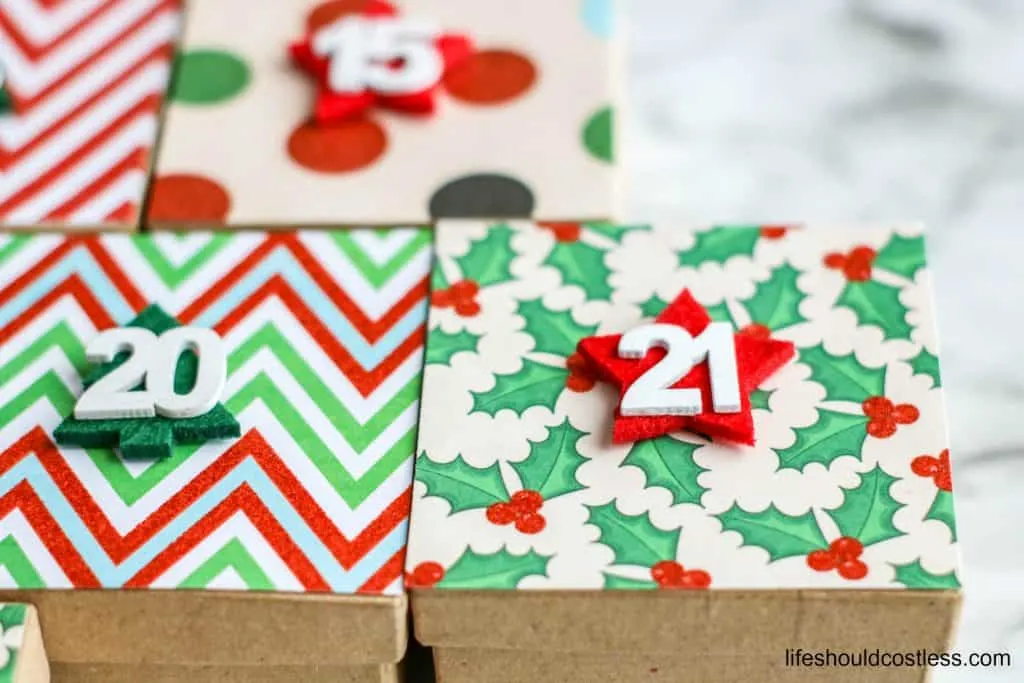
Next, all you do is add some numbered stickers. These are the foam ones that I got at Hobby Lobby… but there are some more plain numbered stickers on Amazon if you’d rather go that route.
How to display and use them
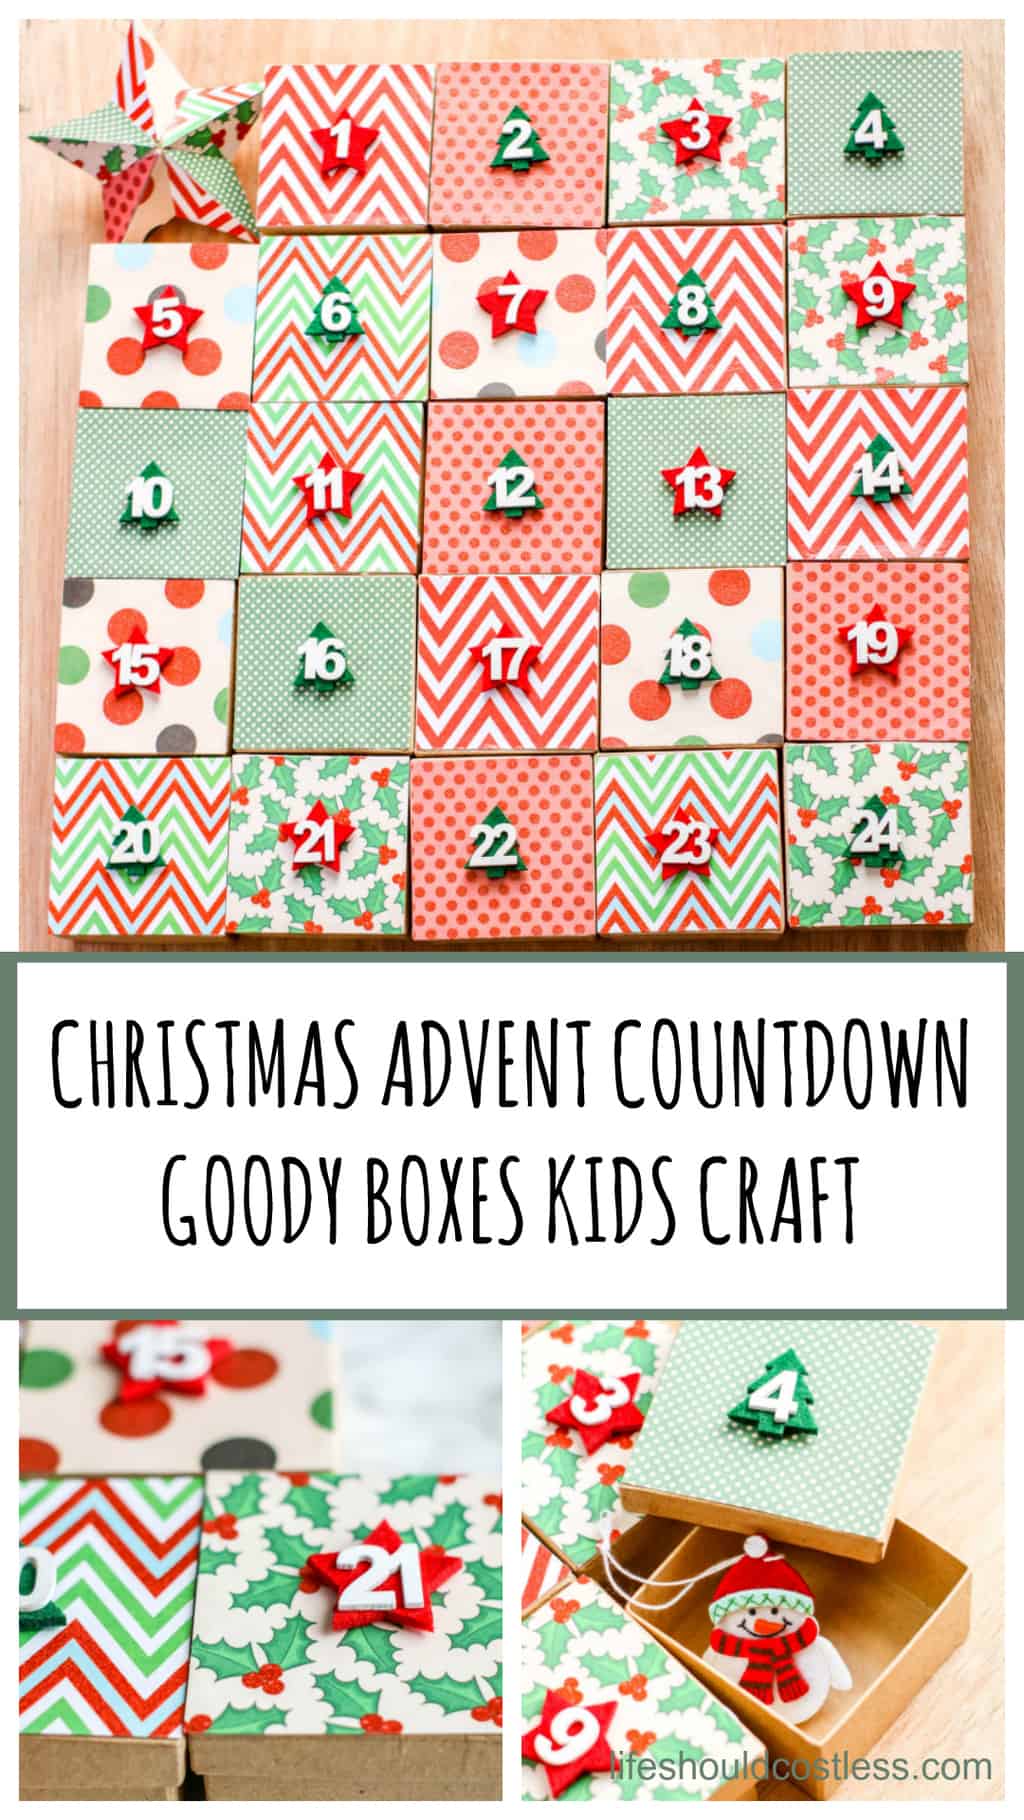
I love that you can arrange the boxes however you want to…in a tree pattern, a square, or to fit whatever space that you’re going to be displaying them.
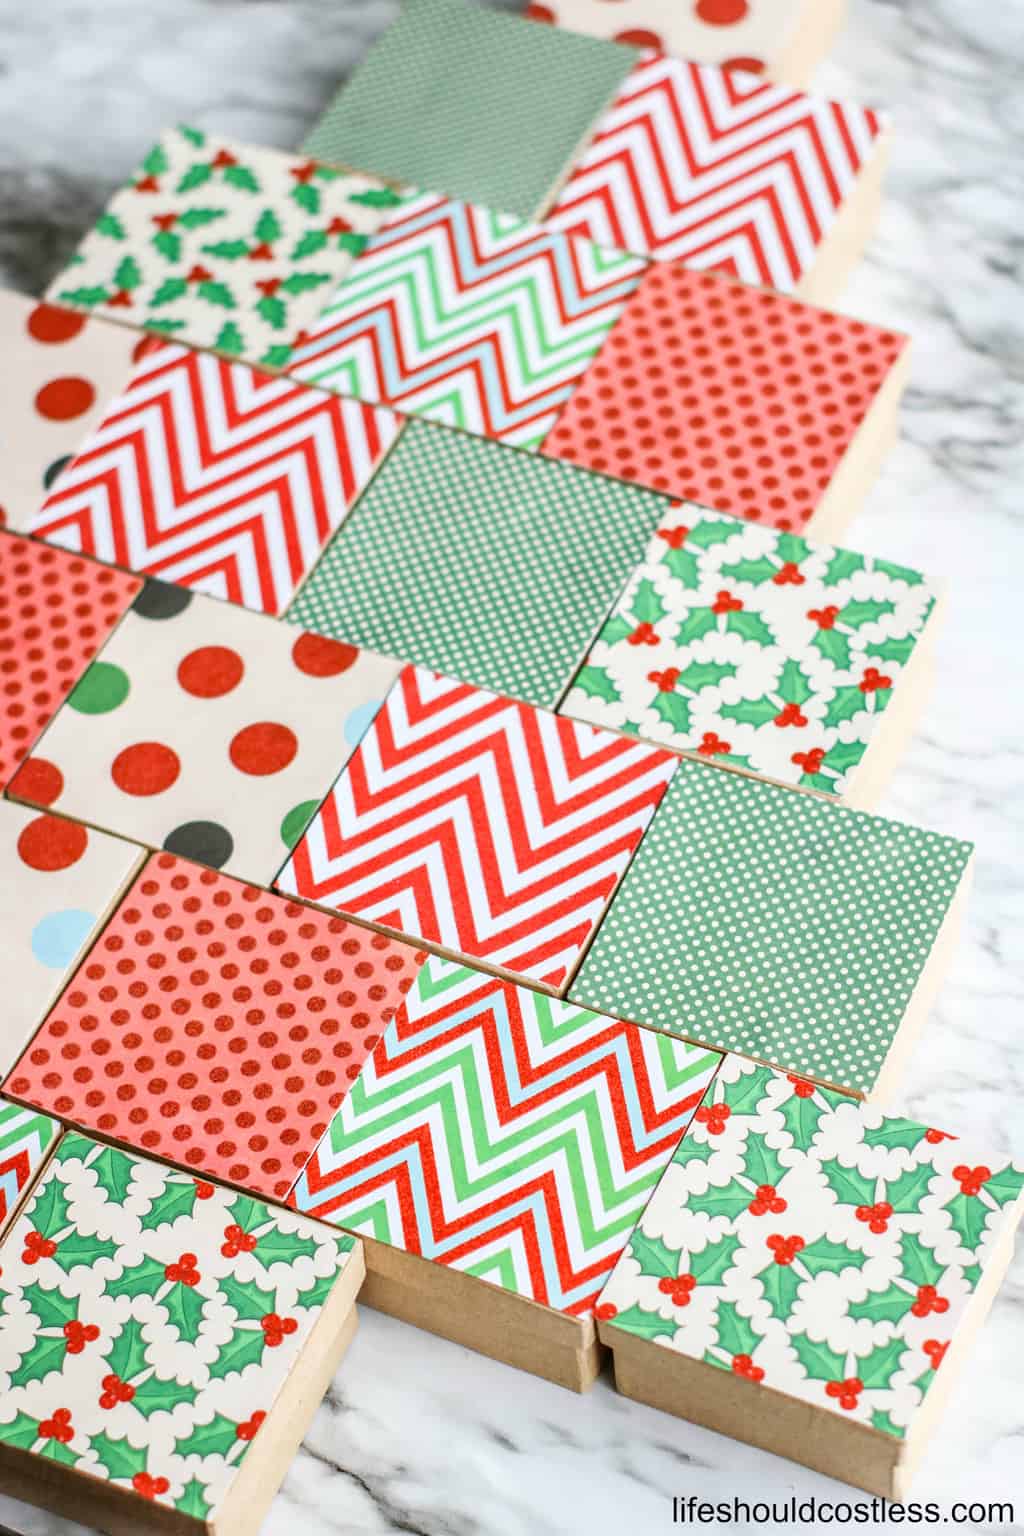
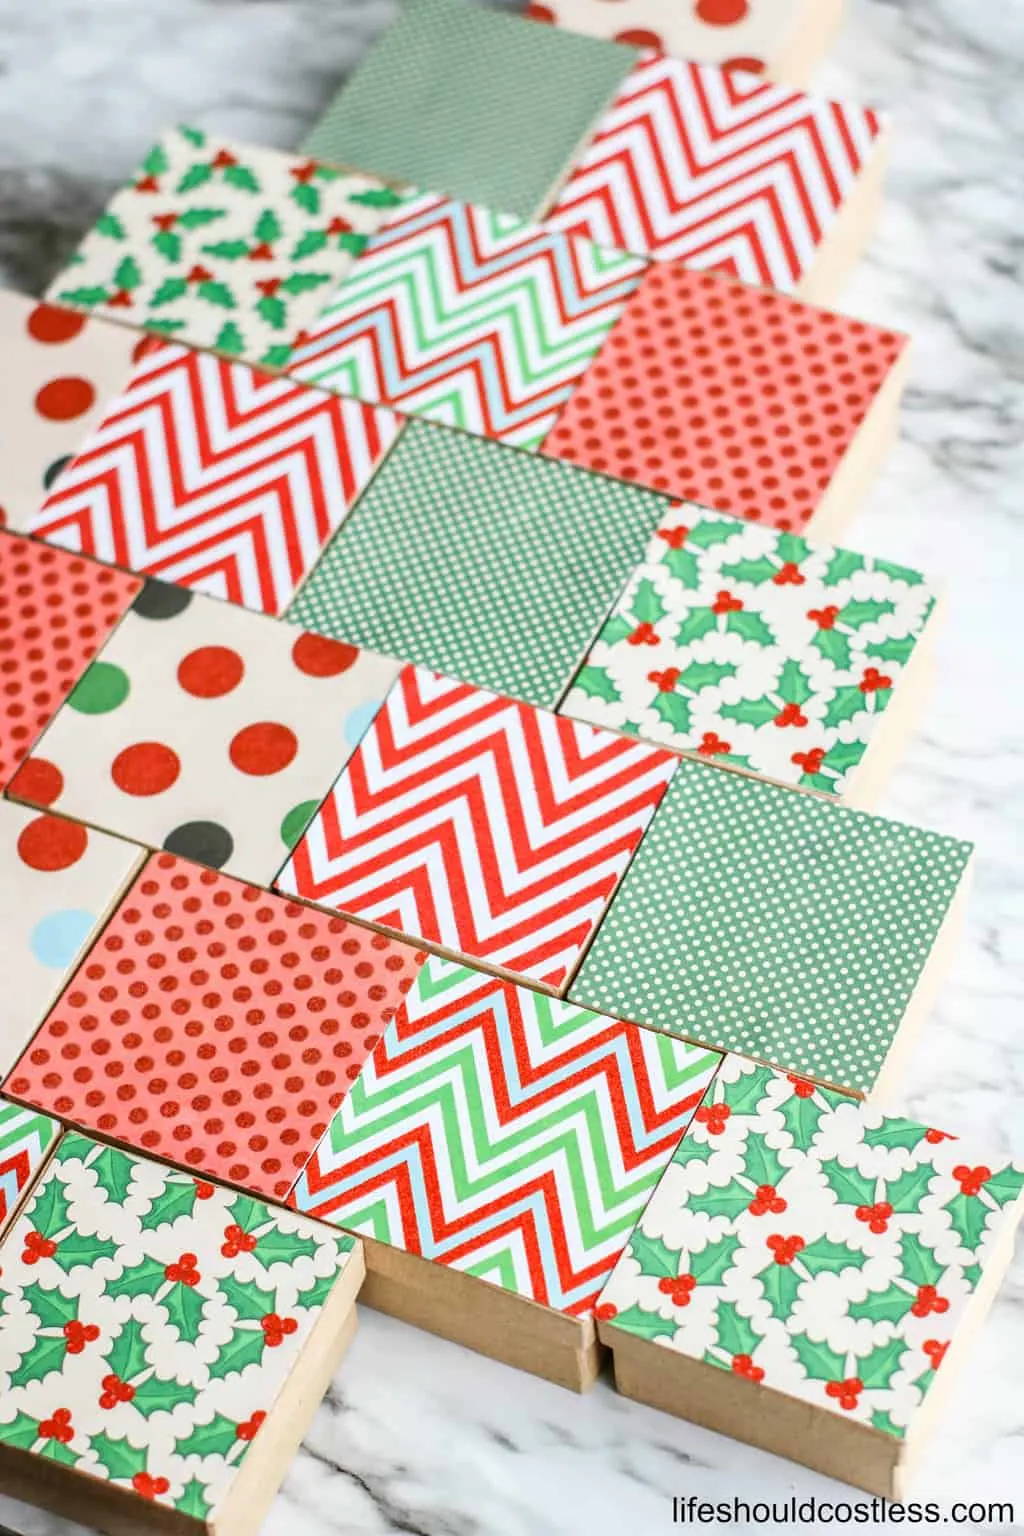
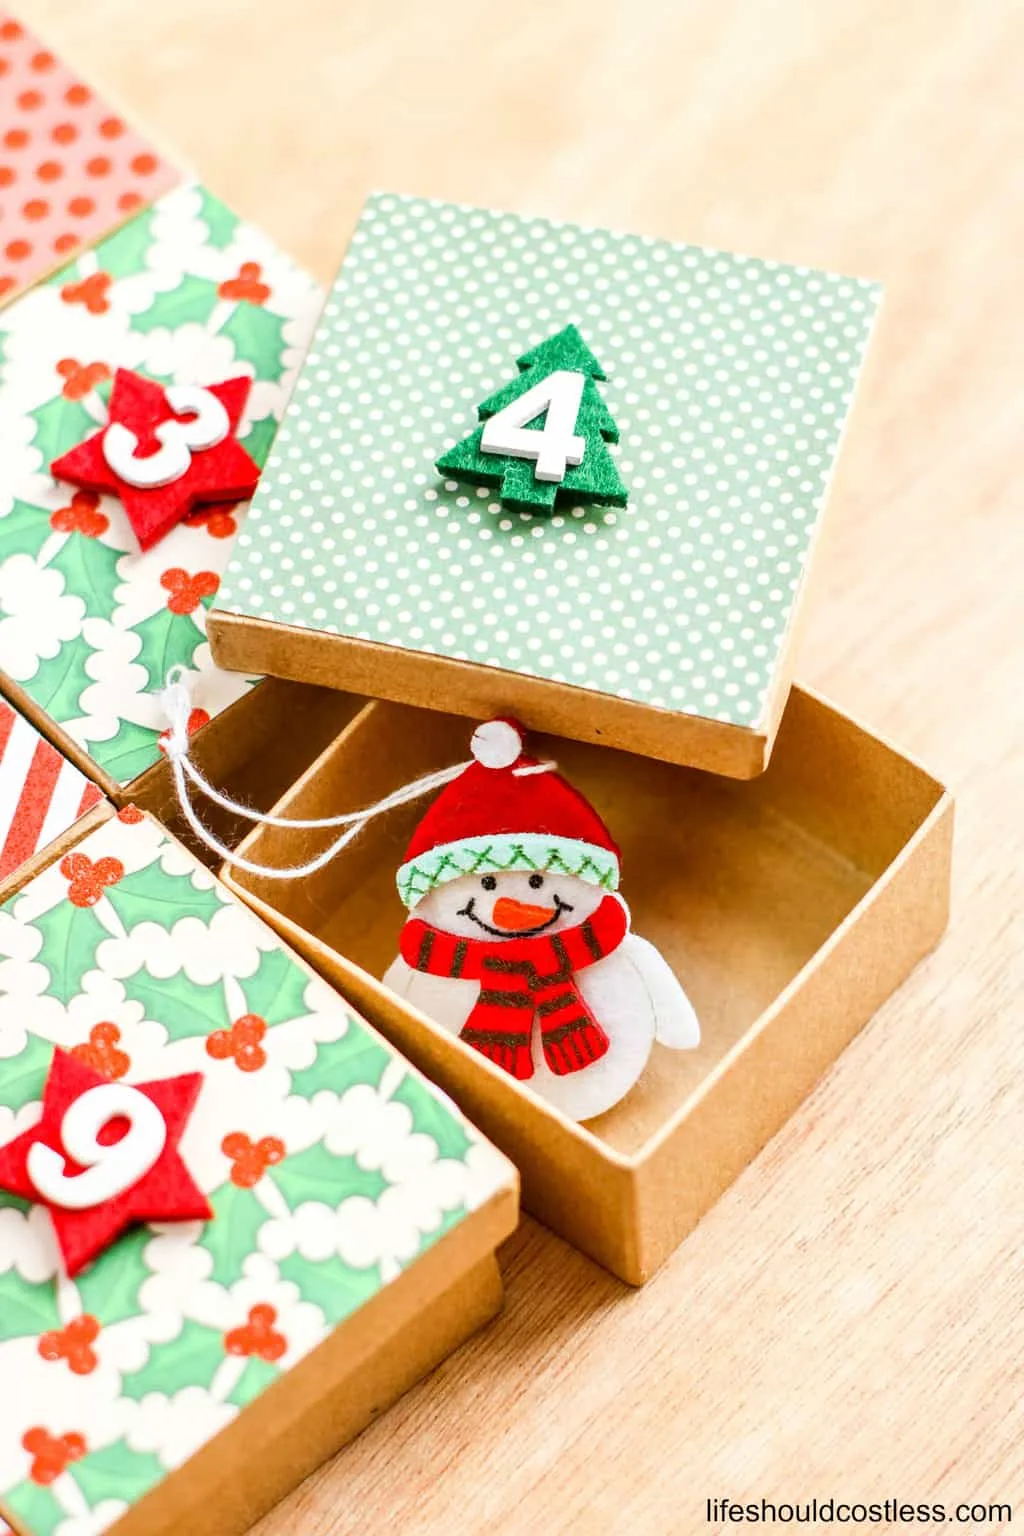
Here is the end product! Super cute goody boxes that are personalized the way that I want them, and filled with treats that will make my kids squeal with delight.

I told you it was a simple project, right?!!!!

I think it turned out super cute! What do you think?


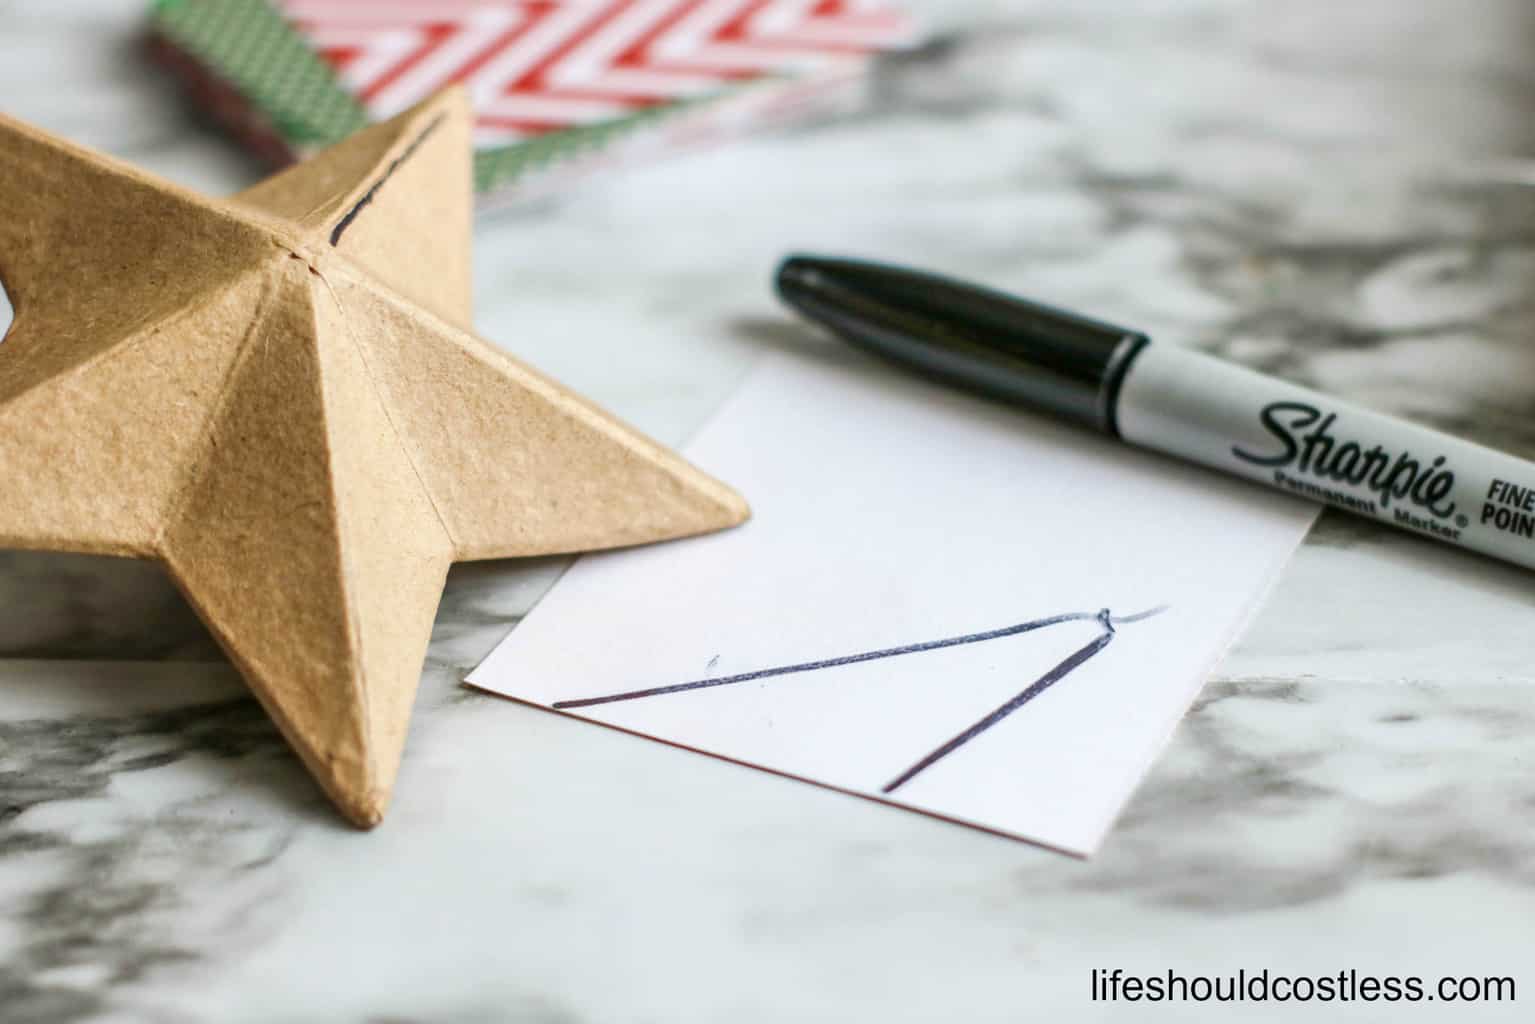
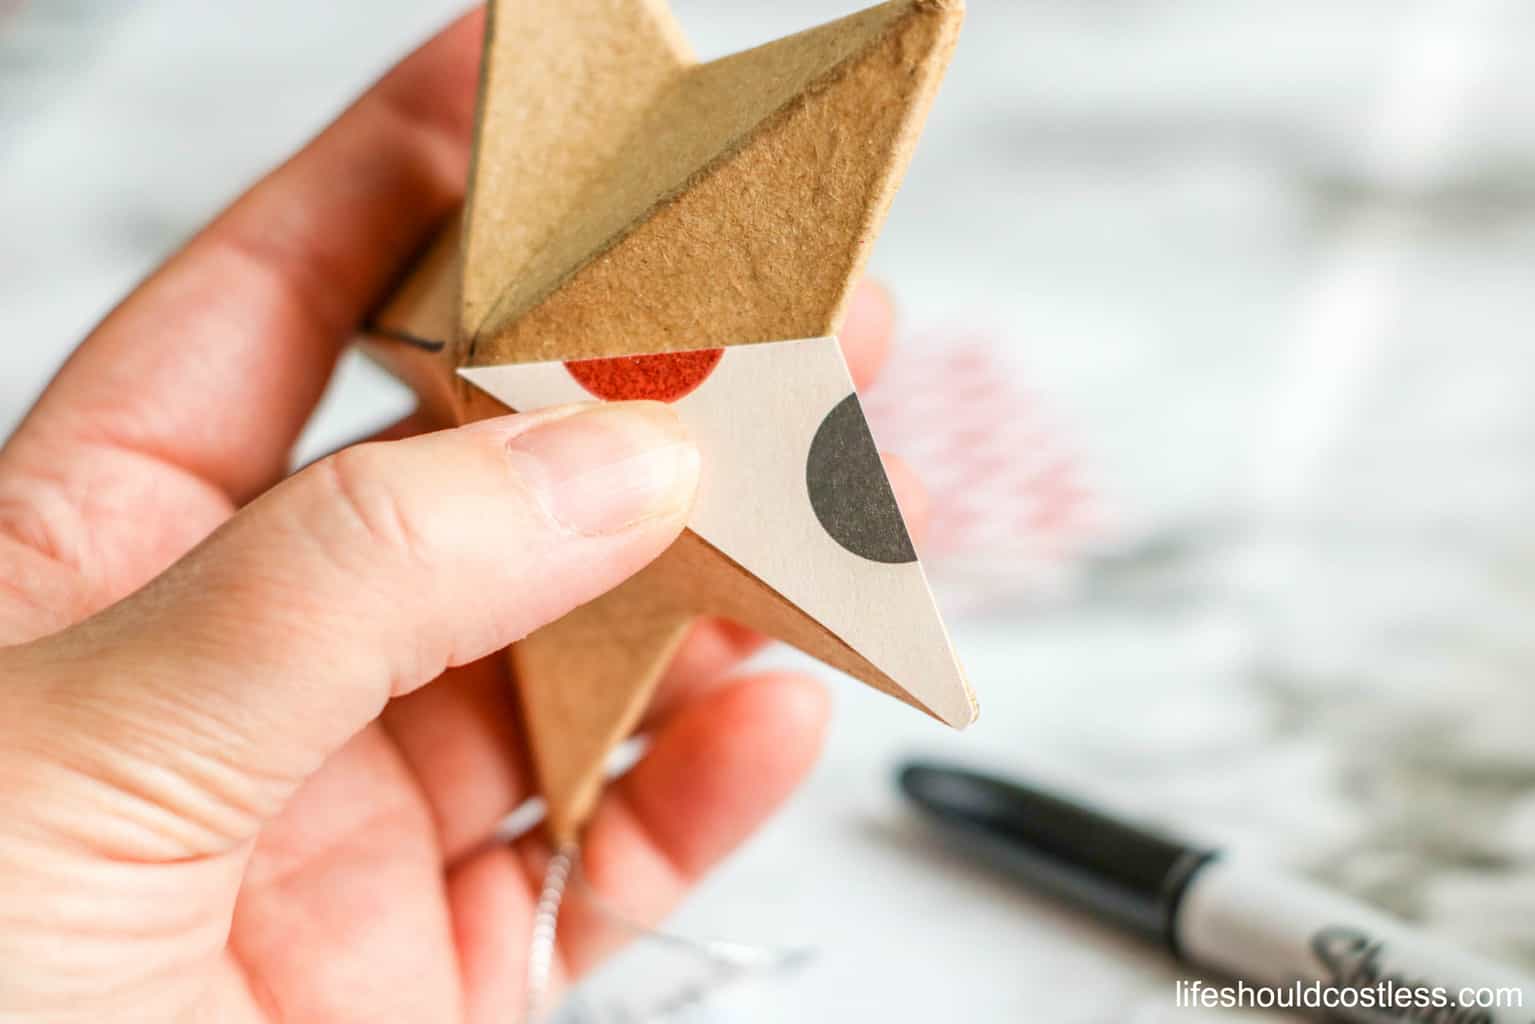
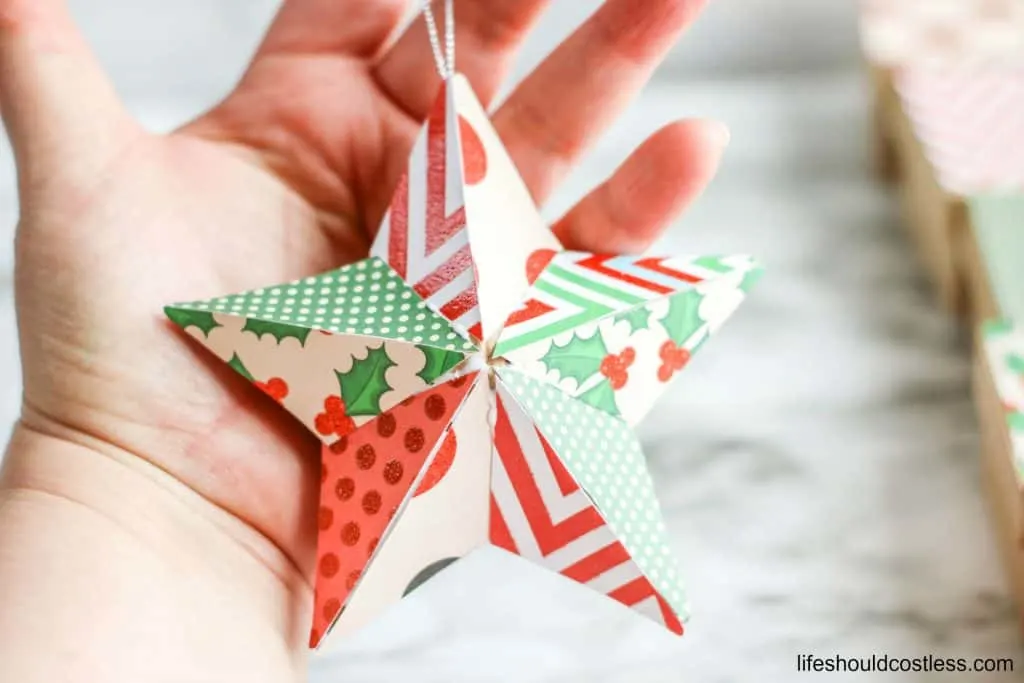
Here are some pics of the process for making the star, the star is totally optional.
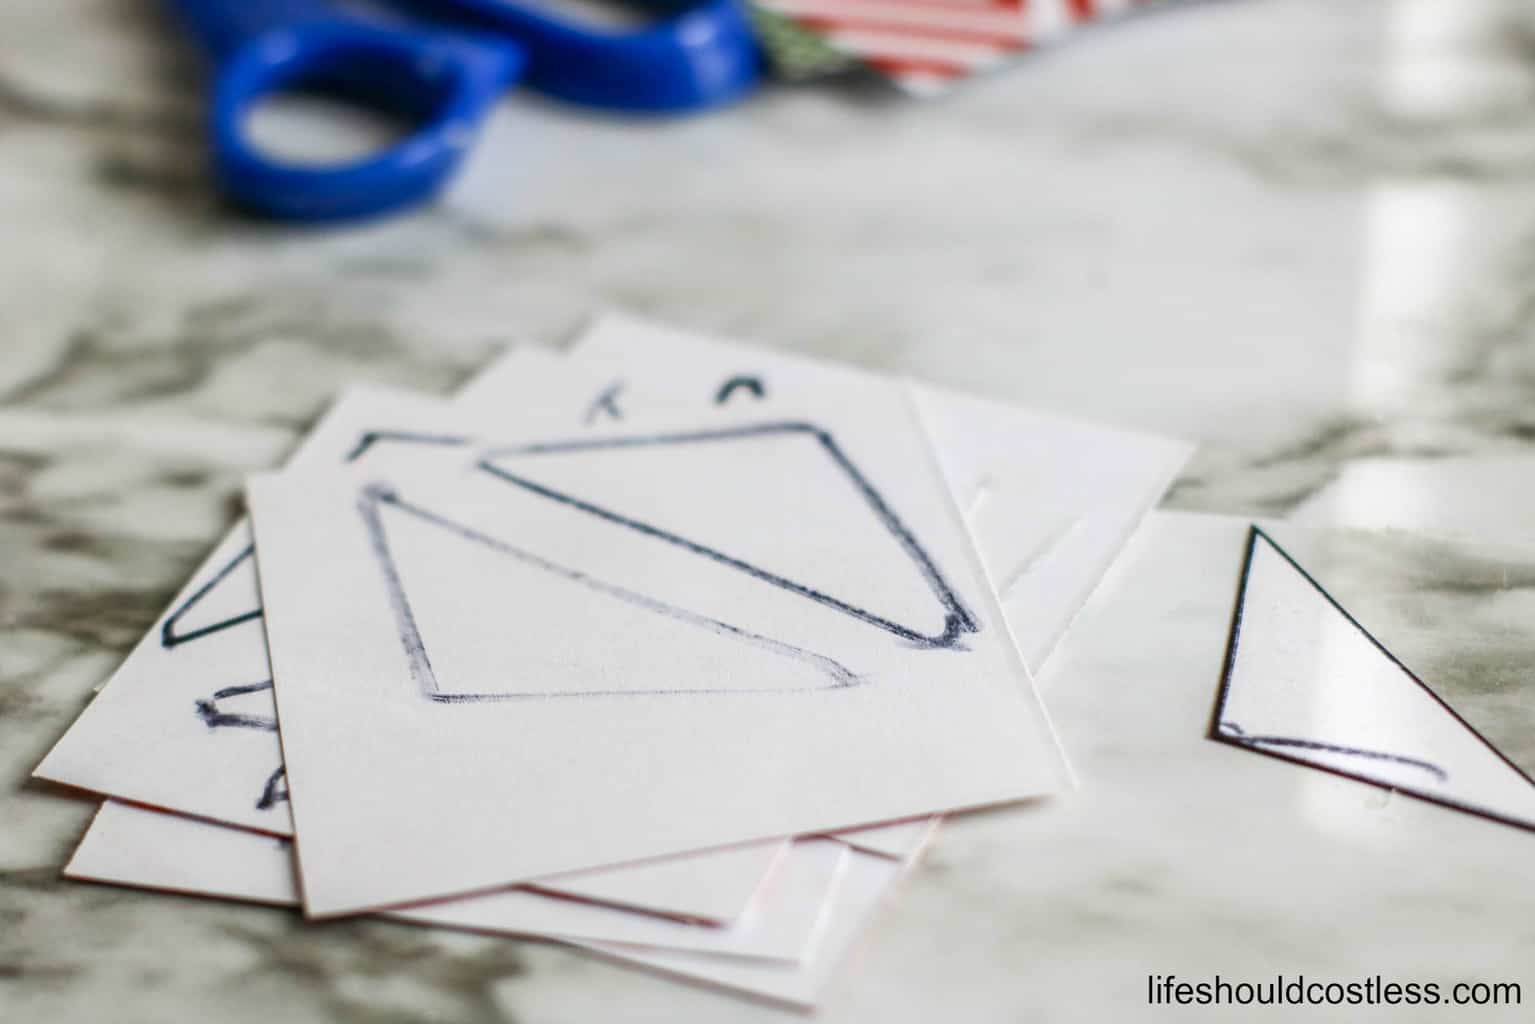
How to cut paper for the star
Remember there is a “How-To” card below that explains how to pretty up your star, and where to purchase it.


Here, below, is a free printable version of the instructions. It will help in case you get lost and don’t want to keep running back to whatever screen you view my blog on.
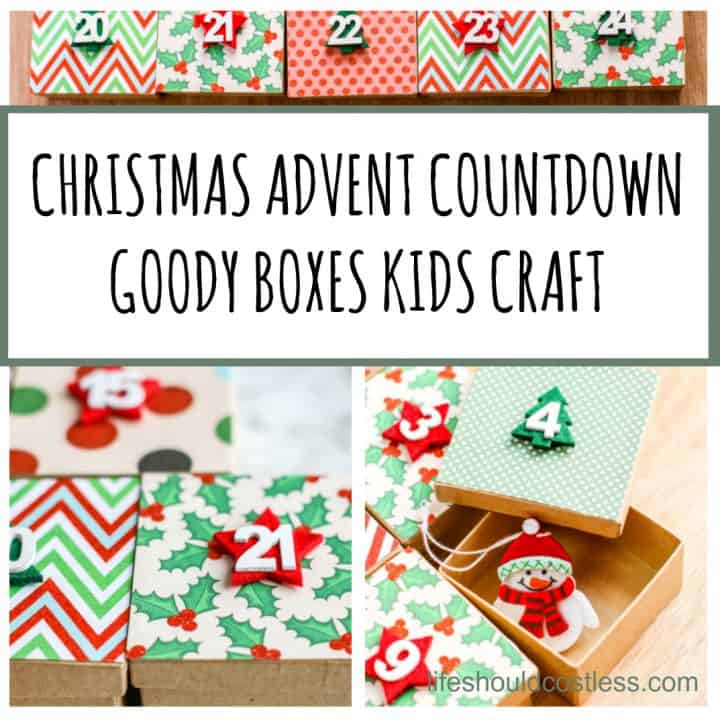

CHRISTMAS ADVENT COUNTDOWN GOODY BOXES KIDS CRAFT HOW TO MAKE
Instructions
- Measure the top of the boxes (pictured 2 ⅞ inches square) and cut paper to fit. (you can buy them at Hobby Lobby, here)
- Using tacky glue, apply papers to the top of the boxes. Allow to dry.
- Attach the numbers to the boxes. (These were purchased at Hobby Lobby, check your local store if they are not available online)
- When boxes are dry, place a surprise in each box. Some items to include might be candies, small toys, written activities, or service ideas.
- To create the star (paper mache star purchased here), place one side of the star against sturdy paper and trace the angles. Cut the shape from the paper and use it as a template to cut additional pieces. You will need to cut half of the shapes using the template facing up and then cut the other half with the template upside down.
- Using tacky glue, attach the paper to the star, matching the shape. Allow to dry completely.
- Arrange the boxes as desired on a table, mantel, or under the Christmas tree. Alternatively, you can glue the boxes to a sheet of foam board (wrapped in festive paper) and hang the board with ribbon.
- Beginning on December 1st, open one box each day. You can open the numbered box which corresponds with the date or countdown to Christmas by beginning with box number 24 (24 days until Christmas) and working towards 1.
Notes
Most items were purchased at Hobby Lobby, though any craft store should have something similar for you to use.
That’s all I have to share with you today on my Christmas Advent Countdown Goody Boxes Kids Craft.
I hope you have as much fun making it as I did!
Thanks so much for stopping by my blog and supporting my endeavors to make people’s lives a little easier/better/more affordable.
If you liked this post, or found it helpful in any way, please make sure to share it with your family, friends, and co-workers via social media.
Or you could even send them the direct link via email. Whichever way you choose to spread the love, I super appreciate it! ~Sarah


How To Follow & Support This Site
- If you would like to subscribe to my email list, go here.
- Make sure to follow along via social media, by going here.
- If you would like to learn how to really show your support to this site (at no cost to you), go here.
- If you would like to make a direct donation to the site, go here.
Check out my related articles:
- To see all of my DIY projects, go here.
- To see all of my Winter-related articles, go here.
- To see all of my Christmas-related articles, go here.
For those of you that would like to check out some of my other fun stuff, here are some links to some good ones:
All Christmas-related articles
*Please note that this article was originally shared to this site on November 25, 2019 and has since been updated to improve user experience.