In the spirit of the holiday season, there’s nothing quite as heartwarming and meaningful as crafting your very own DIY outdoor Nativity scene. This timeless project not only allows you to showcase your creative talents but also enables you to share the story of the birth of Jesus with your community in a visually captivating way. Whether you’re a seasoned DIY enthusiast or just starting your crafting journey, building an outdoor Nativity set is a delightful project that can bring joy, reflection, and a sense of togetherness to your holiday celebrations. In this article, we’ll guide you through the steps to create a beautiful and meaningful representation of the Nativity story that will undoubtedly become a cherished centerpiece of your Christmas decorations.
About this project
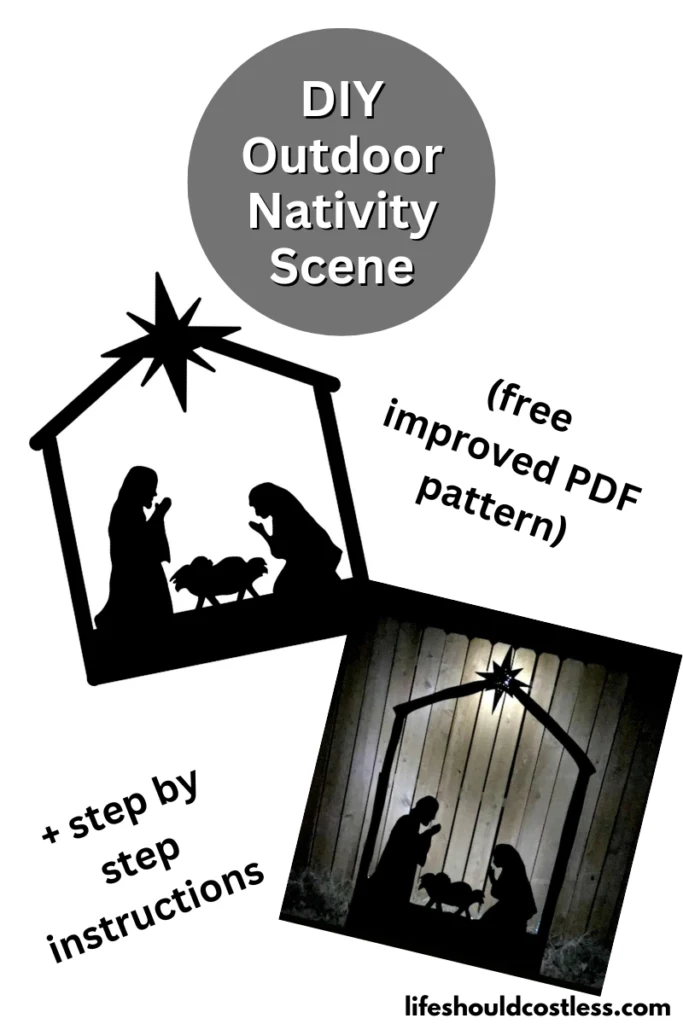
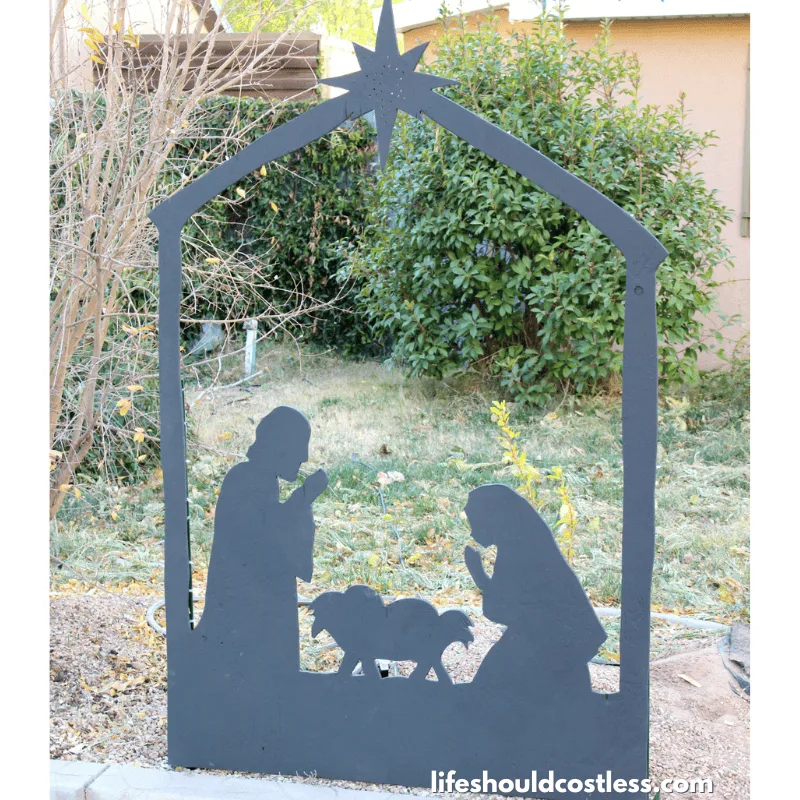
I have always personally preferred to gear things more towards Christ instead of Santa during the holiday season, as much as I can at least, and I finally got to make the Nativity Scene Silhouette decoration for my yard, that I have been visualizing in my head and wanting to make for several years.
I will say that it is pretty basic, I favor things to be on the minimalistic/simple side, but I would say that it’s about an intermediate level as far as DIY projects go.
As you’re viewing this, please keep in mind that my Nativity scene did come out a bit rough…as prototypes often do.
If you choose to make one too, especially if you use the new updated pattern that I have added (in 2023) since originally posting (in 2018), yours should turn out much better looking and even be more structurally sound than mine was.
One of these days I will get around to remaking it with the updated version, using the new PDF pattern, but as a single mama of four the budget just hasn’t allowed me to rebuild it yet but the instructions should still be pretty solid.
- To see all of my DIY projects, go here.
- To see all of my Winter-related articles, go here.
- To see all of my Christmas-related articles, go here.
How to make a silhouette nativity scene for outdoors
As is typical with any project “prototype”, when I built mine I ran into some snags and hopefully by sharing my process with you it will save you from running into the same issues too.
Anyway, here goes:


How to build an outdoor plywood Nativity scene
Materials
- 1 (3/4" thick) Plywood Sheet
- 1 Gallon Behr Premium Deckover In Dark Color (or similar outdoor paint product)
- Transparency film sheets (for over head projector)
- LED Rope Lights or Christmas Lights (will need about 30 ft of lights)
- Cable Clamps & Screws or Heavy Duty Staples
- 2 Two Hole U Strap Brackets with screws (optional)
Tools
- Printer
- Overhead projector/ Art projector
- Marker
- 2 Saw Horses
- Jig saw
- Orbital sander/sanding block/Dremel
- Drill
- 4" Foam roller with paint tray
- 1" Sponge Sponge Brushes
- 2 (3 or 4 foot tall) Fence Posts (optional)
Instructions
-
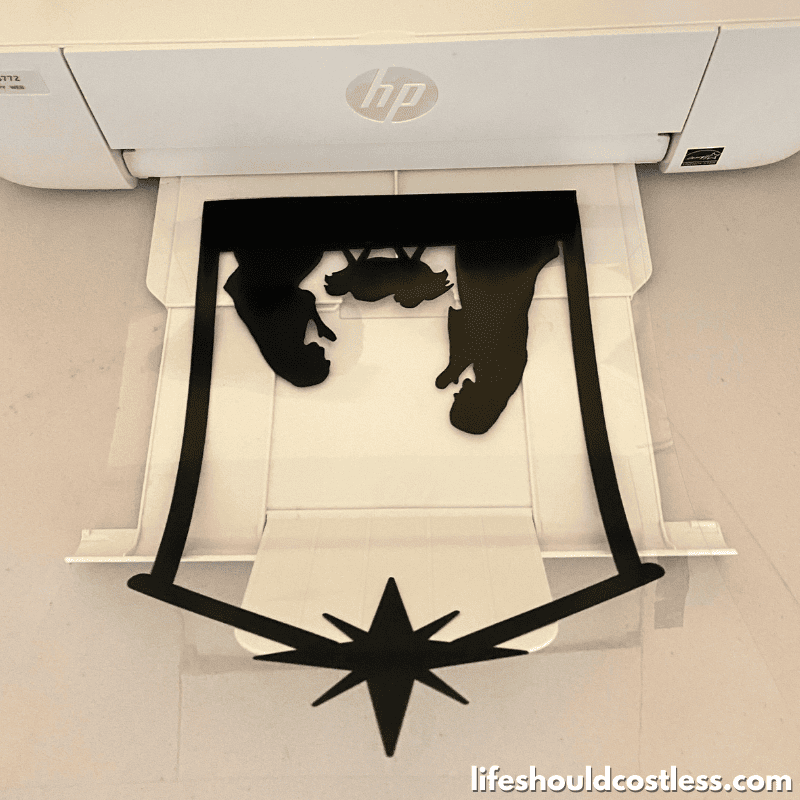
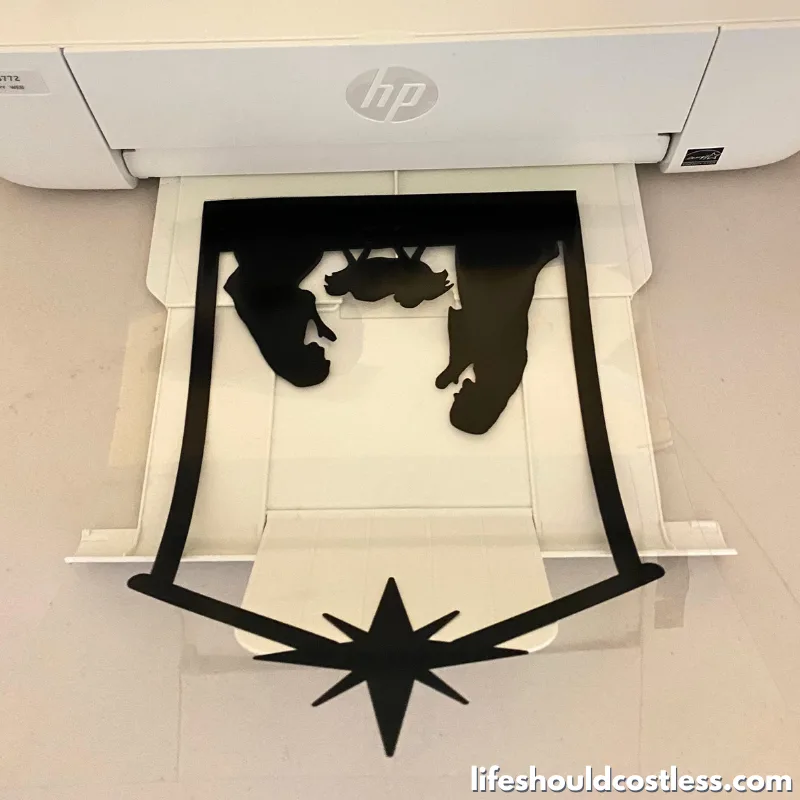 Choose the desired Nativity scene template (found lower down in this article), download it (resize as needed), and then print it onto some transparency film.
 -
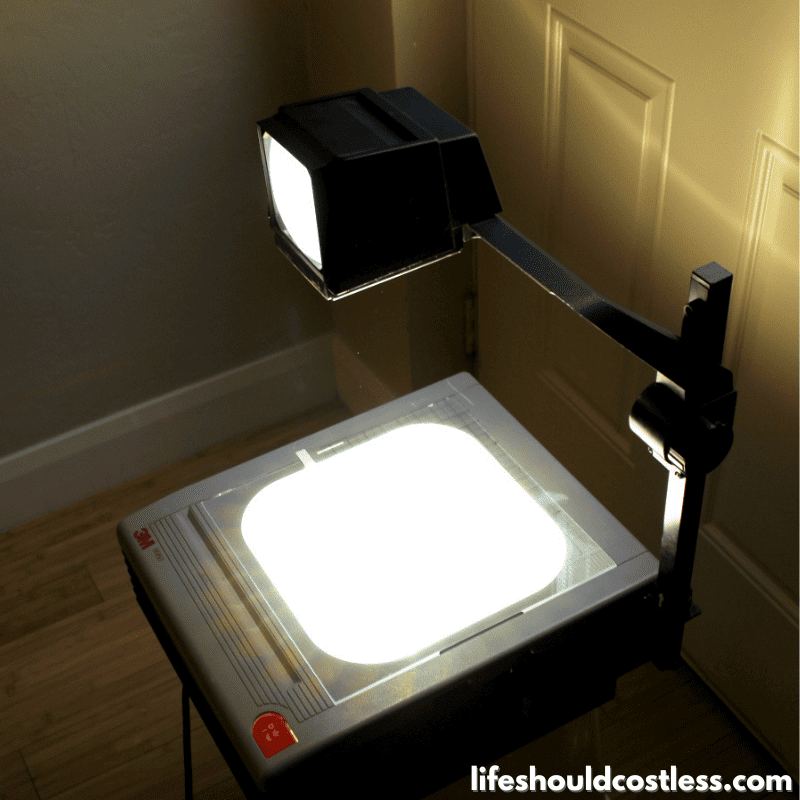
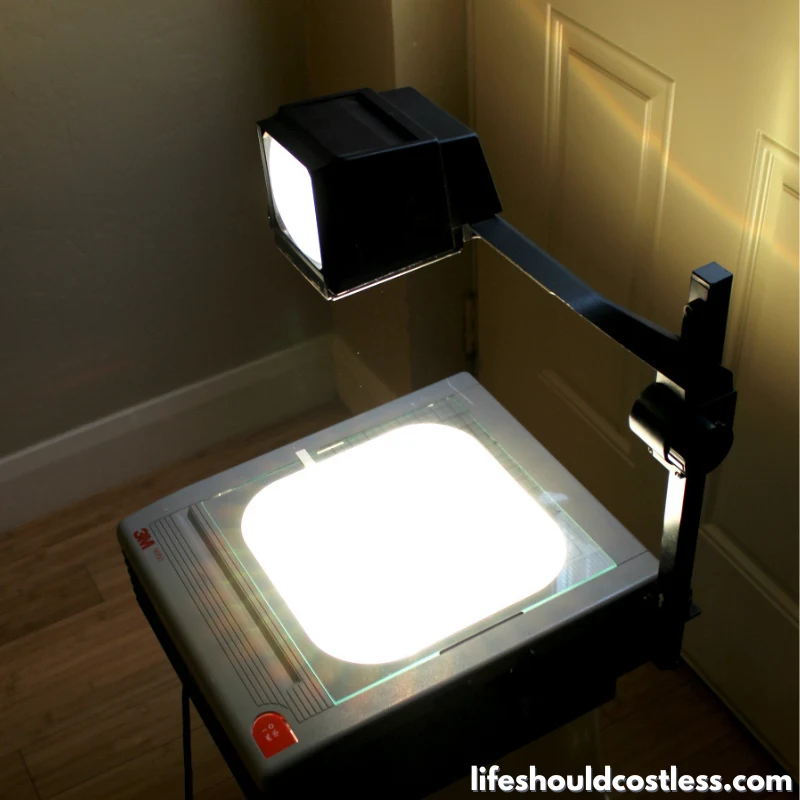
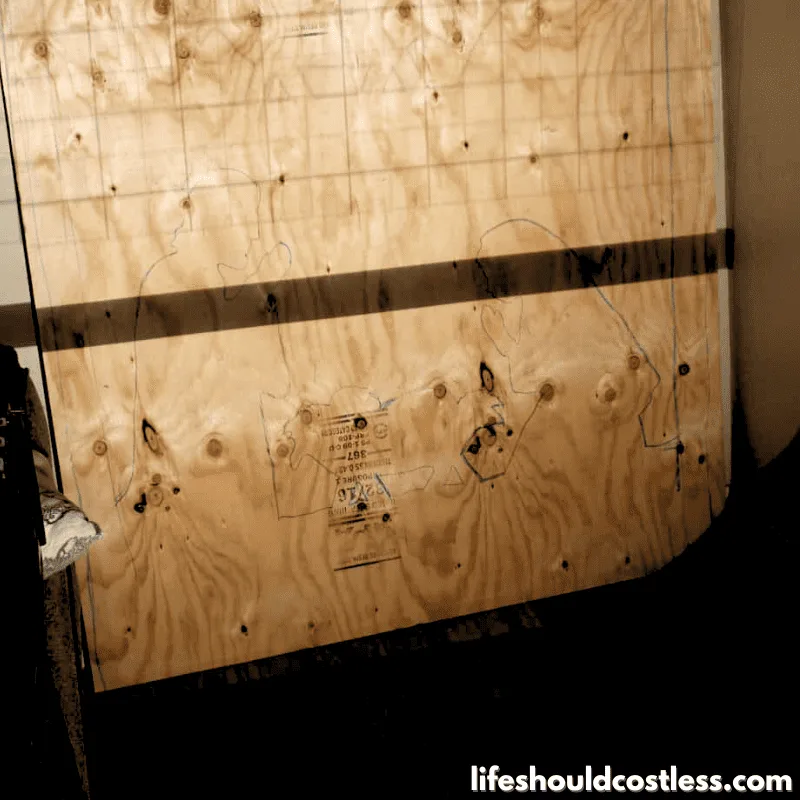 Using either an art projector, or an overhead projector, turn off the lights and use a marker to trace the image onto a sheet of ply wood (I used 3/4" thick plywood).
 -

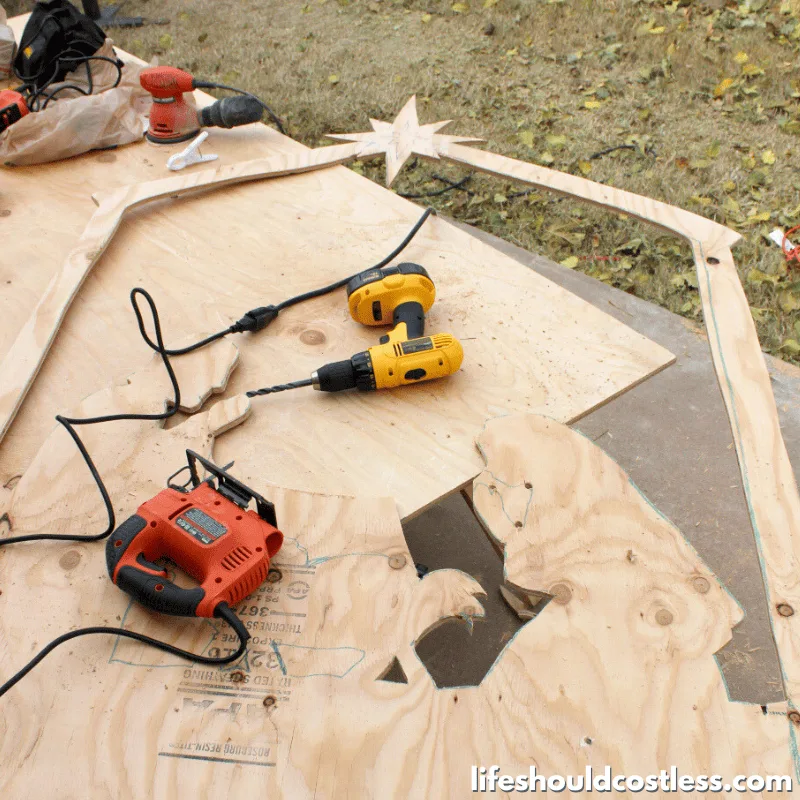
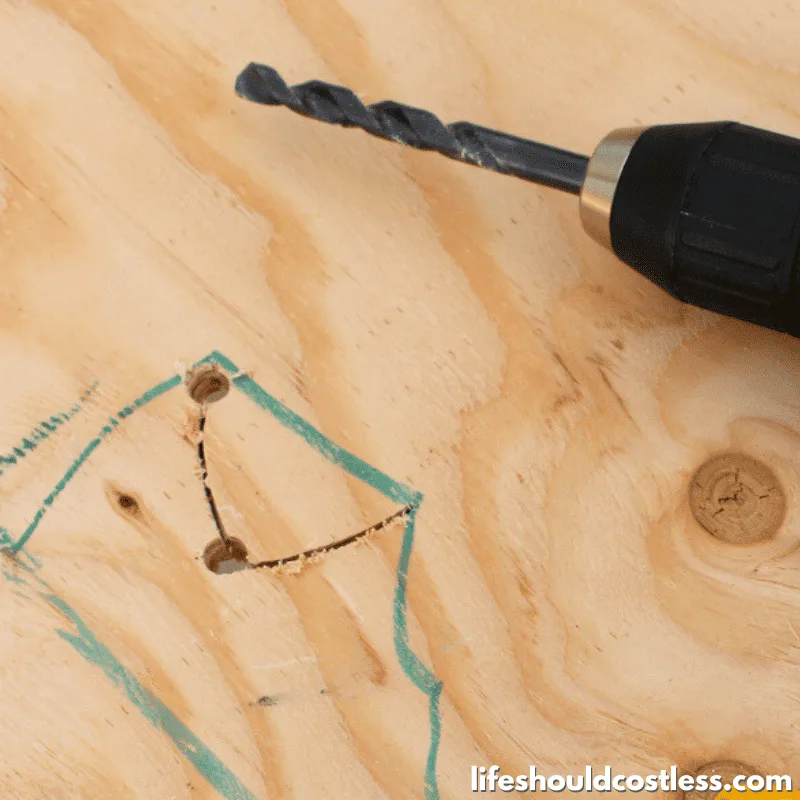 Place the plywood on top of some saw horses, and then cut out the traced pattern using a jig saw. Pro-tip, when you have a tight curve to cut out it's helpful to drill large holes near there so that you can insert the saw into them and cut in small sections.
 -
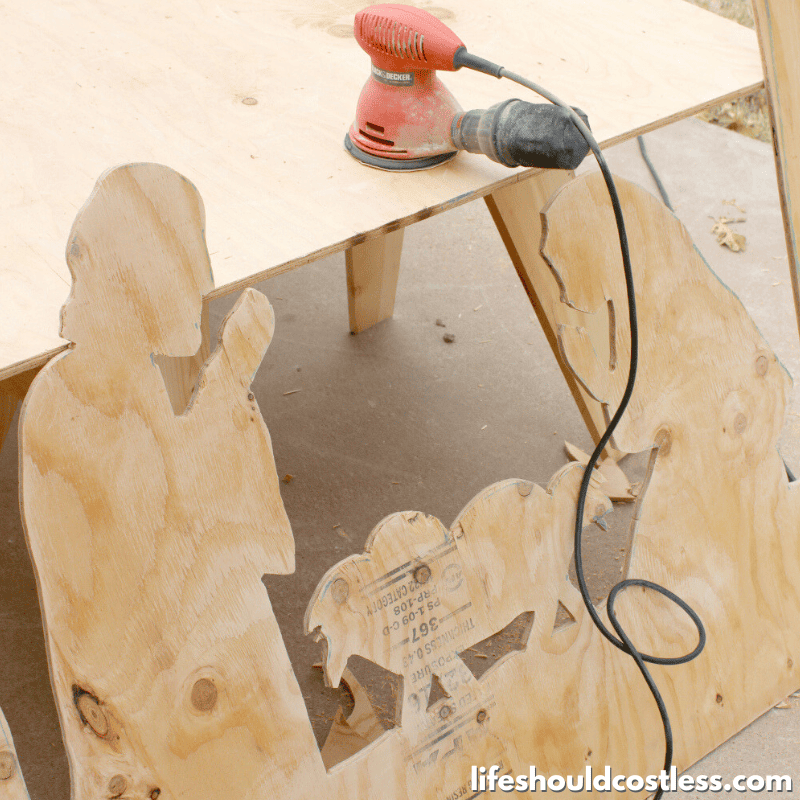
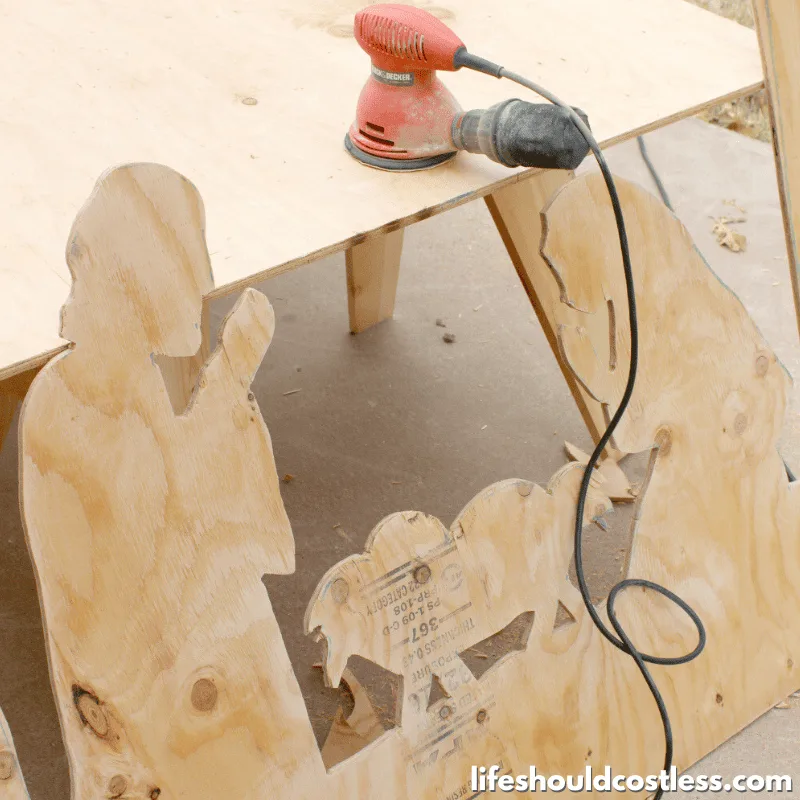 Sand down all of the rough areas using an orbital sander (you can use a Dremel with a sanding bit to get into the nooks and crannies if you desire) and then dust the wood clean.
 -
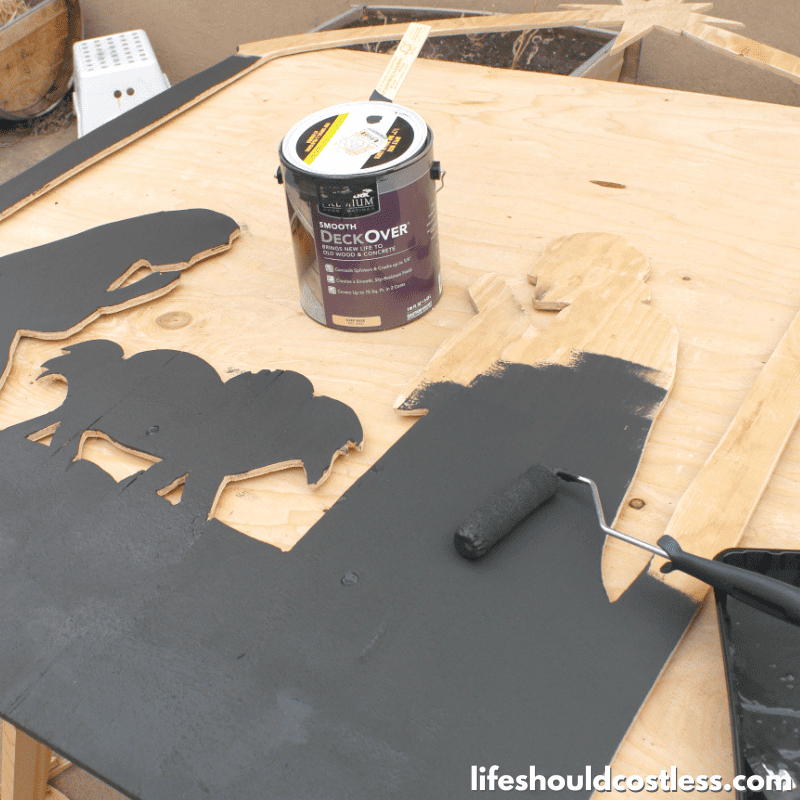

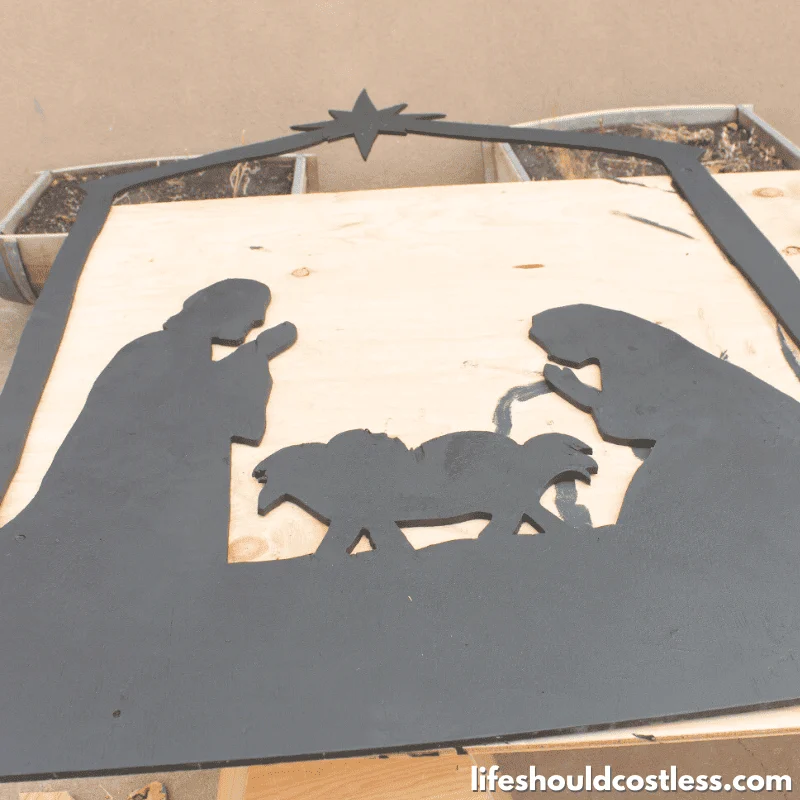 Using a 4" paint roller, paint the entire front, back, and edges of the Nativity scene with a dark shade of Behr Premium Deckover (you can purchase some at Home Depot, mine was painted in the color "slate"). I used a 1" sponge brush to get into the tight spaces. Recoat with deckover as needed, but allow adequate drying time between sides and coats. Allow to dry fully.
 -
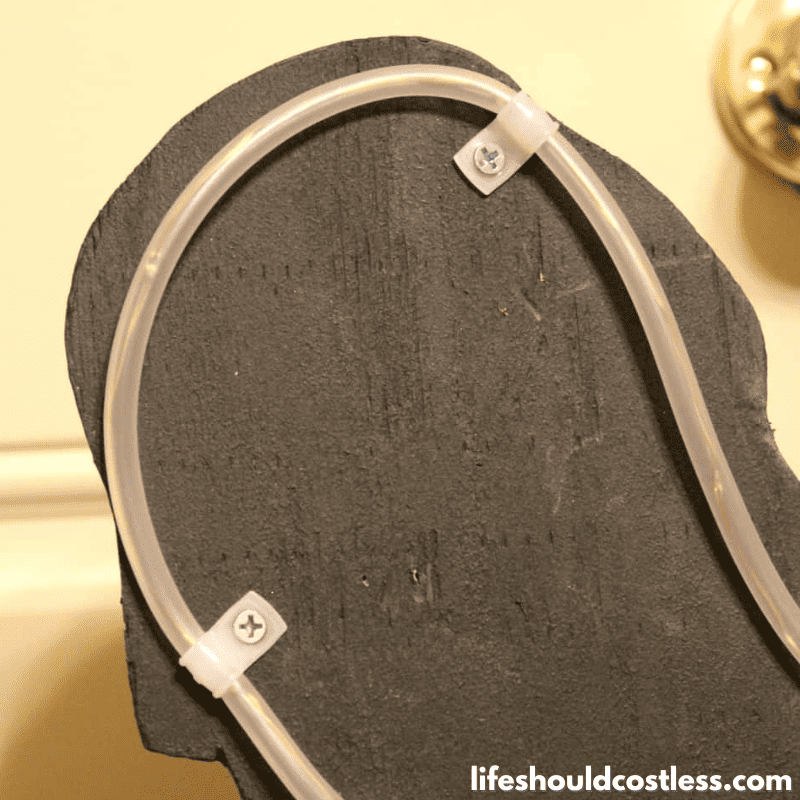

 Using either an LED rope light, or Christmas lights in the color of choice, attach them to the back of the Nativity scene (use more lights around the star area if you would like the star to shine brighter than the rest of the Nativity). You can attach Christmas lights with some heavy duty staples (making sure not to damage the cords or bulbs), or attach the LED rope lights with appropriately sized cable clamps but make sure that the screws/staples/nails you use to attach the lights are not deeper than the ply wood.
 -

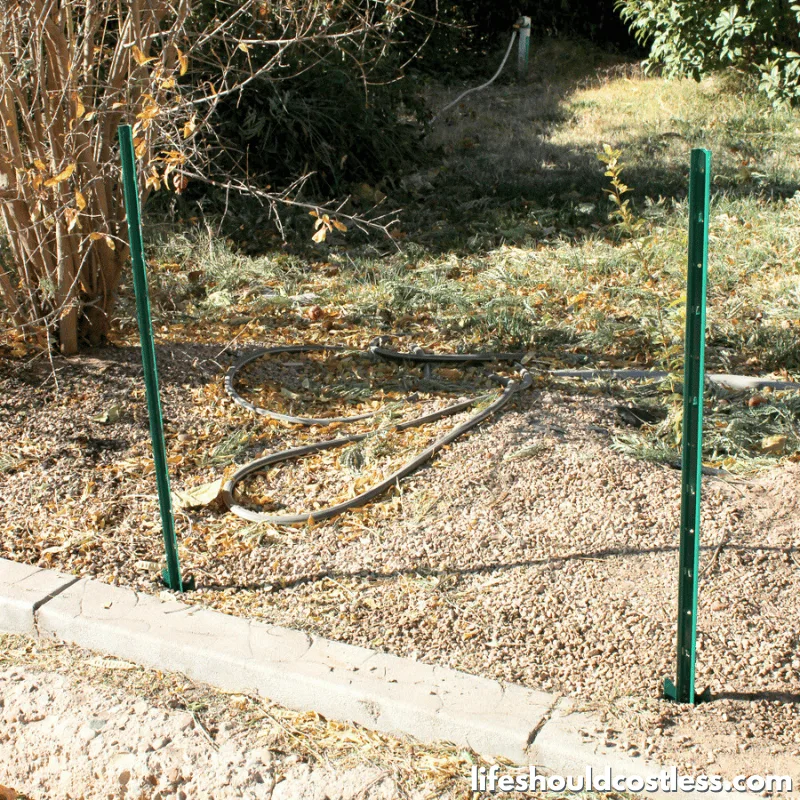
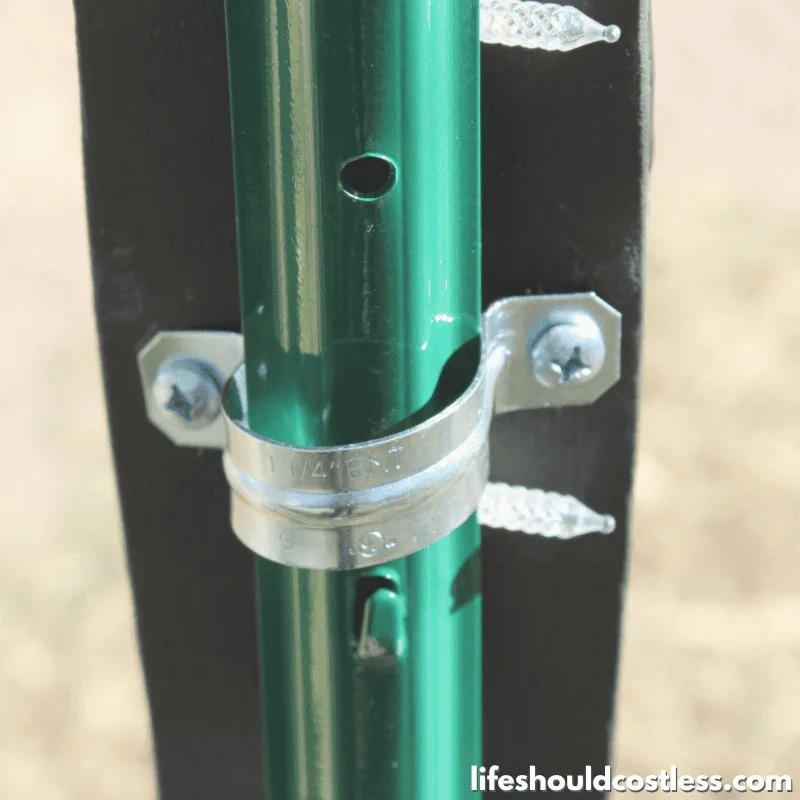
 Place Nativity scene in your yard, plug it in, and enjoy the fun decoration all season long. If you would like to have it free-standing/secured in your yard you can easily attach it to some height-appropriate fence posts using some appropriately sized (that will fit around the fence posts) two hole straps and screws (If you go this route just make sure that you're putting it somewhere that you won't be hitting any underground lines when you drive your fence posts into the ground (I'm talking about power, sewer, water-lines...you get the picture).
Notes
It is easy to take the PDF to a print shop and have them print it onto a transparency film for you for a small cost, should you not wish to purchase a full box of transparency sheets or if you're worried about it not working with your printer.
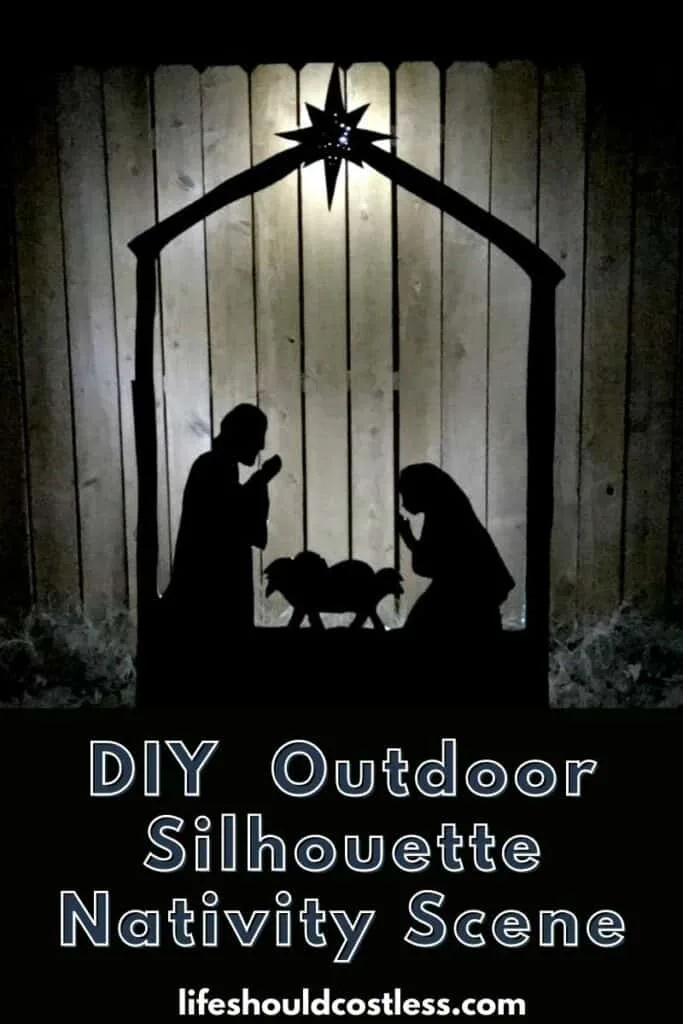
For best results, place your Nativity scene about one to two feet in front of a solid wall or fence. The silhouette effect is more intense if there is something behind it for the lights to shine off of. Also, it will last you much longer if you keep it out of the snow, such as under a covered porch or bring it inside when there is a big storm coming.
Make sure that any and all screws/nails/staples that you use are not deeper than the ply wood or they will be sticking out on the front of the Nativity set.
This project can be a bit tough if you're working by yourself. I do recommend having help.
Recommended Products
Please note that I am an affiliate with Amazon.com. When you purchase through my suggested product links, the cost for you is the same but I do receive a small commission for everything in your shopping cart. Thanks so much for the support!
-
 Transparency Film for Inkjet Printers 100% Clear Overhead Projector Transparencies and Screen Prints (8.5x11 Inches) 60 sheets
 -
 Artograph EZ Tracer® Opaque Art Projector For Wall or Canvas Image Reproduction - Light Bulb Not Included
 -
 Apollo Overhead Projector, Horizon 2, 2000 Lumen Output, 10" x 10", Open Head (V16000M)
 -
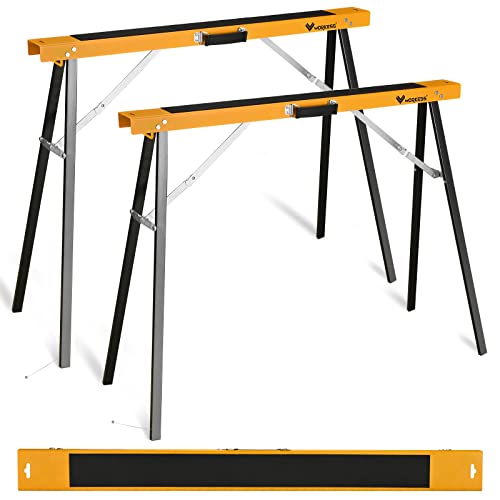 WORKESS Saw Horses 2 Pack Folding, Portable Saw Horses Heavy Duty 550 lbs Weight Capacity Portable Folding Legs and Easy Carry Handle
 -
 BLACK+DECKER Jig Saw, 5-Amp, 3,000 Blade Speed, 45 Degree Beveled Cuts, ¾-Inch Orbital Blade, 4 Curve Settings, Corded (BDEJS600C)
 -
 DeWalt 20V MAX Cordless Impact Driver and Drill Hand Tool Set Combo Kit with LED Flashlight, 45 Piece Drill Bit Set, and Battery Power Pack
 -
 BLACK+DECKER Orbital Sander, 5 Inch, 2.0 Amp, 12000 OPM, Corded, 1 Sandpaper Sheet and Dust Bag Included (BDERO100)
 -
 Dremel 3000-1/25 Variable Speed Rotary Tool Kit- 1 Attachment and 25 Accessories- Grinder, Mini Sander, Polisher, Router, Engraver- Perfect for Routing, Metal Cutting, Wood Carving, Polishing
 -
 Mister Rui-Foam Paint Roller, 4 Inch-8 Pack Paint Roller Kit, Complete 4" Mini Paint Roller Kit with Small Foam Paint Roller Covers, Frame, Tray, and Liner for Professional Painting Results
 -
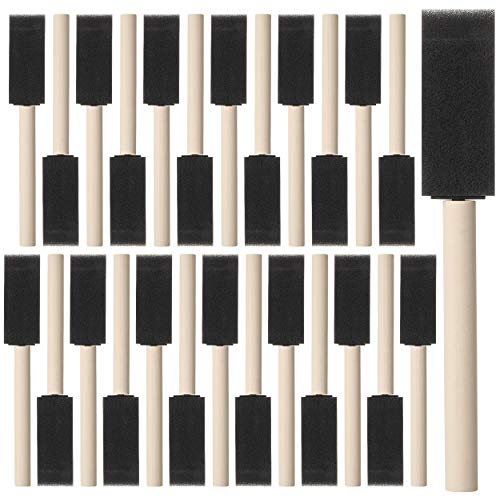 Bates- Foam Paint Brushes, Sponge Brushes, Sponge Paint Brush, Foam Brushes, Foam Brushes for Painting, Foam Brushes for Staining, Paint Sponges, Foam Brushes for Mod Podge (1 inch)
 -
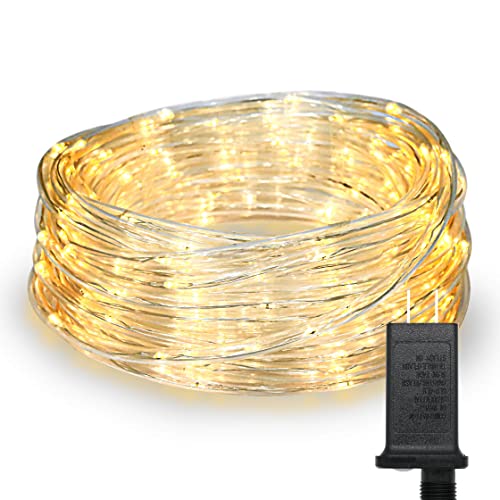 CozyHome – 40 ft led Rope Lights Outdoor Waterproof Plug Powered with Remote | Tube String Lighting | Rope Lights Indoor and Outdoor | led Rope Lights for Bedroom | Warm White Color led Rope Light
 -
 Antrader R-Type Cable Clamp 1/4 Inch White Nylon Cable Organizer Clips for Wire Management Pack of 200
 -
 Upholstery Staple Gun Heavy Duty, YEAHOME 4-in-1 Stapler Gun with 4000 Staples, Manual Brad Nailer Power Adjustment Stapler Gun for Wood, Crafts, Carpentry, Decoration DIY
 -
 MTB Sturdy Duty Fence Post U Post Green 4 Feet, Pack of 10, for Garden Wire Fence U-Channel Steel Post Sign Post
 -
 Piutouyar 25 Pack 32MM Two Hole Strap U Bracket 304 Stainless Steel Rigid Pipe Strap Clamp Heavy Duty Tube Strap Tension Clip (1 1/4 Inch)
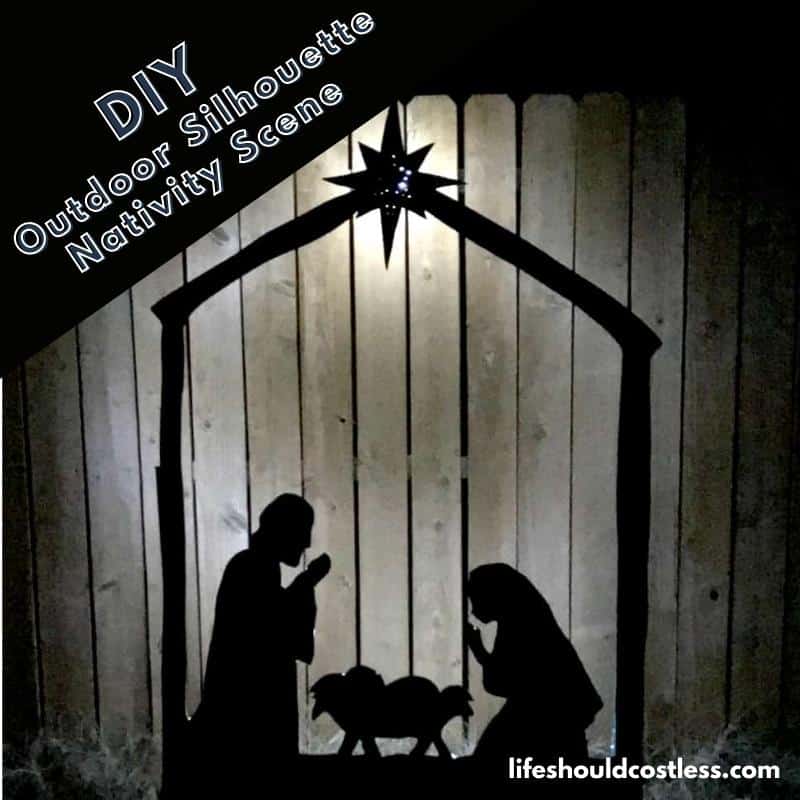
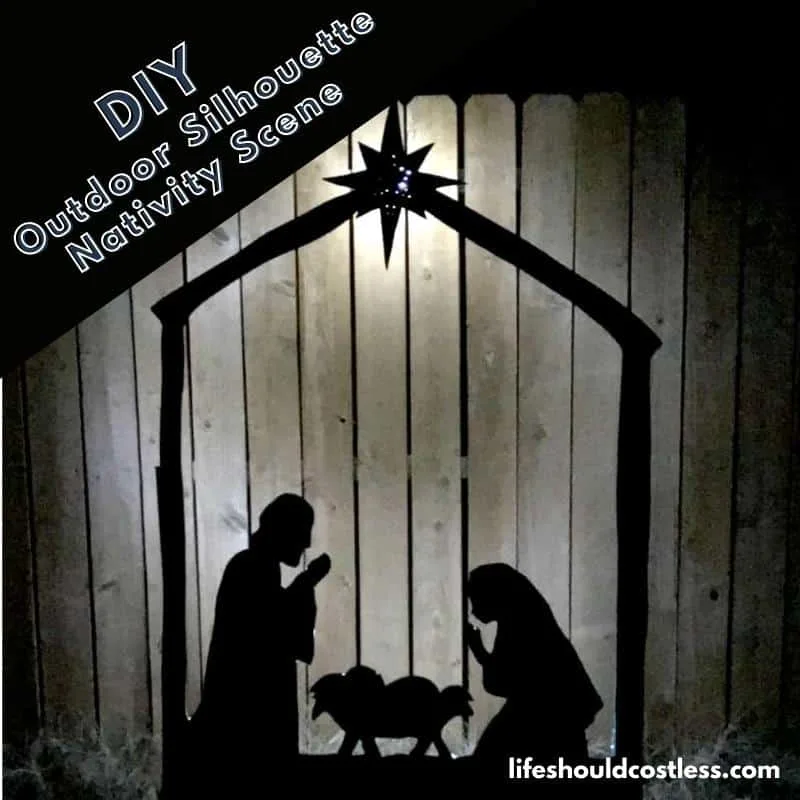
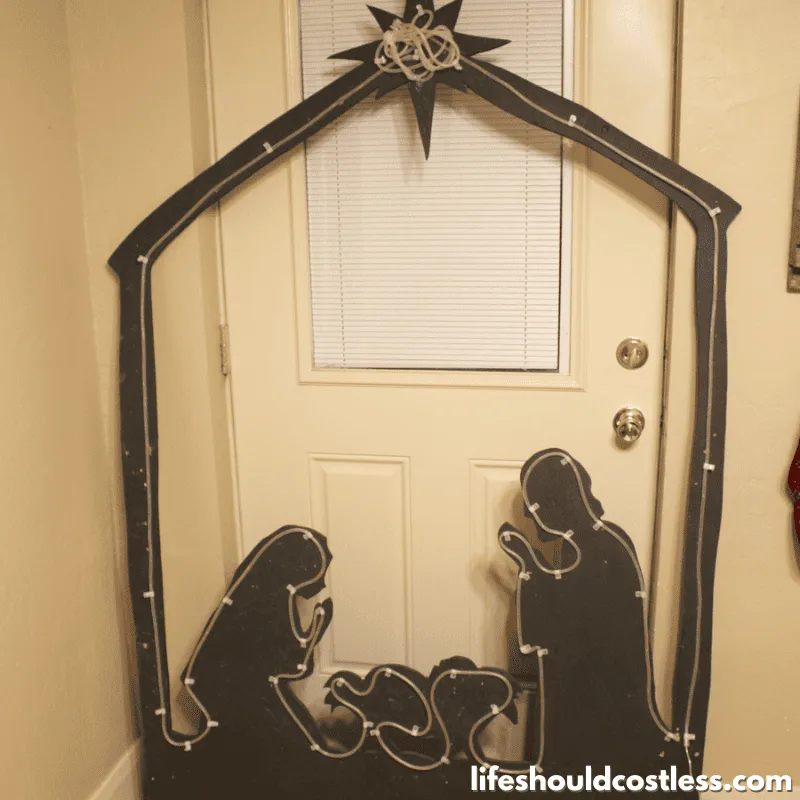
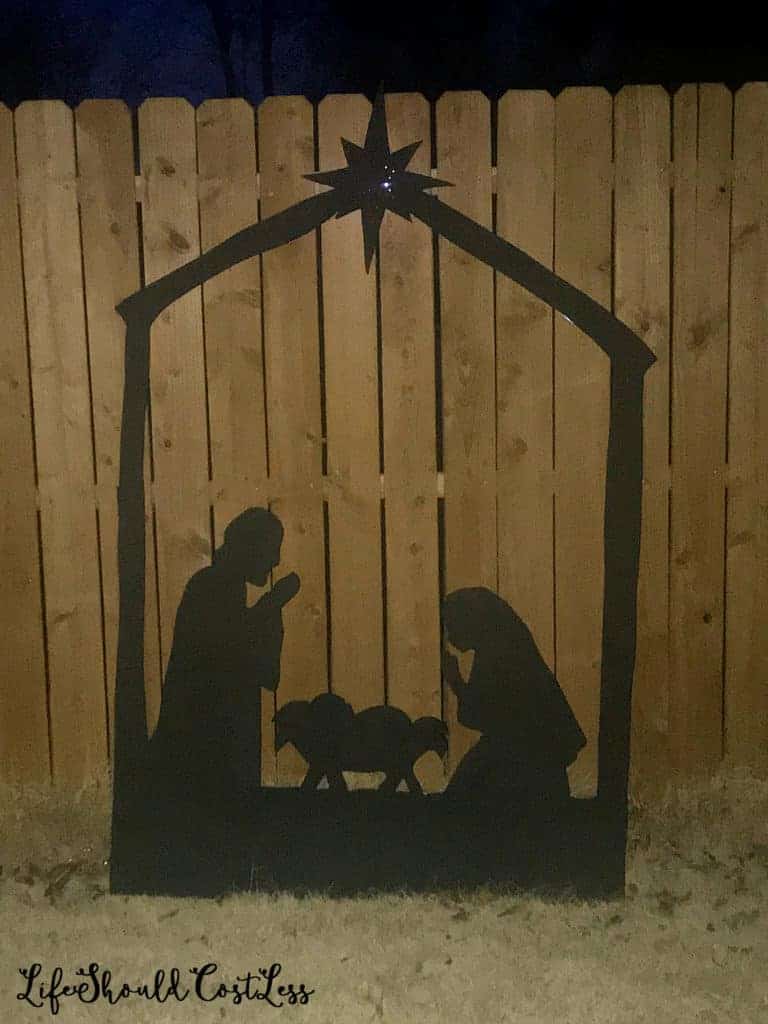
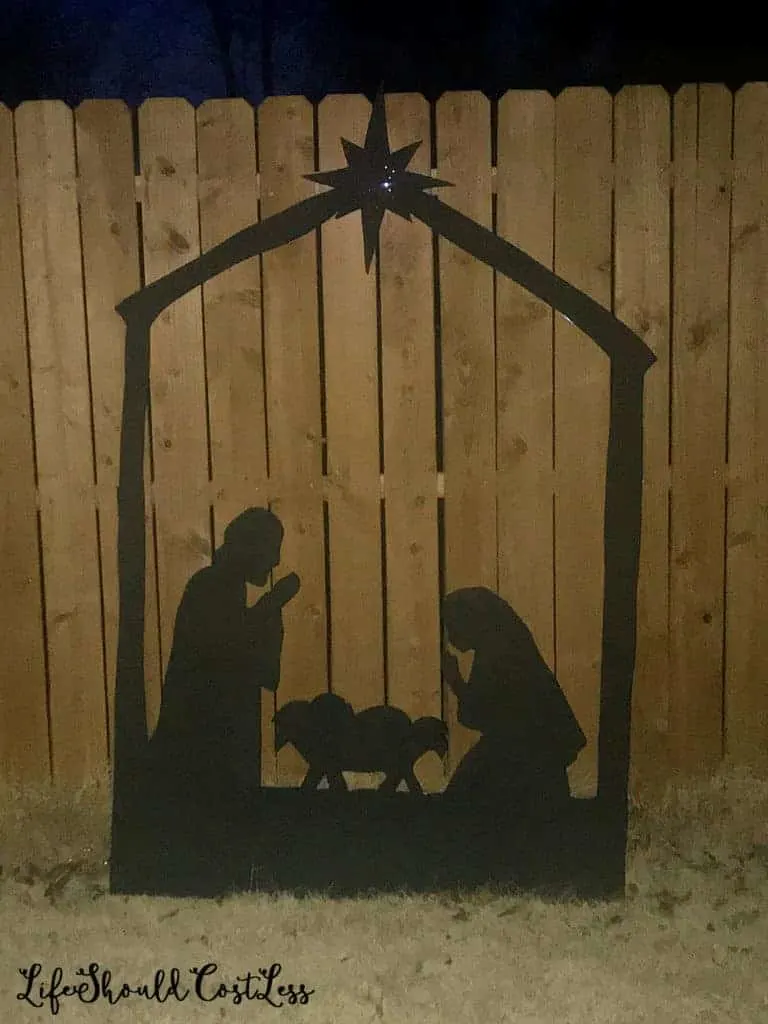
What it looks like in action:
Of course, after my first Christmas using mine I discovered that for it to show the silhouette the best at night you need to put the whole thing in front of something so that the light will reflect off of it and it will look much brighter.
Which makes it look like this at night.
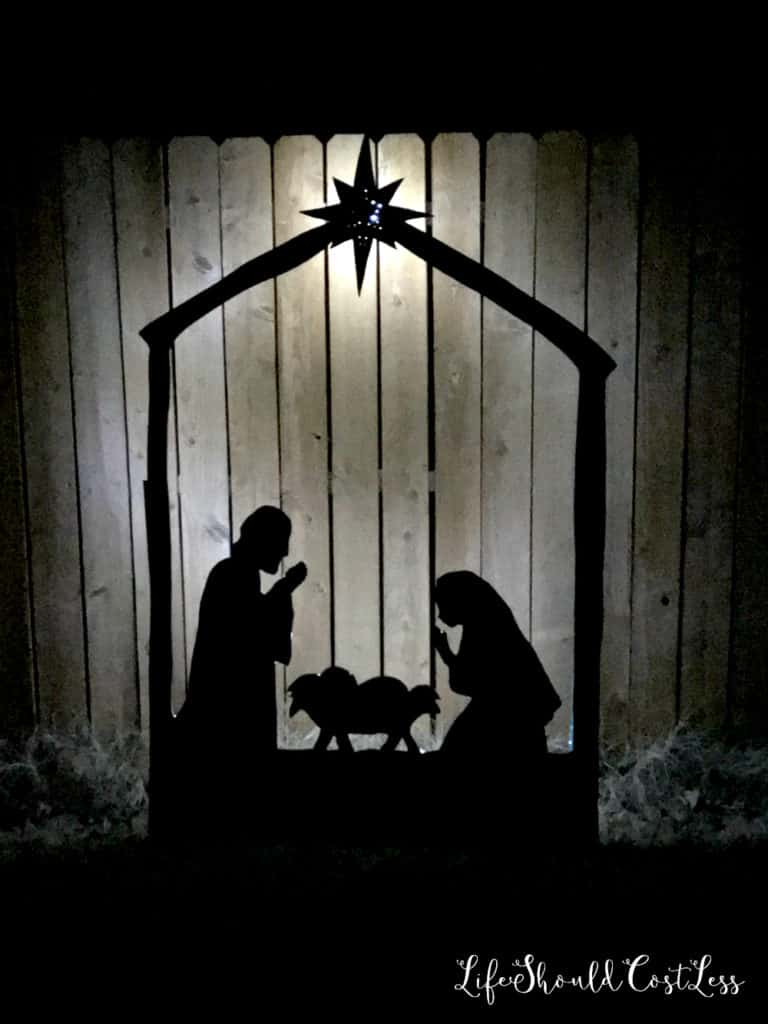
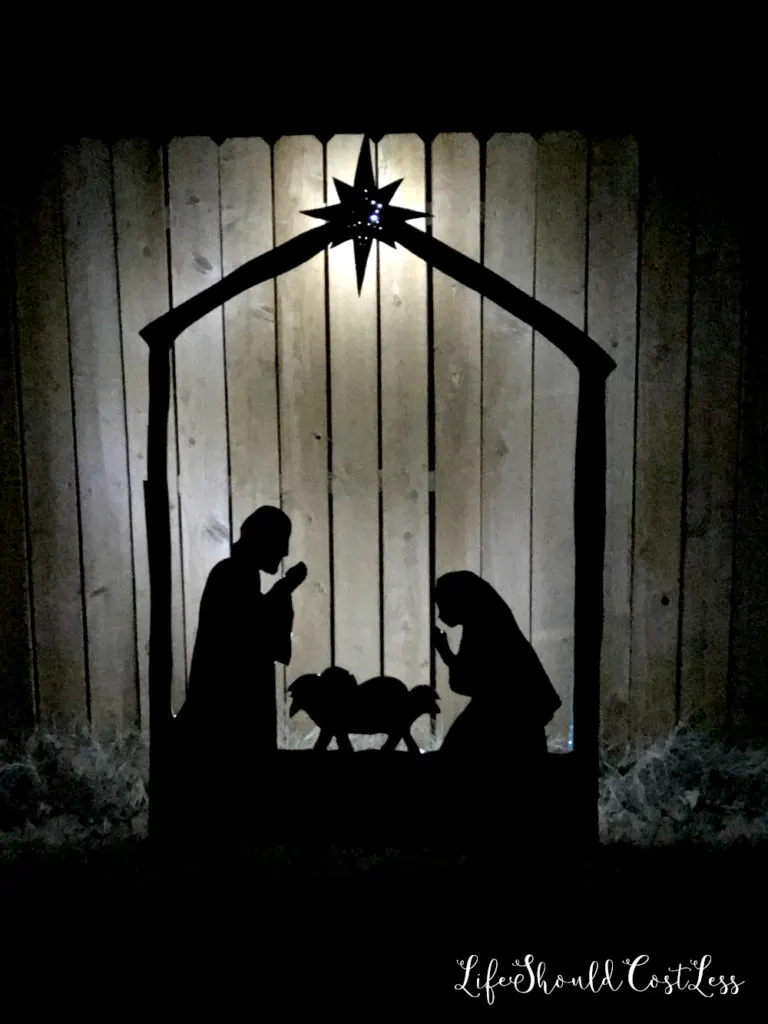
I’m in love with it! It definitely looks like a first draft of a project…which is rough and a little flawed, but it was a blast to make.
If you build one with the updated pattern and it looks better than mine, please send me pics and I will definitely give you proper crediting.
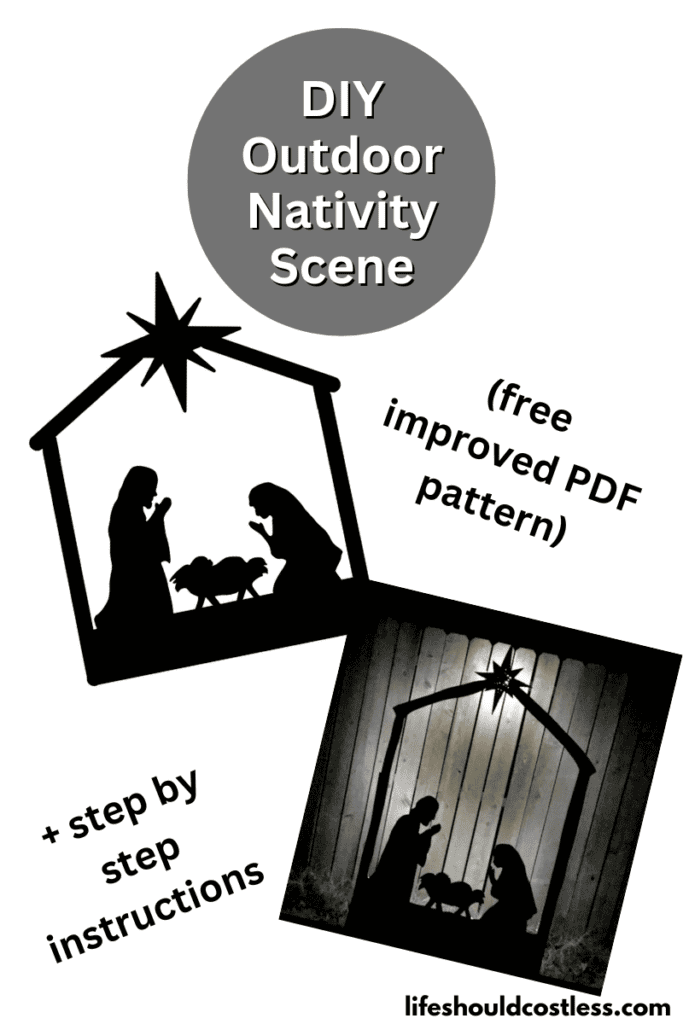
Free printable nativity scene patterns (PDFs found here)
When I originally shared this post I mostly only just shared the basic idea for how I did mine…but hundreds of people have been asking about a pattern and so I decided I needed to add one.
Luckily, in the years since I originally shared it my skill-set has improved quite a bit so I have created some new patterns that are more like the look that I was actually going for, & it should be quite a bit more even and structurally sound.
I still have no claims at being a professional artist in any way, and they’re not perfect, but I thought that I would share this so that you guys have a general guide and you can adjust things however you see fit.
Here is a taller/skinnier verion:

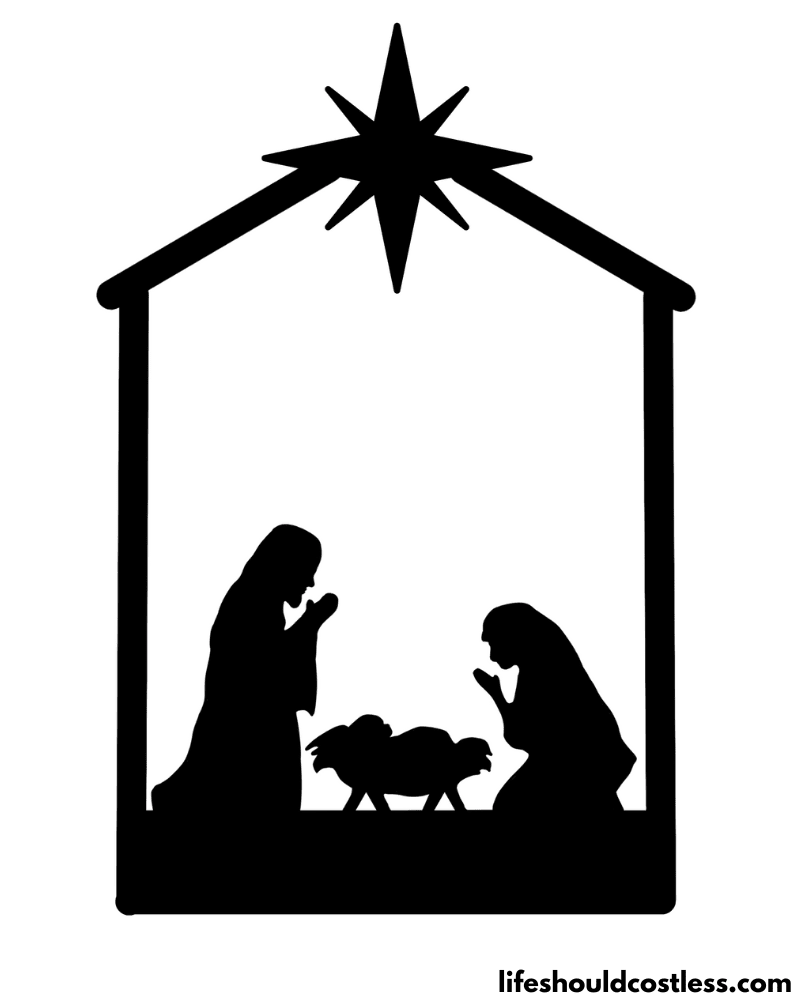
Here is a shorter, more square version:

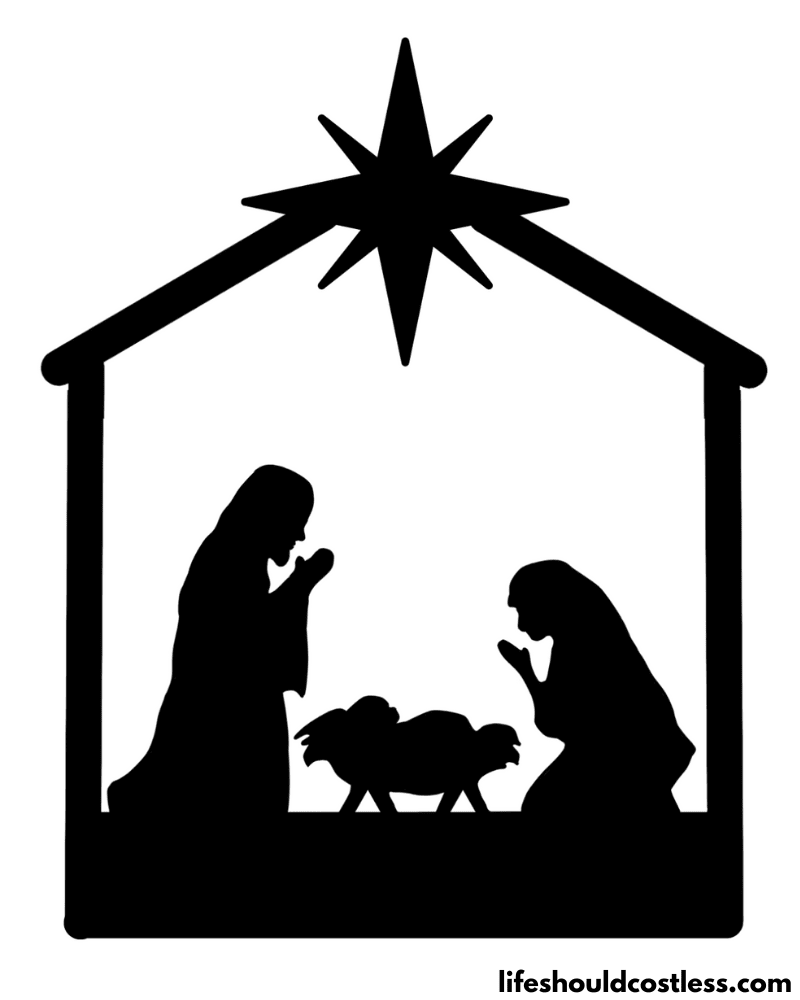
Just download, save, print and use them however you see fit.
*If they are to be used in a commercial way (or to obtain personal profit) I do need to grant you written permission/ you can ask me for an agreed upon price to do so.
Other ideas for what these patterns could be used for
While I definitely created these patterns specifically to be a backlit Nativity silhouette scene for outdoor use, they can be versatile and used in various other creative ways.
Here are some alternative ways to use these patterns:
- Greeting Cards: Resize the image smaller to craft handmade greeting cards. They can add a personal and meaningful touch to your Holiday messages.
- Children’s Crafts: These Nativity set patterns can be adapted for children’s crafting activities. Encourage kids to color, paint, or assemble small-scale nativity scenes to help them learn about the Christmas story in a fun and creative way.
- Jigsaw Puzzles: Convert the pattern into a jigsaw puzzle for an engaging and educational activity.
- Religious Education: A smaller version of this project could serve as a prop for interactive lessons.
- Table Centerpieces: Create a miniature nativity scene using the pattern to use as a table centerpiece or it could be printed on place mats for church events or religious gatherings. It can be a symbol of faith and unity.
- Community Outreach: Organize workshops in your community or church, where participants can use the pattern to create their own displays and have fun while they build them together. These events can foster a sense of community and promote the message of Christmas.
- Gift Tags and Ornaments: Reduce the size of the pattern to create gift tags or Christmas tree ornaments with miniature nativity scenes (which would especially be a neat idea for those of you that have a wood-cutting laser or engraver). They can add a meaningful touch to your holiday gift-giving.
- Prayer Cards: Design prayer cards with nativity scenes to distribute at church services or religious events. These cards can include prayers or verses related to the Nativity.
- Church Stage Productions: If you’re involved in church drama or stage productions, these patterns can be used to create backdrop elements for Christmas pageants and plays.
- Vinyl: You could adapt the patterns to be used with a vinyl cutter and create stickers for water bottles, or even for a seasonal bumper sticker.
- Screen printing: It would be easy to print out and iron onto various clothing items or fabrics to create other projects.
By thinking creatively and adapting the patterns, you can incorporate the beauty and significance of the Nativity story into various aspects of your life and share it with others in meaningful ways throughout the year.
*If you think of any other fun and creative ways to use these patterns, please make sure to email me and share so that I can add them as a suggestion to this article.
Conclusion
In conclusion, crafting your own DIY outdoor Nativity scene is a rewarding and fulfilling endeavor that can truly enhance the spirit of Christmas for you and those around you.
By following the steps and tips outlined in this article, you can create a unique & meaningful representation of the Nativity story that will serve as a powerful reminder of the true essence of the holiday season.
Whether you choose to keep it simple or incorporate intricate details, your Nativity scene will not only be a testament to your creativity but also a symbol of faith, hope, and the birth of Jesus Christ.
As you place your beautifully crafted Nativity scene outdoors for all to see, you’ll be sharing the story of love, compassion, and joy that lies at the heart of Christmas, making it a special gift to your community and a cherished tradition for years to come.
So, roll up your sleeves, gather your materials, and let your creativity shine as you embark on this heartwarming DIY project that celebrates the true reason for the season.
Yard nativity scene FAQ’s
Honestly, the most frugal thing that you could do to make this Nativity scene would be to make two or three of them at once to save money (see if you have friends or family that want one too and split the cost).
When purchased by the gallon, there is enough paint (smooth Behr Premium Deckover) in one can to make two or three of these nativities, and you can sometimes buy your rope-lights in bulk as it can be cheaper to buy a two-pack sometimes but shop around to be sure.
Obviously when you buy any hardware in bulk that saves money too.
If you are lucky you can sometimes find an old overhead projector at a thrift shop for cheap, or when schools are getting rid of old items I have found them there too.
Had I not run into any snags or interruptions in my build, it would have taken me about five to seven hours to complete this project.
How long it will take to build yours will depend on your skill level and whether or not you are working alone…but five to seven hours is a good estimate.
It could easily be busted out in a couple of evenings or one long day.
When I built mine, it lasted me for four winters (that was four winters where I kept it out of the snow and in a shed between holiday seasons).
I feel like it would have made it another 2-5 years had I not moved twice in that time…as it got a little bit damaged in the moves.
Thanks so much for stopping by my blog and supporting my endeavors to make people’s lives a little easier/better/more affordable.
If you liked this post, or found it helpful in any way, please make sure to share it with your family, friends, and co-workers via social media.
Or you could even send them the direct link via email. Whichever way you choose to spread the love, I super appreciate it! ~Sarah
How To Follow & Support This Site
- If you would like to subscribe to my email list, go here.
- Make sure to follow along via social media, by going here.
- If you would like to learn how to really show your support to this site (at no cost to you), go here.
- If you would like to make a direct donation to the site, go here.
Check out my related articles:
- To see all of my DIY projects, go here.
- To see all of my Winter-related articles, go here.
- To see all of my Christmas-related articles, go here.
For those of you that would like to check out some of my other fun stuff, here are some links to some good ones:
All Christmas-related articles
Other fun DIY projects:
Other good resources for an outdoor manger scene
I’m well aware that not everything I write/share is going to please everyone.
If you decided that you don’t like how I cover the subject, here are some other outdoor nativity scenes you could try instead.:
- https://www.lovelyetc.com/simple-diy-wooden-nativity/
- https://www.thestonybrookhouse.com/2016/12/building-outdoor-nativity.html
- https://www.allthingsthrifty.com/diy-christmas-yard-nativity-set/
*Please note that this post was published to this website on January, 3rd 2018 & has since been updated to be a little more user friendly and shareable too.