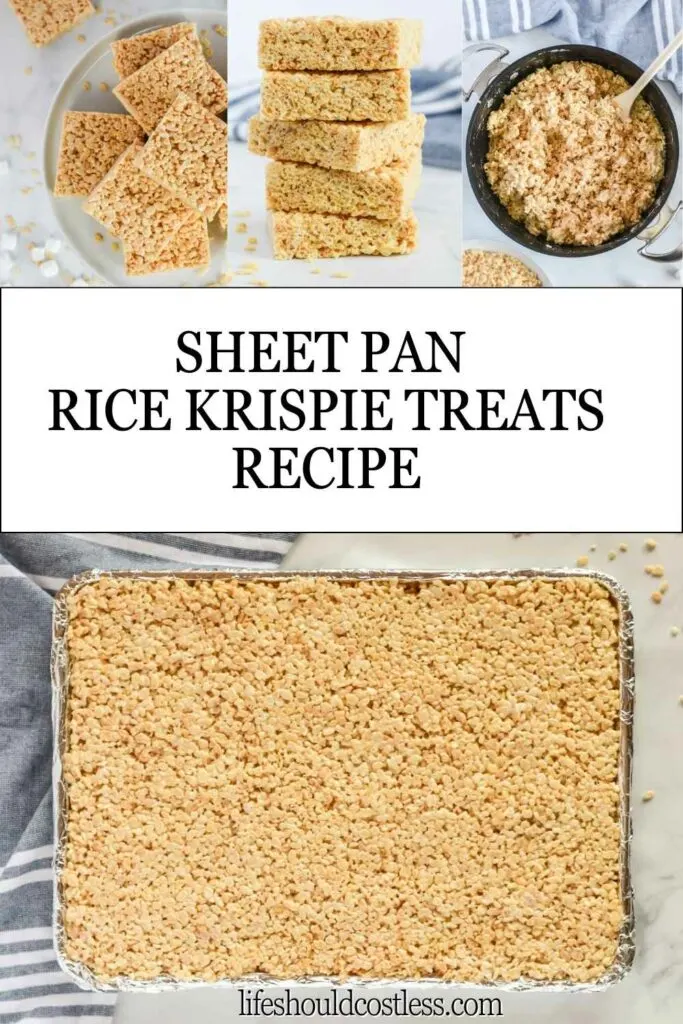
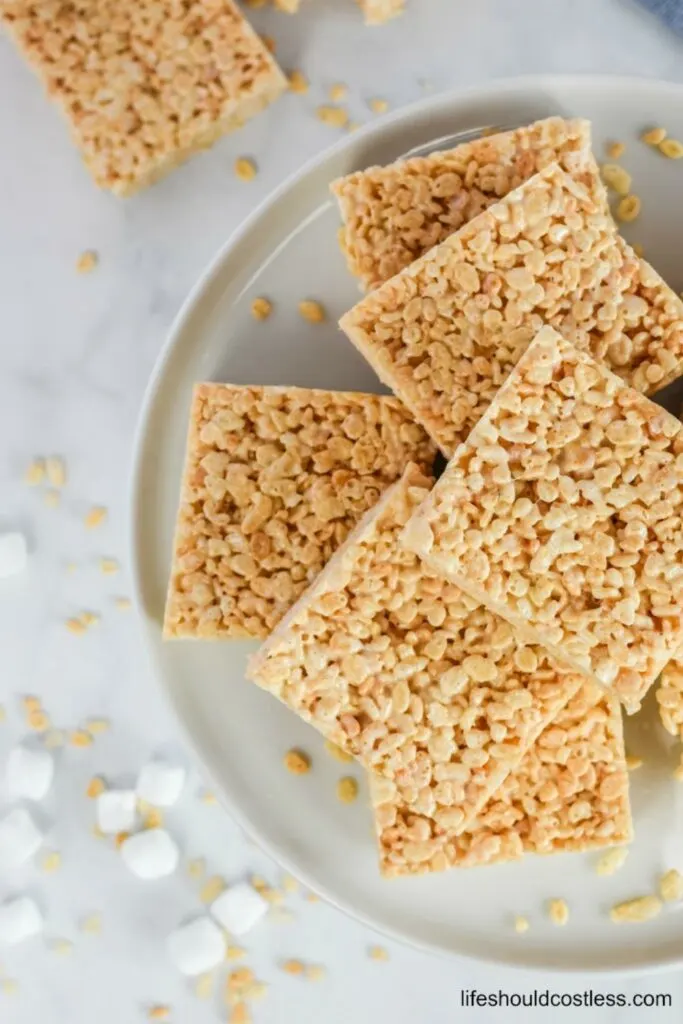
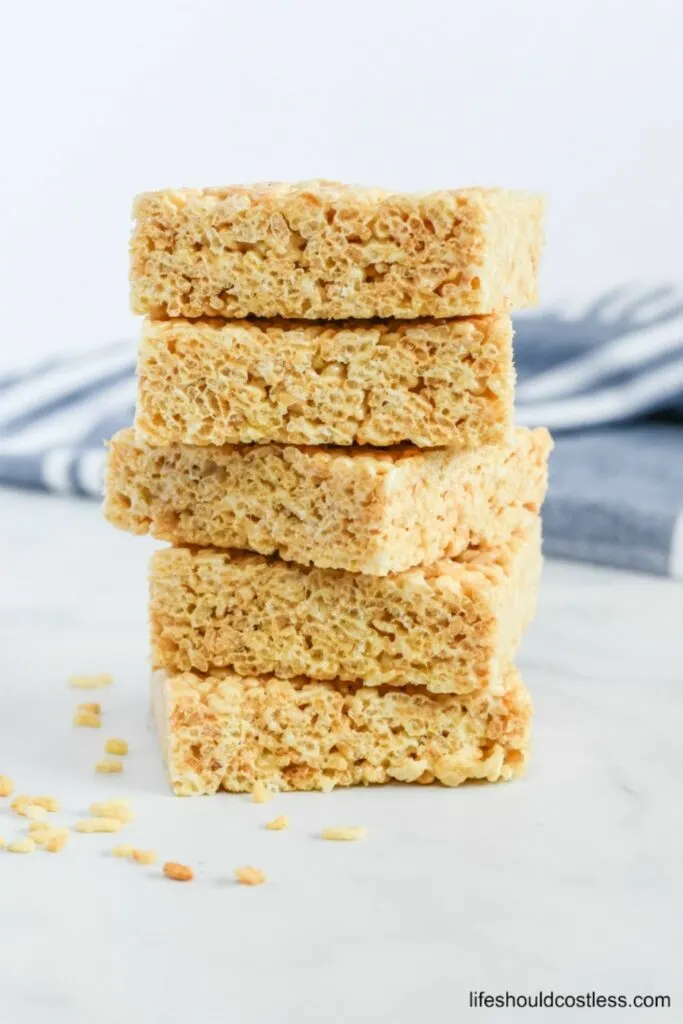
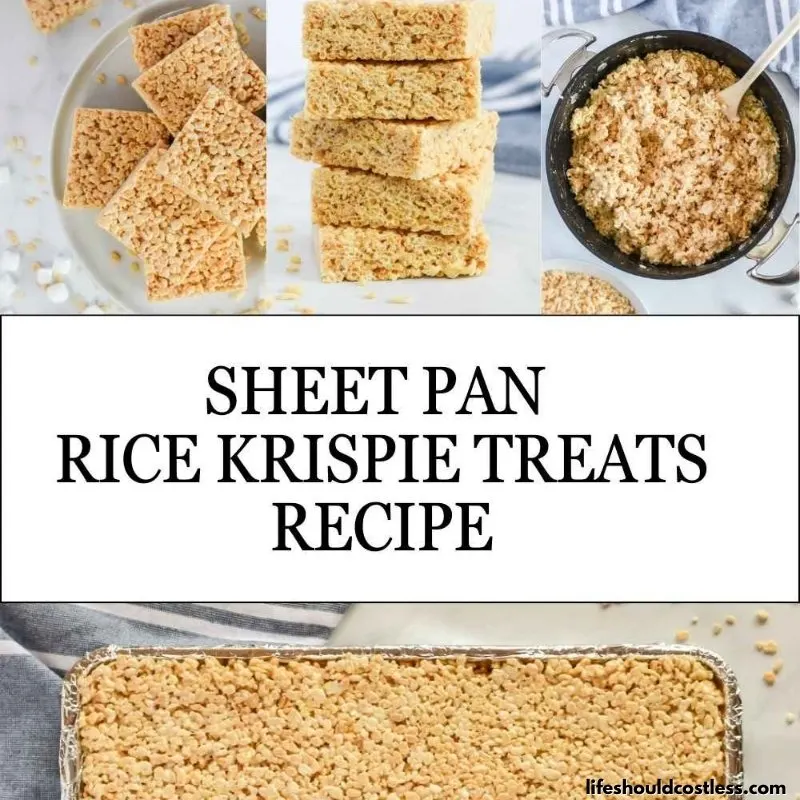
These Sheet Pan Rice Krispie Treats are the ultimate solution for making large, delicious batches that are perfect for bake sales, parties, or any occasion where you need a crowd-pleasing snack. Made on a half sheet pan, they’re easy to prepare and can be customized with your favorite mix-ins or toppings. Whether you want to dip them in chocolate, sprinkle them with candy, or add a fun twist the possibilities are endless. Whether you’re baking for a special event or just craving something sweet for a big family, these treats are sure to satisfy!
About This Recipe
Keep in mind that these large batch rice krispie treats are just basic rice crispy treats, nothing fancy…and can easily be dressed up or modified to suite your tastes however you desire.
This recipe is just super handy to have on hand because I took out the guesswork out of doing all the math to make them fit into a half sheet pan.
Which means that none of us have to guess or make several batches of treats to suit our needs…often times just one large batch is all that is needed.
My big batch of rice krispie treats recipe is perfect for any potluck, bake sale, or party that you are going to.
Or you know, it works for just your family too, if yours is like mine and they are pretty much just a bunch of piglets… and in that case, this batch lasts my family of five two days of “treats”.
- To see my caramel apple rice krispie treats recipe, go here.
- To see my cinnamon vanilla rice krispie treats recipe, go here.
Ingredients List
Like I said, these are a pretty basic krispie treat, however, I’m sharing the ingredients for the big batch rice krispie treats because many of my readers live in other countries and need to see ingredients.
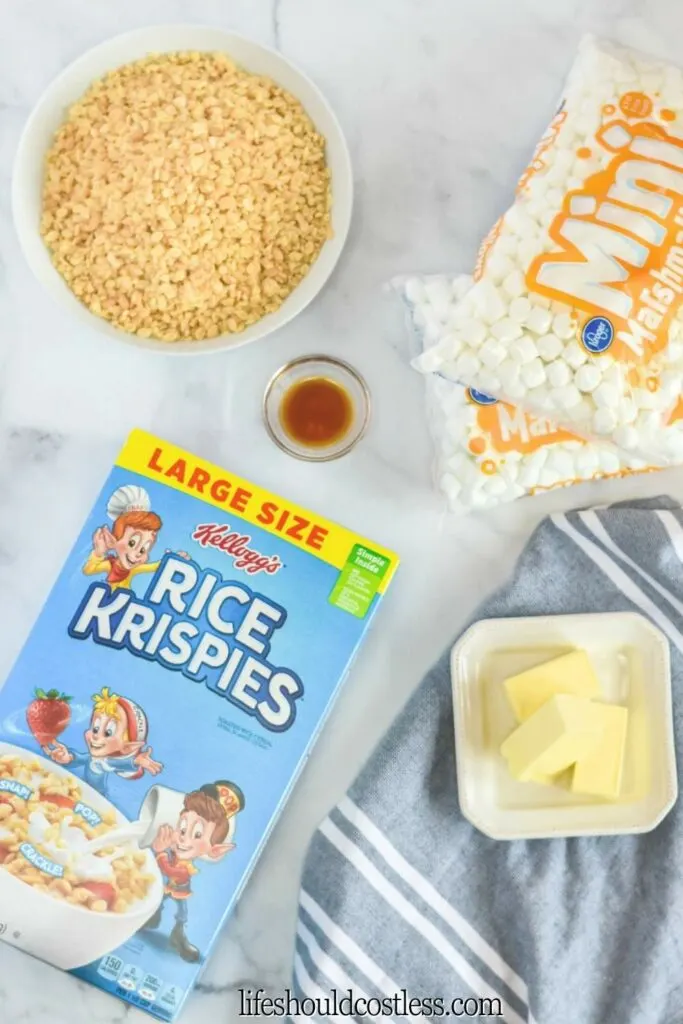
You will need:
- Large Package Puffed Rice Cereal
- Salted Butter
- Vanilla Extract
- Mini Marshmallows
Recommended Tools/Supplies
Here are my best suggestions for what you need to get the job done:
Please note that I am an affiliate with Amazon.com. When you purchase through my suggested product links, the cost for you is the same but I do receive a small commission for everything in your shopping cart. Thanks so much for the support!

Nordic Ware Naturals Two Half Sheets with Lid Set, 3-Pieces
Every baker needs some quality half sheets pans with lids in their kitchen. These are both my favorites, and an Amazon best seller.

Amazon Basics Heavy Duty Non-Stick Foil, 95 Sq Ft
Using non-stick foil saves you from having to butter or grease the sheet pan...and it also hides your pan if it is well-loved and embarrassing to take to gatherings.

Amazon Basics Parchment Paper, 90 Sq Ft Roll
Wondering how I got my treats so perfectly flat? My secret is to place a sheet of parchment paper over them once I have spread them into my sheet pan...and then I rub my hands over them until they are compacted.

Cook N Home Nonstick Stockpot with Lid 10.5-Qt, Deep Cooking Pot Cookware Canning Stock Pot with Glass Lid, Black
A large batch recipe means that you're also going to need a larger pot to make these.

Rubbermaid Commercial Products High Heat Resistant Silicone Heavy Duty Spatula/Food Scraper 16.5-Inch, 500 Degrees F, Red handle, for Baking/Cooking/Mixing, Commercial Dishwasher Safe
A high-heat spatula is a necessity for making krispie treats, I've had this one for about ten years and LOVE it!

OXO Good Grips Bench Scraper & Chopper, 1 Count, Stainless Steel
Get perfect cuts every time with a quality scraper. I suggest buttering it between slices.

Jet-Puffed Mini Marshmallows (10 oz Marshmallow Bag) (Pack of 3)
You need lots of marshmallows to make these.

Watkins All Natural Original Gourmet Baking Vanilla, with Pure Vanilla Extract, 11 Fl Oz (Pack of 1) - Packaging May Vary
Quality vanilla extract will give you the richest flavor.

Morepack Cellophane Treat Bags,4x9 Inches Clear Cellophane Bags 200 Pcs OPP Plastic Treat Bags with 200 Twist Ties for Gift Wrapping,Packaging Candies,Bakery, Cookies, Chocolate,Party Favors
For professional looking treats, make sure to wrap them super cute!
How To Dip Rice Krispie Treats
Often, the whole point of making a large batch of these treats is so that you can take them somewhere special.
If that is the case, you may want to cut them into bars and “fancy” them up a bit by dipping them into chocolate or adding whichever embellishments you desire.
I haven’t had time to make my own video yet to show you how, but here is a good video that shows you the basics on how to do it(not taking credit in any way, so make sure to follow the creator and give here a thumbs up).
What To Dip Them In
Here are some ideas for what to dip your Krispie Treats in so that you can make them truly your own:
- Melted Chocolate (add food dye to white chocolate for different colors)
- Crushed Roasted Nuts
- Coconut Flakes
- Colored Edible Glitter
- Sprinkles
- Crushed Candy Canes
- Crushed Hard Candy
- Crushed Up Cookies
- Instant Espresso/Coffee Powder
- Candy Melts
You could even go so far as to flavor your melted chocolate with a little bit of flavoring extract…the possibilities are endless!
Pro Tips
Making your treats a cut above the rest involves a few professional tips and tricks to enhance both flavor and texture.
Here are some things you could try:
- Use Fresh Marshmallows: Fresh marshmallows melt more evenly and give a smoother texture compared to older, harder marshmallows.
- Butter Generously: Don’t skimp on the butter. Using a bit more than the recipe calls for can make your treats richer and prevent them from drying out.
- Lower Heat: Melt the marshmallows slowly over a lower heat to avoid scorching. This helps maintain a smooth consistency and prevents the sugar from crystallizing.
- Vanilla Extract: Use a high quality vanilla extract when making them so that the flavor really pops.
- Don’t Over-Stir: Mix the cereal into the marshmallow mixture until just combined. Over-mixing can make the treats dense and hard.
- Proper Pressing: When pressing the mixture into the pan, use a piece of parchment paper or a buttered spatula to avoid sticking and to ensure an even layer without compacting it too much, which can make the treats hard.
- Let Them Set: Allow the treats to cool and set at room temperature. Refrigerating them can make them hard like cement.
- Cutting: Use a sharp knife or scraper/cutter and clean it between cuts, or grease it lightly with cooking spray to make slicing easier and to prevent sticking.
- Add-Ins and Toppings: For extra texture and flavor, consider mixing in ingredients like chocolate chips, candy pieces, caramel bits, nuts, or dried fruit. Add these in with the cereal so they are evenly distributed.
- Customize Your Recipe: Experiment with different types of cereal or additions like brown butter for a nuttier flavor, or a mix of different marshmallows for fun color and flavor combinations.
- Freshness is Key: Rice Krispie treats are best enjoyed the same day they are made, as they can get stale quickly. Store them in an airtight container to keep them fresh longer.
- Quality Ingredients: Use the best quality butter and marshmallows you can find, as the flavor of these ingredients is prominent in the treats.
These tips can help elevate your Rice Krispie treats from good to great, making them a hit at any gathering or a delightful treat to enjoy at home.
How To Save Money Making Them
For those times that I’m just making these as a basic, low-budget treat I typically will buy everything in bulk and generic…I even sometimes go so far as to use imitation vanilla.
I do however, always use real butter…I draw the line frugal line at margarine…I just can’t do it…lol.
How To Make Them (Printable Recipe Card & Photo Tutorial here)
If you like these, make sure to also check out my recipes for caramel apple rice krispie treats, as well as the best cinnamon krispie treats.
Sheet Pan Rice Krispie Treats Recipe
Feed a crowd with this large batch of Sheet Pan Rice Krispie Treats. Bulk recipe is perfect for potlucks, parties, and bake sales.
Ingredients
- ¾ Cups Salted Butter (170 g)
- 1 & ½ (16 oz) Bags Mini Marshmallows (640 g)
- 1 Tablespoon Vanilla Extract, Or Extract Of Choice (15 ml)
- 15 Cups Rice Crispy Cereal (420 g)
- *Optional Food Coloring Or Mix-ins
Instructions
-
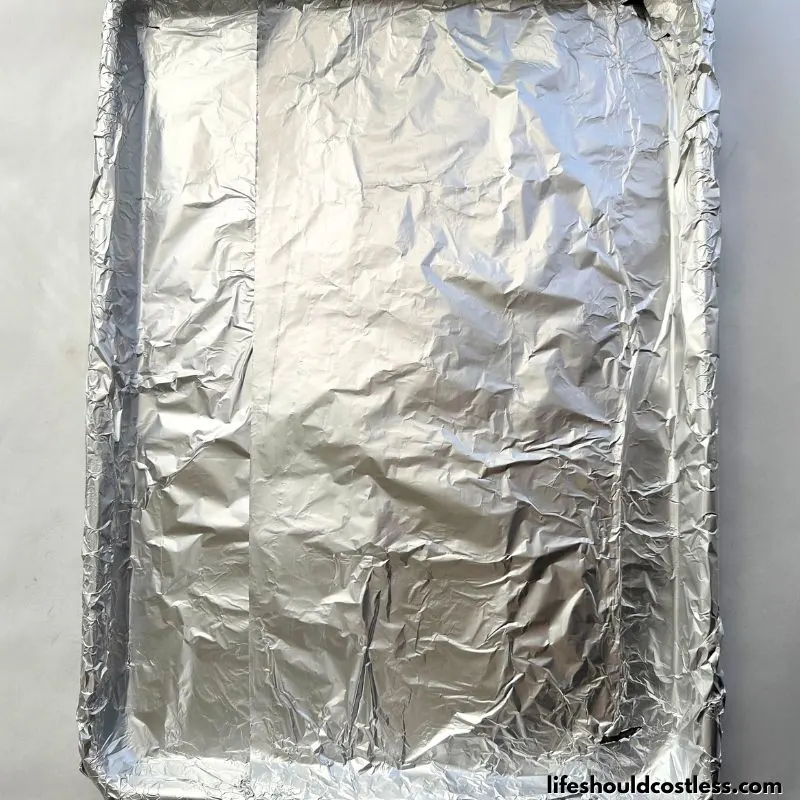 Before you begin, prepare a baker's baker's half sheet pan by greasing it with butter, cooking spray, or adding non-stick foil to the bottom and up the sides.
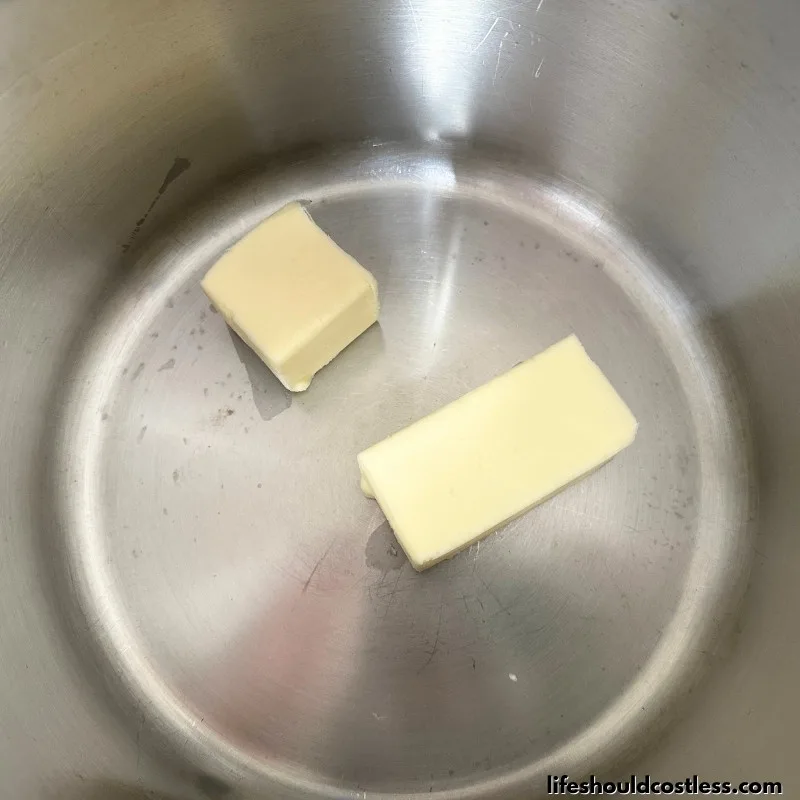
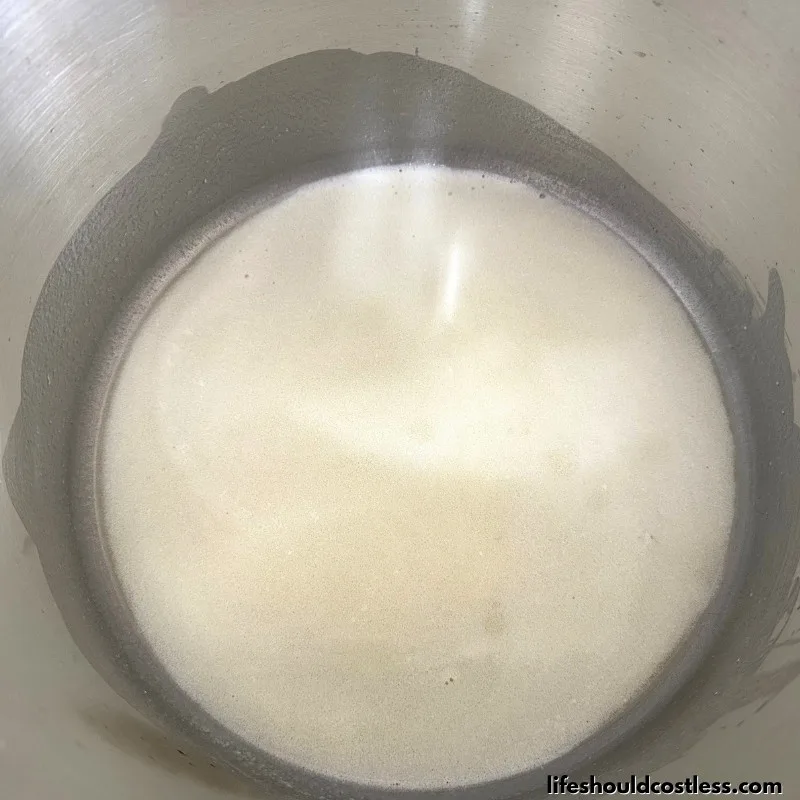 In a large pot, on medium heat, melt the butter.
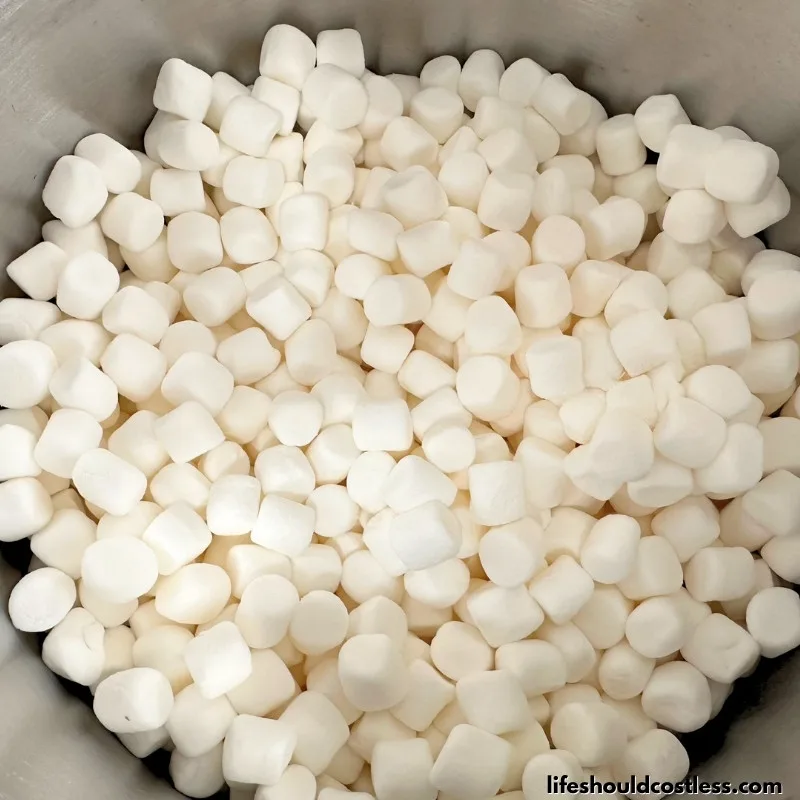
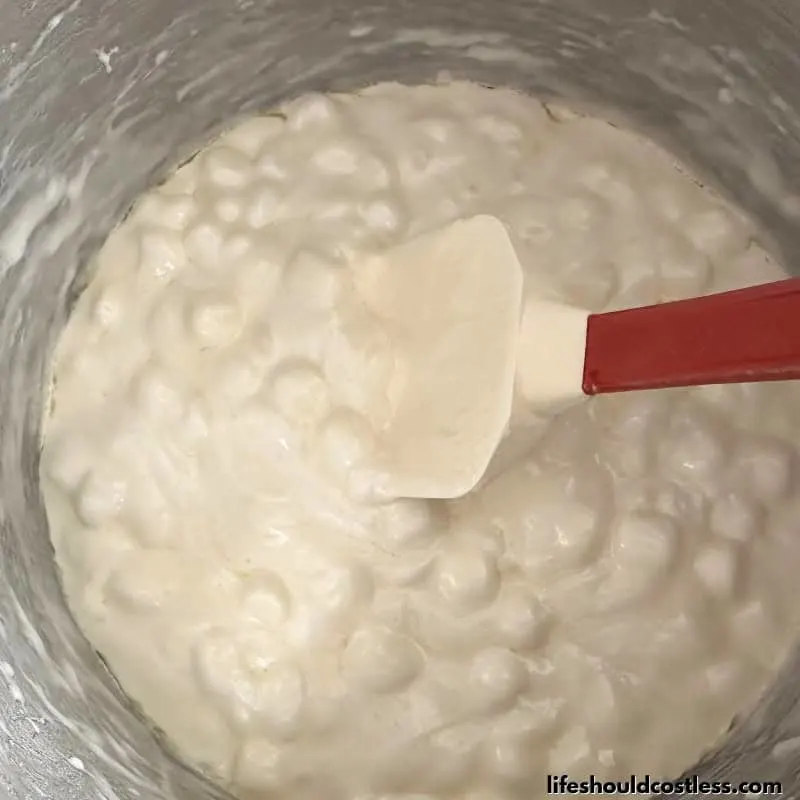
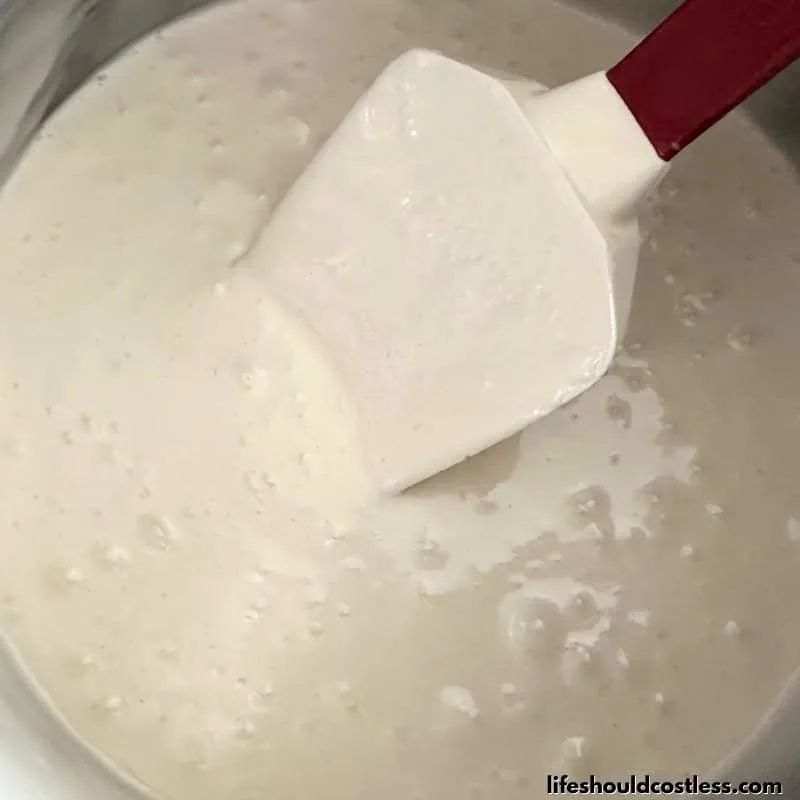 Add the marshmallows and stir occasionally until they have melted. Remove from heat. I use a high temp rubber spatula for this.
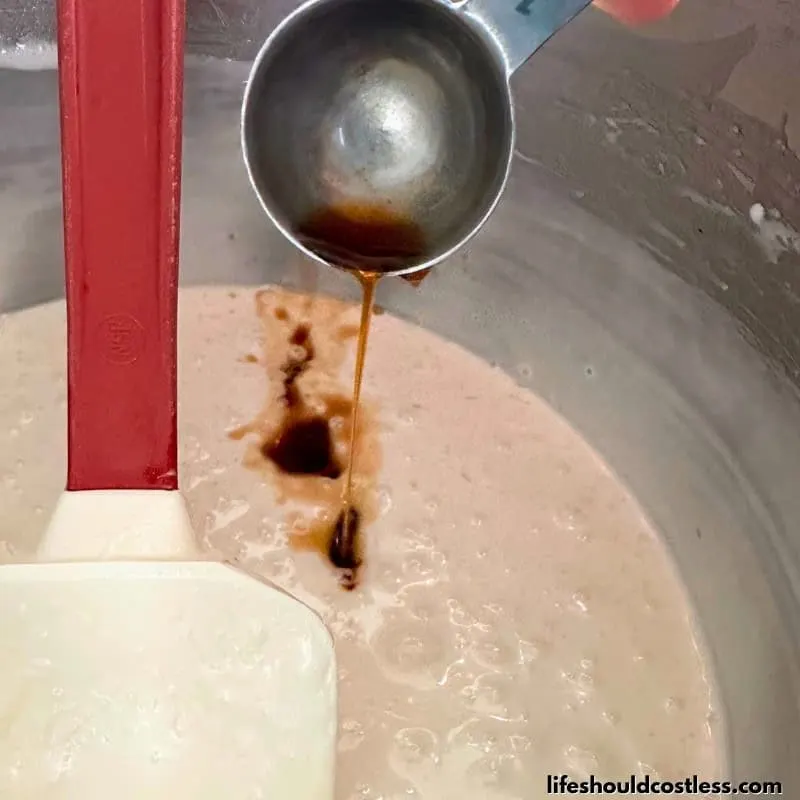 Add in your vanilla or other extract and/or any food coloring or desired mix-ins at this point.
 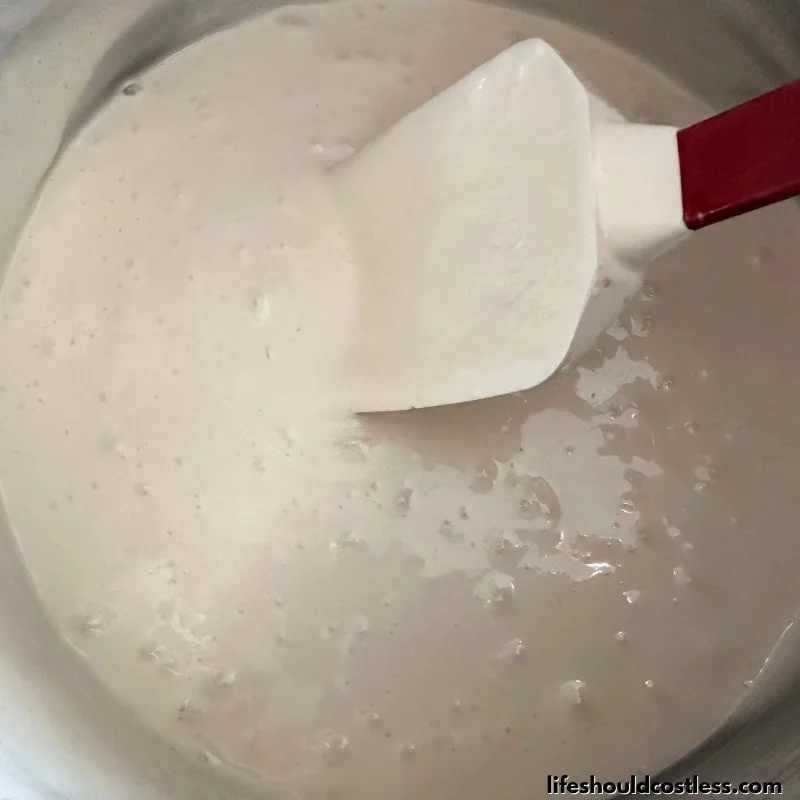 Stir until well mixed.
-
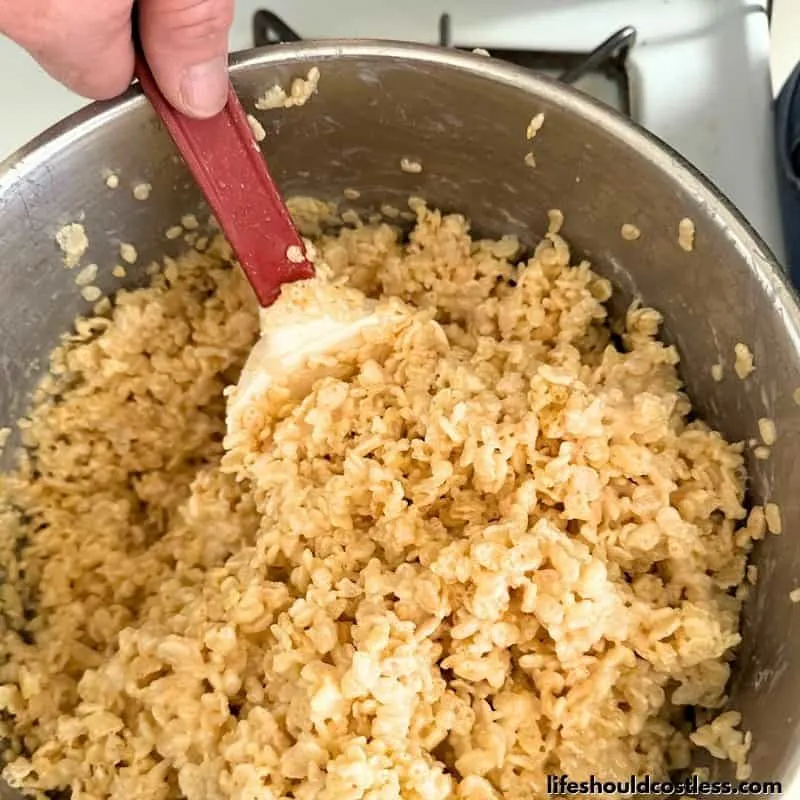 Then add the Rice Krispie Cereal a little at a time. Mix until well coated and the marshmallow mixture is completely incorporated.
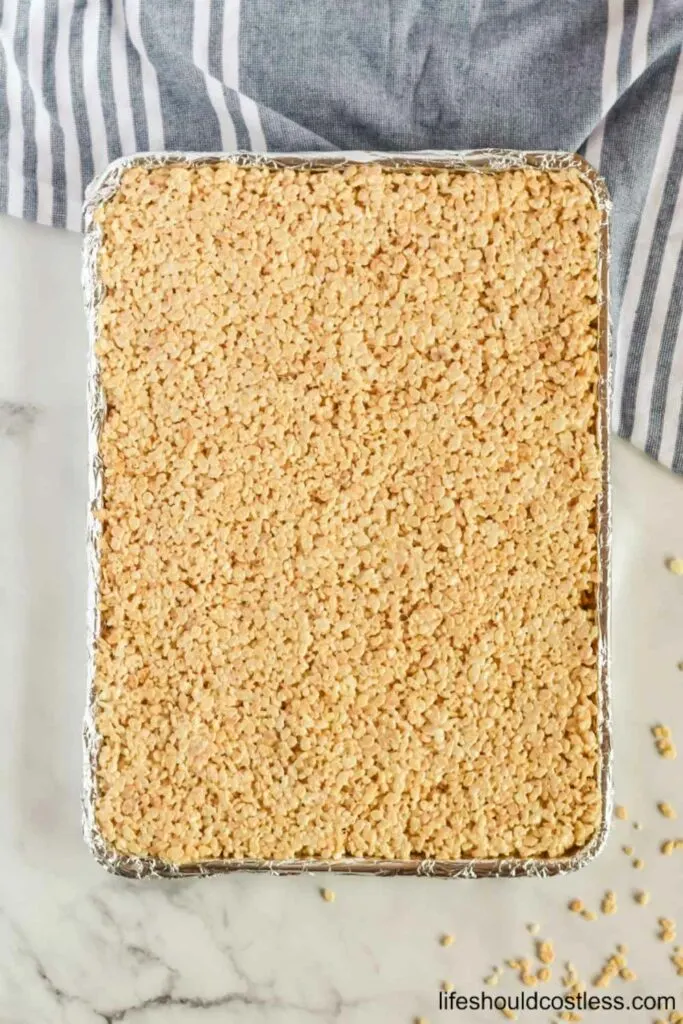
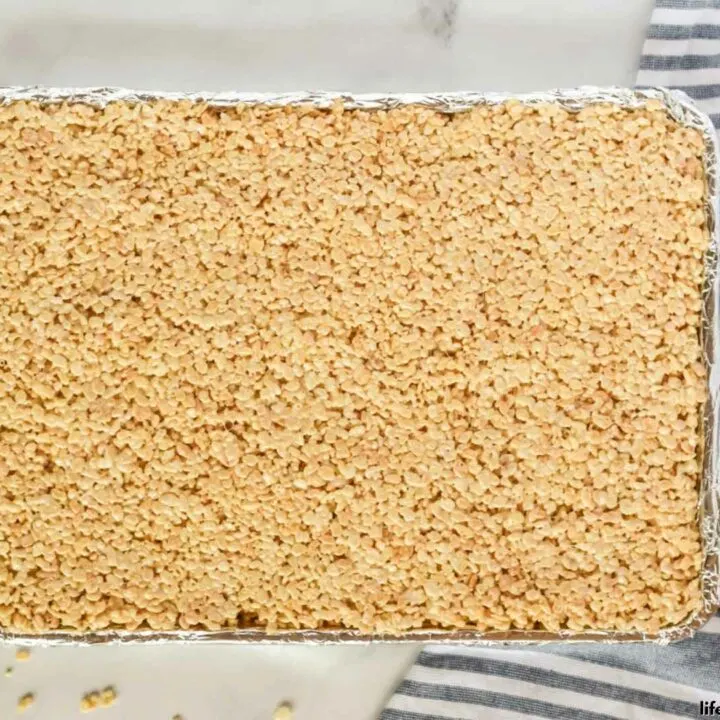
 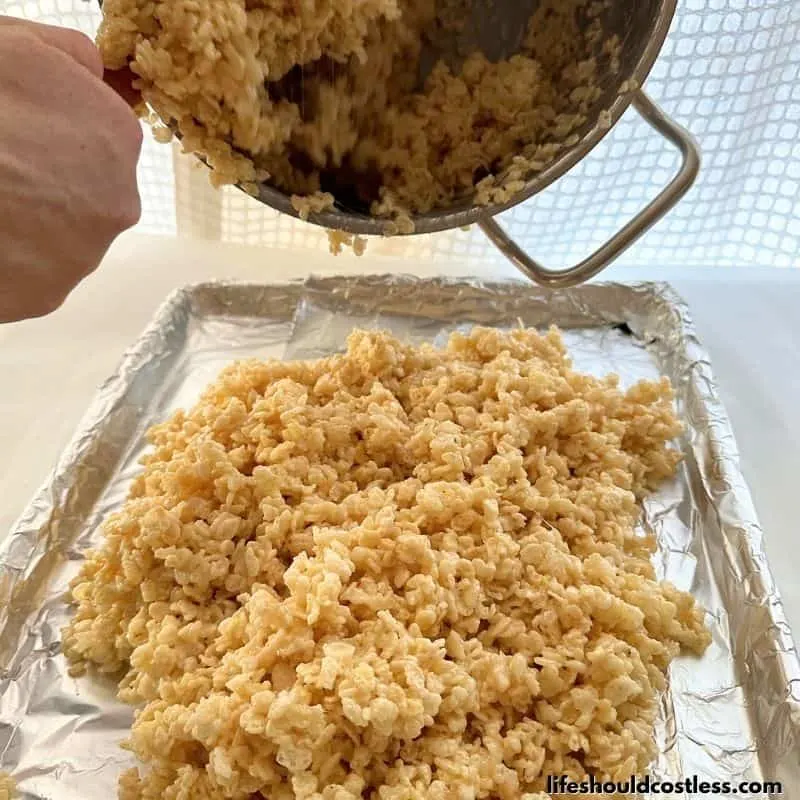 Spread mixture evenly onto previously prepared sheet pan.
 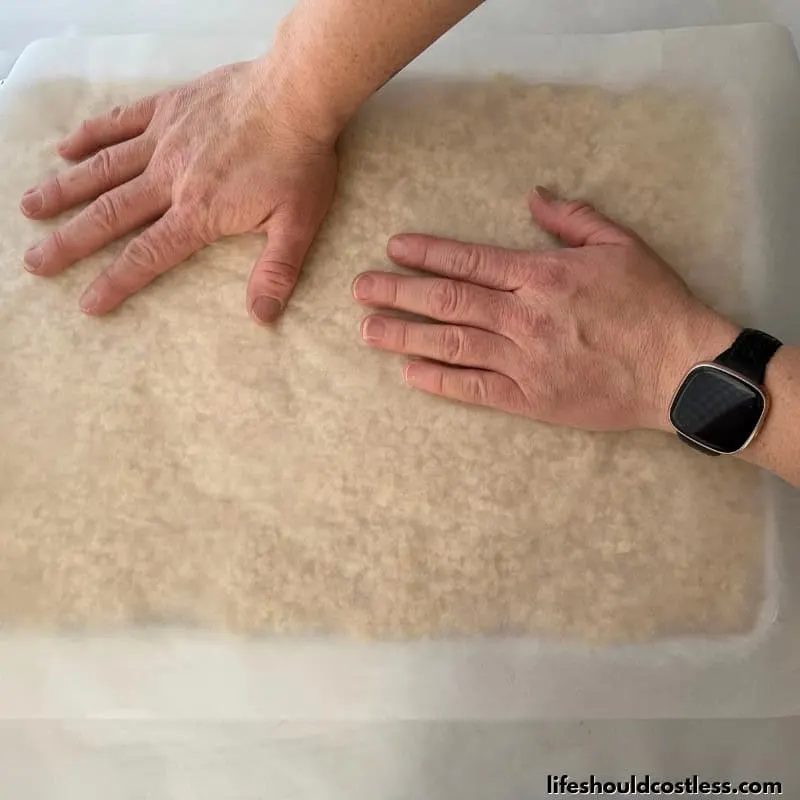 Cover with parchment paper and rub the mixture into the pan so that it is as tightly packed, and flat, as you want your treats.
 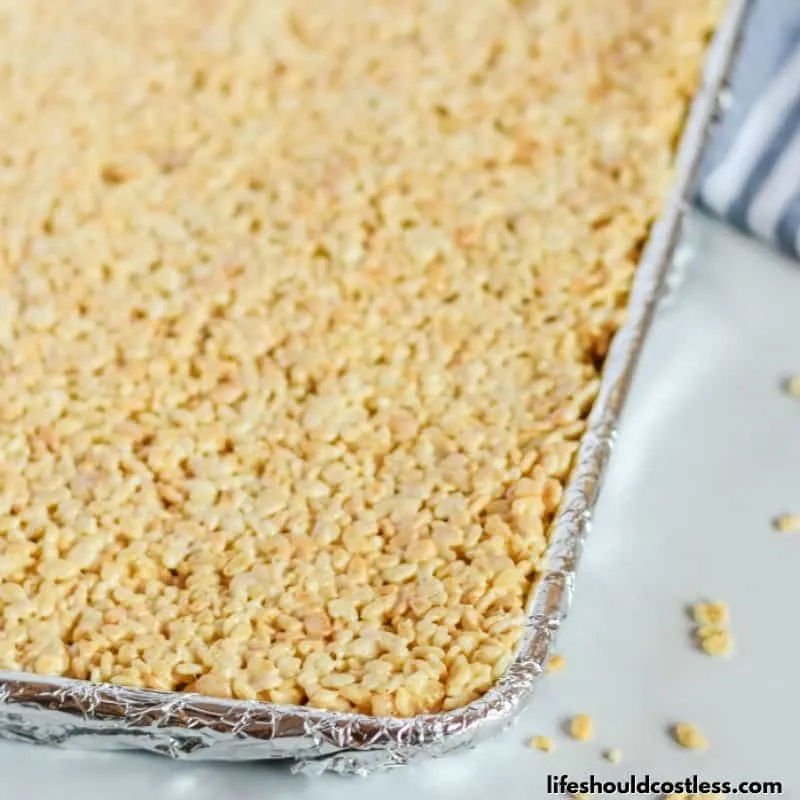 Let cool at room temperature. DO NOT REFRIGERATE TO SPEED COOLING!
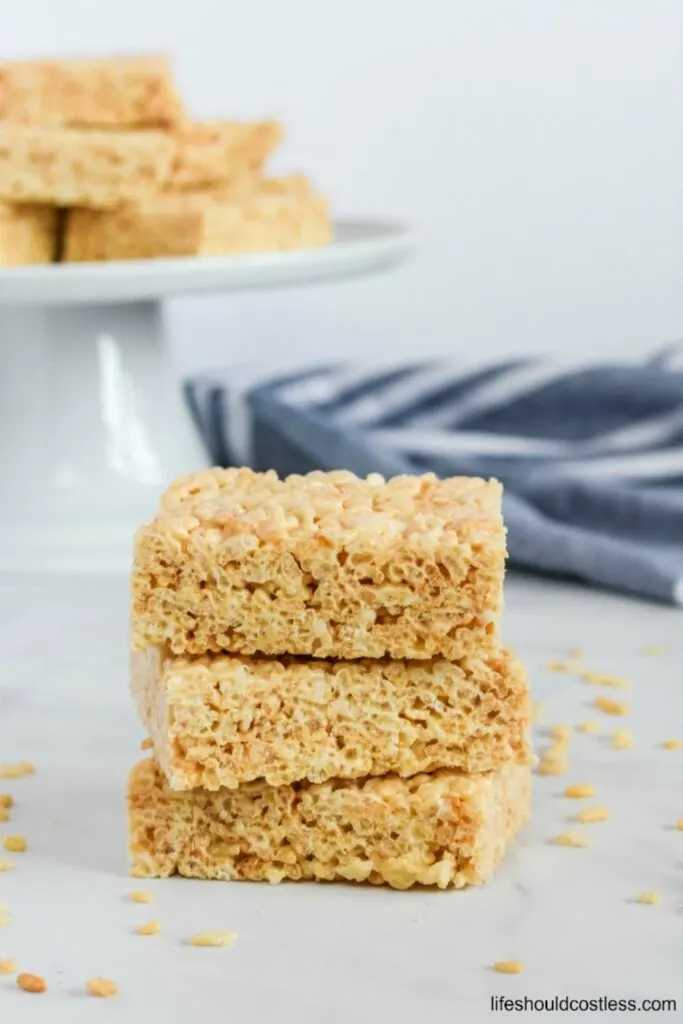
 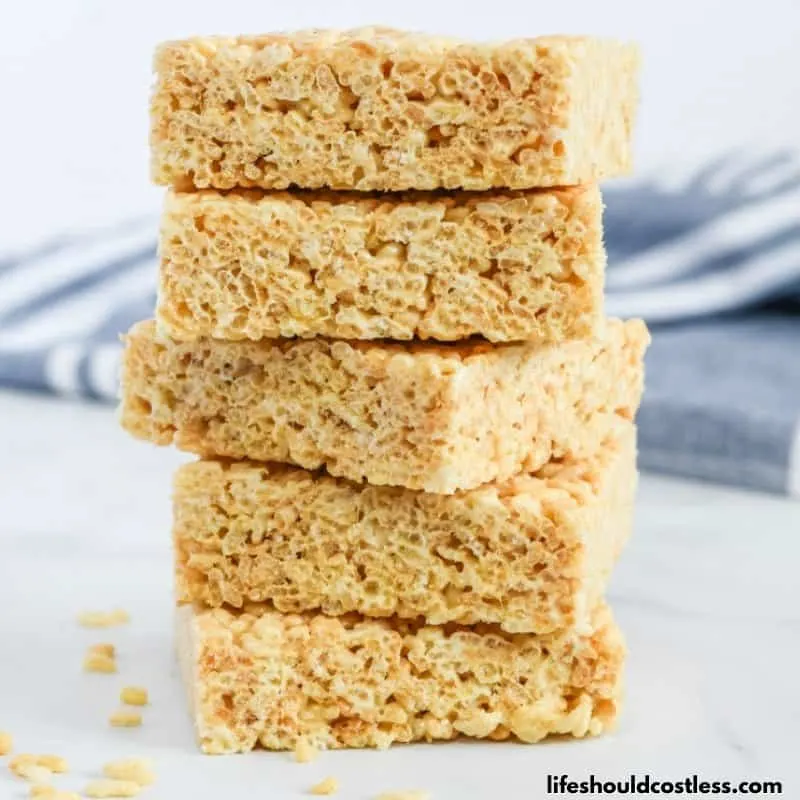 Then cut and serve, or dip them in your desired toppings and lay on waxed paper 'til cool.
Notes
If I make these at home, just for my family, I don't use the non-stick foil I just spray the pan with non-stick cooking spray or butter the pan...my sheet pans are old though so I mostly use the foil to hide how aged they look.
If you loved them, please make sure to leave me a star review!
FAQ’s
Absolutely! Making Rice Krispie treats the night before is a fantastic idea to save time and ensure that they are ready to be enjoyed when you need them.
In fact, letting them sit overnight can actually enhance their flavor and texture. As the treats cool and set, the flavors have a chance to meld, resulting in a more cohesive and delicious treat.
To do this, simply follow your favorite Rice Krispie treats recipe as usual, press the mixture into the pan, and let it cool and set overnight. Once they’ve had time to fully firm up, you can cut them into squares or any desired shapes.
Store them in an airtight container or wrap them in plastic wrap to keep them fresh until you’re ready to serve.
Whether you’re preparing for a special occasion, a party, or just craving a delightful treat, making Rice Krispie treats the night before can simplify your schedule and ensure that you have a delicious snack ready to enjoy.
Homemade Rice Krispie treats can sometimes turn out hard for a few reasons. Here are some possible factors that might be contributing to the hardness of your treats:
Overcooking the Marshmallow Mixture: One of the most common reasons for hard Rice Krispie treats is overcooking the marshmallow and butter mixture. If you heat the mixture for too long, it can become too dry and result in hard treats. When melting the marshmallows and butter together, be sure to remove the mixture from the heat as soon as the marshmallows are fully melted and smooth.
Using Too Much Cereal: Adding too much cereal to the marshmallow mixture can also lead to hard treats. Using the correct amount of cereal ensures that the treats have the right balance of sweetness and chewiness. Follow the recipe’s measurements closely to achieve the desired texture.
Compacting the Mixture Too Much: Pressing the mixture too firmly into the pan can also result in hard treats. While it’s important to press the mixture down to ensure it’s compact, pressing too hard can squeeze out the air and make the treats dense and tough.
Storage: Improper storage can cause Rice Krispie treats to become hard over time. Make sure to store them in an airtight container or wrap them tightly in plastic wrap to prevent moisture loss (once they have completely cooled to room temperature). To achieve the desired soft and chewy texture for your Rice Krispie treats, ensure that you’re following the recipe instructions closely, paying attention to cooking times, measurements, and the techniques used for mixing and shaping.
Refrigerator use: DO NOT PUT THEM IN THE FRIDGE TO SPEED SET UP… they will become rock hard, as any Krispie Treats recipe will, just practice a little patience and wait a little bit for perfection. It will be worth it I promise.
*I will add more FAQ’s as the questions get sent to me.
Thanks so much for stopping by my blog and supporting my endeavors to make people’s lives a little easier/better/more affordable.
If you liked this post, or found it helpful in any way, please make sure to share it with your family, friends, and co-workers via social media.
Or you could even send them the direct link via email. Whichever way you choose to spread the love, I super appreciate it! ~Sarah
How To Follow & Support This Site
- If you would like to subscribe to my email list, go here.
- Make sure to follow along via social media, by going here.
- If you would like to learn how to really show your support to this site (at no cost to you), go here.
- If you would like to make a direct donation to the site, go here.
Check Out My Other Recipes
Other sugary-sweet recipes
Other good resources for a bulk rice krispie treats recipe
Maybe you don’t like my particular version of this basic recipe, and if that’s the case, no worries…I’m fully aware I can’t please everyone, here are some other good similar recipes that you could try instead:
- https://www.ricekrispies.com/en_US/recipes/big-batch-of-treats-recipe.html
- https://ourbestbites.com/large-batch-rice-krispie-treats/
- https://abeautifulmess.com/bakery-style-giant-rice-krispie-treats/
*Reposts: Please note that this idea/post was originally posted to this website in July of 2015, but it was in great need of a refresh so it is more user friendly/shareable and now has a free printable recipe card.
**Please note that I do try my hardest to provide factual, but easy to understand, information about each topic. If you notice a discrepancy in my methods, facts, or see something that you deem “misinformation/incorrect” please make sure to notify me about it. I would prefer that you send me an email with a link to a more reputable resource on that subject, so that I can correct it as soon as possible. Thanks so much for helping this site become the best that it can be!

