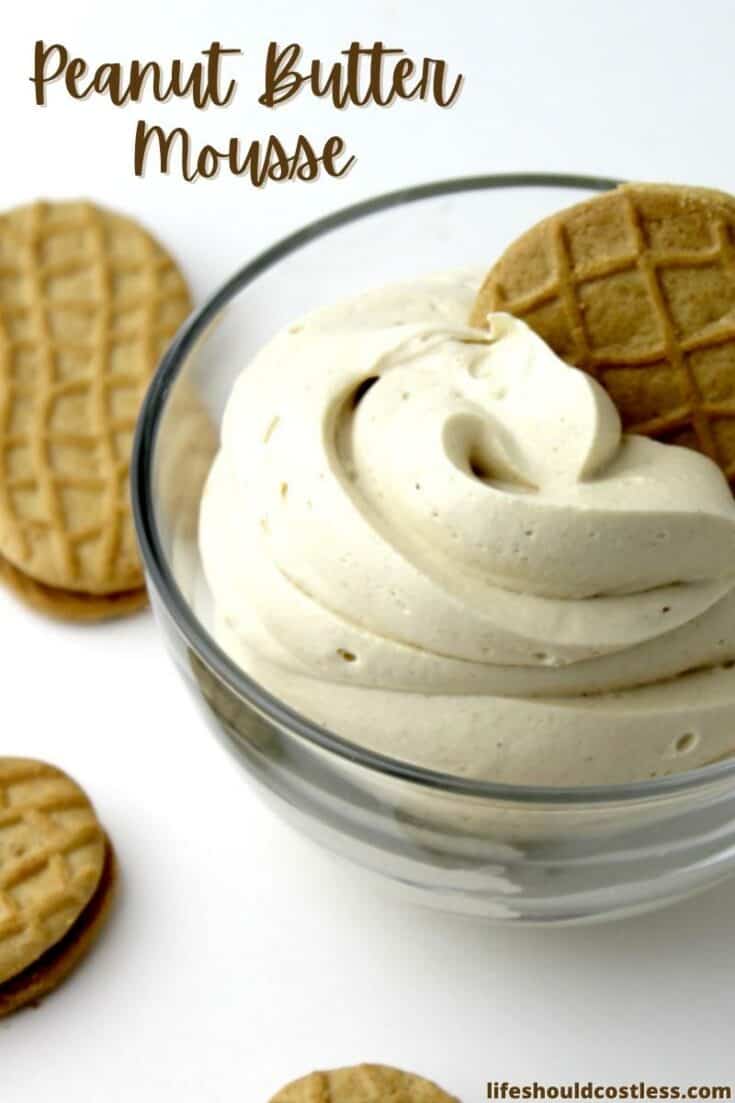
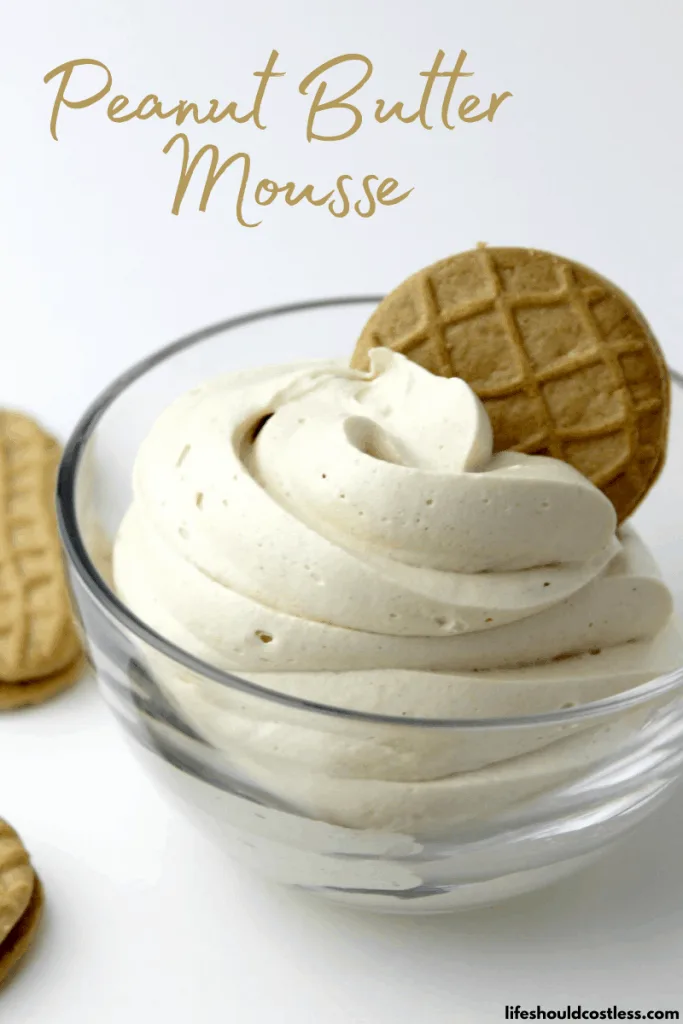
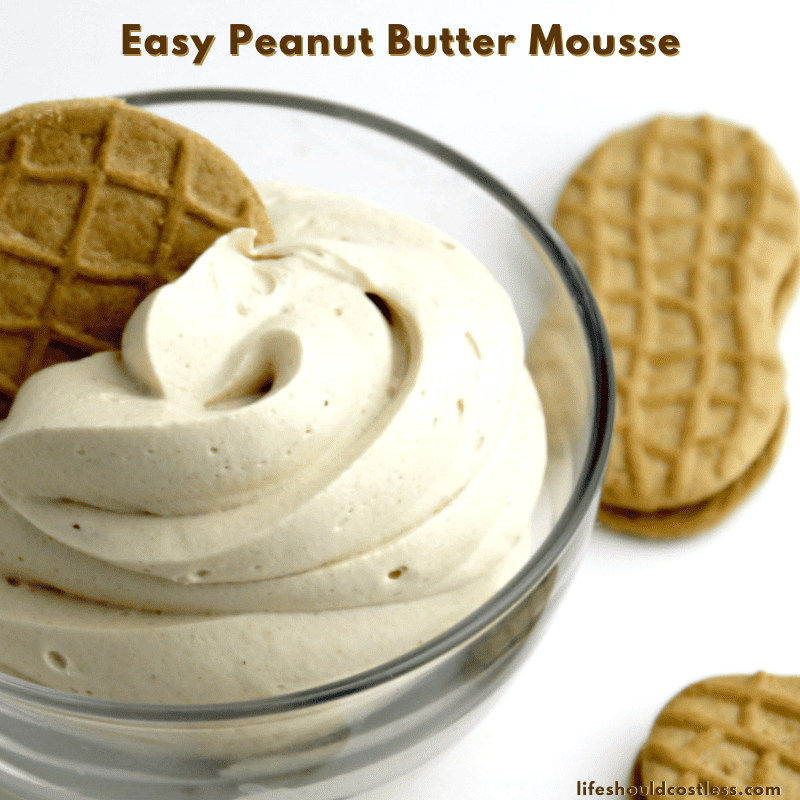
Indulge in the heavenly world of desserts with our delectable recipe for a three ingredient, easy peanut butter mousse! If you’re a fan of the rich and creamy goodness that peanut butter brings to the table, this dessert is bound to become your new favorite. This simple to make recipe is super yummy and just happens to be the perfect consistency so you can use it as a layer for trifles, as a filling for cakes or pies, as a cookie/cracker dip, or even simply served with celery as an easy and quick snack. Say goodbye to complicated dessert recipes and hello to the sheer delight of easy peanut butter mousse. Let’s dive into the world of irresistible flavors and effortless culinary mastery!


About this recipe
If you like the texture of a good mousse (some people spell it moose) and are a fan of peanut butter, I promise that you are going to absolutely love this recipe that features peanut butter and Cool Whip.
It’s one of the easiest and most popular recipes that I have created on this site and it is divine!
It turned out better than I had expected it to in the recipe development process, so I was pretty excited.
When I say it’s easier to make than you may think…it really is, and the best part is that it takes just two or three minutes to throw together and only calls for three ingredients that you probably already happen to have on hand.
As with any great recipe, I had to start somewhere.
So, I based this recipe off of this awesome Vegan one by Dana over at minimalistbaker.com, so if you want the “crunchy”/clean eating version of this, make sure to head on over to her site and use her recipe instead.
My recipe is just a very unhealthy version of hers & it also is a large enough batch to use the whole tub of whipped topping because I really don’t like to waste anything if I can help it at all.
I actually had no intention of turning this recipe into a post of its own.
- To see my grandma’s famous old fashioned peanut butter cookie recipe, go here.
I created it when I was developing a Moose Tracks Trifle recipe.
This is the peanut butter mousse I made for two of the layers in the trifle, and it actually turned out so tasty that I knew I just had to share it on its own too.
As you view this recipe, please excuse my mediocre (at best) photography skills…I do my best but I am in no way a professional, nor does this single mama of four have the budget to hire one.
I only share my favorite recipes ever, so please don’t skip past it because I failed to capture just how yummy it is.
How to make it, photo tutorial found here
Let’s just dive right into learning how to make it.
I recently made a little video tutorial but just below it are the still pictures of the process too (video embedded in recipe card).

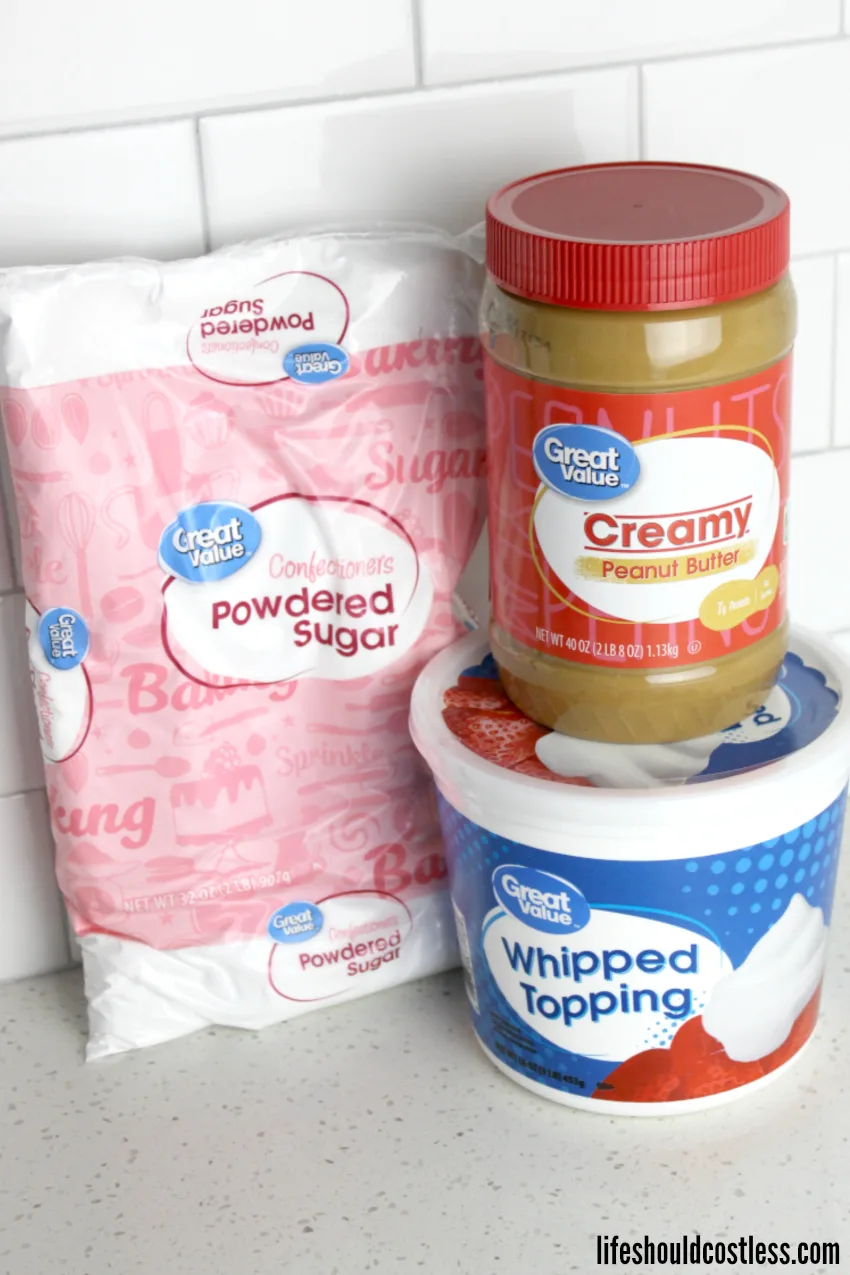
Like I said, it’s just three easy ingredients and you may very well already have them on hand.
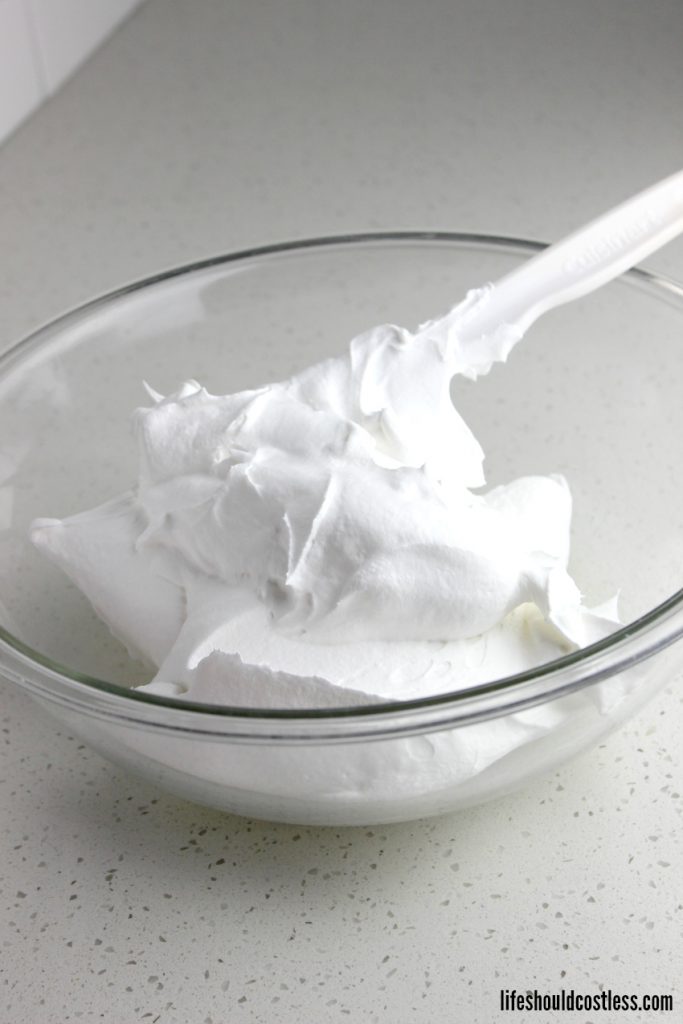

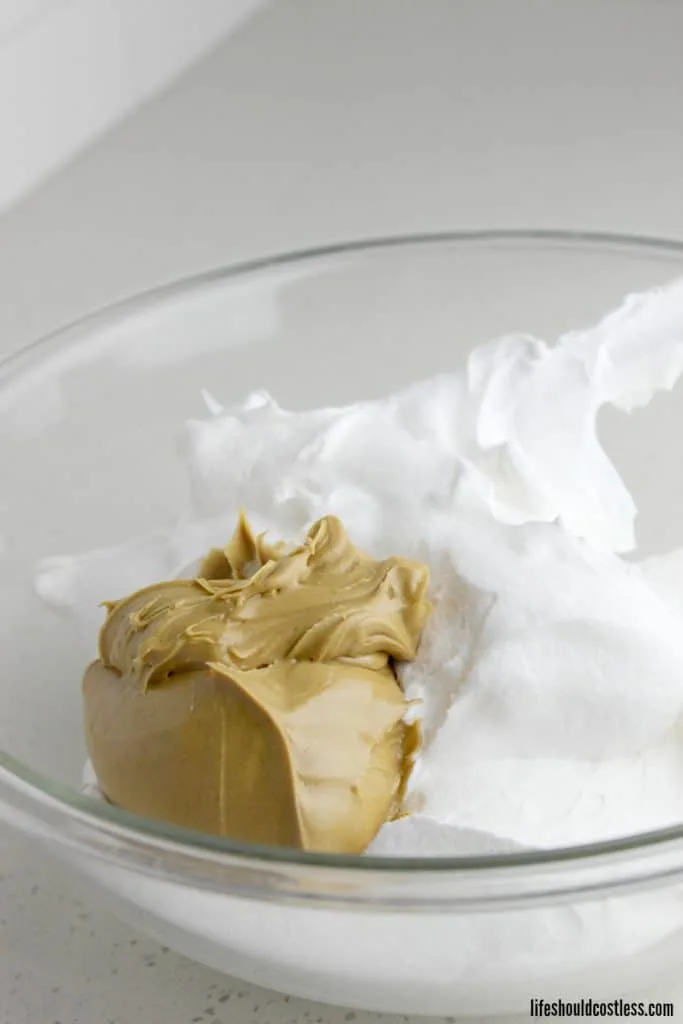
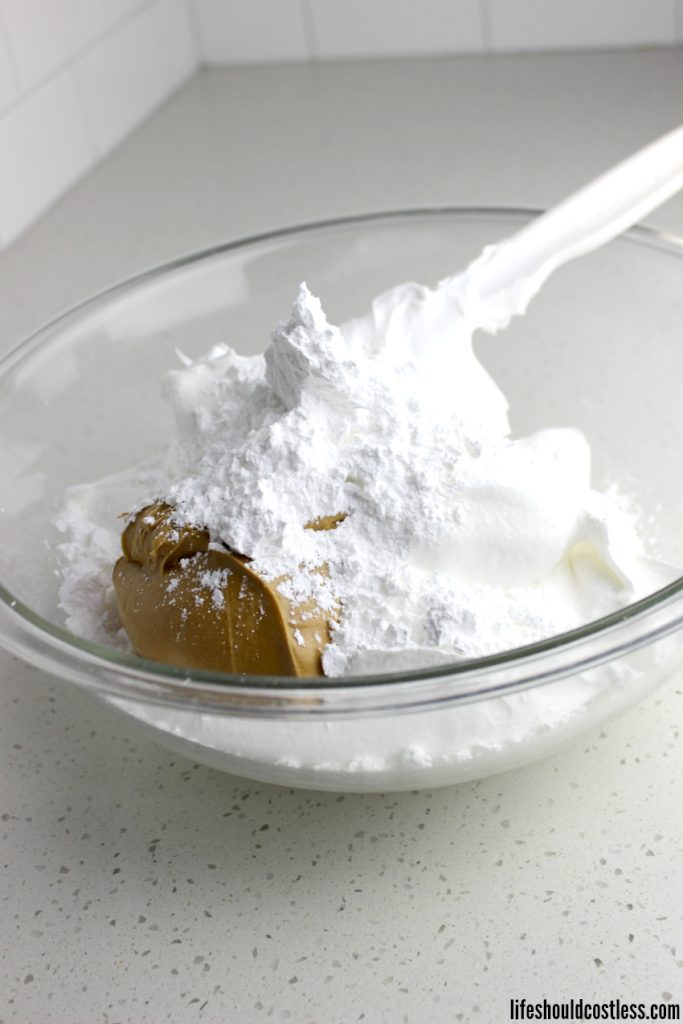
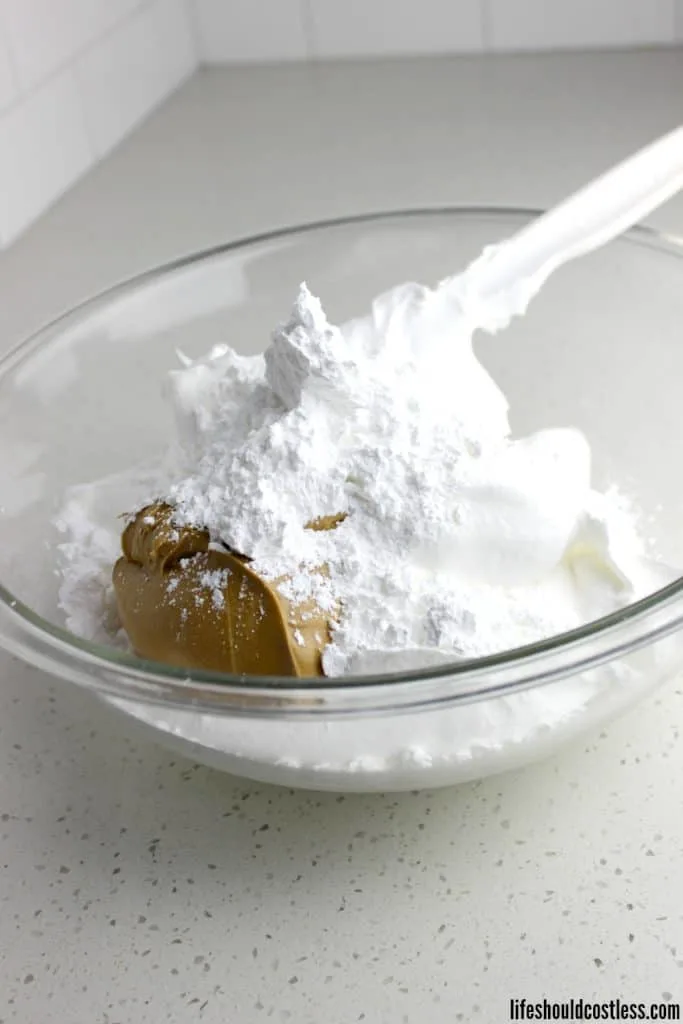
You literally just plop the ingredients into a large mixing bowl…(the bowl I used is four quarts)

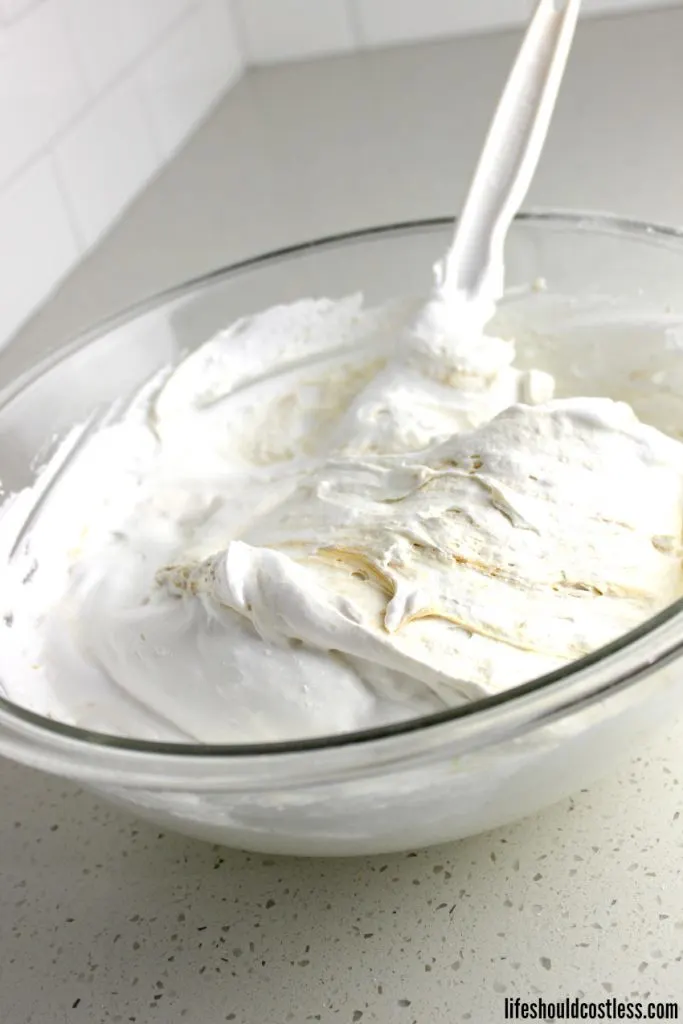
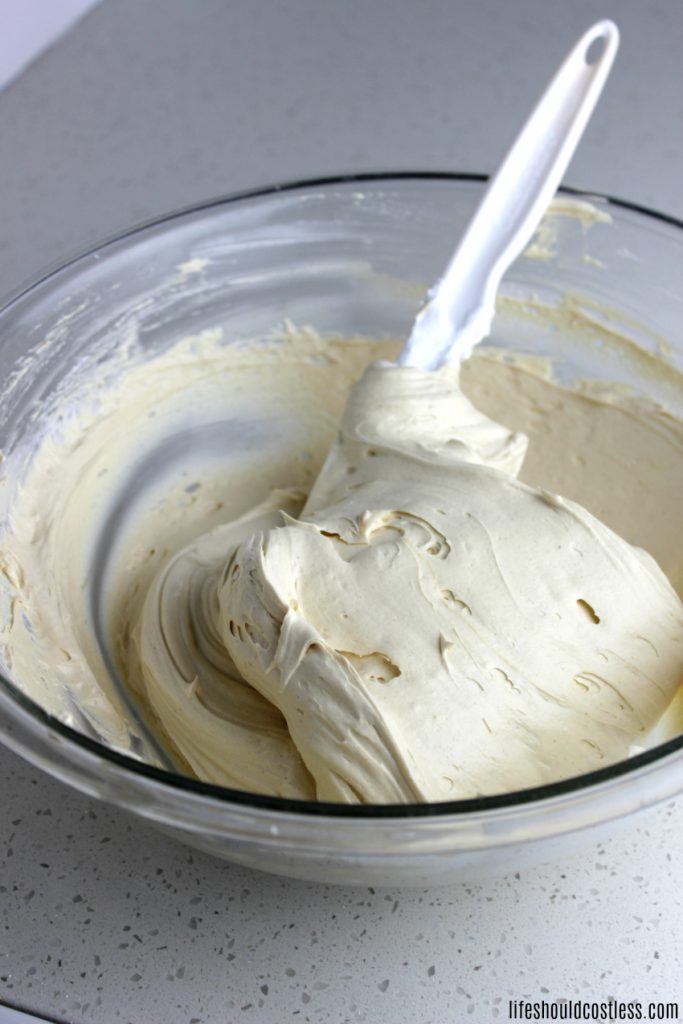


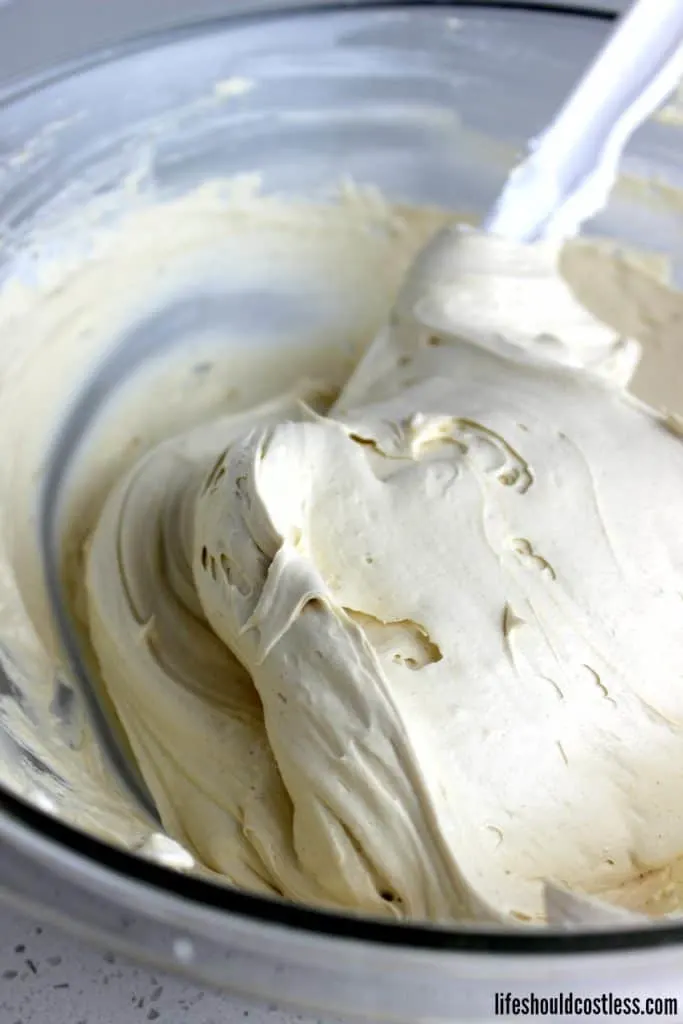
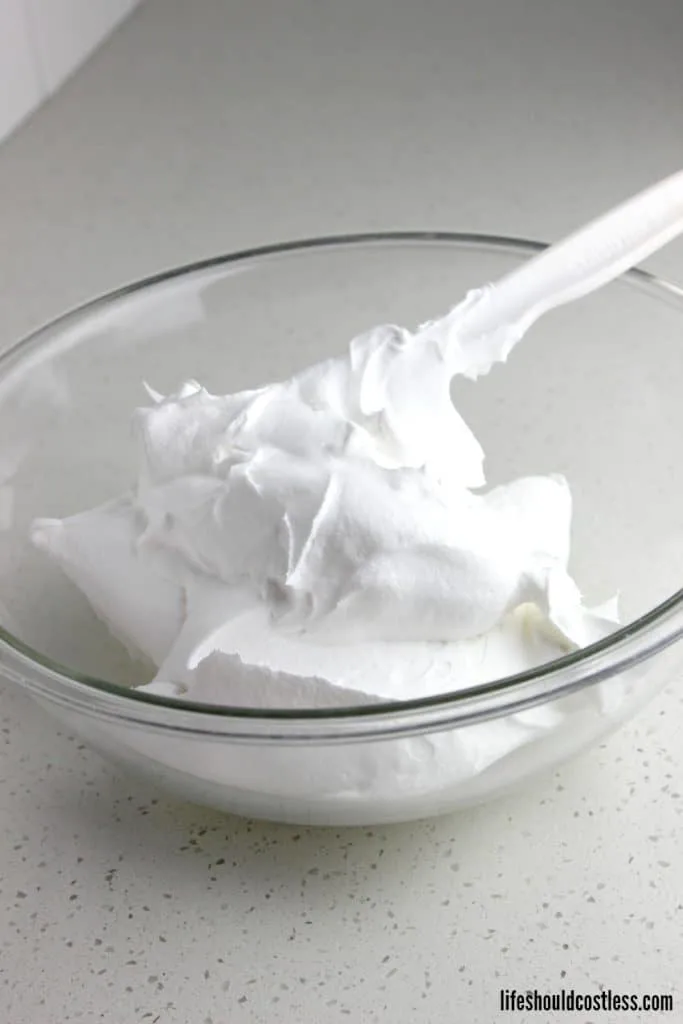
Then mix until well incorporated… this recipe is so easy even a second-grader could make this mousse.


How to make peanut butter mousse with cool whip (recipe card found here):
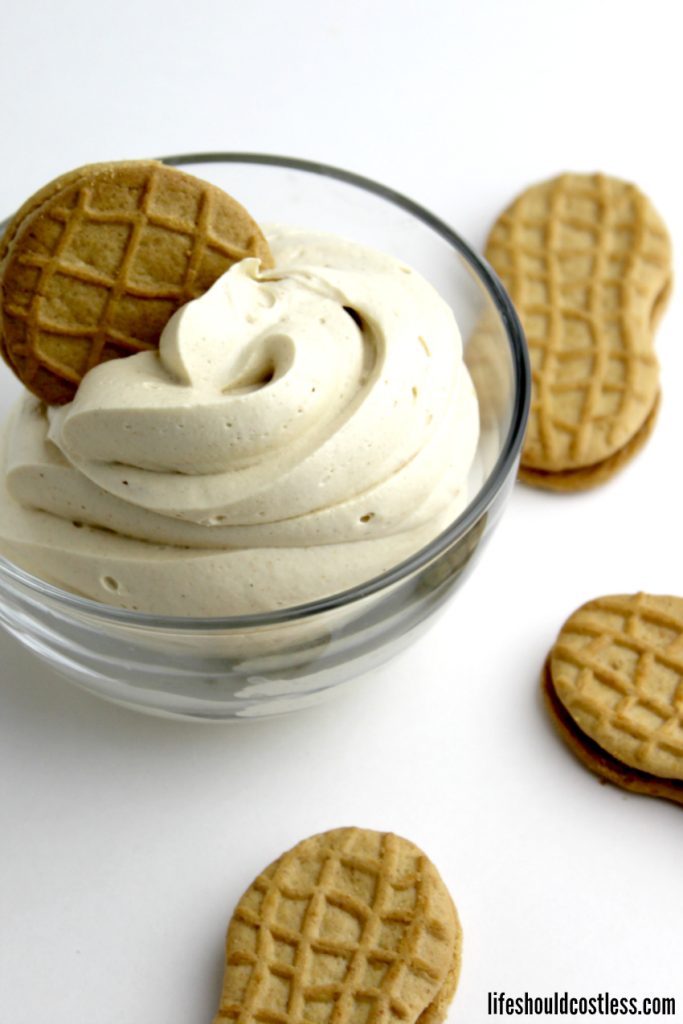
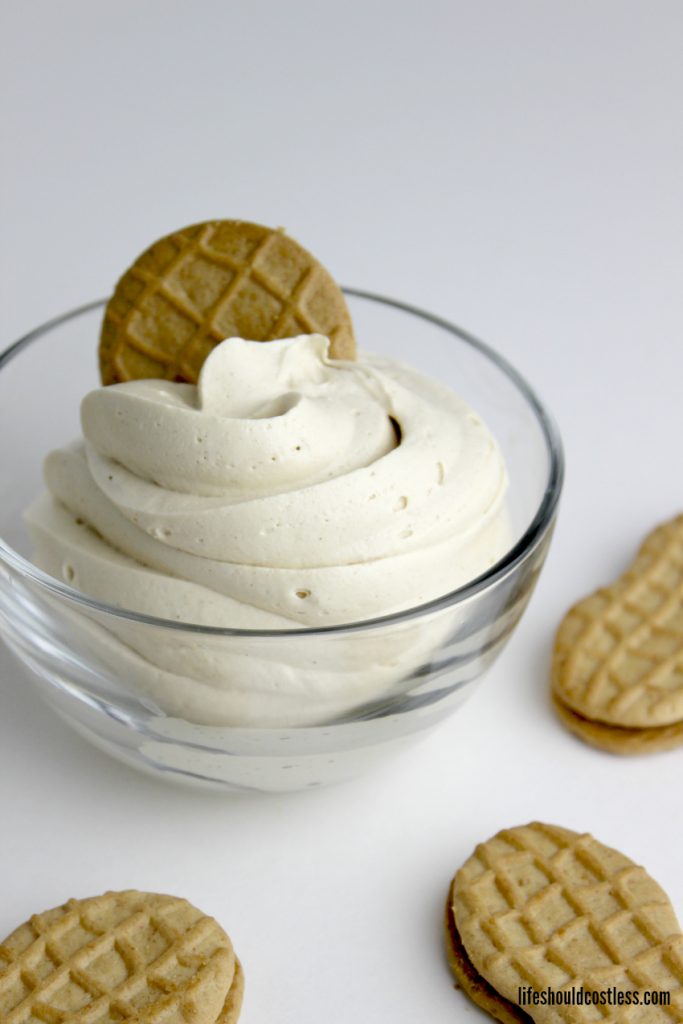
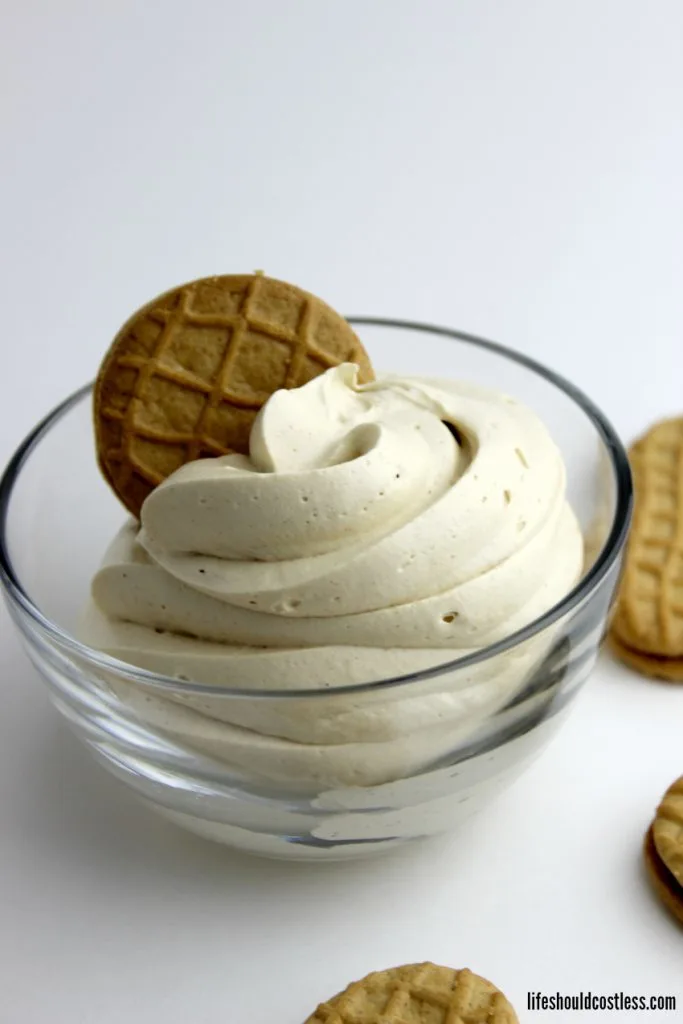
Cool Whip Peanut Butter Mousse
Mousse can be used as a filling between cake layers, in a trifle, or as a dip for crackers, cookies, or celery.
Ingredients
- 1 (16 oz) Tub Whipped Topping (thawed)
- 1 C Peanut Butter
- ½ C Powdered Sugar
Instructions
- Scoop all ingredients into a medium to large bowl.
- Stir until well mixed and smooth.
- Cover and refrigerate. Mix well before serving.
Notes
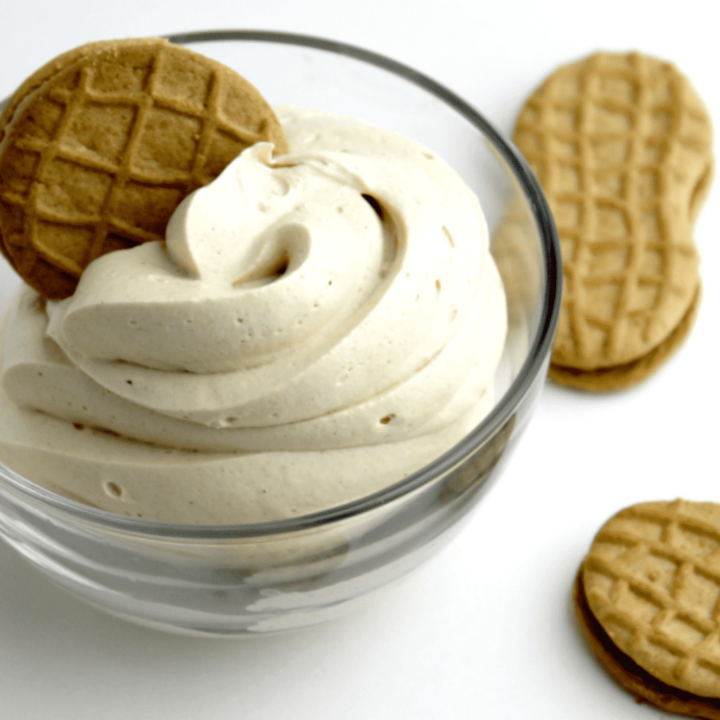
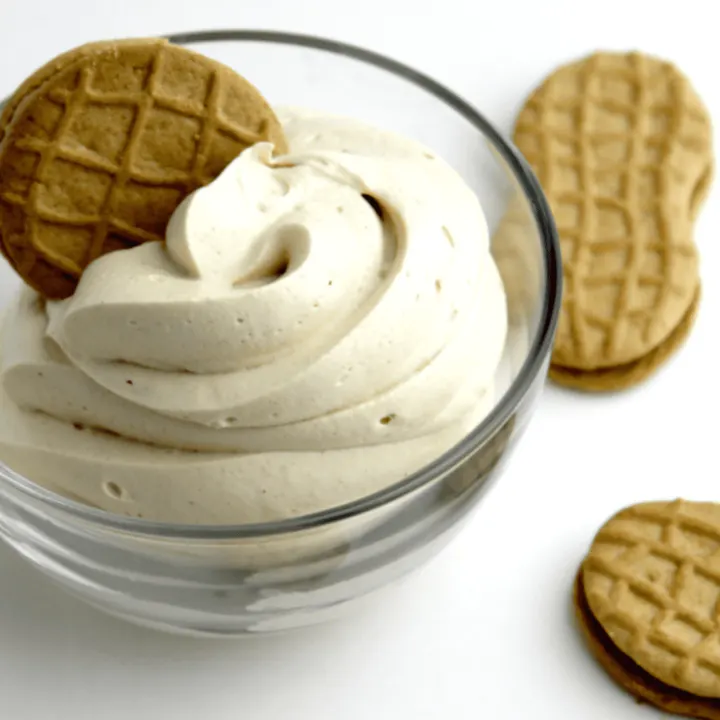
If serving as a dip, it can easily be staged by putting it in a piping bag and squirting it into individual containers and garnish with Nutter Butters.
This recipe makes two layers if used in a standard trifle dish.
Recommended Products
Please note that I am an affiliate with Amazon.com. When you purchase through my suggested product links, the cost for you is the same but I do receive a small commission for everything in your shopping cart. Thanks so much for the support!
-
 C&h Powdered Sugar 4 Lbs (1)
 -
 Amazon Brand - Happy Belly Creamy Peanut Butter, 2.5 Pound (Pack of 1)
 -
 Rubbermaid Commercial Products Scraper Spatula/Food Scraper, 13.5-Inch, White (Not for use in cooking)
 -
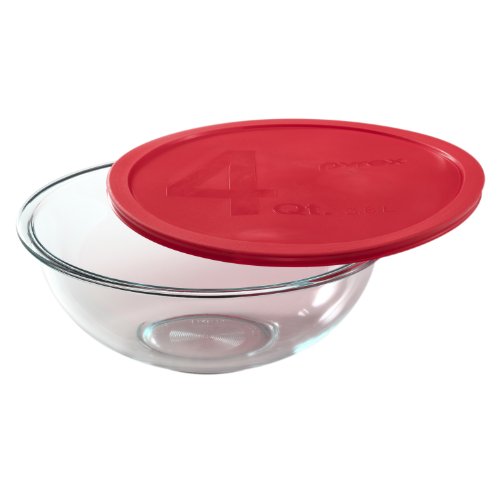 Pyrex Smart Essentials 4-Quart Glass Mixing Bowl, 3.79 liters
 -
 Peanut Butter: Breakfast, Lunch & Dinner
 -
![Peanut Butter 365: Enjoy 365 Days With Amazing Peanut Butter Recipes In Your Own Peanut Butter Cookbook! [Book 1]](https://m.media-amazon.com/images/I/51jbd546+iL._SL500_.jpg) Peanut Butter 365: Enjoy 365 Days With Amazing Peanut Butter Recipes In Your Own Peanut Butter Cookbook! [Book 1]
Peanut Butter 365: Enjoy 365 Days With Amazing Peanut Butter Recipes In Your Own Peanut Butter Cookbook! [Book 1]
Conclusion
In conclusion, easy peanut butter mousse is a dessert that combines simplicity and decadence in perfect harmony.
With its smooth texture and rich flavor, it’s a treat that’s sure to please both kids and adults alike.
Whether you’re whipping it up for a special occasion or just satisfying a spontaneous sweet tooth, this recipe delivers a delightful peanut buttery experience.
So, next time you’re craving a luscious dessert that’s quick and effortless to make, don’t hesitate to turn to this recipe that is easily one of the best quick cool whip desserts.
It’s a sweet finale that proves that sometimes the simplest pleasures are also the most satisfying.
Enjoy every spoonful of this creamy delight, and savor the magic of homemade goodness!
FAQ’s
The base ingredients for a typical peanut butter mousse recipe is usually a combination of peanut butter, a sweetener, a creamy dairy product of some sort…and then any additional ingredients that the chef desires. However recipes can vary greatly.
Thanks so much for stopping by my blog and supporting my endeavors to make people’s lives a little easier/better/more affordable.
If you liked this post, or found it helpful in any way, please make sure to share it with your family, friends, and co-workers via social media.
Or you could even send them the direct link via email. Whichever way you choose to spread the love, I super appreciate it! ~Sarah

How To Follow & Support This Site
- If you would like to subscribe to my email list, go here.
- Make sure to follow along via social media, by going here.
- If you would like to learn how to really show your support to this site (at no cost to you), go here.
- If you would like to make a direct donation to the site, go here.
Check out my other recipes
- To see my grandma’s famous old fashioned peanut butter cookie recipe, go here.
Other sugary-sweet recipes
Other good resources for a whipped peanut butter recipe
Maybe you don’t like my recipe…if that’s the case, no worries, here are some other good recipes that you could try instead:
- https://marshasbakingaddiction.com/4-ingredient-peanut-butter-mousse/
- https://thebigmansworld.com/keto-peanut-butter-mousse/
- https://www.tasteofhome.com/article/how-to-make-5-ingredient-peanut-butter-mousse/
*This recipe article was originally shared to this blog on April 17th of 2017, & has since been updated to improve user experience, add video instruction, as well as to make it as shareable as possible across the social medias.
**Please note that I do try my hardest to provide factual, but easy to understand, information about each topic. If you notice a discrepancy in my methods, facts, or see something that you deem “misinformation/incorrect” please make sure to notify me about it. I would prefer that you send me an email with a link to a more reputable resource on that subject, so that I can correct it as soon as possible. Thanks so much for helping this site become the best that it can be!