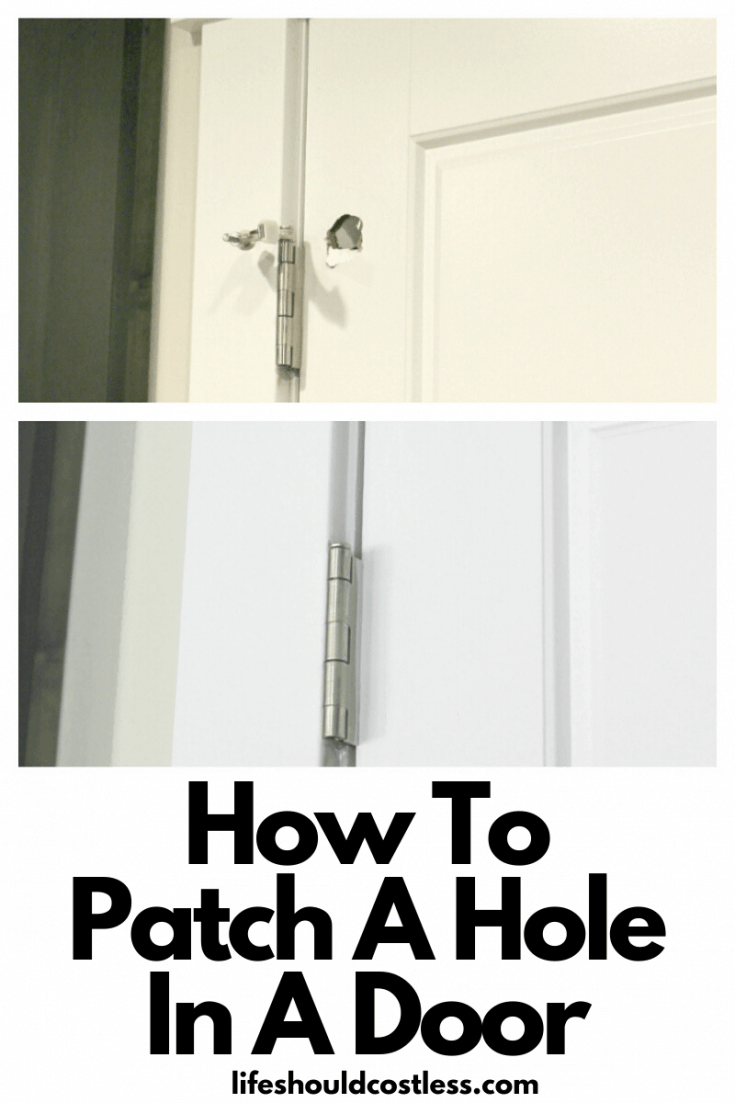
Today I am going to share with you an easy step by step photo tutorial that will teach you how you can repair or patch holes made in hollow (cheap builder grade, residential) doors easily. To make it even more user friendly, I have also included a free printable supply list of all that you will need when learning How To Fix A Hole In A Hollow Door.

About
I can’t seem to understand the trend of all interior doors being hollow and poorly made? I know it has been like this for quite awhile, but it is one of my “modern home building pet peeves”.
I can’t be the only one that believes in not only buying quality but also taking pride in your work, so these doors just remind me of the cookie cutter, poor craftsmanship, houses that they get installed in…
Anyway, a while back when I was getting my house ready to put on the market I needed to decide whether or not to repair or replace three hollow doors in my house that had little holes in them.
I decided that it wouldn’t be very hard to just fix them, so I thought I would offer a little money saving tutorial on “how to patch a door” for you all while I was doing it anyway.
Doing it this way does take a lot of steps, but they take such a small amount of time and then you can go do something else while you wait for things to dry.
You could easily bust this out over the course of a lazy weekend at home and you would still get a sense of accomplishment, and rest, out of your weekend. It’s super win/win!
How to repair a hole in a door tutorial:
Keep in mind, these are instructions according to me. I’m by no means a professional “patcher”, but I do things in a way that makes sense to me, so if you don’t like the way I patched my doors…don’t let the back button hit you on the way out ;).
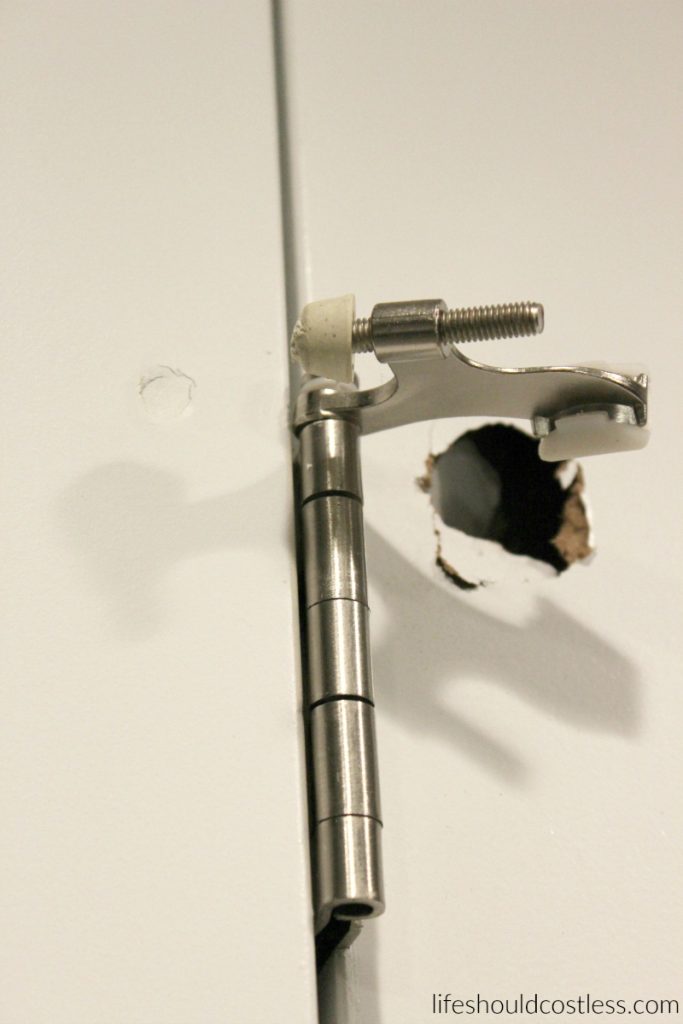
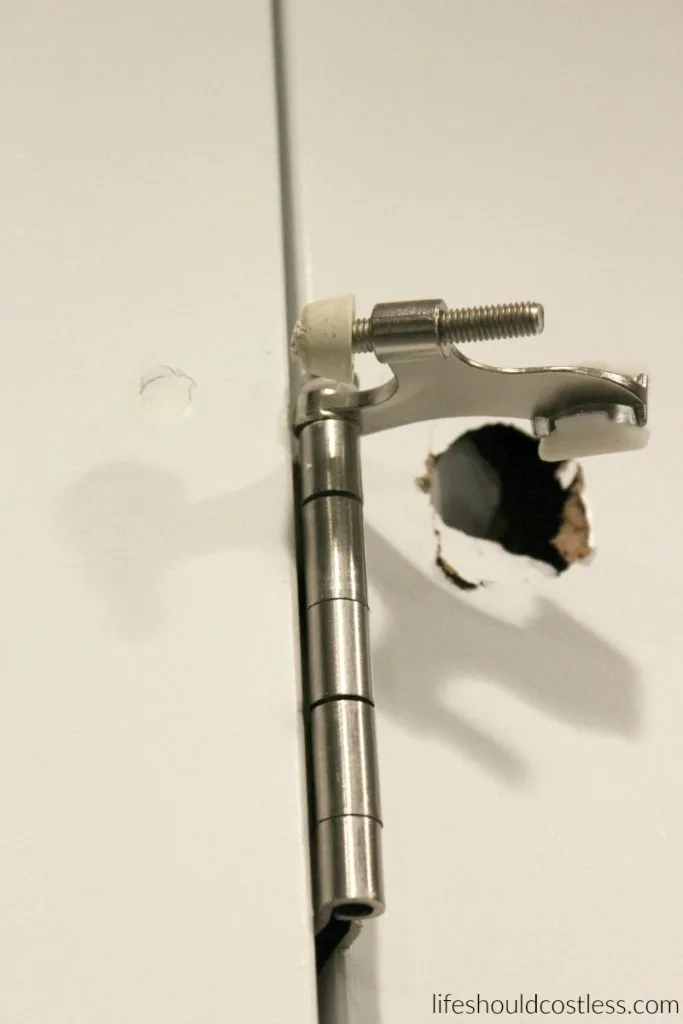
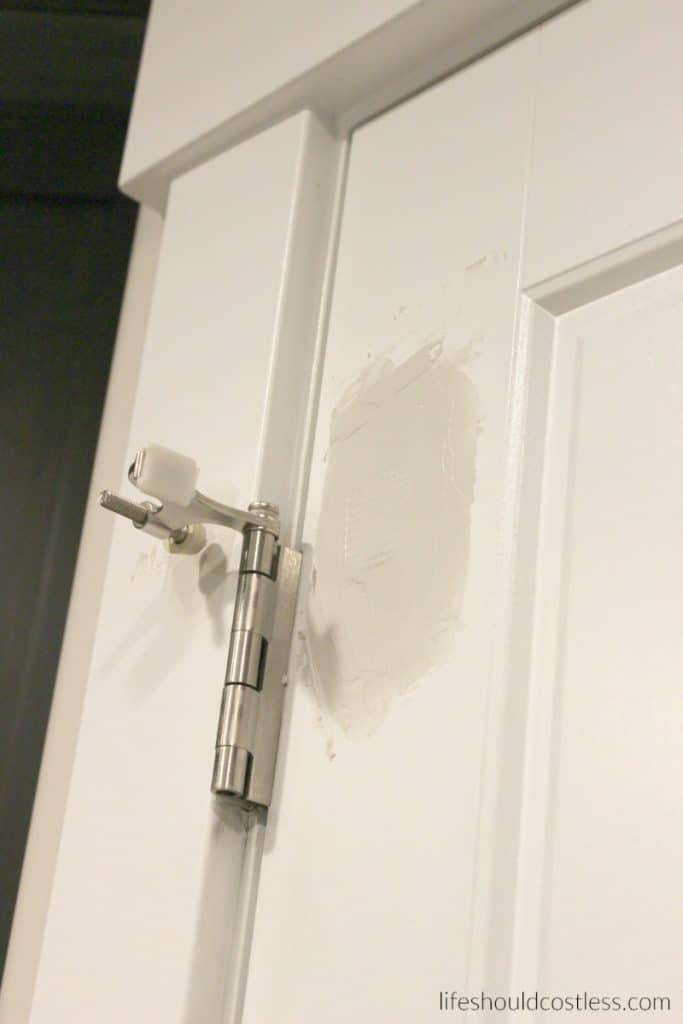
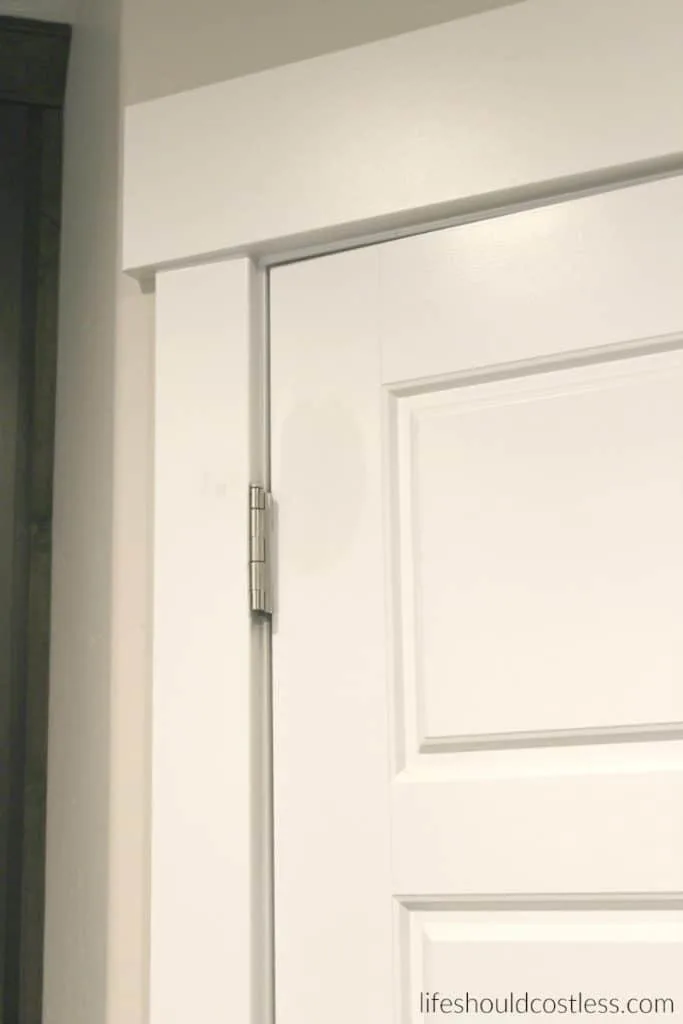
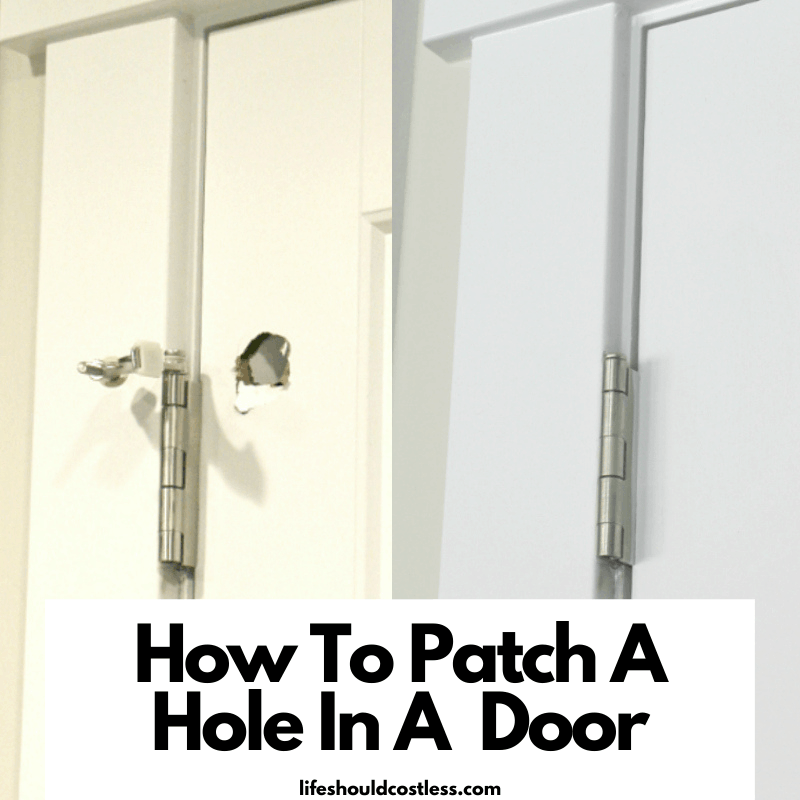
I start out by showing you just how bad the hole in my door was…(I had three doors that looked like this, stinkin’ kids) I won’t lie, someone needs to tell me who invented this style of door stopper so that I can kick them in the shins.
They are just not practical and are more headache than they are worth when standard doors these days are not solid.
Enough griping about that, let’s move on to the actual tutorial.
Photos and printable instructions found here
Supplies Needed For Patching A Hole In A Door
Materials
- Sanding Block
- Damp Rag
- Patching Tape
- Joint Compound
- Putty Knife
- Paint Brush
- Paint To Touch Up or Repaint Door


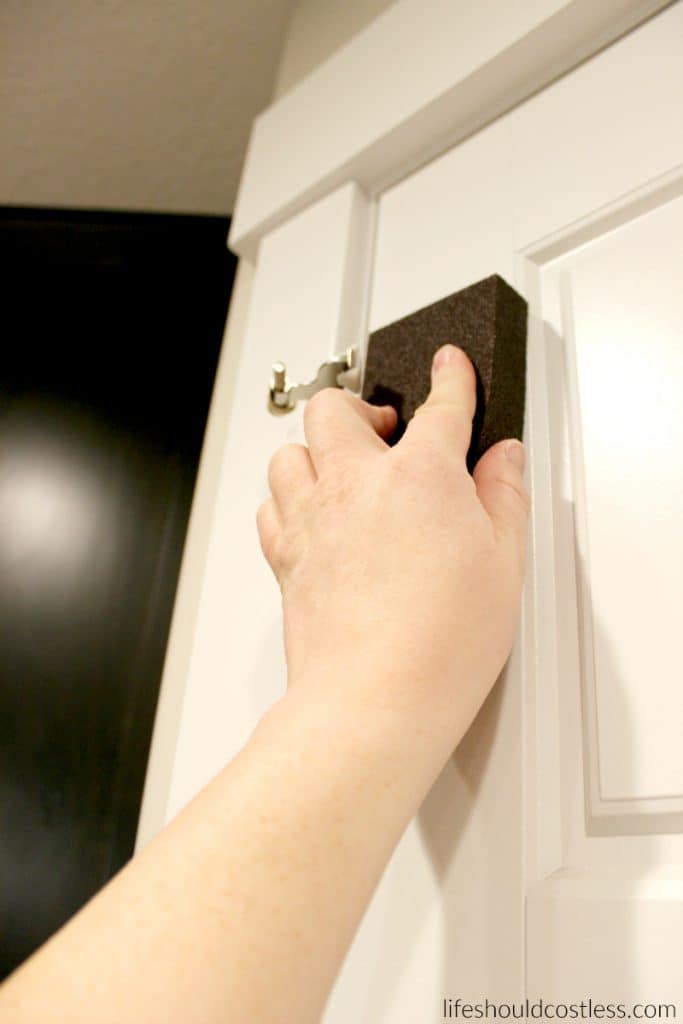
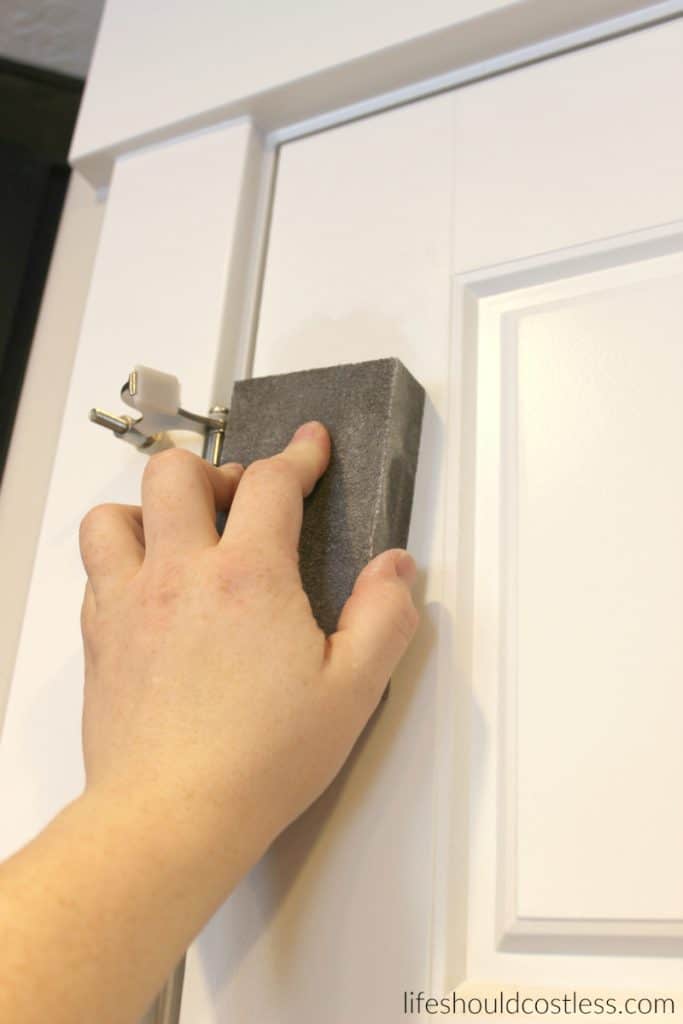
Whenever I go to patch something, I always sand down the rough edges first.
I feel like you get a much more professional looking, smooth finish, if you sand first so that you are starting off with a smooth surface and it only gets better from there…
So, using a medium/fine grain sanding block, sand the areas you want to patch.

Next you wipe it down, with a clean damp rag, and then let it dry so that your patching tape will adhere properly.

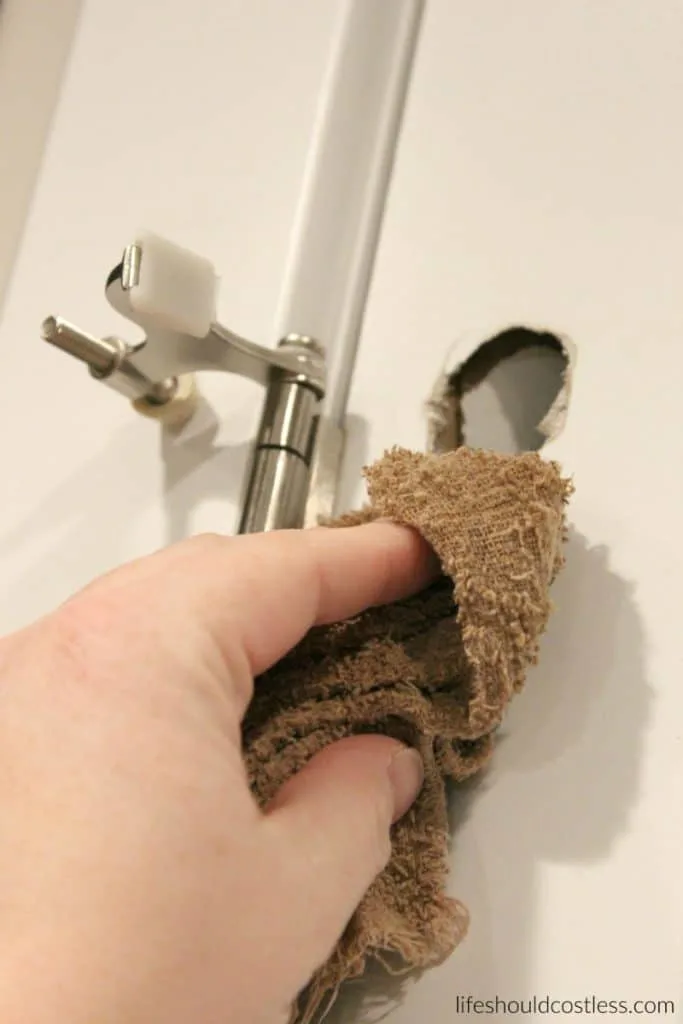
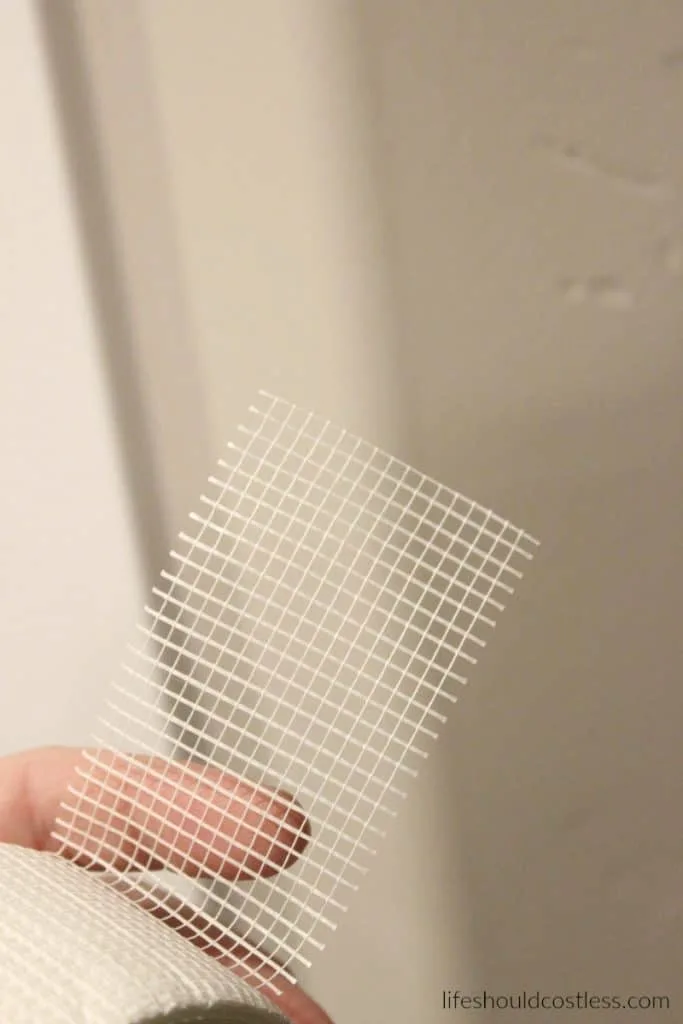
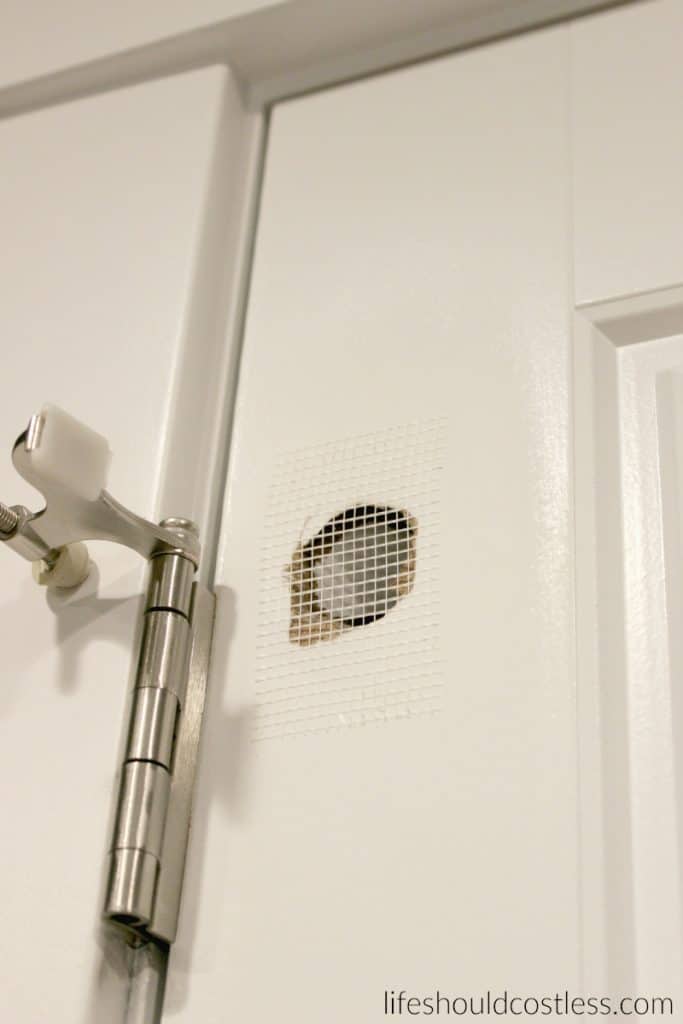
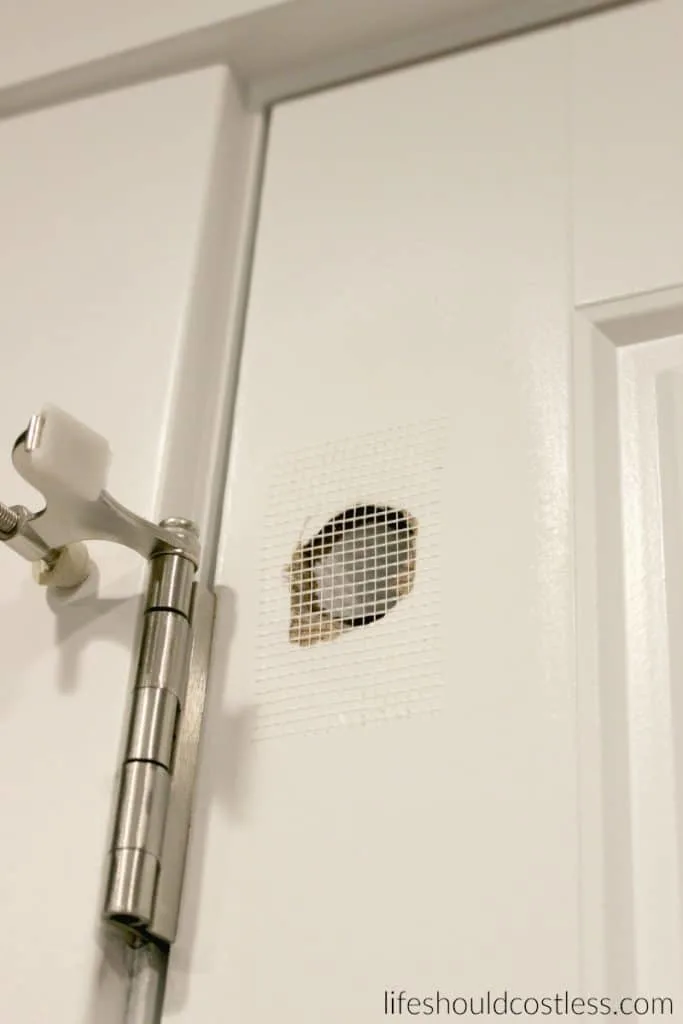
Then you tape over it with some standard, one side is sticky, patching tape.
I chose white tape so that it would be easier to cover with paint when I’m trying to match a white surface.

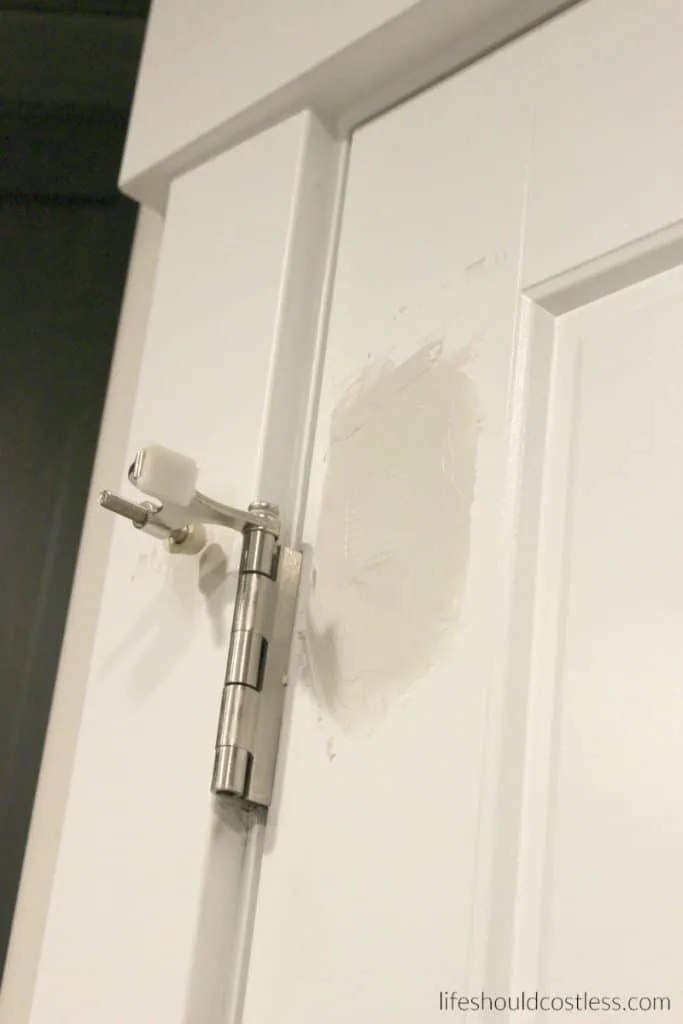
Now you fill it with joint compound , using a putty knife (i recommend a two inch, and try to spread it evenly.
Ladies, if you’re new to working with joint compound, don’t be afraid. If you can work with frosting, you can work with this stuff and it’s actually kind of fun. Just don’t lick it ;).
Then let it dry completely!!!
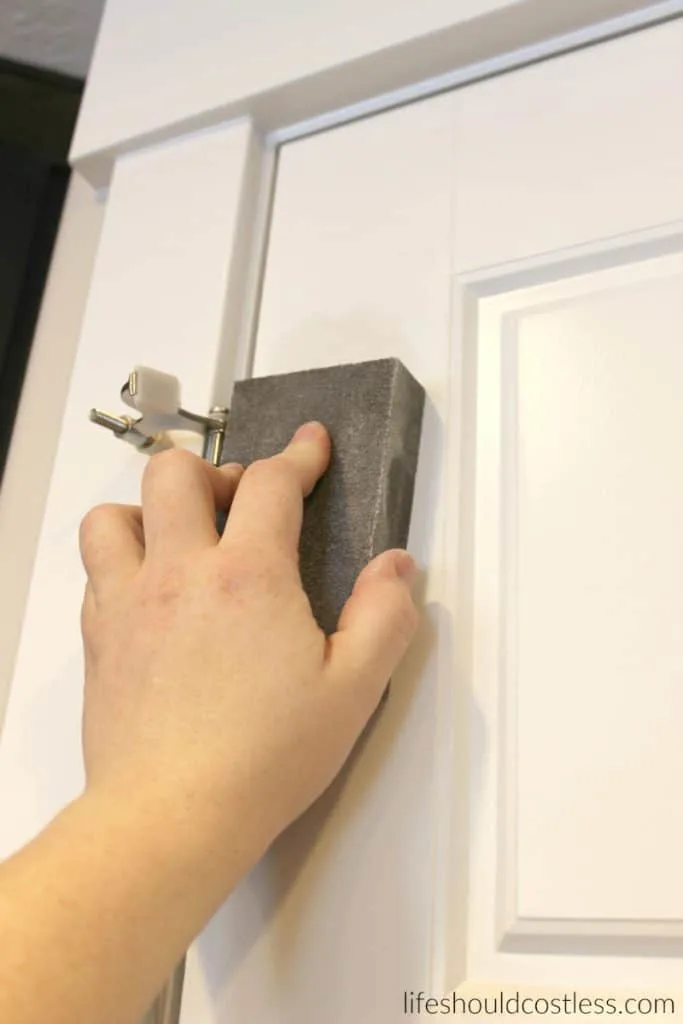
Use your same sanding block and sand it until smooth.
When I did my first coat and sanded it, some of the tape was poking out so I gave it a second coat, let it dry and then sanded it again and it was perfectly smooth and ready for the next step.
At this point, lightly dust the patch area and start painting in even strokes working your way outward from the focus area. Then paint it with a paint brush.
Hopefully you already have some matching paint on hand for your doors and trim, but if not you can ask someone at your local hardware paint counter what kind of paint will be best and then you can buy a small can of that…just make sure to blend it really well.
Or there’s another cool option, if you go to Home Depot they have this little “whites” catalogue, at their paint section, that has little paint chips with maybe fifty shades of white in it.
You could always get one of those, bring it home to color match the rest of your door, and then go have them mix you up a pint or so of that color.
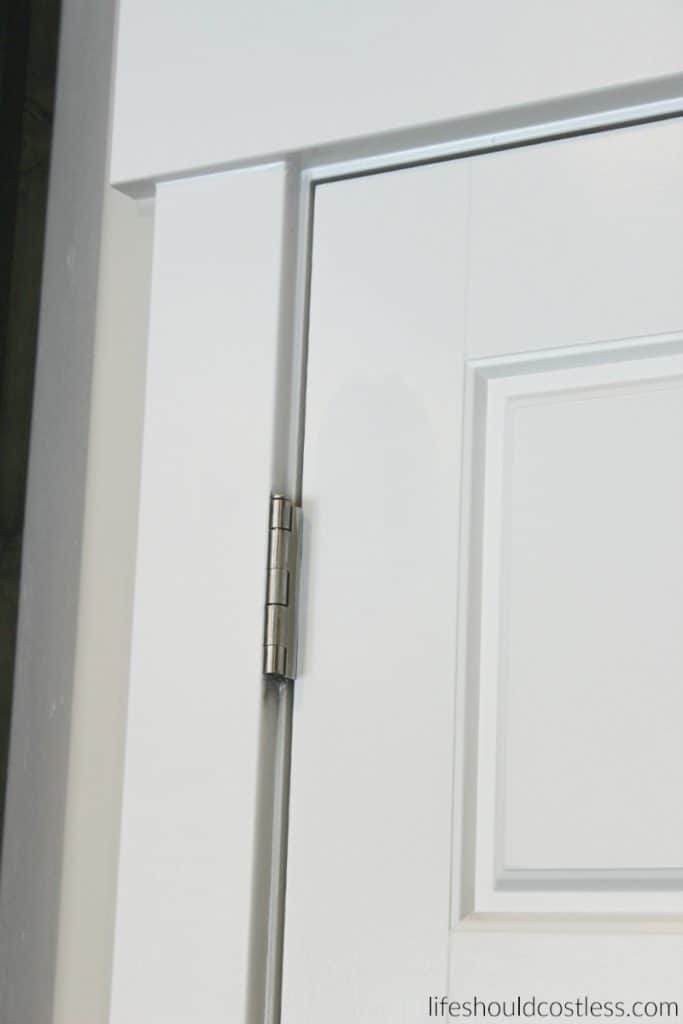
What I consider the worst case scenario, you could just tape around any hardware and paint the entire affected side of the door…still not too hard. This is what it looked like after one coat of paint.

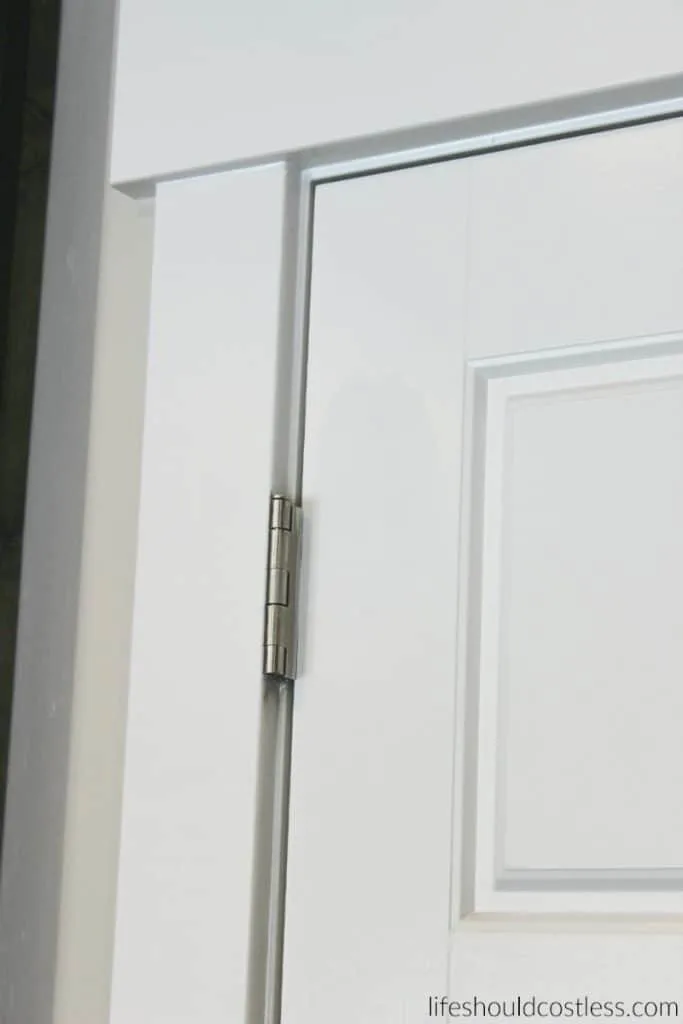
Let it dry and then paint it again…while still trying to blend into the original paint. Let it dry again! Here’s what it looked like with two coats.
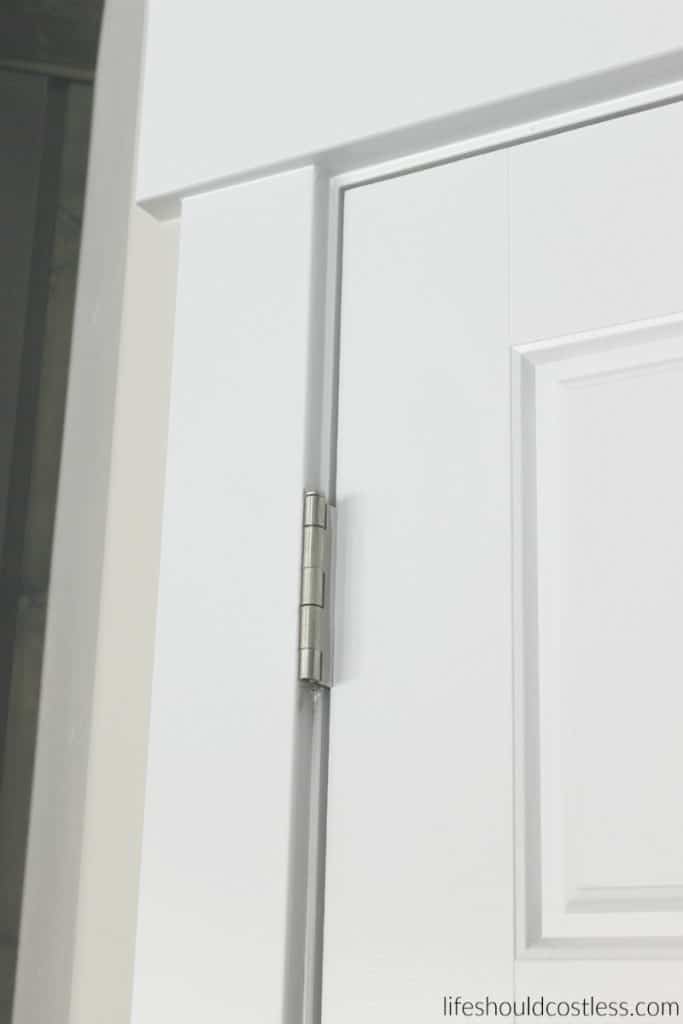
The third coat of paint was as much as I was willing to do, so I’m glad that it turned out so well (shhh, I’m lazy so I set my limits for projects).
You really can only tell it has been patched if you both know where to look, and look at it in just the right lighting.

The next step it to get a different style of door stopper for the future, because that kind is crap and will just cause the same problem later on… and continue to enjoy your nice, “new” looking door.
All in all I think it looks great! Plus, it was SO much cheaper than replacing all the doors. Remember, I said that I had three doors to patch so it would have cost at least a hundred dollars.
Since I already had the paint, and joint compound on hand, and most of the tools, so I think it only cost me about $10 to do these repairs.
Even if you have to buy everything, it is still way cheaper to do this than to replace anything more than one or two doors…
At least it is around here. Prices do vary everywhere though so keep that in mind and shop around before you decide.
Thanks so much for stopping by my blog and supporting my endeavors to make people’s lives a little easier/better/more affordable.
If you liked this post, or found it helpful in any way, please make sure to share it with your family, friends, and co-workers via social media.
Or you could even send them the direct link via email. Whichever way you choose to spread the love, I super appreciate it! ~Sarah

How To Follow & Support This Site
- If you would like to subscribe to my email list, go here.
- Make sure to follow along via social media, by going here.
- If you would like to learn how to really show your support to this site (at no cost to you), go here.
- If you would like to make a direct donation to the site, go here.