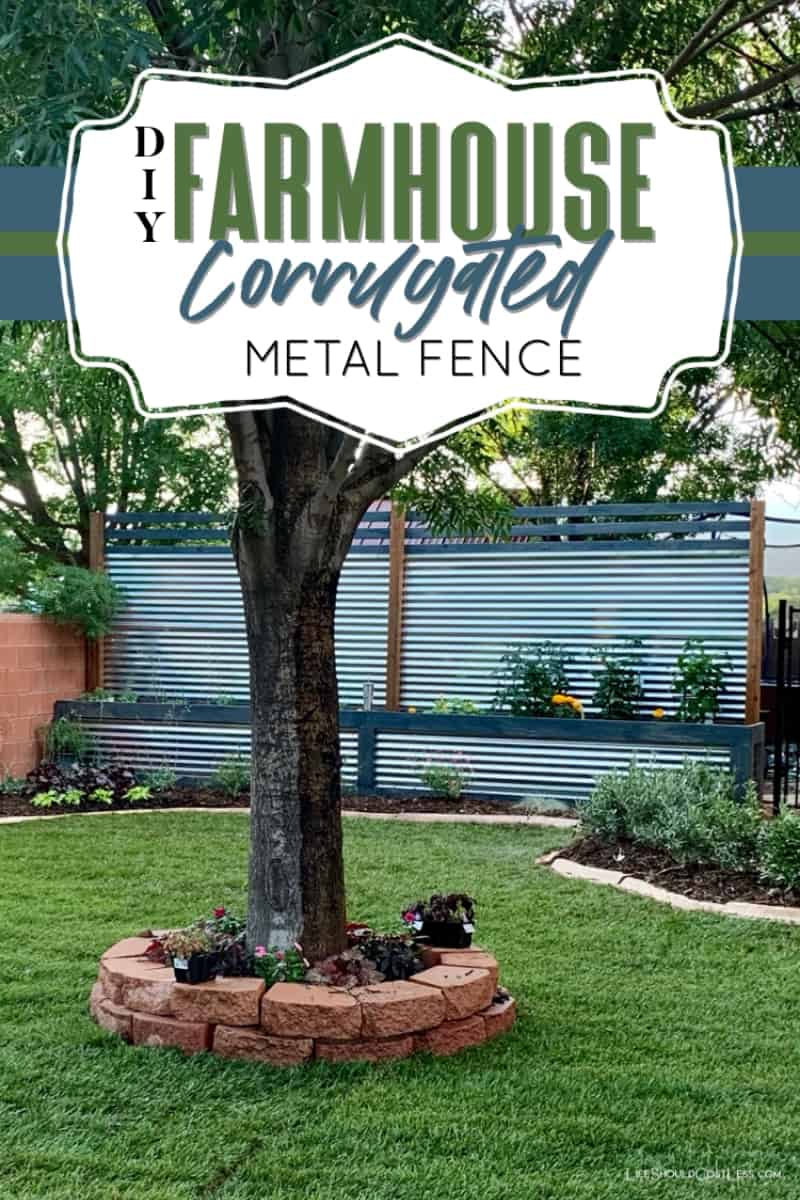
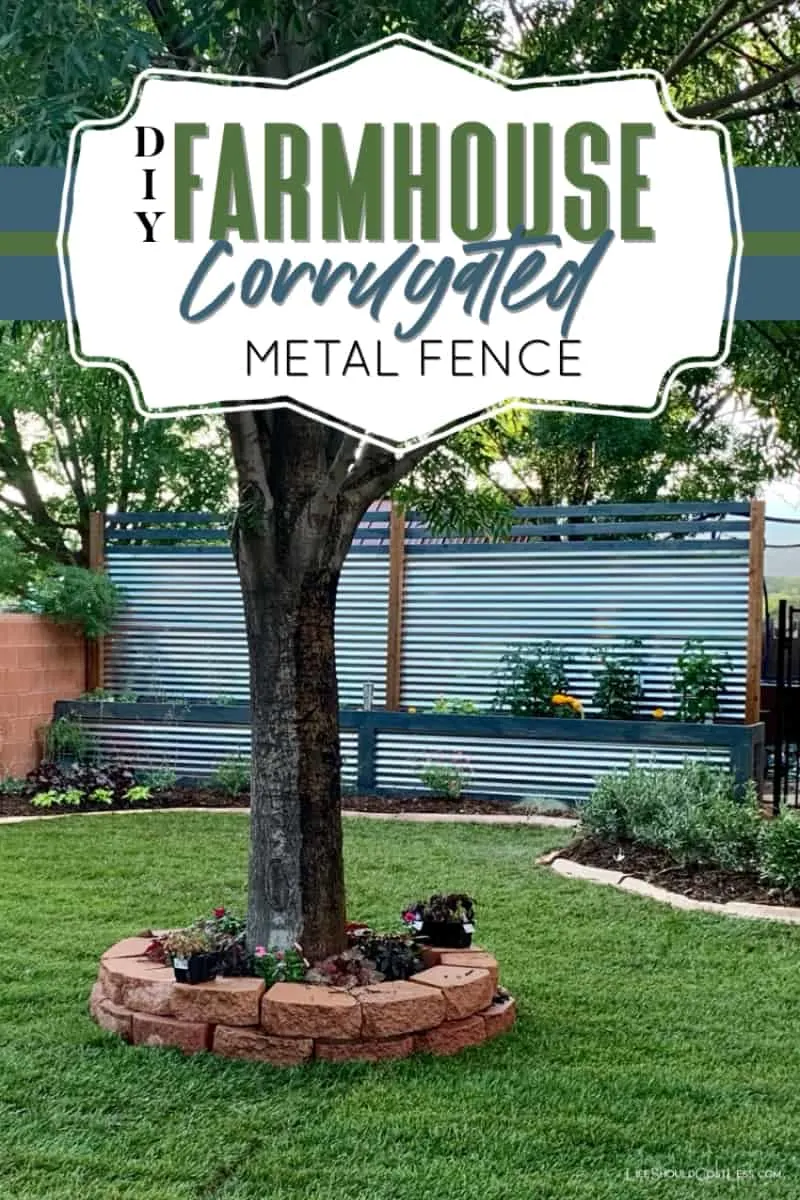
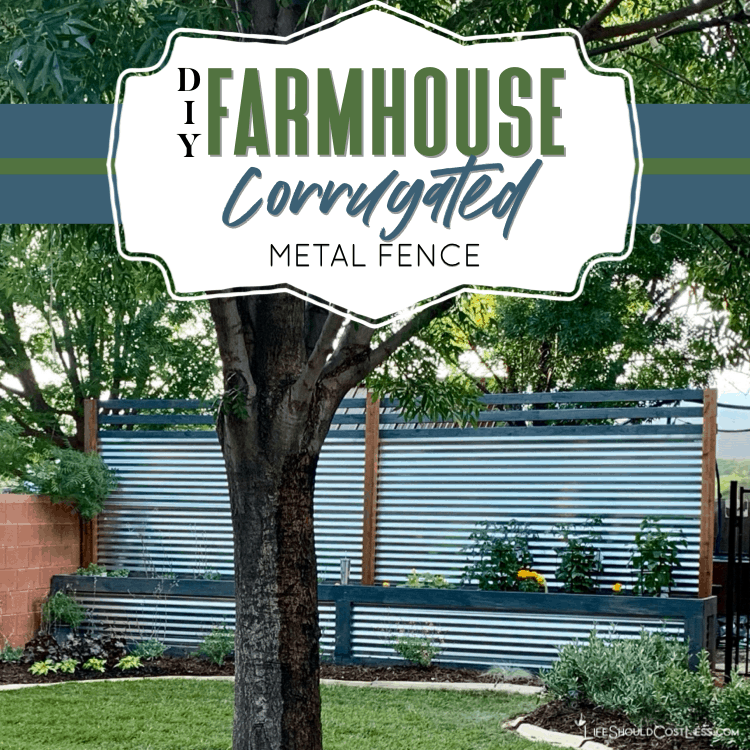
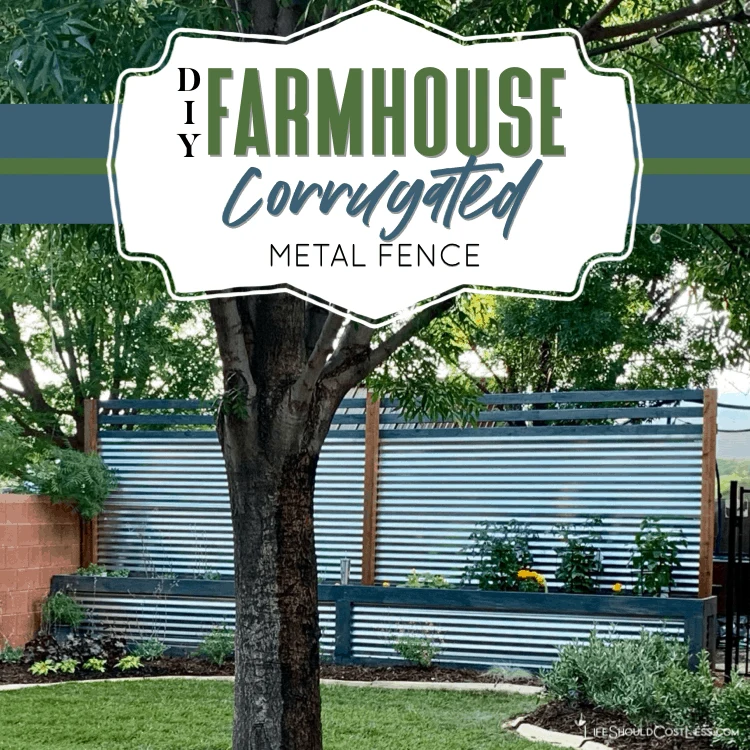
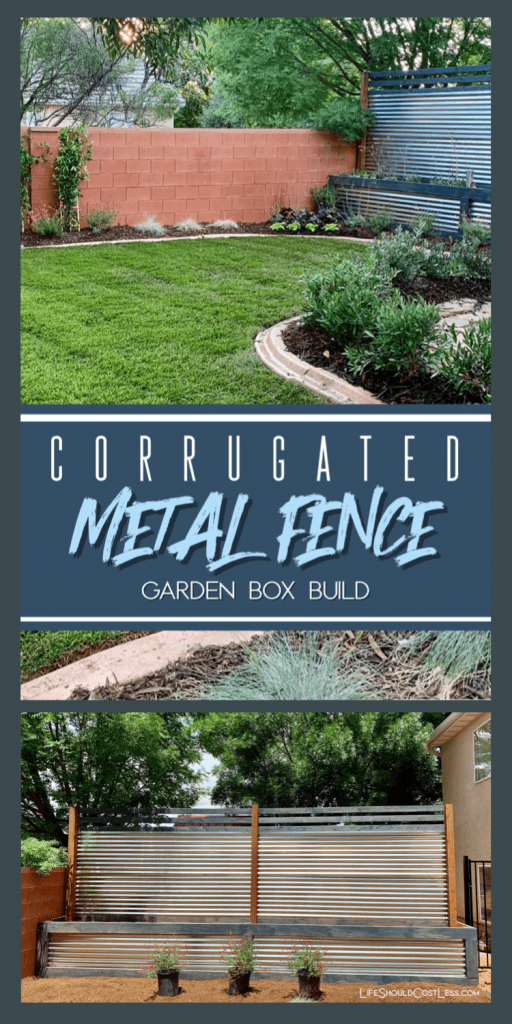
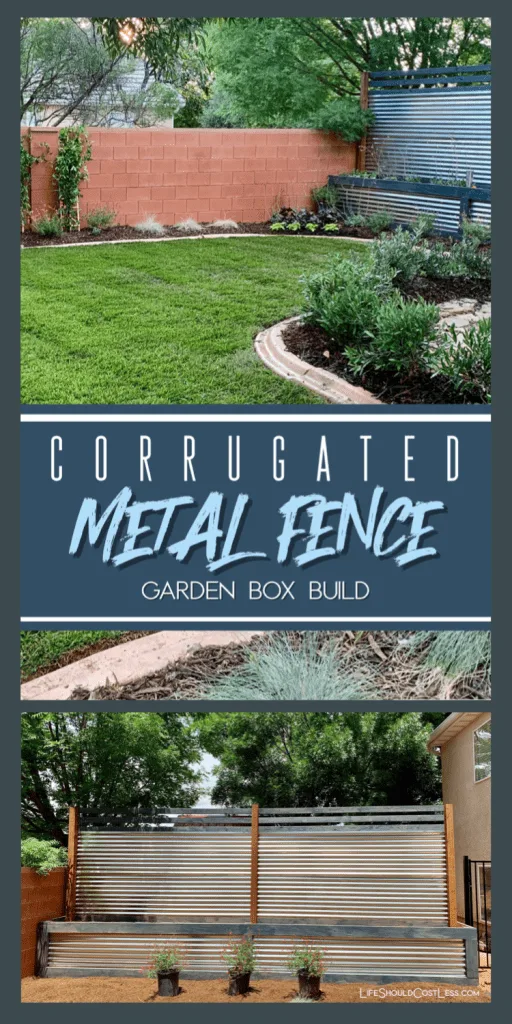
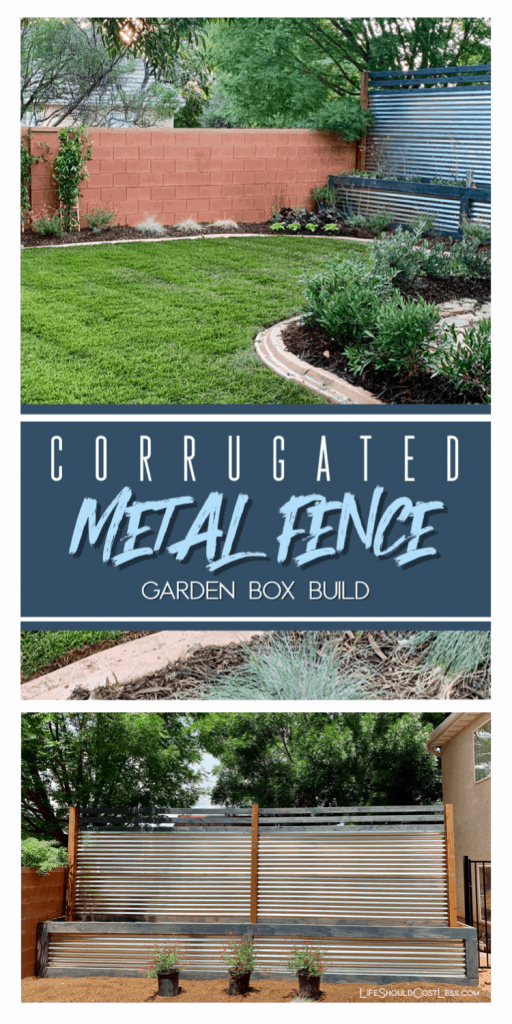
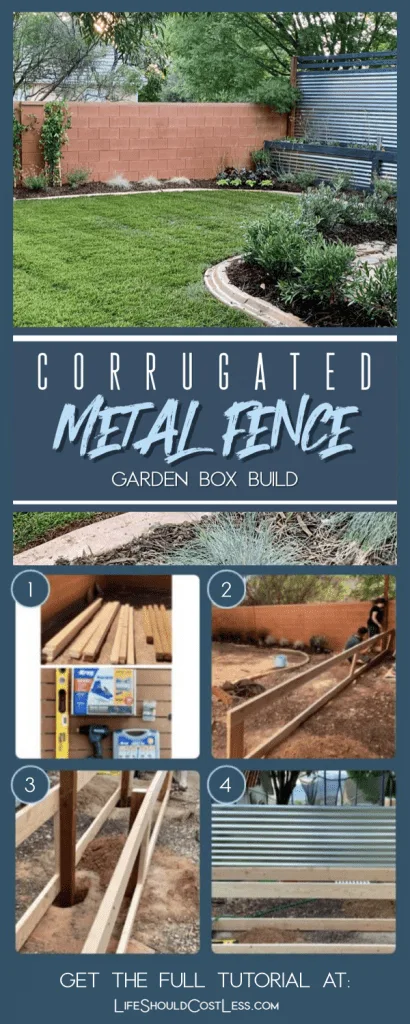
In this article, you will learn how to make an attractive yet functional corrugated metal fence that also has built in raised planter garden bed boxes. It is the perfect way to maximize your valuable yard space, and also have the added benefit of extra privacy too.
About this project
The yard was looking pretty sad, and the dog area was a bit of an eye-sore…so building this privacy fence was a much needed addition to this back yard.
This is the perfect project to crank out over a long weekend and it will be enjoyed years and years to come.
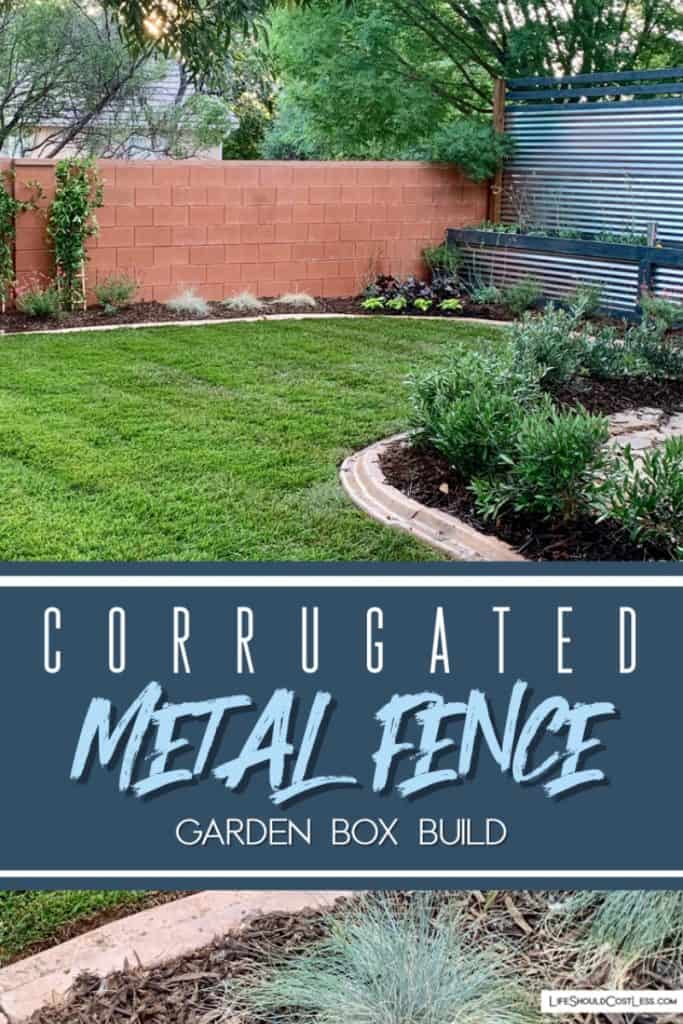
Corrugated Metal Fences are a beautiful way to create a decorative metal fence.
If you’re like me and clueless as to where to even begin to build your own corrugated metal fence, here is a bit of instruction.
It’s not as in depth as many of my tutorials, but it should give you a gist on how to build your own) to break down your learning curve.
First I’m going to give you a free printable “How-To” card so that you can print out the directions/supply list if you need to keep them handy while you are working on your own project.
Then I will provide pics of the process below that.
Video tutoial

How To Build A Corrugated Metal Fence With Built In Planter Boxes
Learn how to make an attractive and functional corrugated metal fence that also has built in raised planter boxes. It's the perfect way to use valuable yard space and can add extra privacy too.
Materials
- 9 - 10’ Corrugated Sheet Metal
- 3- 10’ Pressure Treated 4x4’s
- 1- 8’ Pressure Treated 4x4’s (cut for front posts)
- 8- 10’ 2x6 (top/bottom rails of garden box)
- 2- 10’ 2x6 (small pieces in between top & bottom rails - these will be cut)
- 1- 10’ 2x6 (top/bottom rails for sides of garden box)
- 6- 10’ 2x4 Back panel top rails
- 1 Box - 3” Wood Screws
- 1” Metal Roofing Screws (approximately 75-100)
- 3-4 bags of Quik Rete Concrete
Tools
- Compound Miter Saw
- Cordless Drill
- Level
- Pocket Hole Jig System
- Pocket-Hole Screws
- Tin Snips
- 3" Wood Screws
- 1” Metal Roofing Screws
- Gorilla Dump Wagon
Instructions
- Measure the desired area for fencing(twice). Purchase supplies & gather tools.
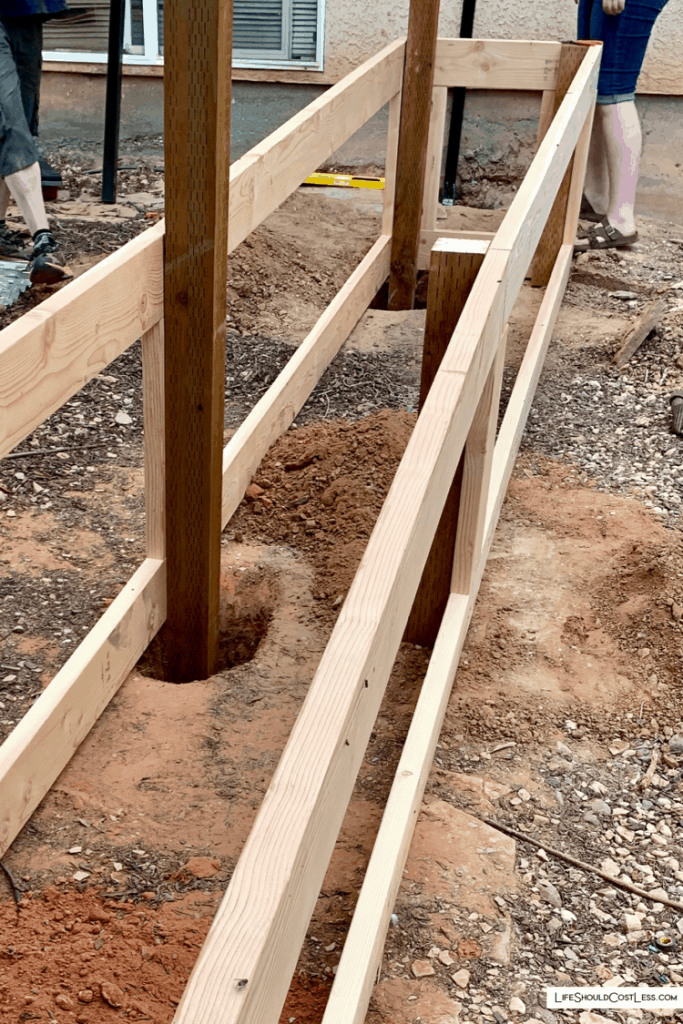
- Map out where your back posts will be going and dig holes that are at least 2’ deep and big enough around that you can pour concrete in the holes. (Make sure to call before you dig, so you don’t cut any wires or pipes running in the ground) Don’t concrete them into place quite yet.
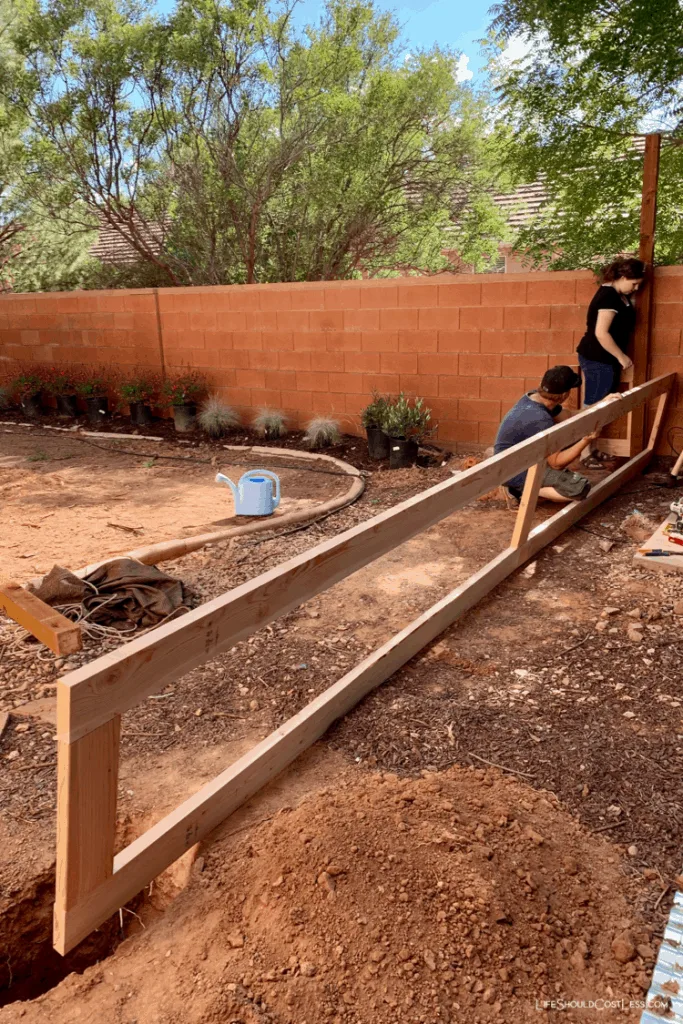
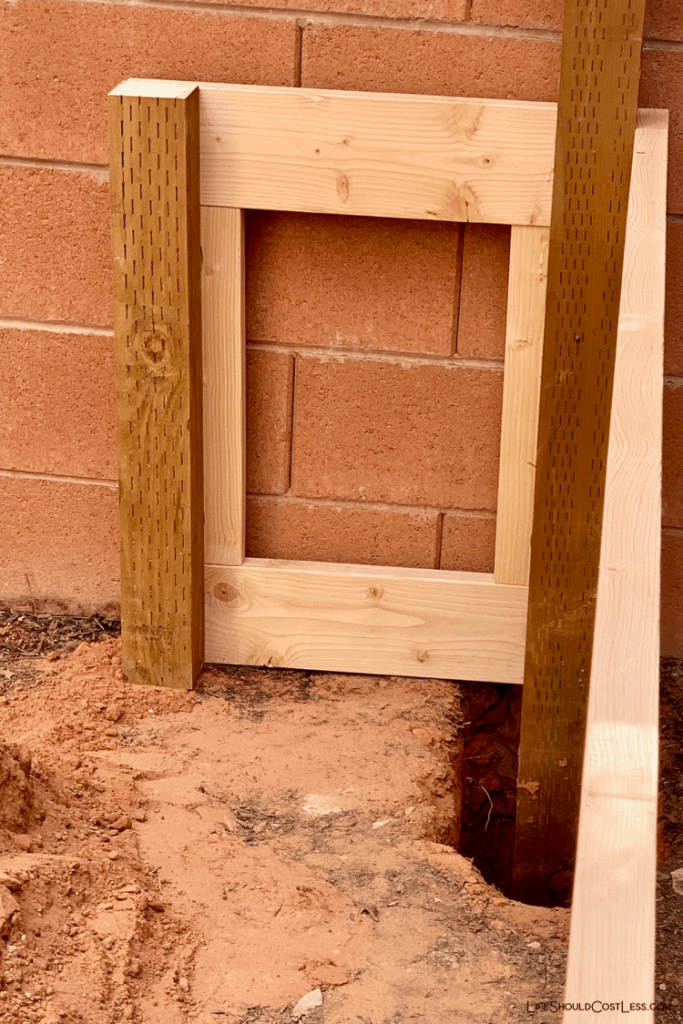
- Cut all wood to measurement and lay out on a flat surface to make sure they line up correctly.
- Using the Kreg Pockethole Jig drill pocket holes in the 2x6s (I did it in the short pieces that go in between the top and bottom rails).
- Now you will piece everything together using pocket hole screws. I layed one panel out at a time, face down on the ground (Front panel, back panel & side panels). For the front panel, the short middle 4x4 post on mine worked as a seam to piece the 2x6’s together. The pocket hole screws will go right into that post to hold it together. The other two short 4x4 Posts I screwed to the side panels.
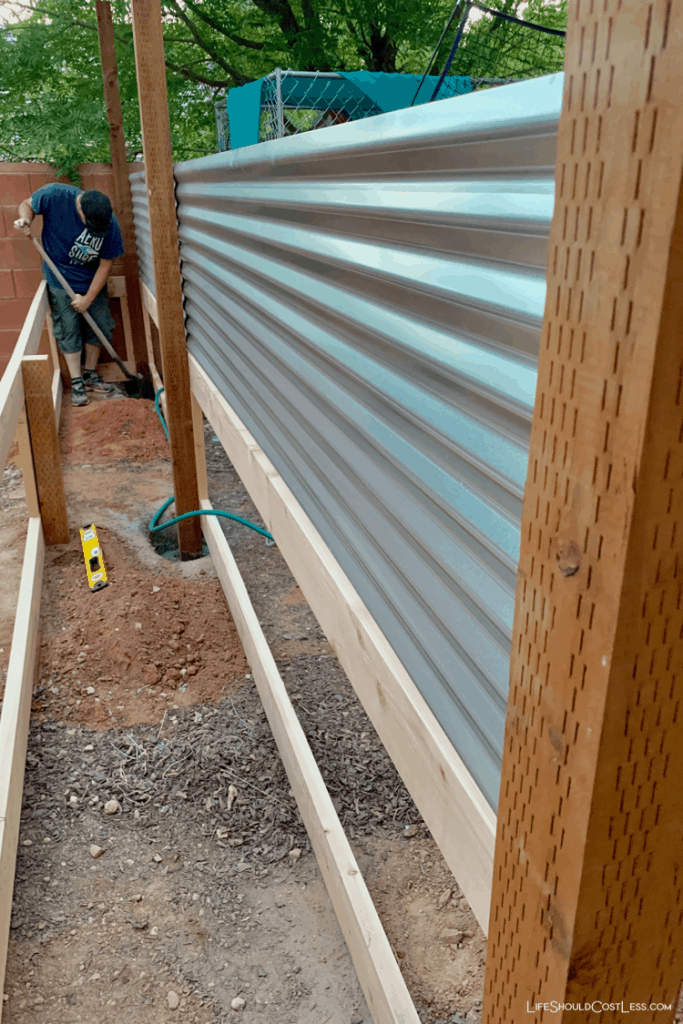
- Take the finished back panel of the garden box and lean it up against the 4x4’s that you have placed in the holes in the ground. One post at a time you will line up with the back panel with the 4x4’s. Use the level to make sure they are level and then drive a screw through the back garden box panel to hold it in place. Now, move to the next post and continue doing that until you have all posts and the back panel secure. The back panel holds the 4x4’s in place until you can concrete them.
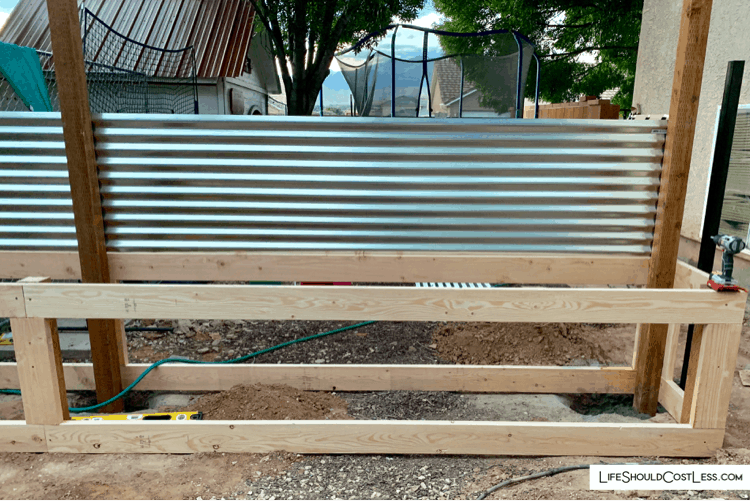
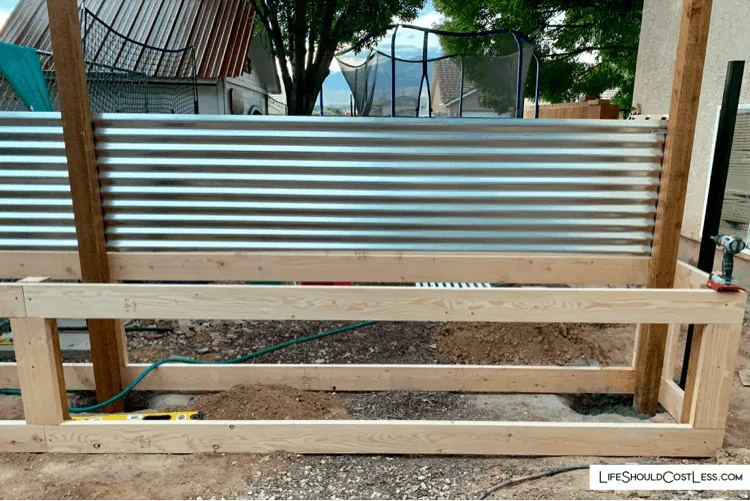
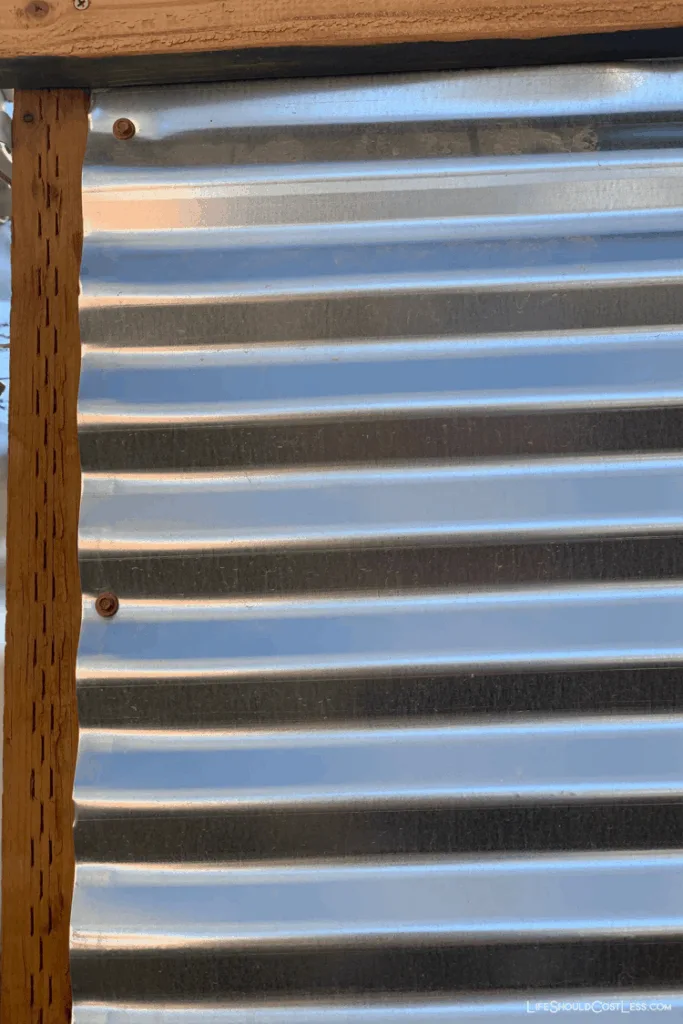
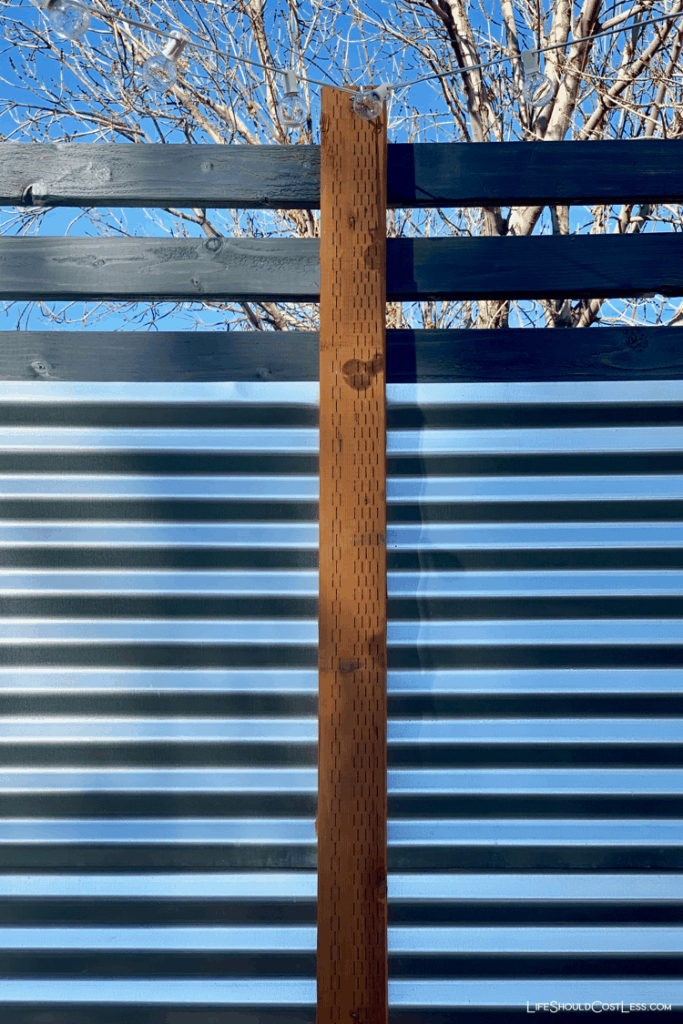
- Next we will work on the back screen. You will screw the bottom level of the corrugated metal to the 4x4 posts. Because mine were 10’ pieces of metal they slightly overlapped which was totally fine. I just made sure that when I screwed that section in that I went through both pieces of metal. This will also help secure the 4x4 posts and hold them into place until you can concrete them.
- Now you can screw the side panels on & then the front panel.
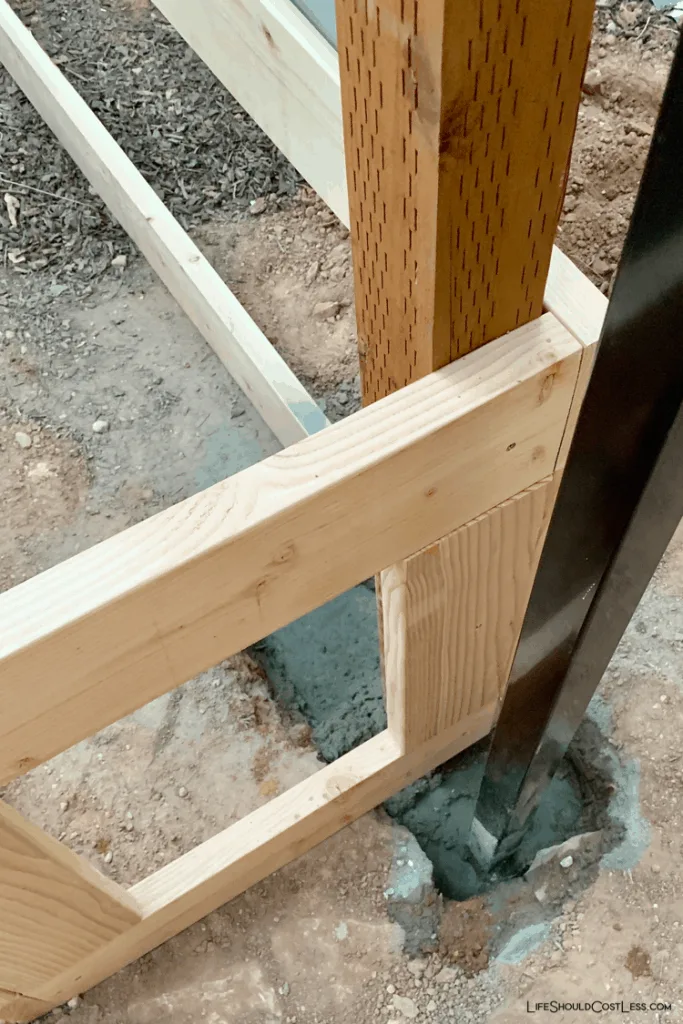
- Now it’s time to concrete those posts in. It’s nothing too complicated. We poured the concrete in the hole, ran the hose over and sprayed some water in until it looked about right and mixed with the shovel. (Side note: make sure you spray off the shovel and anything that you mixed it in immediately when you are done). Allow to dry overnight and depending on the time of year I would even suggest maybe 24-28 hours before continuing on with building the back panel.
- Next, it’s time to finish the back panel screen. You will screw the second level of corrugated metal to the 4x4 posts. Allow them to overlap the first level making sure that everything lines up and looks good before screwing them. Obviously this will require a few people helping.
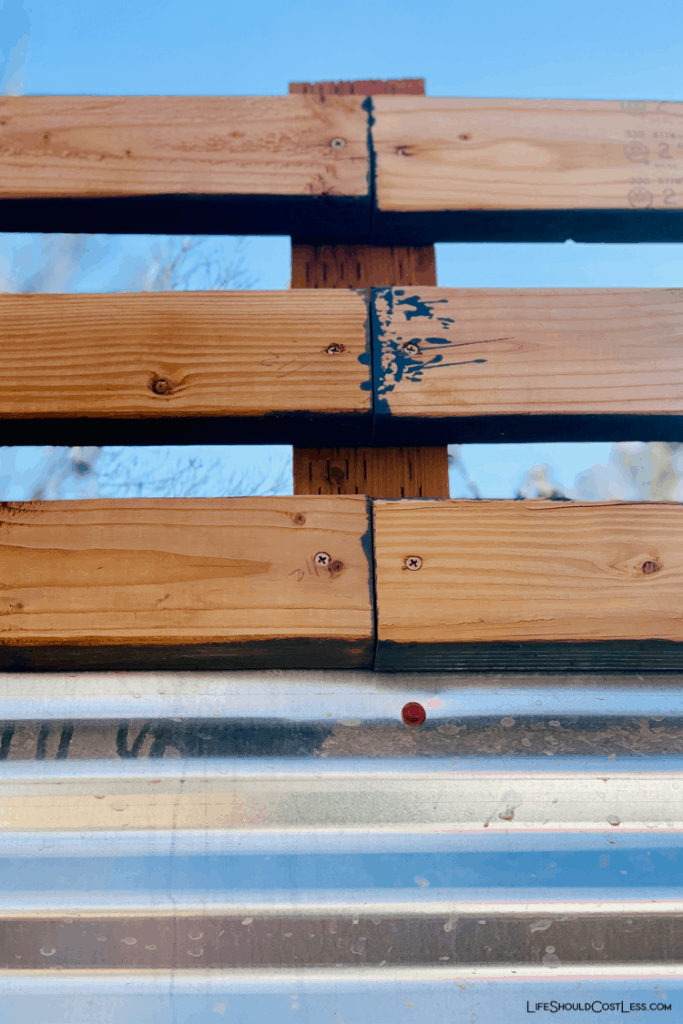
- Now you will work on installing the top rails of the back panel screen. Start with the bottom rail allowing the wood to slightly overlap the corrugated metal and screw the rail into the 4x4s. Continue with the top rail making sure that it aligns with the top of the 4x4s. Next put the middle rail in spacing evenly between the top and bottom rails and then screw into the 4x4.
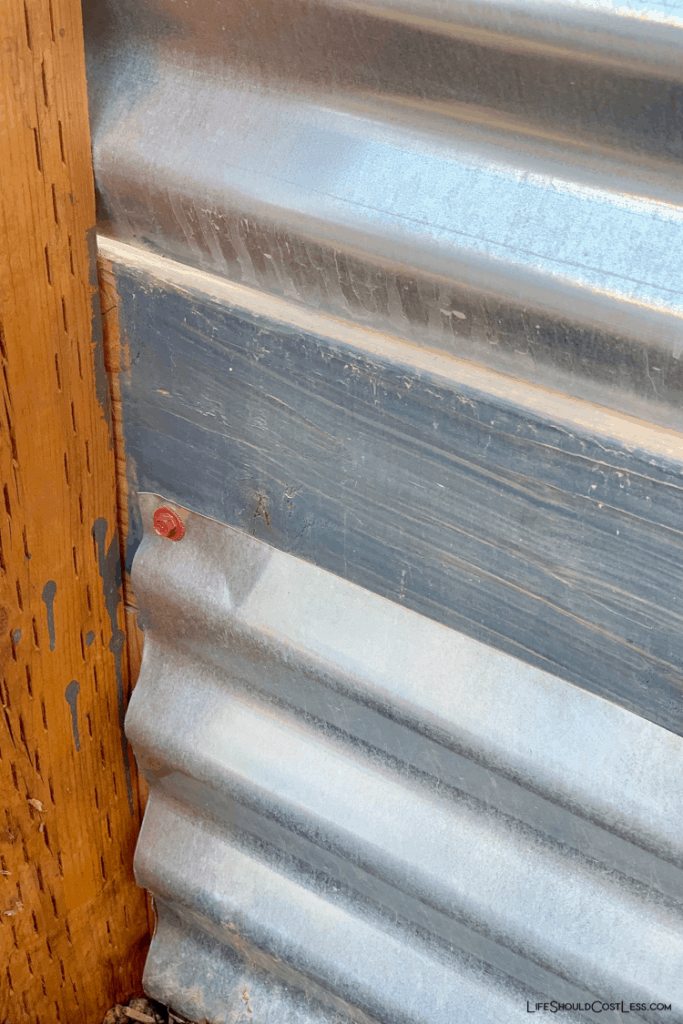
- Now we will be working on installing the corrugated metal in the garden planter box. This will more than likely need to be cut with tin snips to fit the space between the 4x4 posts. Once cut to measurement, line the metal up on the inside of the box, allowing it to go completely to the ground. It should leave about 2-3” of wood to be showing at the top of the box. Once aligned screw it into the 2x6’s with metal roofing screws.
- Next it’s time to stain the box. I chose a blue/grey stain that I already had on hand from a previous project. I suggest staining and then sealing and allowing to cure before the next step.
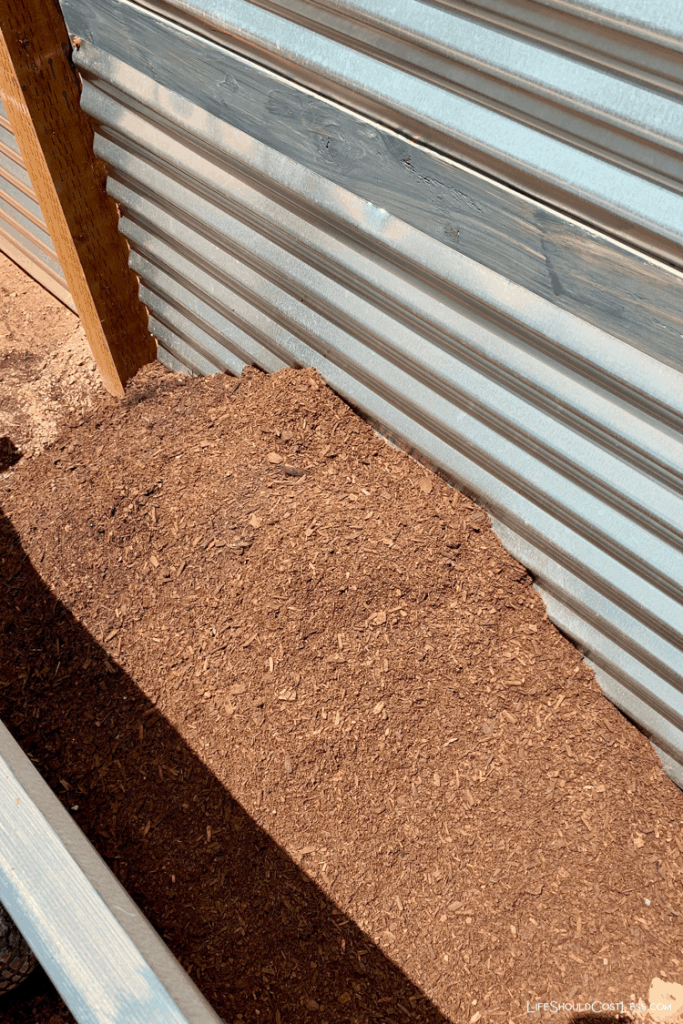
- Can you guess what’s next? Filling the garden box with soil. I bought it in bulk (truckload) from our local nursery because it cost way less than buying bags of soil. Because it was in truck load we had to haul all of it to the garden box. I used the Gorilla Dump Wagon and it saved my butt because we had to do numerous loads. Once full of soil it’s time to plant some garden plants or everyday plants, your choice.
Notes
Don't rush between steps... take your time when allowing concrete to set and for paint/stain to cure.
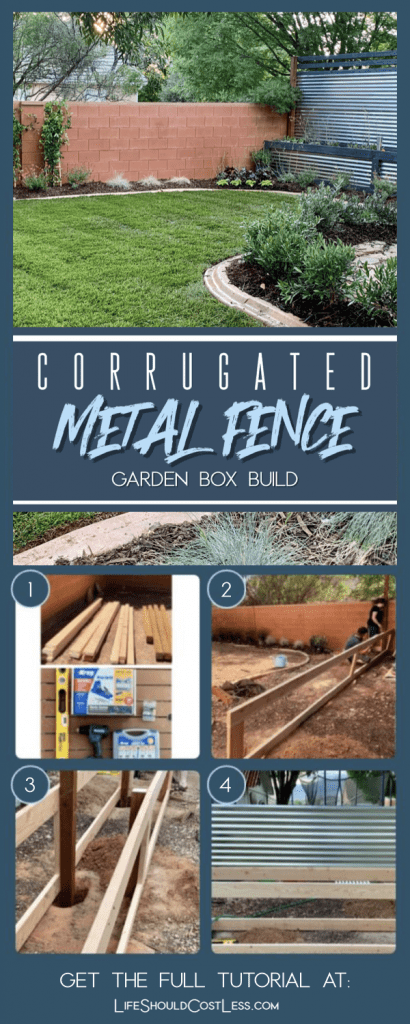
Photo tutorial
Here are the pics for making the fence with built in metal planter boxes.
A little video first and then come the still images of the process…


What it looks like in action

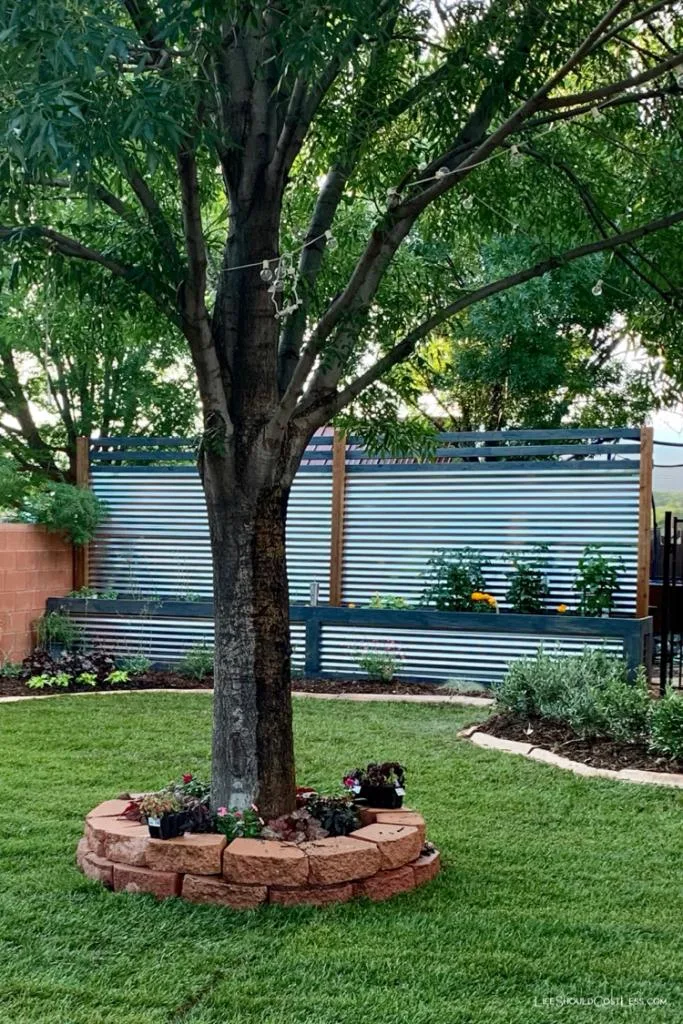
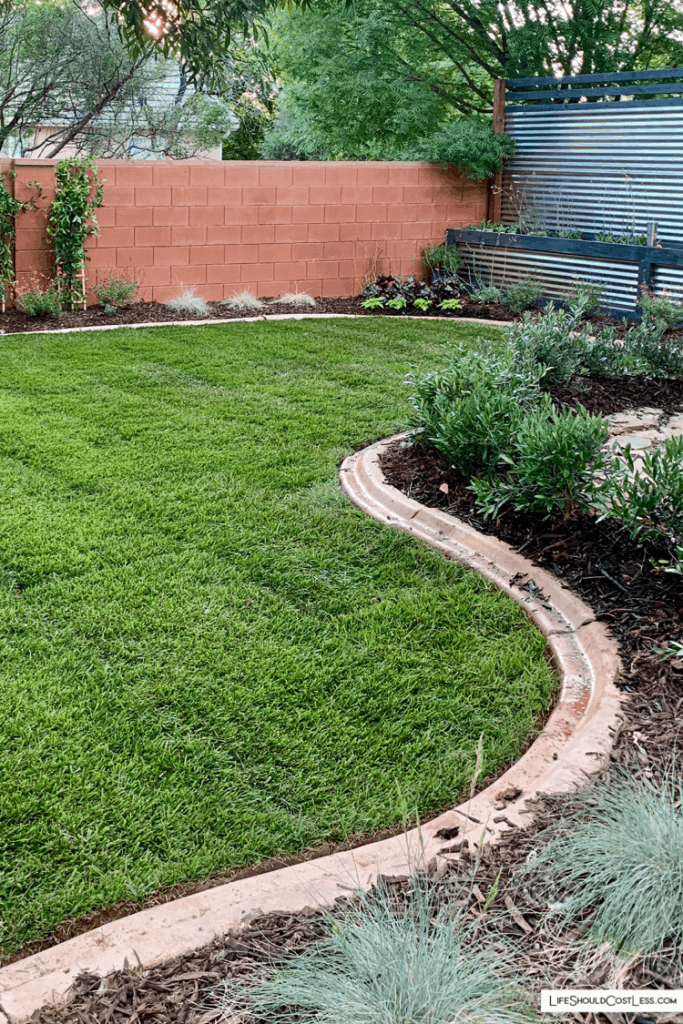

It really pulled the yard together, hid the dogs area, and just made the yard so much more inviting…plus I’m a sucker for a good planter box, so the dual functionality is my favorite part.
Well, that’s all I have to share with you all today. Hopefully it gave you some good ideas on what to do with your own yard to add some functionality and privacy at the same time.
Thanks so much for stopping by my blog and supporting my endeavors to make people’s lives a little easier/better/more affordable.
If you liked this post, or found it helpful in any way, please make sure to share it with your family, friends, and co-workers via social media.
Or you could even send them the direct link via email. Whichever way you choose to spread the love, I super appreciate it! ~Sarah
How To Follow & Support This Site
- If you would like to subscribe to my email list, go here.
- Make sure to follow along via social media, by going here.
- If you would like to learn how to really show your support to this site (at no cost to you), go here.
- If you would like to make a direct donation to the site, go here.
Check out my other content
P. S. Don’t forget to check out my entire DIY section, found here.
Here are several of my other DIY projects that you’re going to also like:
My other DIY projects:


*Please note that this post was originally shared on this website on May 5, 2020 and has since been updated to improve user experience.