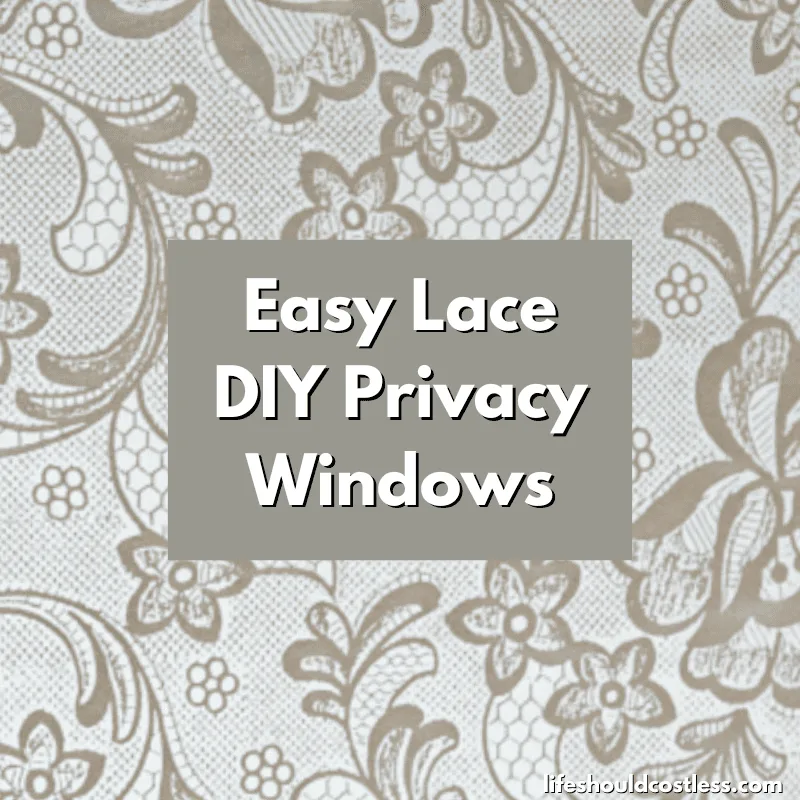
Learn how you can easily create Easy Lace DIY Privacy Windows for an inexpensive way to let in natural light. This project works double time by both giving you privacy and making your room look beautiful all at the same time.

About this project
I tend to get a fair amount of depression whenever there are several dreary days in a row, so I try to do everything that I can to make sure that I am letting in as much natural light as possible into my home to help combat it.
Let’s call it, preparing to be happy!…lol.
There are two small rooms in my home that require the blinds to be shut the majority of the time for privacy.
I’m an introvert by nature and hate it when I have a window that is overly visible to neighbors or street view…
I’m sure that some of you are thinking that it sounds like a first world problem, but I’m the first to admit that I really got spoiled growing up as a farm kid on 5+acres of land.
Anyway, having rooms in the home that need to have the blinds constantly shut, means that you basically walk into a cave every time you go in there and I would open those blinds, but I’m always worried I’ll forget to close them and I don’t want to give the neighbors, or passersby a free peep show.
Over the past few years I have fallen in love with the lace window covering trend, but I have yet to find a good deal on lace, even at thrift stores, and it seemed like I would never be able to do it…until I discovered a certain product that would work instead… and it is a super cheap alternative.
Before and after lighting effect
But first, let’s show you the before and after of how much more light it brought into my laundry room.
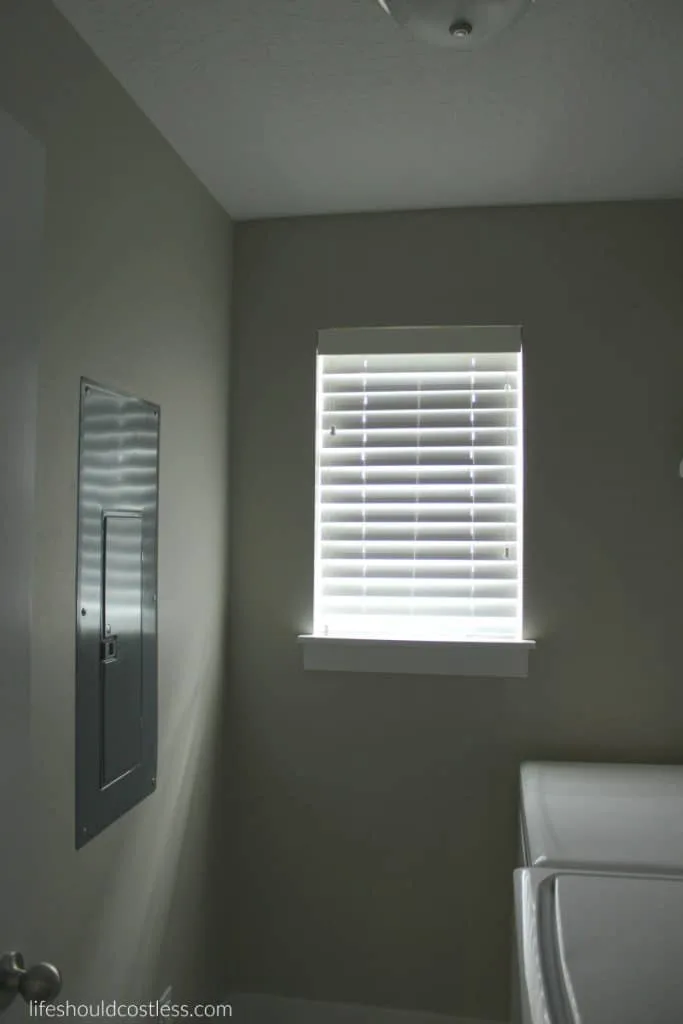
Here is the before. I even lightened up this picture a little bit…it was crazy dark in that room even mid-day with the blinds shut.
Here is the after, I added the lace to cover my windows, with light just pouring into the room.
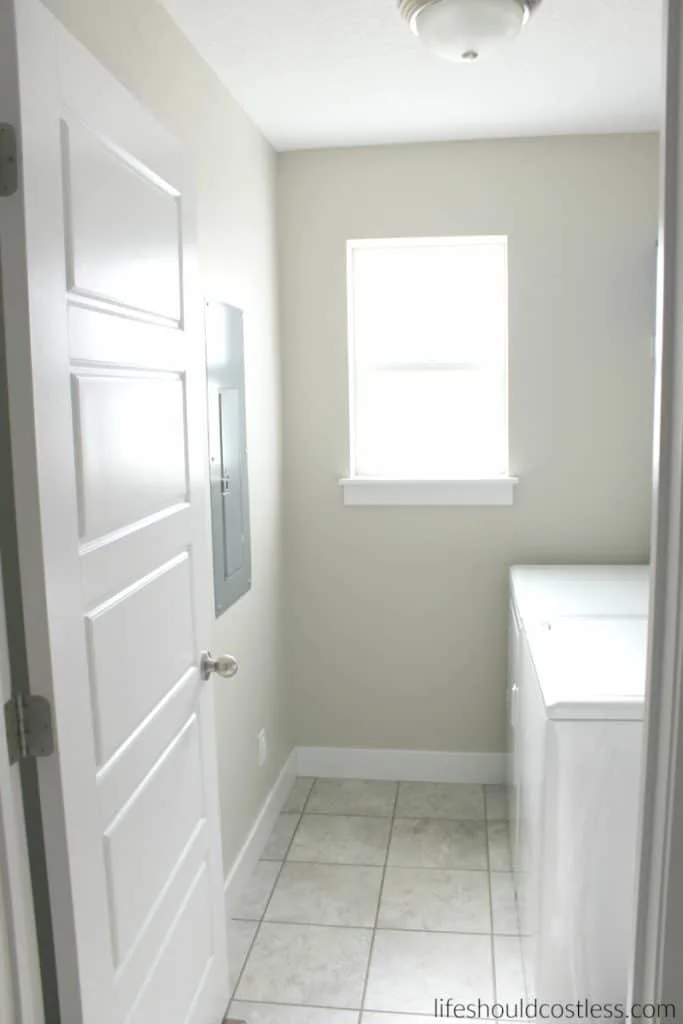
It made such a big difference that that first week after I did this any time I walked by the laundry room I thought that someone had left a light on in there.
The change in the amount of natural light coming in made me super happy, so this project more than paid for itself in my eyes…
Yay! Now I can have my bright room but still walk in there half-dressed any time I need to without worrying about being seen.
Tools/Products used for this project
Here’s what I used to do mine:
How to install lace window film:
Before you just start slapping it on your windows it is important to do a little bit of prep work so that you will get the best possible results.
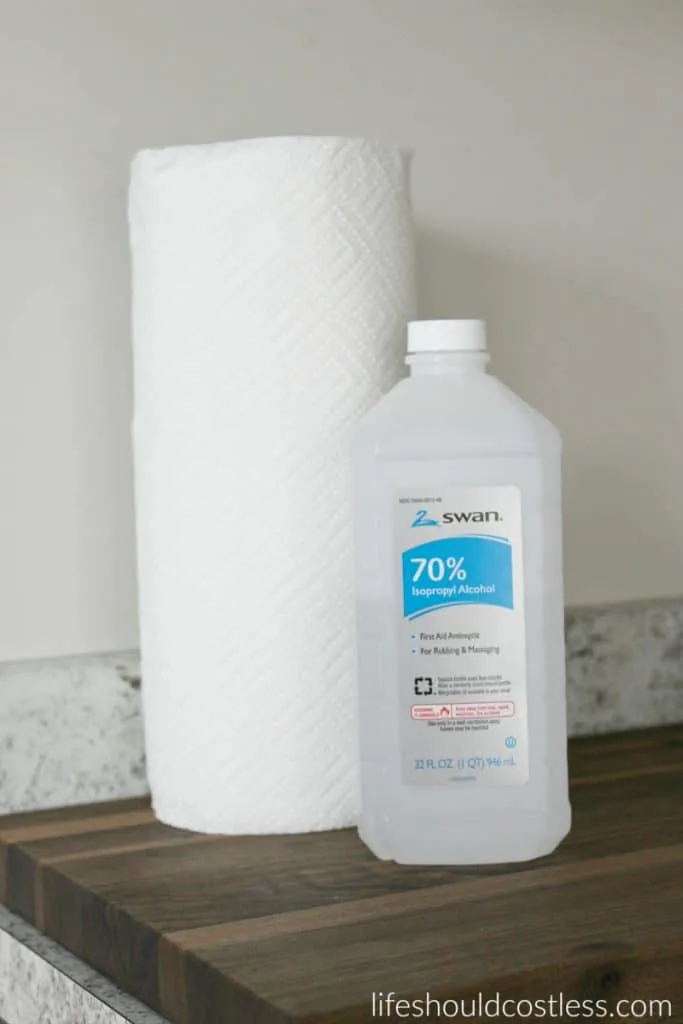
I cleaned my windows really well with rubbing alcohol and paper towels so that it would stick really well…the same way that you would prep glass before you apply vinyl.
Don’t skip this step as it will give you a better (longer lasting) hold.
Just make sure that the window is completely dry before you attach the contact paper.
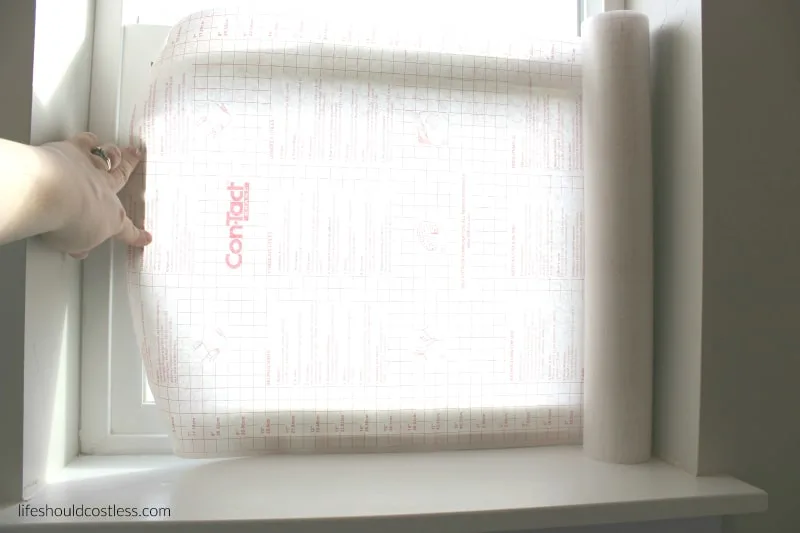
Then all you do is measure how big your windows are and cut the lace contact paper down to size.
I found it easiest to roll out a little more than I needed and then cut it to a little bit bigger than I needed so that I could work with a smaller sheet instead of juggling the whole roll.
Then using some sort of vinyl application tool, remove the backing from the contact paper and roll it onto your windows, sticky side on the glass, trying hard to push the air bubbles out as you go…it’s super simple.
However, if you need a little bit more direction on how to install contact paper on glass, here’s a basic video (not of my creation) to watch to help you along the way.
Unfortunately the roll of Lace contact paper is only 18″ wide so it will only work for smaller windows, unless you hide the seams on a large window that has lots of panes.
What it looks like through the windows
Inside. It let in so much light that I could not get a good shot of it and part of the room as well. Even when using my lighting kit.
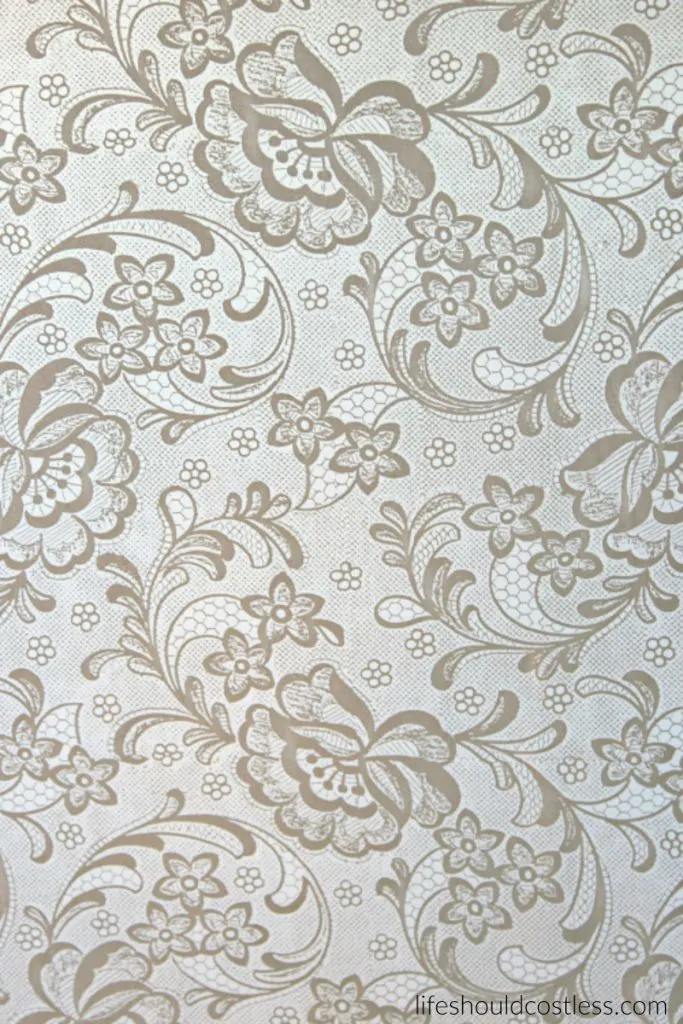
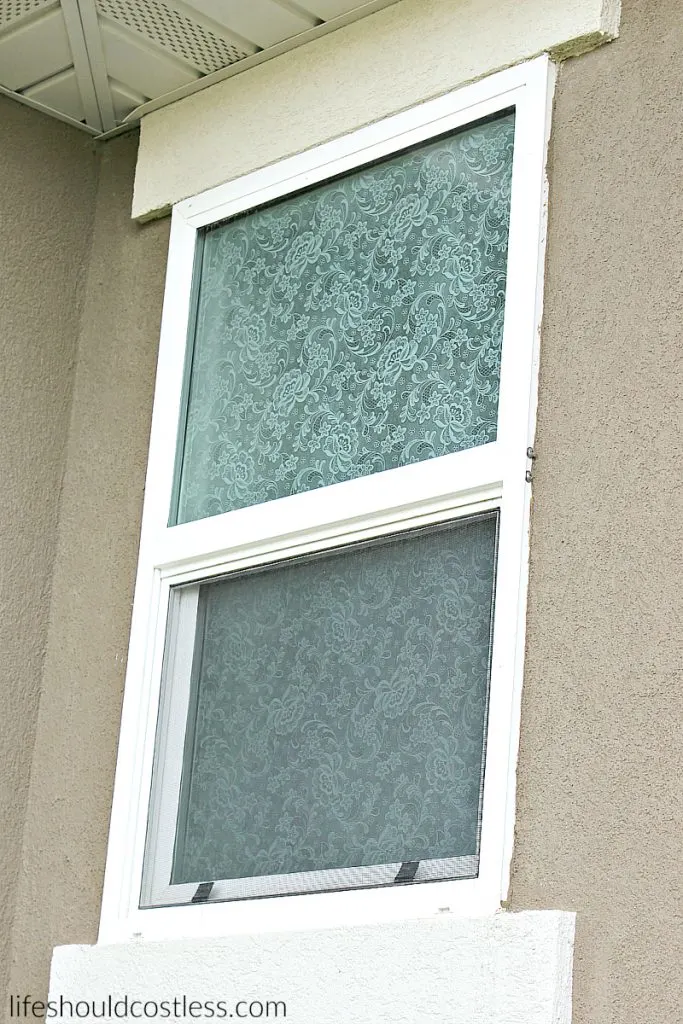
& outside... my windows are tinted and it still looks pretty classy through the tinting and the screens.
Sorry I couldn’t take a picture of them straight on. I was trying to reduce glare so that you could actually see the lace rather than it being so bright that you can’t see anything anyway.
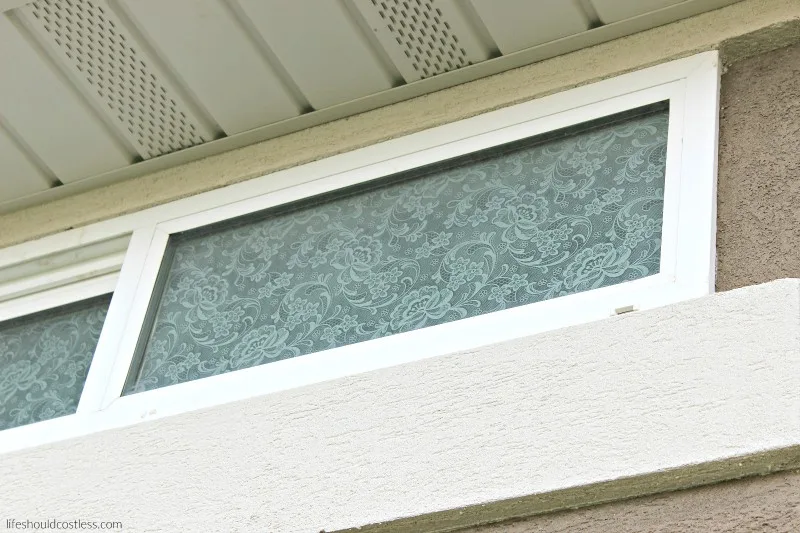
Other info you may need to know
One thing to note is that on the back of the contact paper it says that if there is an air bubble that you cannot get out that you can take a pin and gently pierce the center of the bubble and let the air out of that hole by smoothing it towards the hole, or something to that effect(I don’t recommend doing that on any rooms that have lots of moisture though).
I got my windows done in those two rooms in a matter of twenty or so minutes. I liked it so much that I did it to every possible window in my house (the bathrooms and laundry room). Isn’t it pretty?
All in all I’m pretty happy with them. I was too cheap to replace them with frosted glass windows, so this was a great way to get the job done on a budget.
Plus, it was so much easier than measuring out and cutting up lace and then creating a paste to make them stick (and so much less hassle, that’s how people apply real lace to their windows if you’re wondering what the heck I’m even talking about).
Even after months of having them on the bathroom windows, where there is lots of moisture, they are still holding strong.
Now only time will tell how well they hold up to the cold of winter and the heat of summer. Both of which I’m not too worried about though because the windows are double pain so they are not exposed to quite as much of the extreme temps.
Plus, I put the blinds in a safe place in case I ever change my mind and want to go back to the old ones.
Oh, and one last tip. The easiest way to tell if you have air bubbles that you missed is to look at it when it is dark outside but with the lights on inside.
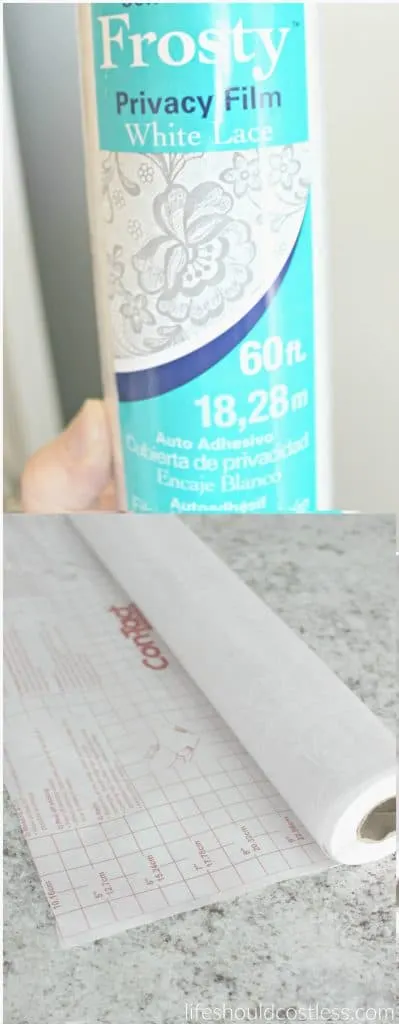
The best part about the lace being Con-Tact Brand contact paper is that it has little grids printed on the back of the paper so it is a breeze to measure out how much you need and then cut in straight lines.
What do you think of my DIY Lace Covered Windows?
I’m thinking that this is so much cheaper to do than many other window treatments out there and it girly’s the house up a bit.
Thanks so much for stopping by my blog and supporting my endeavors to make people’s lives a little easier/better/more affordable.
If you liked this post, or found it helpful in any way, please make sure to share it with your family, friends, and co-workers via social media.
Or you could even send them the direct link via email. Whichever way you choose to spread the love, I super appreciate it! ~Sarah
How To Follow & Support This Site
- If you would like to subscribe to my email list, go here.
- Make sure to follow along via social media, by going here.
- If you would like to learn how to really show your support to this site (at no cost to you), go here.
- If you would like to make a direct donation to the site, go here.
Check out my other DIY related content
My other DIY projects:
*Reposts: Please note that this article was originally posted to this website on 10/25/2016, but it was in great need of a refresh so it now is more user friendly/shareable and will continually be updated to improve user experience and remain relevant.
