Learn how to save yourself some precious time, money, and headache when dealing with the never-ending mess that often comes with regularly using wax melts and a wax warmer to keep your house smelling heavenly. This one simple DIY Wax Warmer Hack may be the best discovery of your day.
About this hack
For as long as I can remember, I have not been a super huge fan of using wax for a warmer, or a wax melt burner because it always seemed like it was not only a hassle but also a mess to deal with when it was time to switch out the wax.
However, after moving this last time I knew that I needed to work on making my new place feel more like our home, and part of doing that is sometimes enjoying a sweet scent.
Candles are out of the question for me personally because I refuse to deal with cleaning up the soot on the walls and ceilings…
It always makes me feel like my home is dirty, & the paint is dingy, after burning them, so I decided that I had better figure out a solution so that my kids and I could feel even more at home.
My “ah ha” moments always seem to come when I am doing something completely unrelated to a problem that I want to solve, so it was not out of the ordinary for me to have one when I was baking muffins.
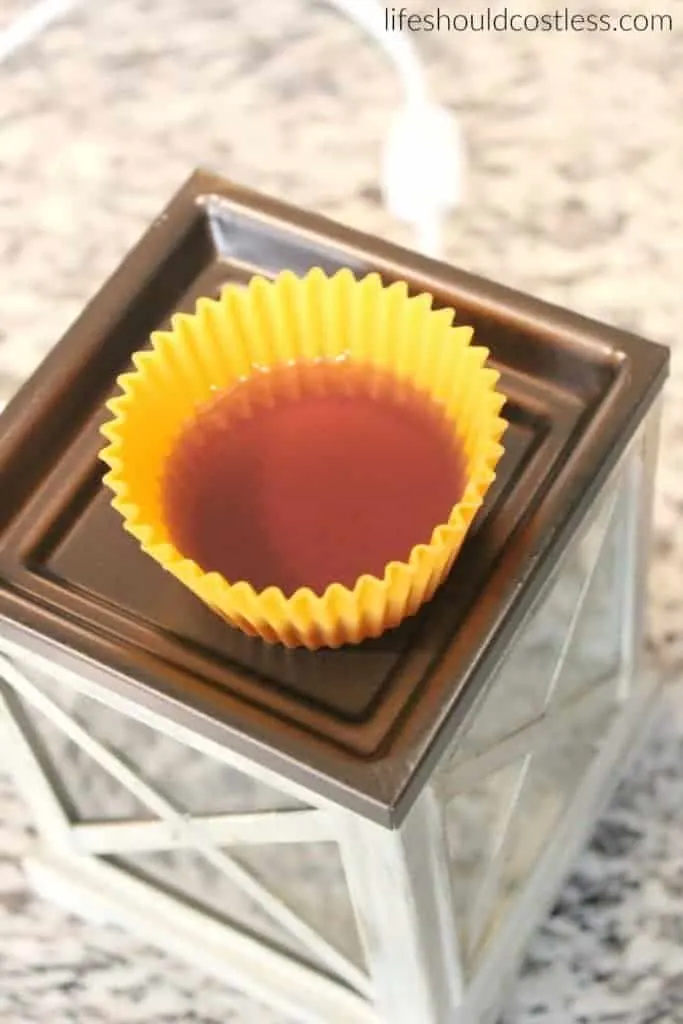
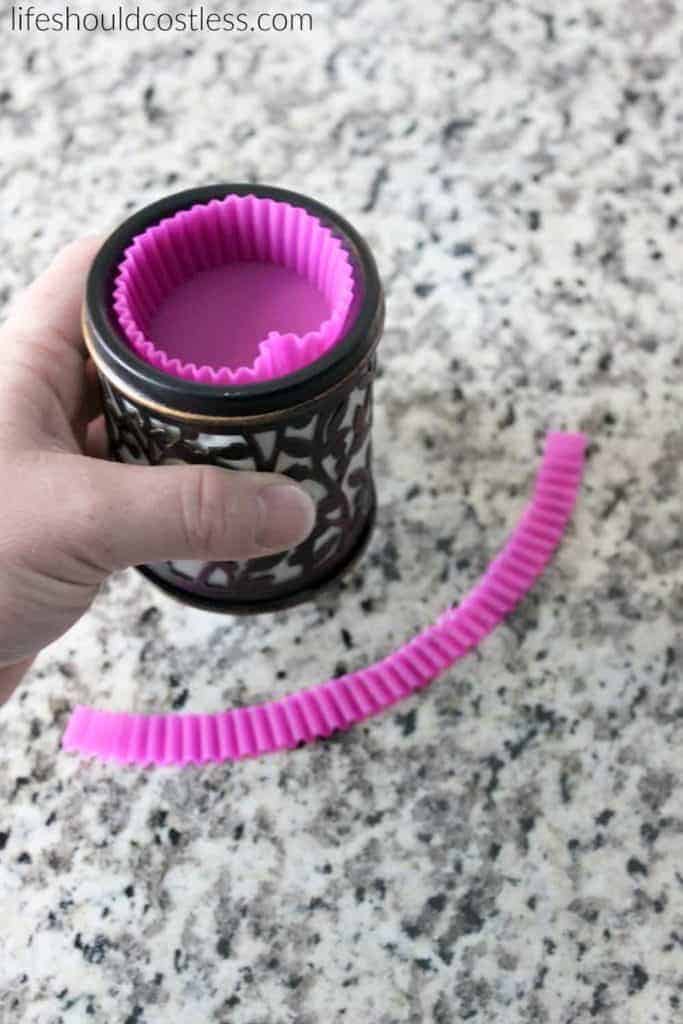
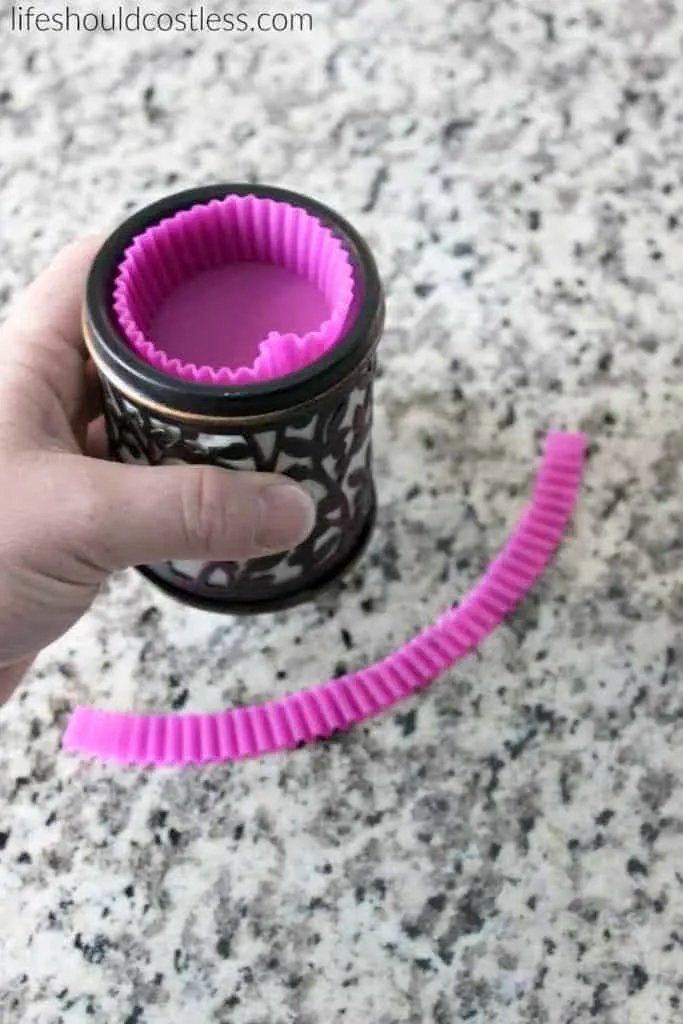
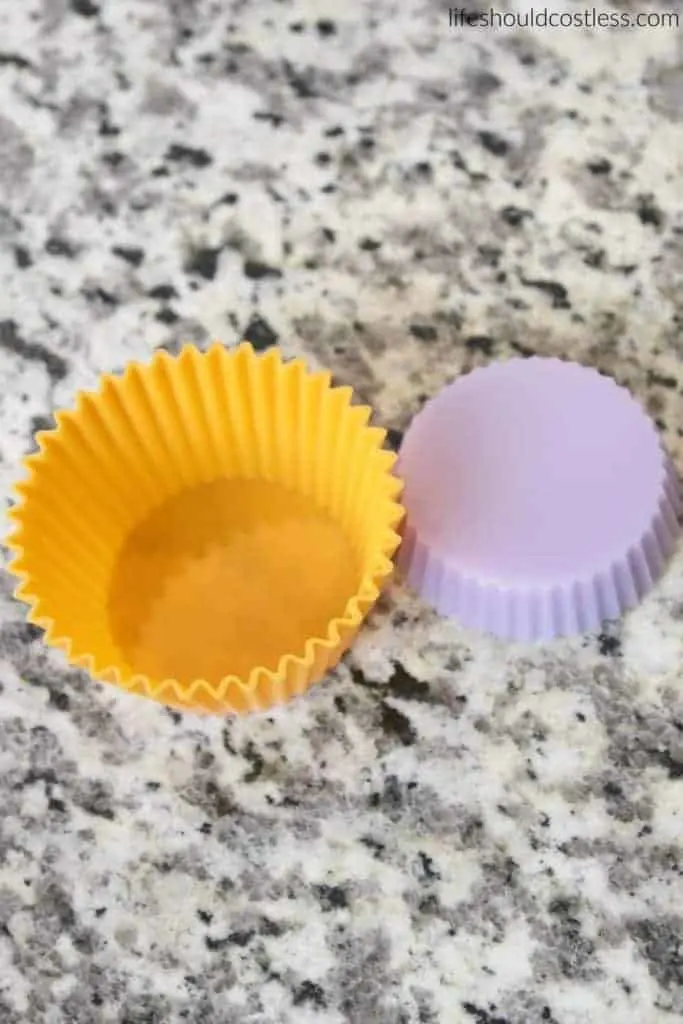
I remember thinking to myself, “Can you use silicone cupcake liners in wax warmers?…and I tried it and I am happy to report that yes, you can use a silicone cupcake liner as a wax melt liner.
So, after I fell in love with doing this I am happy to report that scraping wax out of a warmer is something you and I will never EVER have to do again.
It literally works that well Hallelujah!
Plus there always seems to be some lingering wax from the previous scent unless you really want to scrub it.
Yuck, who has time for that anyway!?
Photo and video tutorial
Anyway, yes the idea is pretty straight-forward…but I know that some people need more visuals to decide if they want to do something too…
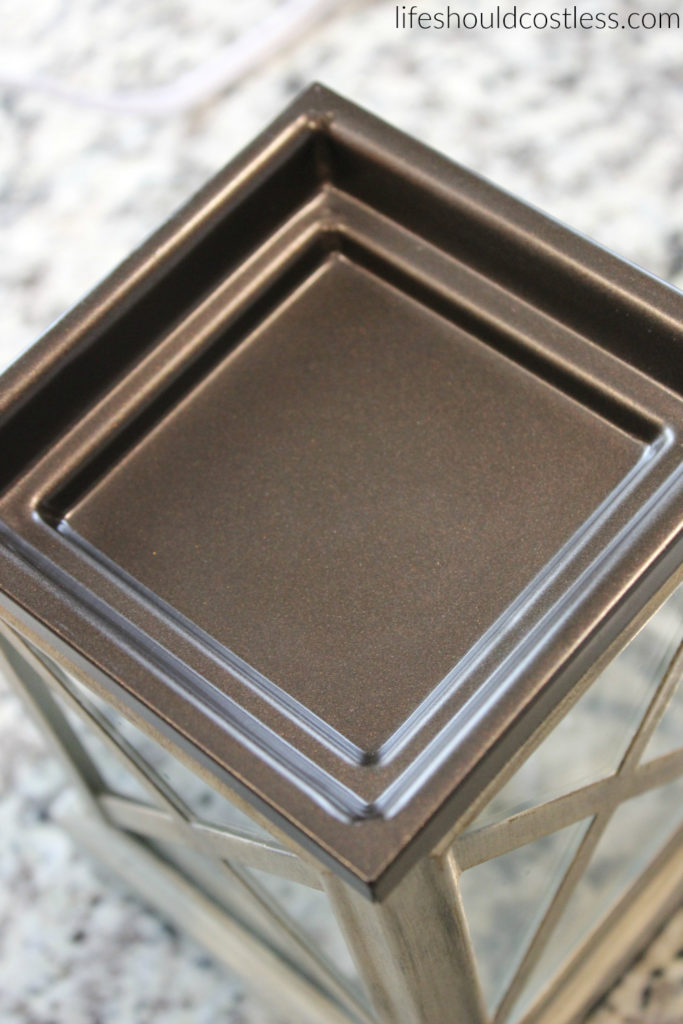
So, here are the pictures that show you how well this cleaning method/hack works:
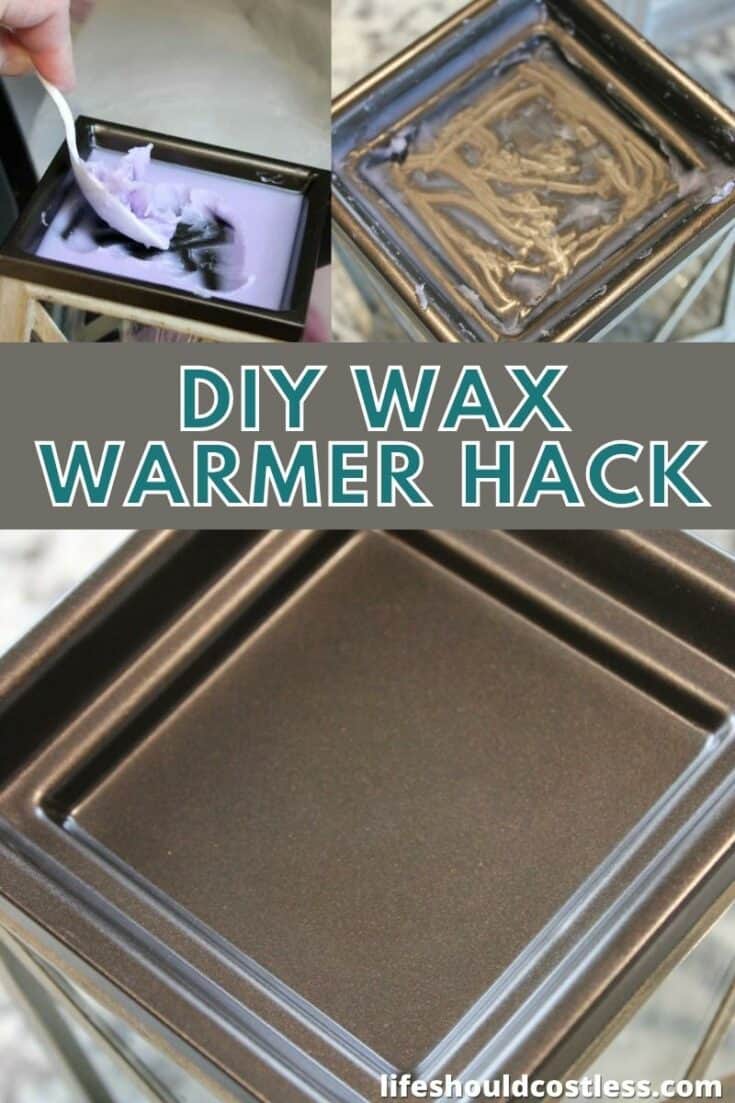
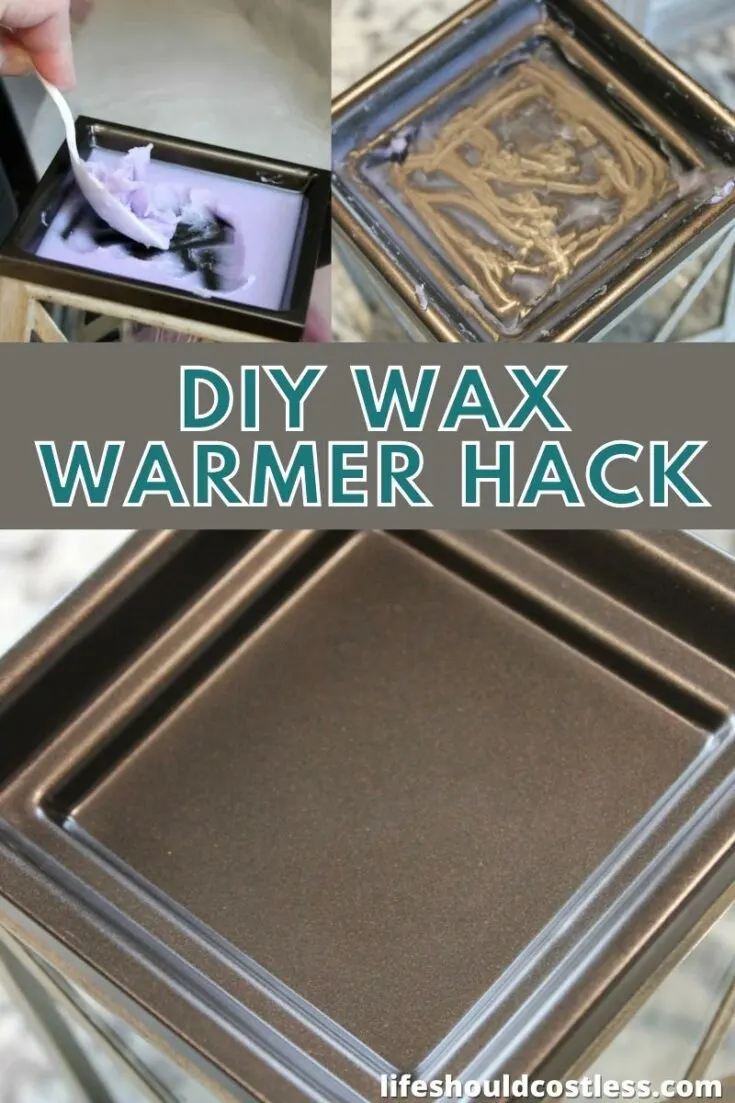
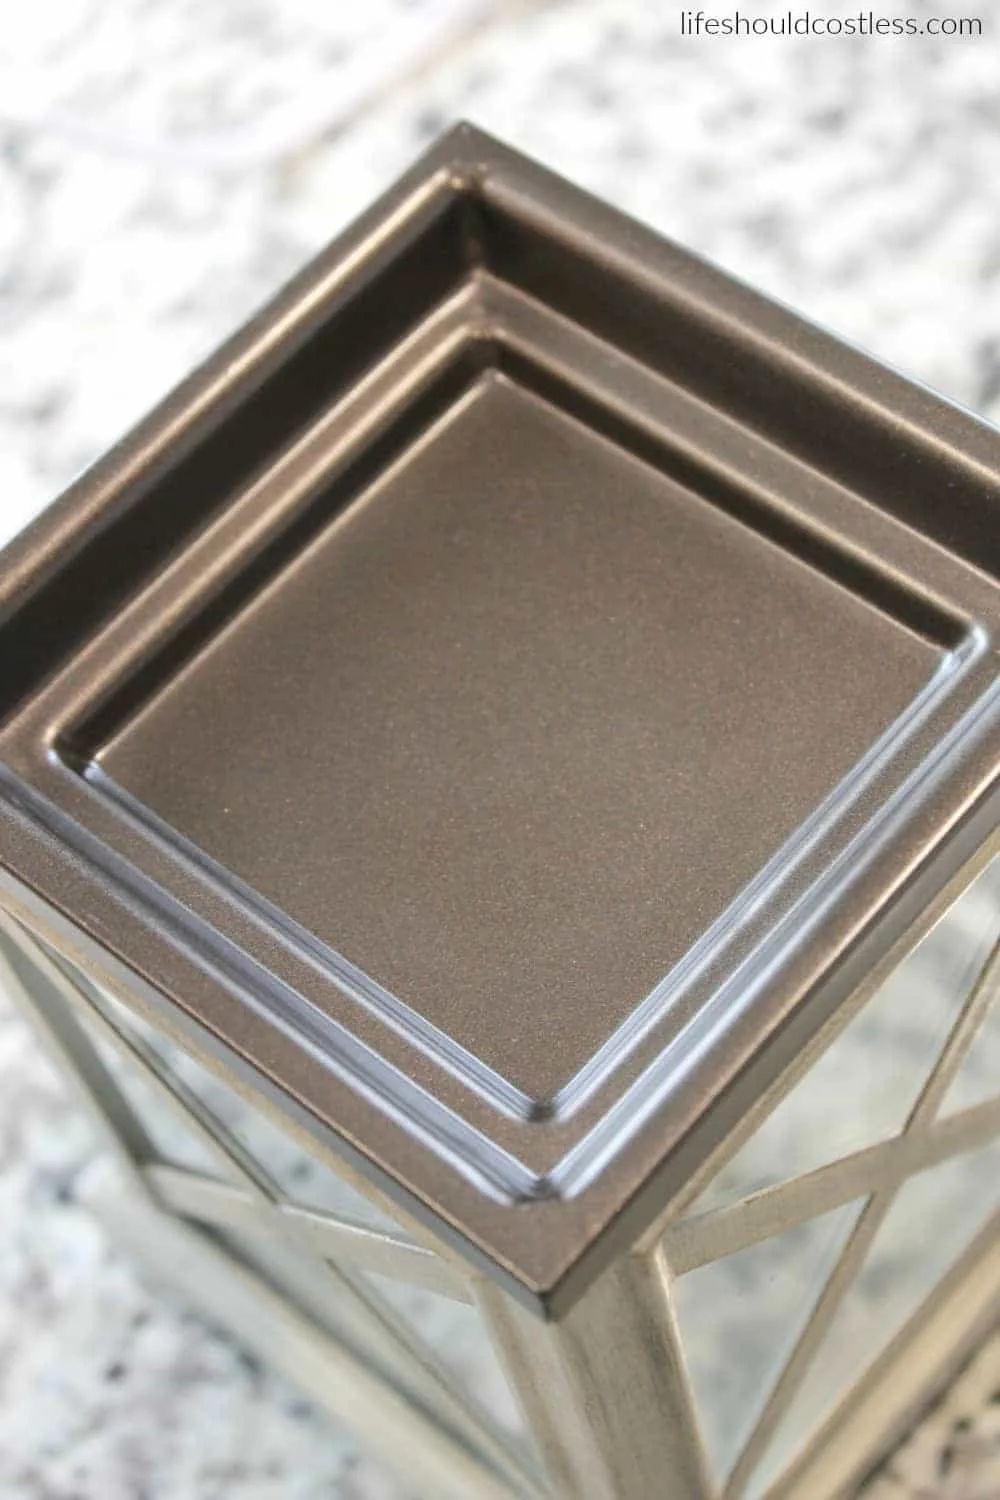
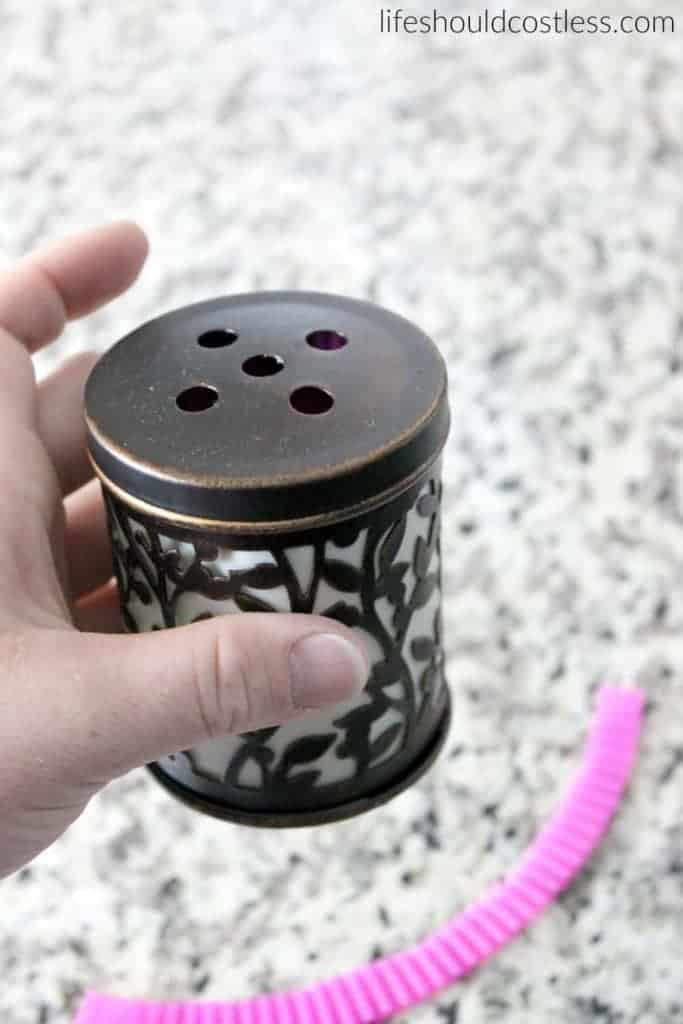
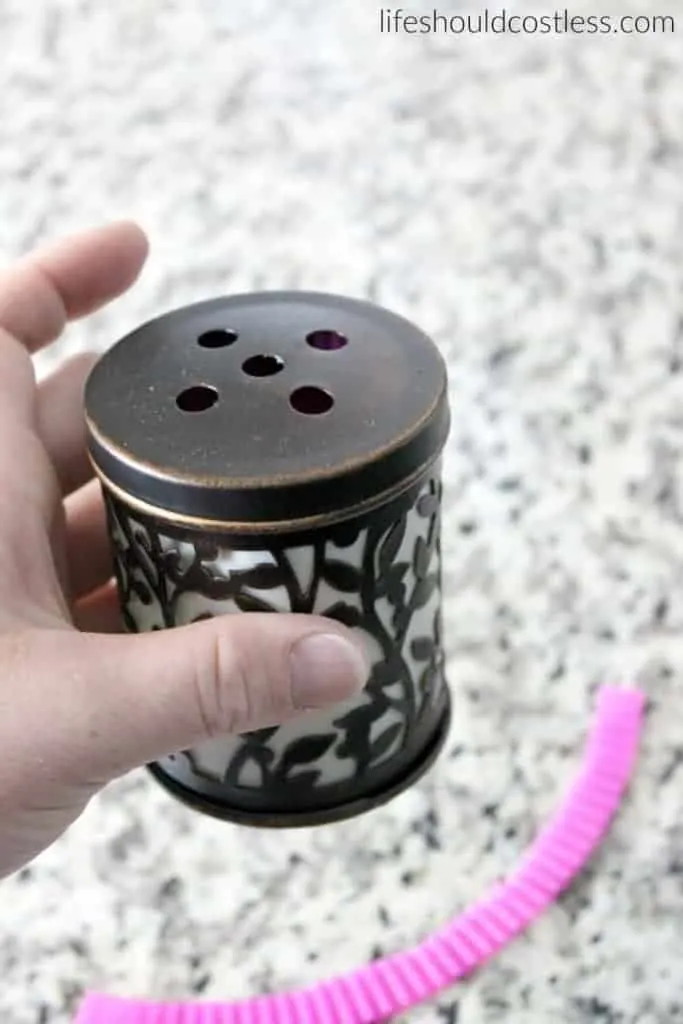
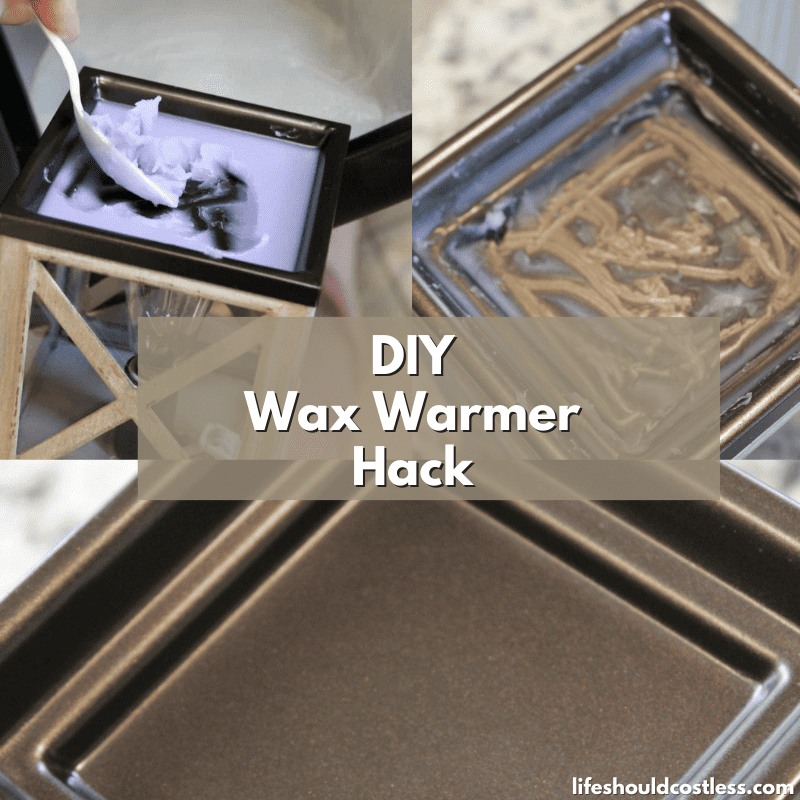
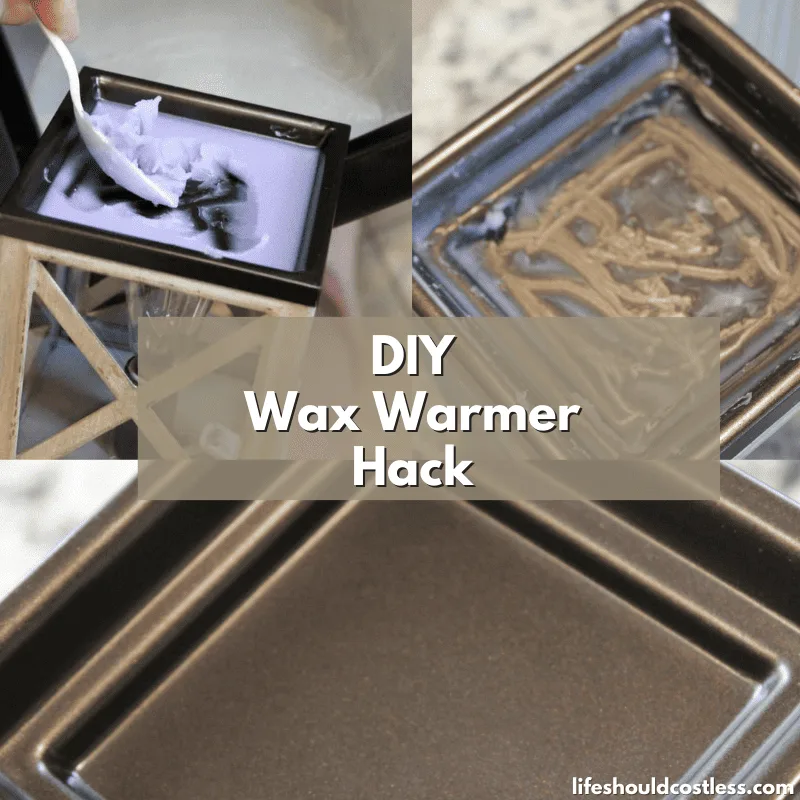
First we start out by removing the old wax that was left in there from the last time I used it (or you can reheat it and pour it out).
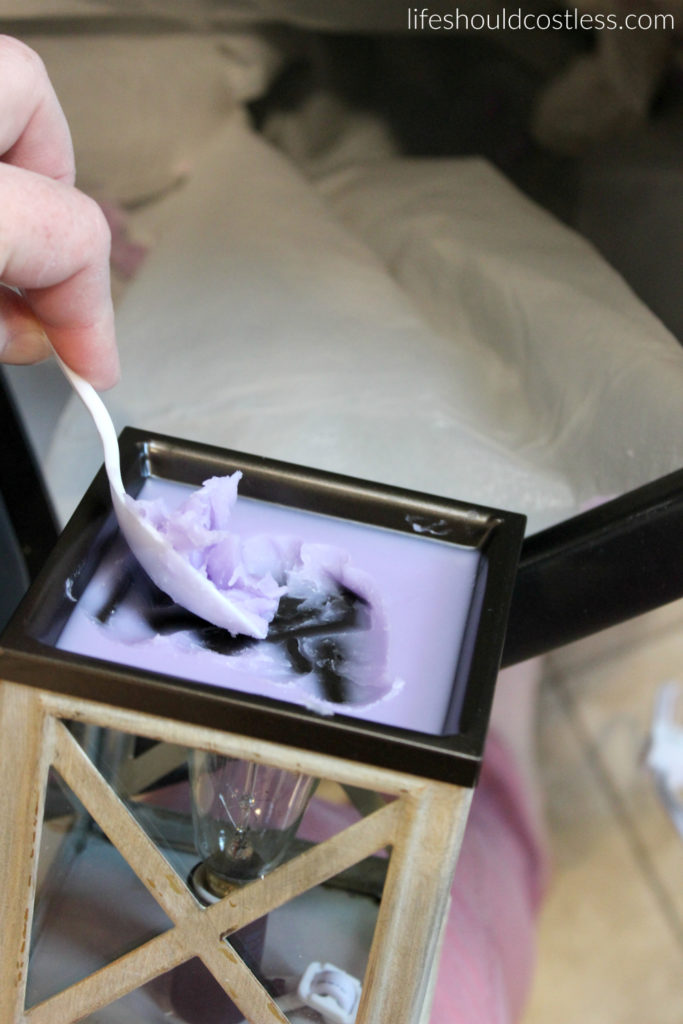


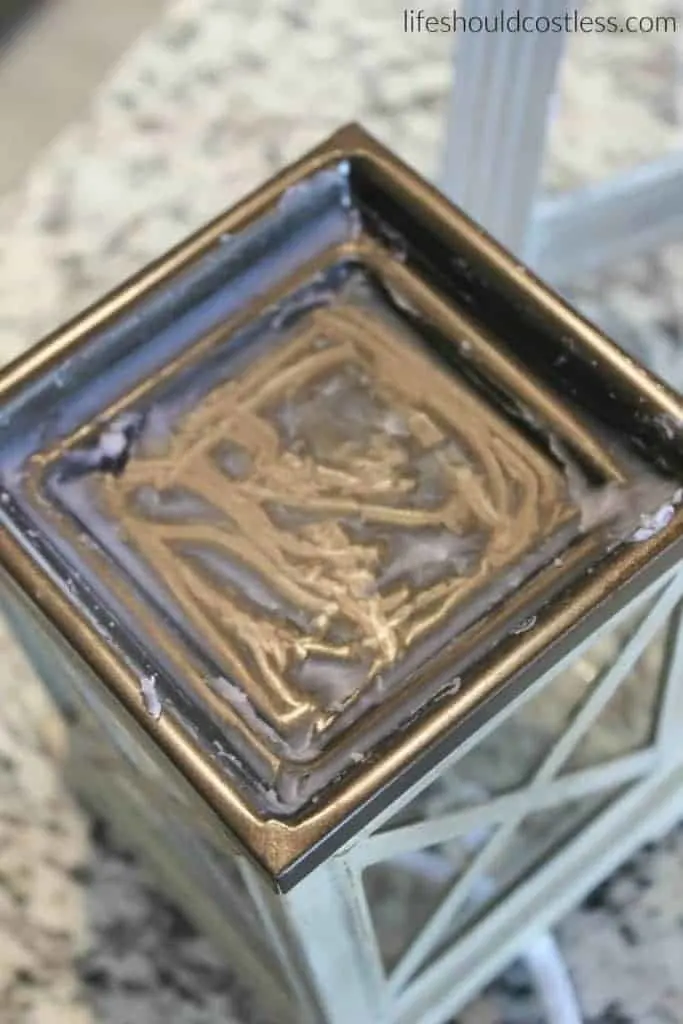
At this point I typically turn it on for a couple of minutes and then wipe it out with an old rag or cotton balls (there is more cleaning instruction in the FAQ’s section as well).

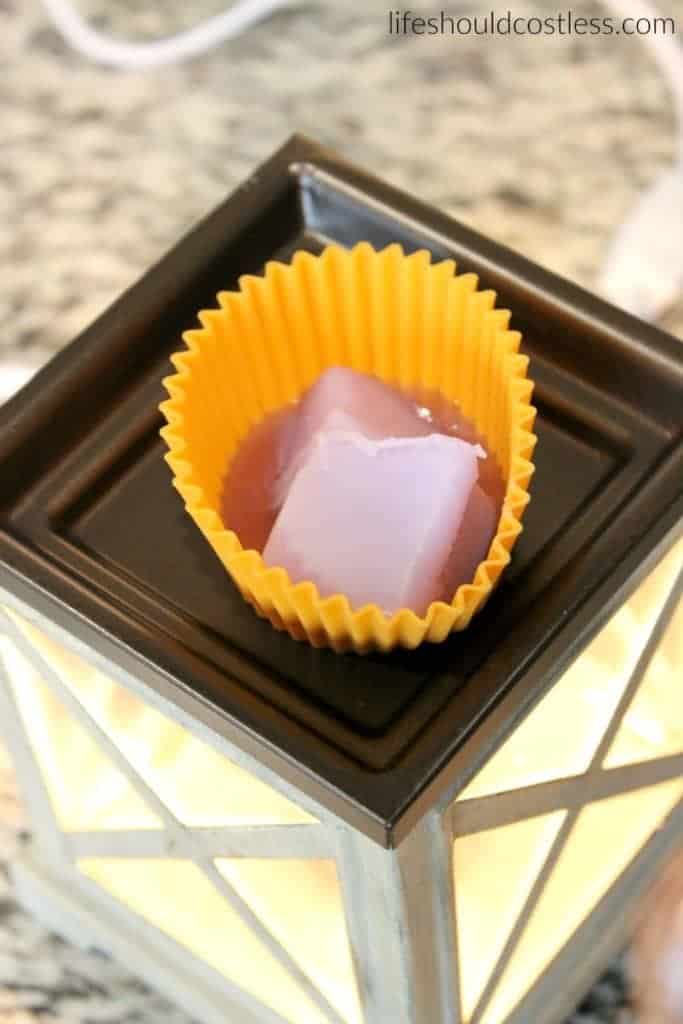
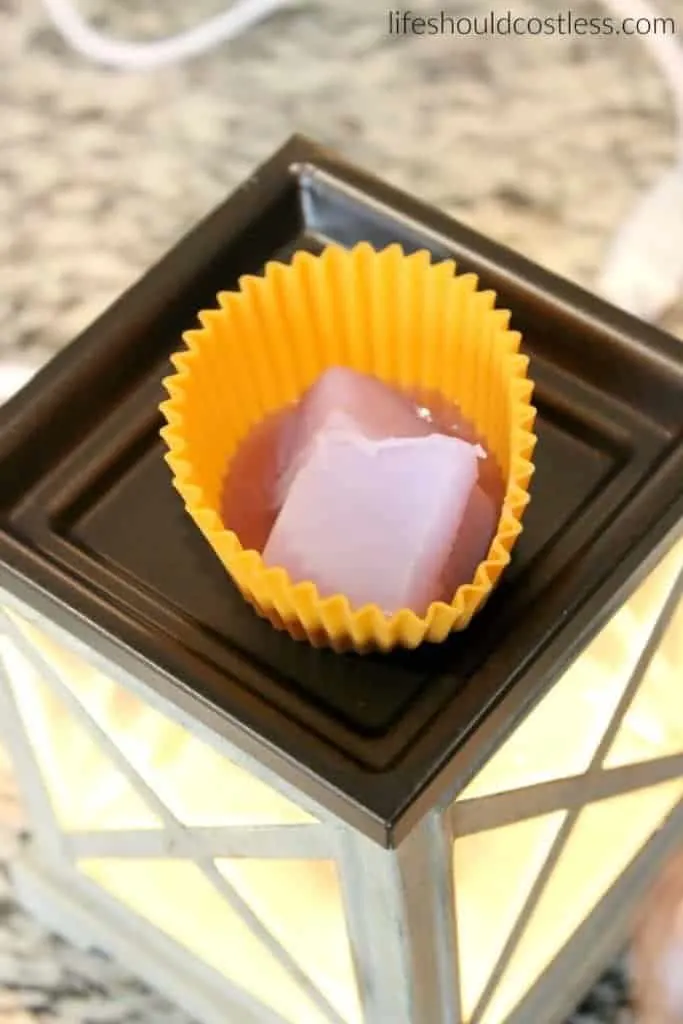
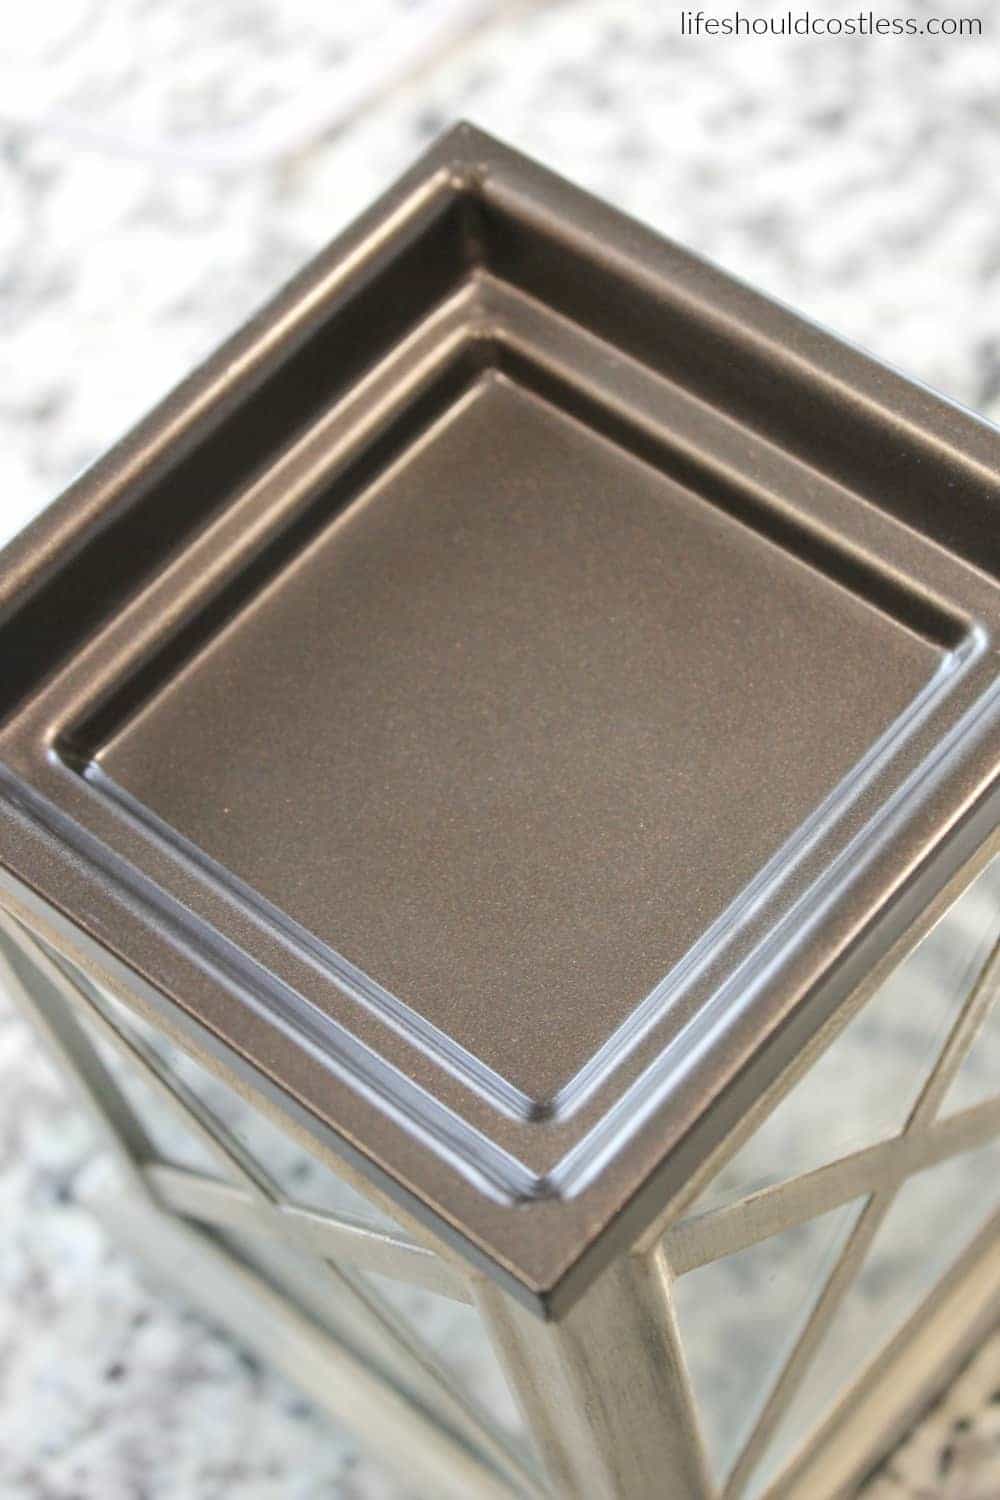
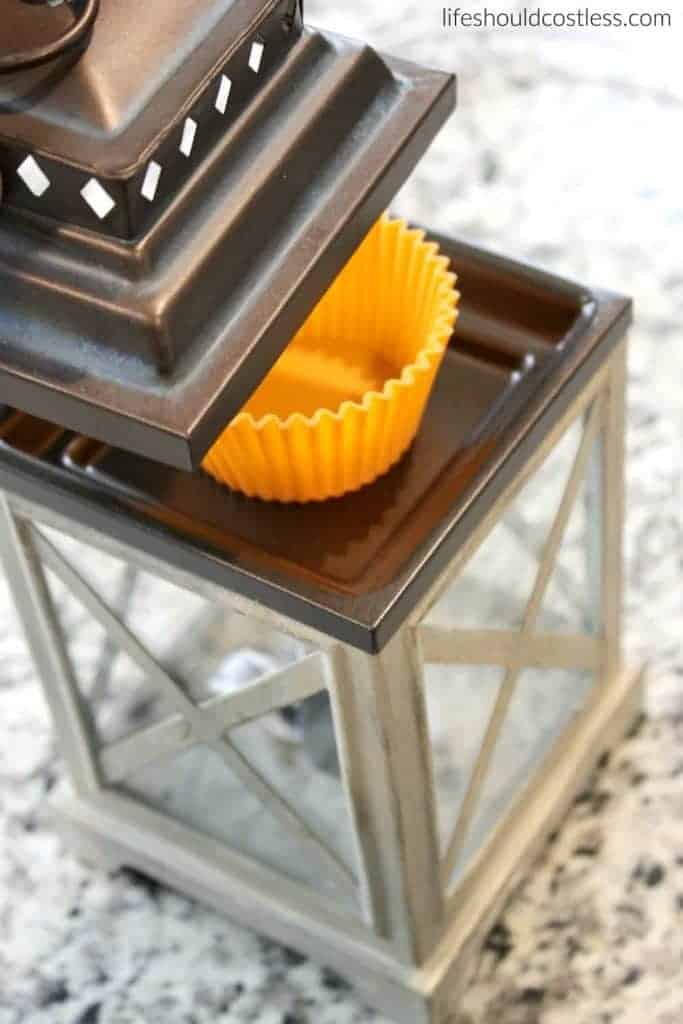
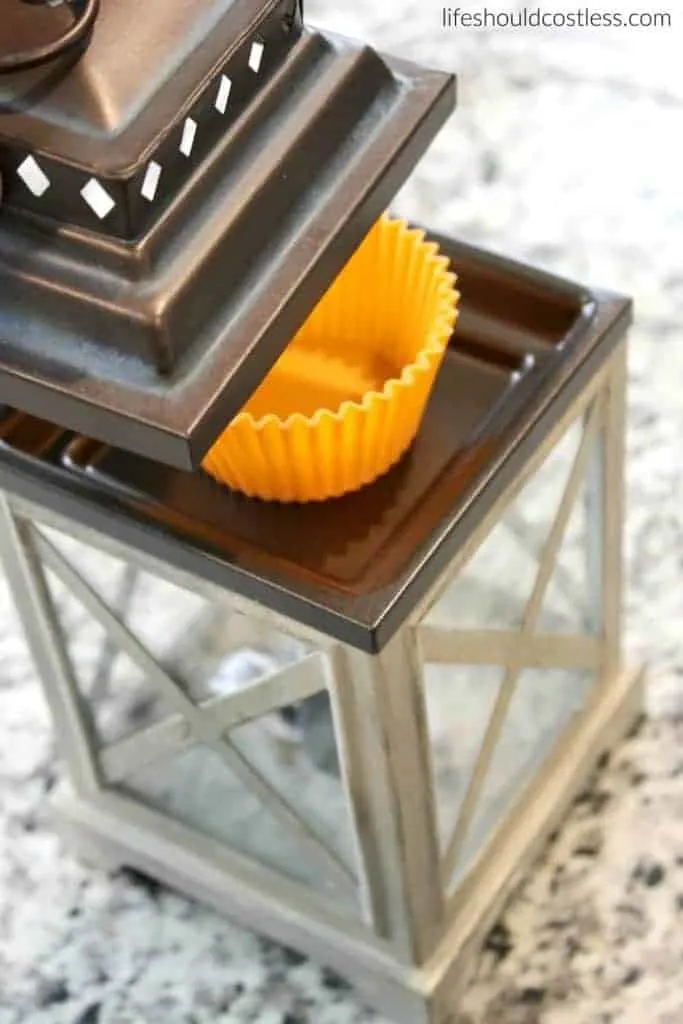
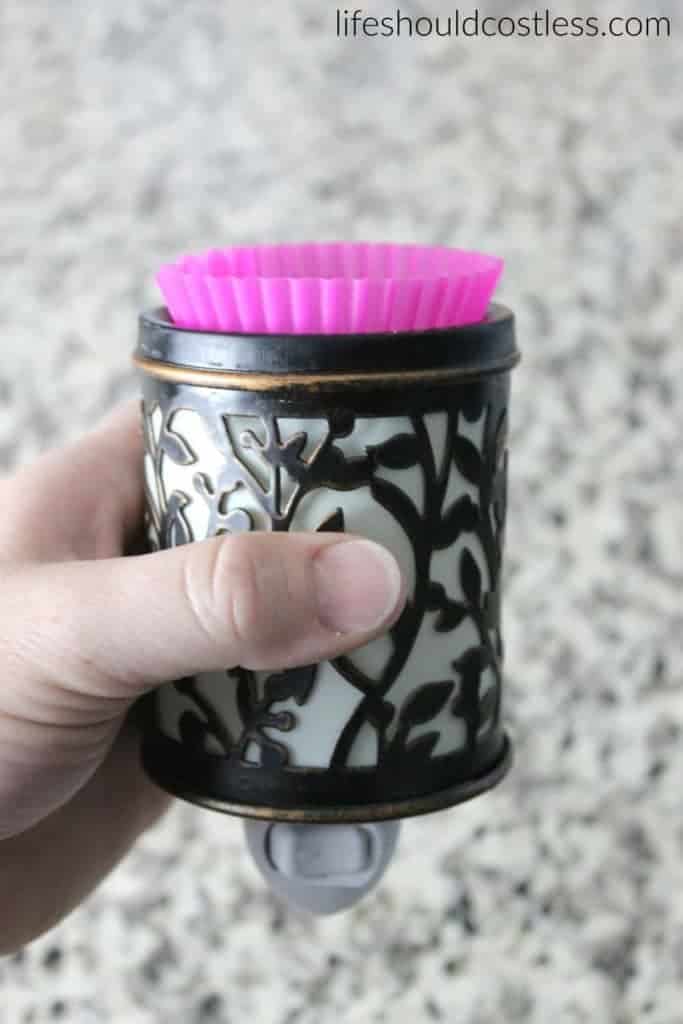
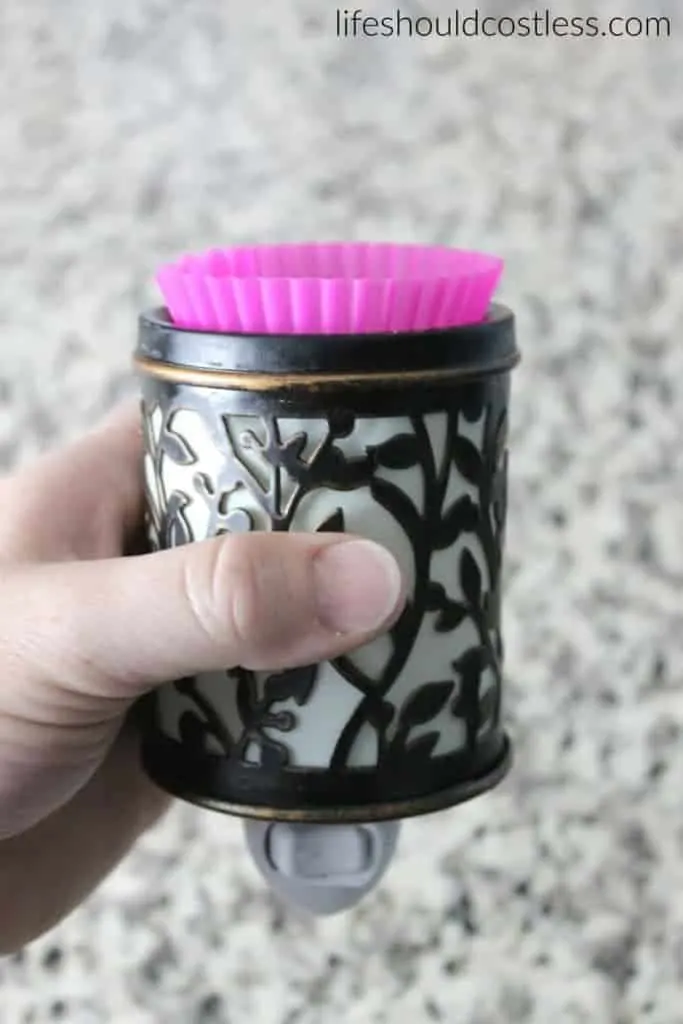
Now that I showed you what a warmer looks like doing it the old major headache and hassle way…look how easy it is to just use reusable baking cups as wax melt liners.
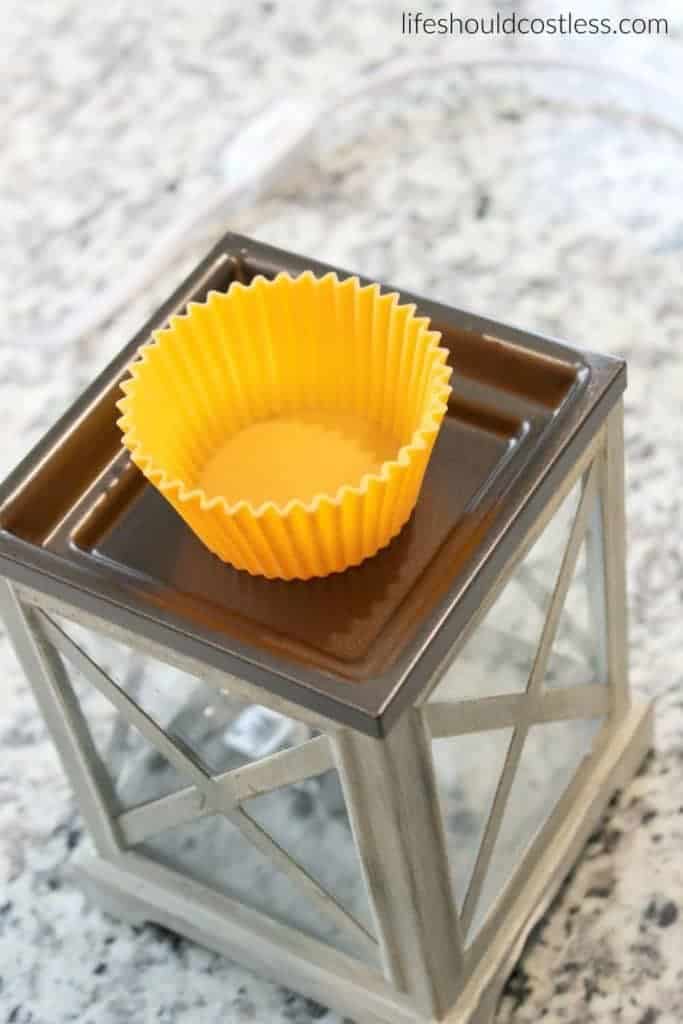

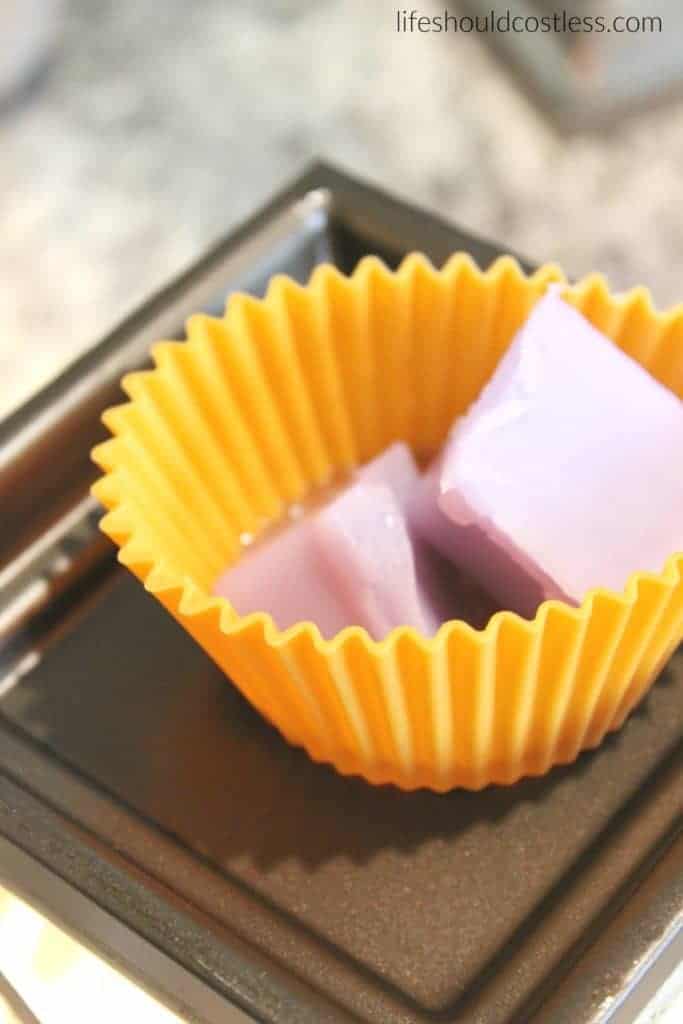
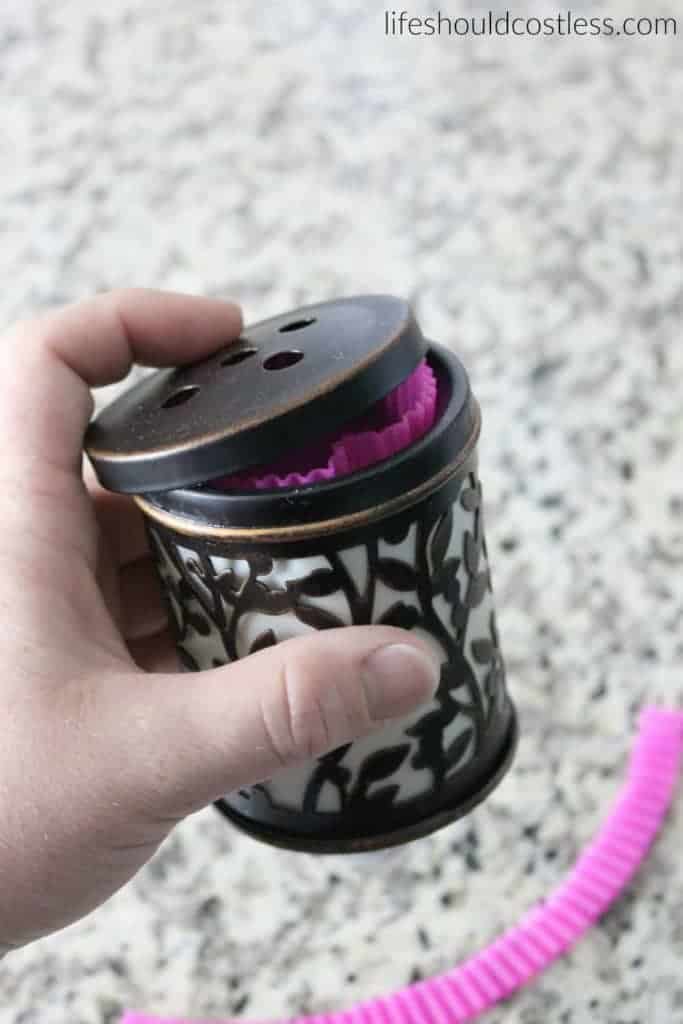
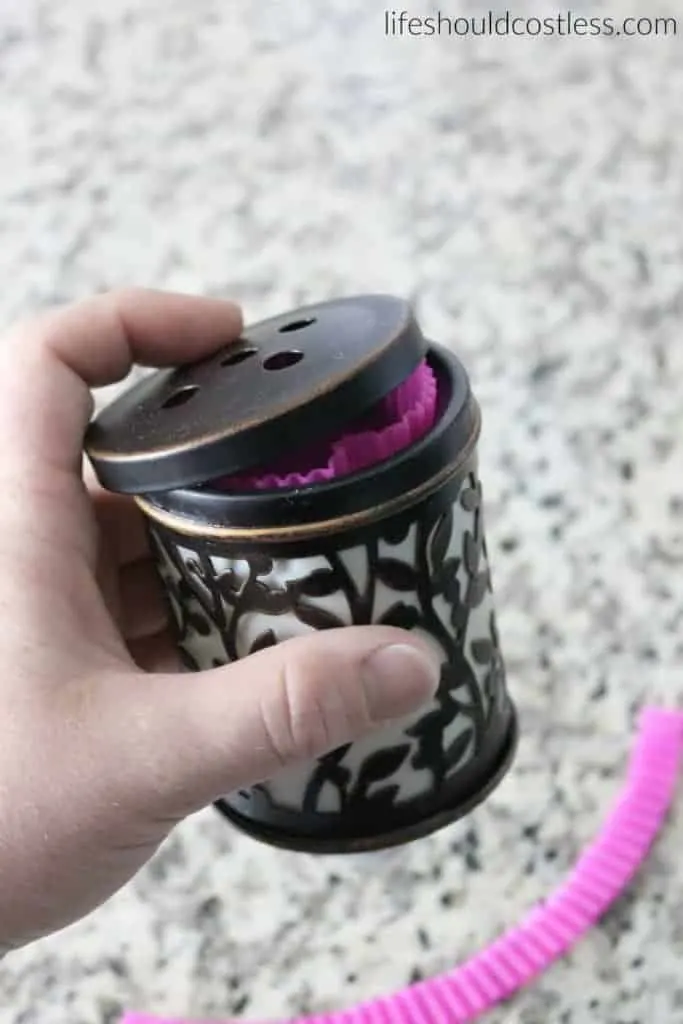
I always pop in two wax melts, turn it on and walk away.
The heat transfers right through the silicone amazingly-well without getting anywhere else.


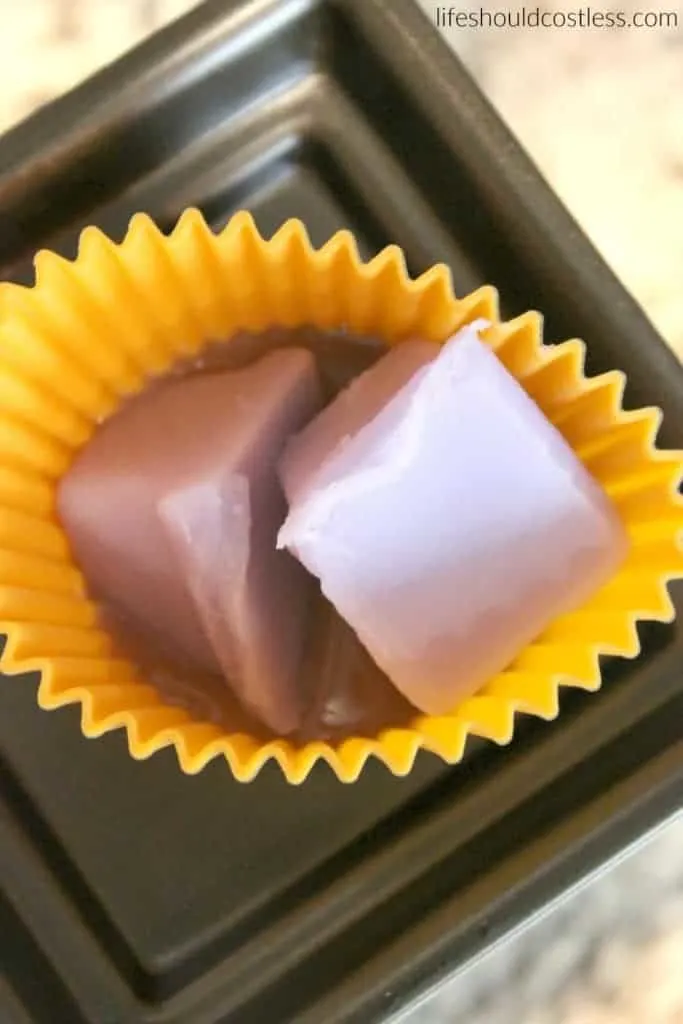

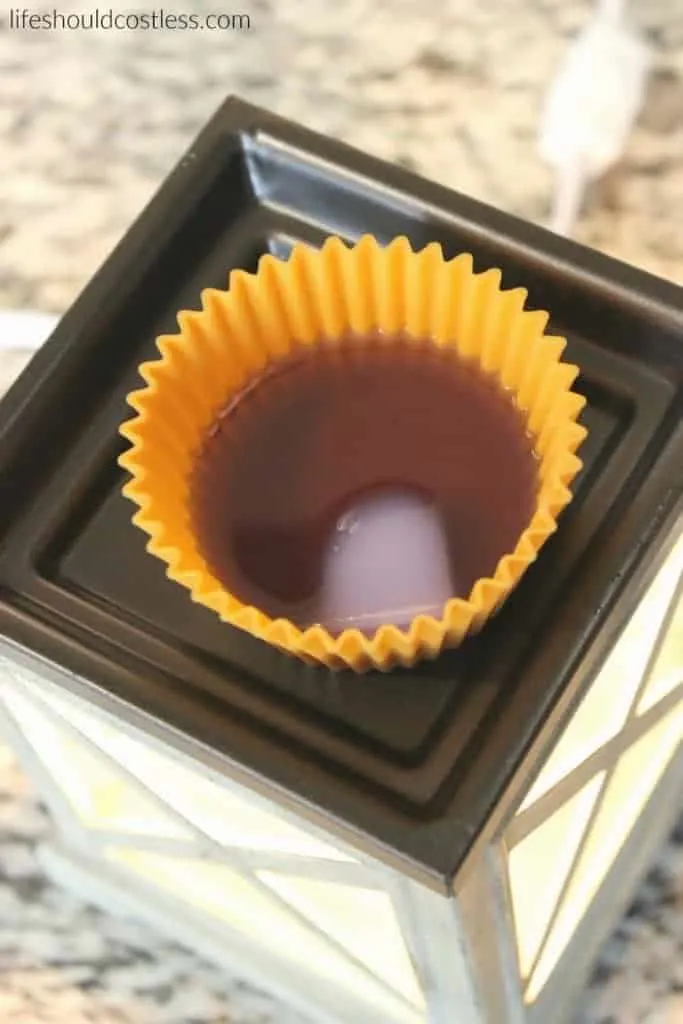
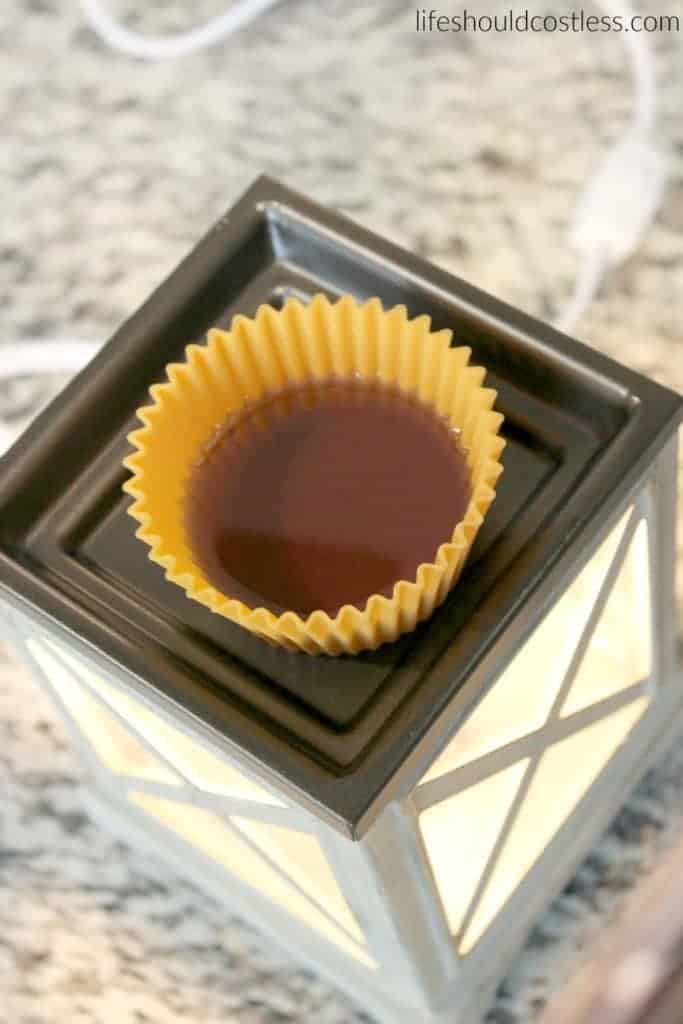

When you’re done with a particular scent and want to switch over to another, just turn off your warmer and let it cool completely.


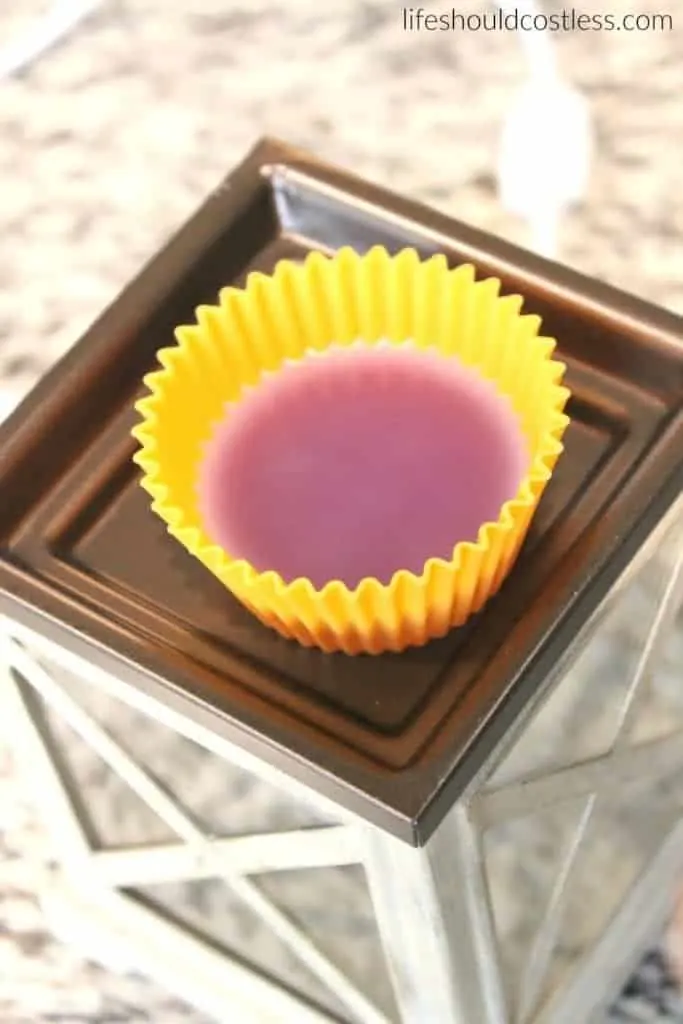


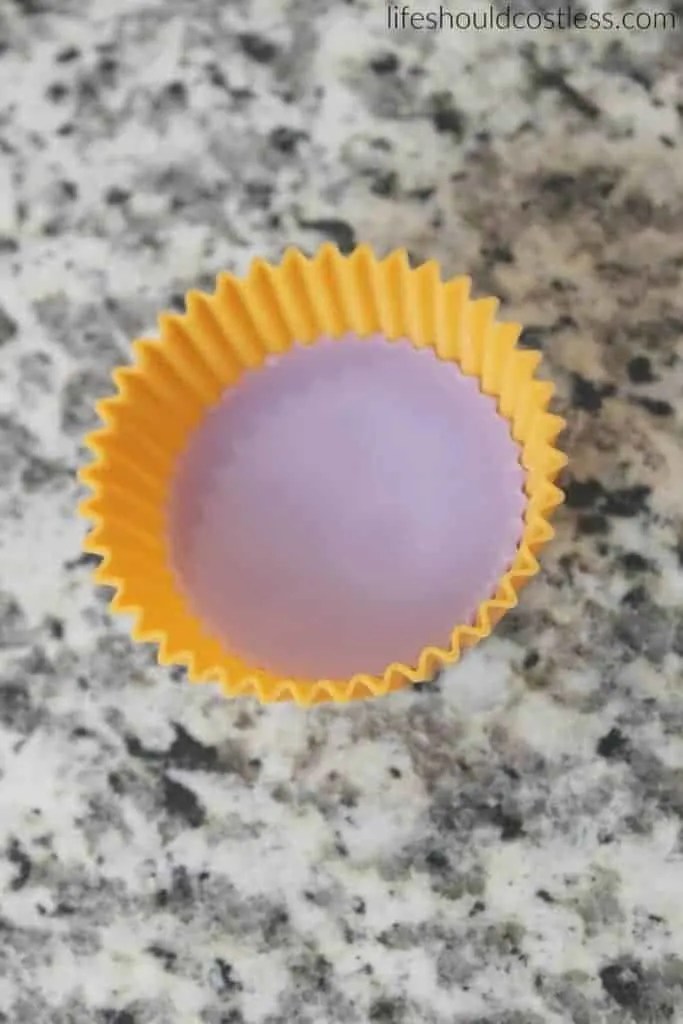
Once it has cooled/hardened you can easily remove the baking cup and it is mess free!!!!

How great is it to not have to dig or wipe anything out and your warmer still looks new when you’re done!!?
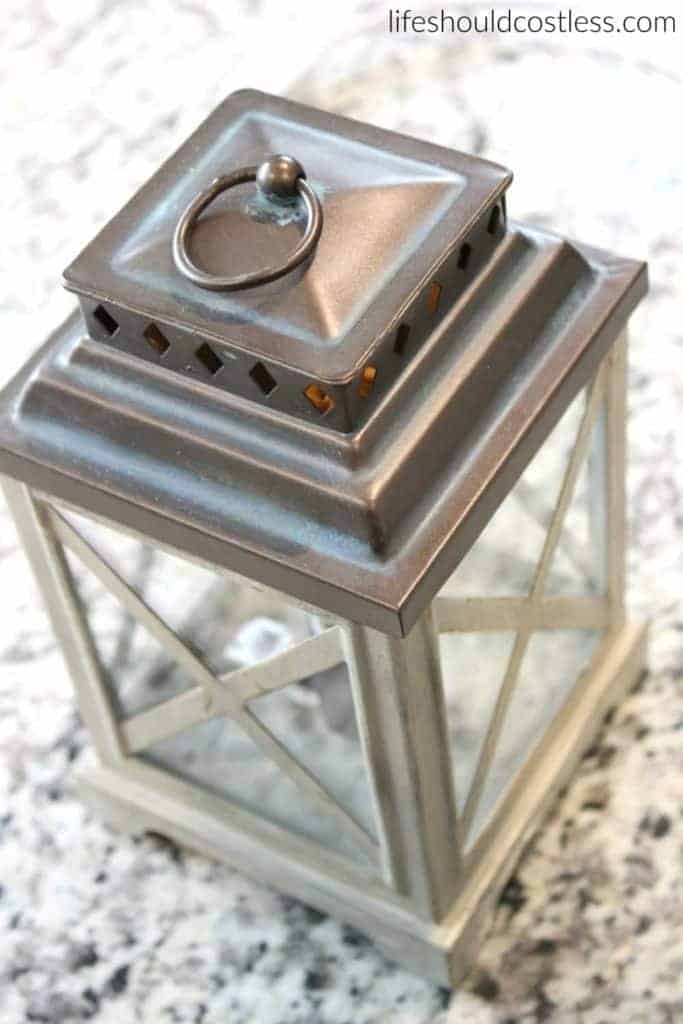
I didn’t even tell you that if you have a warmer with a lid the liner can easily be hidden underneath it too.
I bought some liners in bright colors, but there are pastel and neutral colors available too in case you don’t have a cover and want to look a little classier.

Here’s the accompanying Youtube Video I made about doing this…it’s been starting to go viral, so I’m pretty excited about it (Please note that it’s now an old video from my fluffy days before I overcame binge eating disorder and lost and maintained over 100 lbs of weight).
Anyway, it is actually the first video that I had ever made and edited entirely on my own…well, it was me, myself, and Youtube tutorials so be nice.
Give it a watch and please make sure to share this post or the video with any wax lovers you know!
How to use with a small wall warmer
Wondering what do you do if you only have a small plug-in electric wax melter?
If all you’ve got is a little wall warmer.
The silicone cupcake baking liners will still work, I just recommend making sure not to put in too many wax melts (I only use one wax melt for this size of warmer, by the way).
You can push the cupcake liner down and have it sticking out, or you can easily trim the liner down to suit your size needs.
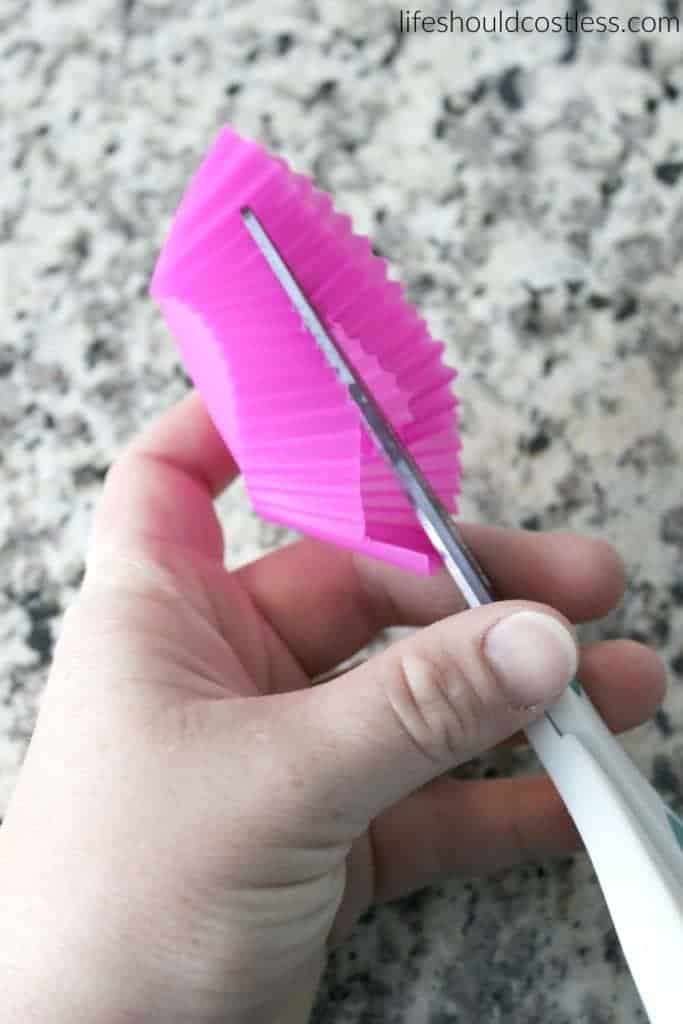
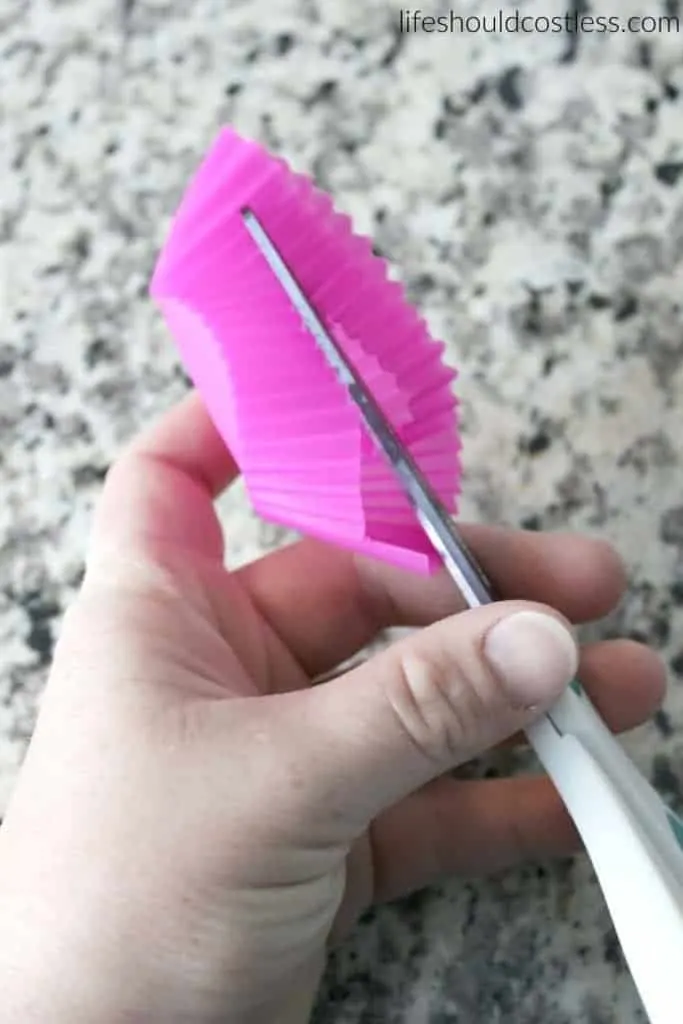
See! Easy peasy!
And the lid will still cover it just fine so no one will know that you are secretly using this handy little trick ;).
How to reuse wax melts
If you’re wondering “can you reuse wax melts?”…you definitely can.
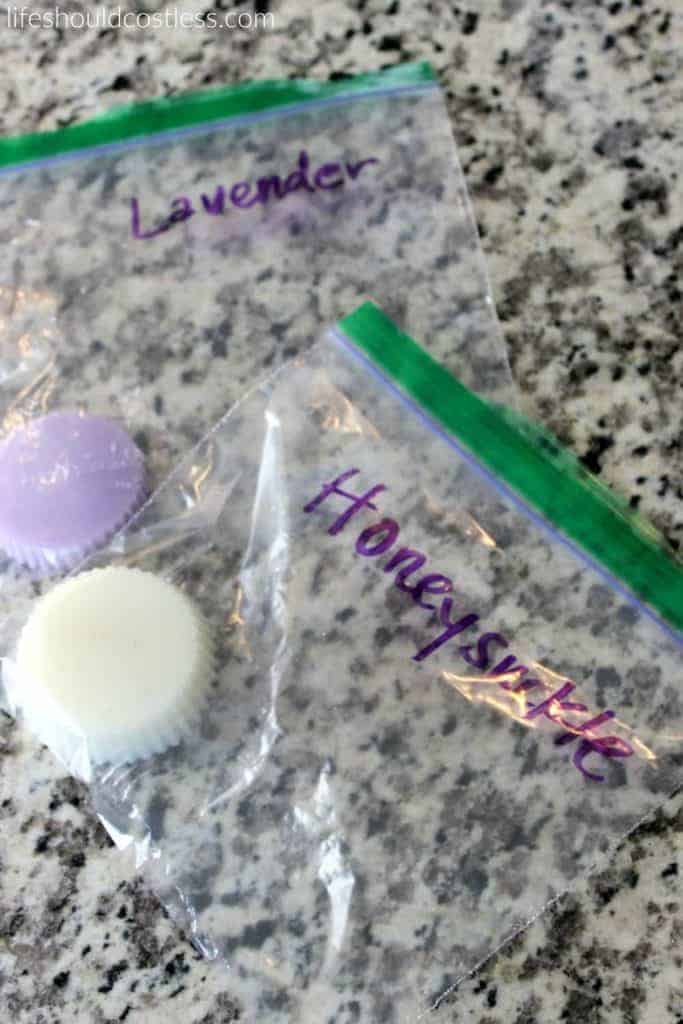
The best part about using a cupcake liner as a wax melt liner is that once it has cooled, the wax pops right out of the liner so you can just reuse the same one.

I don’t even have to wash mine in between scents because it comes out so cleanly, but you can if you’d like to.
I think that is actually the best thing about this hack is how much money it could save you over time if you frequently use a warmer and like to change out the scent often.
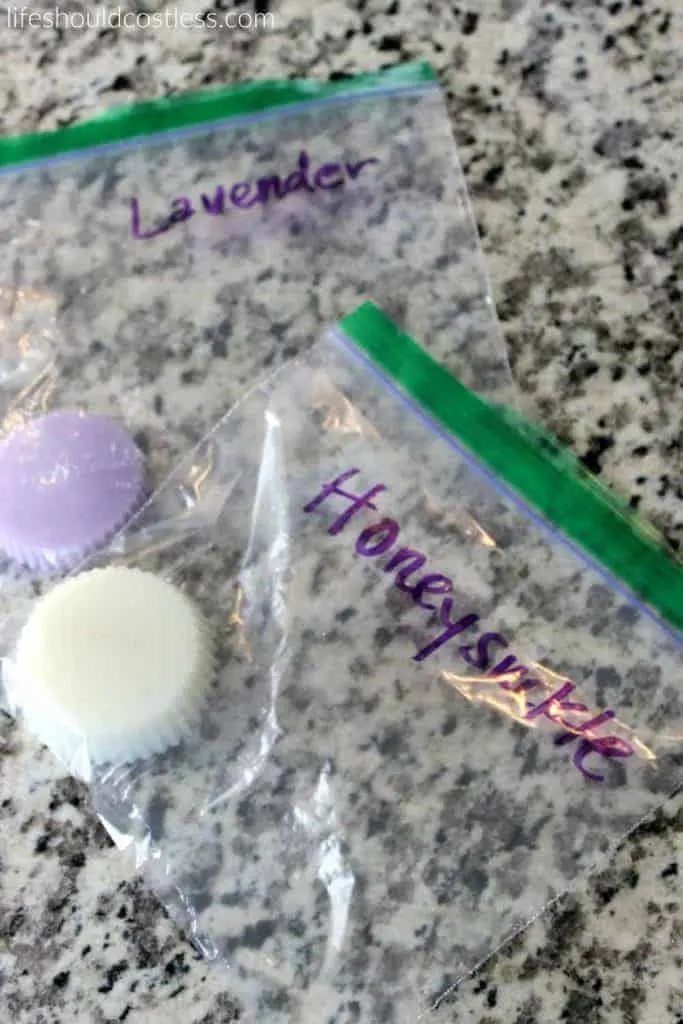
I always just stick the wax in a sealed baggie and write what scent they are on it so that I can use them again later…
To think that if I had been doing it the old way, all that heavenly smell would be hanging out in the garbage can.
FAQ’s
If you are using cold wax you will need to start by unplugging your warmer, and using a plastic spatula or spoon and scrape it out as best you can. Any wax left in the cracks and crevices can then be wiped out using an old rag that is saturated in hot water.
If you would like to clean out the wax and it is still hot, make sure to unplug the wax burner first and then carefully pour it into the trash can and then you can use the same method mentioned above and wipe the rest out with a rag that has been saturated (but not dripping) in hot water.
*Make sure to throw this rag away as well when you are finished as it will ruin other clothing items in the wash.
I’m sure that some people out there have tried to use a paper cupcake liner instead of a silicone one.
I personally wouldn’t dare do it just because some of us like to leave our warmers on for days at a time and I just wouldn’t feel safe doing that with paper…I’d constantly be worrying that there would be a housefire.
Conclusion
So, now that you know this, the most handy of all wax warmer hacks, you can save yourself much time, money and headache when it comes to using a wax warmer.
It really is that simple!
Thanks so much for stopping by my blog and supporting my endeavors to make people’s lives a little easier/better/more affordable.
If you liked this post, or found it helpful in any way, please make sure to share it with your family, friends, and co-workers via social media.
Or you could even send them the direct link via email. Whichever way you choose to spread the love, I super appreciate it! ~Sarah
How To Follow & Support This Site
- If you would like to subscribe to my email list, go here.
- Make sure to follow along via social media, by going here.
- If you would like to learn how to really show your support to this site (at no cost to you), go here.
- If you would like to make a direct donation to the site, go here.
Check out my other helpful content
Otherwise, here are direct links to several of my other cleaning/laundry related posts that you’re also going to love:
My most popular laundry & cleaning articles
Other good resources for wax melt warmers
- https://wonderlandofwax.co.uk/pages/tips-and-tricks-for-your-wax-melting-experience
- https://kushicandlecompany.com/pages/wax-melt-care
- https://www.teddybeeswaxco.com/pages/melting-tips
*Please note that this post/idea was originally shared to this website on June 21st of 2017, and has since been updated to improve user experience, remain relevant, and to become more shareable on the social medias.