Learning how to dye burlap fabric is a delightful way to customize this durable and versatile material for a variety of creative projects. Burlap, with its rustic charm and eco-friendly appeal, serves as a perfect canvas for artistic expression, whether you’re crafting home decor, designing personalized gifts, or adding a splash of color to your art project. This guide will walk you through the simple yet rewarding process of dyeing burlap fabric, offering practical tips and insights to ensure vibrant and lasting results.

Introduction
I don’t know about you, but I can rarely find burlap in the exact color that I want and seem to need for crafting.
Especially since I moved to a much smaller town, the one “big” craft store we have out here is really limited in their selection of colors.
I definitely don’t love to pack up all four of my kids and make the trek into the city, go through the headache of dragging said kids throughout all of the different stores, just to see if I can find the exact color that I’m looking for.
That leaves me with the option of either buying my dyed jute fabric online (which it’s hard to tell if the color will be right just from a picture on the screen) OR taking the time to create it myself.
I’ve been dyeing it myself for years now, so I decided that “a tutorial on dyeing jute/burlap” needed a post of its own with a bit of instruction for all of my fellow crafters out there.
Photo tutorial on how to dye jute found here
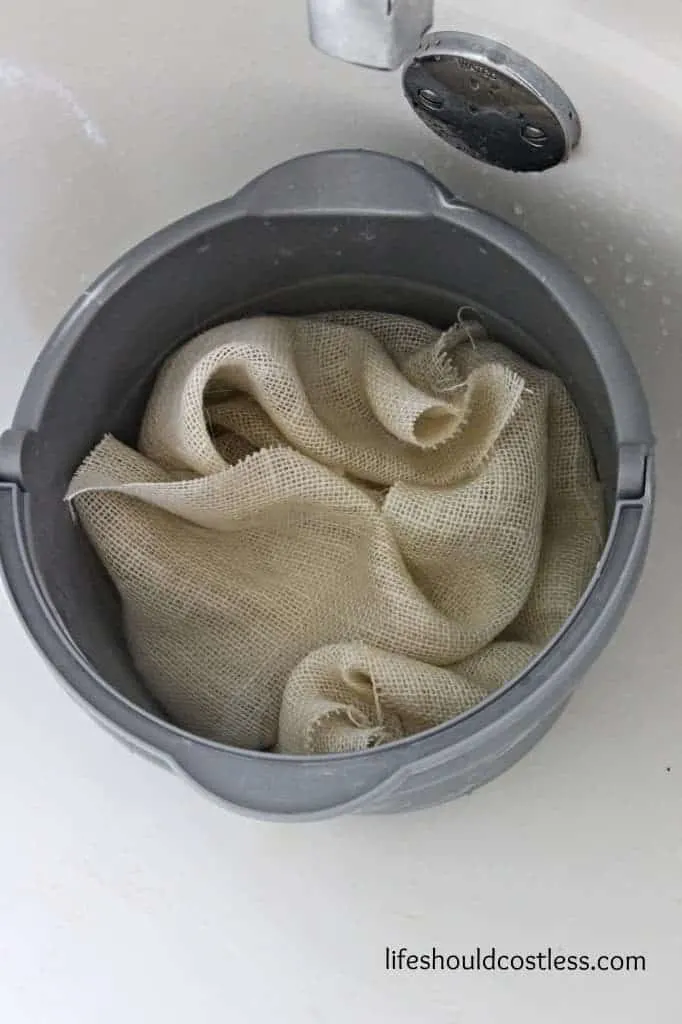
Start with clean, WHITE BURLAP.
If it’s already bleached out, it is going to give you a much truer color than it is if you start with the standard light brown/natural jute color that burlap normally is.
This is the same concept as why your stylist will bleach out your hair before they try to do apply a different color.
Next, you cut the burlap down to a few inches larger that you are going to need on all sides.
It frays during the dyeing process so you’ll want to account for that.
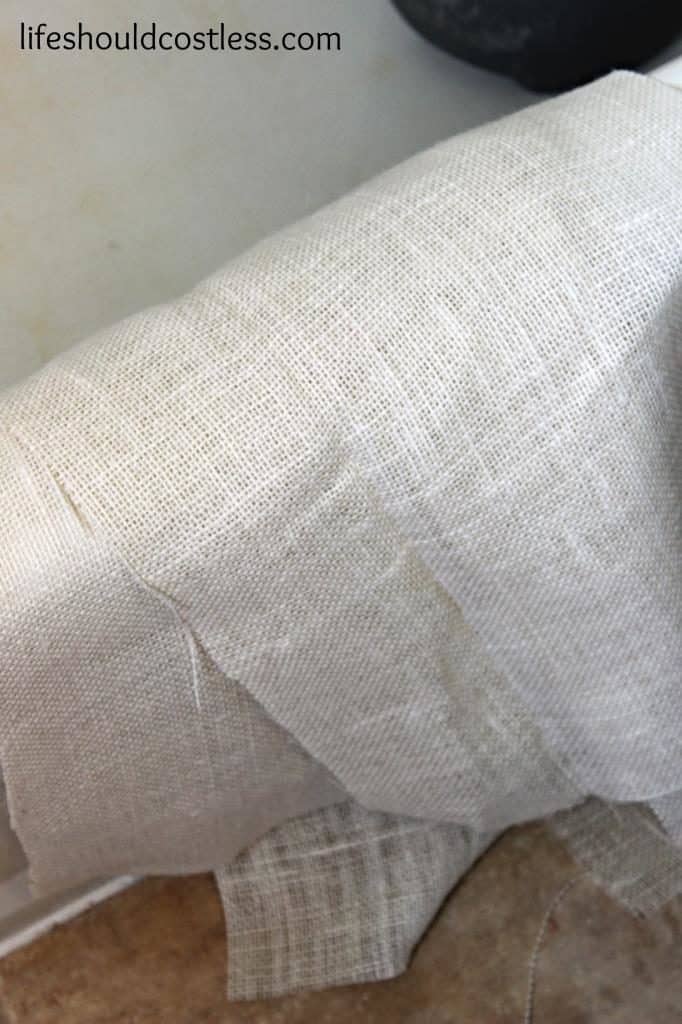
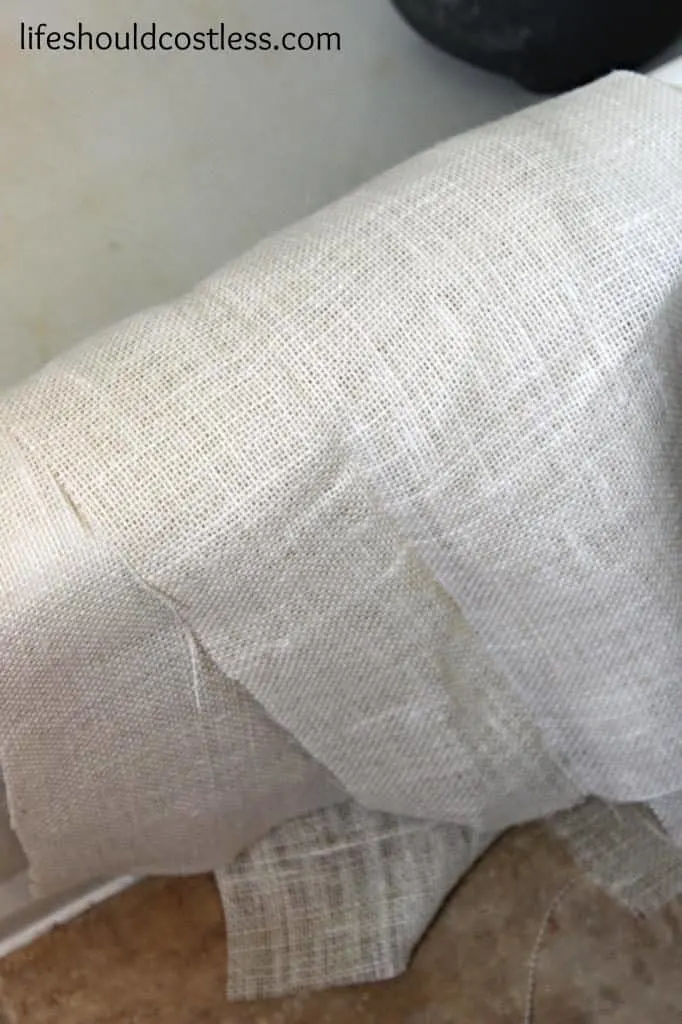
Make sure that you’re not just buying white burlap.
Often times burlap can be painted white and that will not work.
You can tell whether or not it’s been painted white by the texture of it.
Give it a good feel and if it feels like it has a coating on it, it’s not the right thing.
If it feels more like regular burlap but just a little softer, it’s the right thing.
You can also ask someone in the fabric store to help you find some Burlap that is bleached white if you are questioning yourself.
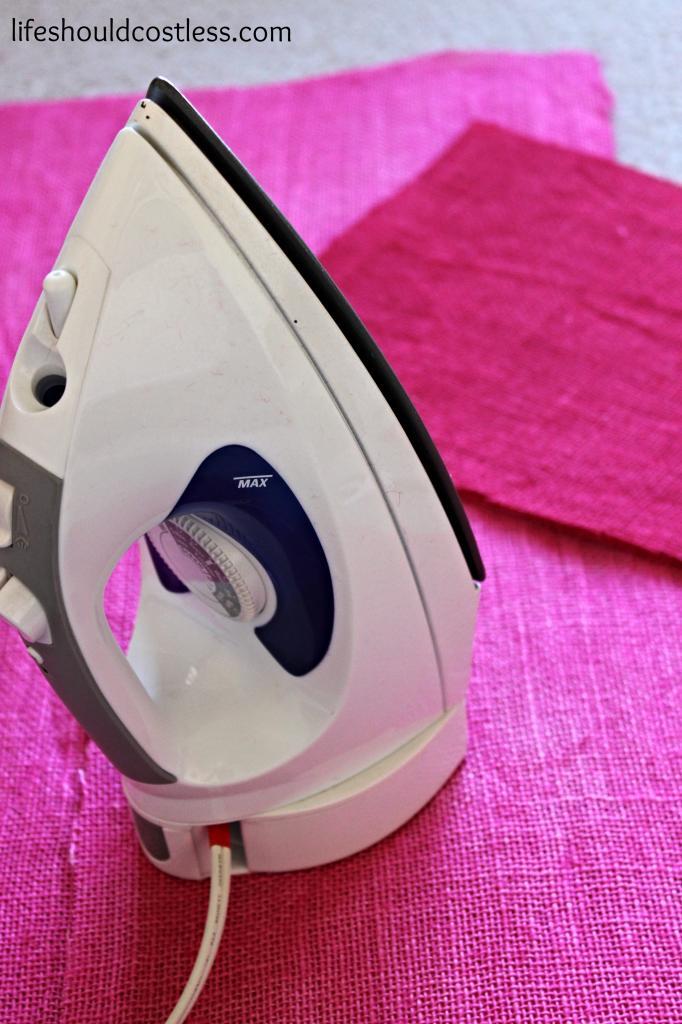
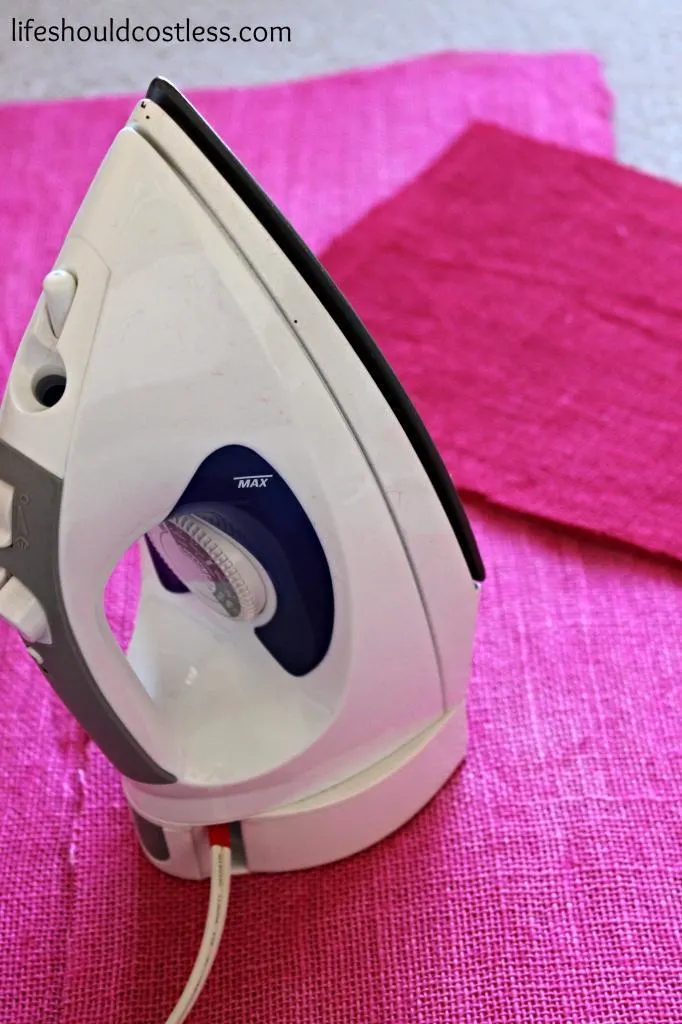
Here is what the correct white burlap looks like:
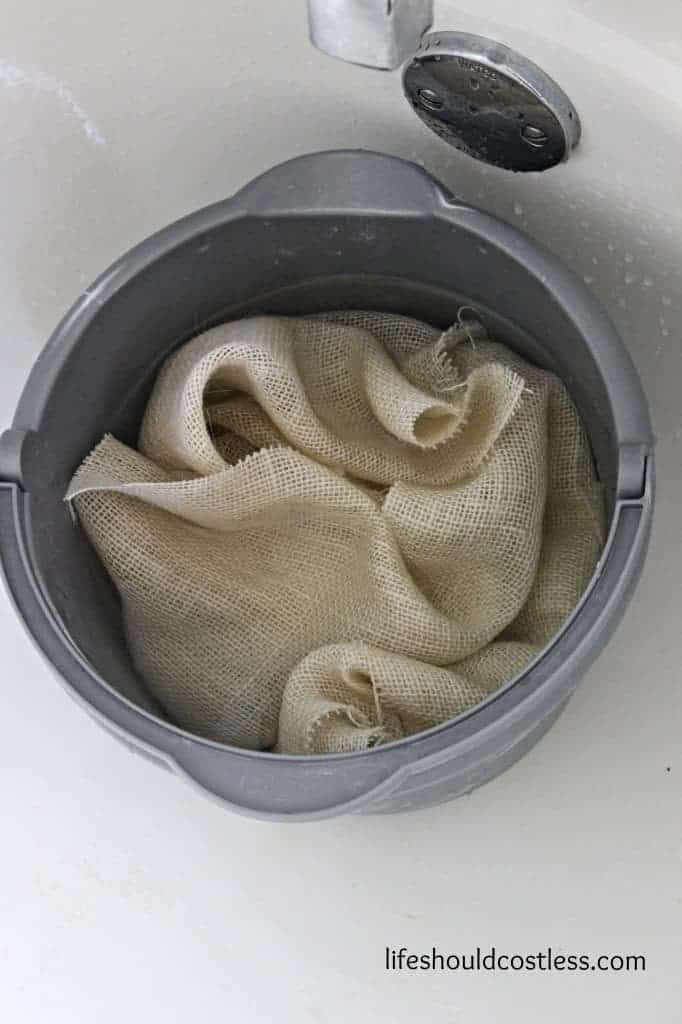
I don’t have a utility sink (which is the ideal tool for this projects) so I use a bucket for this part, but I did my best with what I had. It works either way.
Fill a bucket with about 1.5 Gallons of HOT WATER.


Put the burlap into the water then add:
½ Cup Salt
Stir well, then add:
5-6 Caps Full of liquid Rit Dye in your color of choice.
Stir well to dissolve the salt, and let sit in dye for 30-45 minutes. Stirring occasionally so that it dyes evenly.
Make sure after each time you stir that all the fabric is submerged, also so that it dyes evenly.
Obviously if you want it a lighter color you use less dye and for darker you would use more.
Also, adjust the time accordingly…for darker let it soak in the dye longer, and for lighter let it sit for less time.
I’ve found that 6 caps full of liquid Rit Dye (per 1.5 gallons of water)will usually get it pretty close to the exact color that is on the bottle of Rit.
If you want to do some crazy color, make sure that you consult the Rit Dye chart on their website, Rit brand has lots of instructions and you can see them if you go here.
They list how much of each color you need to create any color you can think of (I think there are about 500 different color options there).
This should be a good base to show you what ratio’s of each color to use to create whatever color.
If it comes out too dark, rinse it out in HOT water until it lightens up a bit.
When you’re happy with the color, rinse in COLD water until the water runs clear.


Hang to dry. I use my handy drying rack, you can get the newer version of mine on Amazon, here, if you need to buy one…I love mine!
*Remember that it’ll be a few shades lighter in color once it is dry*
You may want to put a towel down or put your drying rack in the bath tub so that you don’t accidentally dye your carpet if you didn’t quite rinse it well enough.
Even if it’s already dried, and you decide it’s too dark, you can still rinse some of the color out of it with HOT water and then just dry it again.
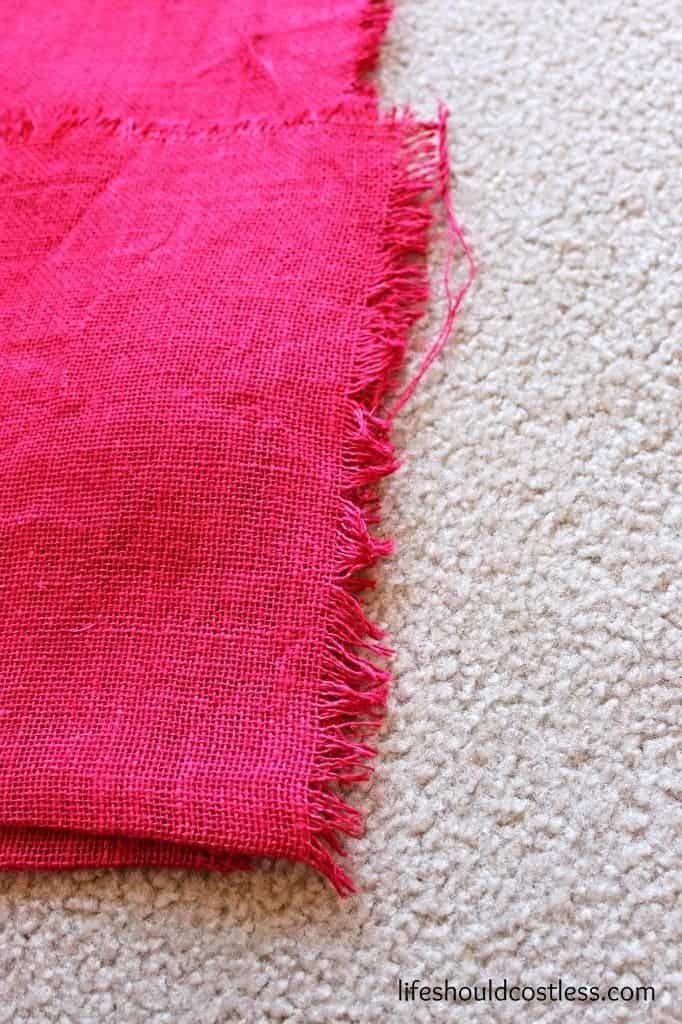
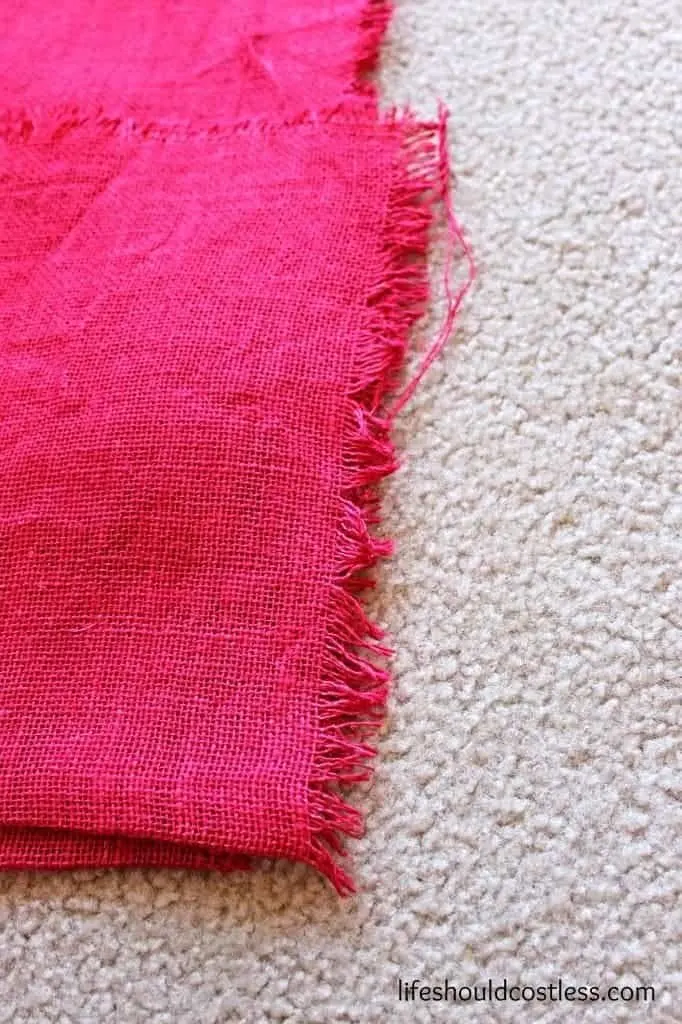
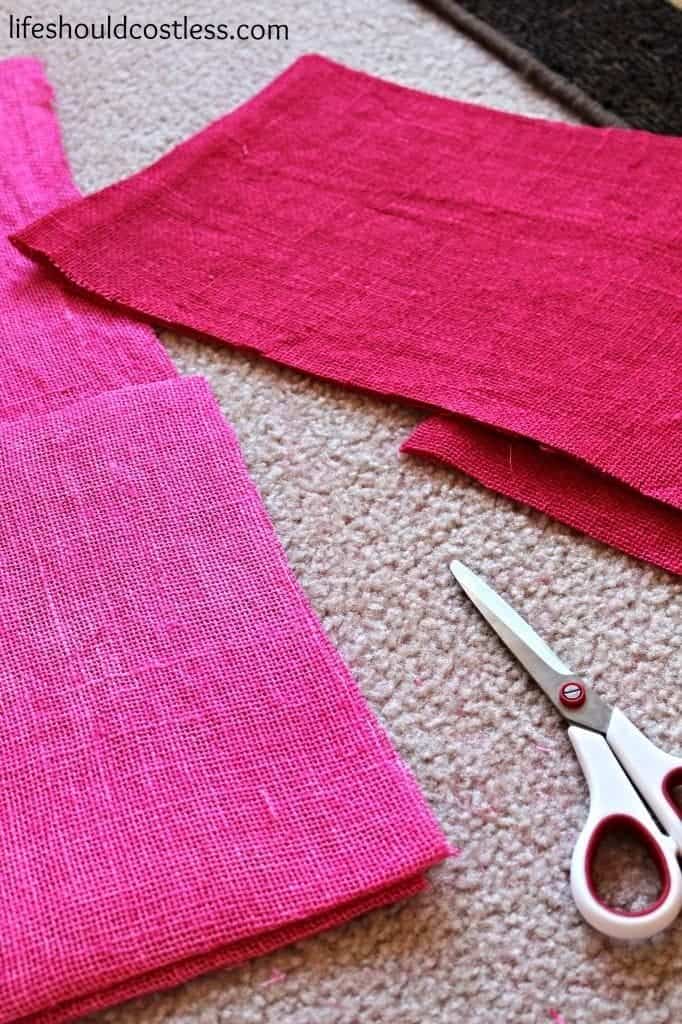
The dyed burlap dries pretty wrinkly, so you’ll need to iron it. Also, cut off the frayed/shaggy ends and it’s ready to use for your project!

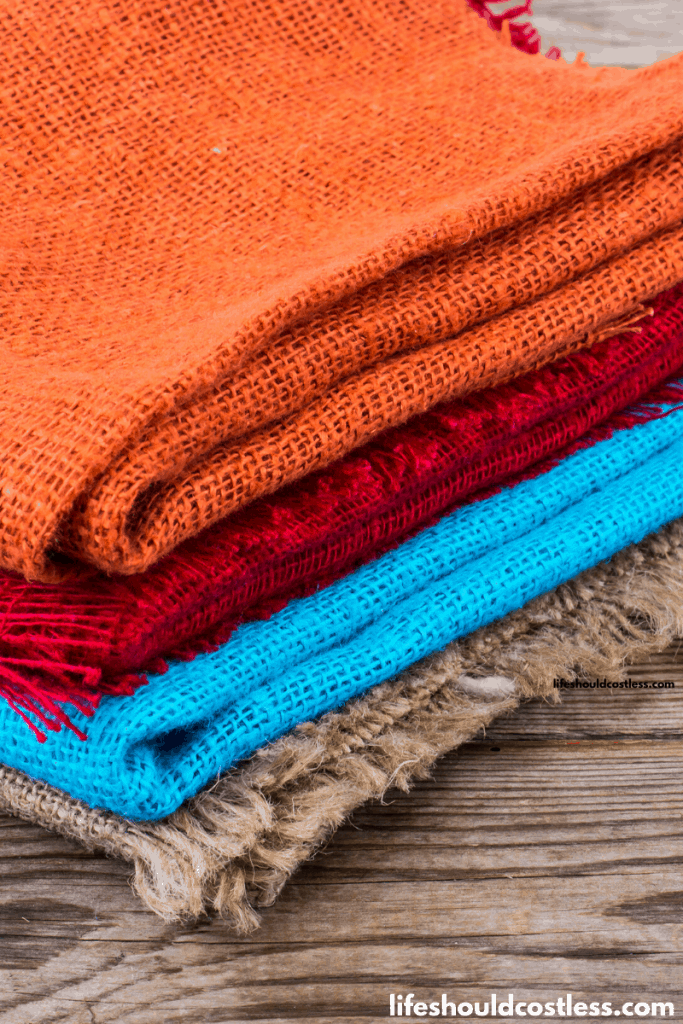
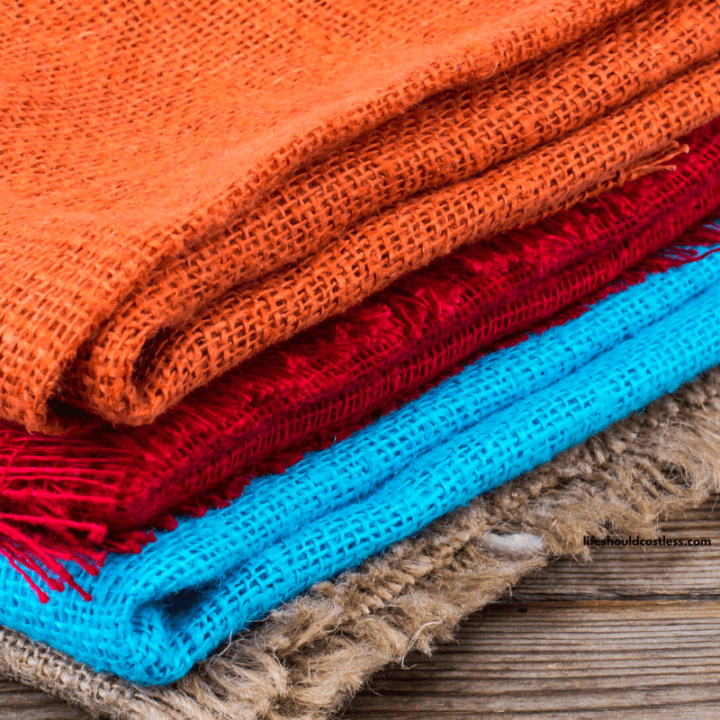
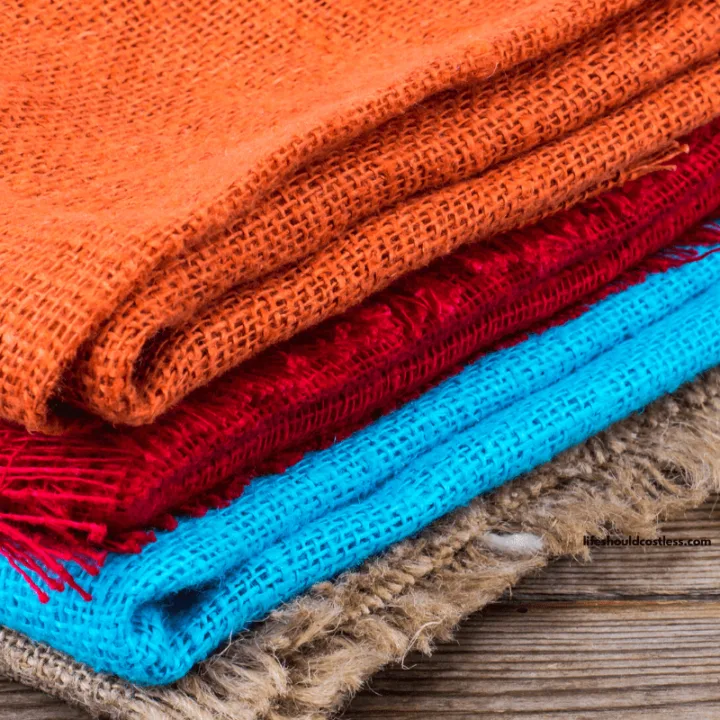
Like I said before, the color possibilities are endless with this method of dyeing burlap…
If you don’t have a choice and must use regular brown jute burlap, it’s going to come out a darker/muted version of whatever color you are trying to go for, so if you can make sure to start out with white and you won’t be sad with the results.

It’s pretty easy, just a little time consuming.
Free printable directions
Burlap Dyeing Instructions
Your craft projects are about to take on a whole new level of awesome! Learn how to dye burlap any color that you could possibly want with this simple step by step tutorial using Rit Dye.
Materials
- White Burlap (bleached)
- Hot Water
- Liquid Rit Dye
- Salt
- Towels
Tools
- Utility Sink or 2 Gallon Bucket
- Large Spoon
- Drying Rack
Instructions
How To Dye Jute:
- Start with clean, WHITE (bleached) BURLAP.
- Then you cut the burlap down to a few inches larger that you are going to need on all sides. It frays a bit during the dyeing process so you'll want to account for that.
- Fill bucket or utility sink with approximately 1.5 Gallons of HOT water.
- Add the white burlap to the water submerging it completely.
- Add 1/2 Cup of Salt, Stir Well.
- Add 5-6 Caps Full of liquid Rit Dye, stir well.
- Push the fabric down, under the water line, so that it stays completely submerged.
- Stir occasionally, and let the fabric sit in the dye for 30-45 minutes.
- When desired color is reached, rinse in cold water until the water runs clear.
- Hang to dry.
- Iron.
- Cut off frayed edges.
- Now use your perfect shade of burlap fabric for whatever your craty little heart desires.
Notes
Obviously if you want it a lighter color you use less dye and for darker you use more. Also, adjust the time accordingly...for darker let it soak in the dye longer, and for lighter let it sit less time.
I've found that 6 caps full of liquid Rit Dye (per 1.5 gallons of water)will usually get it pretty close to the exact color that is on the bottle of Rit.
If you want to do some crazy color, make sure that you consult the Rit Dye chart on their website, Rit has a pdf you can download if you go here. They list how much of each color you need to create any color you can think of (I think there are about 500 different color options there).
This should be a good base to show you what ratio's of each color to use to create whatever color. If it comes out too dark, rinse it out in HOT water until it lightens up a bit. When you're happy with the color, rinse in COLD water until the water runs clear.
*Remember that it'll be a few shades lighter in color once it is dry so plan accordingly.*
When using a drying rack, you may want to put a towel down or put your drying rack in the bath tub so that you don't accidentally dye your carpet if you didn't quite rinse it well enough.
Even if it's already dried, and you decide it's too dark, you can still rinse some of the color out of it with HOT water and then just dry it again.
*One last tip, for dyeing burlap your desired color…You may want to wear gloves so that you don’t get dye stained skin. Also note that, some people think that you shouldn’t used iodized salt when dyeing fabric, but I haven’t had a problem using it.*
FAQ’s
Yes, it definitely can be dyed to your desired color if you follow the steps mentioned above.
I don’t recommend it as the higher temperature is needed for best, deeper color, results.
*One last tip, for dyeing burlap your desired color…You may want to wear gloves so that you don’t get dye stained skin.
**Also note that, some people think that you shouldn’t used iodized salt when dyeing fabric, but I haven’t had a problem using it.*
***I will add more questions and answers as they get sent to me.
Conclusion
In conclusion, learning how to dye burlap fabric colors opens up a world of creative possibilities, allowing you to infuse this rustic, versatile material with your personal touch of color and style.
Throughout this guide, we’ve explored the essential steps and tips for achieving vibrant and long-lasting results, from selecting the right dye to applying it with care and precision.
Whether you’re enhancing your home decor, crafting unique gifts, or adding a personal flair to your projects, the art of dyeing burlap is a rewarding skill that combines simplicity with the joy of creation.
Remember, the key to successful fabric dyeing lies in experimentation and patience, encouraging you to explore various colors and techniques to find what works best for you.
So, embrace the process, let your creativity flow, and watch as your burlap fabric transforms into a beautiful expression of your artistic vision.
Happy dyeing!
Thanks so much for stopping by my blog and supporting my endeavors to make people’s lives a little easier/better/more affordable.
If you liked this post, or found it helpful in any way, please make sure to share it with your family, friends, and co-workers via social media.
Or you could even send them the direct link via email. Whichever way you choose to spread the love, I super appreciate it! ~Sarah

How To Follow & Support This Site
- If you would like to subscribe to my email list, go here.
- Make sure to follow along via social media, by going here.
- If you would like to learn how to really show your support to this site (at no cost to you), go here.
- If you would like to make a direct donation to the site, go here.
Check out my other content
My other DIY projects:
Other good resources for crafting with burlap
- https://www.pincutsewstudio.com/blog/2022/3/16/tips-for-sewing-with-burlap-plus-project-ideas
- https://decorbytheseashore.com/how-to-cut-burlap-the-right-way/
- https://www.thecountrychiccottage.net/burlap-crafts-get-entire-collection/
*Updates: Please note that this article was originally posted to this website on 02/02/2015, but it was in great need of a refresh so it now is more user friendly/shareable, and has a free printable “how-to” card as well.