Cleaning tile floor and counter top grout can be simple and virtually free if you know this one awesome cleaning hack. Learn how you can easily clean grout and tile with very minimal scrubbing on your part. It truly has been a lifesaver for me.
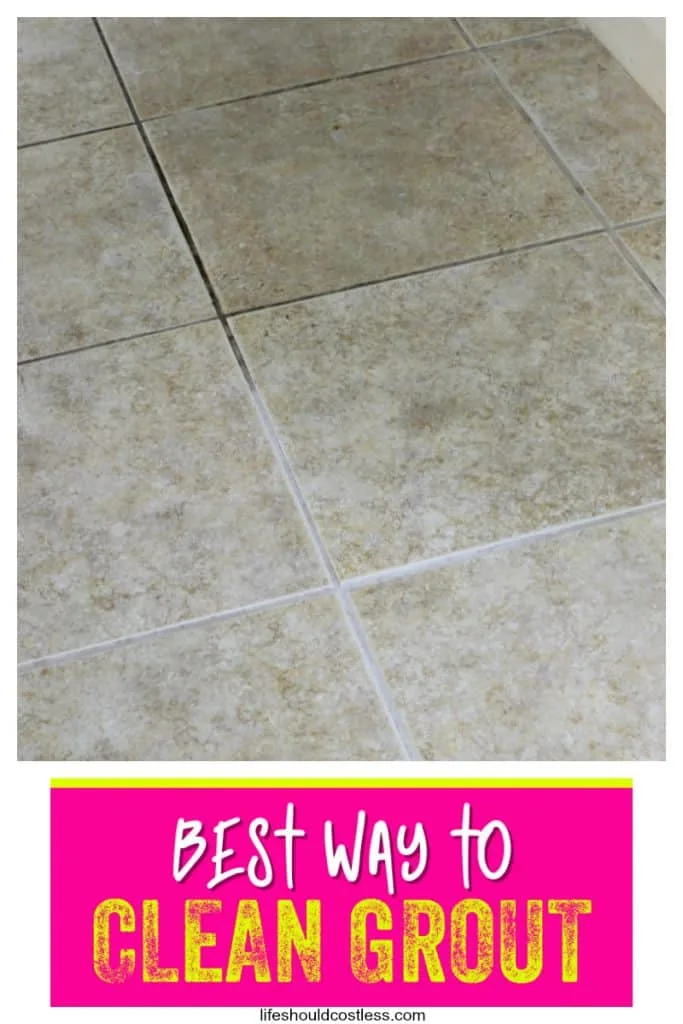
About this cleaning method
I LOVE the way that tile looks in a house, but I guess you can call me old school because I have always preferred vinyl flooring.
That is solely because it is so much easier to clean vinyl than it is to clean tile, and it stays looking clean for much much longer because it doesn’t have grout to trap & lock the dirt in…but I may just have to change that opinion because,
I just found the easiest and cheapest way to clean grout that I have ever heard of!
It works for both tile floors and tile counter tops.
The best part is that it is so inexpensive, I mean that this method of cleaning tile is literally almost free if you have a couple things around the house already.
Plus it’s a chemical free. That to me is a win/win…hello, a cheap and non-toxic way to clean grout, I think that it is more than worth sharing with all of my readers too.
When I bought my house a while back, I was pretty overwhelmed at the thought of needing to defunk (that might actually be a word…lol) the grout of so much tile.
I’d say that my houses square footage consisted of about 60% or more tile, which equated to about 900-1000 sq ft of tile that needed cleaning.
Oy vey!
My back and knees were already aching at the thought of having to scrub for hours upon hours to get the grout back to looking good again, if I could even find a way to do it that would work and not break the bank.
At the time, there was no way that I could afford to hire a professional cleaning company to come in and clean it for me either…I was super house poor.
Luckily, I asked my followers on Facebook, for suggestions and I tried most of them one by one and I was still about ready to give up and just hire it out.
Until I remembered a suggestion that was offered by my friend, and long-time follower, Courtney.
Now let’s learn how to clean grout, the fastest, easiest, and cheapest way to DIY your grout cleaning.
Courtney, the Facebook follower that I had mentioned earlier that gave me this cleaning tip, said that she had heard of people using straight boiling water to clean their grout.
Really? Just boiling water?
I was super skeptical that that could actually work, but I gave it a shot as my last resort before hiring a cleaning service.
Of course the best tip was the last one I tried, because I just didn’t think that something as simple as boiling water could work…
It’s such a simple solution to the problem...
But hey, if I could successfully and easily kill ants with water (read that post here), then why couldn’t I use it as the ultimate cleaning tool for grout too?
Anyway, I thought I would give you guys a little tutorial and offer you some tips that I’ve discovered while cleaning my grout this way… ie, break down the learning curve for you a little bit.
Because surprisingly, there are several tips that I have to share that will make your experience with cleaning tile, this super easy way, much more pleasant.
Photo tutorial
To start, all you need is a towel (preferably an old one), a kettle full of water, and a scrub brush!
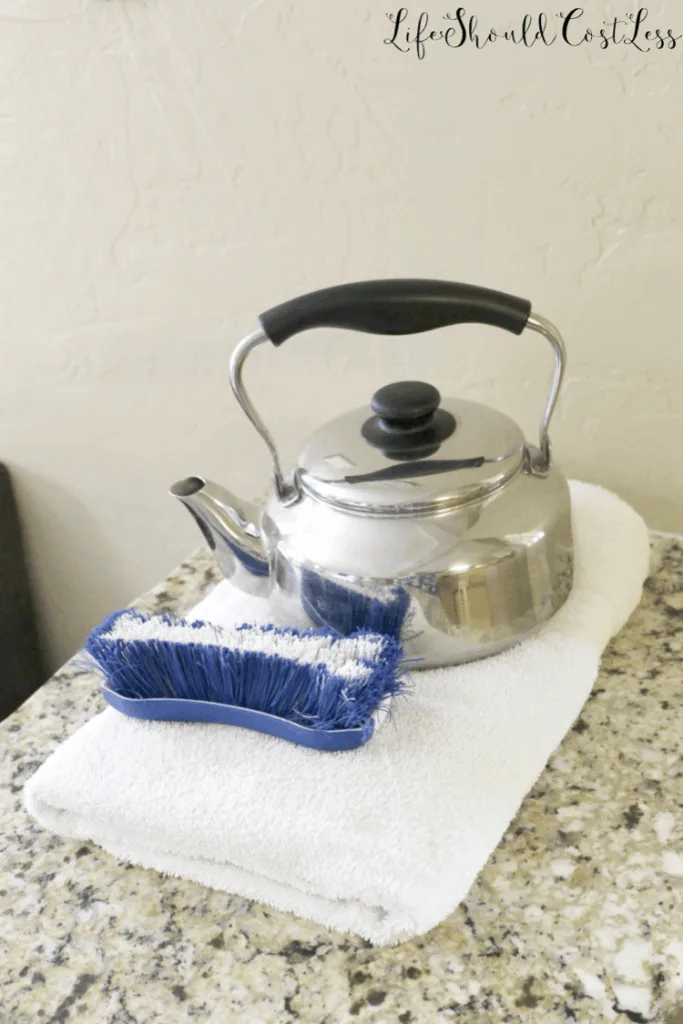
Really, that’s all you’re going to need, if you can believe it.
How far will one kettle stretch? One typically sized full kettle and one towel should be enough to do a small room or hallway…or roughly 20-30 square feet of tile.
I recommend that you prep your tile floors for this type of deep cleaning by vacuuming or sweeping them thoroughly, and then you are ready to begin.
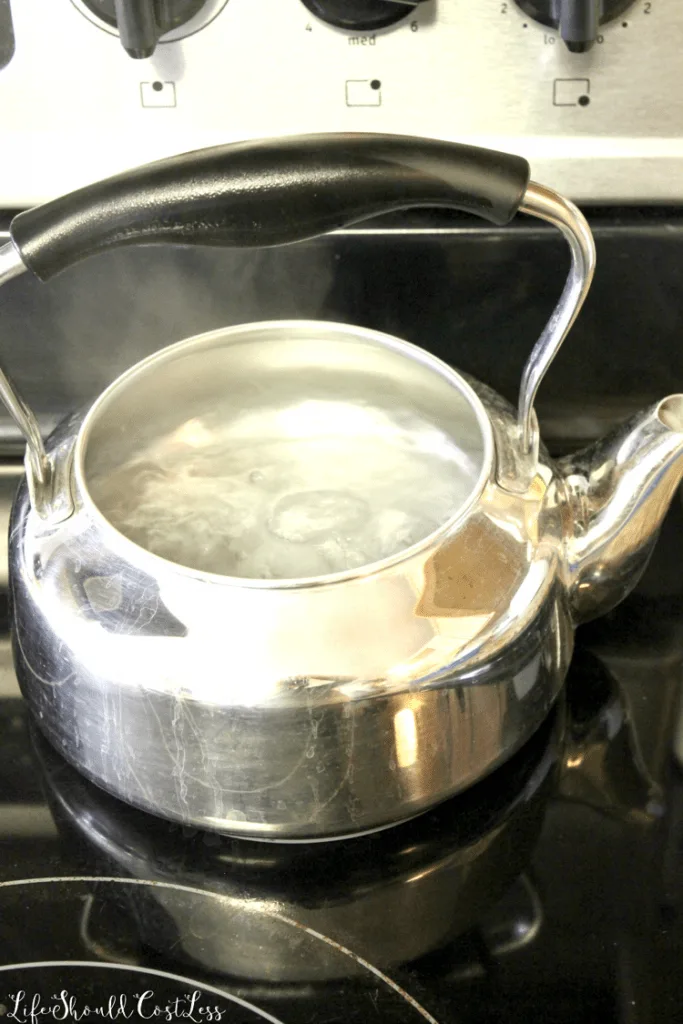
Set your water on to boil, and remember that you need to get it to a rolling boil to get the best results.
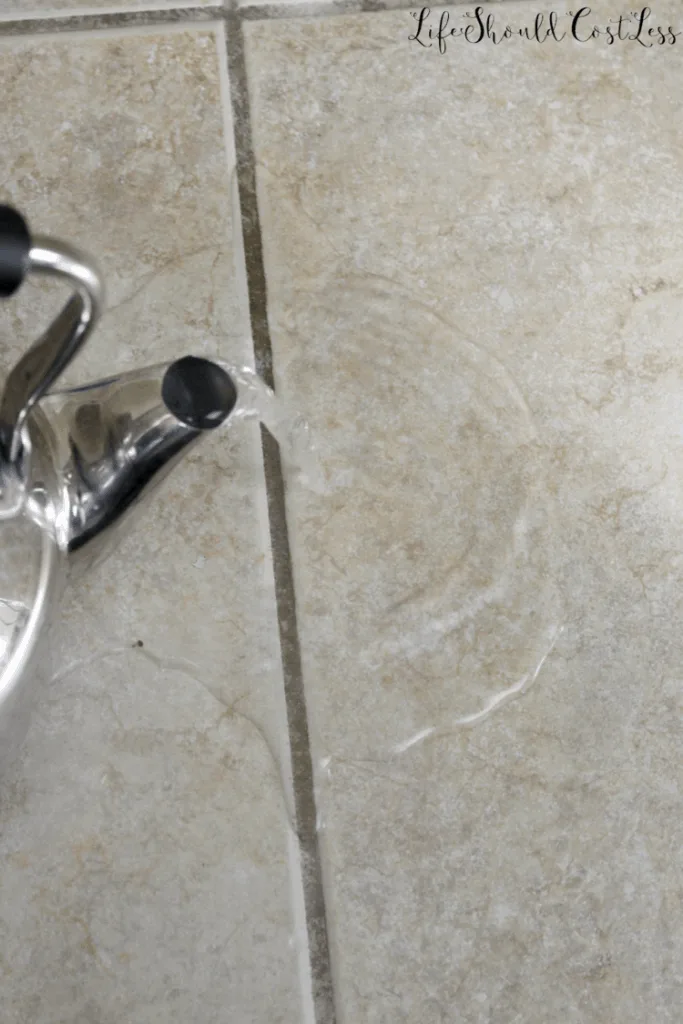
Pour a generous amount of boiling water along the grout lines, I poured a bit more that you would really need in that picture above, but that was so you could actually see the water when I took the picture.
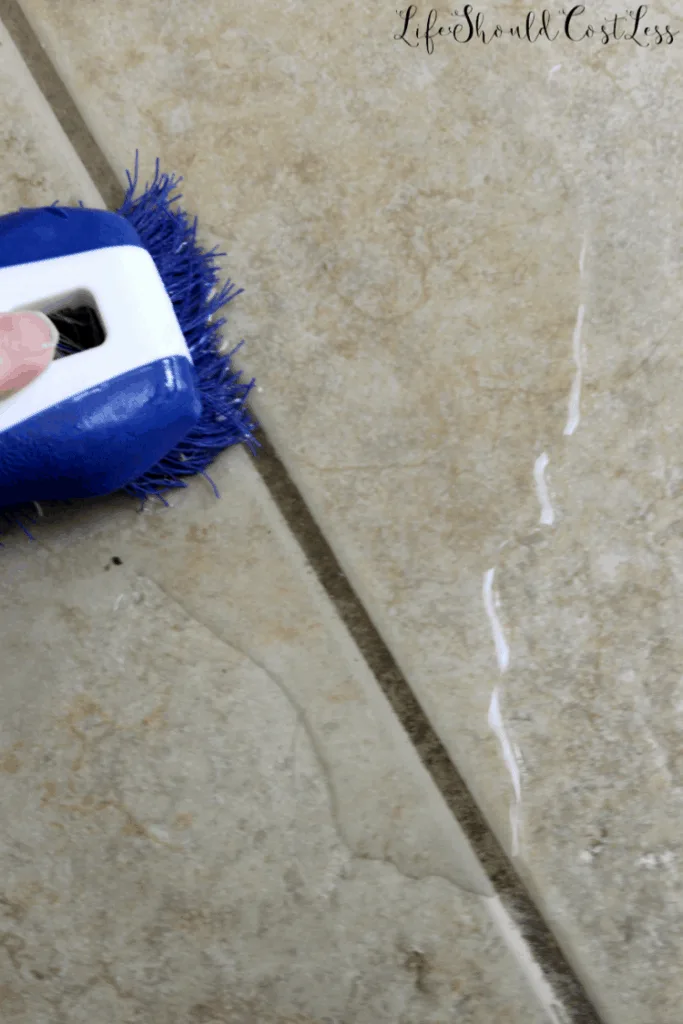
Then take a scrub brush and gently scrub in a circular motion along the grout line.
Once I get the grout done, I use some of the same water and just gently scrub down the surrounding tiles…so that the whole floor gets cleaned and sanitized, not just the grout.
The key to this method working it to work quickly, so that you are doing the scrubbing while the water is still very hot, as the heat tends to release the grime and dirt trapped within the grout which means there will be minimal elbow grease needed when scrubbing.
I found that the best way to ensure that I was cleaning quickly enough, to keep the water hot long enough for me to get to the scrubbing part, was to break my grout lines into smaller sections.
Working six to ten inches at a time, scrub and move on. That may sound like it would take forever, but it goes really quickly because the hot water releases the gunk so well.
By the way, the cheapest place that I know of to get a scrub brush is Dollar Tree.
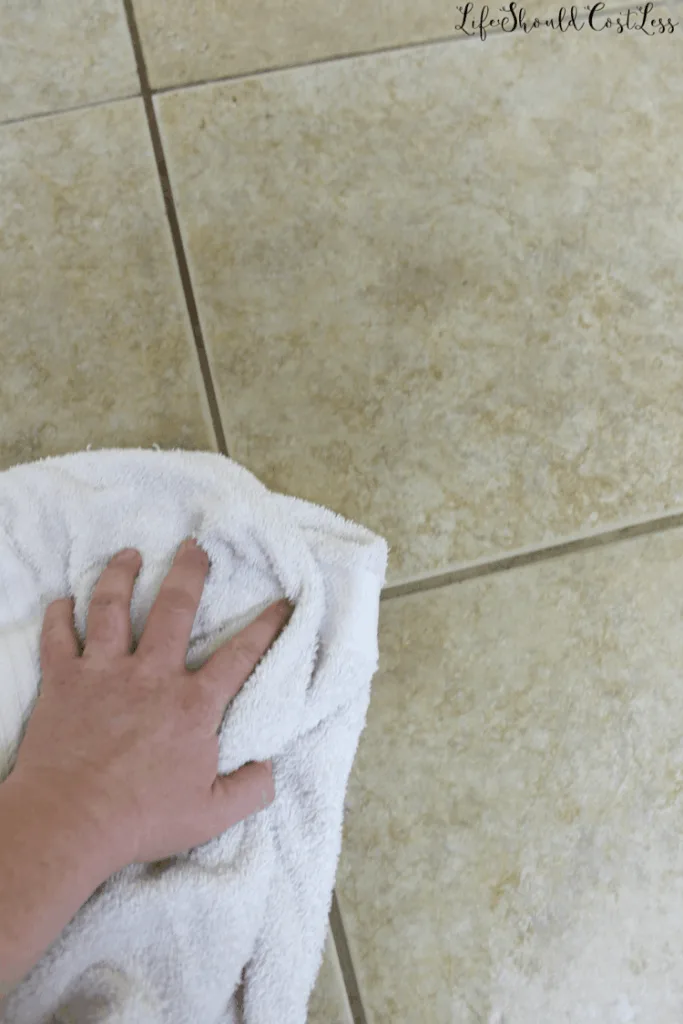
When you are done scrubbing a section, use a towel and wipe up the water along the grout lines.
Old ratty towels work just fine if you want to save even more money when doing this.
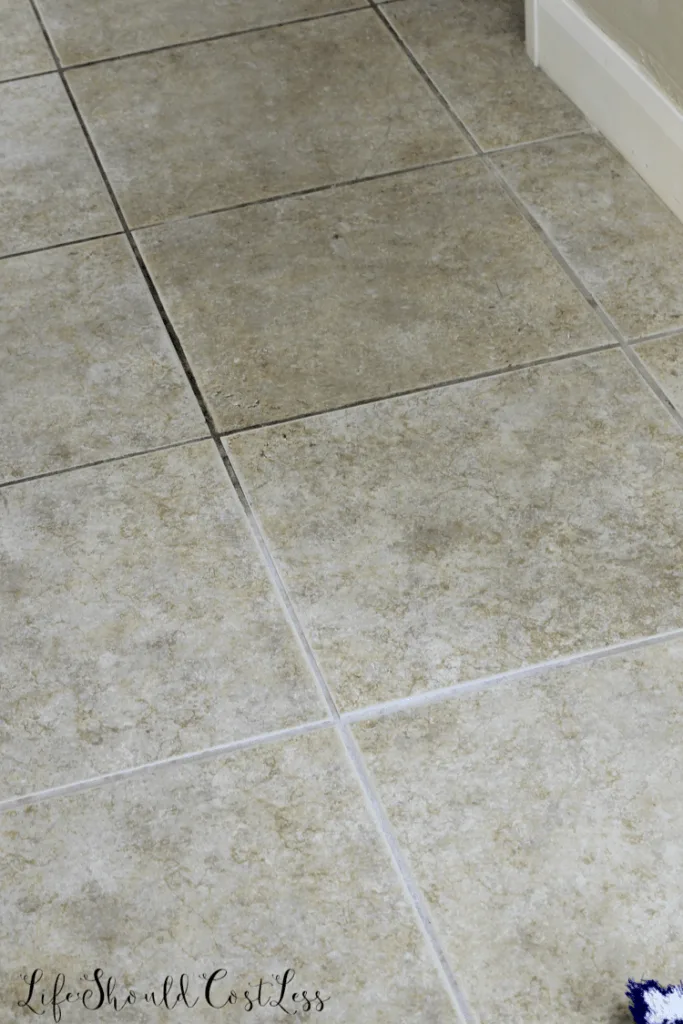
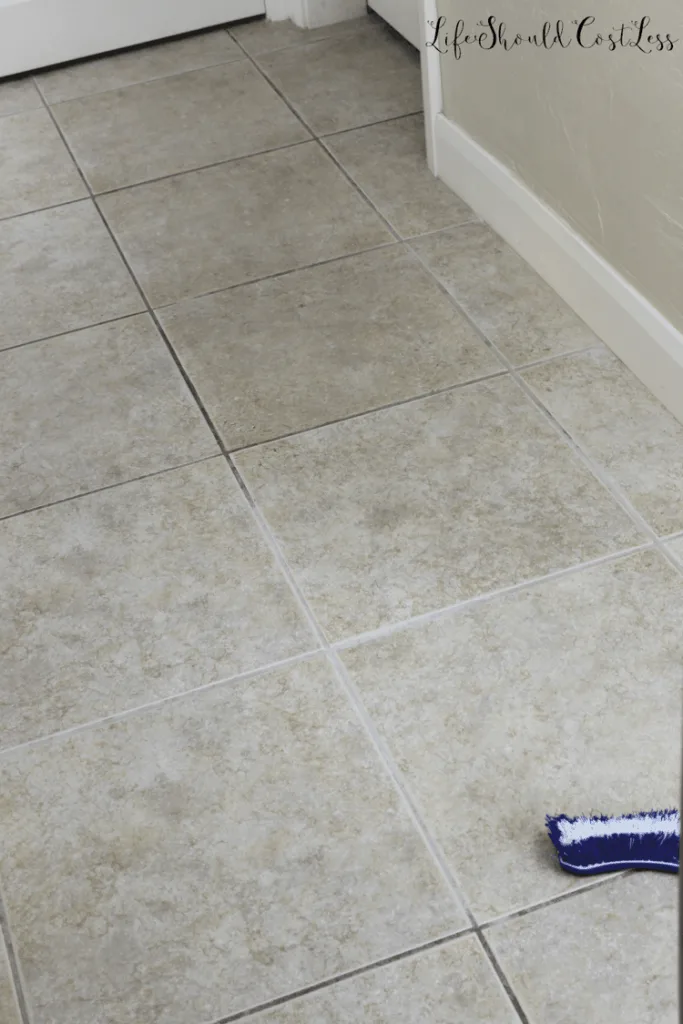
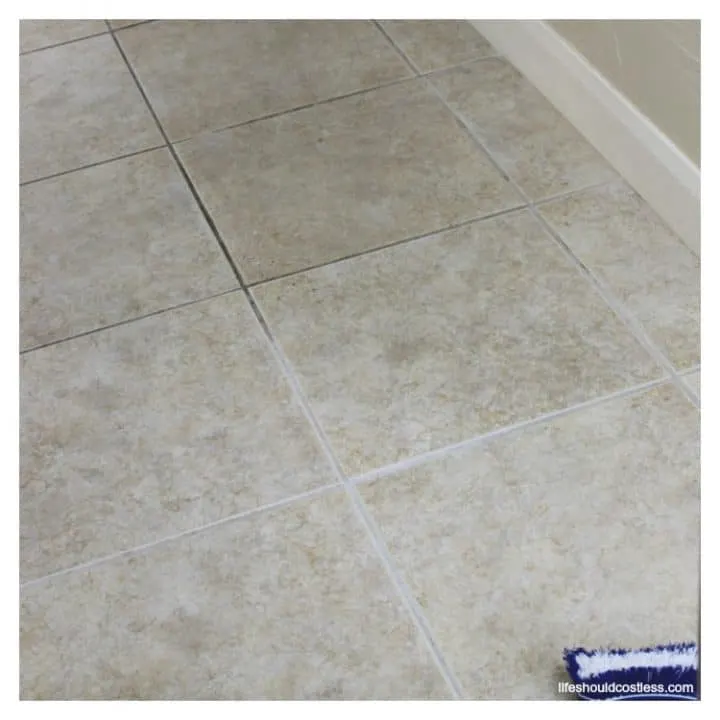
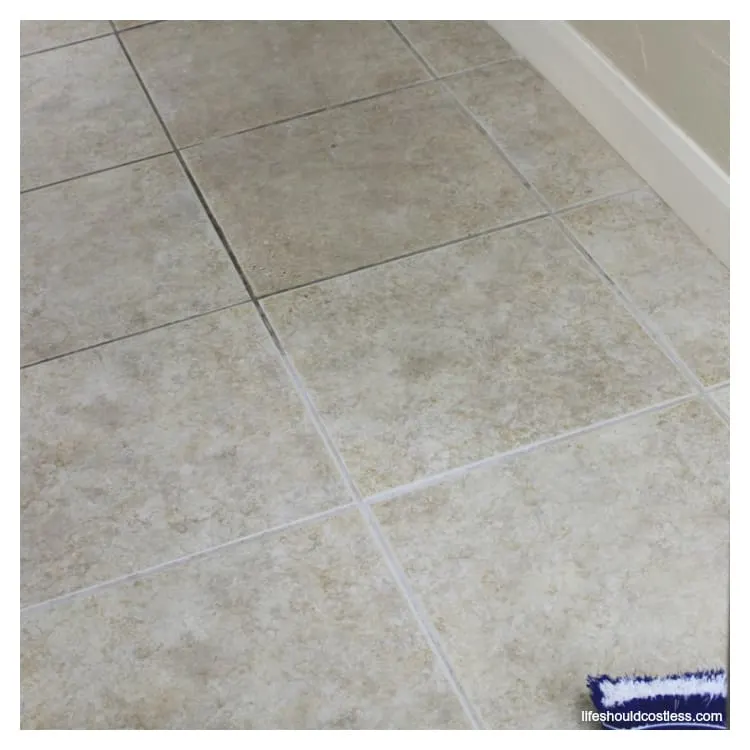
To show you how big of a difference it is making as I go, I let this section dry, after I cleaned it, so that you all could get the full effect…isn’t that absolutely nuts that it works this well?
I did the whole hallway floor once and wasn’t completely happy with it, I’m a little bit on the OCD side sometimes, so I did it again the next day.
I think it’s quite an insane difference and I can hardly believe that it was virtually free and painless to get it looking so good.
So there is almost no need to ever hire this job out again…cough, when I could actually afford to, I mean.
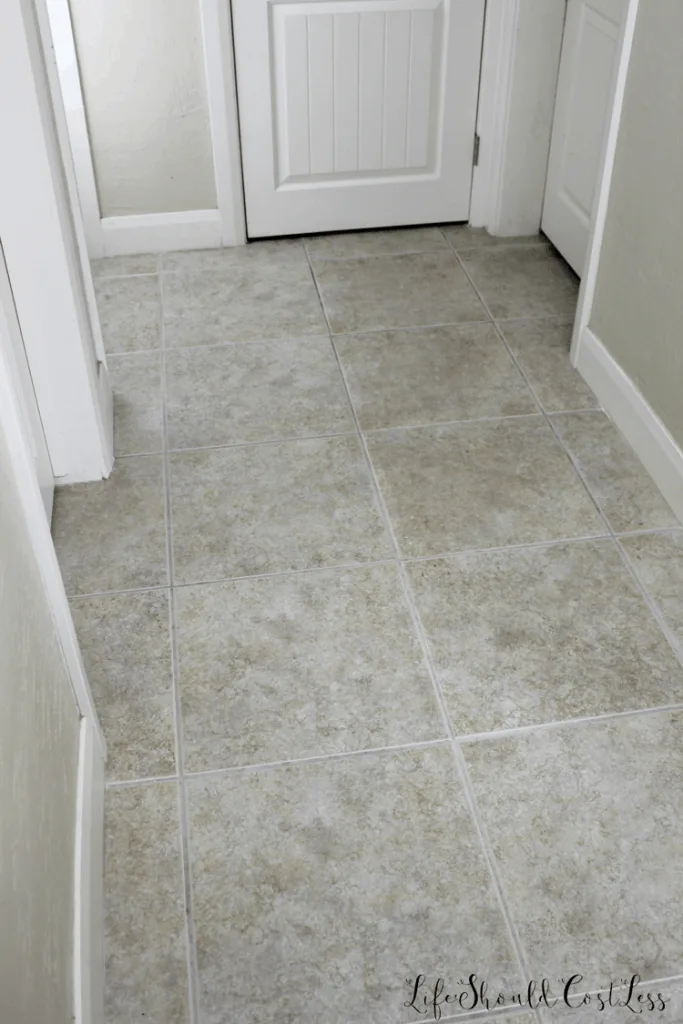
Keep in mind, when you clean your own tile, that you won’t know your real results until the grout has had time to dry out.
So I recommend doing this once or twice and then let it dry before you decide whether or not you need to repeat the process.
I was WAY HAPPIER with the way it looks after doing it twice. This small section of my hallway only took about 8-10 minutes each time I did it…
like I said before, it goes quickly…much faster than I ever could have imagined that it would.
So that you don’t have to scroll all the way back up to the top, I like to see before and after shots right next to each other for a true comparison, so I thought I would show you them side by side
Just so you can see just how big of a difference it really makes using nothing but boiling water, a scrub brush, and a towel to clean my grout.
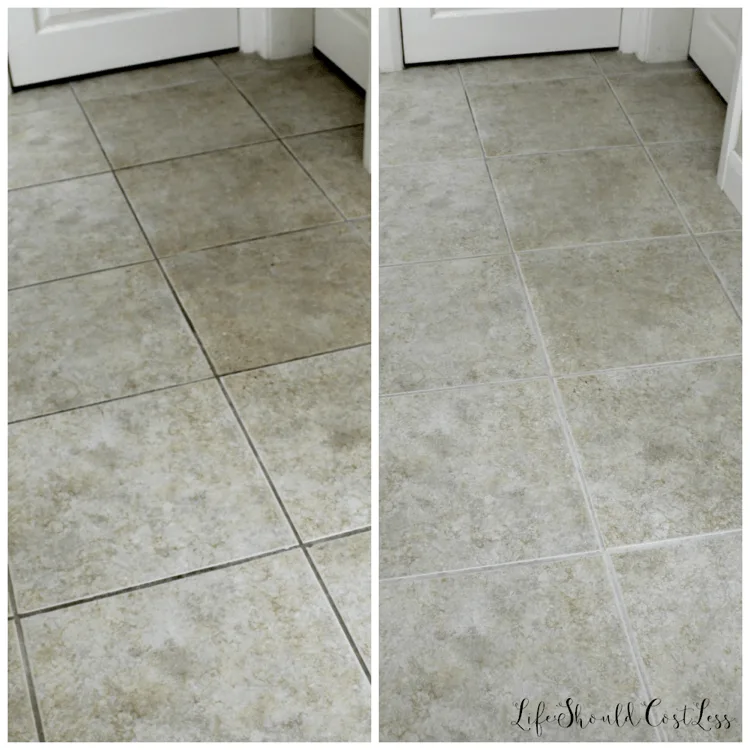
Obviously it doesn’t look completely brand-new again, but it sure as heck looks good enough that I never have to be embarrassed about how nasty my tile floors are looking.
For best results, and to make it so that you have to clean your grout as little as possible in the future, make sure to seal the grout lines.
If you don’t know how to do that, here is a link to a YouTube tutorial that will teach you how.
Printable Instructions and video found here
For those of you that wanted the free printable “how-to” card, here you go.
How To Clean Grout {the cheapest and easiest way}
Cleaning tile floor & counter top grout is simple & virtually free when you know this one simple & frugal cleaning life hack. Learn how to clean grout & tile with minimal scrubbing.
Materials
- Towels
- Kettle
- Water
- Stovetop
Tools
- Scrub Brush
Instructions
- Gather all the supplies & tools needed.
- Prep your tile by thoroughly sweeping or vacuuming.
- Fill Kettle full of water.
- Set Kettle on Stovetop at high heat.
- Bring water to a rolling boil.
- Remove kettle from heat.
- Take the heated kettle to your tile and pour a generous amount in your grout lines in a section that is between six and ten inches long.
- While the water is still hot, use the scrub brush to gently scrub the grout in a circular motion.
- Use a towel to mop up the water when done working in each section.
- Repeat until the entire floor has been done once or twice.
- Allow to dry to see full results.
Notes
Seal your grout afterward to make your clean grout lines last even longer.
Please keep in mind that if you don't have a kettle to work with, you can use a large pot to boil your water and ladel it onto your tile...it's just a little harder to do it that way so be sure not to burn yourself...either way, be careful to avoid burns.
If you are cleaning a large amount of tile, and have a second kettle, it is much more time efficient to keep one kettle on the stove heating, while you use the other kettle to clean and swap them out as you go to keep a steady flow of water boiling.
I am so grateful to have found a way of cleaning grout that doesn’t leave me practically crippled the next day because I spend maybe 1/4th as much time scrubbing on the floor as I did with every other cleaning method that I’ve heard of.
I have a bad back, so the less time I spend on the floor on my hands and knees, the better.
*A few things to note before you get started on your own floors. *
Be careful not to burn yourself…that may be common sense, but I thought that I would throw that out there.
Also, I do not recommend doing this to tile that is damaged or has grout that it cracking, as the water could seep down and damage your floors further.
Please only do this to tile that is in good shape.
I personally think that grout, in a home that gets cleaned regularly, should really only need to be deep cleaned to this level two to four times per year TOPS, and I would just spot clean the grout in between those deep cleanings and mop normally in between.
I like to clean my floors this way any time there has been sickness in our home, because it both cleans and sanitizes, which kills lingering germs.
Conclusion
Keep in mind, however that I feel that sometimes we go overboard on cleaning and it can wear things out long before they should have.
I am basically just recommending that it be done on an as needed basis, not as part of your regular daily or monthly cleaning routine.
As I mentioned before, it may be a good idea to seal your grout after you have done this and let it dry.
It would greatly lengthen the times between when you need to deep clean it this way.
Also, just thought I’d mention that if you’re worried about damaging your tile by doing this, then either attempt it in an inconspicuous “test” area of tile, before you do your whole floor, or just don’t do it.
I personally have had great results and no damage to my tile and I started cleaning my grout this way, in sections, years ago.
That’s about all I have to say on the matter, so take my advice or leave it, but that is my two cents.
Thanks so much for stopping by my blog and supporting my endeavors to make people’s lives a little easier/better/more affordable.
If you liked this post, or found it helpful in any way, please make sure to share it with your family, friends, and co-workers via social media.
Or you could even send them the direct link via email. Whichever way you choose to spread the love, I super appreciate it! ~Sarah
How To Follow & Support This Site
- If you would like to subscribe to my email list, go here.
- Make sure to follow along via social media, by going here.
- If you would like to learn how to really show your support to this site (at no cost to you), go here.
- If you would like to make a direct donation to the site, go here.
Check out my other content
My most popular laundry & cleaning articles
*Reposts: Please note that this idea/post was originally posted to this website on 02/02/2018, but it was in great need of a refresh so it now is more user friendly/shareable and has a little tutorial video and free printable “how-to” card to make your life even easier than before.
