Looking for a delightful and simple recipe with apricot to satisfy your sweet tooth? Look no further! Our Easy Apricot Bars are the perfect combination of sweet and tangy, offering a burst of fruity flavor in every bite. These bars are not only delicious but also incredibly simple to make, requiring just a handful of ingredients and minimal prep time. Whether you’re an experienced baker or a beginner, you’ll find this recipe straightforward and rewarding. Let’s dive into how you can create these delectable treats right at home!
About this recipe
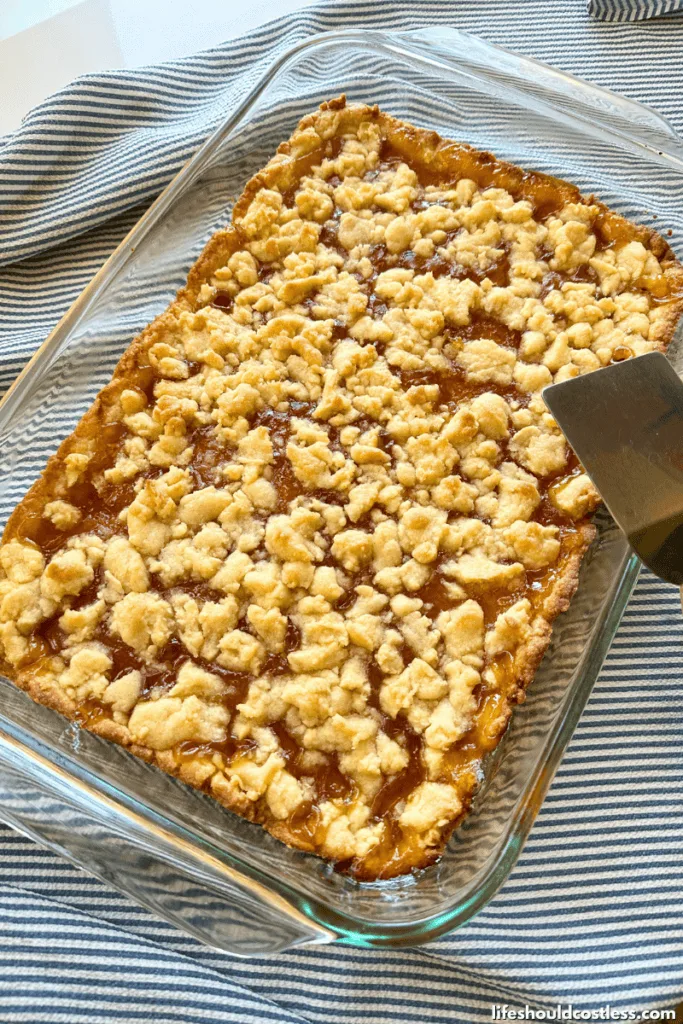
As the daughter of a farmer that has his own apricot trees, this recipe for apricot jam bars was a dessert staple at my house when I was growing up.
I do think that it tastes better with home-made apricot jam or jelly, over any store-bought brand…but I just may be biased. Lol.
I’m not sure where this recipe originally came from, so I am certainly not taking credit for it.
- To see all of my cookies and bar recipes, go here.
However, I think it may have been originally based off of this one because it is quite similar.
The version my family makes is just a little bit less-expensive to make, and I have simplified it a bit more too so that it can fit my “lazy-girl in the kitchen” lifestyle.
How to make apricot squares (free printable recipe card here)
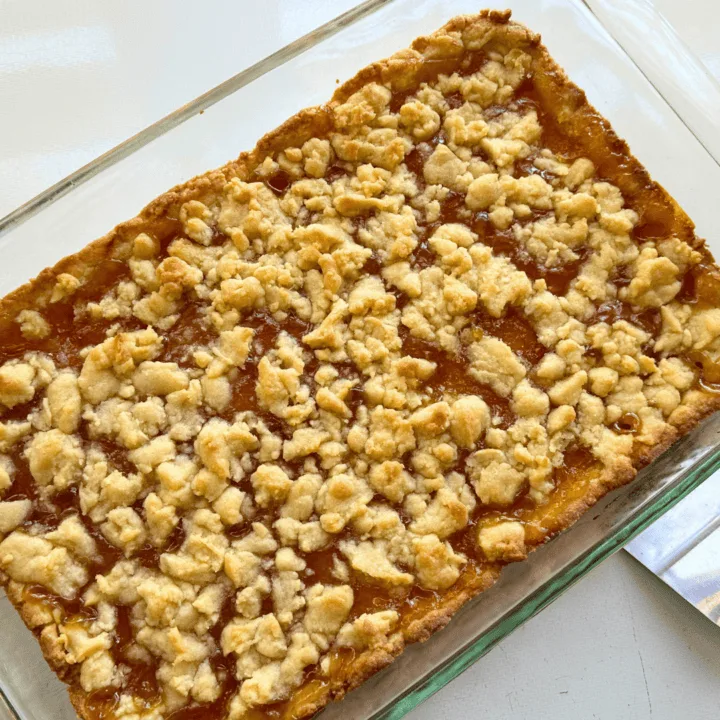
Easy Apricot Bars Recipe
This apricot bar recipe does not disappoint. Try the variations, or make them as is.
Ingredients
- ¾ Cup Salted Butter (softened)
- 1 Cup Sugar
- 1 Large Egg
- 2 Cups Flour
- ¼ Teaspoon Baking Powder
- ½ Teaspoon Vanilla Extract
- A pinch of cinnamon
- (Optional) ½ Cup Chopped Nuts Of Choice, Or Oatmeal
- 12-18 Oz. Apricot Preserves
Instructions
-
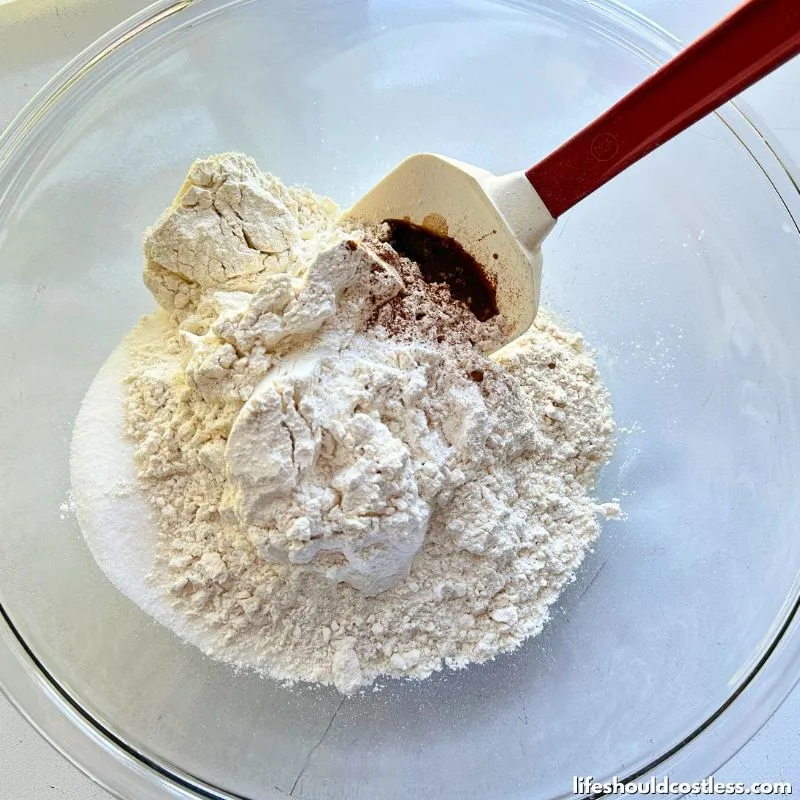
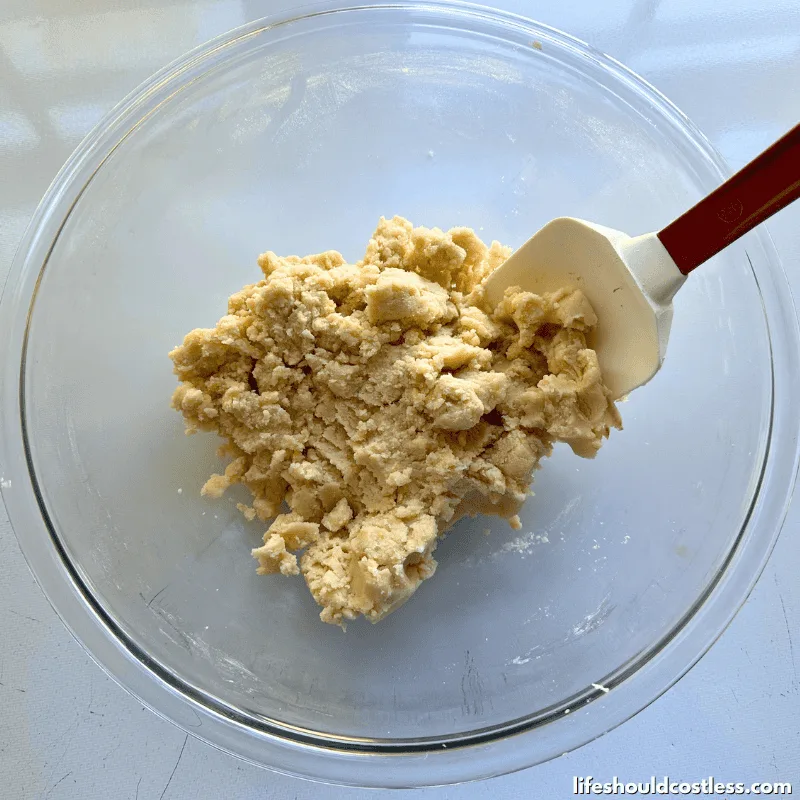 Mix all ingredients except Jam, until well incorporated, to create crust mixture.
 -
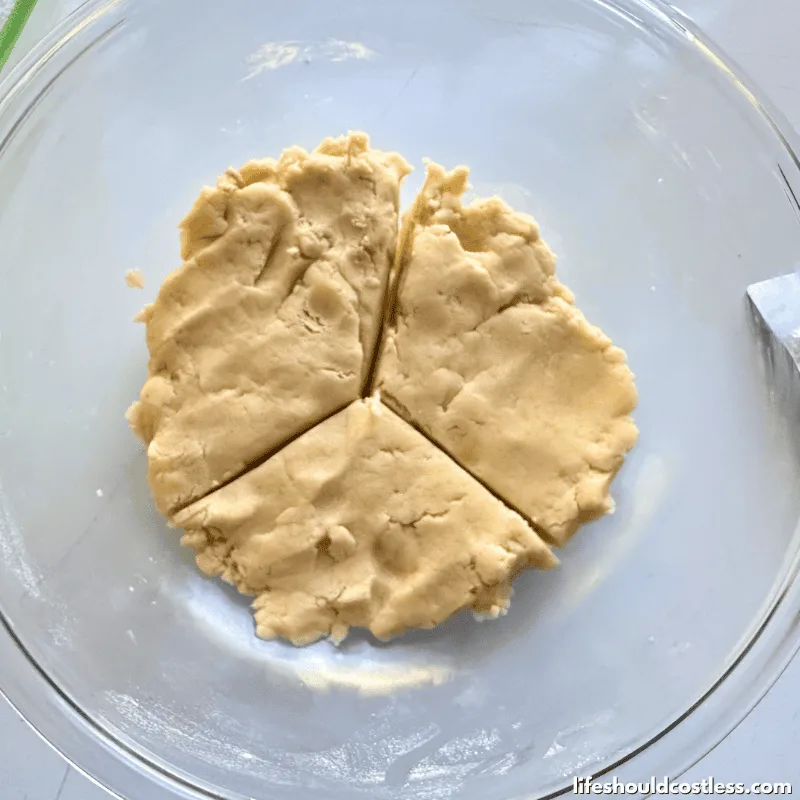
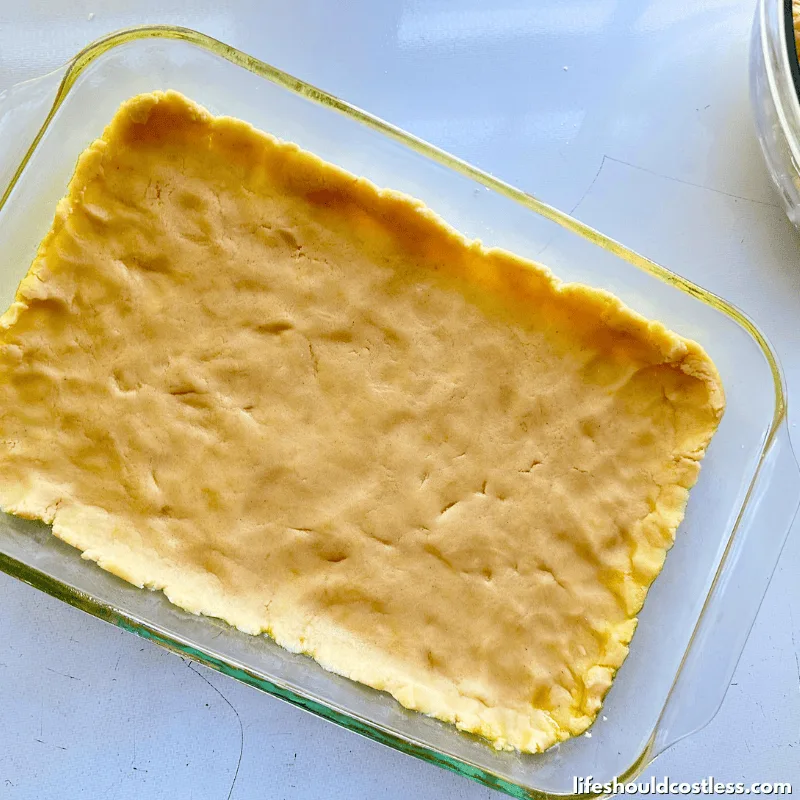 Pat 2/3rds of crust mixture into a buttered 9x13 pan.
 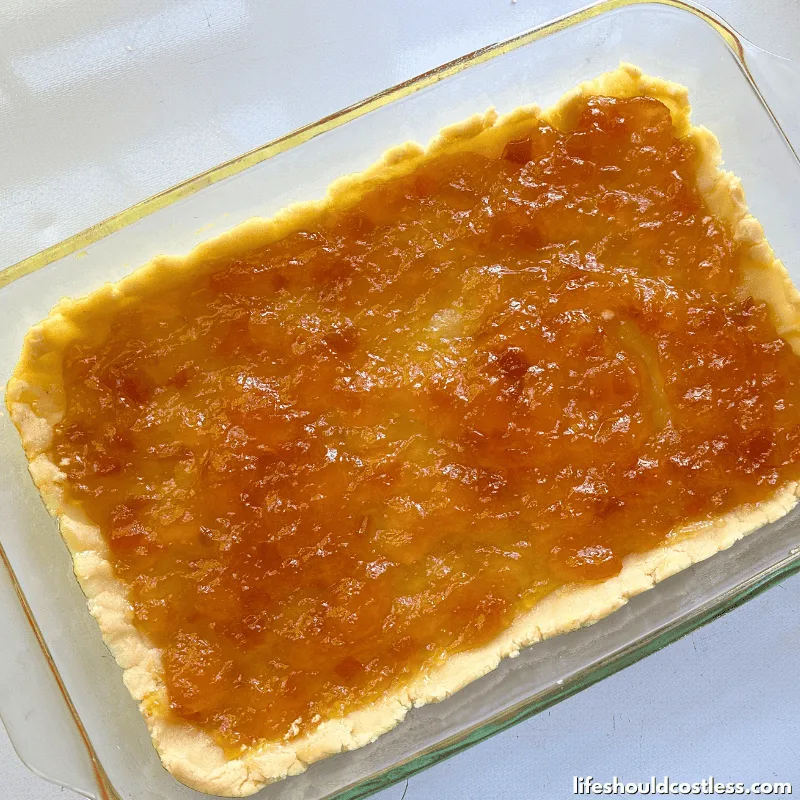 Spread the Jam evenly over the crust mixture. It works well to mix the preserves with a fork prior to spreading it so that it will be easier to work with.
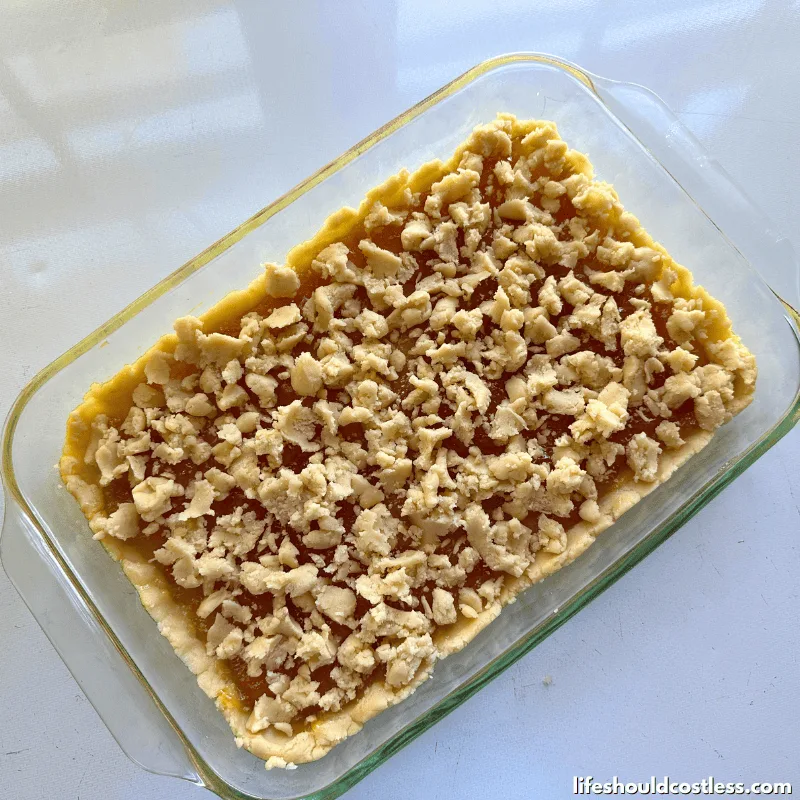 Crumble the rest of the crust mixture over the jam evenly.
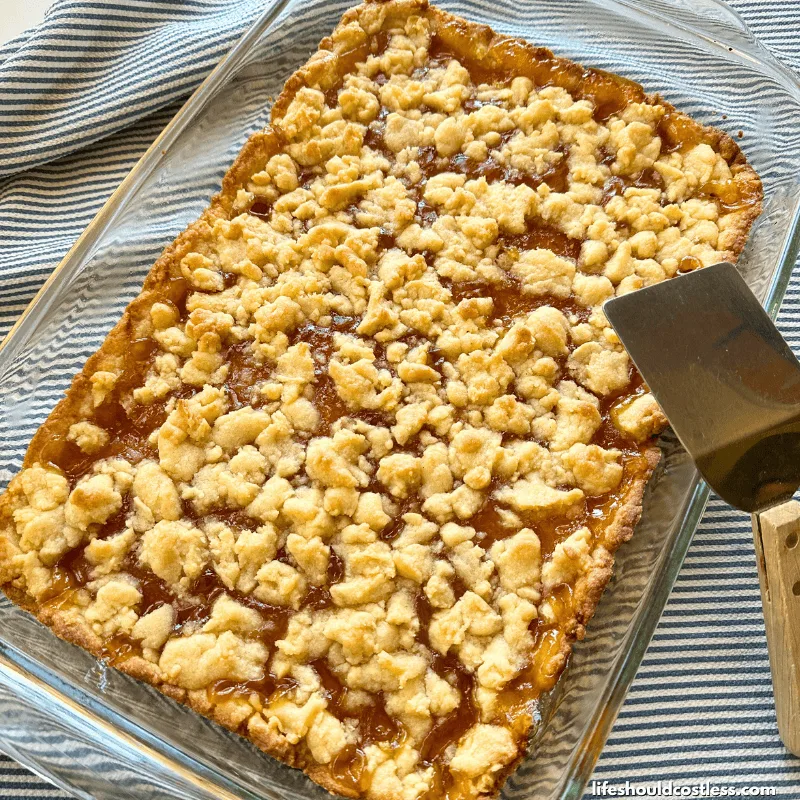
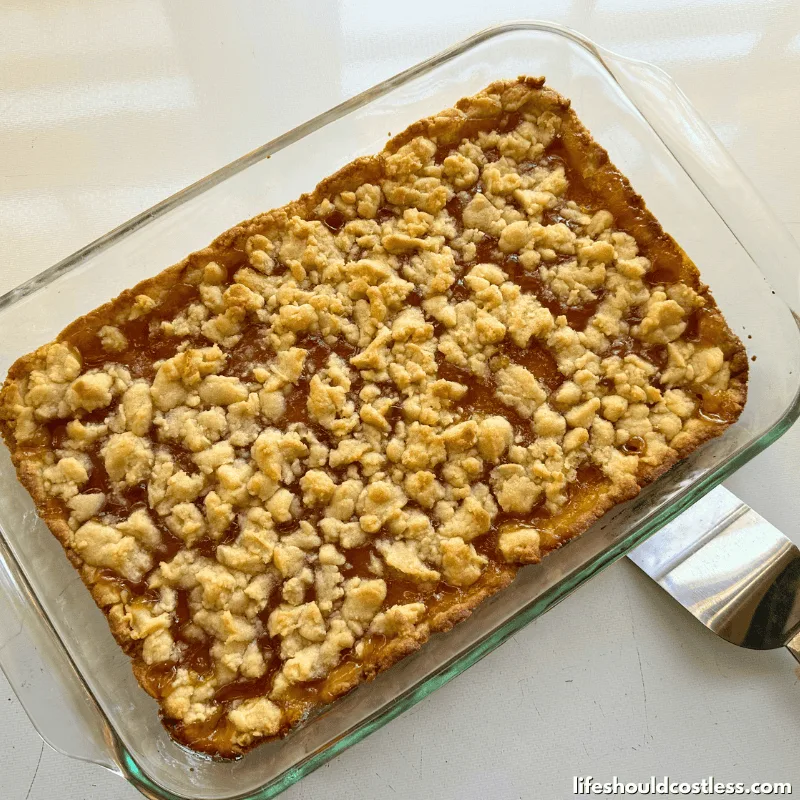 Bake at 350°F for 30 minutes or until edges are golden brown. Let cool, then cut into bars and enjoy.
Notes
*12 oz of apricot preserves is just under a pint. If using a pint jar of homemade preserves you may just use the whole jar and it'll just be a little bit thicker apricot filling. 18 Oz of preserves were used when making the bars as pictured.
**These taste great with added walnuts, pecans, or macadamia nuts. I have not tried making them with another type of nut.
Recommended Products
Please note that I am an affiliate with Amazon.com. When you purchase through my suggested product links, the cost for you is the same but I do receive a small commission for everything in your shopping cart. Thanks so much for the support!
-
 Tiptree Apricot Preserve, 12 Ounce (Pack of 1)
 -
 Pyrex Basics 3 Quart Glass Oblong Baking Dish with Red Plastic Lid -9 inch x 13 inch x 2 inch - Original Genuine Pyrex - Made in the USA
 -
 Crisco No-Stick Cooking Spray, Butter, 6 Ounce
 -
 Small Spatula 2 Pieces, Mini Serving Spatula for Kitchen Use, Metal Spatula for Serving and Turning, Ideal for Pancakes, Brownies, Desserts, Cookie, Eggs or Small Pan
 -
 Easy Apricot Cookbook: 50 Delicious Apricot Recipes; Simple Techniques for Cooking with Apricots
 -
 New Star Foodservice 1028768 Commercial-Grade Bun Pan/Baking Sheet, Baking Mat, Cooling Rack Combo, 1/8 and 1/4 Sizes Each
I hope you enjoy these as much as we do!
We like them so much at my house my kids won’t even wait for them to cool down all the way before digging in.
So, if you’re looking for a simple recipe with apricot preserves, make sure to give this one a try.
FAQ’s
You sure can! This crust is pretty versatile and will taste good with just about any flavor you can think of.
*I will add more questions and answers as they get sent to me.
Thanks so much for stopping by my blog and supporting my endeavors to make people’s lives a little easier/better/more affordable.
If you liked this post, or found it helpful in any way, please make sure to share it with your family, friends, and co-workers via social media.
Or you could even send them the direct link via email. Whichever way you choose to spread the love, I super appreciate it! ~Sarah
How To Follow & Support This Site
- If you would like to subscribe to my email list, go here.
- Make sure to follow along via social media, by going here.
- If you would like to learn how to really show your support to this site (at no cost to you), go here.
- If you would like to make a direct donation to the site, go here.
Check out my other recipes
- To see all of my cookies and bar recipes, go here.
Otherwise, here are direct links to several of my other sweet tooth recipes that you’re also going to love:
Yummy Cookies & Bars
*This recipe article was originally shared to this blog on September 28, 2011, and has since been updated to improve user experience, as well as to make it as shareable as possible across the social medias.
