I love a good, inexpensive activity that gets the kids engaged and excited about anything that has to do with the outdoors, and these little greenhouse seedling starters are both! This spring has been so weird, at least here in Utah, and some days it’s really warm and other days it’s super chilly…which makes it hard to get any seedlings started and growing well enough to have any hope to plant them in the near future.
*Hey there, thanks for stopping by my website. This article is super old, so it has been archived as I no longer update it…so proceed if you wish…but it is definitely not my best work. Please stop by my home page, here, and see some of my better content. Thanks! ~Sarah*
I came up with these a while ago, when I was thinking about my larger seedling starters that I had done a few years ago, you can see that post here… I decided that I would like to see if I could figure out a way for each of my children to have their own personal little greenhouse, because it makes it more exciting for them when they have their very own & can see their progress…and my goal was for it to cost less than $5 per kid.
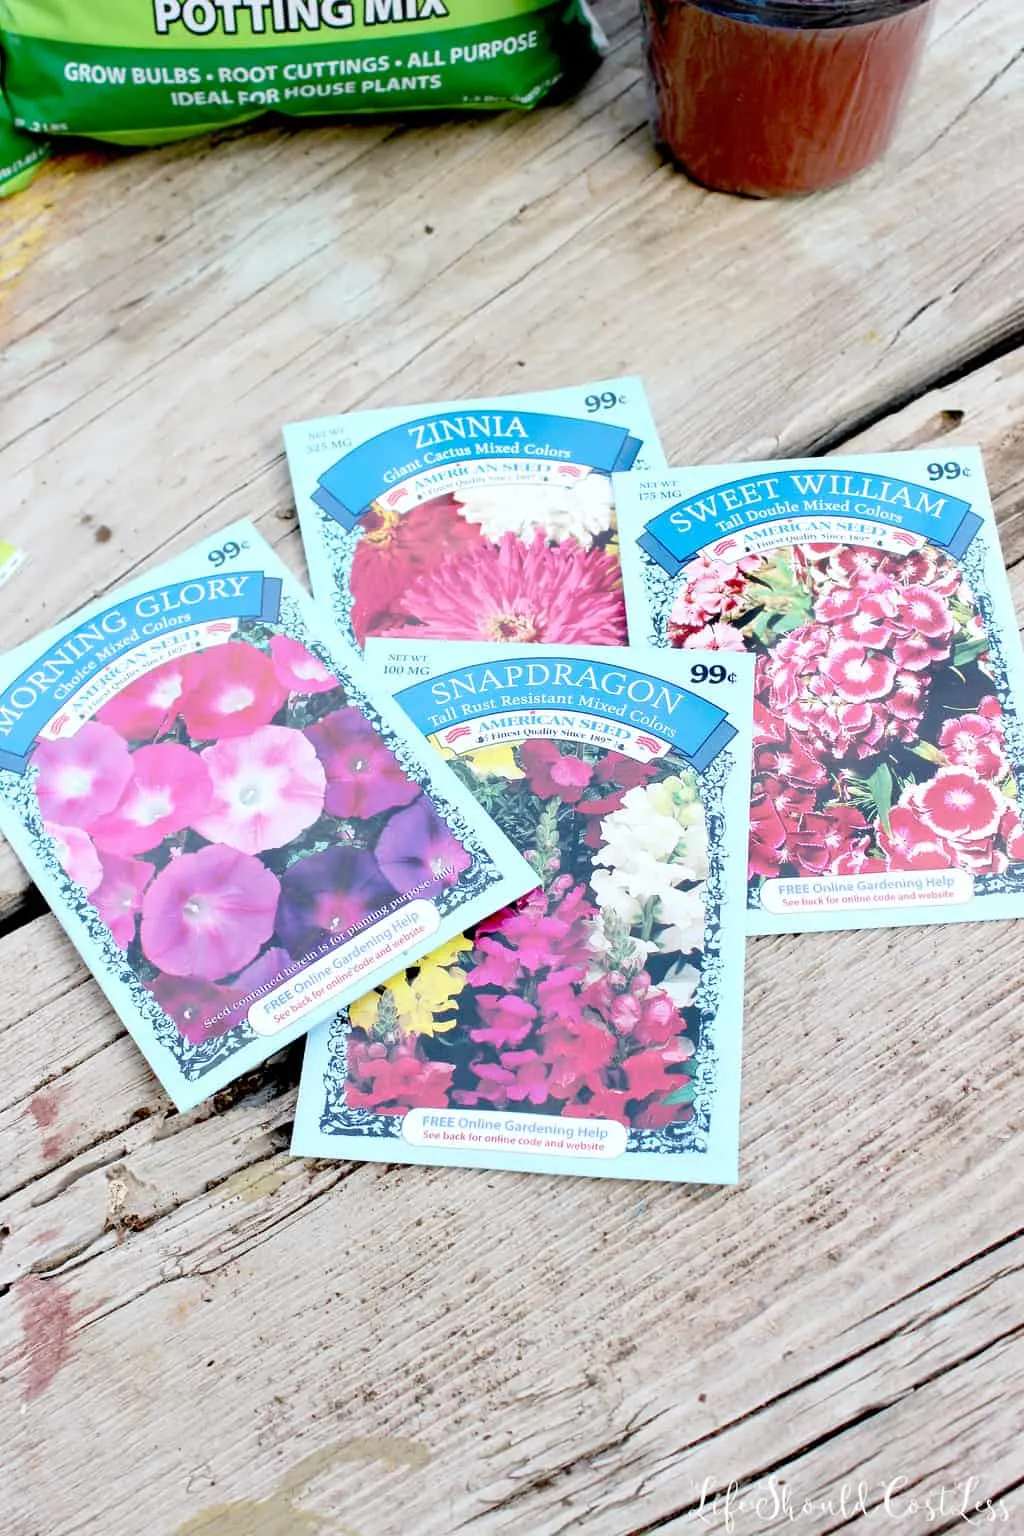
When I was walking through Dollar Tree I found that it I was going to be able to easily reach my target budget. They have seeds of all sorts, produce and flowers and such and they are four packets of seeds for $1. My girls all chose to grow flowers.

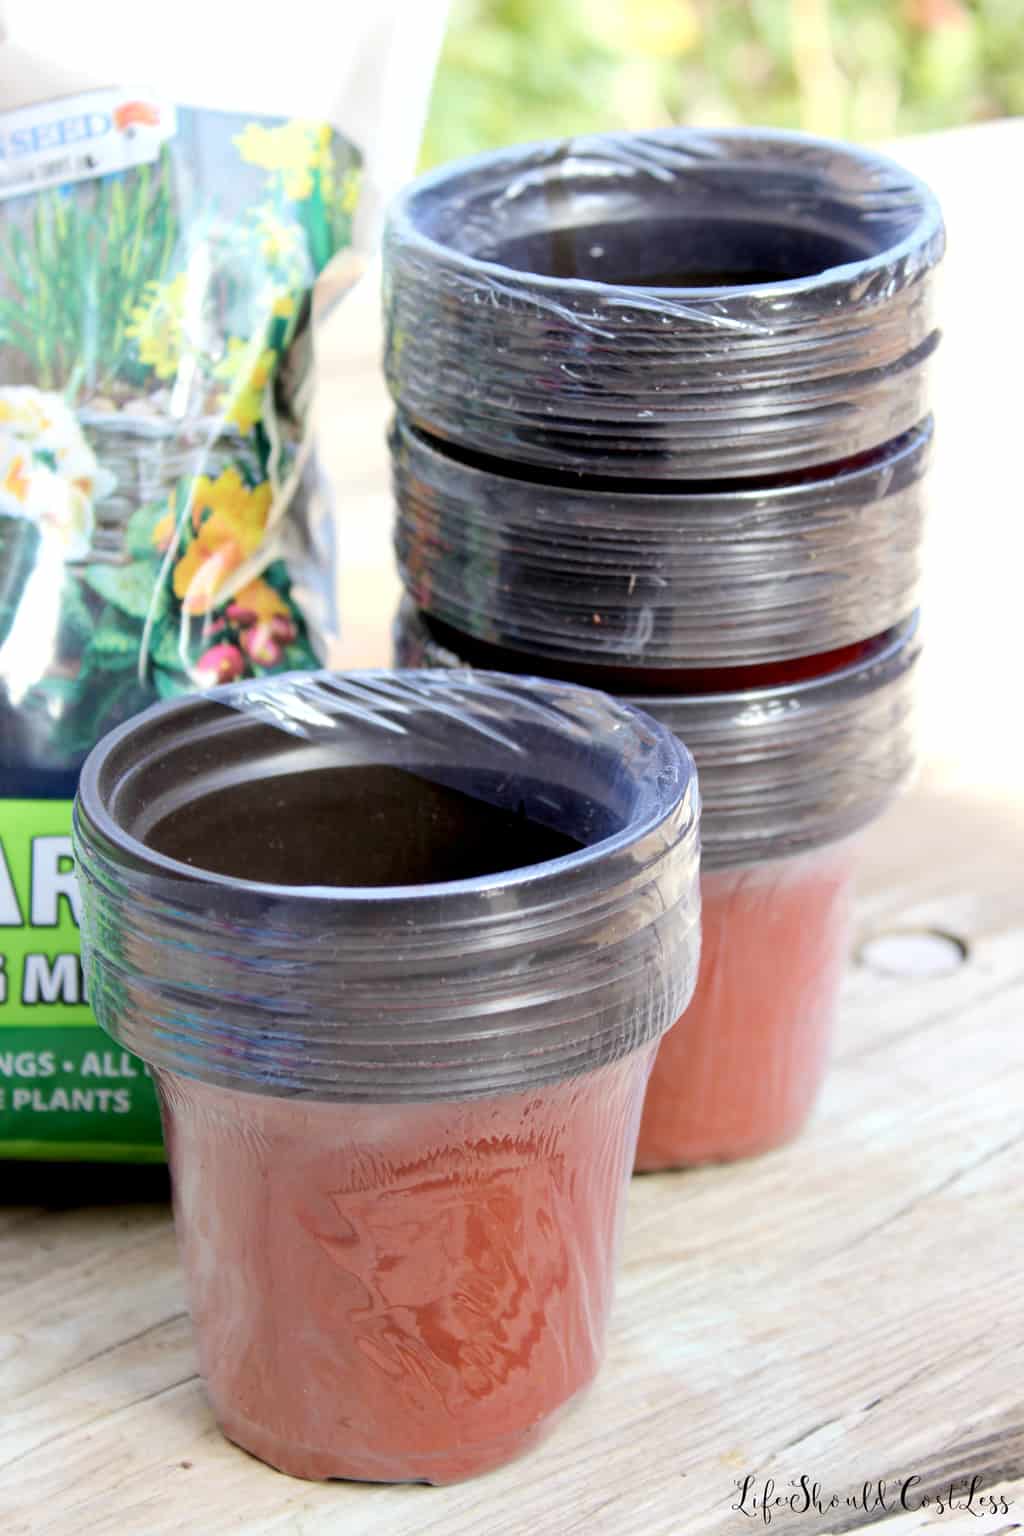
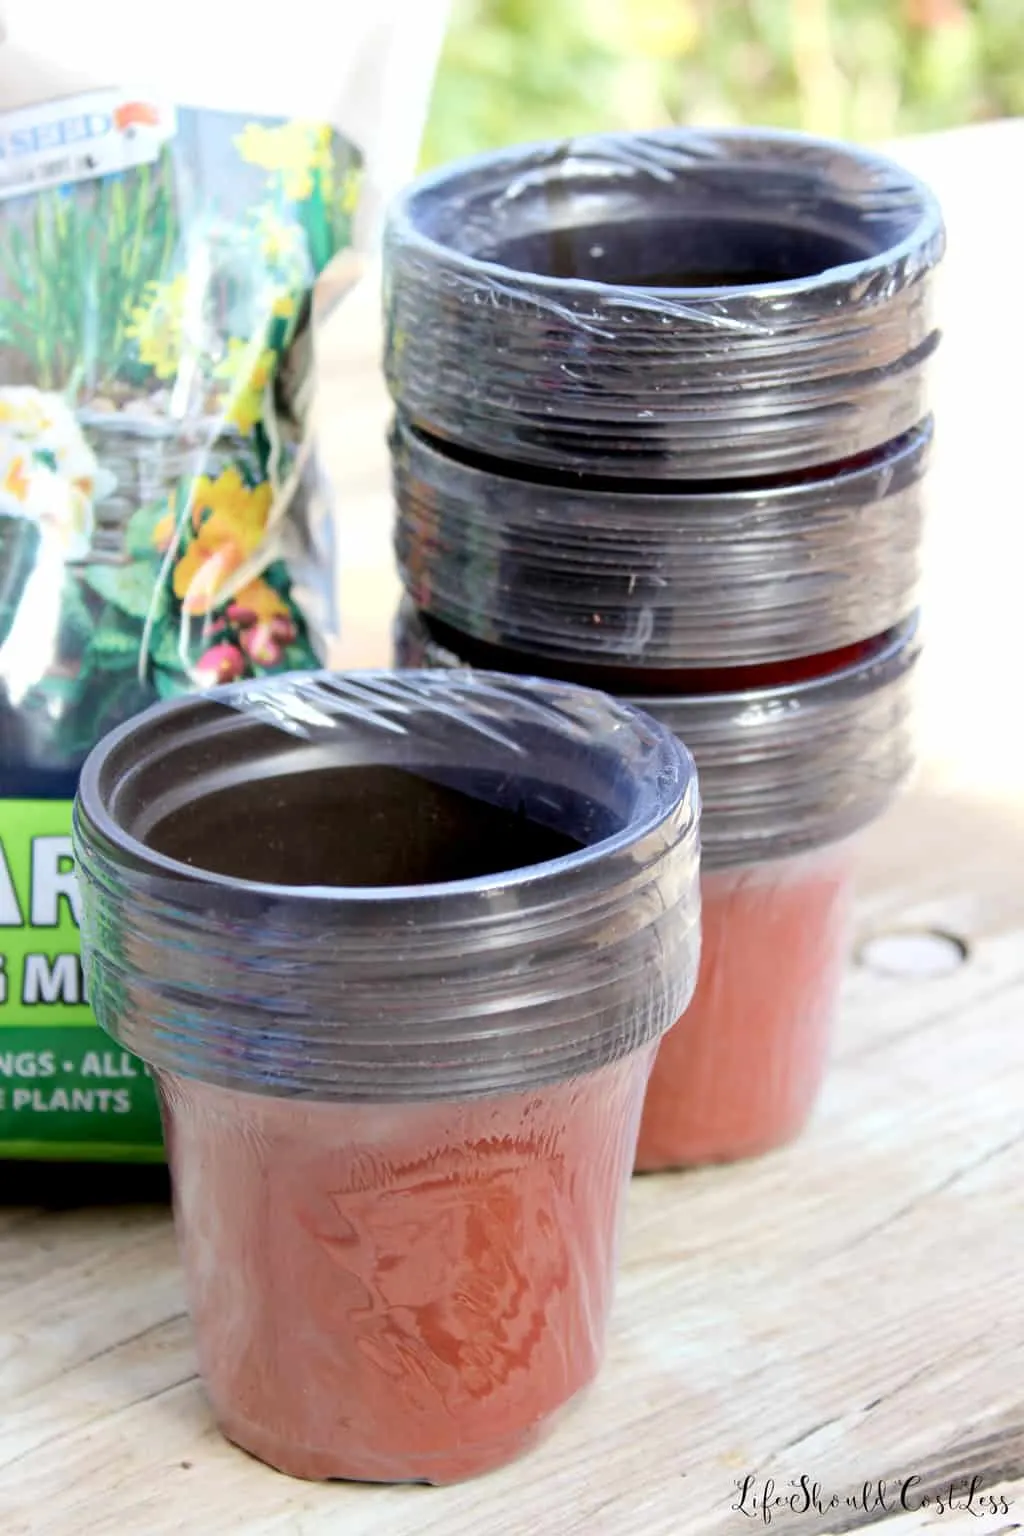
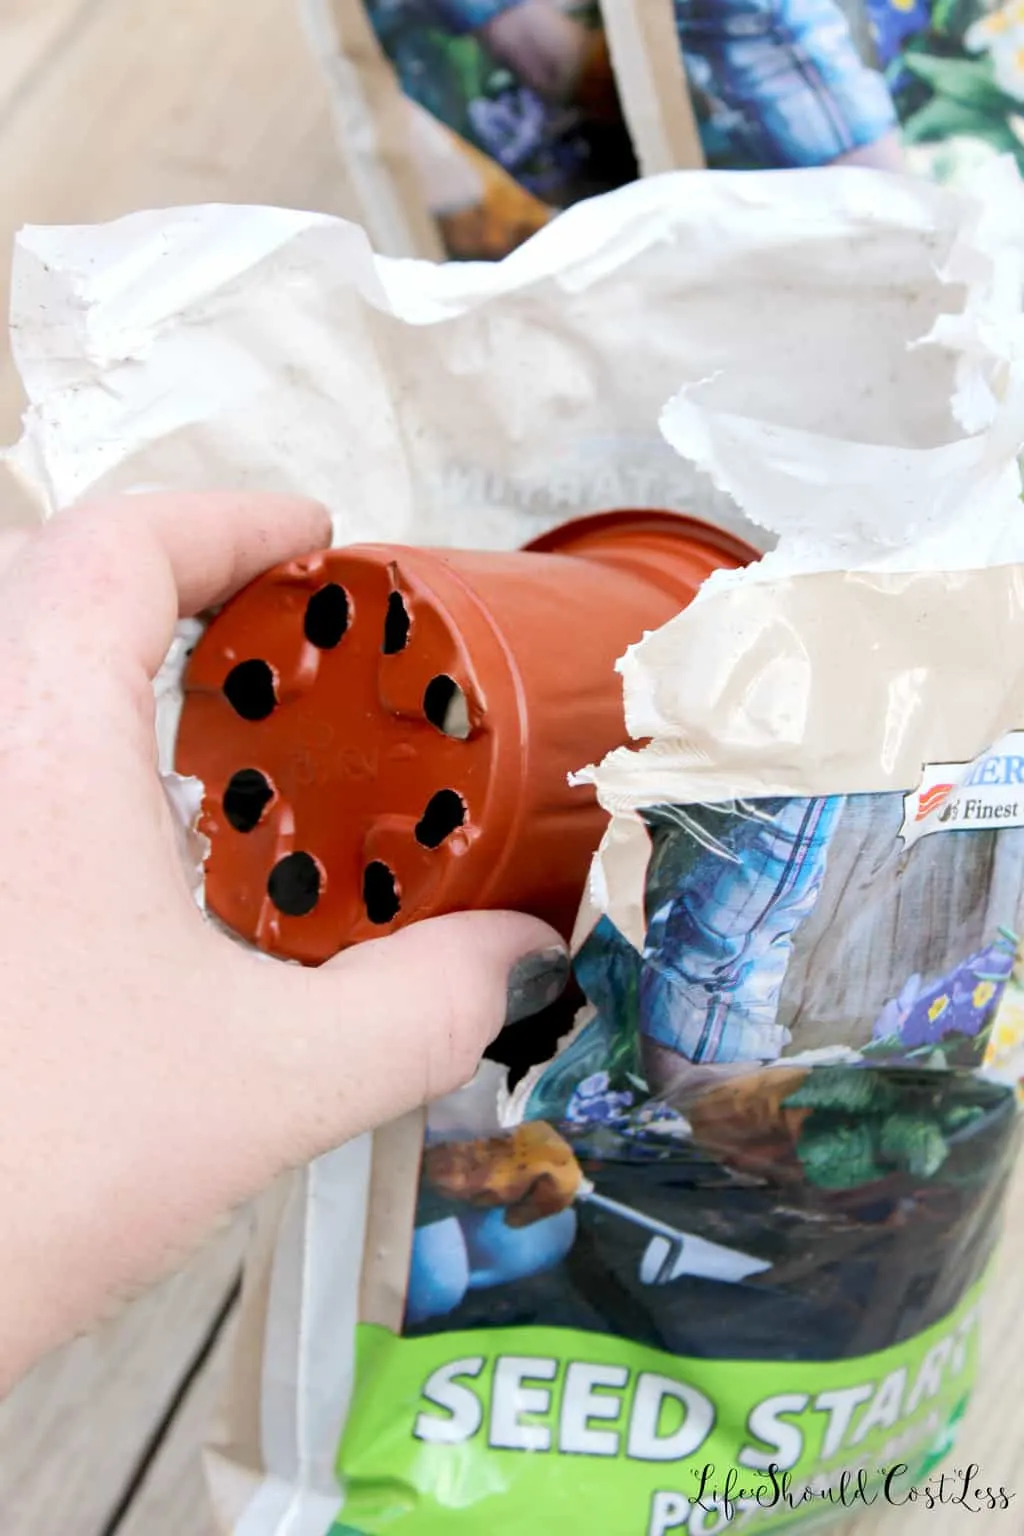
Dollar Tree has these little planting pots that come in a twelve pack for a buck. I prefer those little biodegradable pots that you can plant with your plant, but they were out every time I tried to find them.
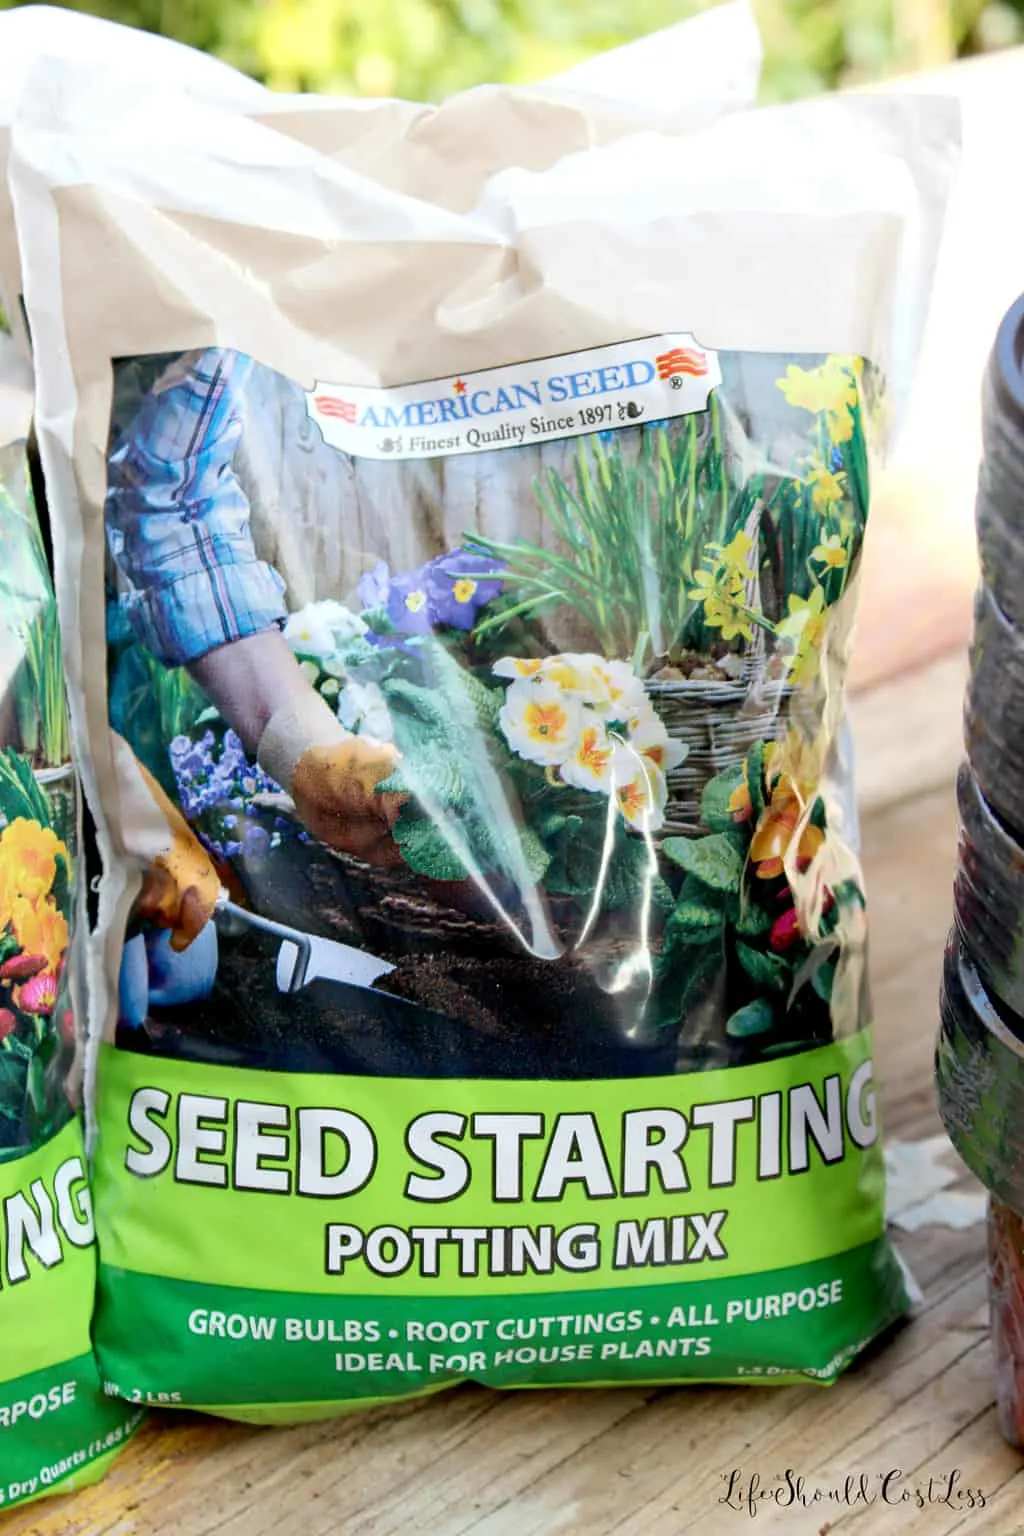
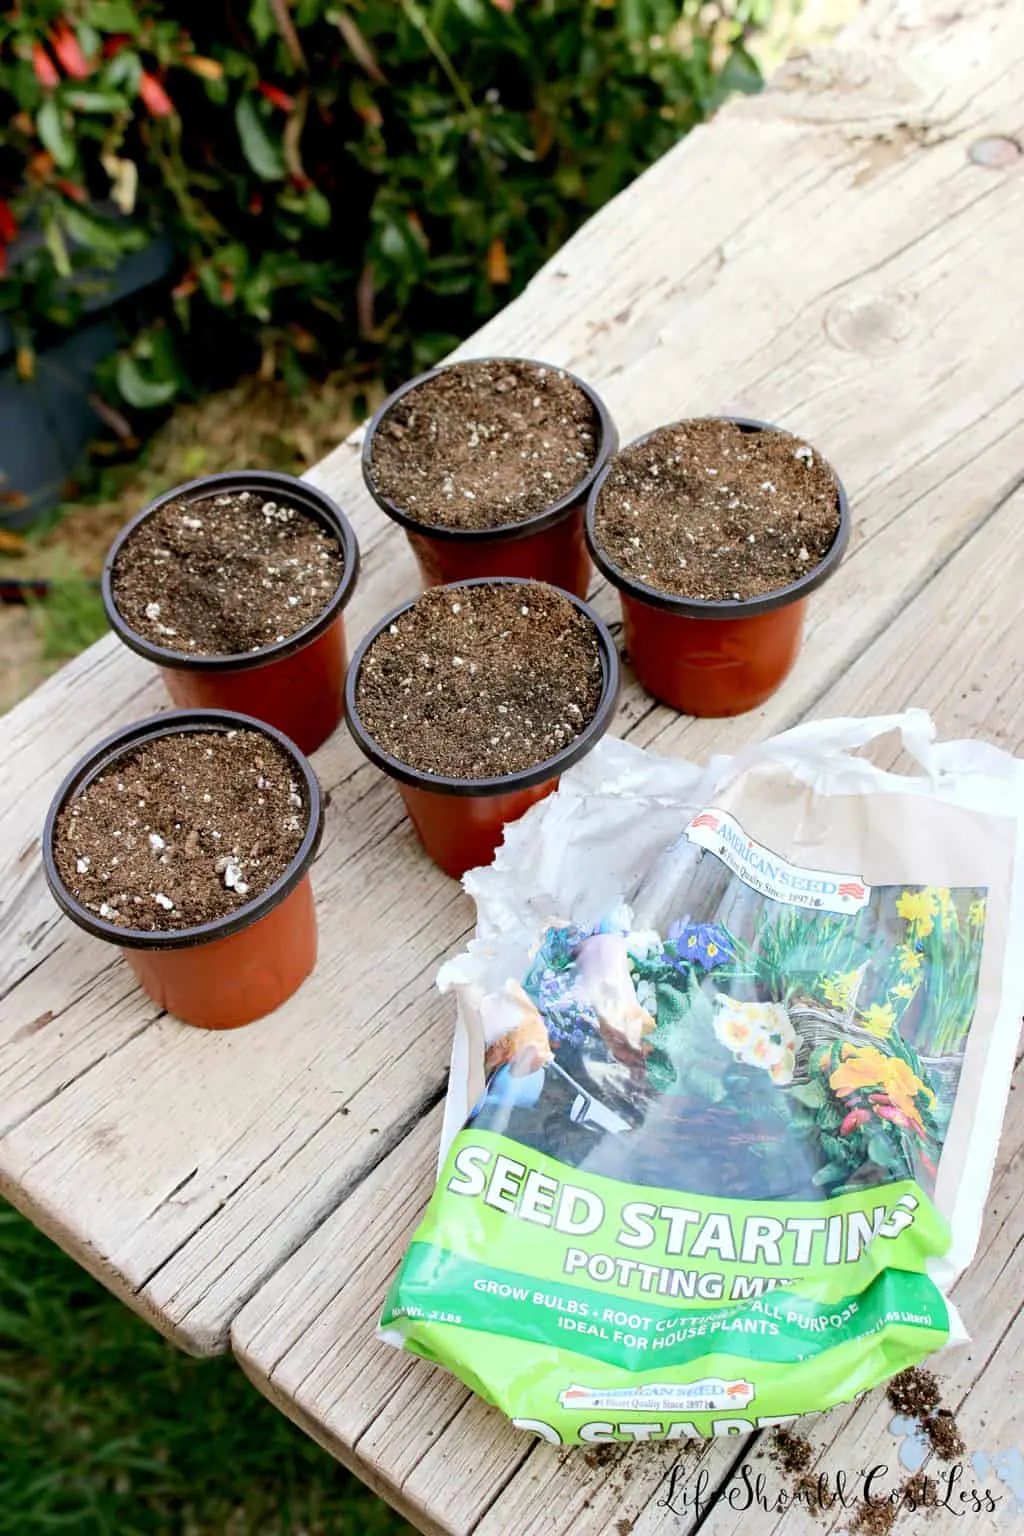
They even had little bags of potting soil to start the seeds.

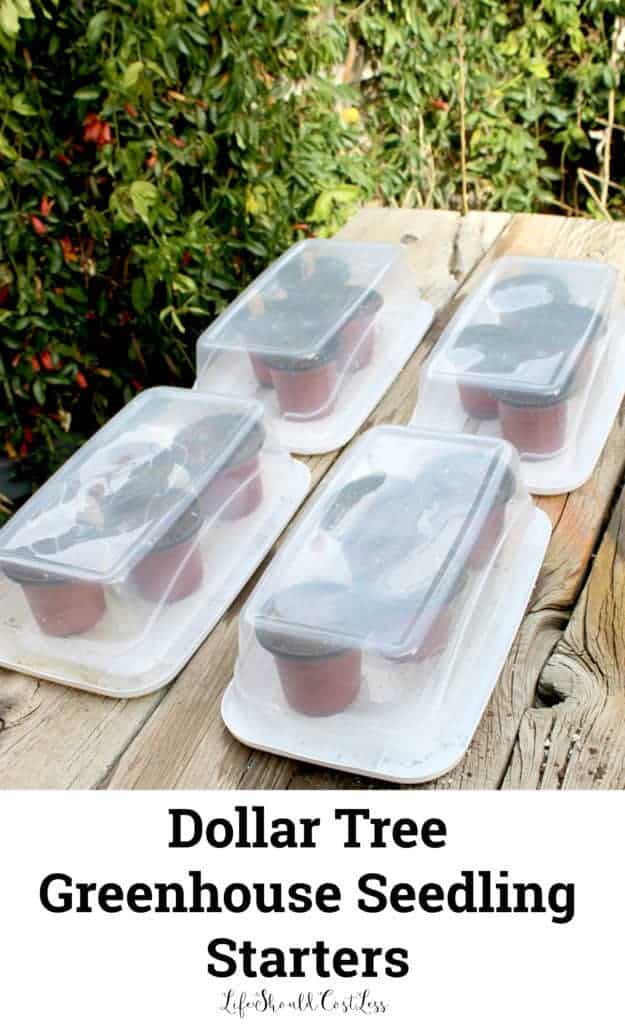
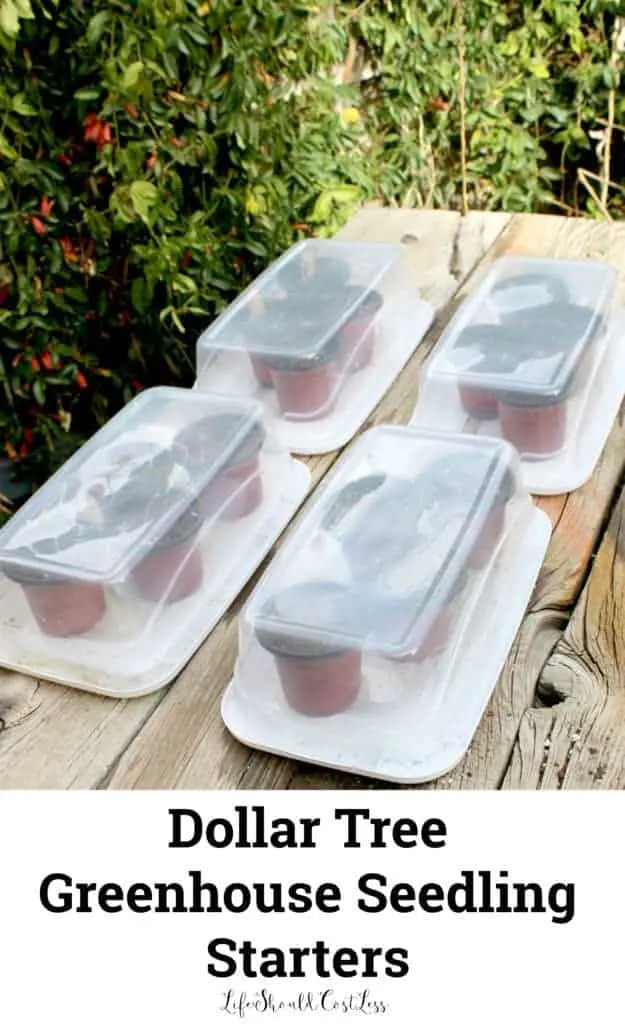
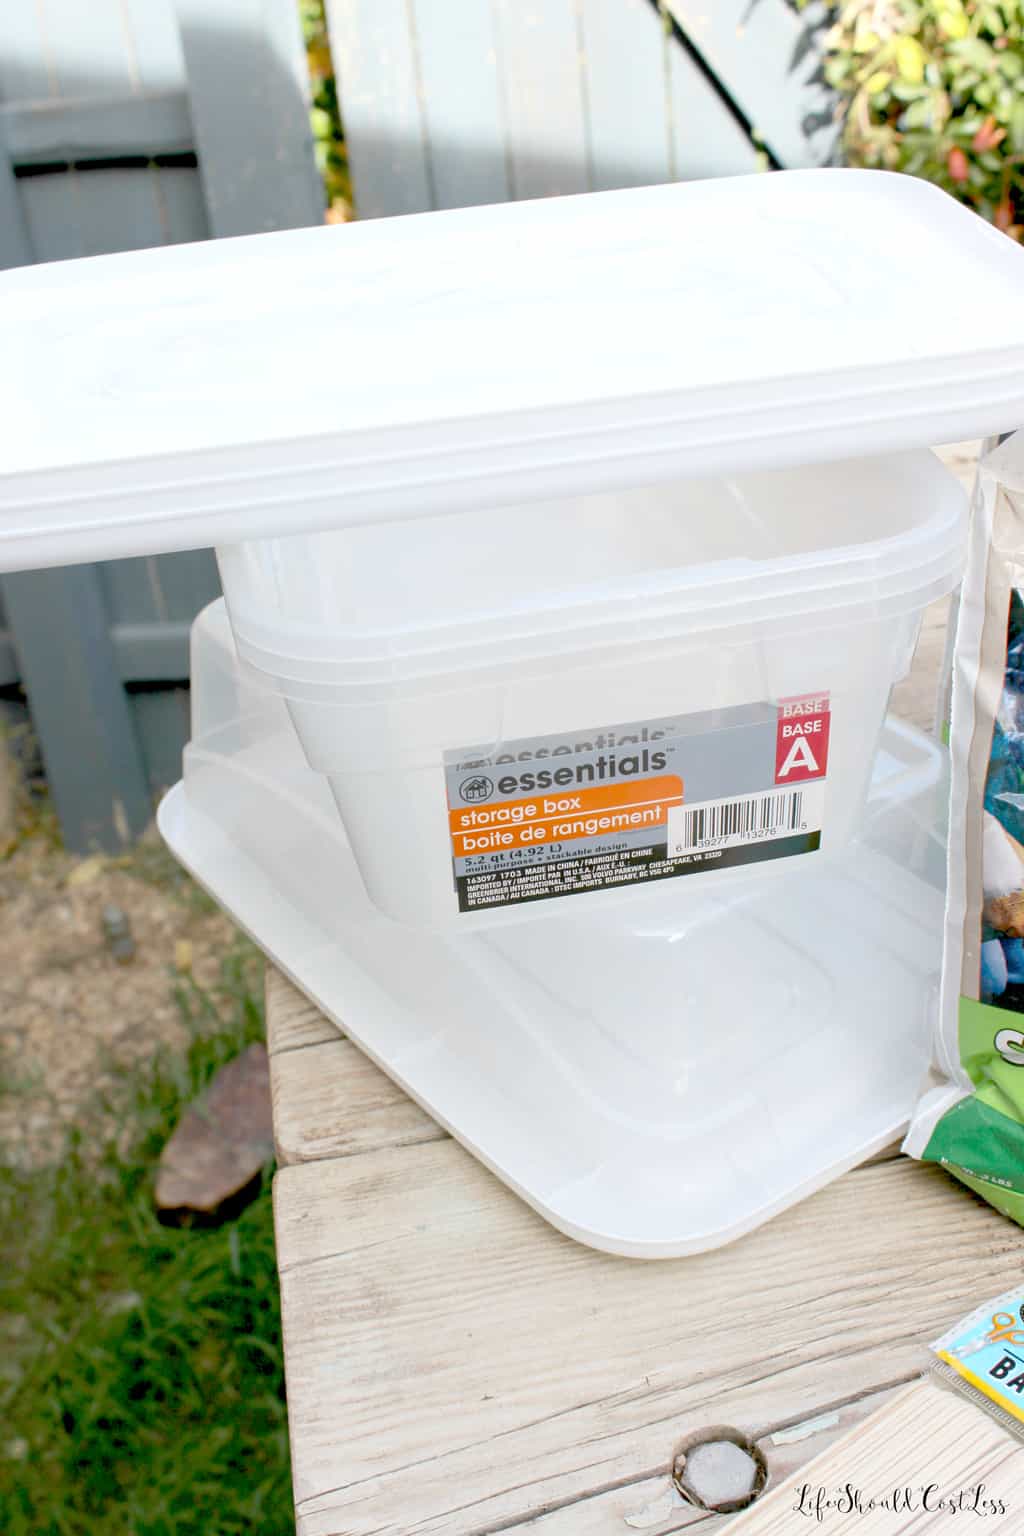
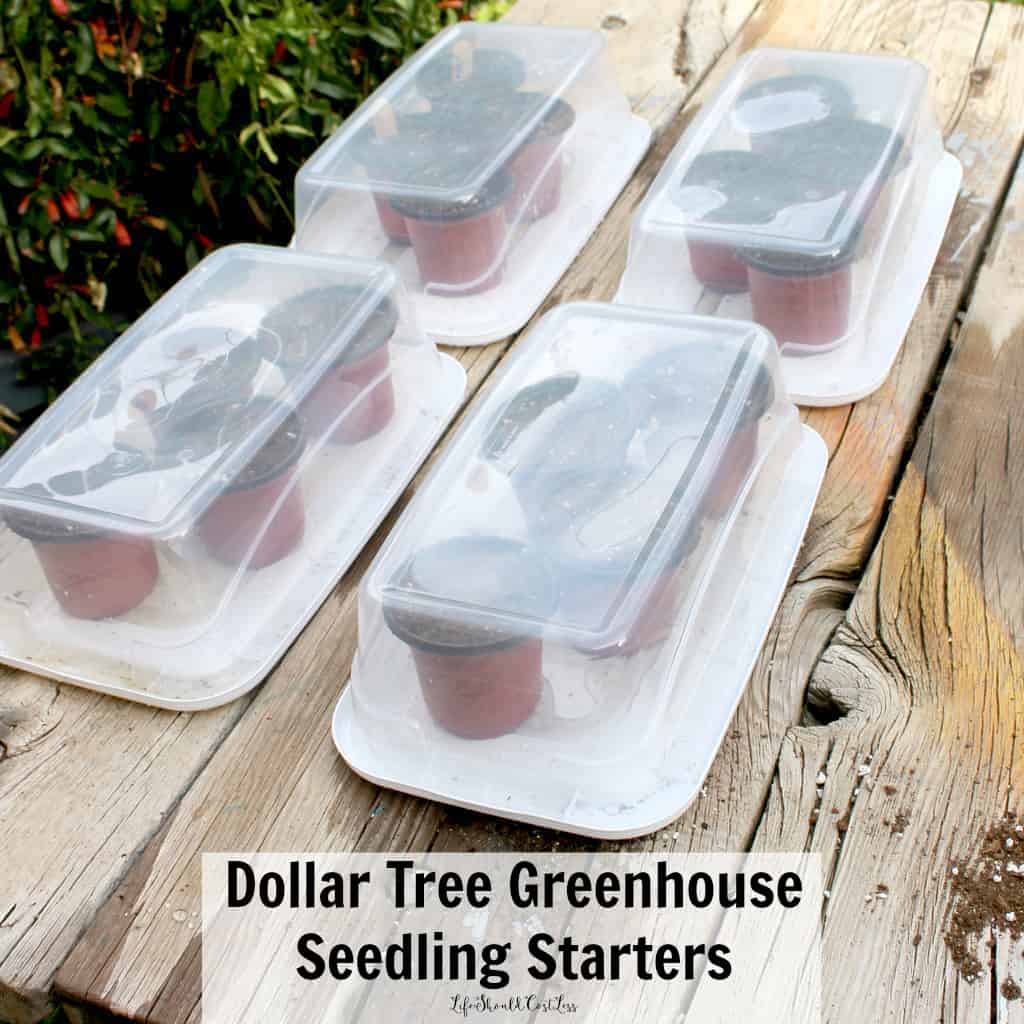
And of course, they have little plastic containers that we could flip over to create the greenhouses… which I can either re-use for something else when we are done, or I can save them for the next time we do this next year.

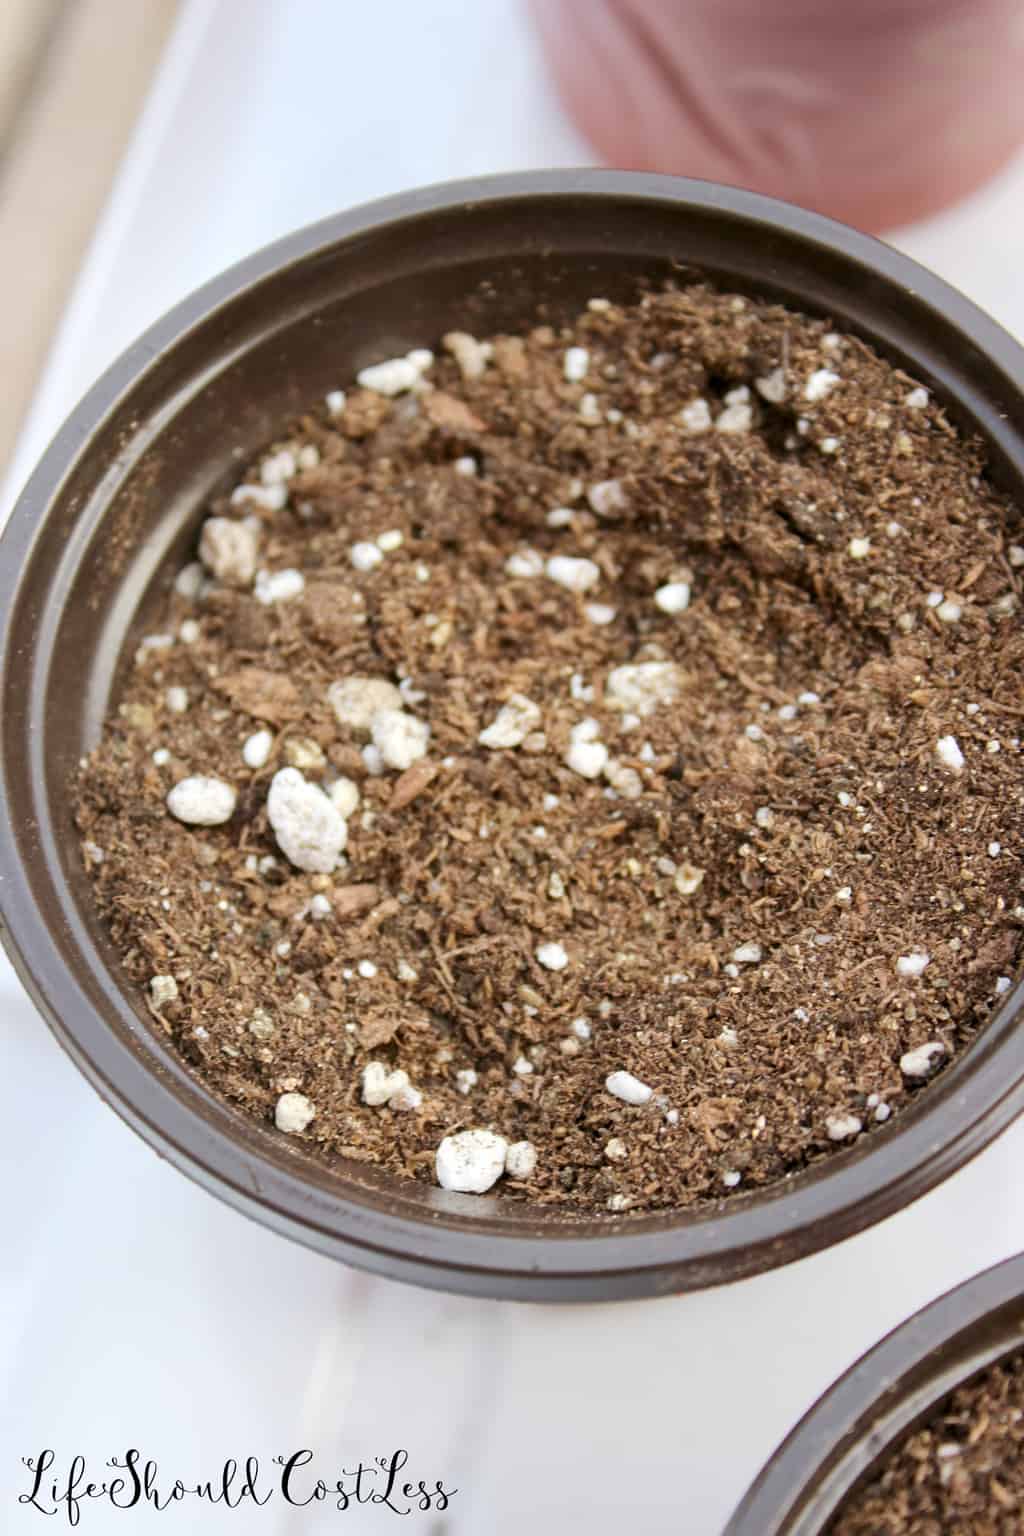
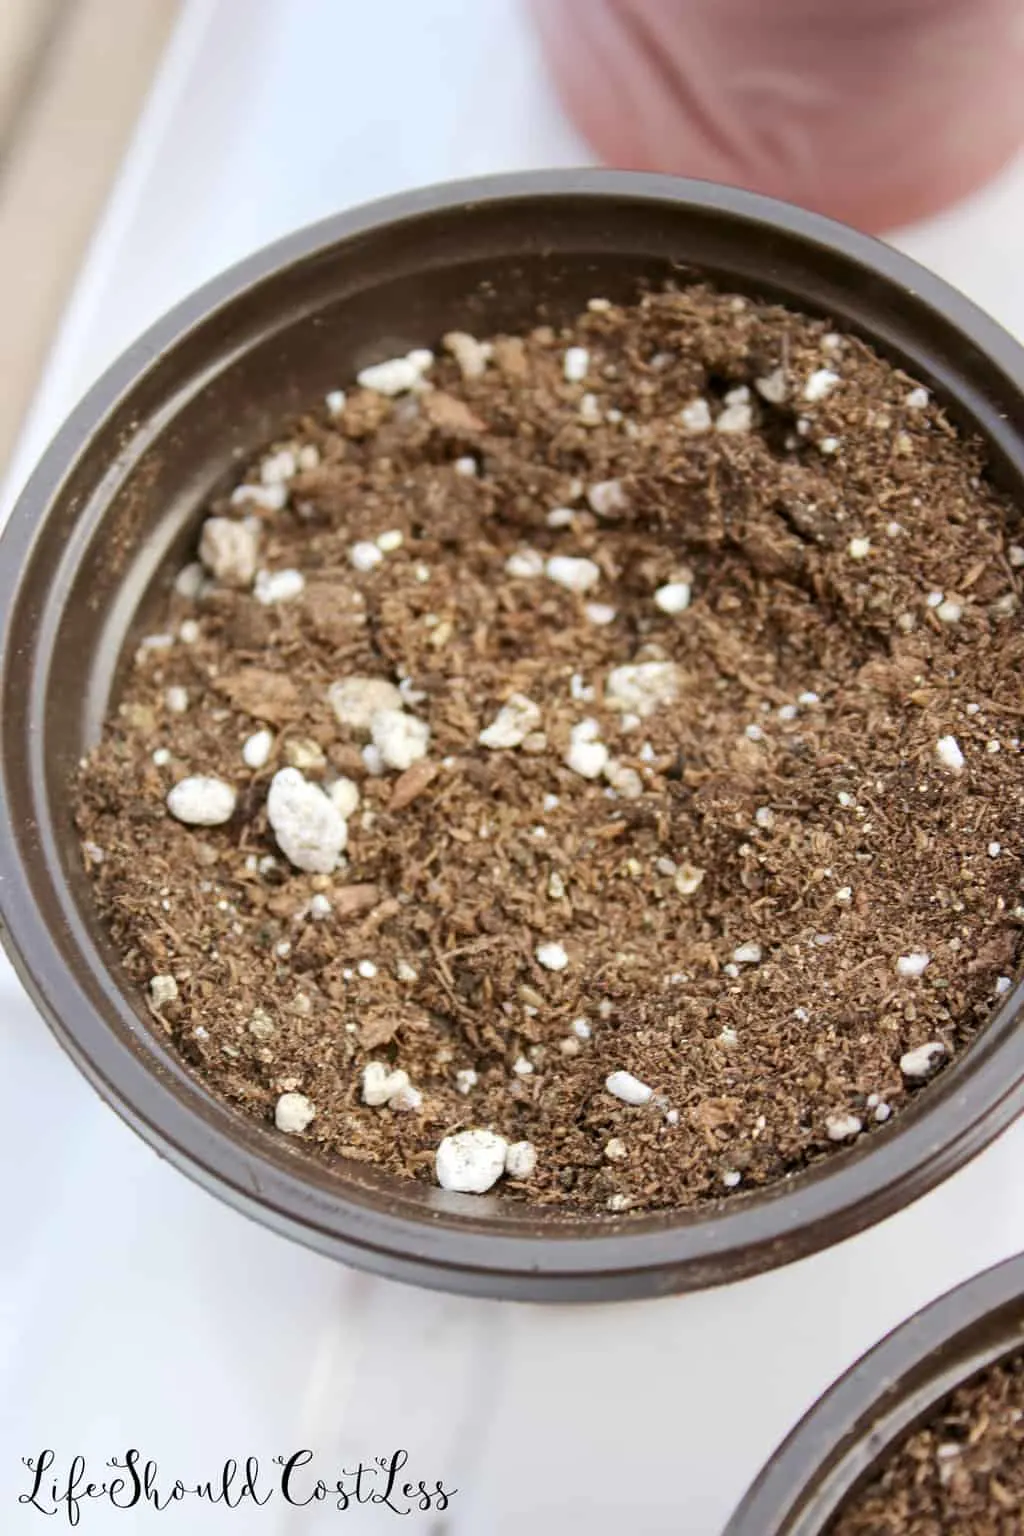
We started out by filling each of the pots with the potting soil.

The bags of soil are quite little so I thought I would show you how many pots that you can fill with one bag…and the answer is 5.

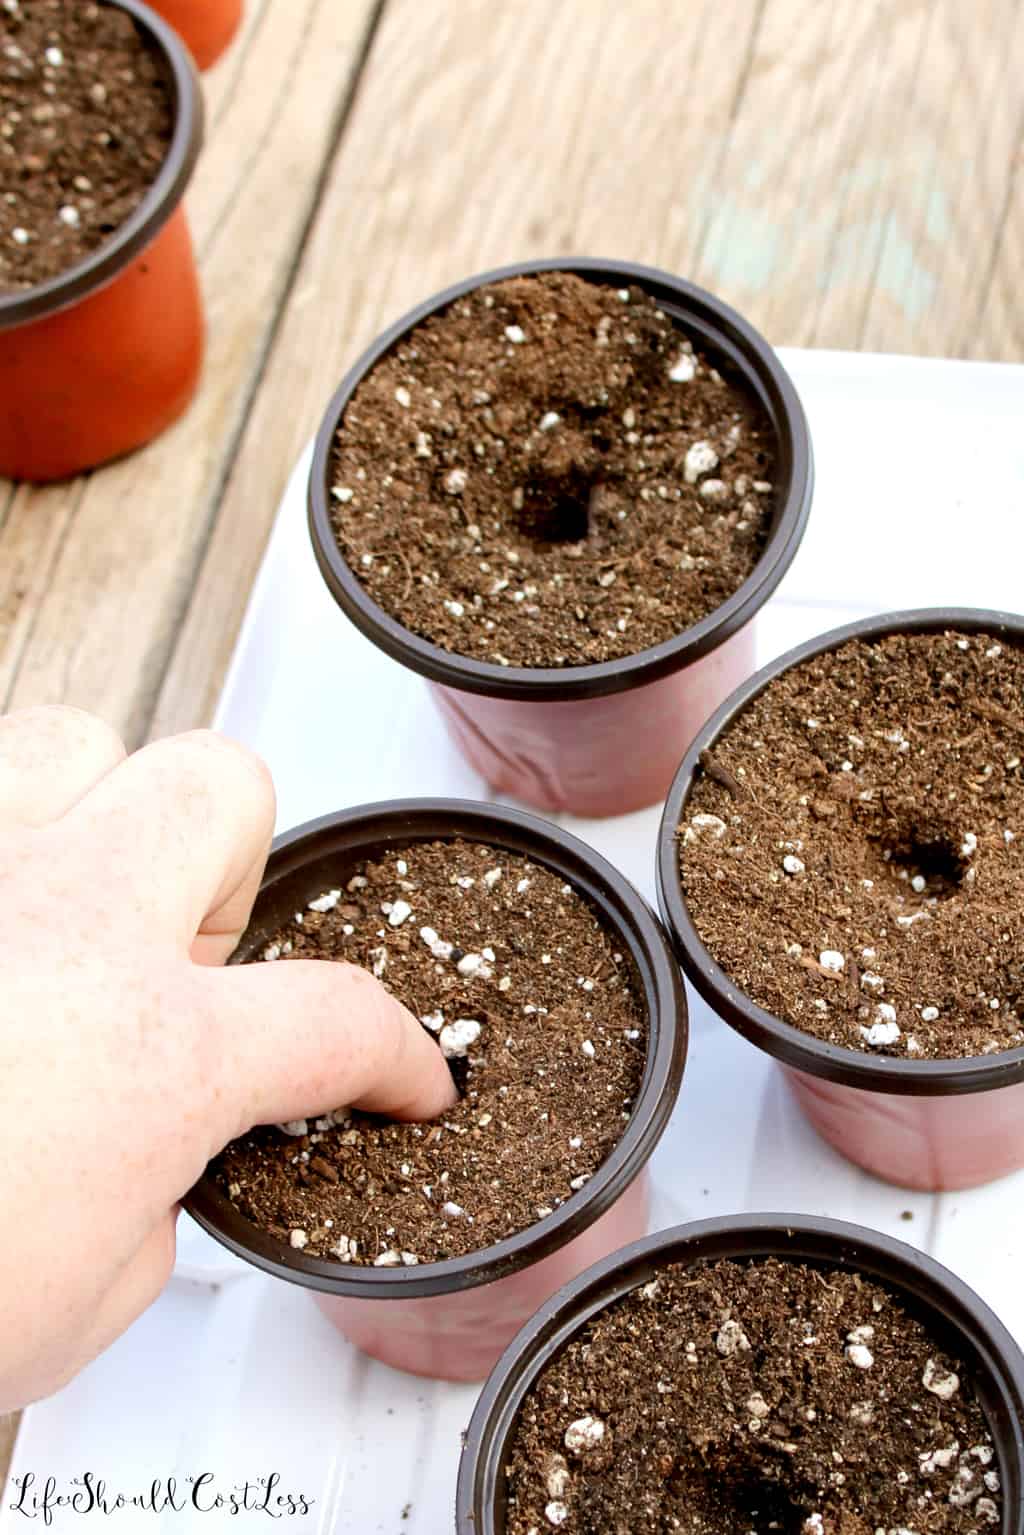
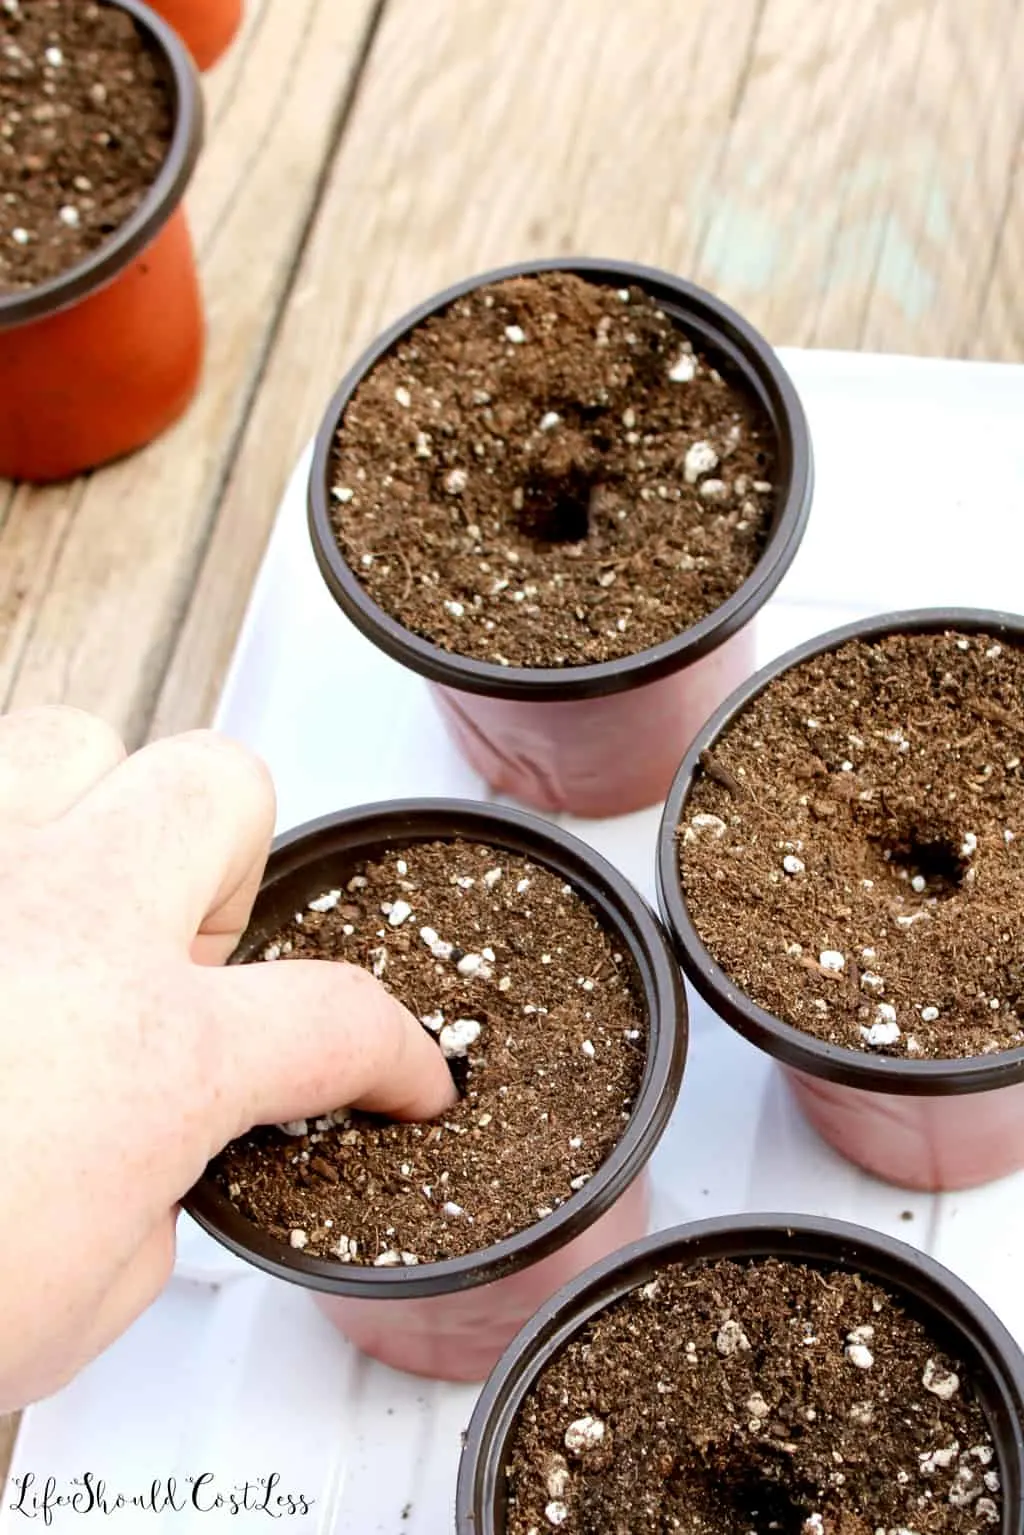
Next we used our fingers to poke a little hole in the center of the soil.
Added seeds

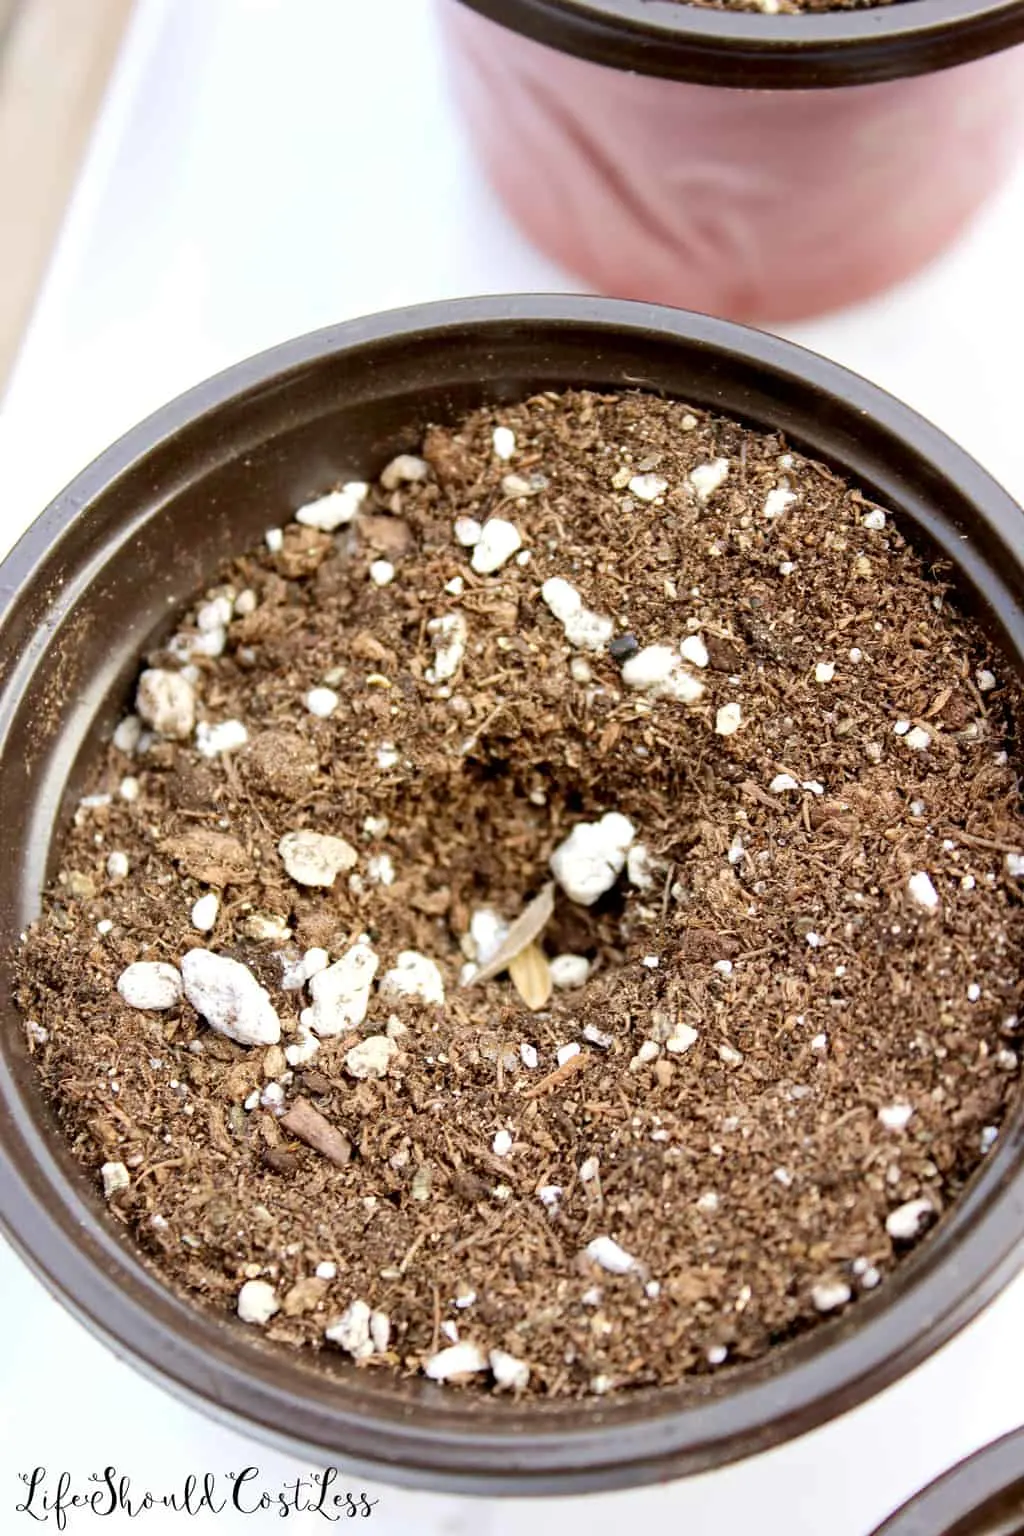
Covered the seeds with surrounding soil.
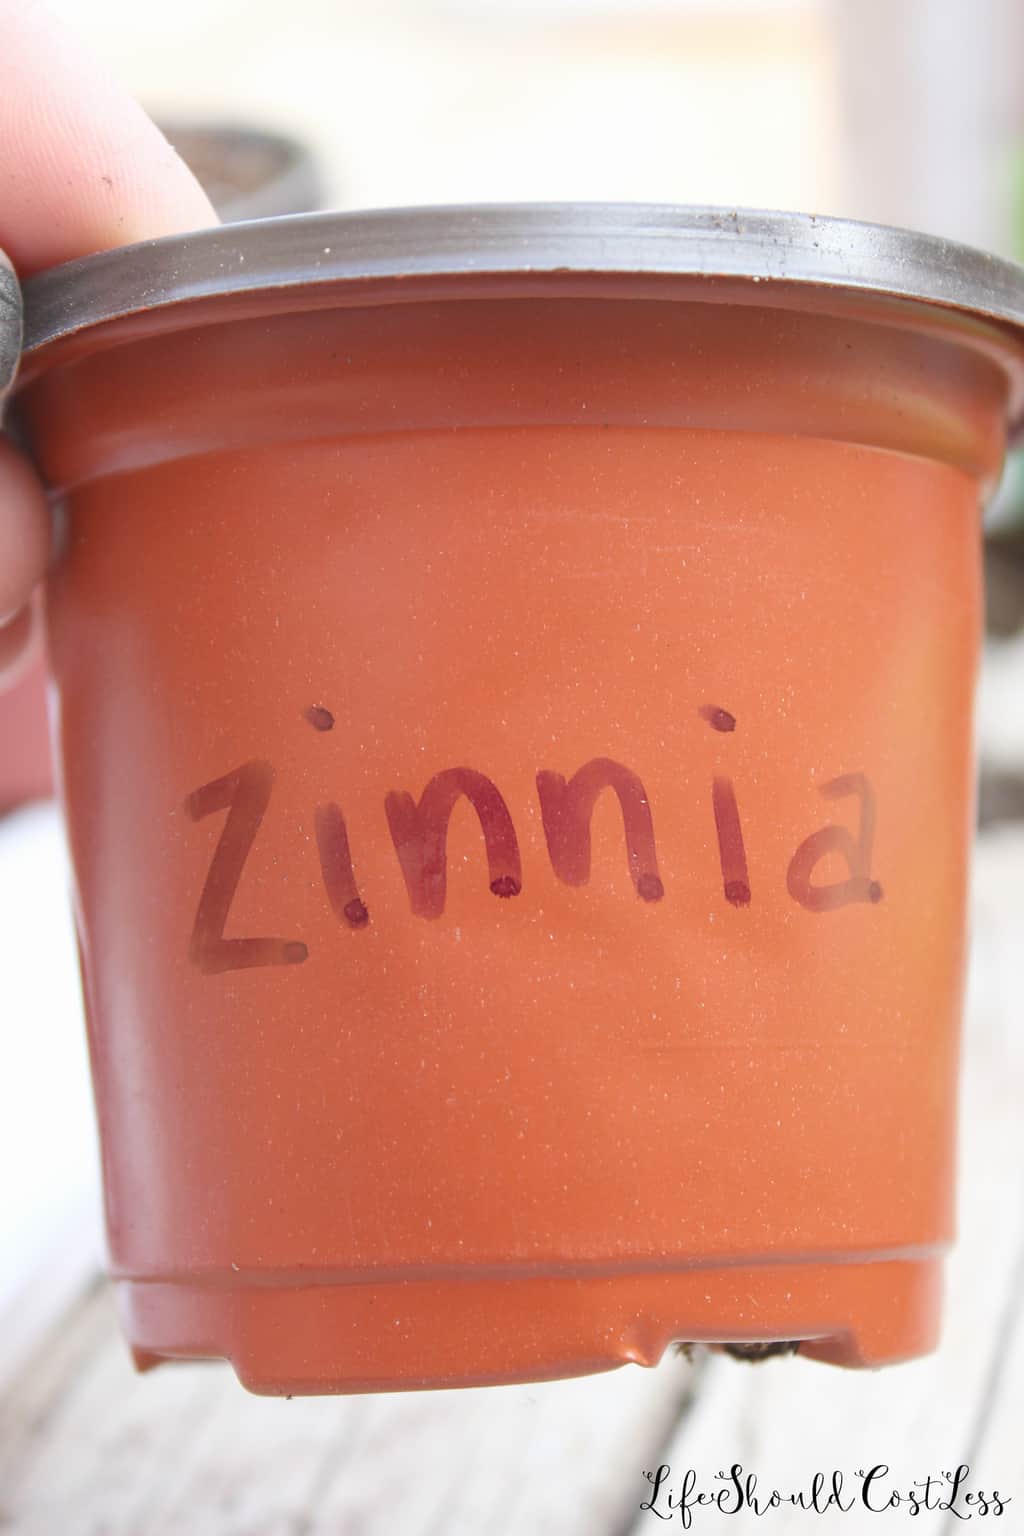
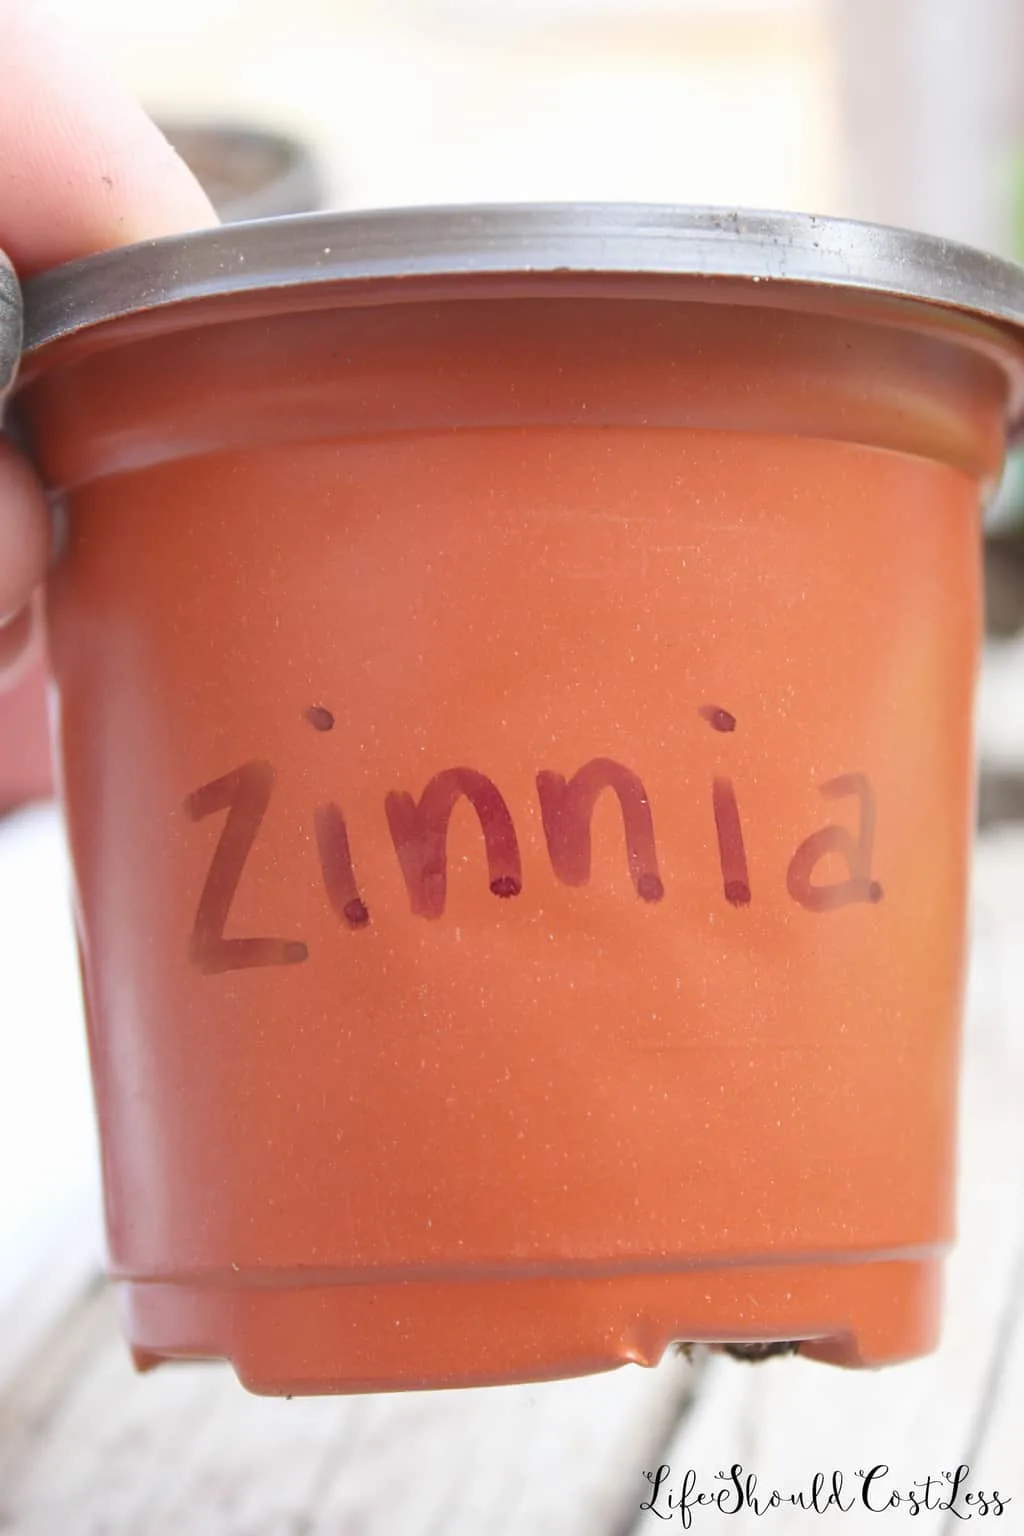
Then used a sharpie to label the pot and let it dry.
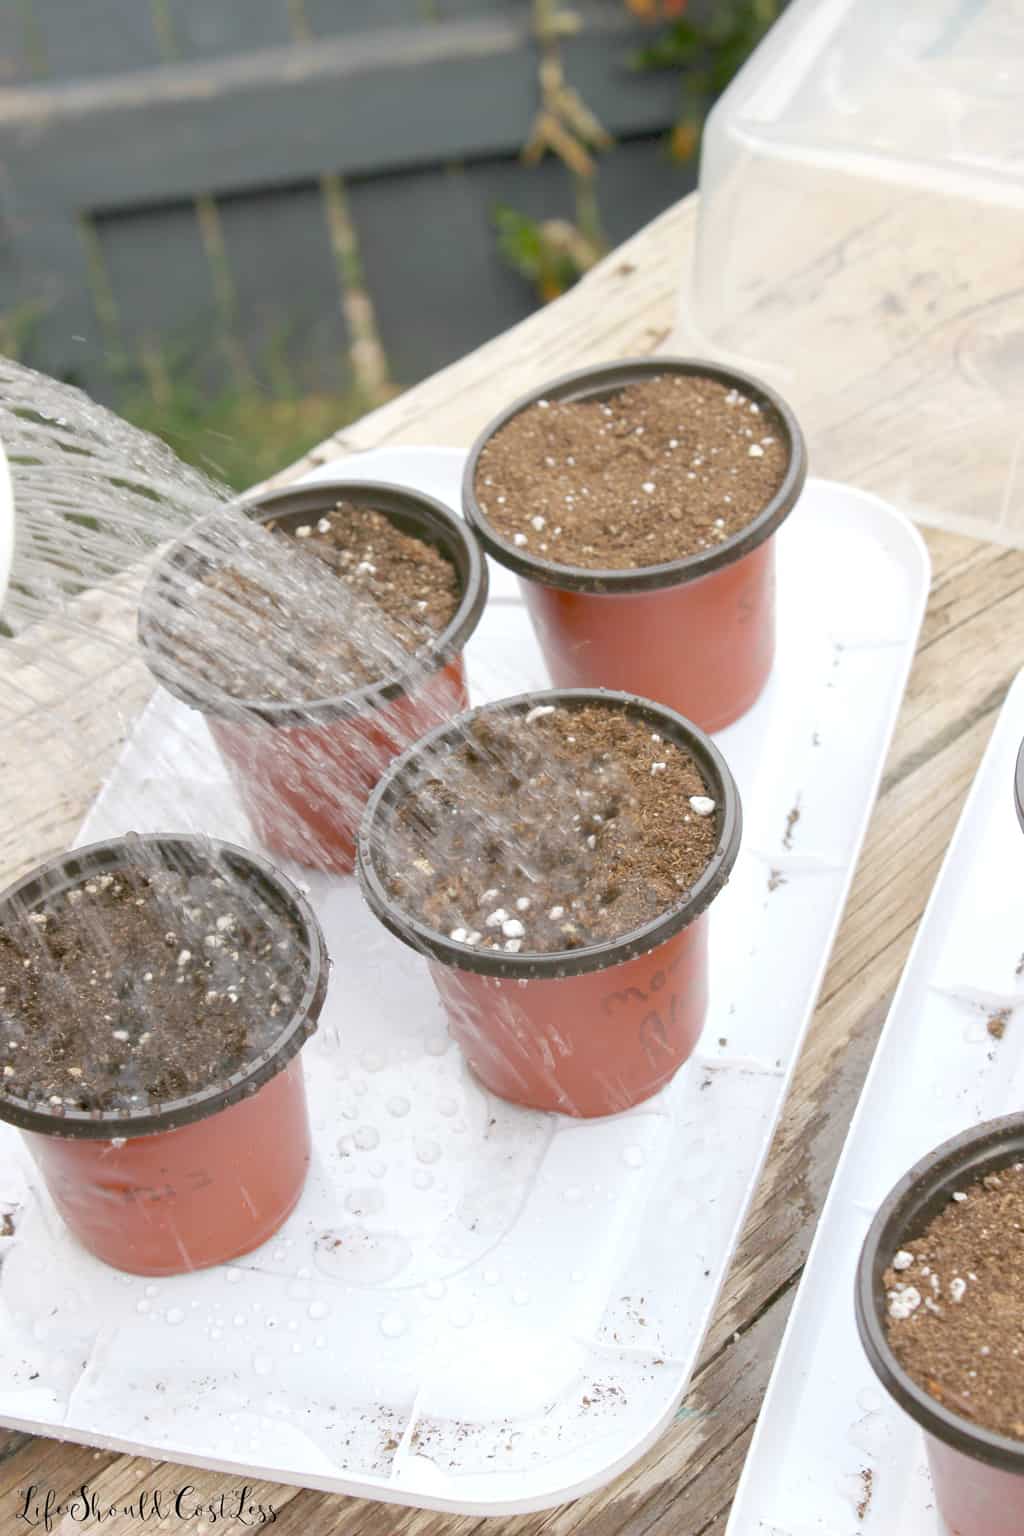
Then attempted to give them a gentle watering…my watering can was a bit too much for the job. It didn’t damage anything, but the next time it was time to water them I used something that was a bit more gentle.

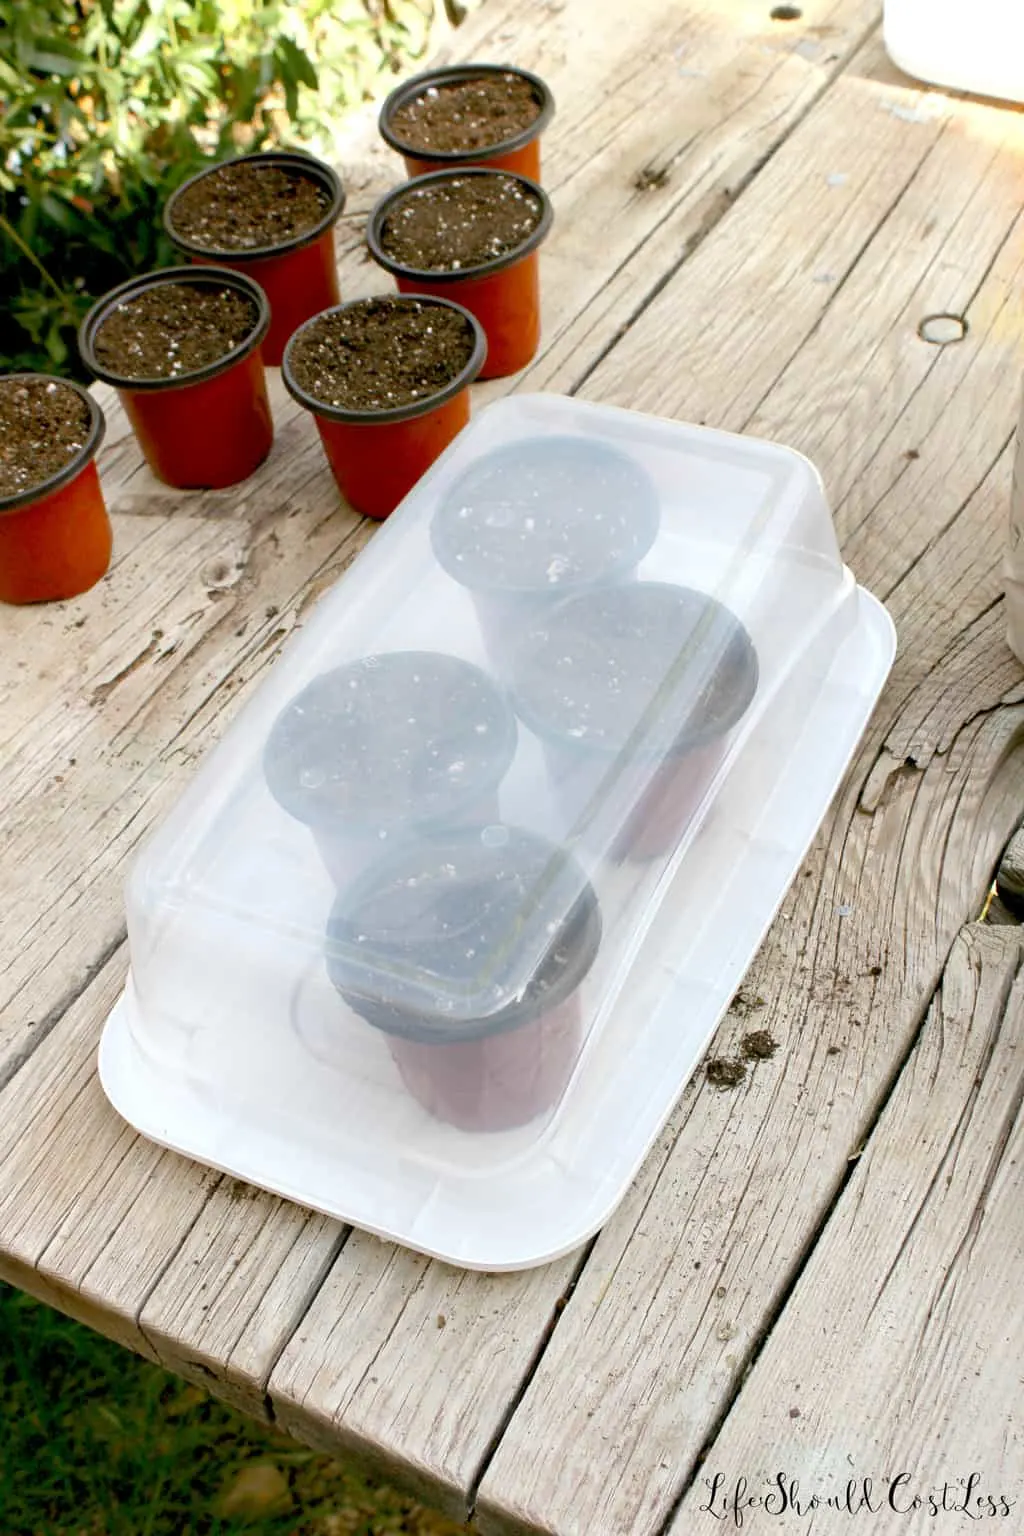
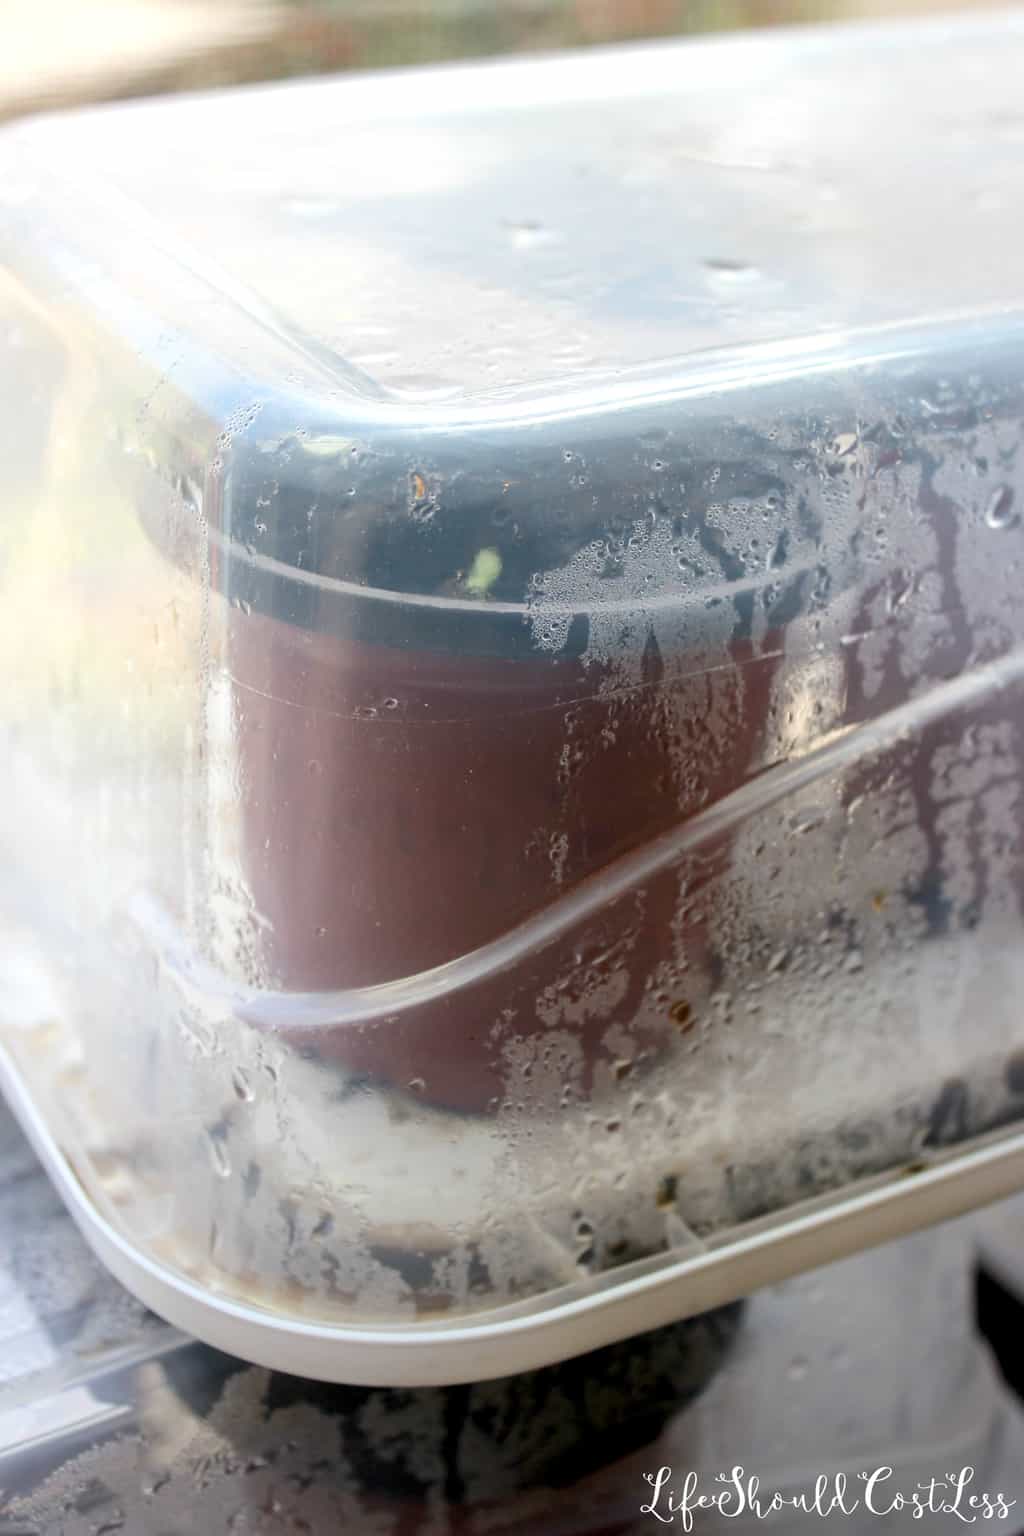
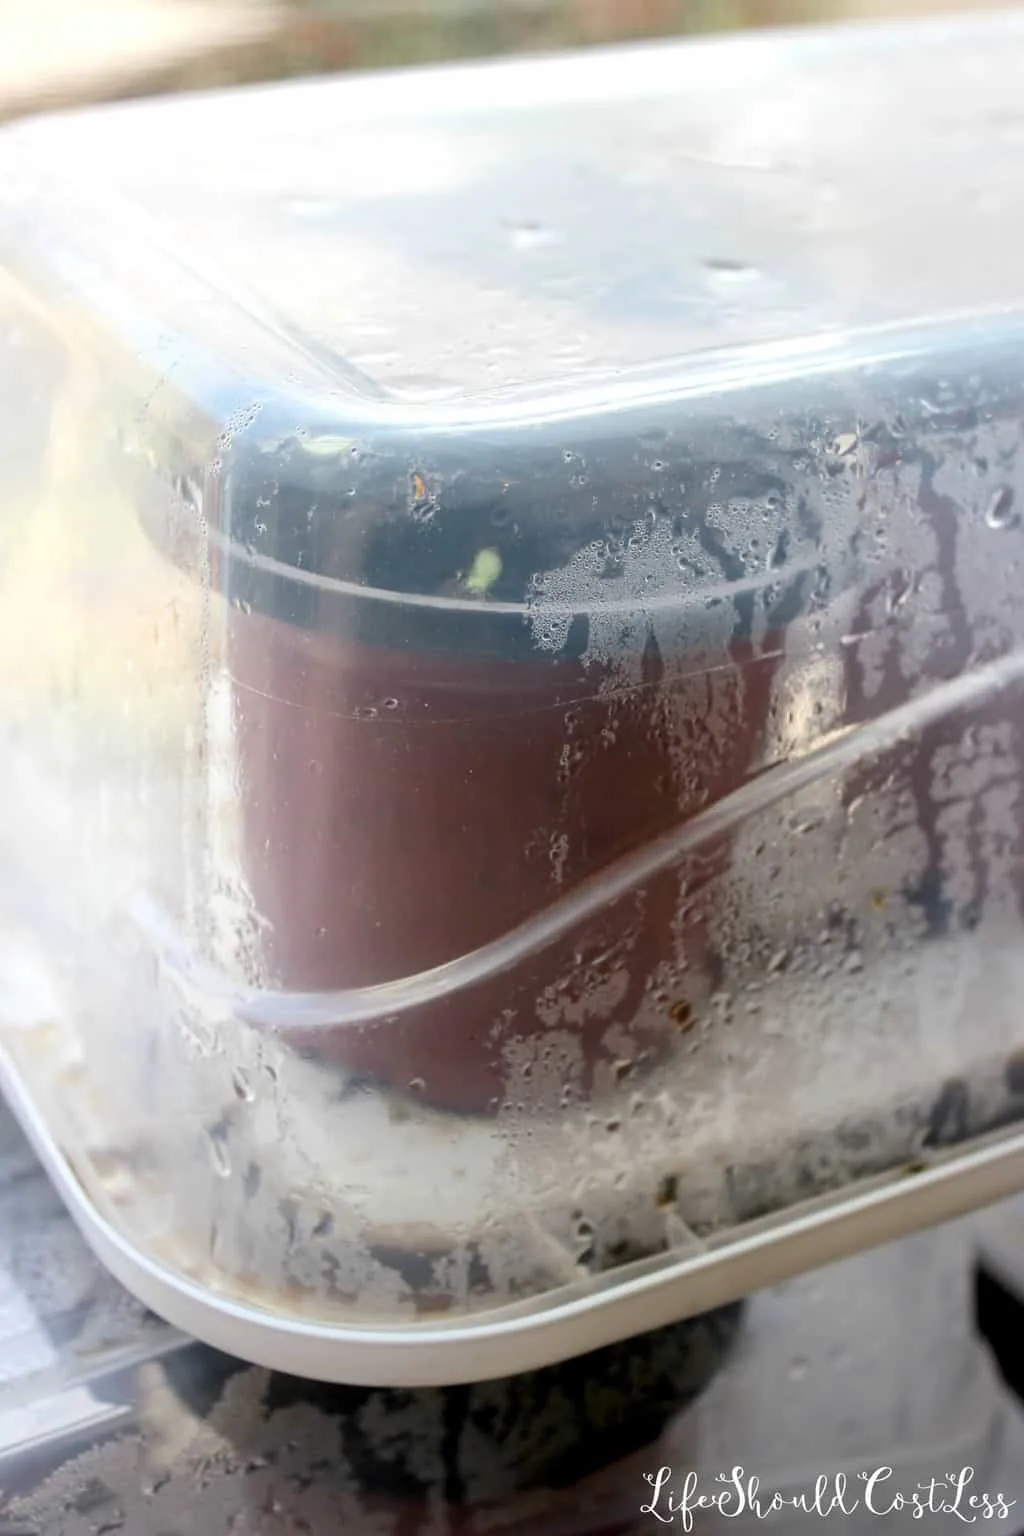
Next, all you do is pop the lid on to see how the greenhouse is going to work.
Before I forget, here are links to a few of my other posts that you may also like, so make sure to check them out too:
- Beauty And The Beast Floating Rose Kids Craft
- How To Turn Greek Yogurt Into “Cream Cheese”
- How To Effectively Kill Ants Using Only Water
- How To Make Your Slow Cooker Clean Itself
- How To Clean Grout With Water
Back to the Dollar Tree Greenhouse Seedling Starters!

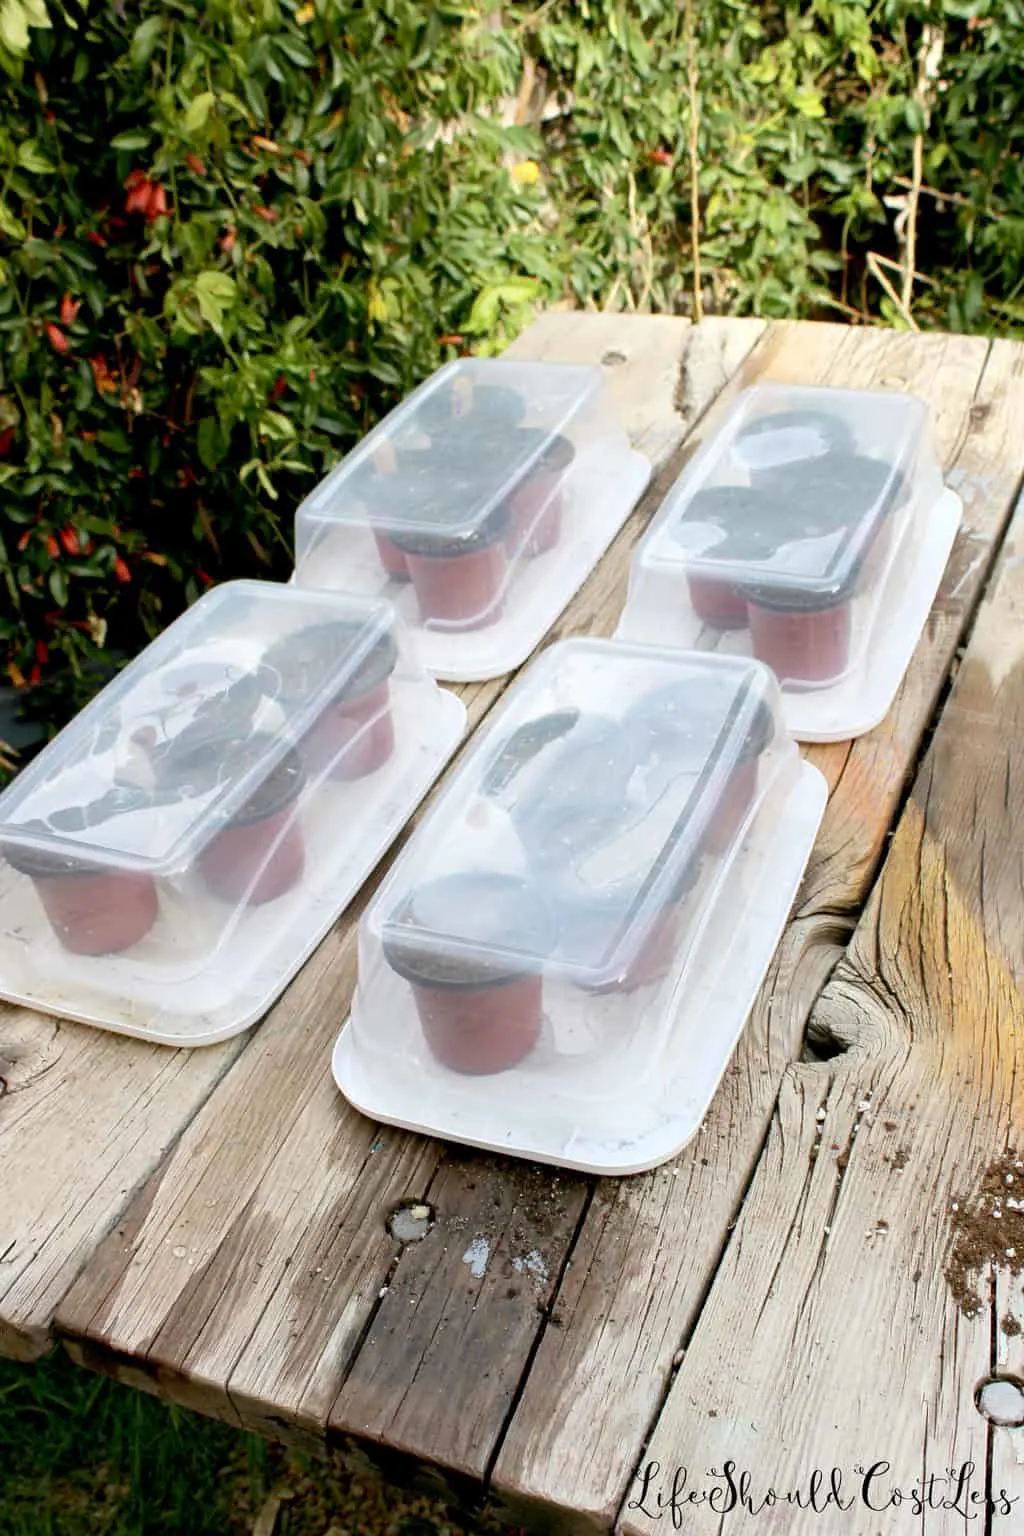
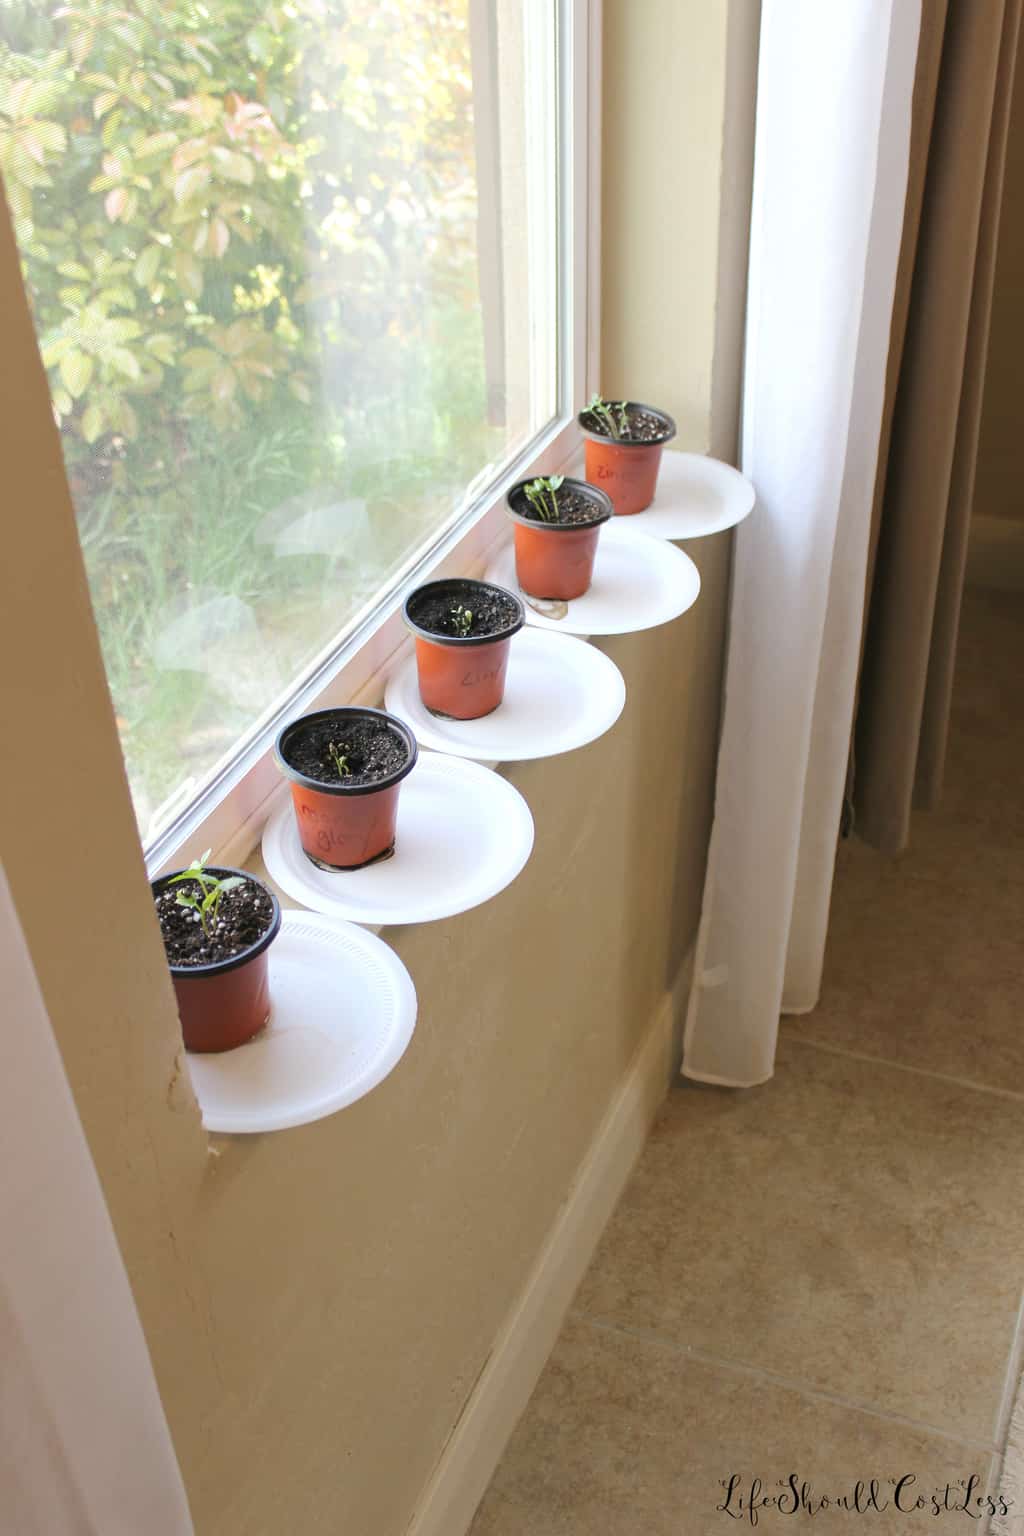
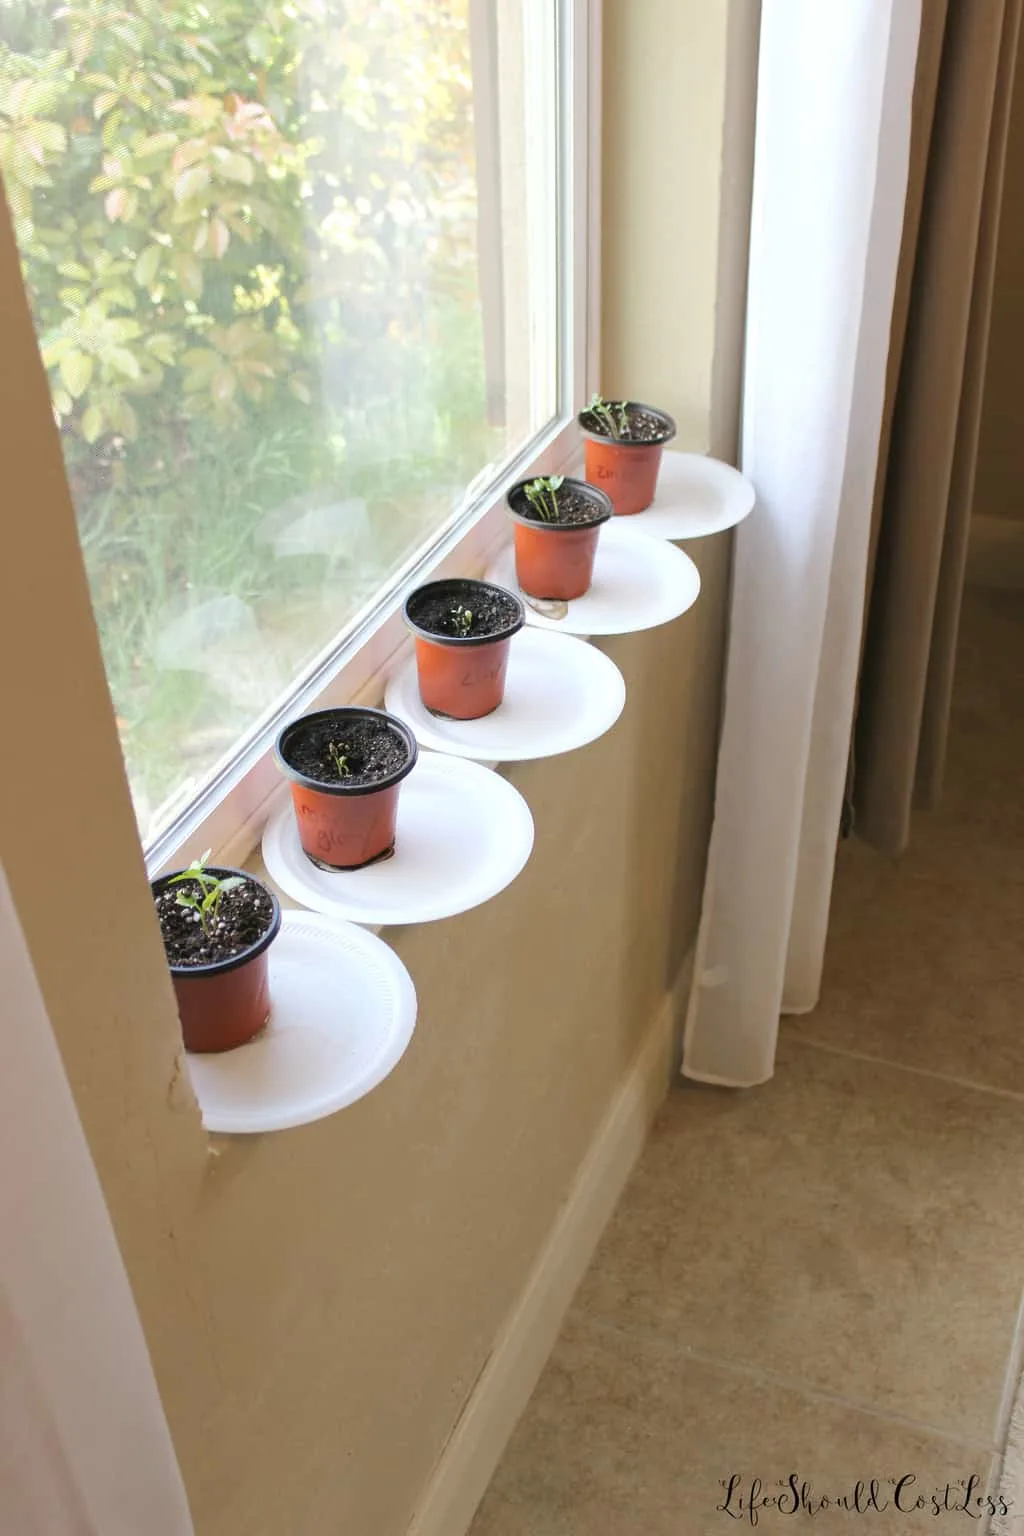
Here is all four of them. You can leave them outside, but it requires a little bit more work… if it’s going to be above 65 degrees Fahrenheit I suggest taking the greenhouse part off during the day and then popping it back on during the last two hours of sunlight so that it will trap the heat in. Make sure that the lid snaps on tight so that if it’s windy at all it should stay on. If it’s a chillier day, I recommend just leaving them covered and only checking on them to see if they need watered.

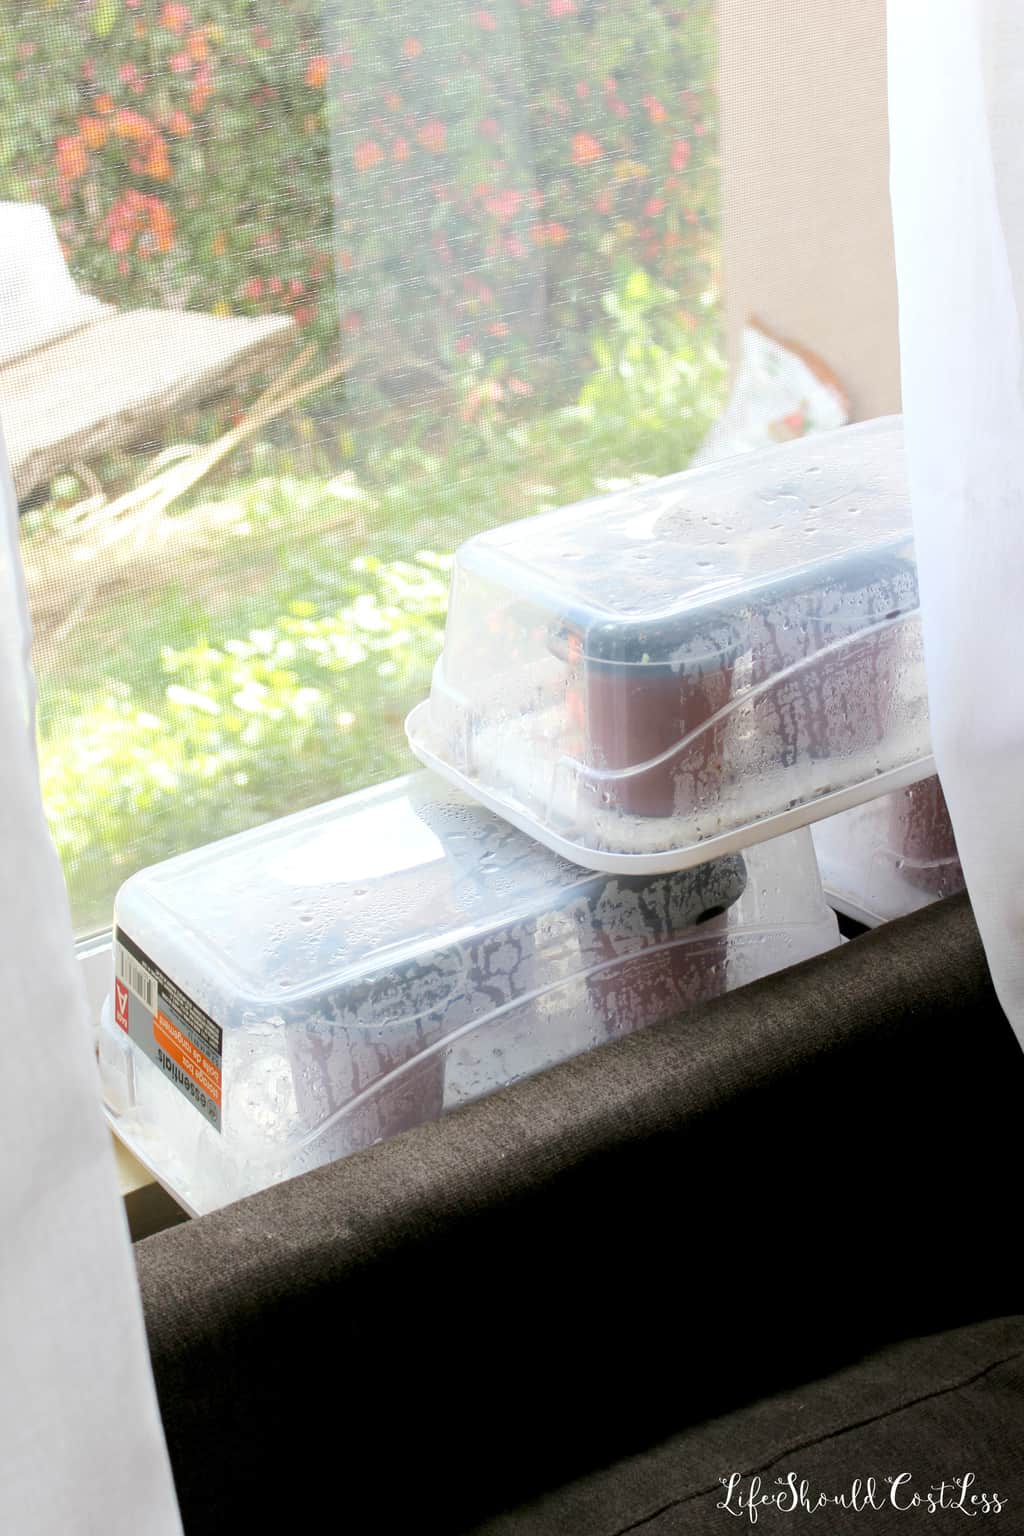
I actually think that these greenhouses are a little more low-maintenance if you keep them in a sunny window indoors.
Right after we started these seedlings was a weekend that the kids were at their dads for a couple of days and I decided that I needed to get out of the house too so I was able to leave them, unattended for a couple of days and they were doing great, with a few sprouts already popping up when we all got home, all they needed was a little water.

Once the seedlings outgrow their greenhouse you can then put the individual pots in a sunny place until they are large enough to plant outdoors, or wherever you have in mind.
All in all, it was a fun little project that stayed within budget and the girls have been thrilled to look at the plants every day and see how much progress they are making. Right now we are just waiting a few or so more weeks until it is for sure warm enough outside to plant them without worrying about any late frosts coming.
Anyway, I hope you enjoyed this fun little project and it got you excited to get your kids or grandkids gardening.
Thanks so much for stopping by my blog! If you liked what you saw, please make sure to share it via social media!
Other ways to show your support are to follow and/or interact with me on Pinterest, Instagram, Facebook, YouTube, or by Subscribing To My Email List. If you purchase suggested products through Amazon, the cost to you remains the same, but I make a small commission on everything in your cart.

If something was particularly helpful and you would like to donate directly to the blog, you can do so via PayPal, here. I’m a single mom of four, so every little bit helps. Thanks so much! ~Sarah
P.S. You may also like my entire For The Kiddo’s/ Parenting section as well as my DIY section. Here are a few linked pics to check out too!
Here are some linked pics to posts that you may also like:


*Reposts: Please note that this idea/post was originally posted to this website on 04/22/2018 but it was in great need of a refresh so it now is more user friendly/shareable.