

Discover how to make pinecone owls with ease! Whether you choose felt or colored paper, cotton balls, and a dash of googly-eyed charm, this guide has you covered. Dive into the step-by-step tutorial (video included), a full supply list, and a free printable template for all the owl’s features—from beak to wings.These whimsical owls are …
Crafty
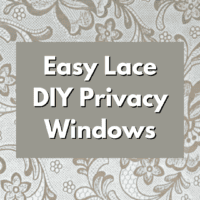

Learn how you can easily create Easy Lace DIY Privacy Windows for an inexpensive way to let in natural light. This project works double time by both giving you privacy and making your room look beautiful all at the same time.
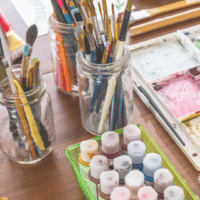

Keeping your kids’ crafting supplies organized can often feel like an overwhelming task, especially when creative projects start to take over every available space in your home. However, with a bit of creativity and some smart organization ideas, you can turn chaos into order, making crafting more enjoyable for both you and your children. In …
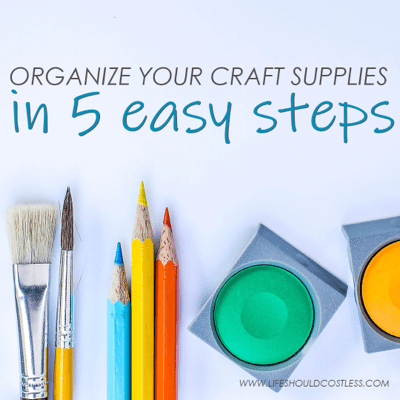

By putting these five easy tips for organizing craft supplies into action, you’ll have your craft room decluttered and organized once and for all.

Kids and adults alike will have fun creating this enchanted “floating” eternal rose in glass case craft inspired by the Beauty And The Beast story. This DIY project is easy to personalize, to create your own unique version, and would be a perfect craft to make for a Princess themed party with this step-by-step tutorial …

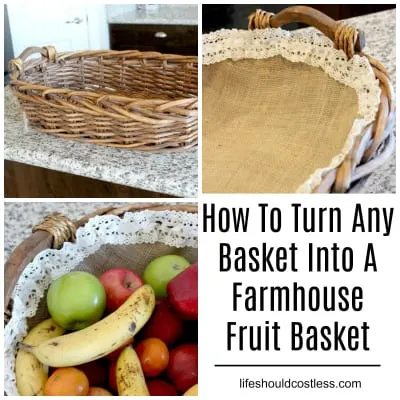
I have always wanted to have a huge counter-top fruit basket in my kitchen, but always thought that a high quality good looking basket was going to cost too much… and if you know the snooty side of me, if it’s not going to look good or be close to exactly what I have been …