I have always wanted to have a huge counter-top fruit basket in my kitchen, but always thought that a high quality good looking basket was going to cost too much… and if you know the snooty side of me, if it’s not going to look good or be close to exactly what I have been picturing in my head, I will just go without.
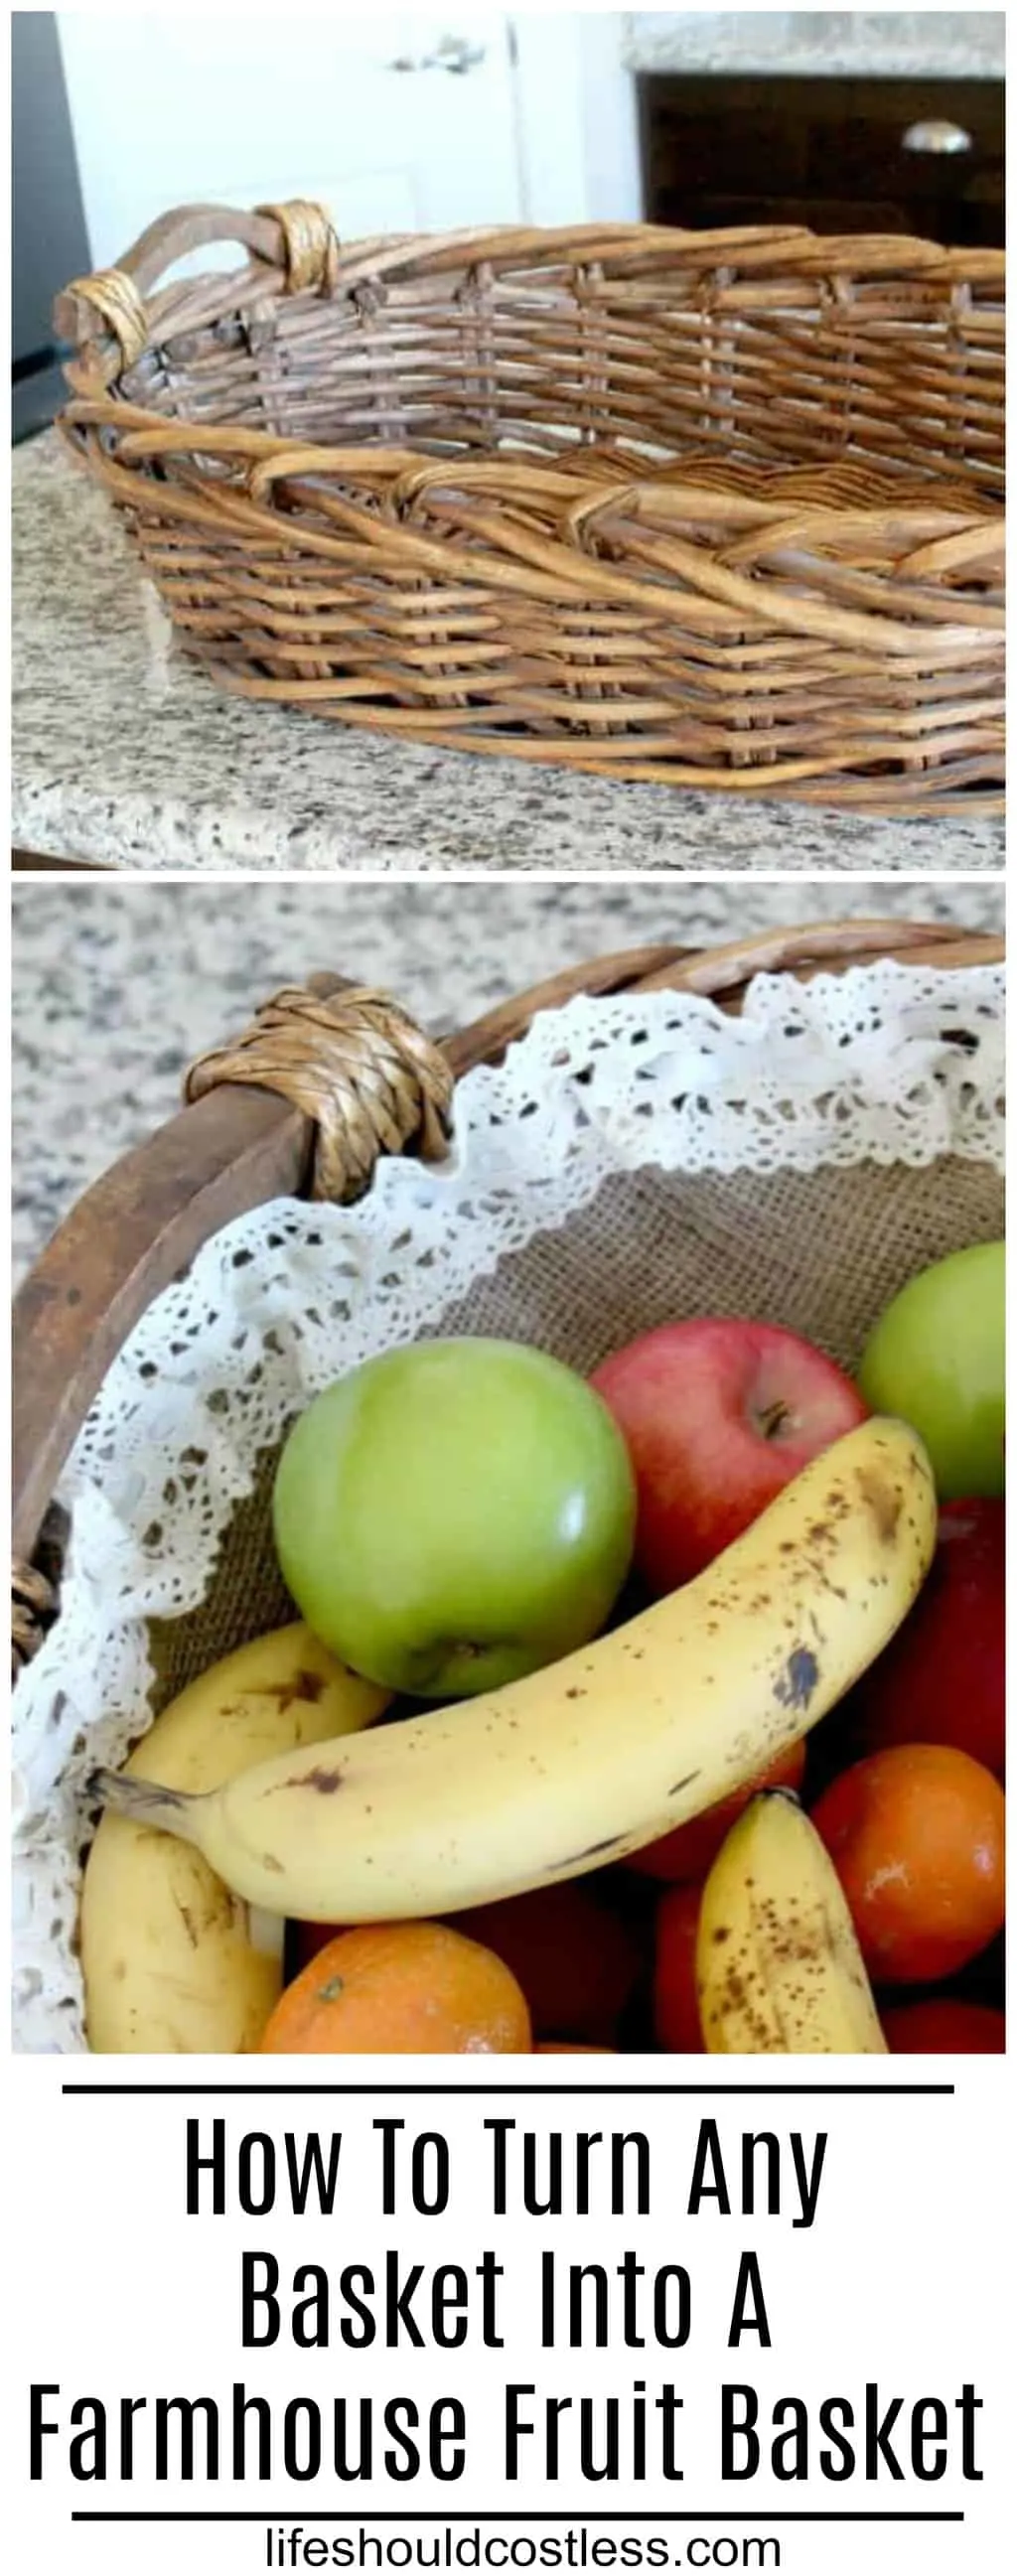
So, I was super excited to realize that with just a little bit of work, some fabric, burlap, lace, and hot glue, I could turn an old basket that I found at a thrift shop a couple of years ago, into a farmhouse style fruit basket that would even look cute enough that I could leave it out on my kitchen counter.
Sometimes I think that it is important to remember that what we already have what will work but need to rethink it. Which is why I wanted to share this project with you all today.
Think outside the box a little and you can have what you want without wasting all of your money.
Having fruit readily available and in sight (not hiding in the pantry) for the past little while, I have noticed that my kids are asking for more fruit instead of candy, so this is a win/win project and you need to see just how inexpensively you can make a farmhouse style fruit basket too. Plus, we all need to encourage healthy habits.
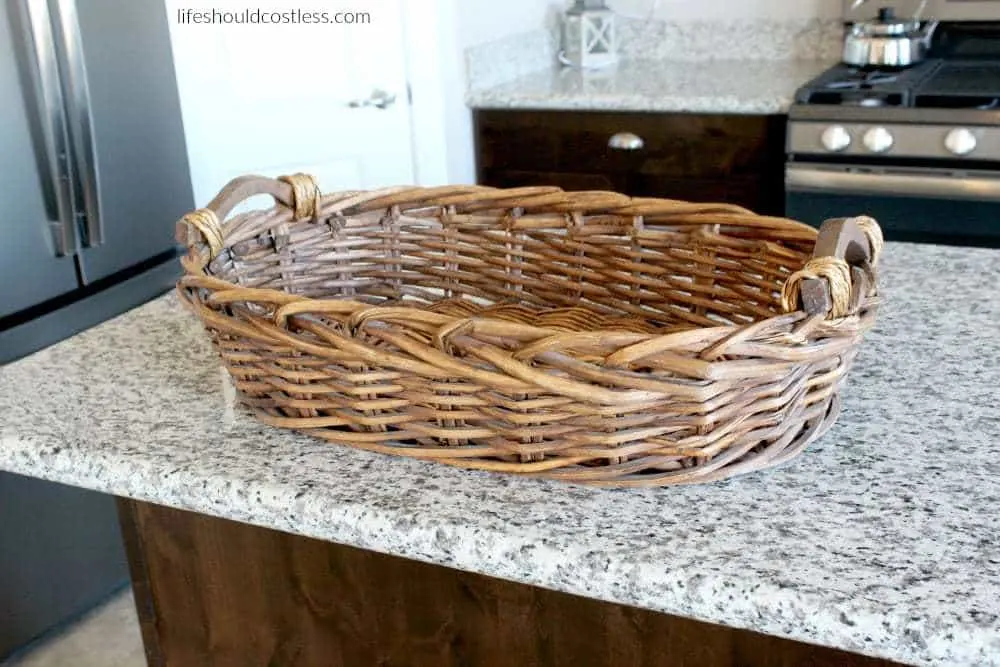
Like I said before, I found this large basket at a thrift shop a couple of years ago. It was only a few bucks. The basket itself is probably going to be the most expensive part for you, so look and see what baskets you already have lying around.
You may have one that will work, or could look and see if a relative or friend has one that they would sell you for cheap, or if you’re like me you can also keep an eye out whenever you are at thrift shop.
Before we dive into this tutorial, I wanted to share with you all links to five of my other posts that you’re also going to like:
- How To Dye Burlap Any Color
- A Gift Idea As Easy As Pie, For Less Than $1 Each
- Easy Lace Privacy Windows
- Second-Hand Mason Jar Cleaning Regimen
- Ice Melt Storage Solution (farmhouse decor)
Now back to learning How To Turn Any Basket Into A Farmhouse Fruit Basket.
I thought that I would give you guys a free printable How-To card and then I will do the step by step photo tutorial below that.
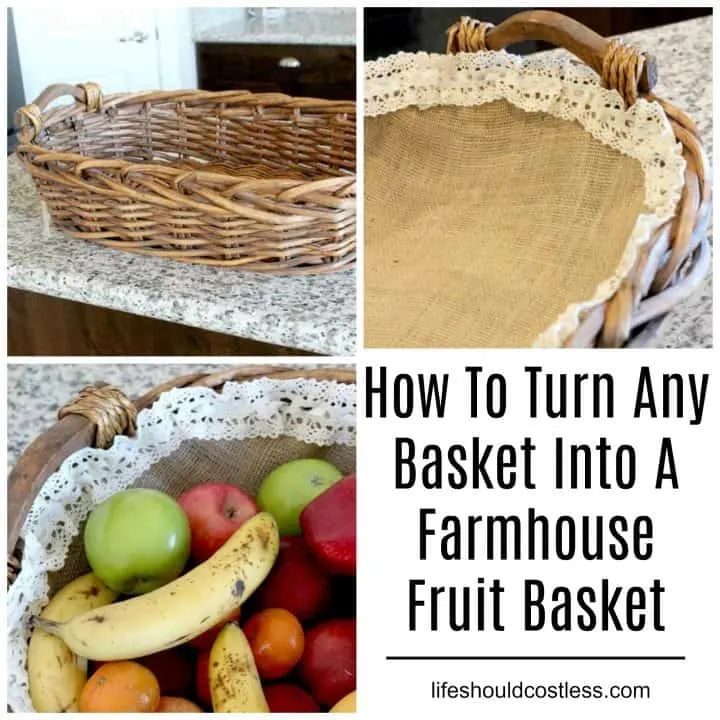
DIY Farmhouse Fruit Basket
Making your own farmhouse style counter-top fruit basket is a simple and inexpensive way to encourage healthy eating.
Materials
- Large Basket Of Choice
- Approximately 1/2 yard Burlap
- Approximately 1/2 yard Off-White/Tan Fabric
- Lace
Tools
- Scissors
- Glue Gun
- Glue Sticks
Instructions
- Find your basket of choice (large/wide with short sides works best).
- Measure your basket and buy enough burlap, tan/off-white fabric, and lace to line/edge it. Give yourself several inches extra to work with.
- Place your basket on a sturdy surface and then lay the tan fabric over it, followed by the burlap.
- Tuck that fabric down in so that it creates a liner, but leave several inches sticking out on all sides.
- Use scissors to cut the fabric edges to the general shape of the basket, still leaving a couple or so inches extra fabric sticking out.
- Using your hot glue-gun, gently fold in the rough edges of the fabric and attach it to the inner rim of the basket with hot glue. Pleat the fabric as needed as you go around the curves of the basket.
- Once you are done attaching the fabric, you can then attach (still using hot glue) your desired lace around the top of the burlap to create a fun farmhouse look. Make sure that you gave yourself several extra inches of lace before you start working with it.
Notes
Be careful not to burn yourself as you are working with hot glue and burlap. It gets hot fast and the glue easily seeps through the holes in the burlap. This can be avoided by using heat resistant gloves.
*View post for step by step photo's of the process.
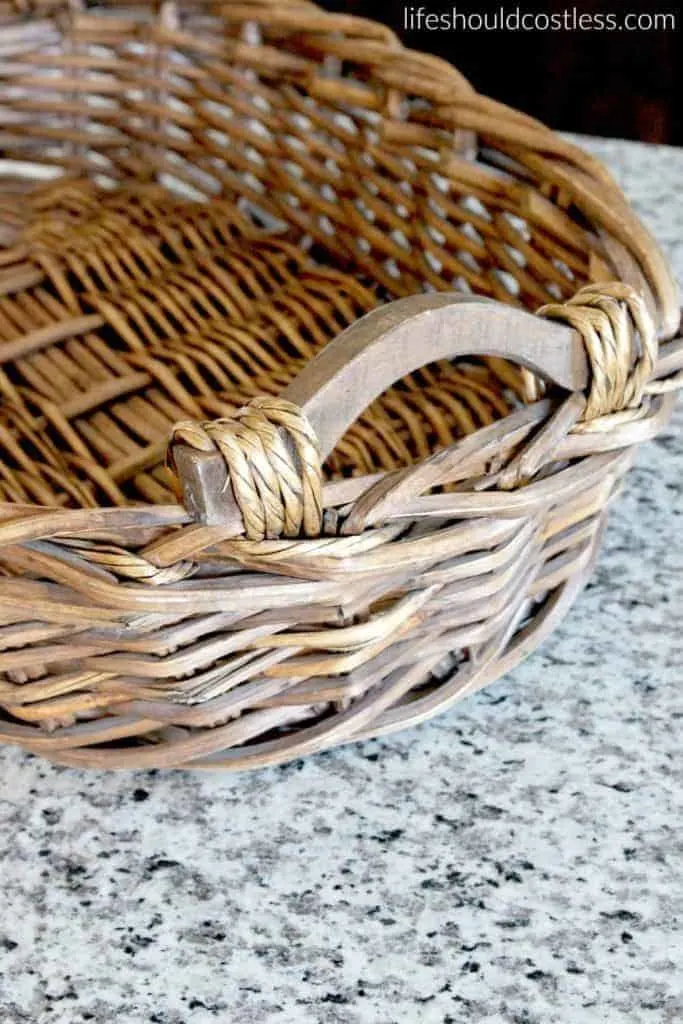
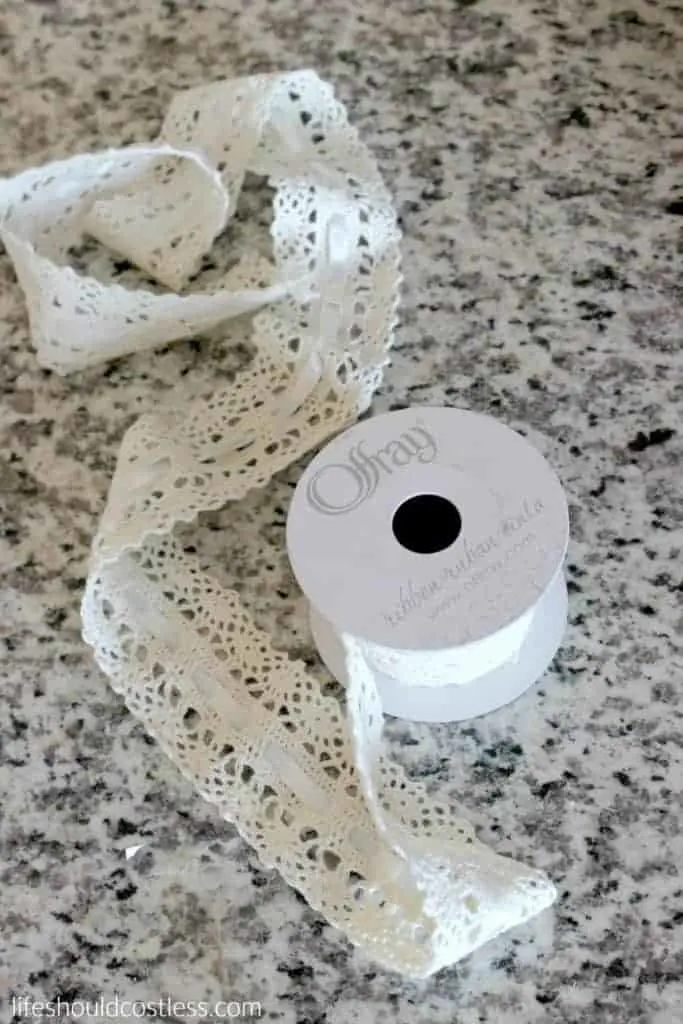
I’m in LOVE with anything that has burlap and lace so it was a no-brainer that those are what I decided to pick for this project. I did end up changing my mind and using a different lace later on, so don’t mind the lace in the picture below… I just wanted to show you the material that I used.
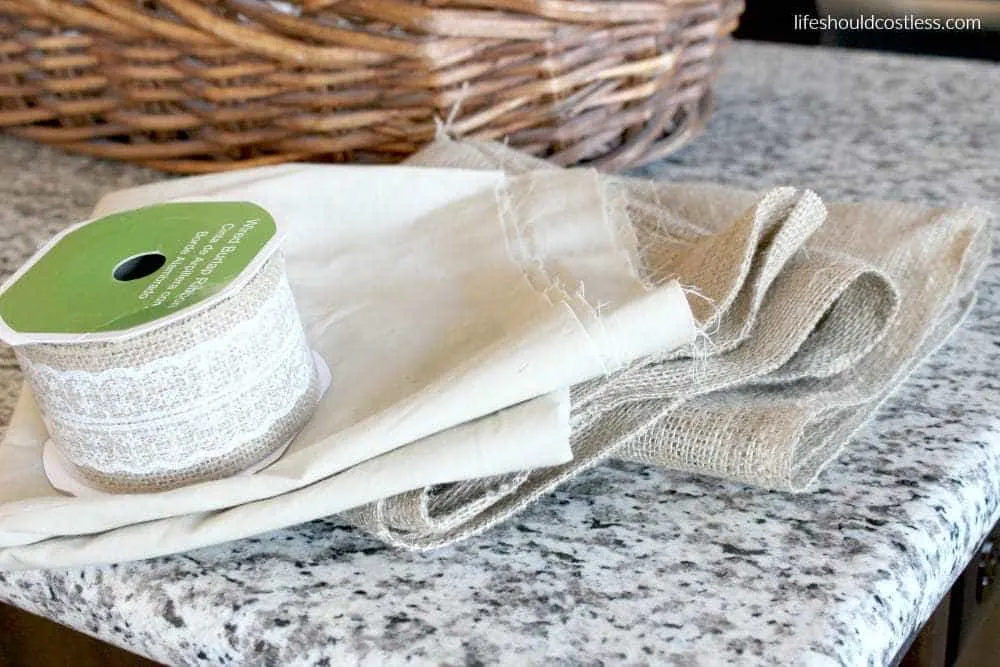
I used 1/2 a yard of both some burlap and an off-white fabric to line the basket. I didn’t want to be able to see through the burlap to the basket beneath so that is why I used some fabric in a similar color.
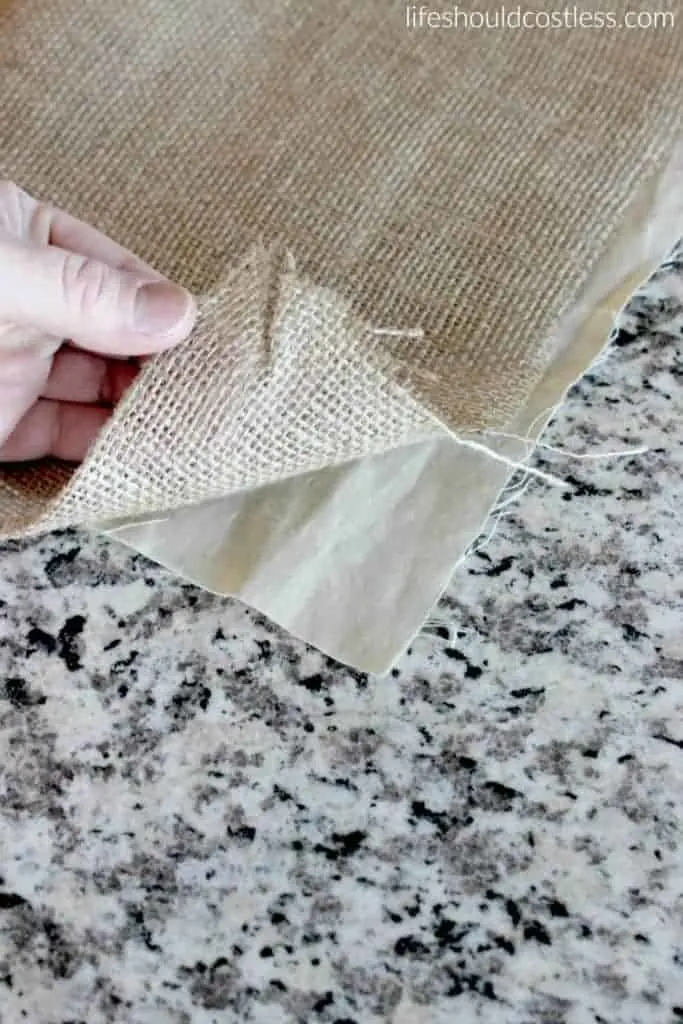
I spread them both out evenly over the basket to see how much I was going to need.
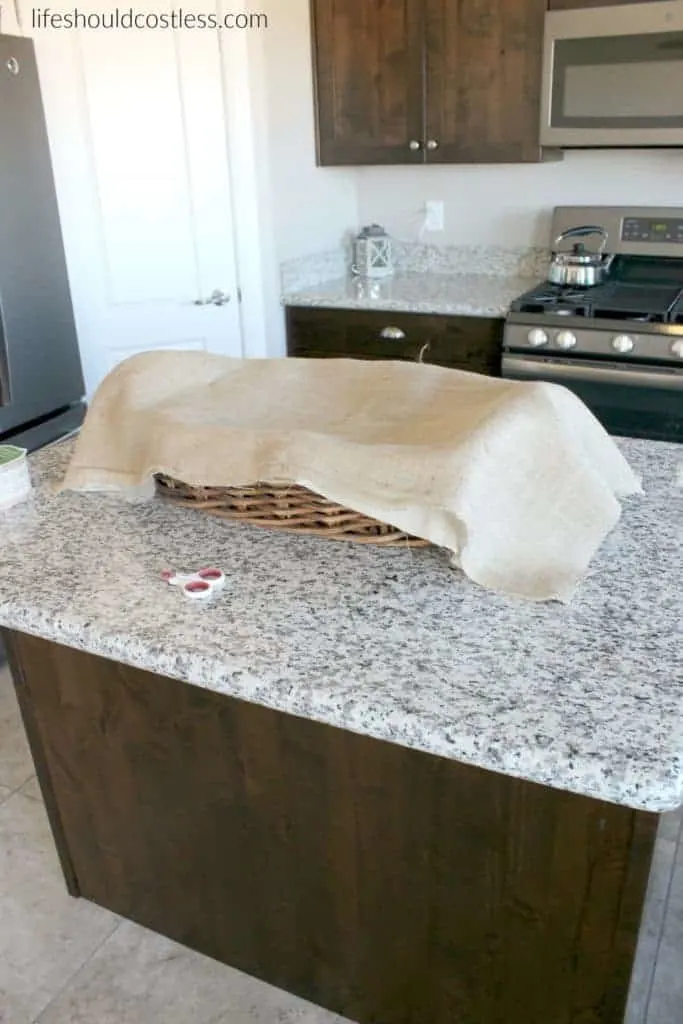
Then tucked the material down into the basket.
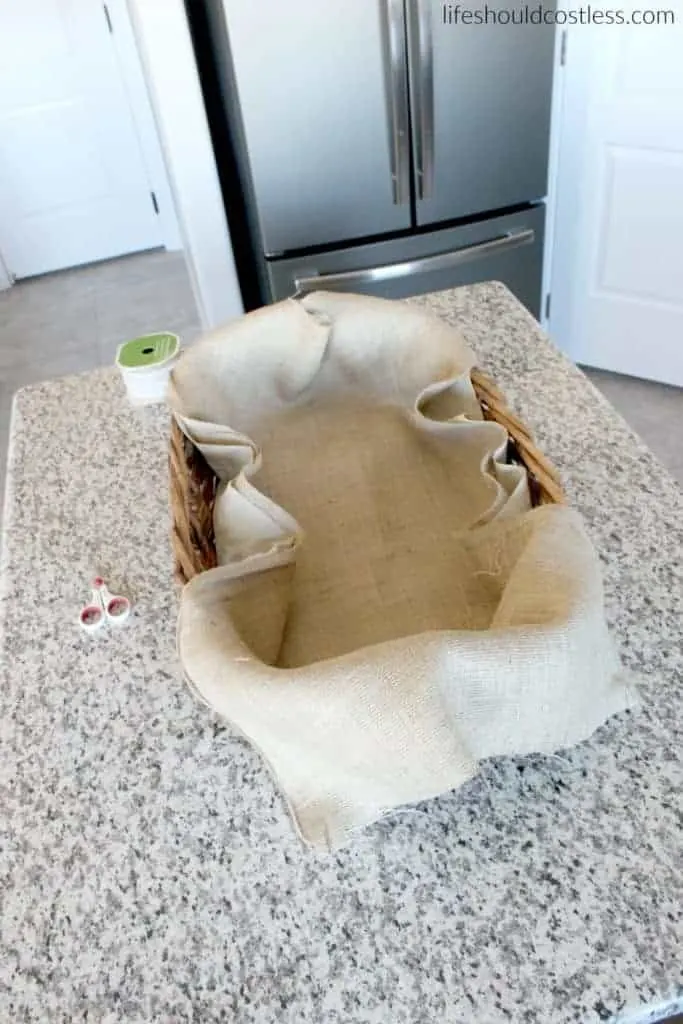
Trimmed off the excess.
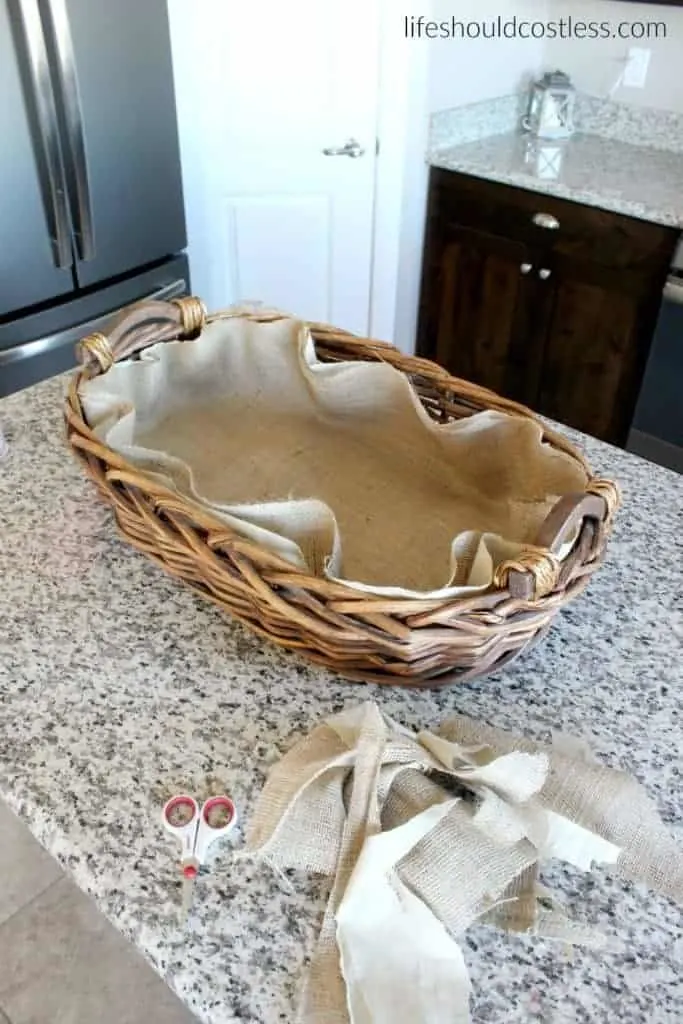
Held the two pieces of fabric together, folded the burlap over, and then hot glued the fabric to the basket.
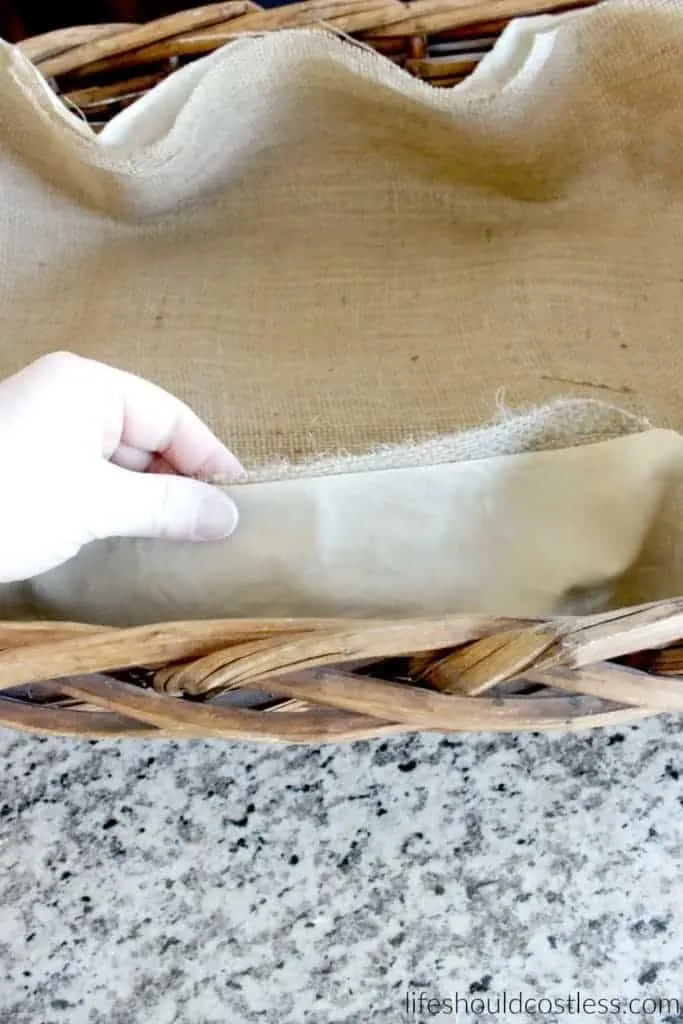
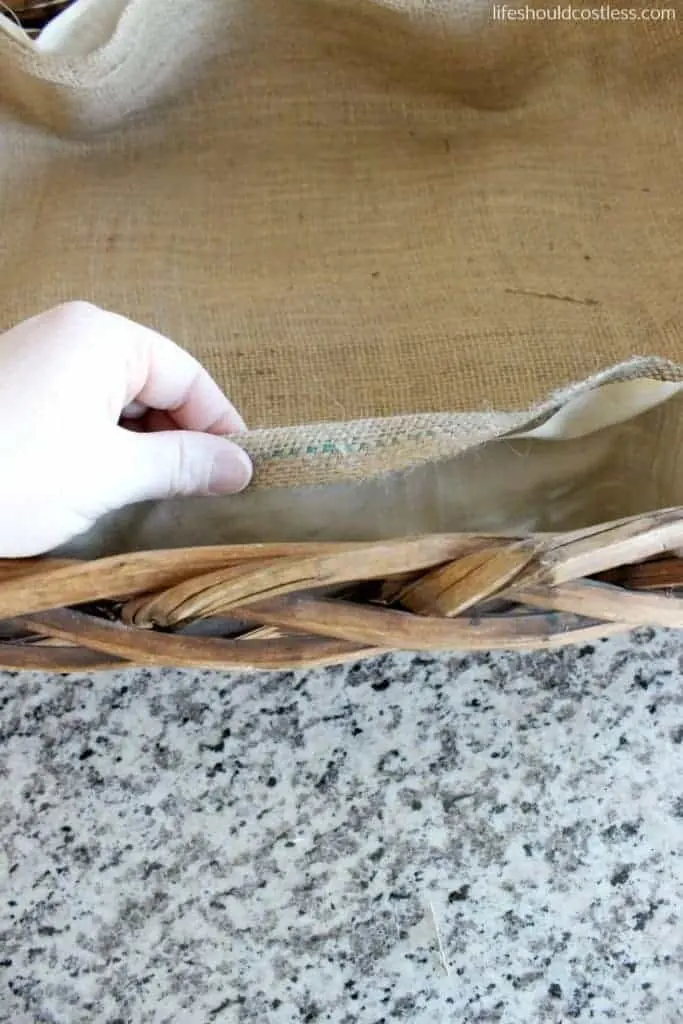
Then worked my way around the basket.
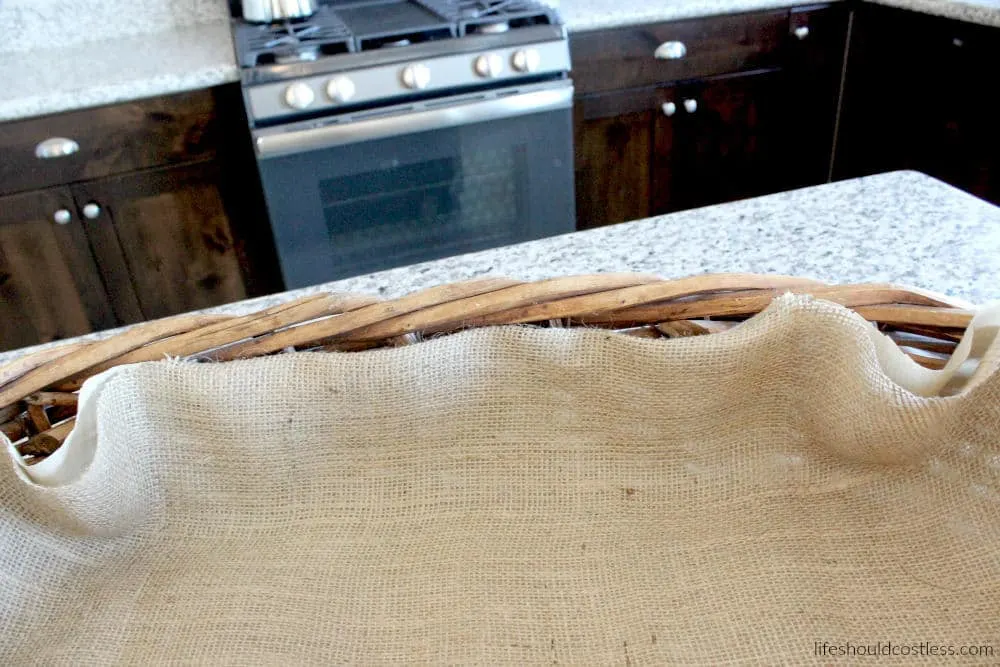
When I got to any parts that there was too much fabric I just put in a little pleat and moved on.
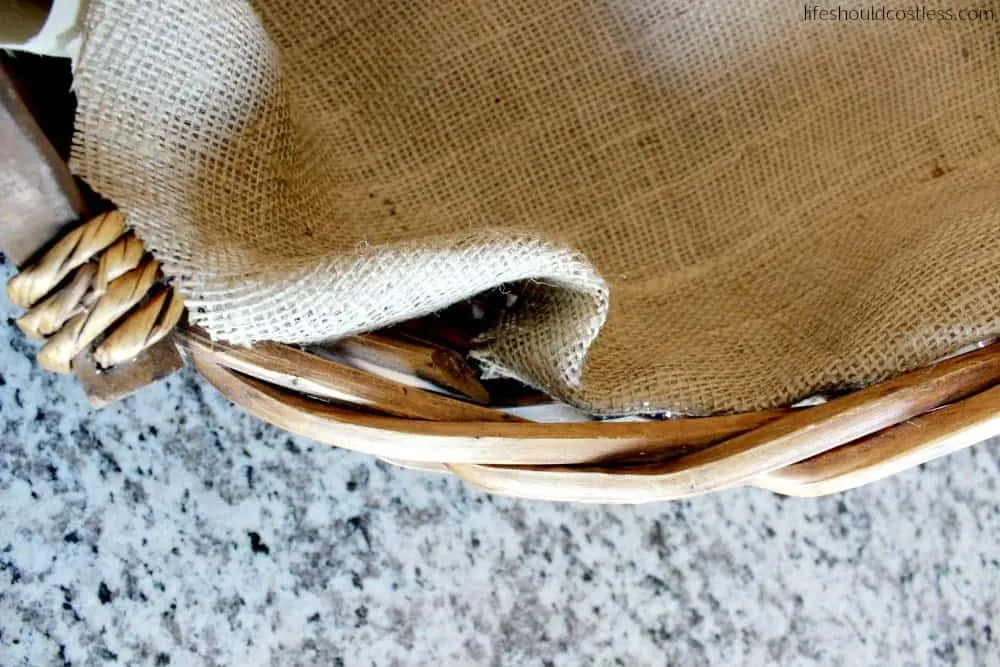
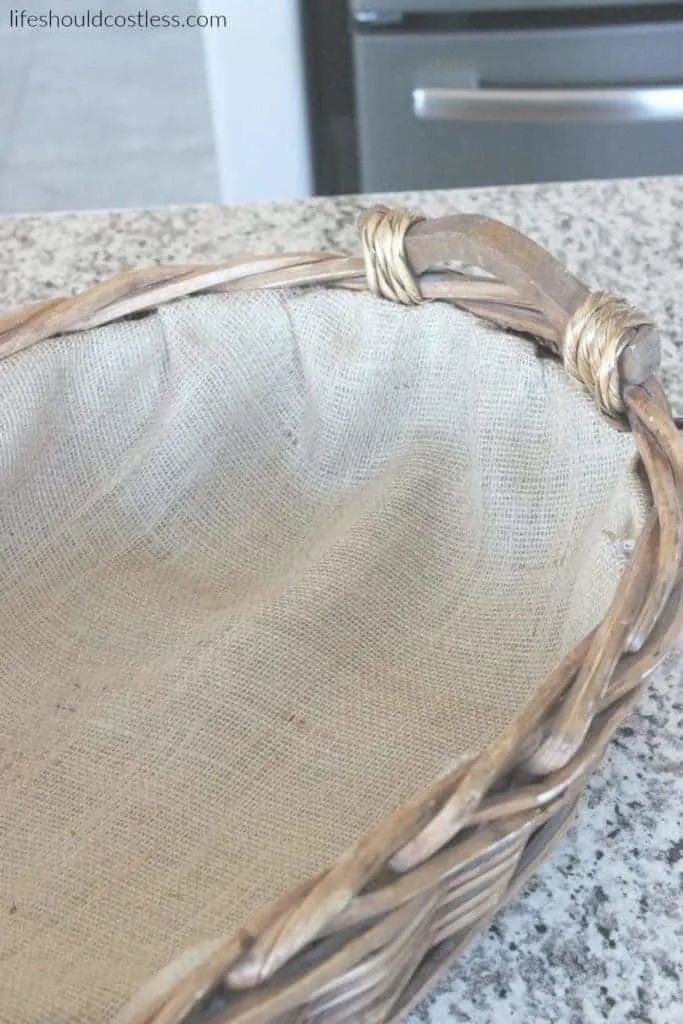
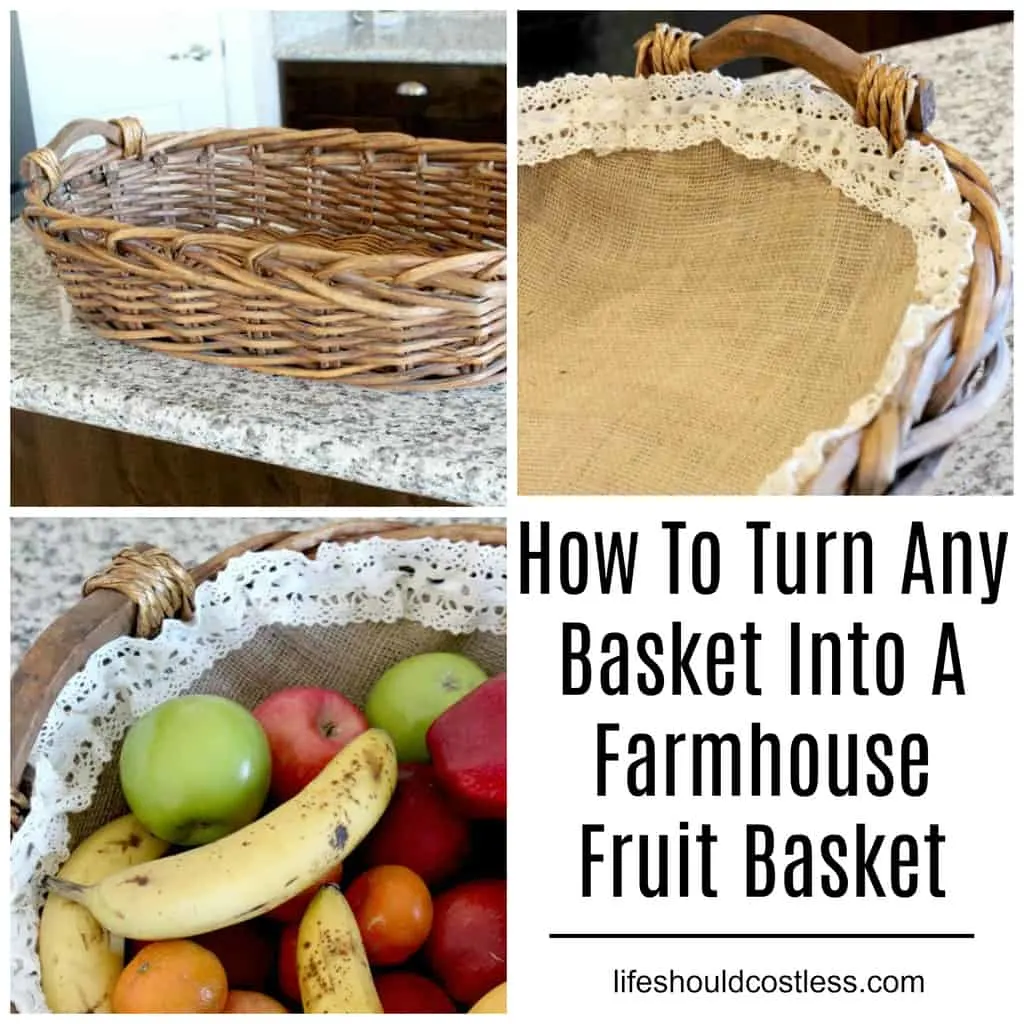
Here’s what it looked like when I finished attaching all the fabric. For those of you that aren’t very girly, you could just end there and fill up your fruit basket. I just had to add some lace though.
I found this lace at WalMart. It’s certainly not exactly what I want, but it will work for now. Boy am I missing having a Hobby Lobby nearby…but if I ever find some lace that I like better it will not be hard to rip off this lace and swap it out.
I used the hot glue again and attached the lace, making sure to tuck the rough ends underneath and glue them in place. I wanted it to have a bit of a ruffle, but didn’t want it to look perfect…that’s the thing with farmhouse style decor, there is beauty in the imperfection so I did a gradual ruffle without measuring…just eyeballing.
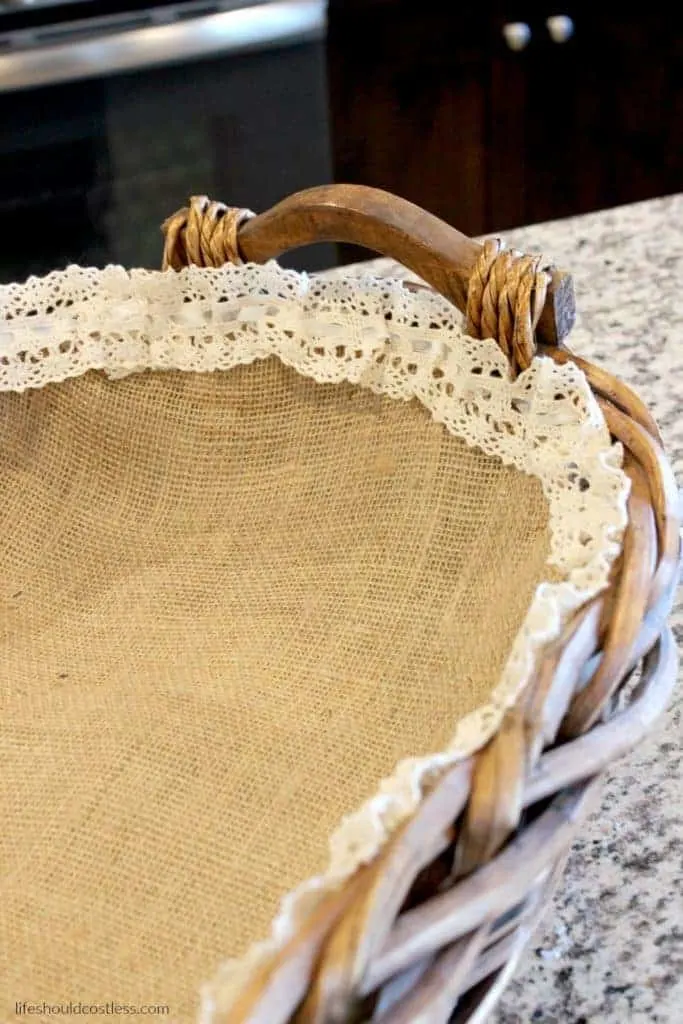
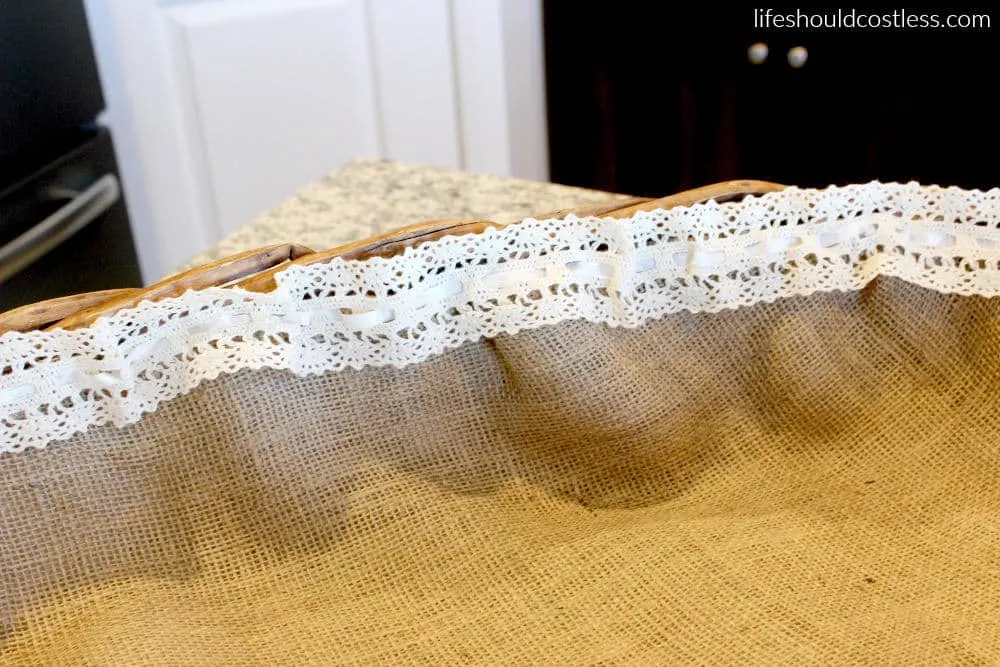
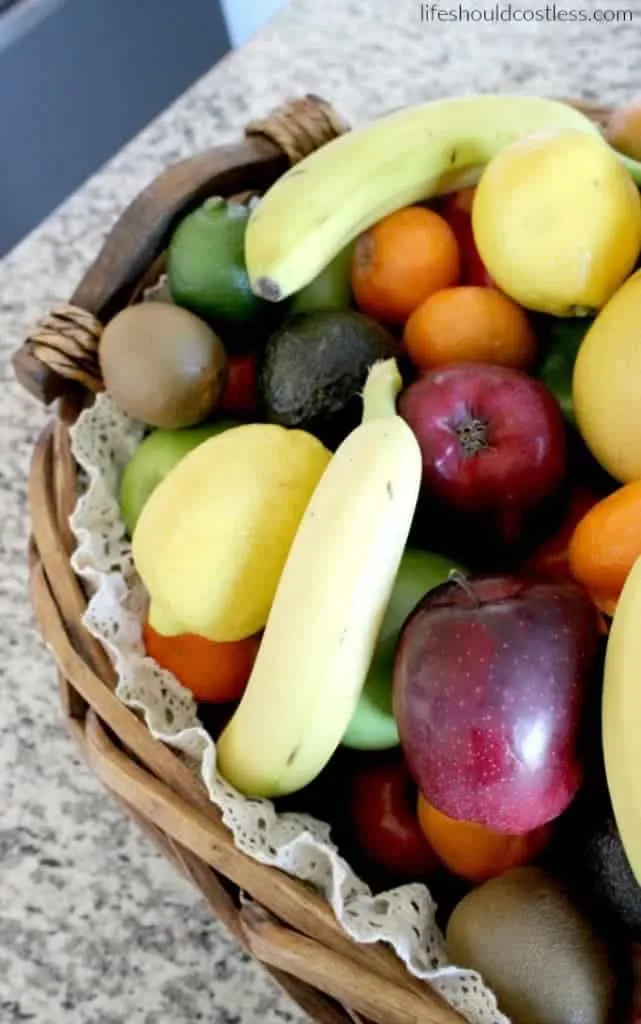
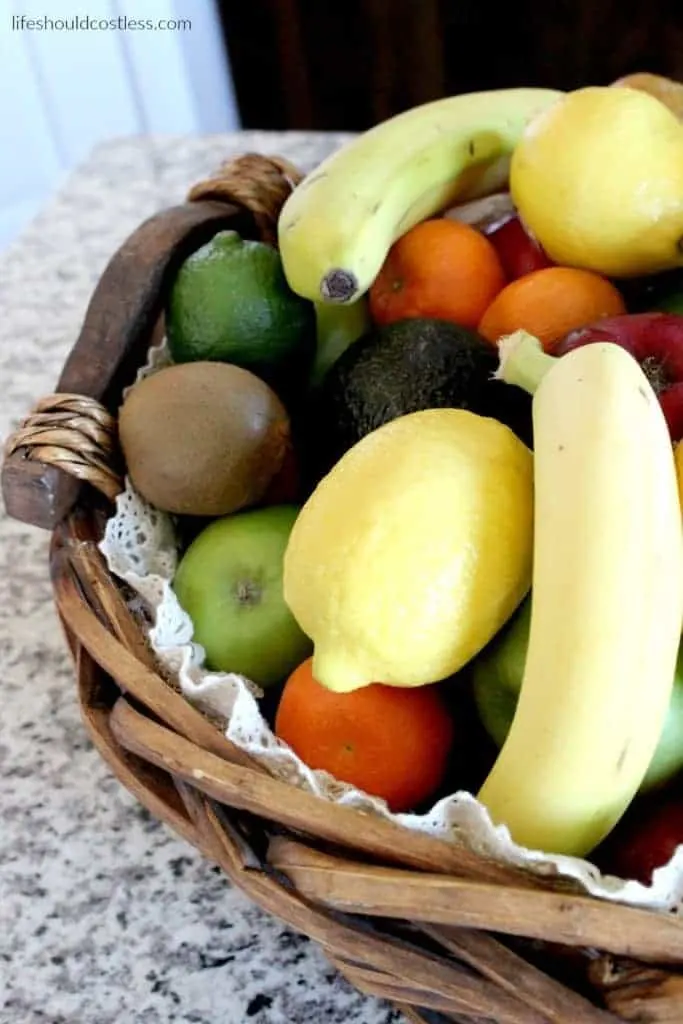
It was done!!! So now I added a bunch of fruit. Keep in mind that there is only this much selection of fruit for staging these pictures. I doubt that I will keep more than three or four different types of fruit in there on a regular basis…
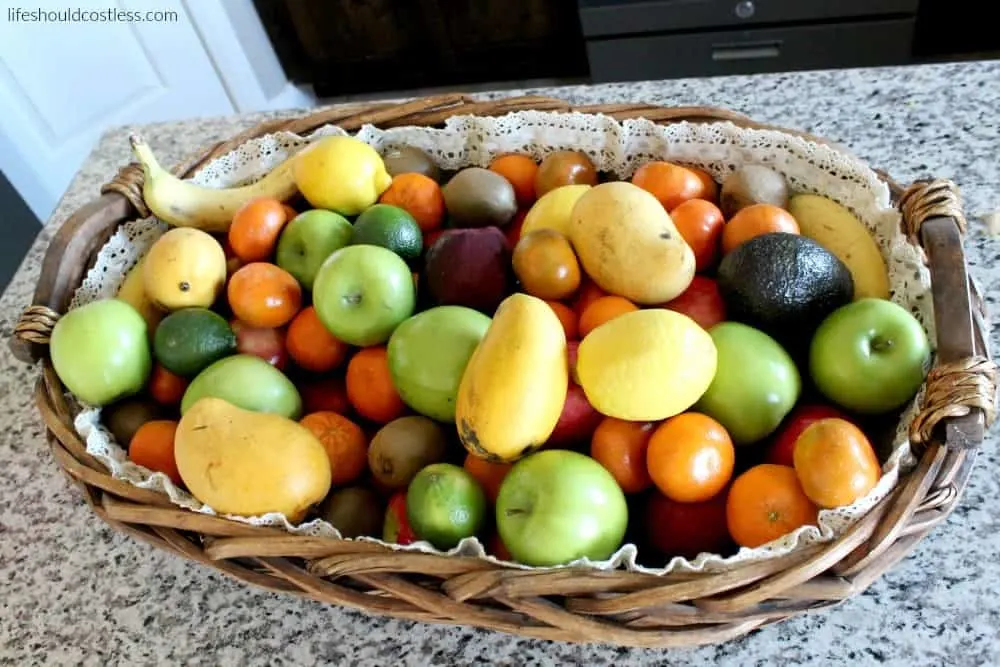
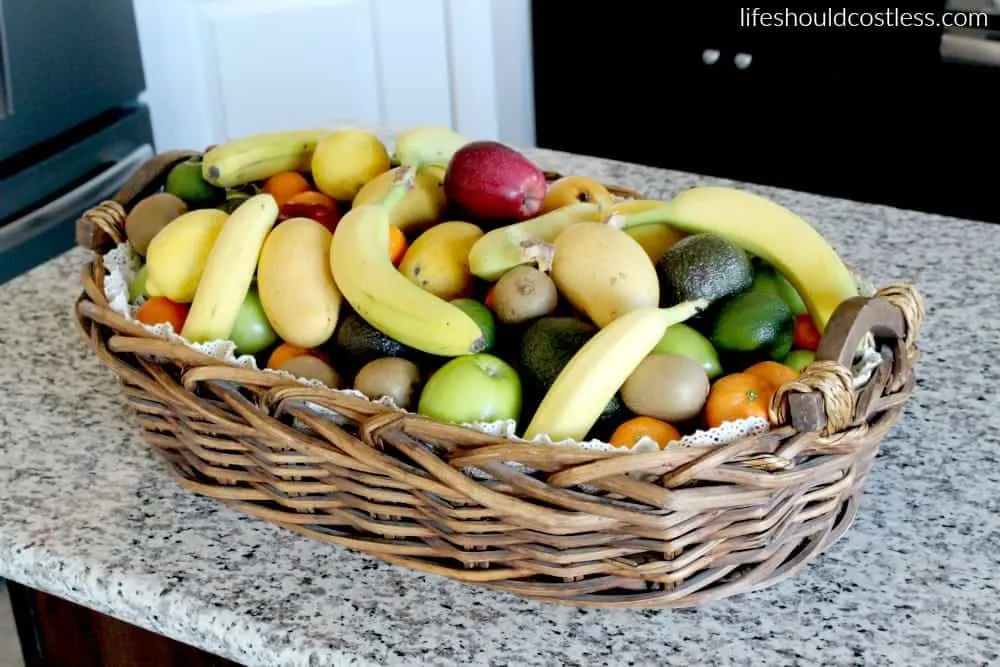
I love that the basket it just a few shades lighter than my cabinets so it doesn’t clash, it kinda just complements them. My kitchen decor is very lacking so I am excited that my fruit basket will add to the visual appeal of the kitchen.
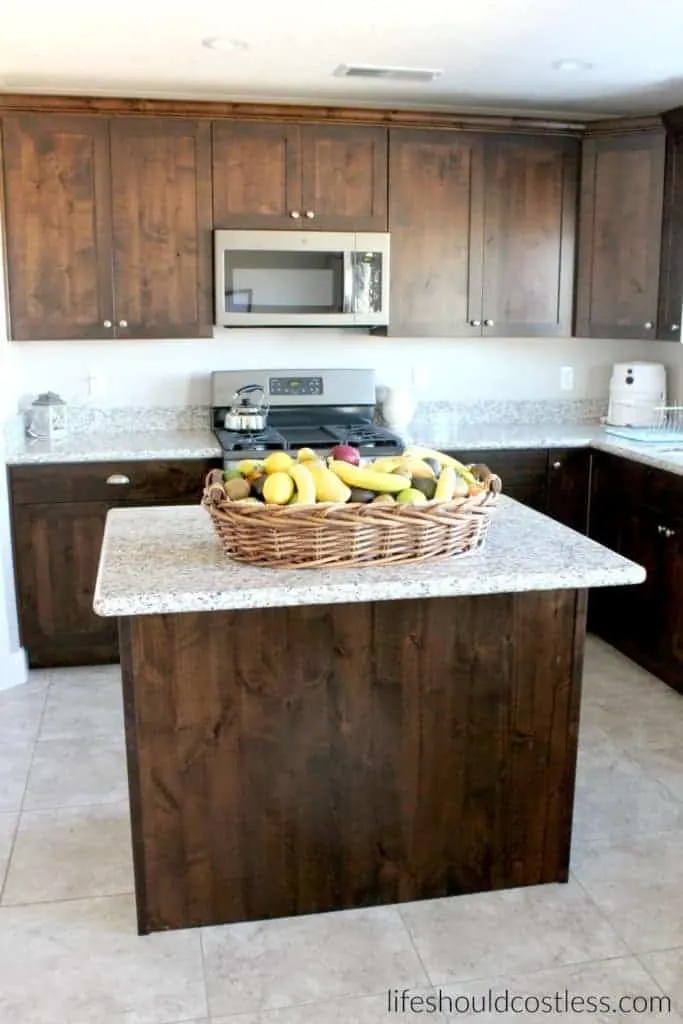
Here are a bunch more “after” shots so that you can see how it looks from different angles.
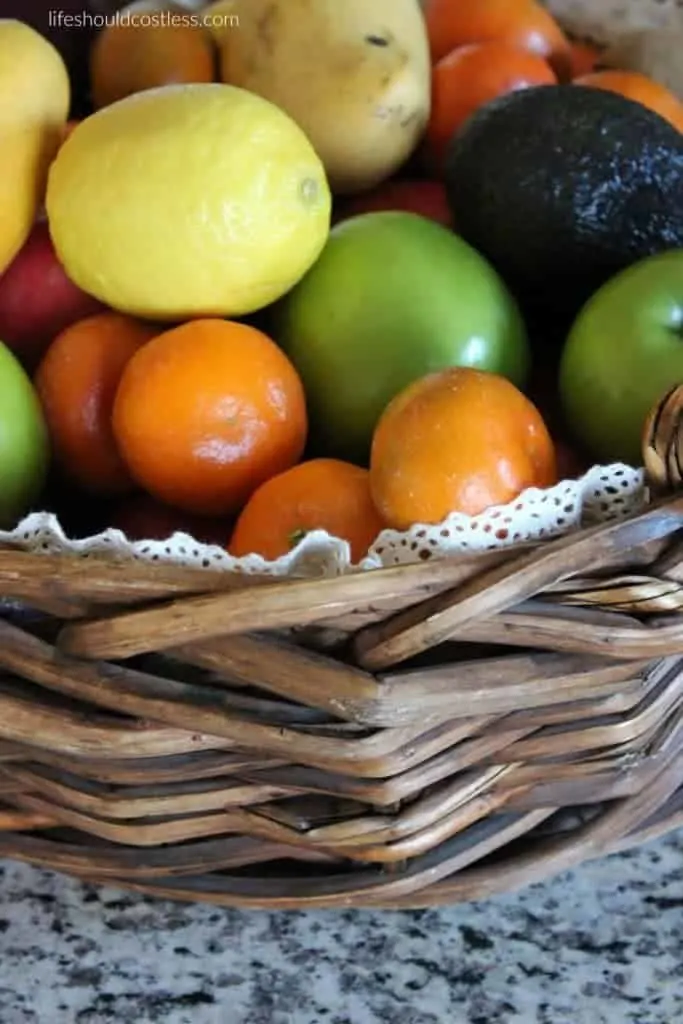
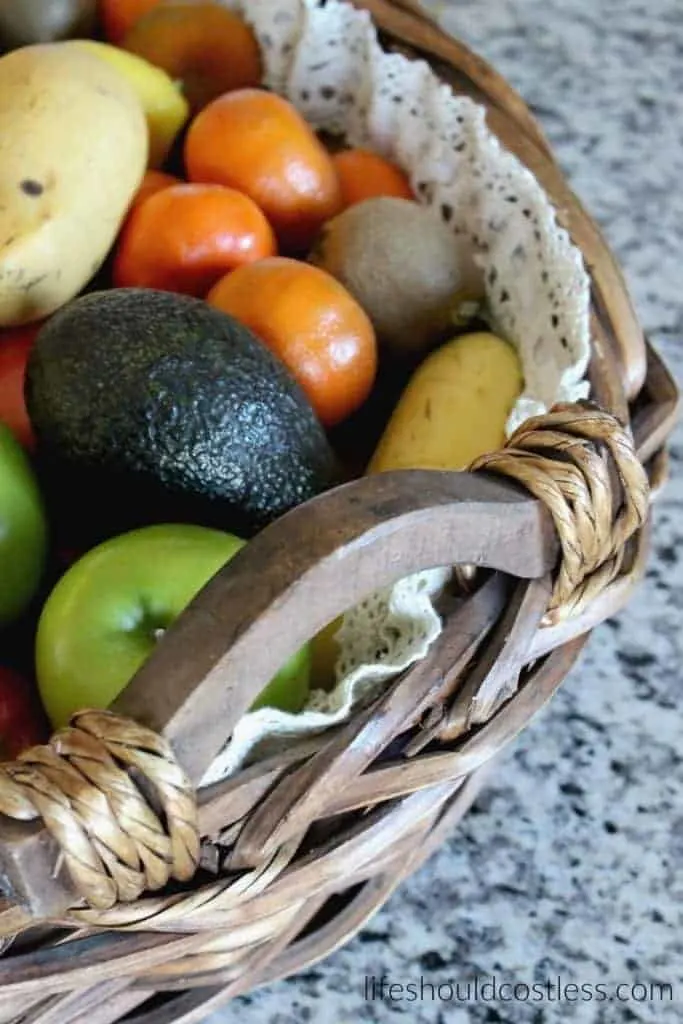
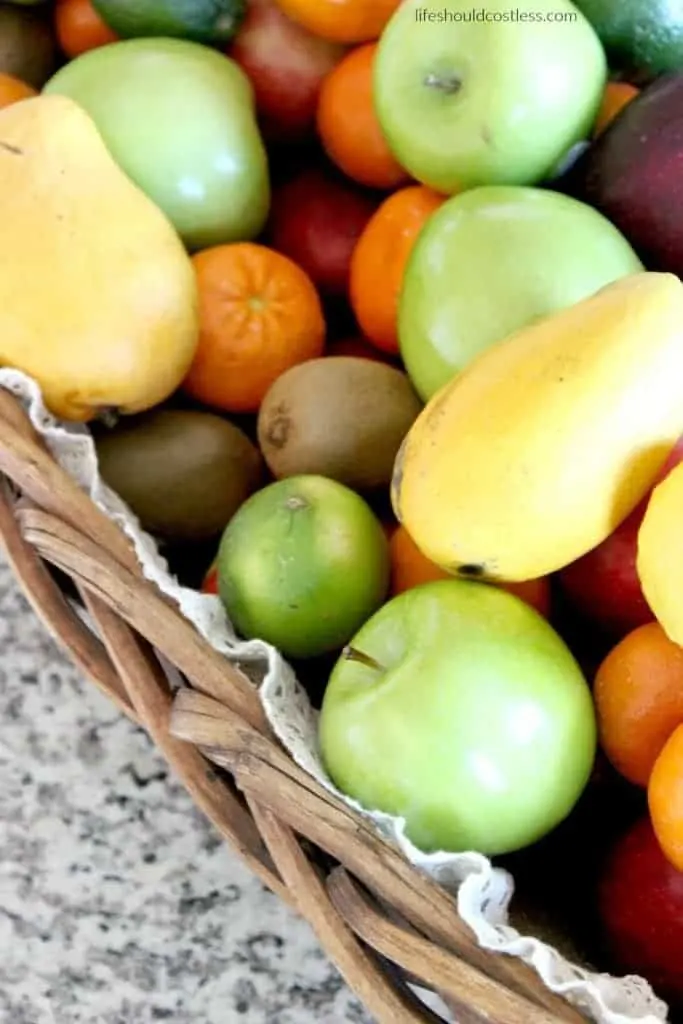
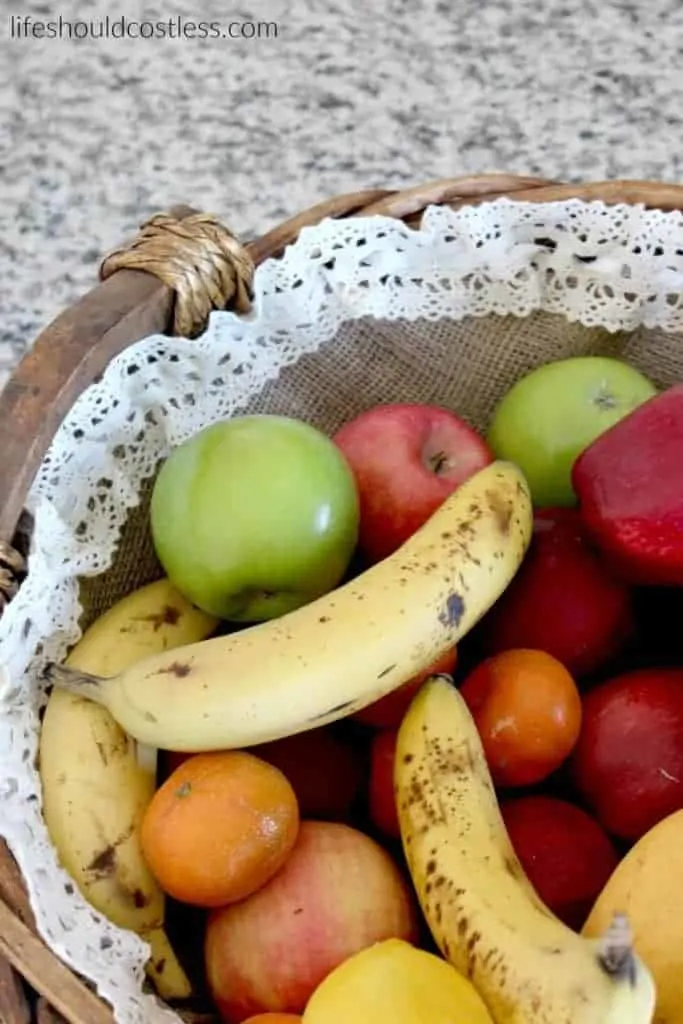
Once the fruit supply is getting low, you can see more of the burlap. I think that I am going to use the lace as a gauge for when to buy more fruit… if all the fruit is below the lace line then it is time to add fruit to the grocery list.
I know I’m a dork, but I have to have a plan of action so that I will succeed with my new goal to always have fruit in the house, readily available for everyone.
All in all, I am pretty thrilled with how it turned out. I would have done this project years ago had I realized that it could be done so inexpensively. I seriously thought that a nice-looking, huge, fruit basket would set me back anywhere between $60 and $150 (retail of course) but, by using a second-hand basket and prettying it up myself I was able to do the whole thing for about $13. Score!
Gotta save all the money I can since fruit can sometimes be expensive and it is now a major priority to make sure that my family has the option of fresh fruit any time they want.
I’ve even noticed that I have been reaching for more fruit than I did before, which was totally unexpected, but great.
Thanks so much for stopping by my blog! If you liked what you saw, please make sure to share it via social media!
Other ways to show your support are to follow and/or interact with me on Pinterest, Instagram, Facebook, YouTube, or by Subscribing To My Email List. If you purchase suggested products through Amazon, the cost to you remains the same, but I make a small commission on everything in your cart.
If something was particularly helpful and you would like to donate directly to the blog, you can do so via PayPal, here. I’m a single mom of four, so every little bit helps. Thanks so much! ~Sarah
P.S. You may also like my entire DIY section, as well as my Decor section.
Here are five of my other posts that you may also like(the pics are links):
*Reposts: Please note that this idea/post was originally posted to this website on 03/13/2017, but it was in great need of a refresh so it now is more user friendly/shareable and will remain more relevant.
