I have been wanting to make a cute unicorn craft project with my kids for a while, and we finally got around to it and had so much fun making it! I decided that I should probably share this fun little project with you too.

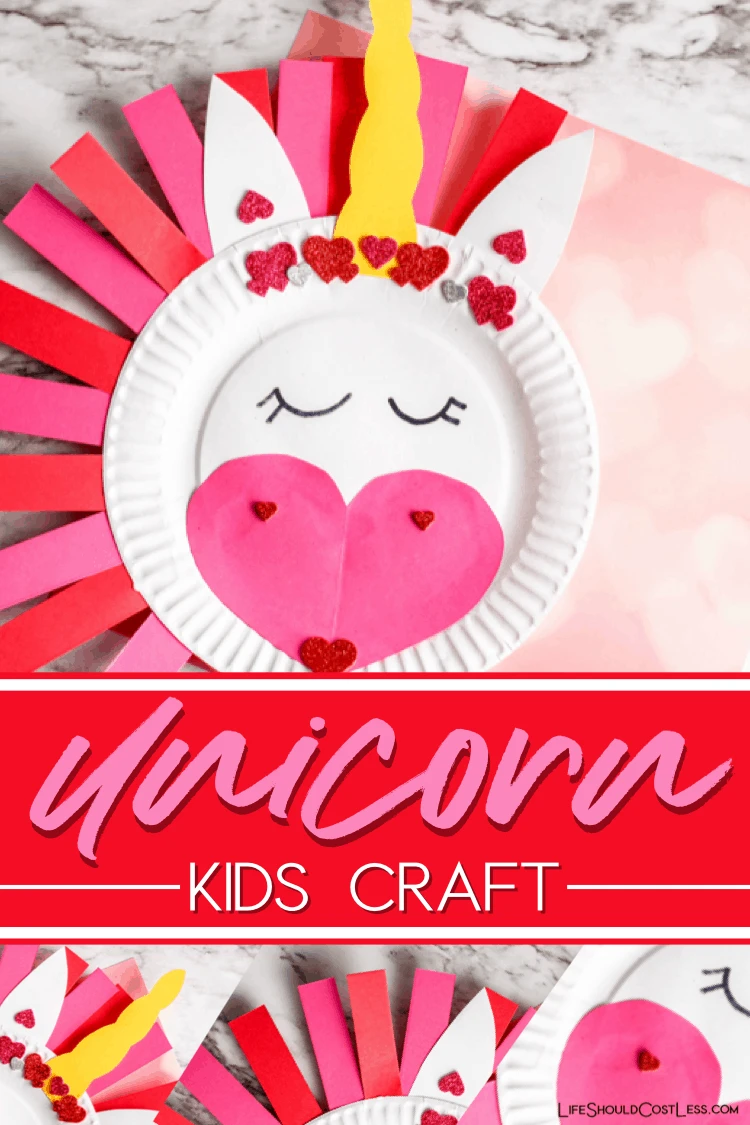
Paper plate crafts are a fun and inexpensive way to make a simple unicorn, which is the kind of craft project I need considering the fact that I have four unicorn-loving kids…it could get expensive really fast and really easily if I’m not careful.
This cute unicorn craft for kids is just the ticket because it requires cheap, basic, arts and crafts supplies.
How to make a unicorn.
I’m going to share with you the simple video tutorial, followed by a little diy tutorial of still images so that you can see everything a little bit more clearly and so that you can work at your own pace.
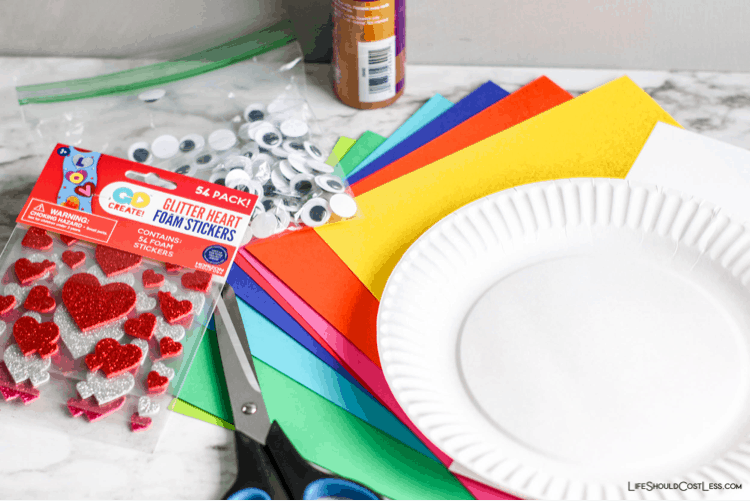
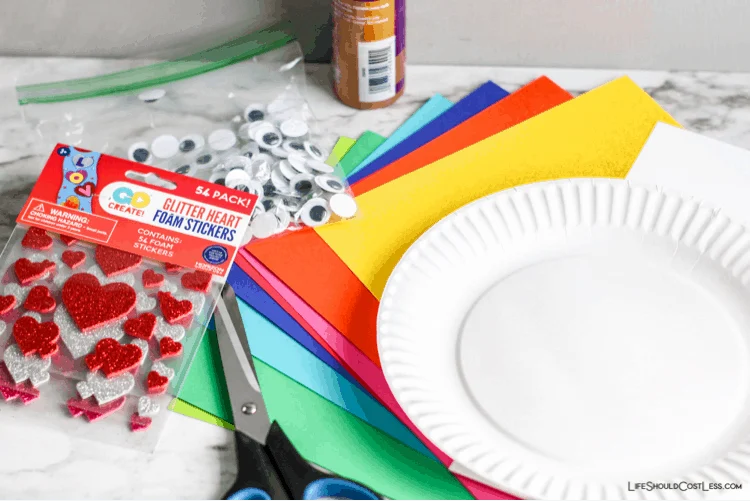
List of supplies needed to make this Unicorn DIY:
- Paper Plates
- Scissors
- Tacky Crafting Glue
- Googly Eyes (optional)
- Marker (for drawing closed eyes)
- Craft Paper In Color Of Choice
- Foam Stickers For Decoration
- Stapler With Staples(optional)
**Remember, if you love this craft you need to check out my crafts for kids section as well as my free printables. **
Here are the craft supplies all laid out:
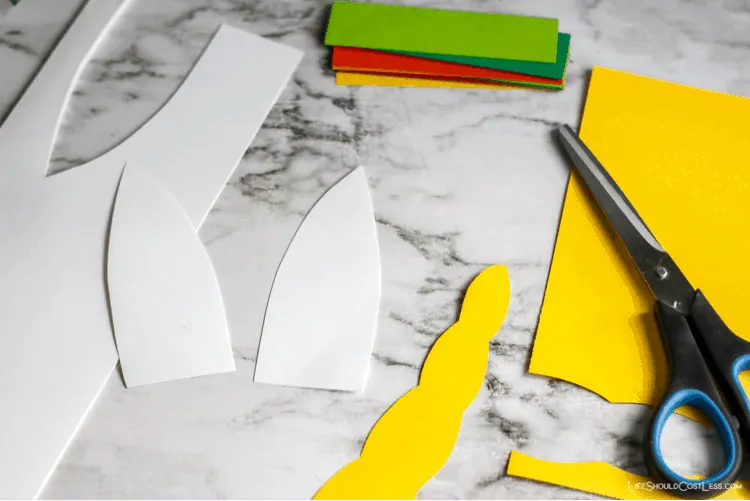
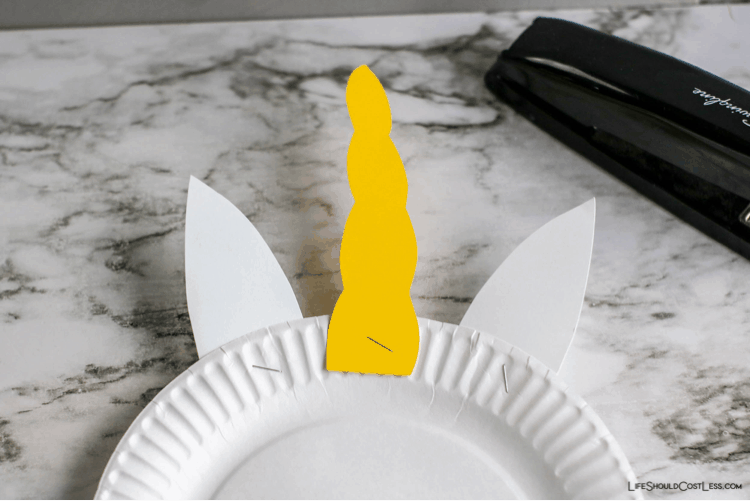
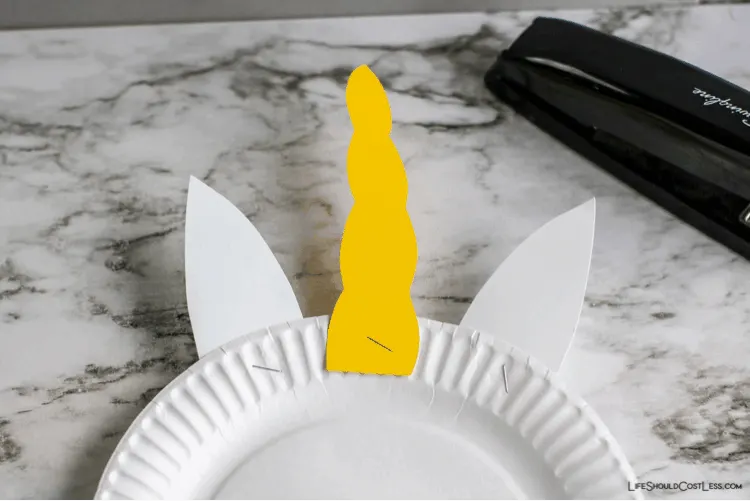
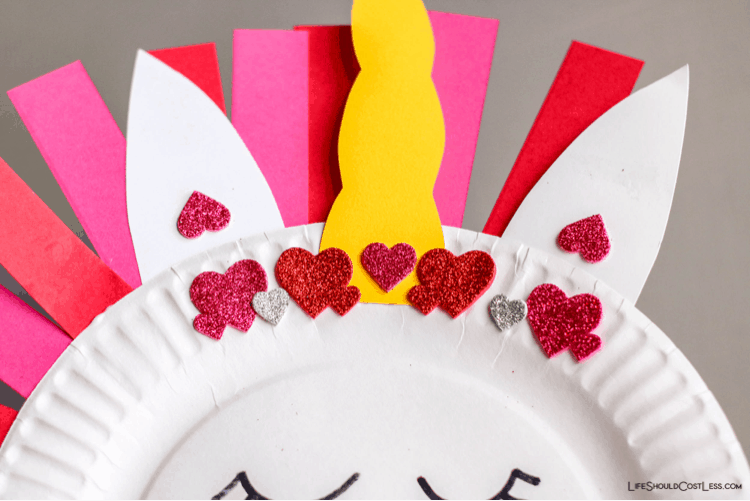
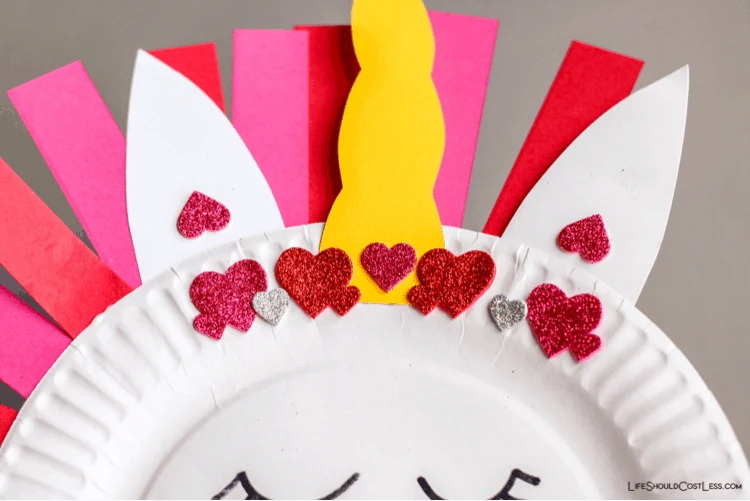
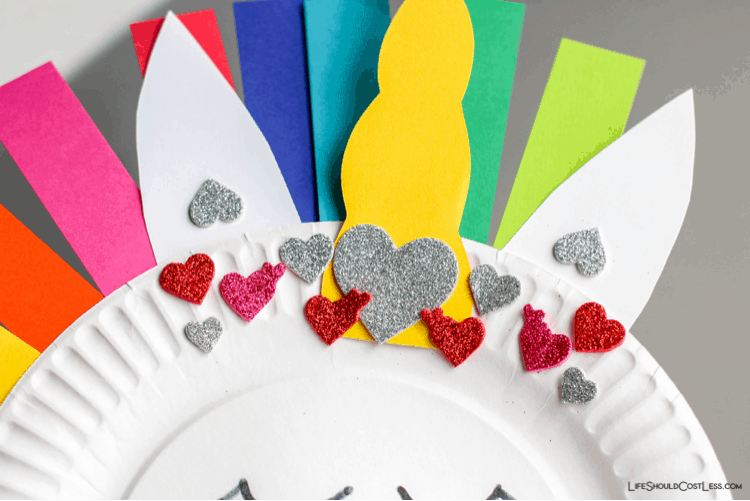
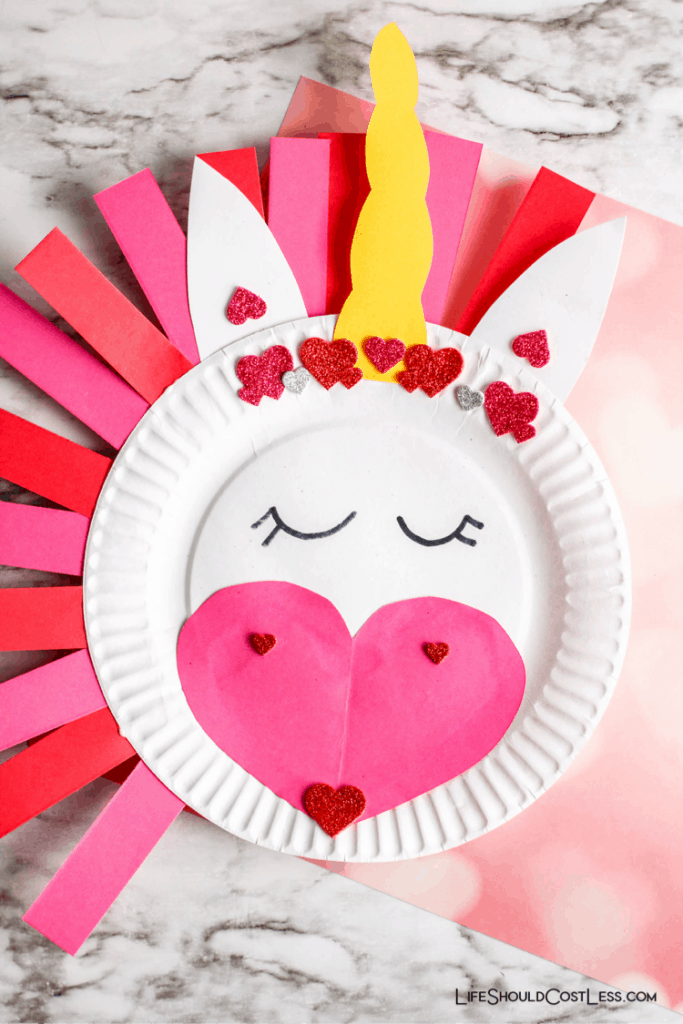
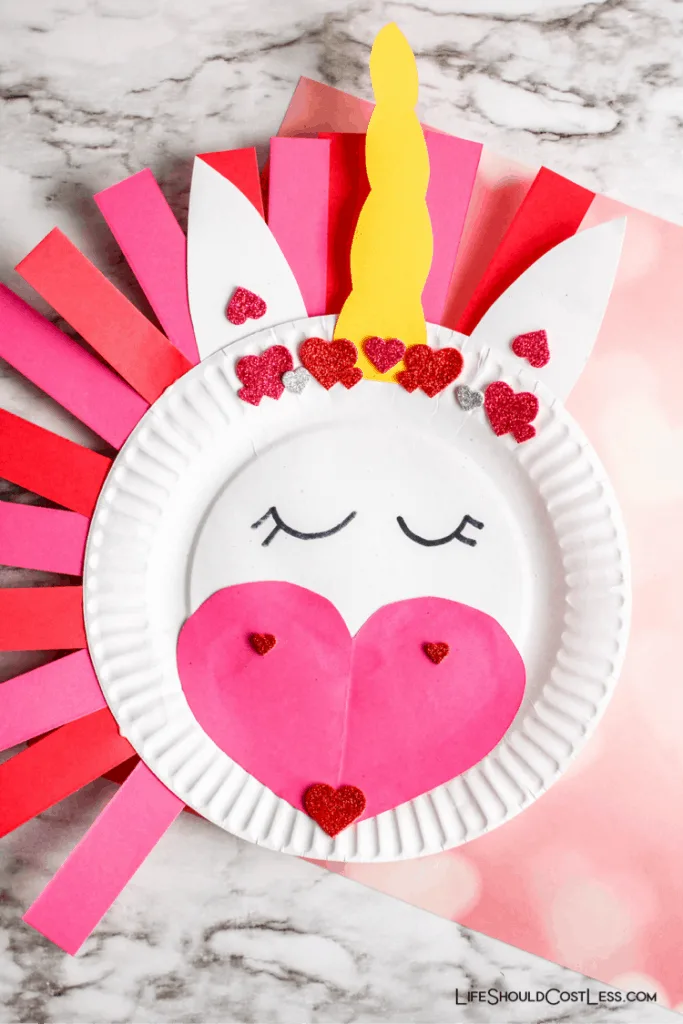
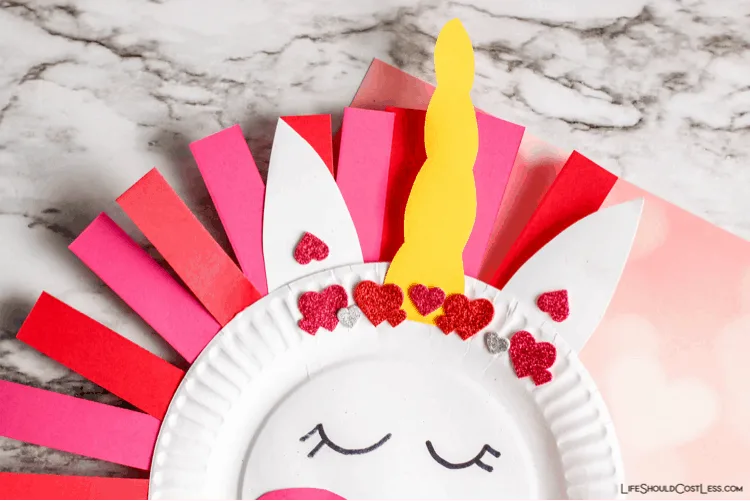
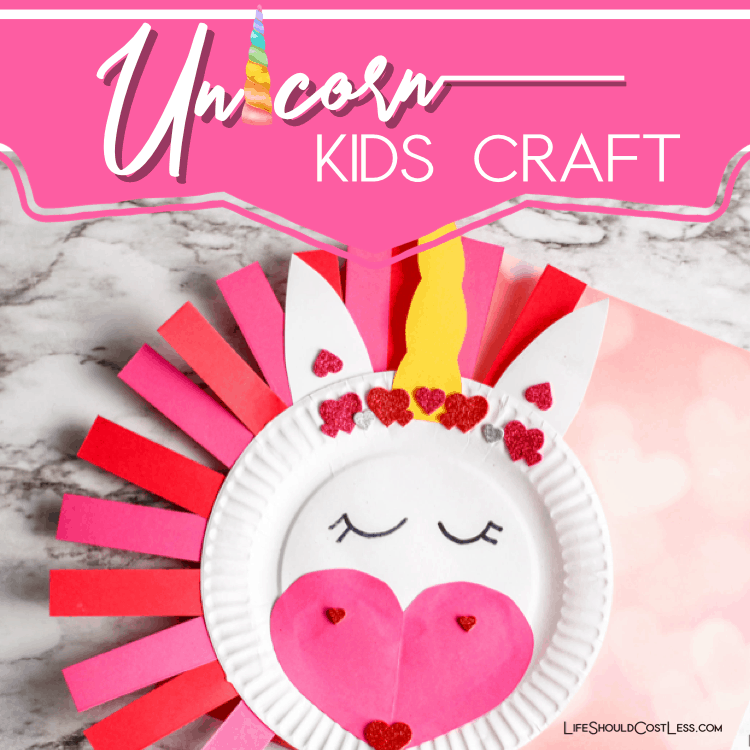
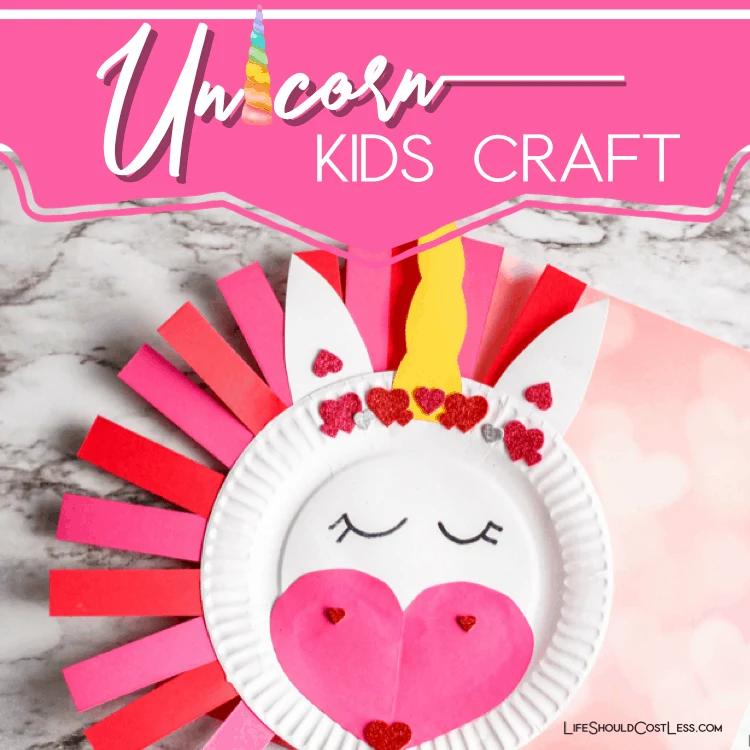
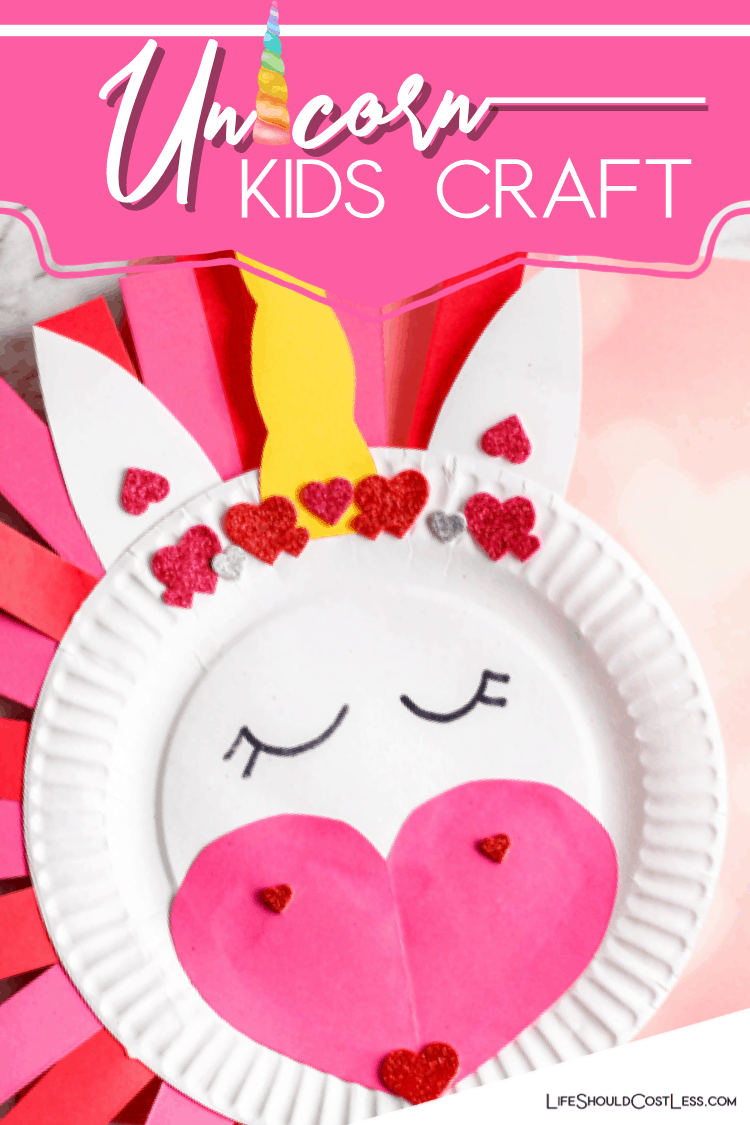
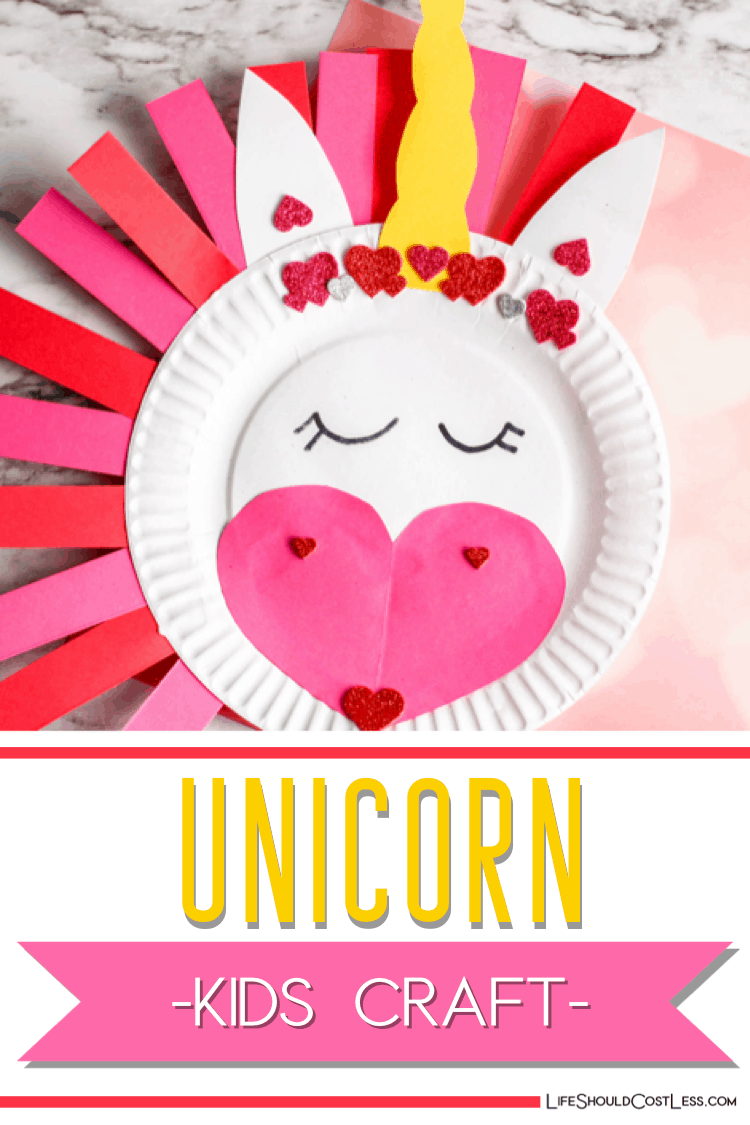
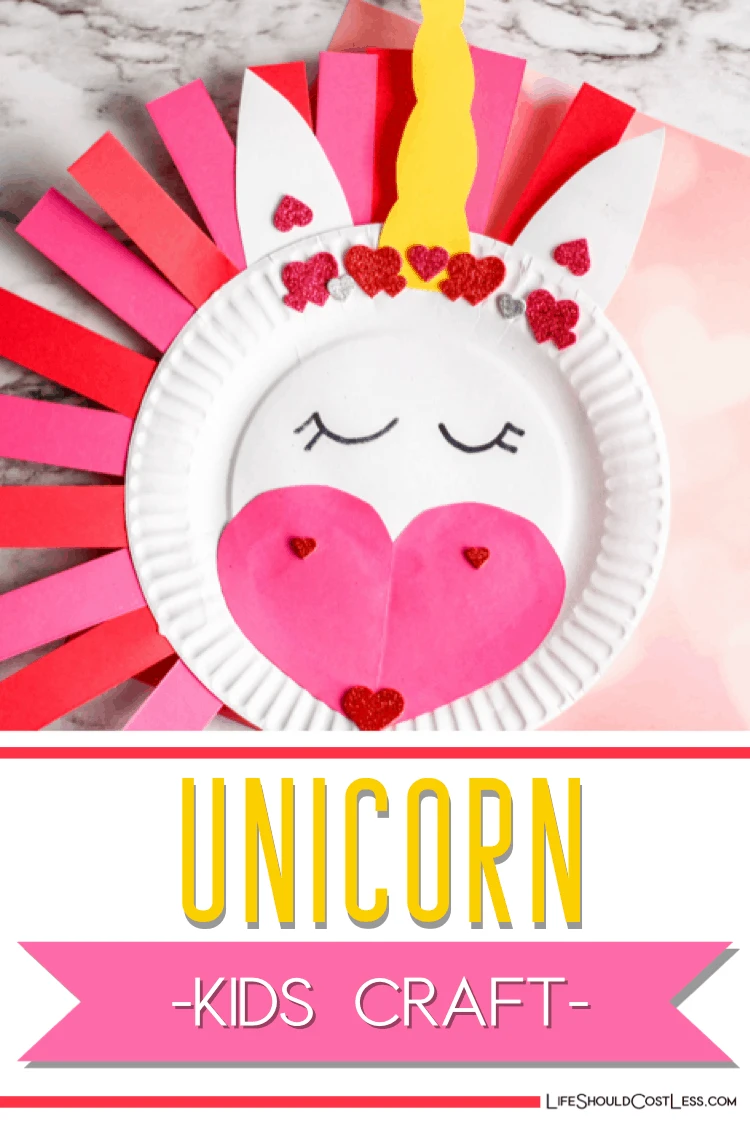
We start out by freehand cutting out the basic shape of two ears and a horn…I’m sure that you could easily find a template online if it makes you nervous trying to freehand.
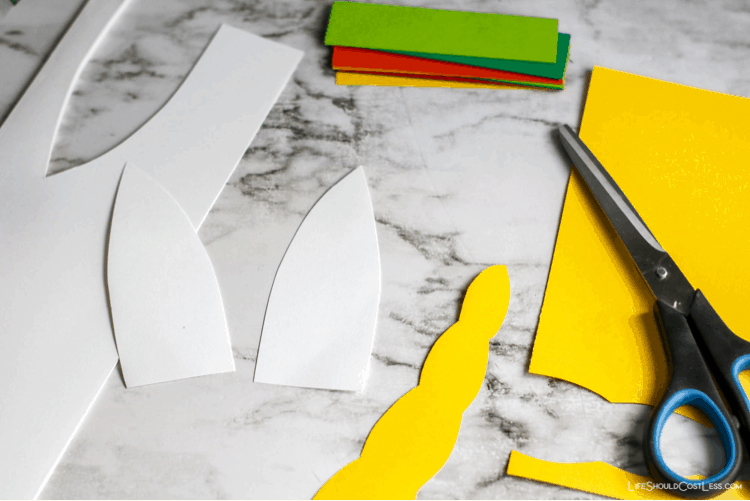
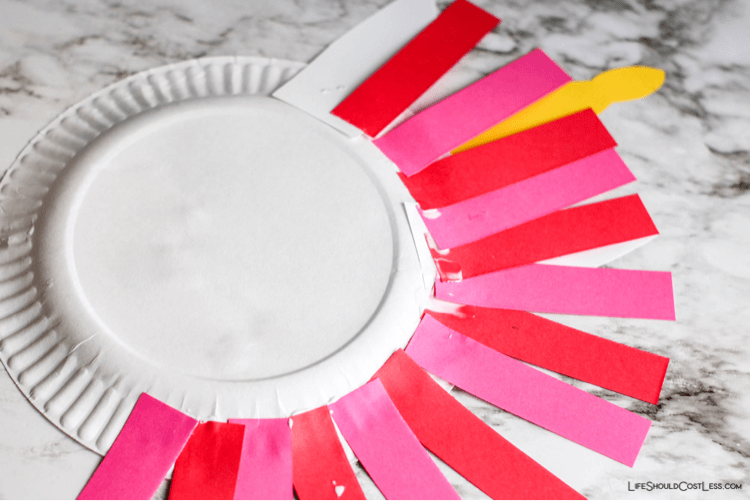
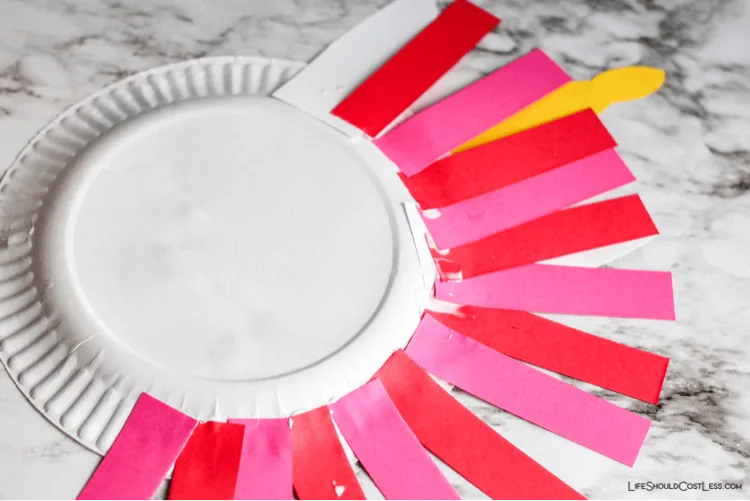
Then we attach the ears and the nose to the paper plate. Notice that the horn is on the front of the plate and the ears are on the back?
I used a stapler to securely attach these, but you can use crafting glue if you have the patience and time to let it dry.
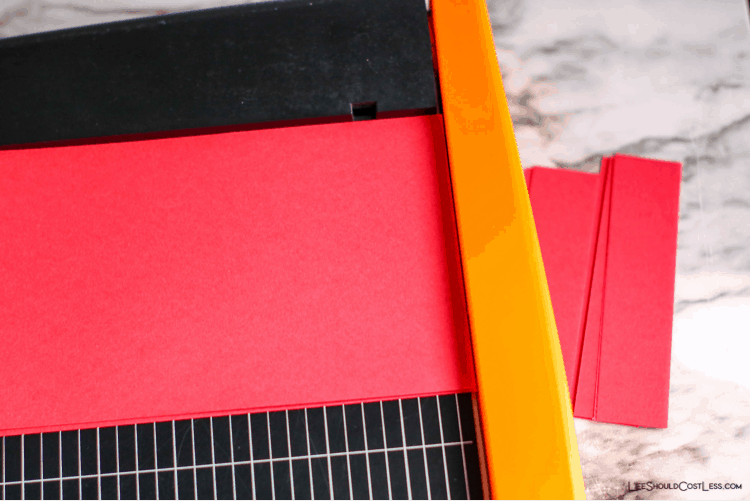
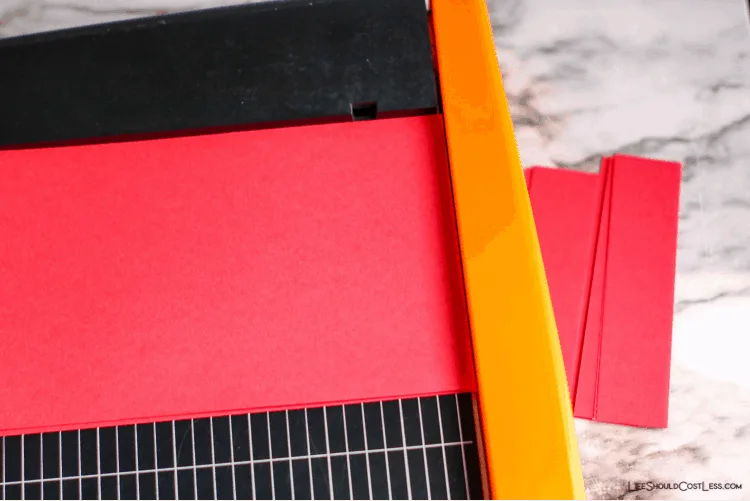
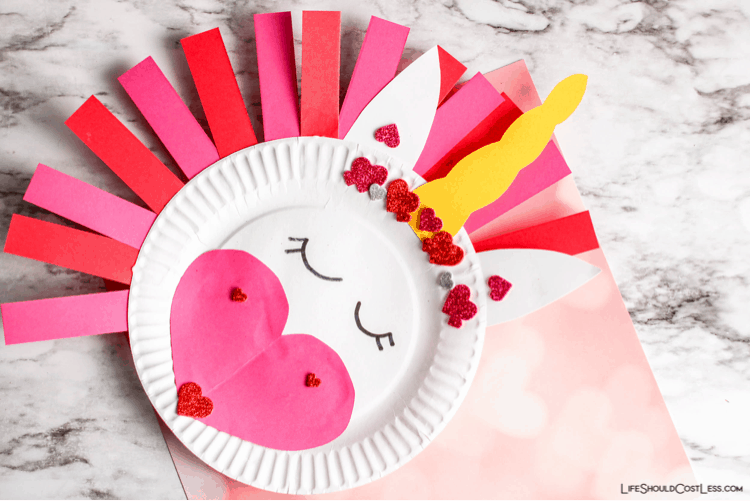
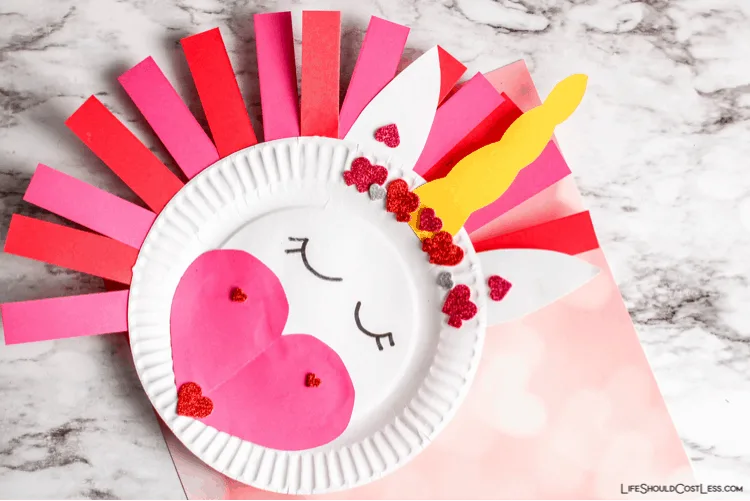
Next, we cut some colored construction paper into strips.
This part is super fun to switch things up and really show each crafter’s individuality and personality by what colors they use to create their unicorn’s mane.
Flip the paper plate horn side down and attach the strips of paper, with crafting glue, along half of the plate to create the mane.
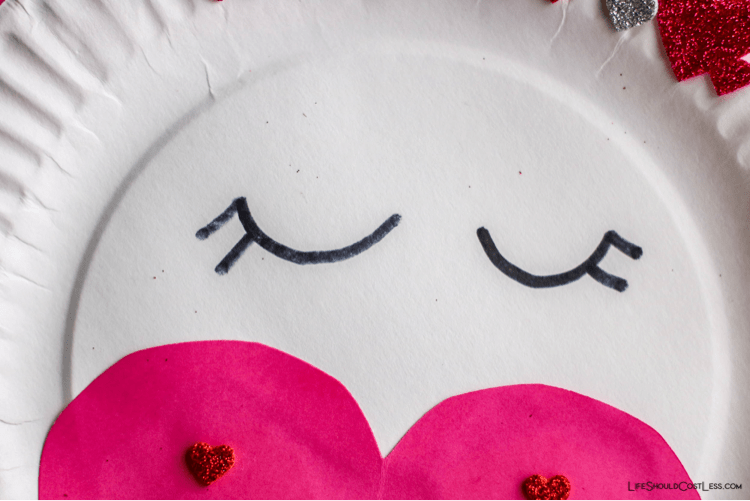
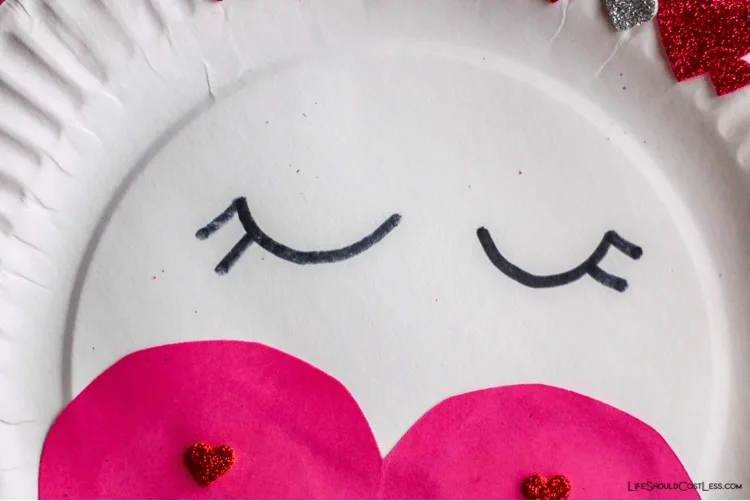
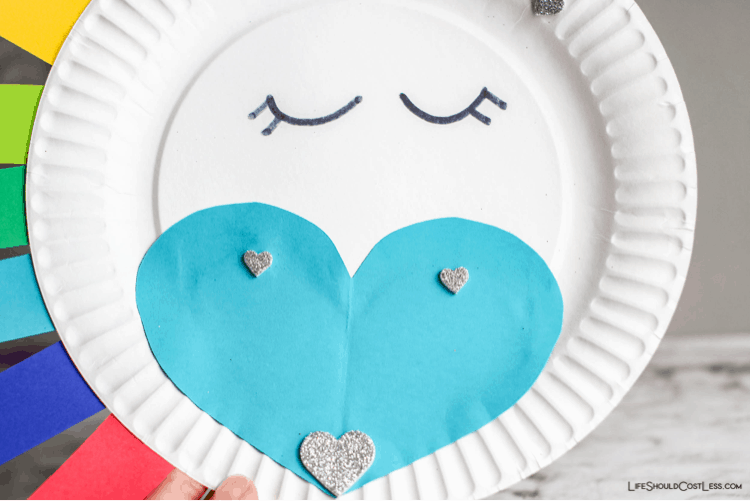
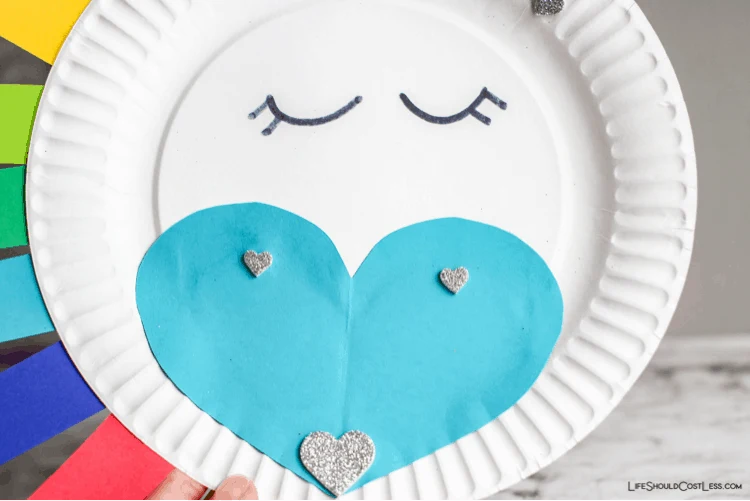
Use a marker to draw some closed eyes, or you can attach some large googly eyes.
To cover up the staples used to attach the ears and horn we used foam stickers.
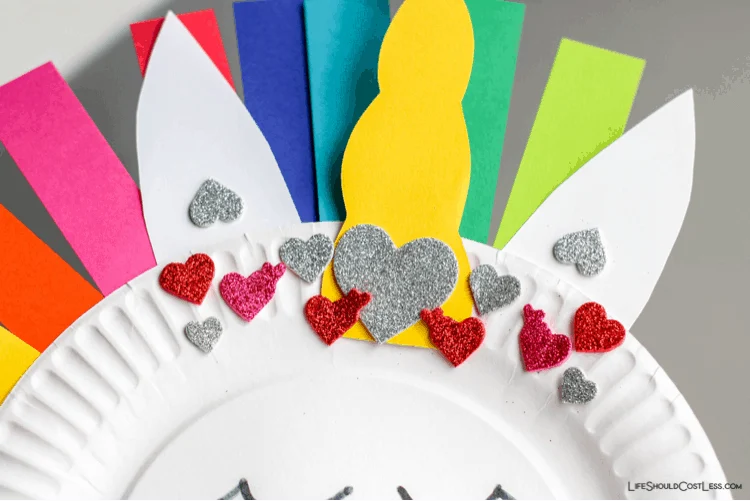
Last, all you do is cut out a large heart in your construction paper color of choice, glue it to the lower half of the paper plate and use more foam stickers to create the nostrils and mouth.
See! Just a few steps to make this simple and easy unicorn that will make the kids really excited.

It’s definitely one of the simpler unicorn arts and crafts.
Which is probably why it was so popular with both my kids and myself…it doesn’t make a huge mess, keeps them happy, they are cheap to make, AND they’re super cute!
I think it’s safe to say that we all got our unicorn fix in for the day…lol.
Thanks so much for stopping by my site! If you liked what you saw, please make sure to share it via social media!
Other ways to show your support are to follow and/or interact with me on Pinterest, Instagram, Facebook, YouTube, or by Subscribing To My Emails List.
If you purchase suggested products through Amazon, the cost to you remains the same, but I make a small commission on everything in your cart.
Also, if you ever need to buy it again, you can always come back to my site for the link…just sayin’;).
If something was particularly helpful and you would like to donate directly to my site, you can do so via PayPal, here. I’m a single mom of four, so every little bit helps. Thanks!~Sarah
Here are links to five of my other posts that you’re also going to LOVE:
For those of you that would like other options to pin these diy unicorn crafts to Pinterest, here are more options, and thanks so much for sharing!:

*Please note that this post was originally shared on this website on January 5, 2020 and has since been updated to improve user experience.