Have you been wondering what to do with that old, well-loved, cookbook that seems to be falling apart more and more each time you use it? I actually have a very simple solution that will add many years of use to that beloved book when you learn how to repair an old cookbook my way …but honestly you could repair any other types of books this way as well.
What to do with an old cookbook that is falling apart?
Sometimes throwing away or recycling an old cookbook isn’t really an option… that is because many of the best cookbooks that I have come across were the “home-made” kind that you use over and over for years and years.
They’re great books, but since they aren’t professionally bound, you can often run into the problem of pages falling out or the binding breaking altogether.
Especially if it was spiral-bound.
I have a family cookbook that is so well-loved that there were actually more pages loose/missing from the binding than there were still in tact, so I decided that it was time to do something about it before any pages went missing.
Yes, maybe it’s dorky but I consider family recipes to be heirlooms that should be passed down from generation to generation so it was even more important to me to figure out a solution than it would have been for any other cookbook.
How to repair/restore an old cookbook:
Before you start the repair, you kind of need to assess the level of damage to your book.
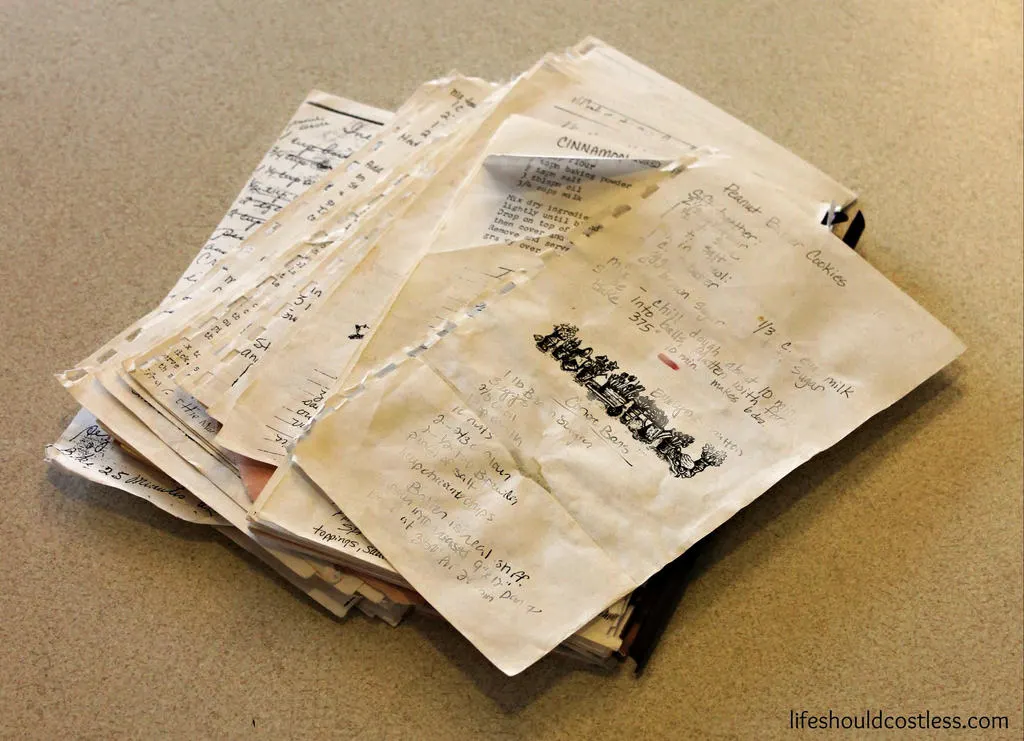
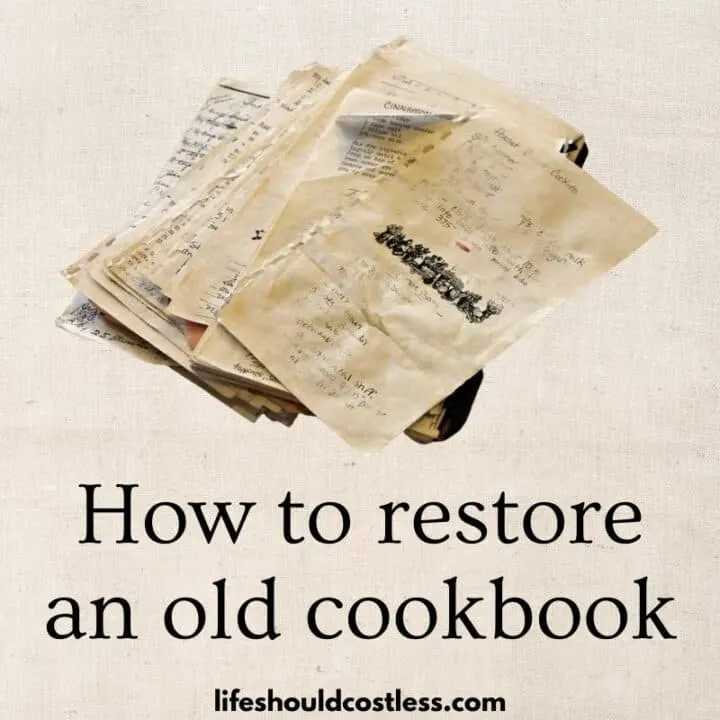
So, here is a picture from before I did the restoration to mine. Like I said, it was literally falling apart…
No the recipes on the top page aren’t really smudged that badly, I just didn’t want to post those recipes to the world, so I blurred them out.
Next, I took the cookbook all the way apart and did my best to try to organize the pages by category back to the correct order as best I could manage/guess.
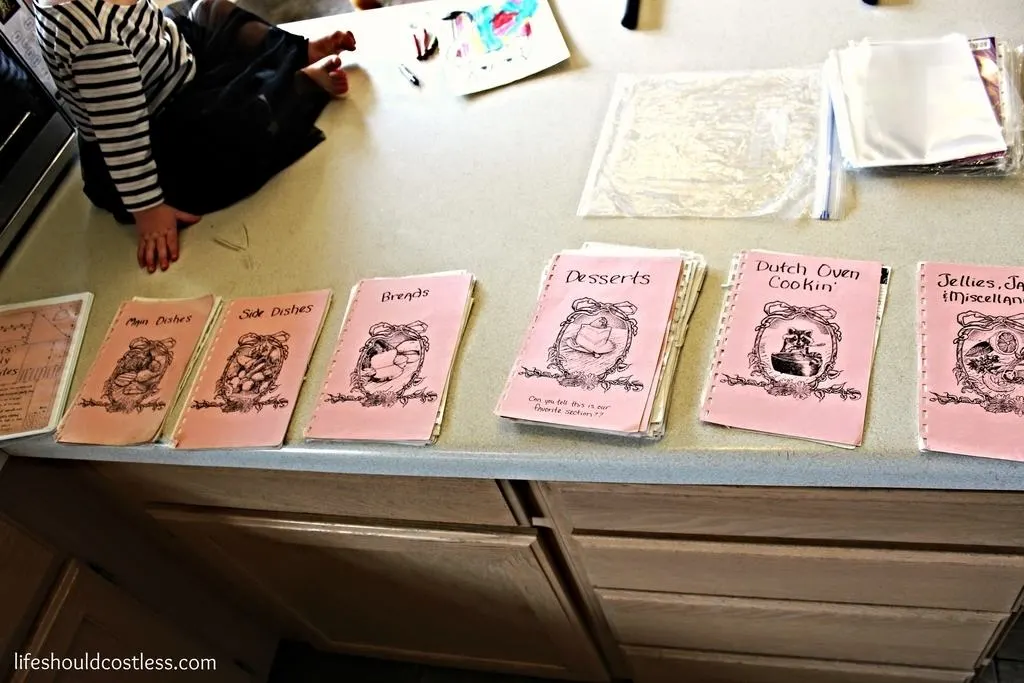
I figured that since I was elbow deep in this restoration anyway, I decided it would be a good idea to scan in all of the pages and digitize them so that my siblings and other family members would have a copy as well as you know.
So I had a backup if I ever lost this cookbook for some strange reason.
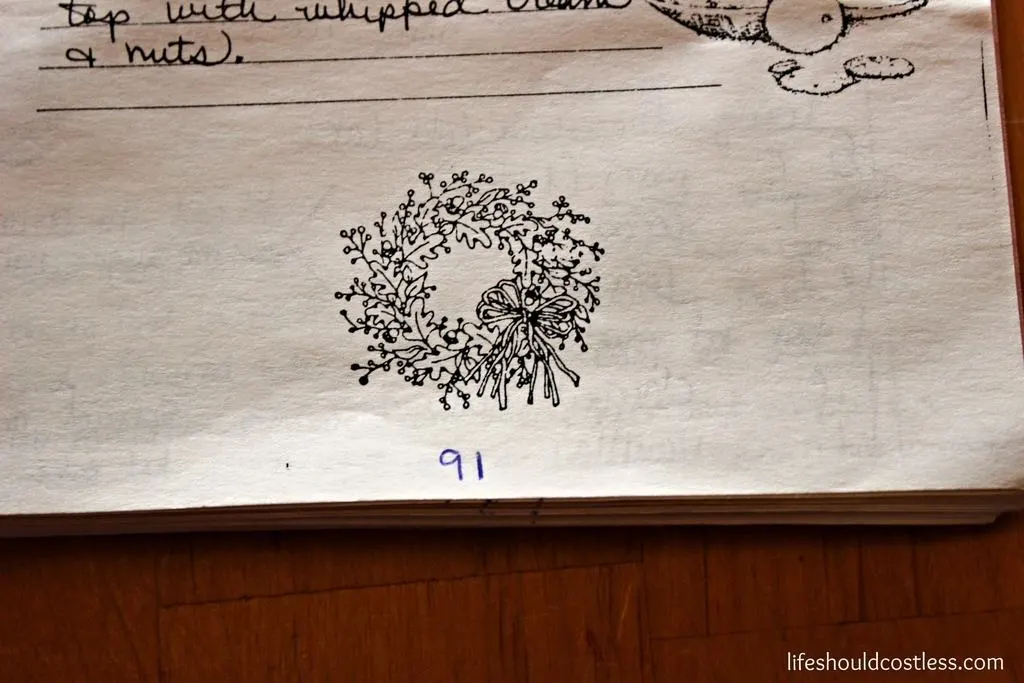
I decided that the best way to scan it in and know that I got everything was to number the pages.
I recommend doing that if you are going to the trouble of repairing a cookbook, number those pages and make a digital copy…because why not?
Now that everything was organized the way I needed it to be, it was time to do the actual “fixing”.
I chose to go with a three-ring binder to fix my book because I once saw someone, that kept their recipes in plastic, accidentally dribble batter all over the recipe that she was looking at and all she had to do grab a damp rag and wipe it off.
The page/recipe was not damaged in any way. I immediately knew that I needed to do the same with my recipes someday.
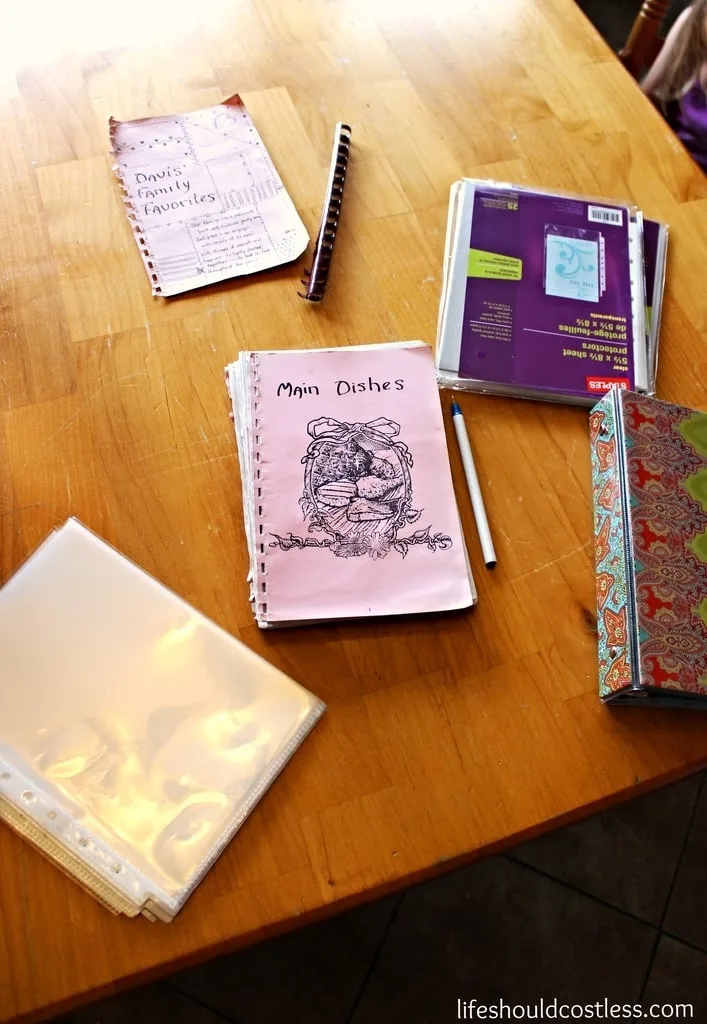
I feel like the process of placing recipe pages into the plastic protective sheets is self-explanatory… enough that I shouldn’t need to explain how to do it.
Just try to keep your pages in order and keep at it until you are finished.
It only took me about an hour start to finish to refresh this one cookbook, so if you don’t do any scanning and just dive into the actual process of places pages into plastic sheets.
I thought you may like to know what kind of time sink this project is.
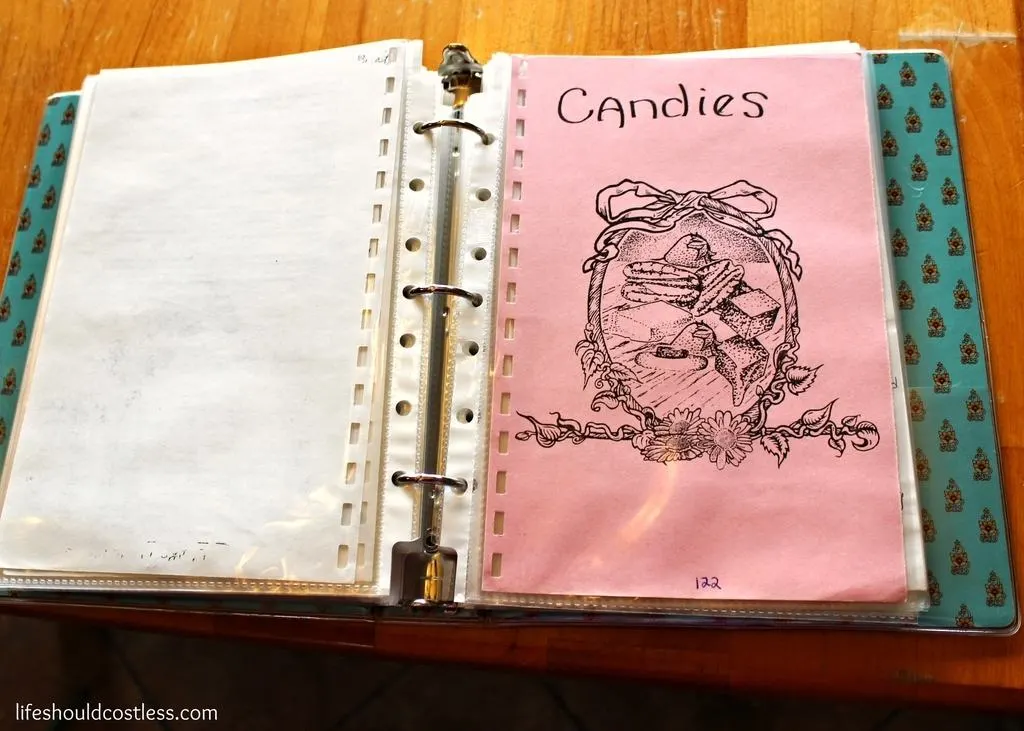
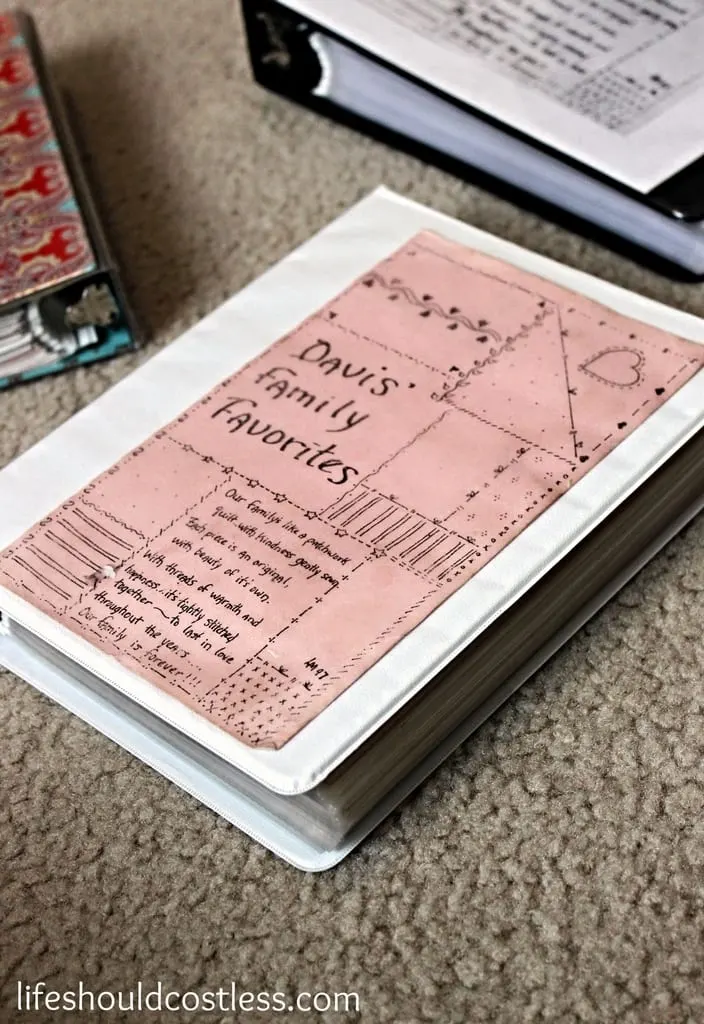
I am now so in love with my cookbook it’s not even funny, and I am never worried about being to rough with it.
The best part is that all of these old family recipes, many in an ancestors actual handwriting, will be better protected and preserved so that I can pass it down to my own children.
While I was fixing mine, and had scanned in the recipes, I made a copy and printed them out for a couple of family members while I was at it too.
The great thing about the digitized version was that I was able to increase the print size for those older family members that have a hard time reading small print… so if you’re looking for a thoughtful gift idea…you now have one 😉
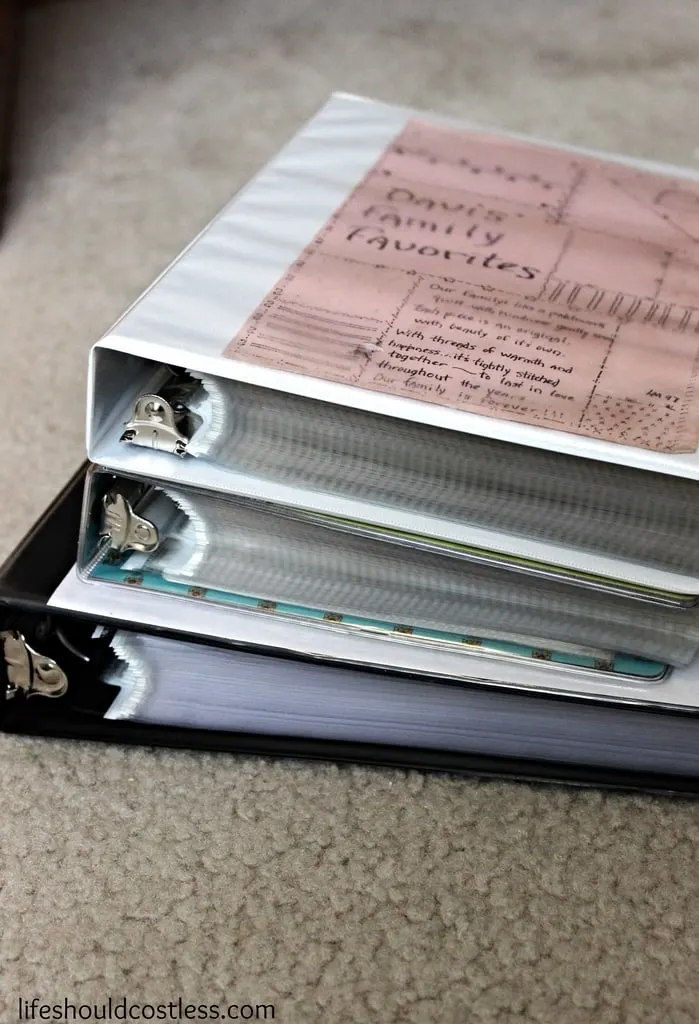
If you’re not a fan of my suggestions so far, another thing that you could do once your recipes are digitized would be to maybe crop the images as needed and get them hard-bound at a place such as https://heritagecookbook.com/.
Theirs look far more professional, so it really all depends on your own personal budget/needs.
Those are really all of my thoughts on repairing an old cookbook, it’s easy peasy and I am SO glad that I took the time to do it.
Thanks so much for stopping by my blog and supporting my endeavors to make people’s lives a little easier/better/more affordable.
If you liked this post, or found it helpful in any way, please make sure to share it with your family, friends, and co-workers via social media.
Or you could even send them the direct link via email. Whichever way you choose to spread the love, I super appreciate it! ~Sarah
To see some of my other fun DIY projects, make sure to check out my entire DIY section, found here.
How To Follow & Support This Site
- If you would like to subscribe to my email list, go here.
- Make sure to follow along via social media, by going here.
- If you would like to learn how to really show your support to this site (at no cost to you), go here.
- If you would like to make a direct donation to the site, go here.
Here are direct links to five of my other fun projects that you might like too:
For those of you that would like another option of a “pinnable image” to share this on Pinterest, here you go. Thanks again for the support!:
*This post was originally shared on this site on May 13, 2015 and has since been updated to improve user experience.
