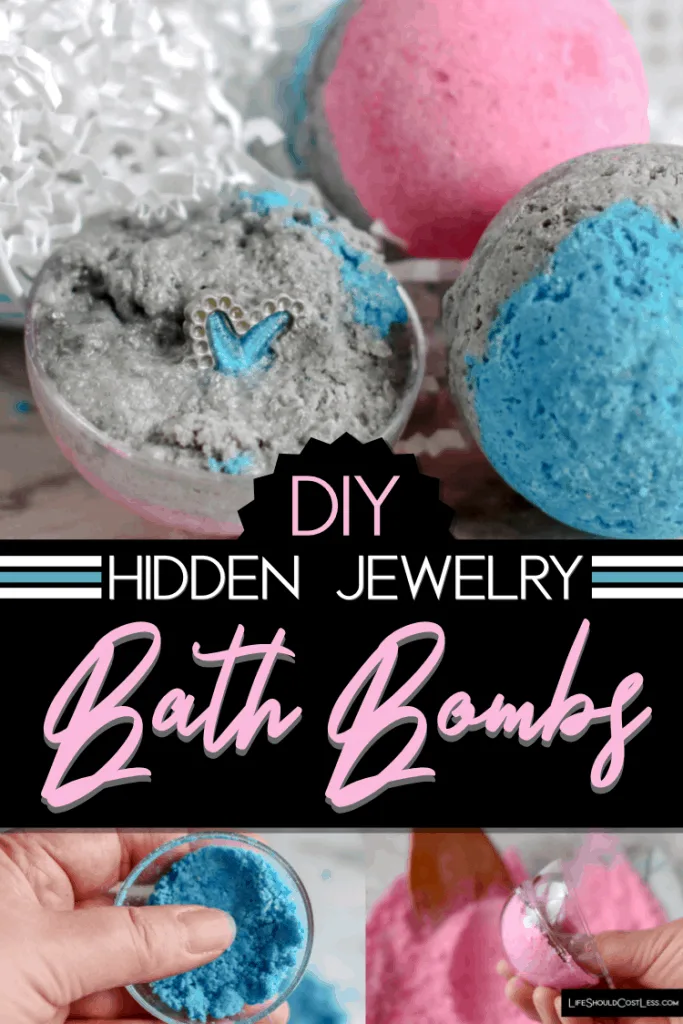
I’ve been wanting to share with you guys an easy tutorial on how to make bath bombs with hidden jewelry inside. It is a simple and fun tutorial and I’m excited to finally get around to posting it!
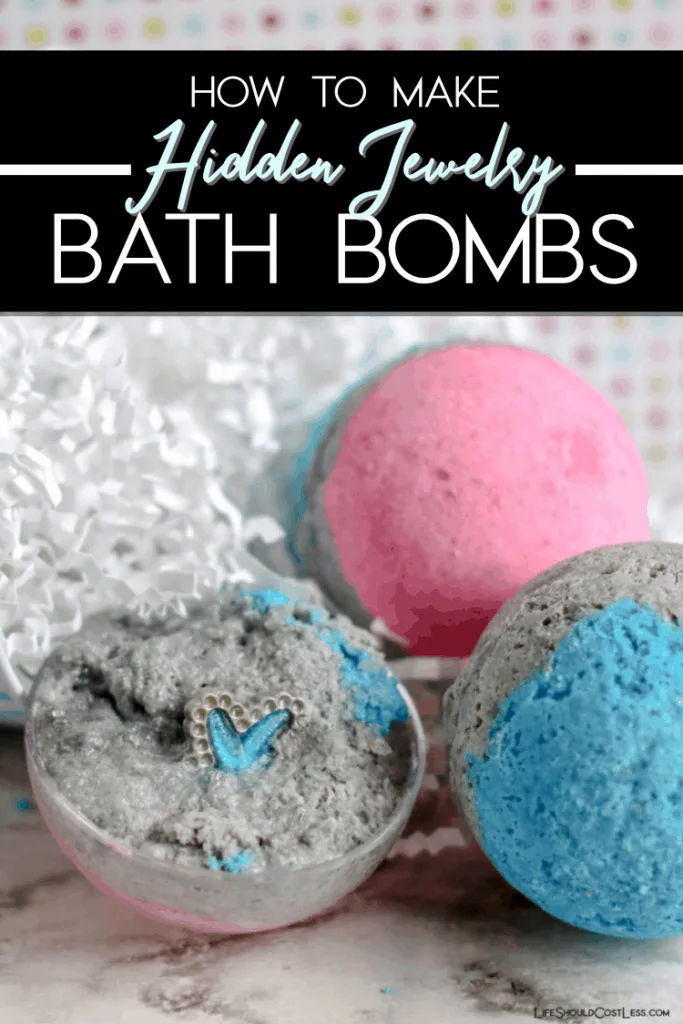
It is easier to learn how to make bath bombs with hidden jewelry inside than you may think, so this particular activity can be fun for both older (supervised) kids and adults alike.
These DIY hidden gem bath bombs can also be a fun way to personalize a home-made gift for someone too.
Use the recipients favorite essential oils, or colors of dye, or you could even put in an extra special surprise and include an even nicer piece of jewelry inside.
**Before we get to it, don’t forget that if you love this craft/project to check out my entire Crafts section, as well as my DIY section.**
First, I want to show you a little video of the process of making them… and then I will give you a mini-tutorial with still images, followed by a free printable “How To Make Bath Bombs With Hidden Jewelry Inside” How-To Card so that you can print it out and save the recipe/instructions in your bath bomb making supplies.
A shareable version of this video can be found on Youtube at: https://youtu.be/sU6t_5ghqDo
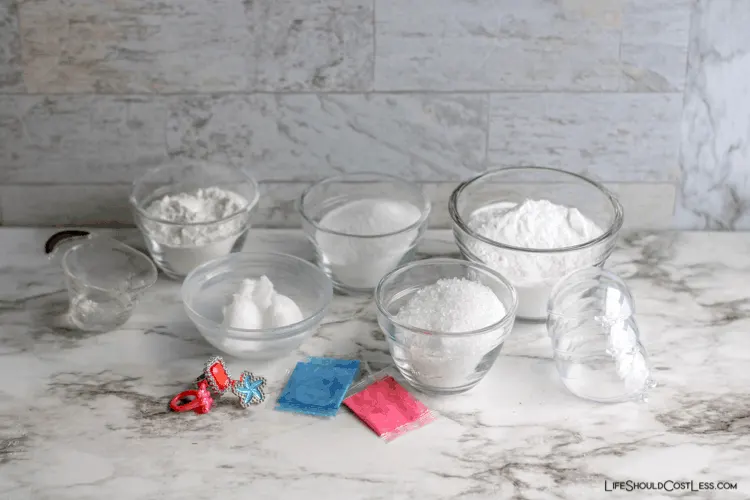
Here are the ingredients all laid out.
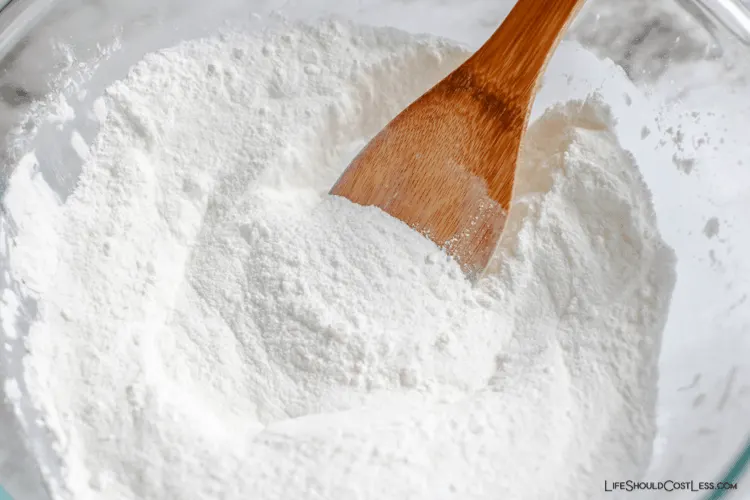
We start by mixing the all of the dry ingredients.
Adding dye to make different colors is actually totally optional.
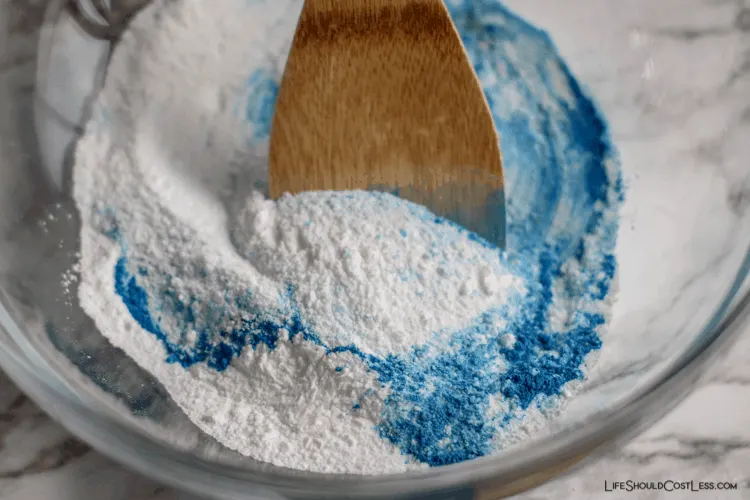
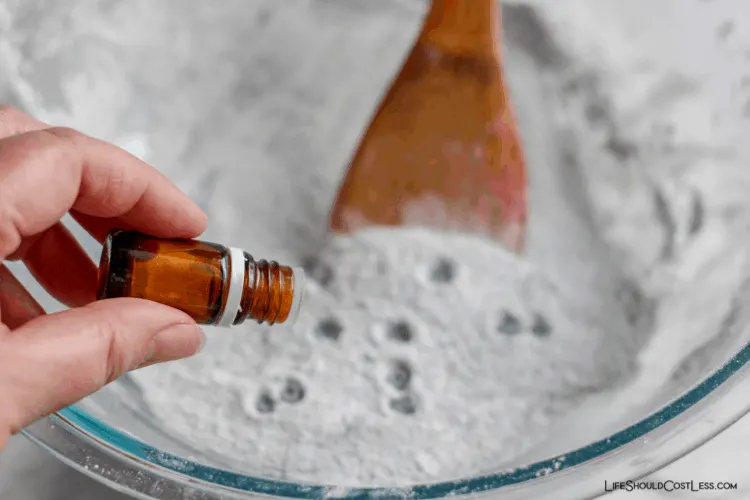
Once that’s mixed well, add the essential oil and mix well again.
Add the wet ingredients and gently mix well.
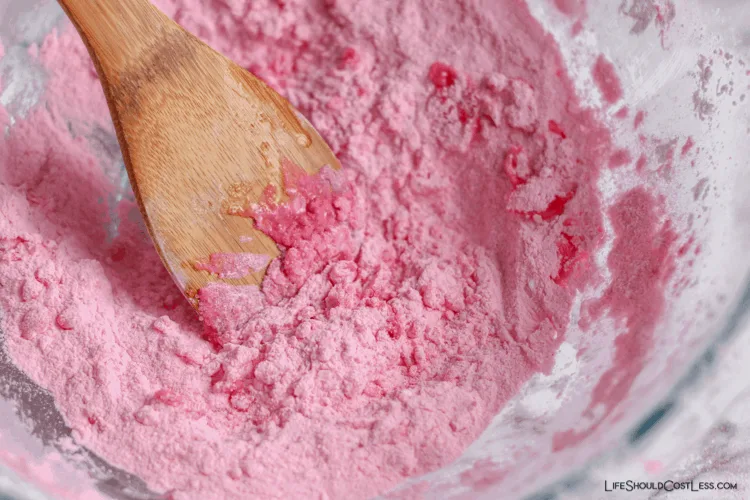
When done stirring, it should have a sand-like texture.
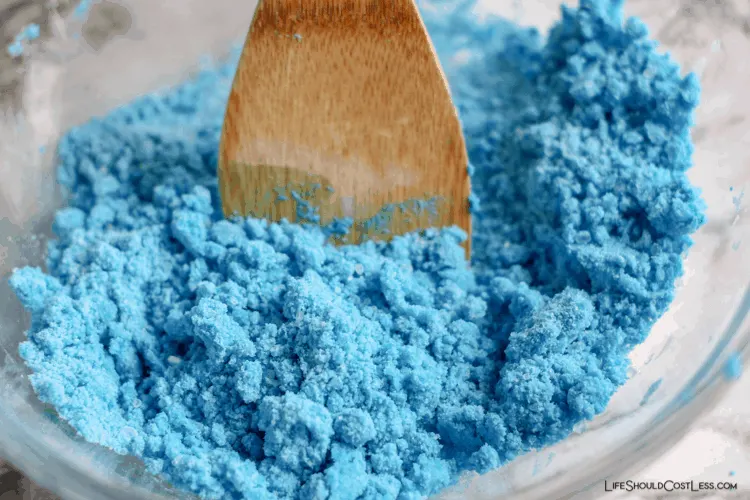
Press about half of your mixture into both sides of a bath bomb making mold, color them however you desire.
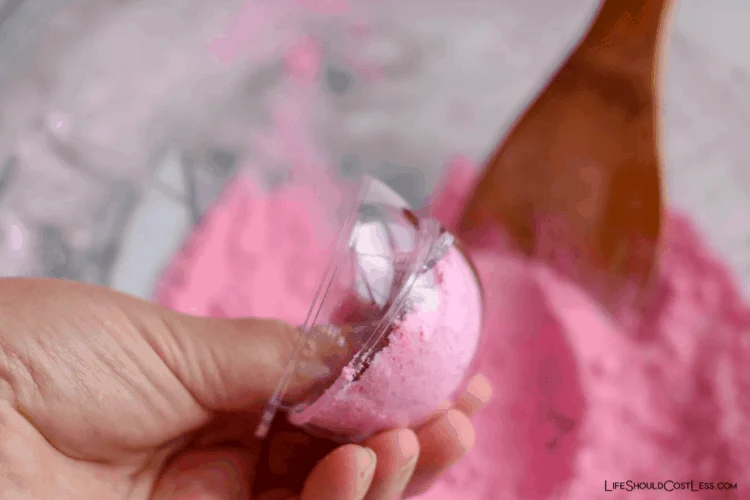
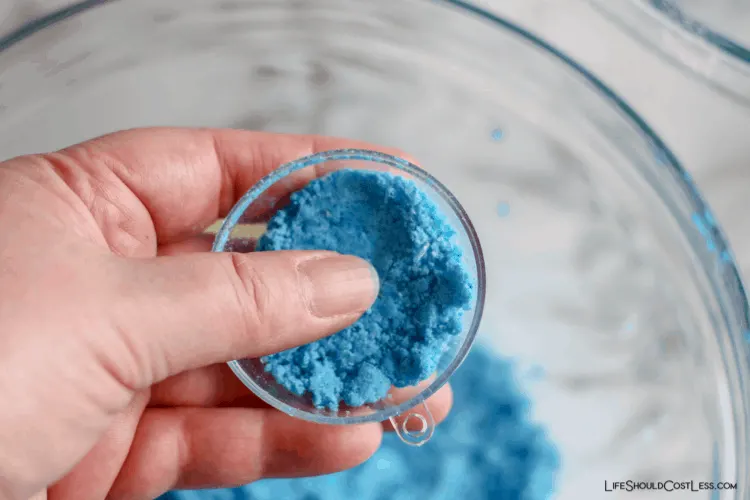
When one side is half way full, press whatever gem or jewelry into one side.
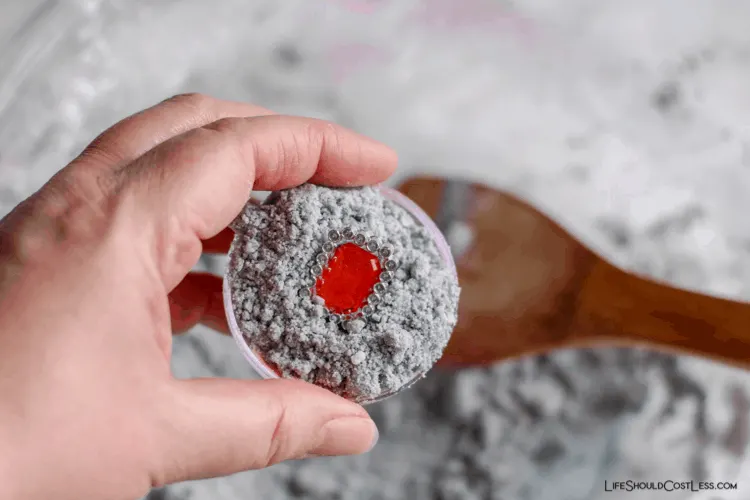
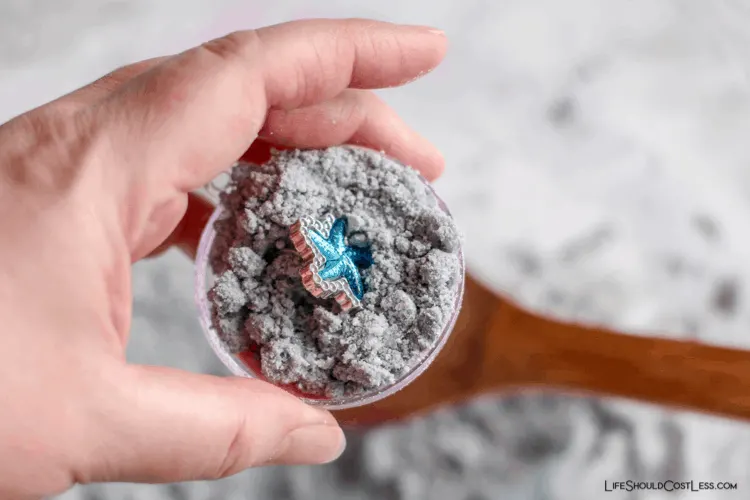
Then squish the two sides of the mold together to form your ball. Allow to dry, while in the mold, for 24 hours.
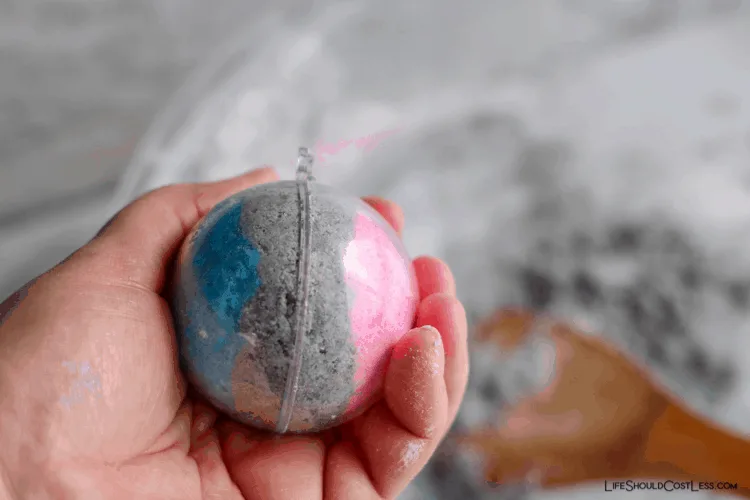
When it’s time to take your new bath bomb out, gently tap the mold to release the edges and open it up.
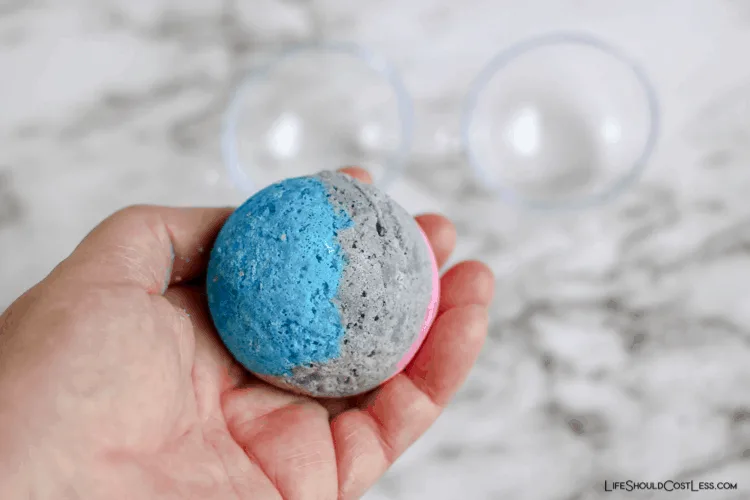
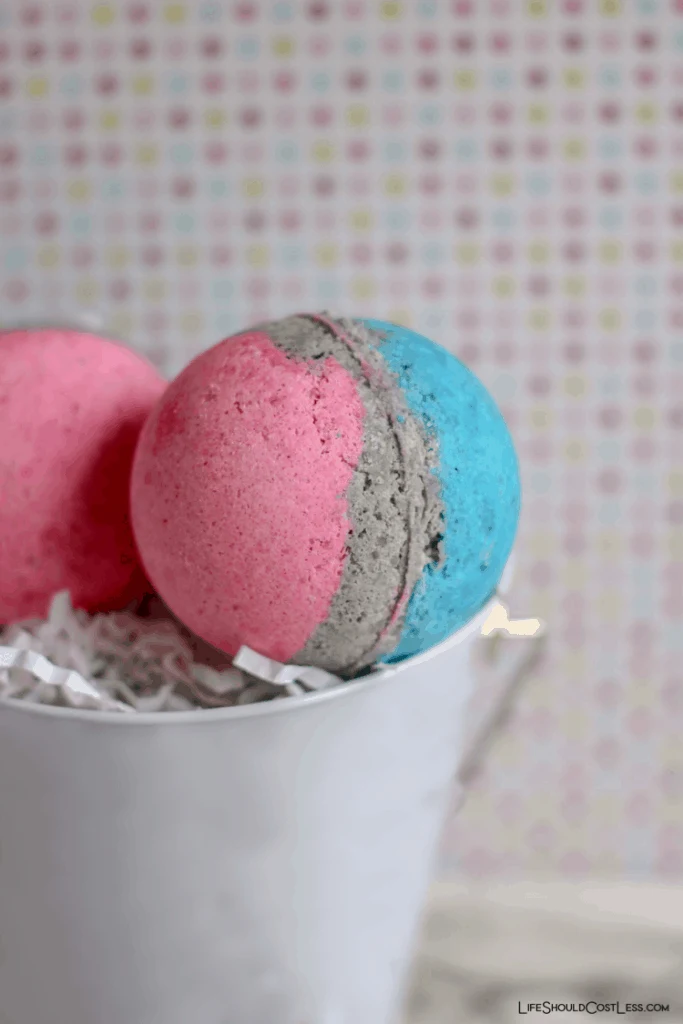
They turn out pretty cute and are a fun way to surprise someone with a little something extra.
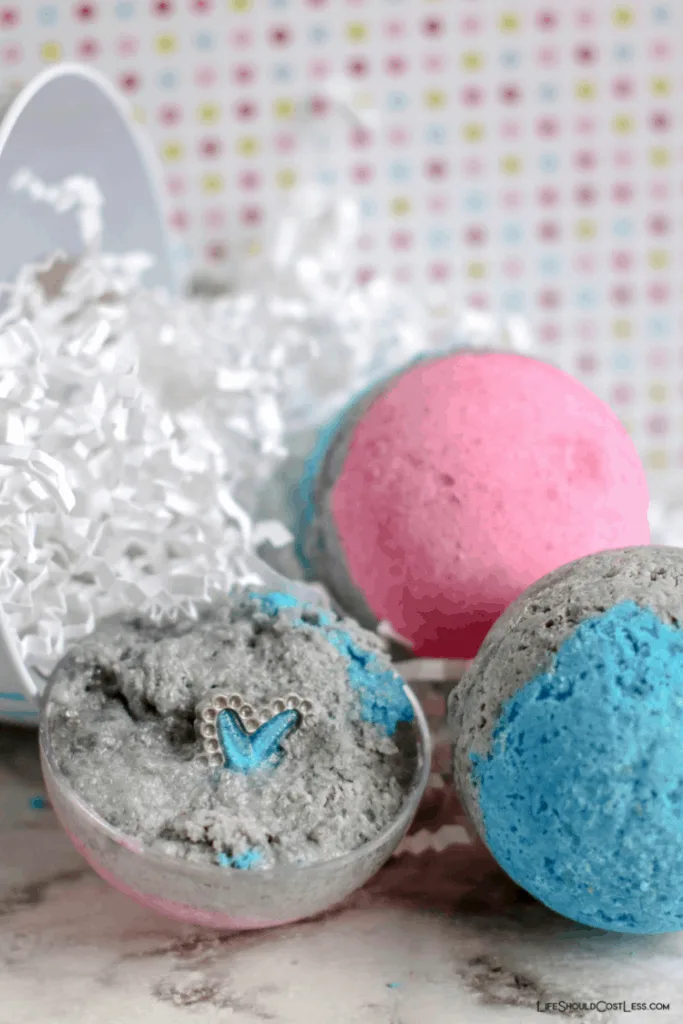
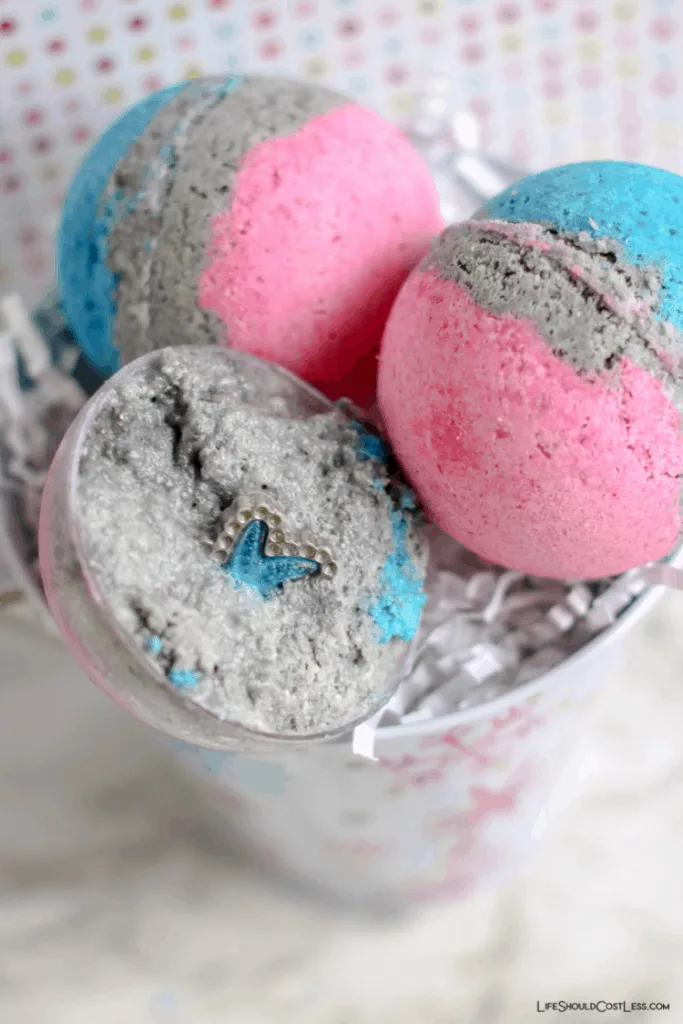
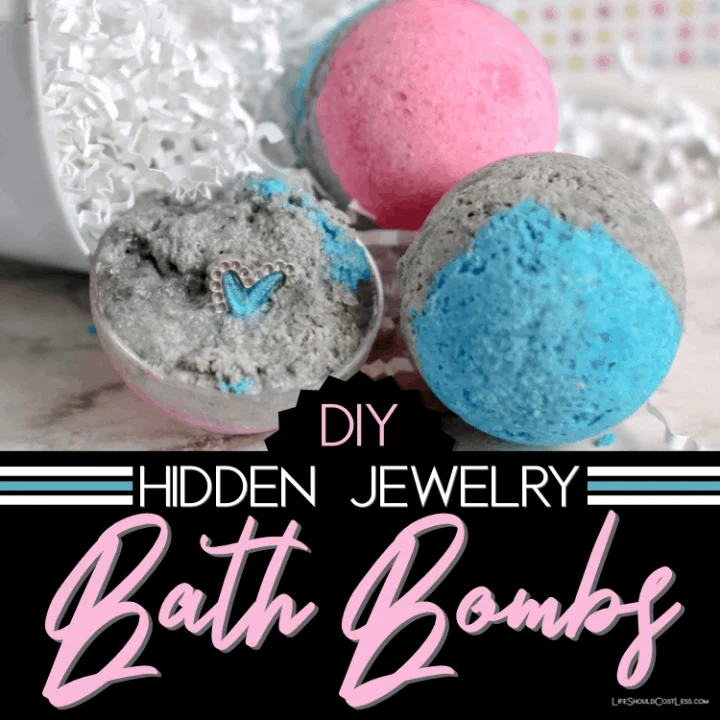
How To Make Bath Bombs With Hidden Jewelry Inside
DIY: How to make bath bombs with hidden jewelry or prizes inside. A super fun activity for a girls night, kids craft, or even a fun personalized gift.
Materials
- ½ cup cornstarch
- ½ cup citric acid
- ½ cup Epsom salt
- 1 cup baking soda
- 1 teaspoon Mica powdered soap dye, if desired
- 10 drops essential oil
- 2 ½ tablespoons coconut oil, melted
- 1 tablespoon water
- 8 to 10 small surprises
Tools
- 8 to 10 bath bomb molds
Instructions
- In a large bowl, whisk together cornstarch, citric acid, salt, baking soda, and mica powder. If making more than one color, divide the mixture into separate bowls.
- In a small measuring cup, whisk together essential oil, coconut oil, and water. Note: If making more than one color, divide the mixture into separate bowls.
- Very slowly (to avoid as much fizzing as possible) add the water solution to the dry ingredients. Stir and mash together until it resembles sand.
- Immediately transfer bath bomb mixture into bath bomb molds, pressing mixture tightly into each side and adding a little to overflow each side of the mold. Press the surprise into the center on once side of the mold and then squeeze the mold together, twisting until closed.
- Allow bath bombs to rest (and dry) for at least 24 hours.
- To remove the bath bombs from the molds, tap the outside of the mold gently. Then, twist each side of the mold and pull to remove the bath bomb.
- To give as a gift, wrap tightly in plastic wrap or place in an airtight jar.
This would be the perfect activity for a girls night sleepover if you’ve got some crafty friends.
If not, it’s still a pretty fun skill to have and can sometimes even be a way to make a little extra money if you need a home-made gift to sell.
Anyway, that’s all I have to share with you today.
Thanks so much for stopping by my site! If you liked what you saw, please make sure to share it via social media!
Other ways to show your support are to follow and/or interact with me on Pinterest, Instagram, Facebook, YouTube, or by Subscribing To My Emails List.
If you purchase suggested products through Amazon, the cost to you remains the same, but I make a small commission on everything in your cart. Also, if you ever need to buy it again, you can always come back to my site for the link…just sayin’;).
If something was particularly helpful and you would like to donate directly to my site, you can do so via PayPal, here. I’m a single mom of four, so every little bit helps. ~Sarah
Here are links to five of my other DIY posts that you’re also going to love:
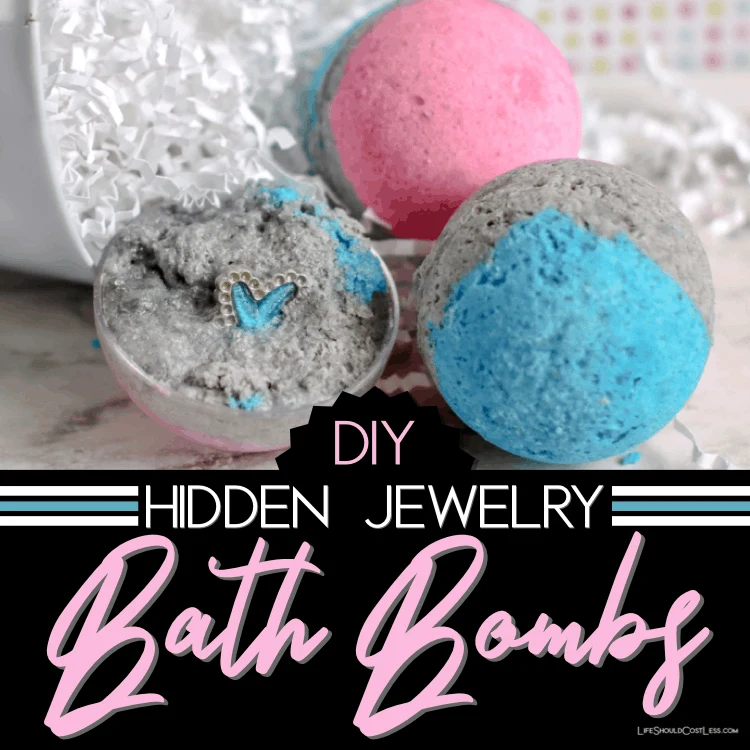
For those of you that would like another option of a pinnable image for Pinterest, here you go. Thanks so much for sharing!
