Learn how you can easily clean and cover/fix/fill scratches in dark wood with this super simple tutorial on how to use Old English Scratch Cover for dark wood. The best part is, that if it is done properly, your cabinets or furniture will not only be clean, but will also look nearly new again with no need to refinish anything.
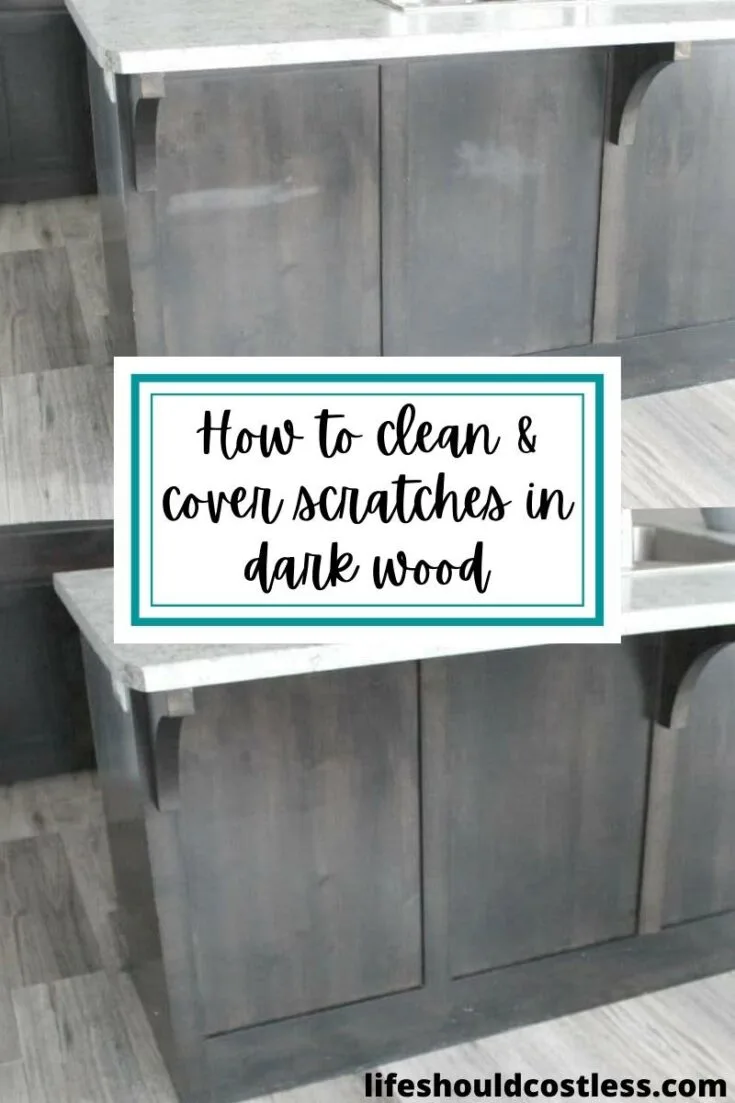
When I was getting my house ready to put on the market I was doing the typical moving-out deep cleaning that you normally do.
I was really upset by how banged up my dark kitchen cupboards were looking…Yikes, they were bad!
They only looked a little used when we moved in, but my little stinkers for children and I were definitely rough on them, and they needed help BADLY.
I needed to figure out how to refresh my dark wood(learn how to fix a scratch on dark wood) and quick because it just wasn’t an option to sand them down and refinish anything.
I was at a loss as to what to do about it too, which I think is the worst part about having that kind of problem… Not knowing a good solution I mean.
I knew that those touch up markers wouldn’t do too much and that I didn’t have the time or the resources to sand down and refinish the cupboards, or replace them altogether.
The house was only three or four years old, so that would be silly and very costly to put in a new kitchen.
Luckily, for all of us, I found a simple solution, and what I would consider the best dark wood scratch cover option out there.
I think that the best part about it is that taking this route to solve the scratch problem is that it both cleans AND refreshes the wood at the same time… which is a major time-saver.
That would not be fun to clean the wood, do what needed to be done to fix the wood, and then have to clean it again.
Before and after using Old English Dark Wood Scratch Cover:
Prior to showing you my “tutorial”, I want to show you how well this method worked (as a wood refresher and as the best scratch cover for dark wood) in three different places in my kitchen.
Just remember that I told you that my kitchen was pretty banged up…
Which is one of the only things that I didn’t like about having such dark wood cupboards they show every little ding and even though I wiped down the lower cupboards just about weekly, they still looked dreadful.
Also, I guess I need to stop cleaning so hard because half of what needed refreshing was from me bumping the vacuum too hard banging into the cabinets and from pushing too hard with a generic magic eraser.
Too much elbow grease is not always a good thing I guess. Here are some before and afters.
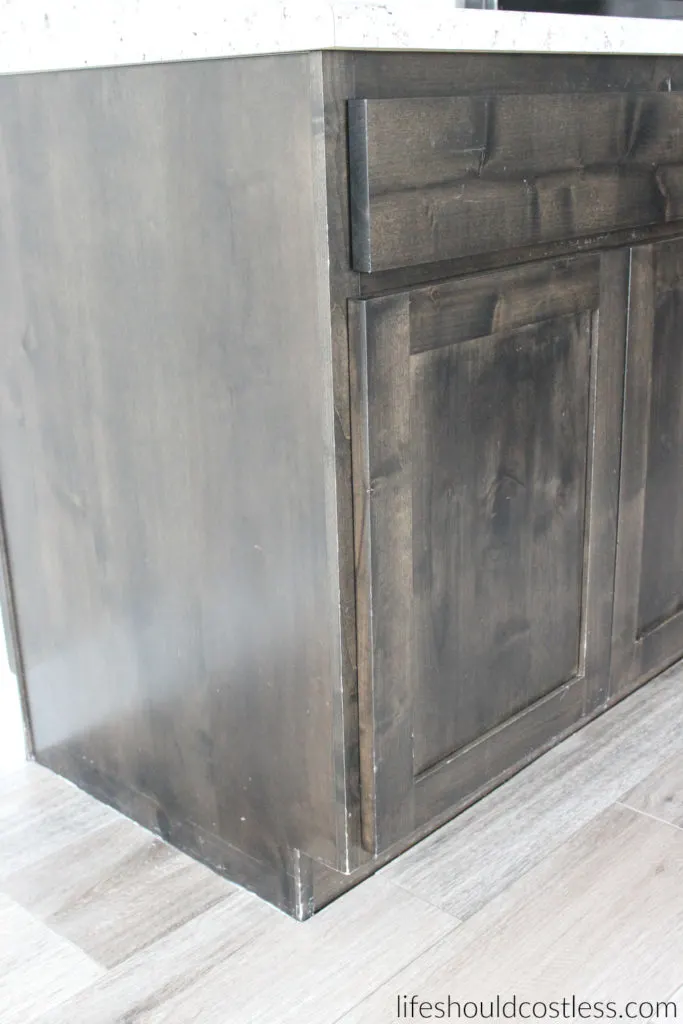
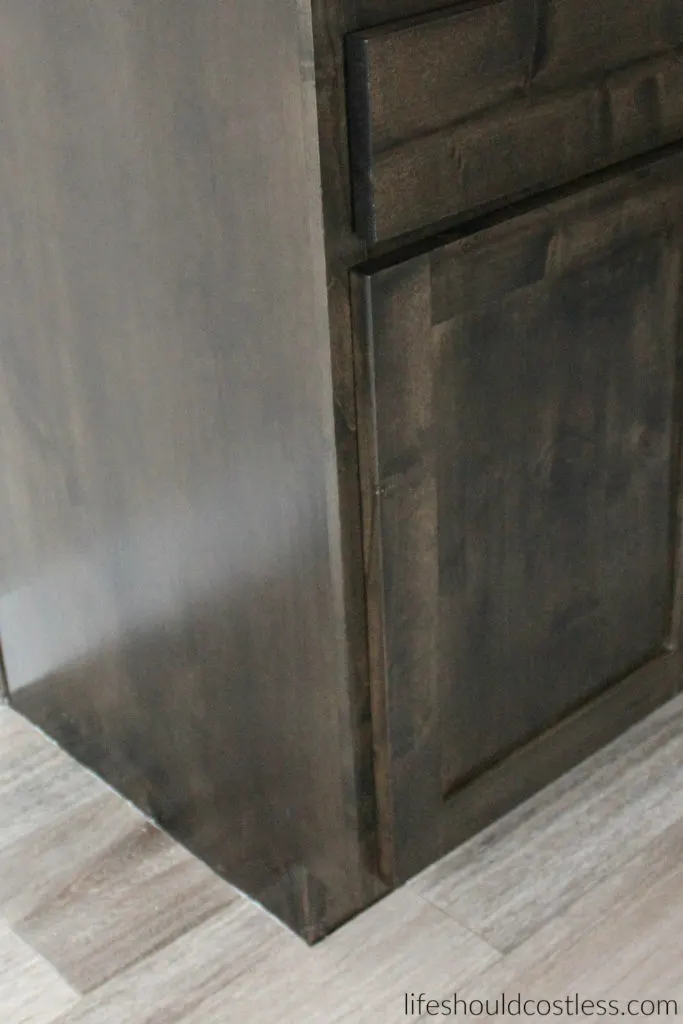
It’s pretty crazy how drastic of a difference it is, huh? Next, on the center kitchen island you see the cloudy parts that look like big smudges.
Those are the parts that I got a little carried away with a knock off magic eraser on… yeah, I know I need to take a chill pill on the cleaning.
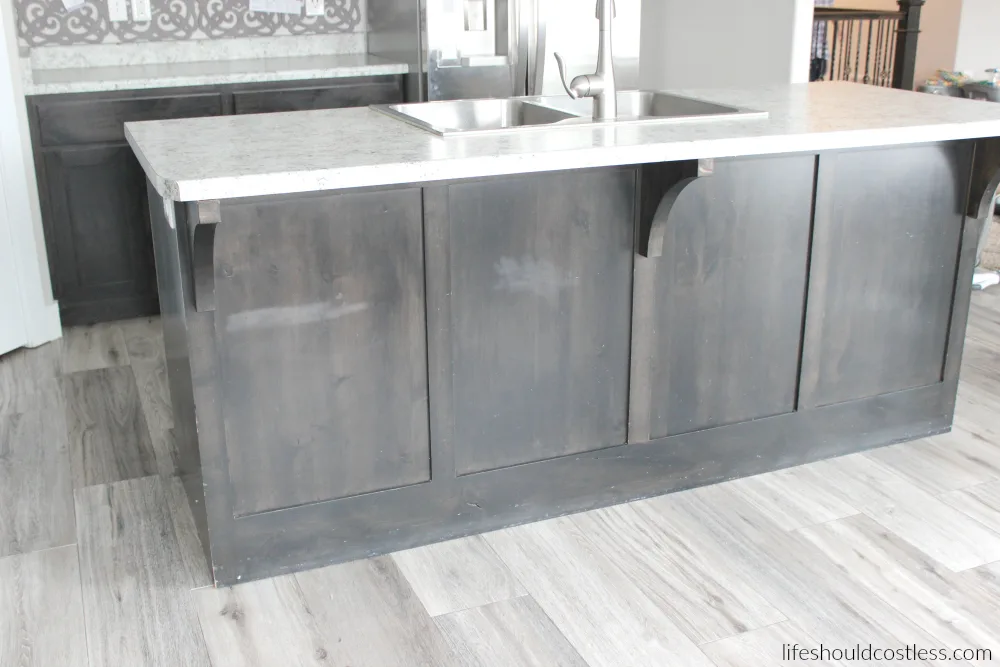
But this miracle cleaning hack took care of it, hiding those cloudy patches, using Old English For Dark Wood worked pretty well if you ask me.
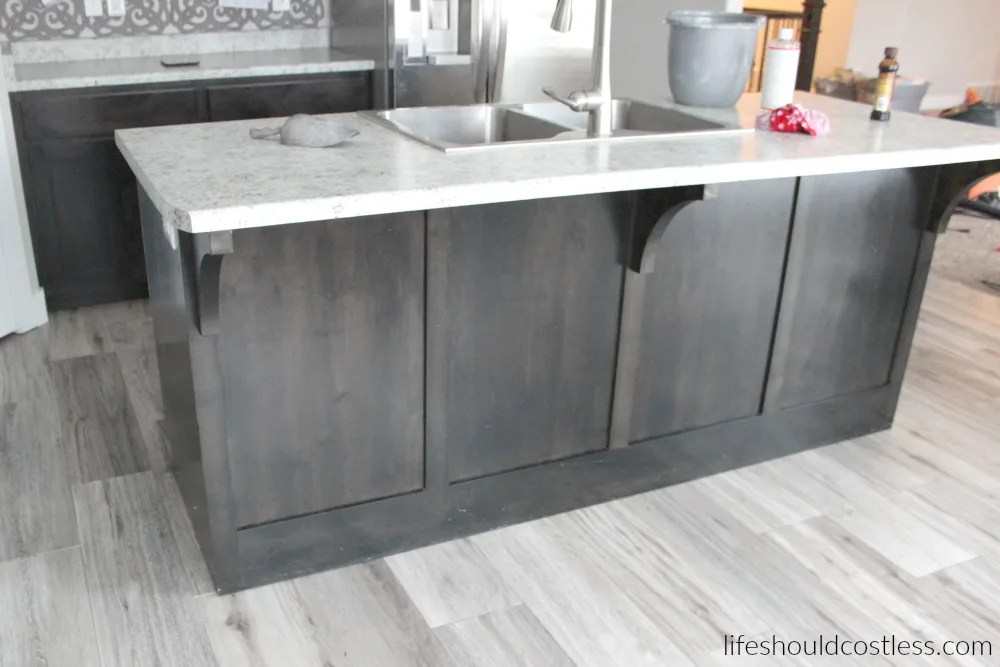
Next we see the part of the cabinetry that looks bad because of the garbage can continually banging into it.
The only part I didn’t do a good enough job on was the bottom where the vacuum had scuffed the wood and I didn’t notice it until I was looking at the pictures…oops.
Oh well, it still looks considerably better than before.
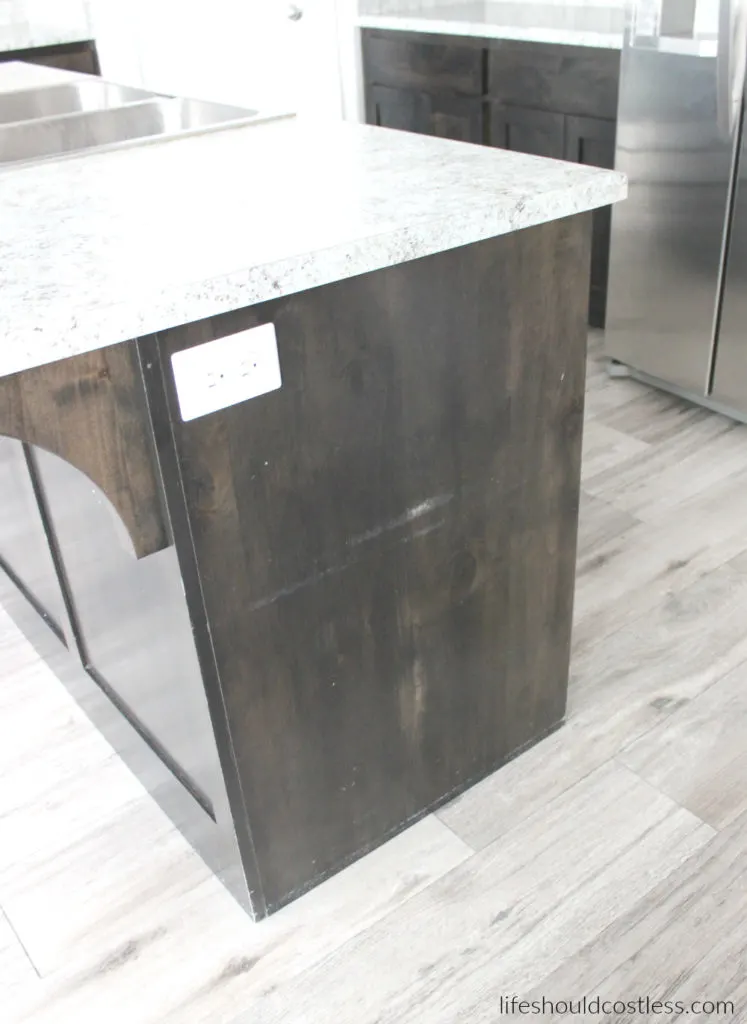
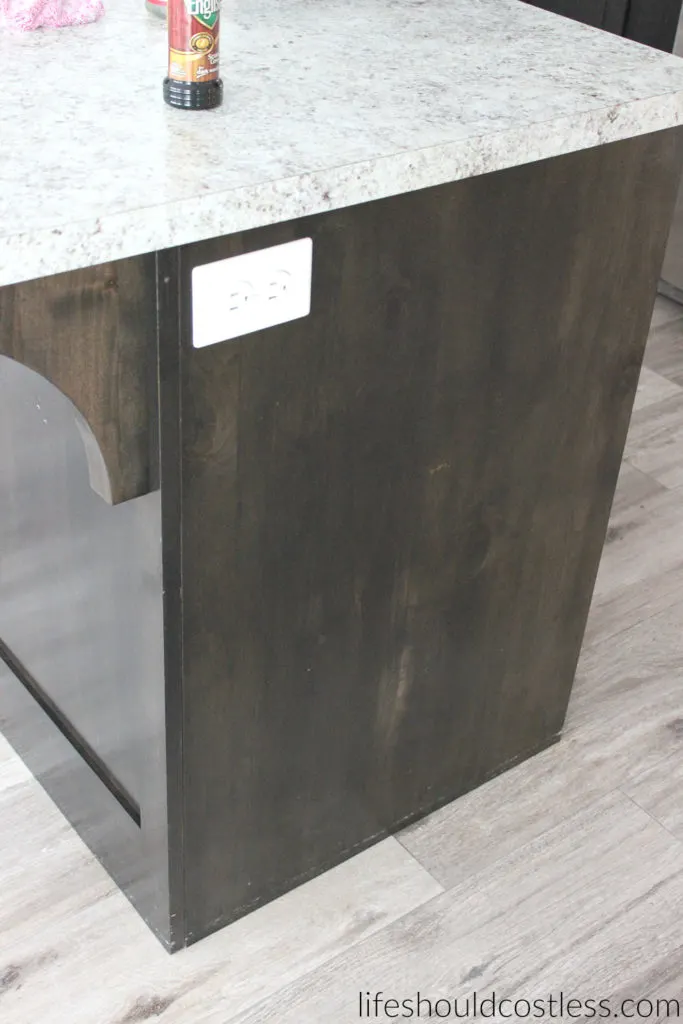
I discovered the best product to cover scratches, dings, scuffs, and nicks in dark wood one day when I was looking at all the cleaning products at Wal-Mart, trying to figure out how to solve my cabinetry dilemma.
I came across Old English Scratch Cover For Dark Woods and I was super excited to find it!
I have always really liked the regular Old English wood cleaner/conditioner, so I just knew I had to give it a shot and see how well it worked for dark woods too.
As you have already seen, it does an impressively good job (psst, apparently Old English also has a scratch cover for light wood, so I thought I would also mention that if you need it for lighter colored wood as well).
How to use Old English Dark Wood Scratch Cover:
It’s not hard to use Old English Dark Wood Scratch Cover to hide nicks, dings, scratches, and imperfections in dark wood cabinetry/cupboards/and furniture.
Like not hard at all… but I do want to give you a little bit of direction so that you will get the best results possible while you are at it.
How to refresh and clean dark wood:
To start, you will need gloves, at least two old rags, and possibly some thick painters tape…if you need to reach any hard to reach spots that is.
Use the first rag as your cleaning rag.
This is the rag that you will pour the product directly into and then rub/massage it all over the wood.
I like to work in sections and then let it sit for a bit before I use the second rag to wipe/buff away any excess. That is really all you have to do.
Can you believe that it is that easy?
I recommend using old rags that you aren’t going to be heartbroken about throwing away when you are done because it is really hard to wash the scratch cover out of them.
Also, make sure to saturate the rag pretty well and directly wipe, with the wettest part of the rag, all of the nicks and dings in the wood (the damaged parts of the wood surfaces need it the thickest).
I like to take care of all of those (the nicks and dings) first so that the scratch cover soaks in there really well.
Oh, I did mention that you might want to use some thick painters tape and that should only be necessary if you need to clean right next to the edge of the cabinet by the wall or if there is a possibility that something will get stained.
This stuff will get all over those surfaces so make sure to take the precaution of using tape so that you’re not cursing later.
The Best Part is that as you are taking care of your scratches, it does such a good job cleaning the cupboards too!
If you have both kids and dark cabinetry you already know how much finger prints and smudges show up, but they are no match for this product.
Anyway, that’s really all you have to do to keep your dark wood looking as good as possible while still living in your home.
Just remember to use a clean rag to buff off the excess product once you have let it sit and soak for a moment.
It’s so simple and works so well.
Easily the best way to clean dark wood furniture!
Before I found this stuff, I was pretty sure that I would never EVER intentionally put dark cupboards in a kitchen (after the headache of having lived with dark cupboards and kids).
Now that I know about such a simple solution I don’t think that I would even bat an eye at the thought of having dark wood cabinetry in a home ever again… they’re so simple to upkeep now that I know how.
What do you all think? Don’t they look SO MUCH BETTER? And to think it was such an inexpensive and quick fix too.
Thanks so much for stopping by my blog and supporting my endeavors to make people’s lives a little easier/better/affordable. If you liked this post, or found it helpful in any way, please make sure to share it with your family, friends, and co-workers via social media.
Or you could even send them the direct link via email. Whichever way you choose to spread the love, I super appreciate it! ~Sarah
Follow Me
How To Follow & Support This Site
- If you would like to subscribe to my email list, go here.
- Make sure to follow along via social media, by going here.
- If you would like to learn how to really show your support to this site (at no cost to you), go here.
- If you would like to make a direct donation to the site, go here.
P.S. You may also want to check out my entire Cleaning section.
Here are a few of my other posts that you’re also going to enjoy:
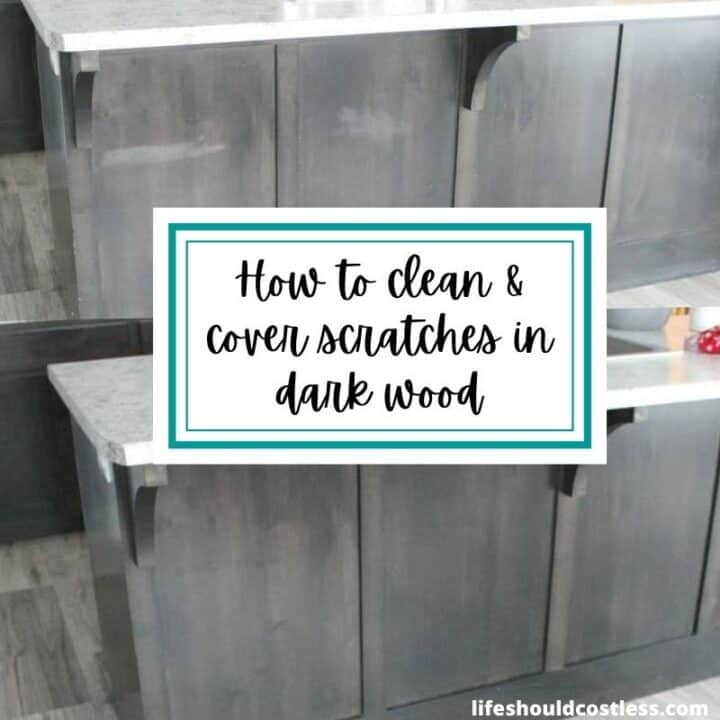
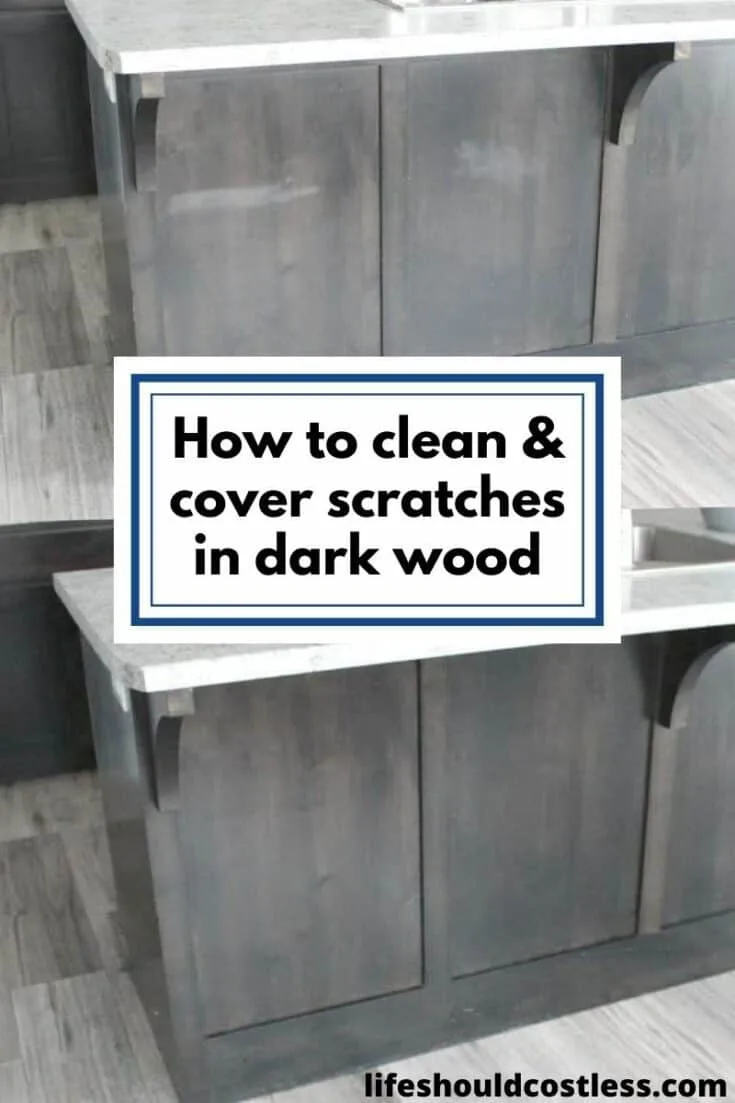
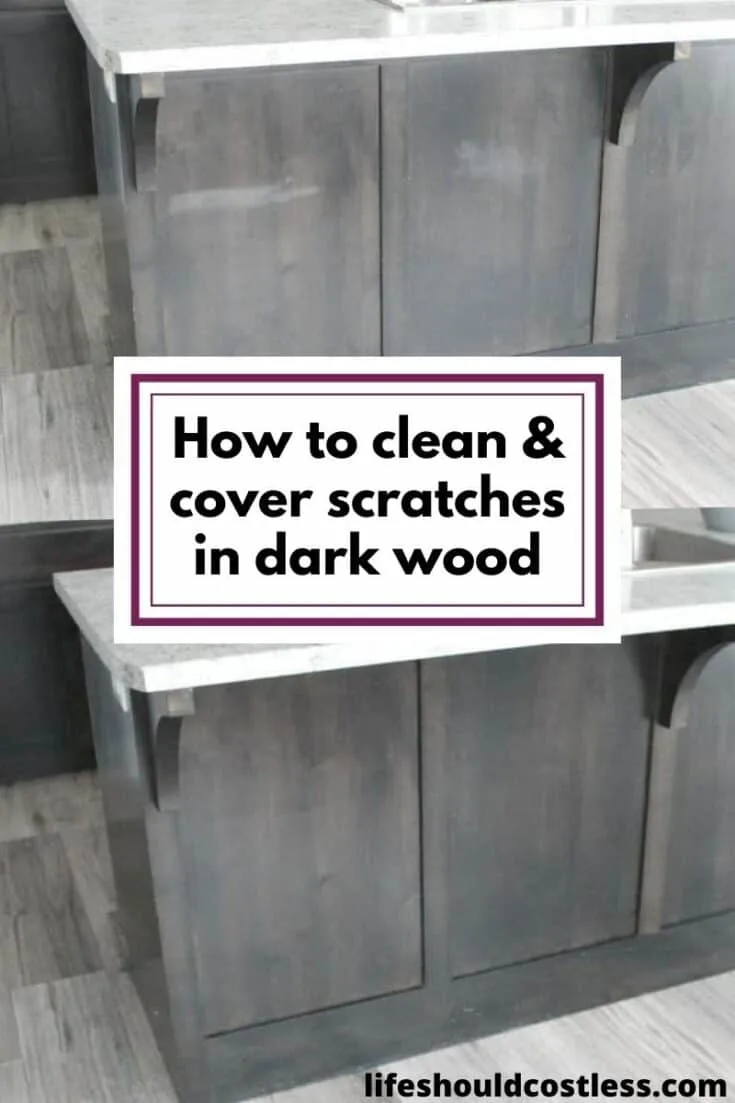
For those of you that would like more options for a “pinnable image” to share on Pinterest…here you go. Thanks again so much for the support!
*Reposts: Please note that this idea/post was originally posted to this website on 0/11/2017, but it was in great need of a refresh to remain relevant & it is now more user friendly/shareable.
