
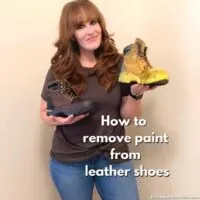
Whether it was an accident or not, getting paint on leather shoes can be frustrating, especially when you want to keep them looking their best. Fortunately, with the right approach, you can remove paint from leather without damaging the material. In this step-by-step guide, we’ll walk you through the methods and tools needed, and teach …
DIY


Learn how you can easily create Easy Lace DIY Privacy Windows for an inexpensive way to let in natural light. This project works double time by both giving you privacy and making your room look beautiful all at the same time.
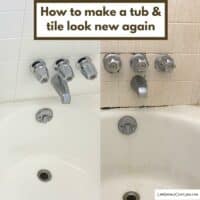
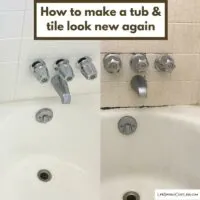
In this article, we give you a complete look at what it takes refinishing a bathtub and tile shower surround in your bathroom. Tips, tricks, what to realistically expect, also a product review for the Rustoleum Tub and Tile Refinishing Kit, in how to make your bathtub and tile look new again.
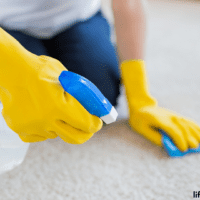
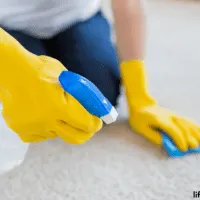
Your carpet is one of the most heavily used items in your home. It experiences daily wear and tear, not to mention spills, stains, and foot traffic. Over time, your once beautiful and plush carpet can start to look dingy and worn out. However, you don’t have to replace your old carpet just yet. With …

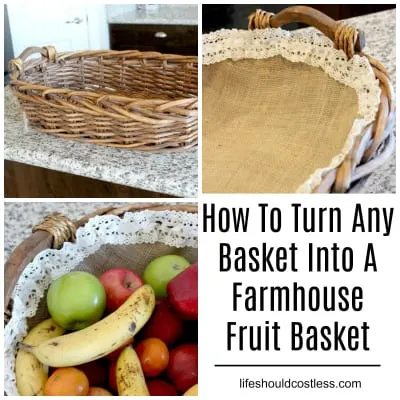
I have always wanted to have a huge counter-top fruit basket in my kitchen, but always thought that a high quality good looking basket was going to cost too much… and if you know the snooty side of me, if it’s not going to look good or be close to exactly what I have been …


Today I am going to share with you an easy step by step photo tutorial that will teach you how you can repair or patch holes made in hollow (cheap builder grade, residential) doors easily. To make it even more user friendly, I have also included a free printable supply list of all that you …