If you missed it the other day, I announced that I am going to be doing a cleaning series called Cleaning 101. What I didn’t tell you is the why and exactly what I am going to be covering.
A couple of years ago I came upon a video of a teenage girl that was in the middle of a crowd, struggling for several minutes to successfully use a manual can opener…if it isn’t pitiful enough that it took a teen that long to open a can, the fact that the crowd clapped for her when she was done was the real kicker. Come on people! I just assumed that it was such basic and simple knowledge that literally everyone on the planet should know how to do that, even small children. What does this mean for my blog? Well, the fact that it is becoming more and more common for the younger generations to not know how to do basic things, I decided that I need to get down to the very beginning basics and teach some life skills. I want my website and Youtube Channel to become a place where people can go if they are just starting out on their own and have no idea how to clean this or that… they can come to my site and I will show them how to do things in the simplest way that I know how.
*Hey there, thanks for stopping by my website. This article is super old, so it has been archived as I no longer update it…so proceed if you wish…but it is definitely not my best work. Please stop by my home page, here, and see some of my better content. Thanks! ~Sarah*
That being said, today I am going to show you all the cheapest way, that I know of, to pre treat laundry stains. First I show you all how to do it with pictures, and then at the bottom of the post I also have embedded a Youtube Video in case you need a bit more visual/hands on instruction.
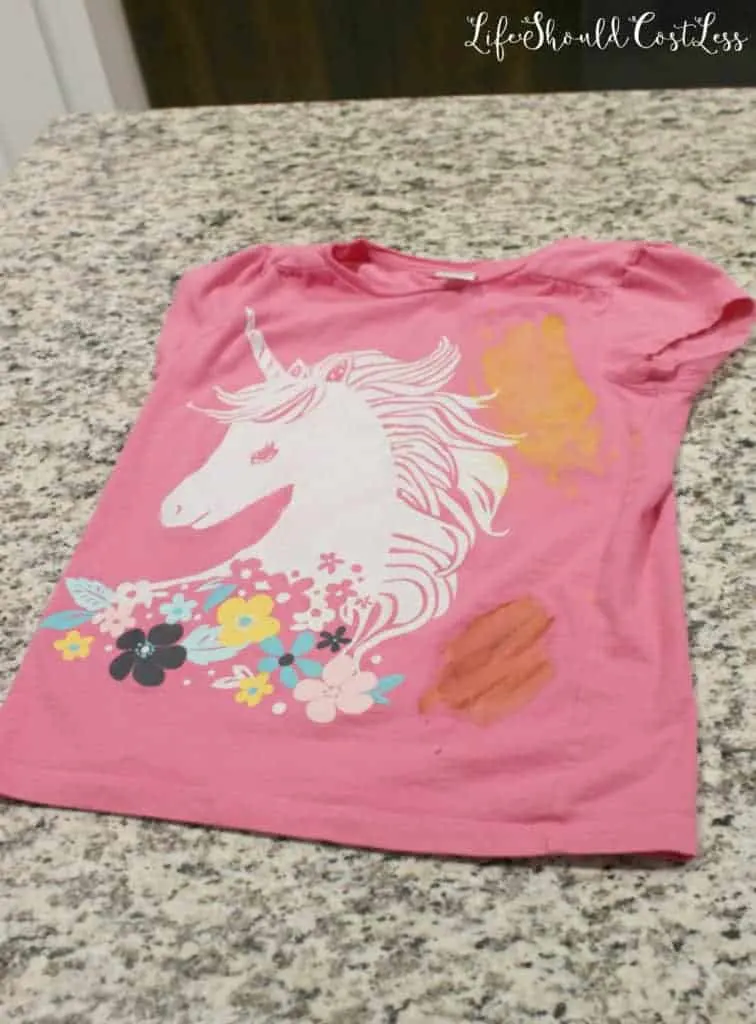
Let’s start out with one of my girls favorite unicorn shirt (she would be ticked if she knew I did this…ha ha, oh well) that I drenched in ketchup and mustard just to show you how well this works to pre treat stains. I let it dry for several hours before I shot this tutorial so everything had set in pretty well.
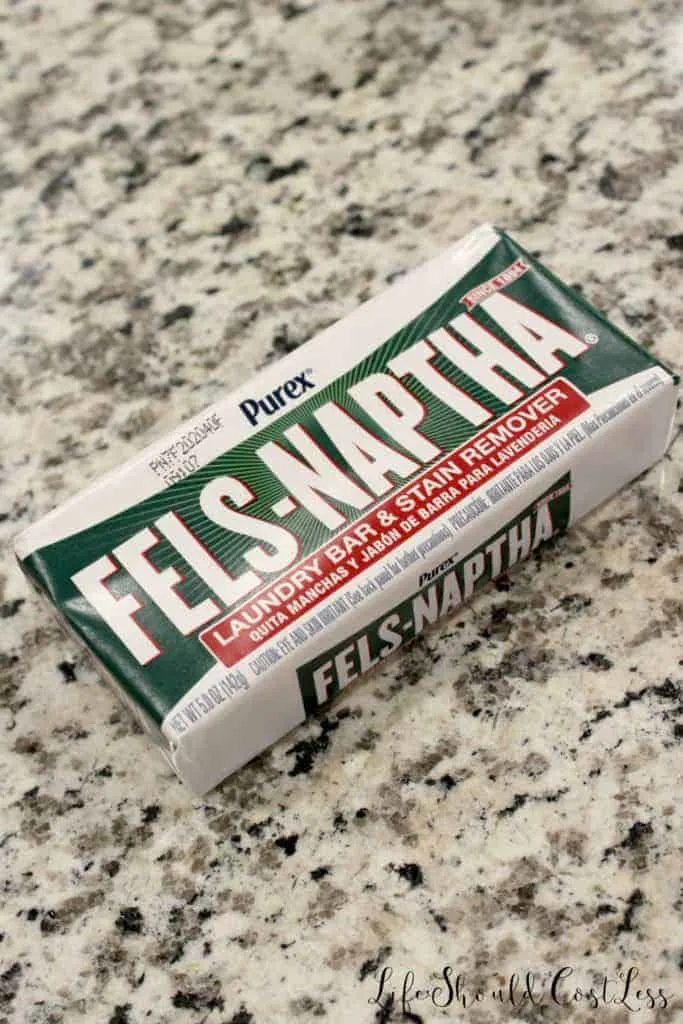
If you have never heard of Fels Naptha you are missing out! It is a great and frugal/cheap addition to your laundry routine. Some of the spray in pre treatment options out there are $3 plus per bottle and they really don’t last that long if you have lots of stains to pre treat. Which is why pre treating with Fels Naptha is such a great option. Yeah, it’s a little bit more work, but if you buy it at a grocery store (usually around $1 a bar) it will cost you a fraction of what it would cost you to pre treat the same amount of stains using a spray. In case you don’t know what to look for in the laundry detergent section at your grocery store, here is what it looks like in the package. Also, here is a link to buy it on Amazon if you would like (it’s usually quite a bit more expensive on Amazon so I suggest buying it locally).
It just looks like a yellowish bar of soap…because that’s what it is. Using these bars to pre treat is simple. Let me show you how I do it.
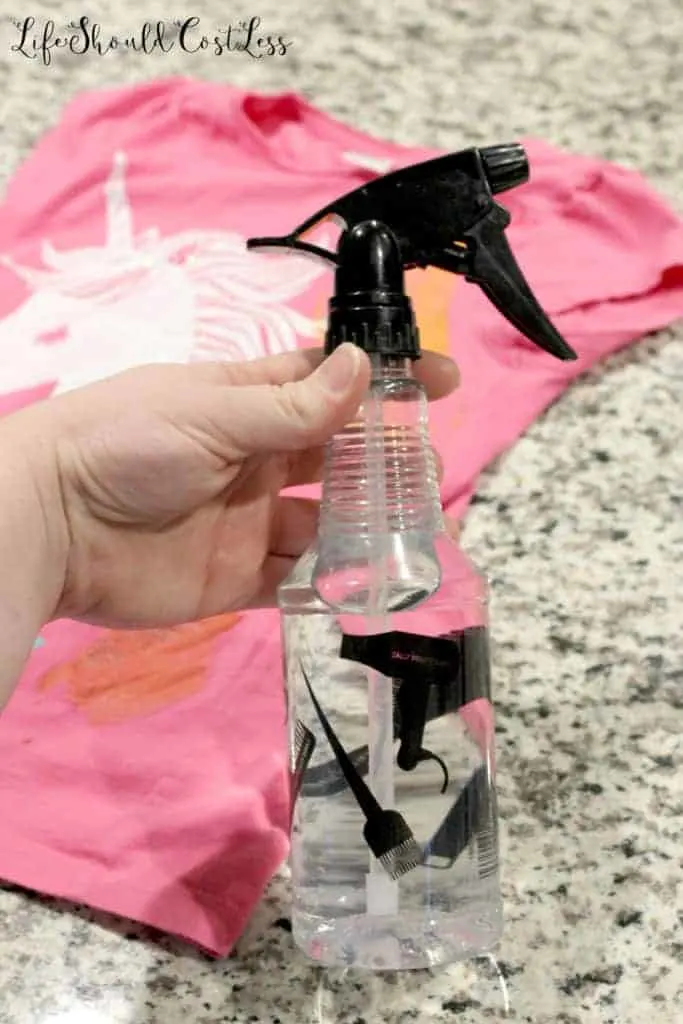
Lay your clothing out flat on a hard surface and either using a spray bottle or a cup of water works to, get the whole stain quite wet. I prefer to use a spray bottle, but if you don’t even have money for a spray bottle you can just dump a little water onto the stain.
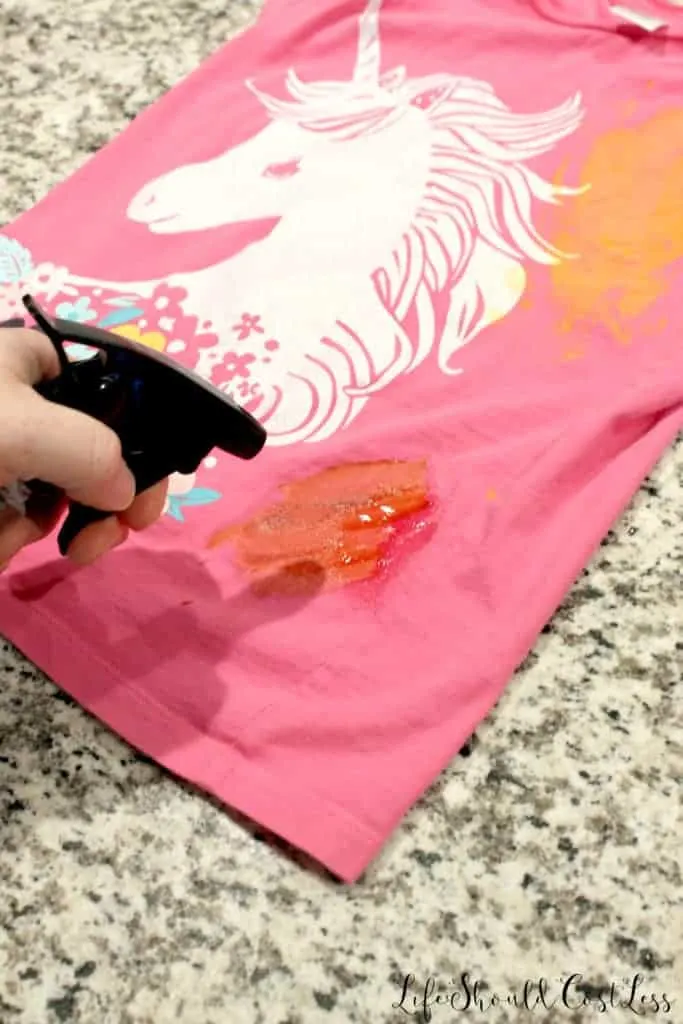
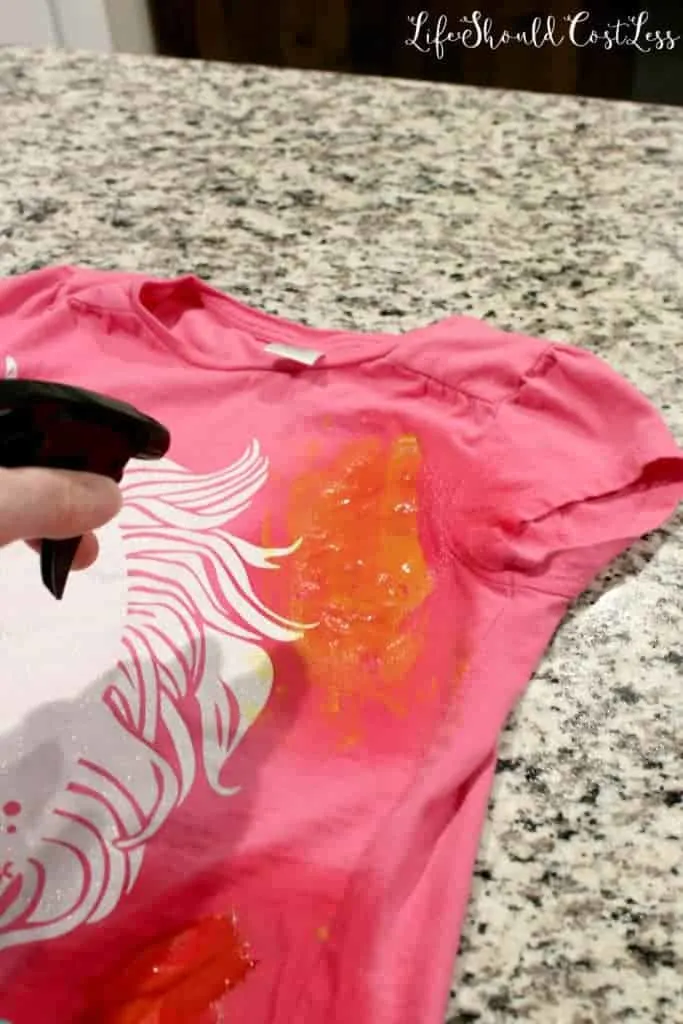
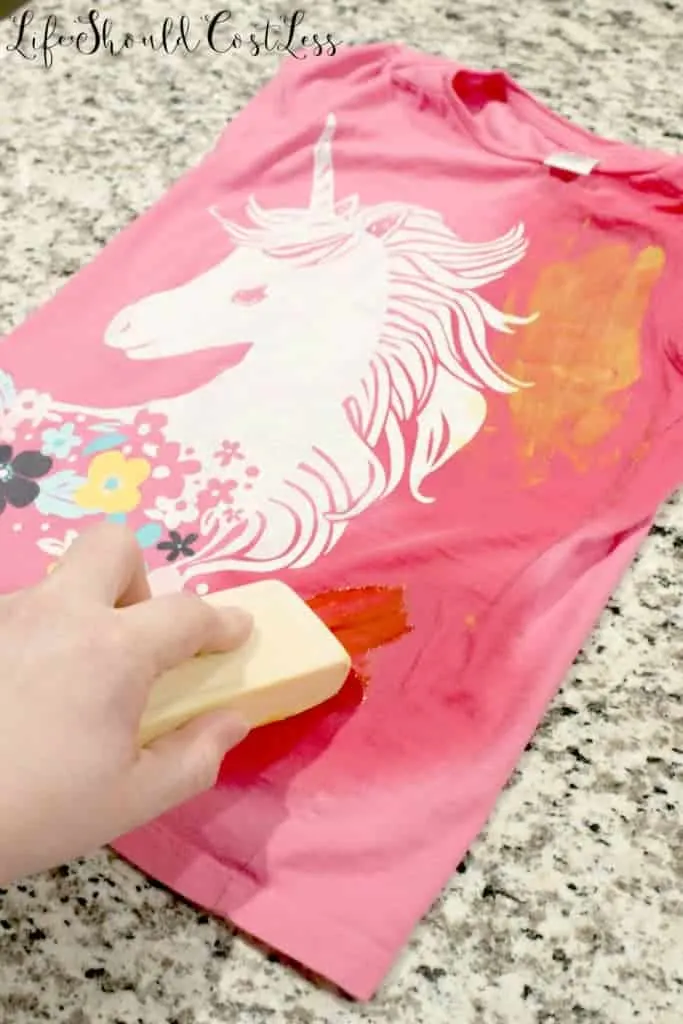
When the stain is nice and wet, get out your bar of Fels Naptha and scrub the bar into the stain making sure to cover the whole stain. The bar is going to transfer a bit of a white film and that’s what you want it to do because that means that it is working.
When a stain is really bad I like to use an old tooth brush and scrub the stain a bit. This step is not necessary if the stain is not very bad.
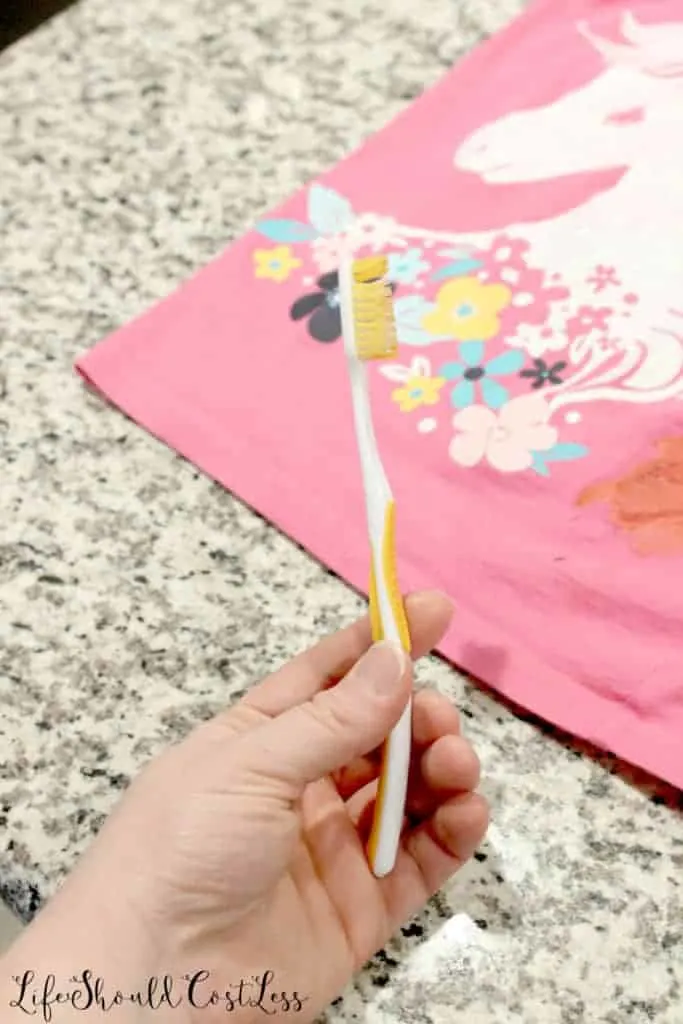
Here’s what it looks like after I scrubbed it down with the tooth brush.
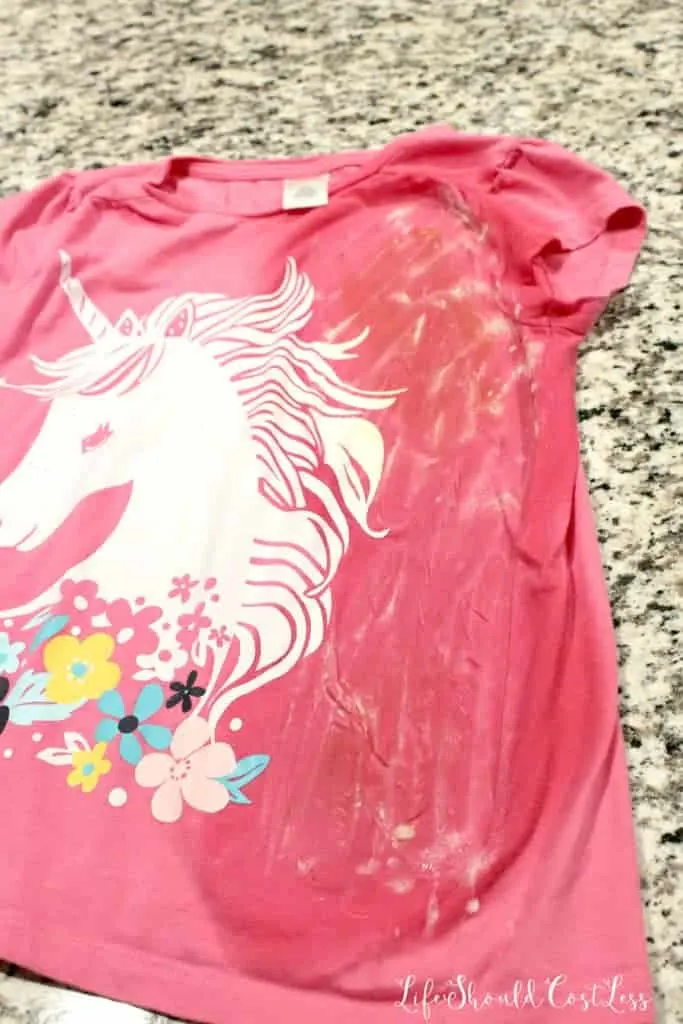
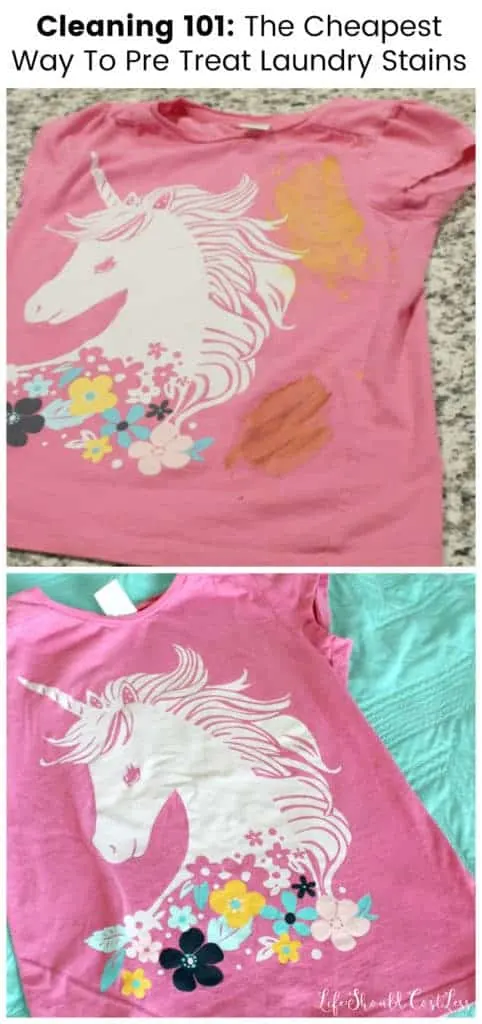
After this you just toss it in with your laundry and wash it like you normally would. The directions on the Fels Naptha bar says to let it sit for one minute before you start your load of laundry, but I like to let it sit for an hour or more before I run it through. So, just wash the load like you normally would after your desired amount of time. Once it is done washing, look at it to see if the stain came out. 90% of the time that should have done it, but occasionally you will need to repeat the pre treating process and wash it again…just make sure you didn’t run it through the dryer already or you may need to pretreat it the other way that I do it. Otherwise, you are good to toss it in the dryer and you’re done! Here is what the shirt looked like after it had been laundered.

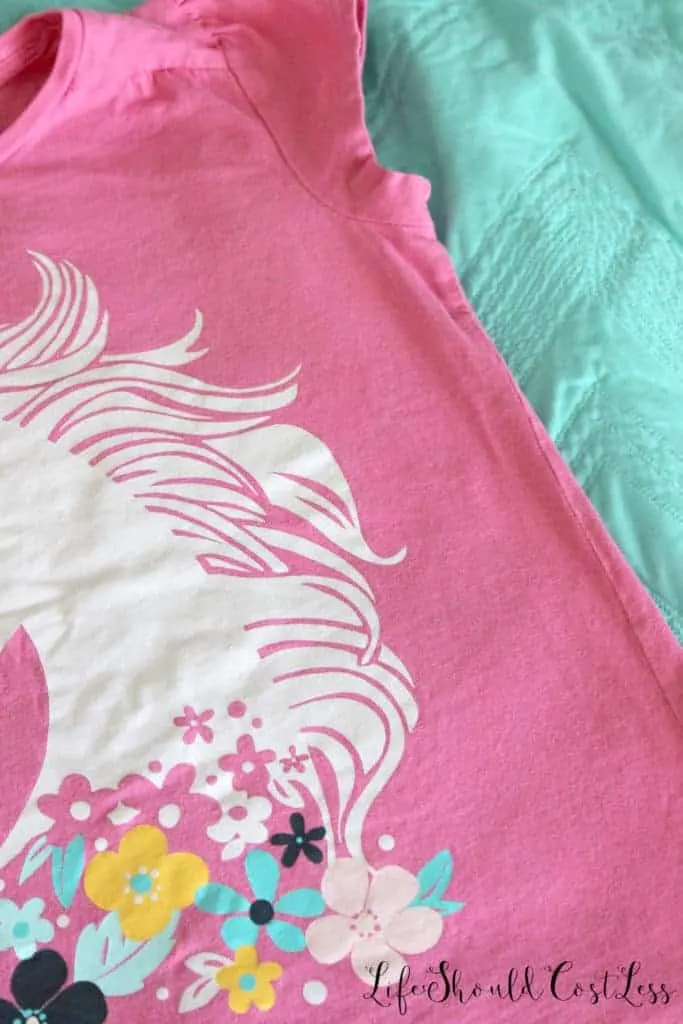
See, it came right out just like I knew it would…otherwise I would have some serious explaining to do to my seven year old as to why I killed her favorite shirt. Lol.
Anyway, as promised, here is the Youtube Video that I made to give you a bit more instruction. I’m not going to be used to being in front of the camera for another good long while so I am apologizing in advance for the so’s, um’s, and anyway’s… and a little cleavage…I’m a very busty girl so it’s going to happen unless I wore a turtle neck all the time.;)

