*Hey there, thanks for stopping by my website. This article is super old, so it has been archived as I no longer update it…so proceed if you wish…but it is definitely not my best work. Please stop by my home page, here, and see some of my better content. Thanks! ~Sarah*
I am sorry to be doing so many food storage posts lately, but we have lived on our food storage for a bit while we were getting our condo ready to sale (the extra money for improvements had to come from somewhere, plus I didn’t want to move lots of food), so I’ve been trying pretty hard to get a surplus built back up. Anyway, this week I worked on our long term food storage supply of Brown Rice so I thought that I would share what I did.
I started out by pricing rice in bulk. I was going to buy some from Costco, but all they had in bulk was white rice or organic brown rice.
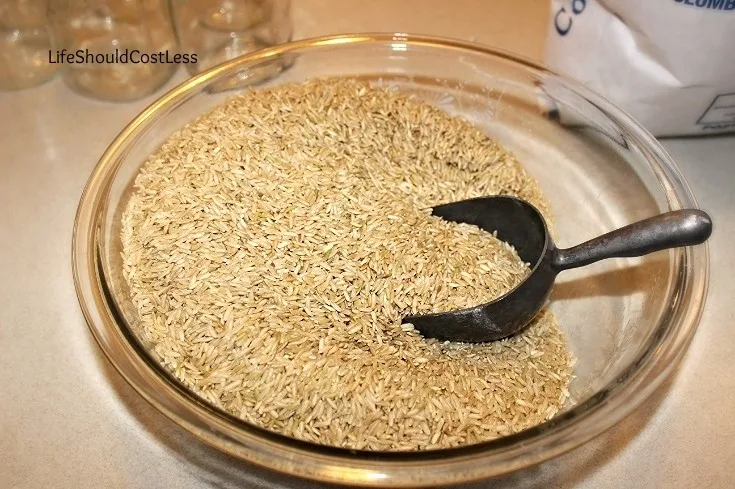
I prefer brown rice because it is more nutritional ( the protein and dietary fiber content is much higher than what white rice has), but the organic option was a little too expensive for my current budget, so I decided to check Winco. Winco’s bulk food section had just what I needed and at a fairly reasonable price. It was around $15 for a 25 lb bag of Long Grain Brown Rice there. Compared to the Organic Brown Rice at Costco which was about $13 for 12 lbs.
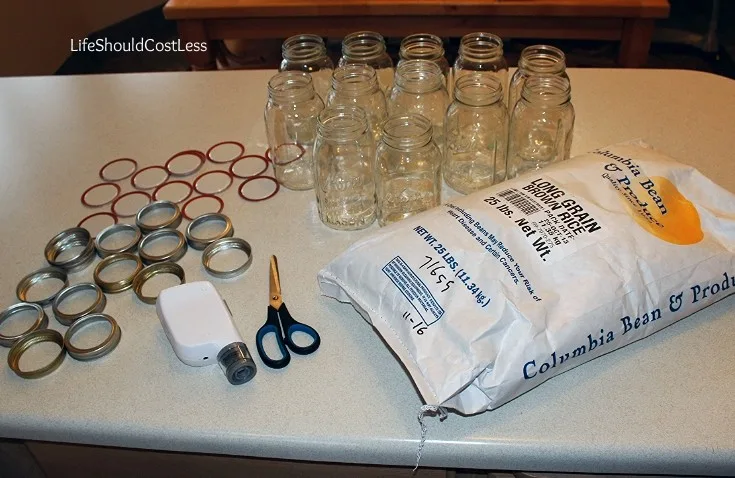
After I bought the rice, I gathered the needed supplies to work on this project:
- 25 Lb Bag of Long Grain Brown Rice
- 16 Sterilized Quart Mason Jars, Lids, and Rings
- Scissors
- Handheld Vacuum Sealer
- Wide-Mouth Jar Sealer
- Regular-Mouth Jar Sealer
- A Clean Rag
- Sharpie
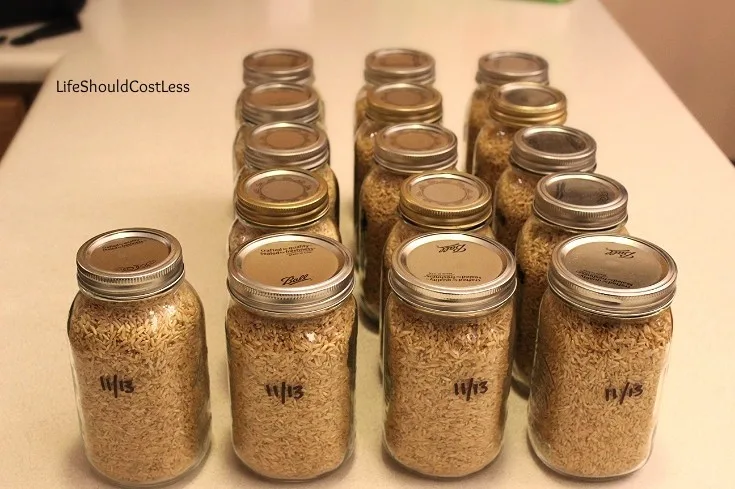 |
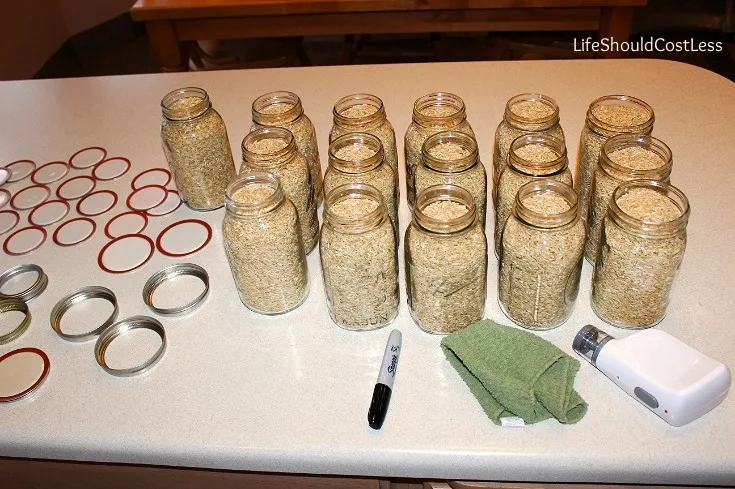
| Next, I sealed them and then added the collars for added security. If you need a little more info on how to do the sealing, maybe check out my post on My Review of The Handheld Vacuum. |
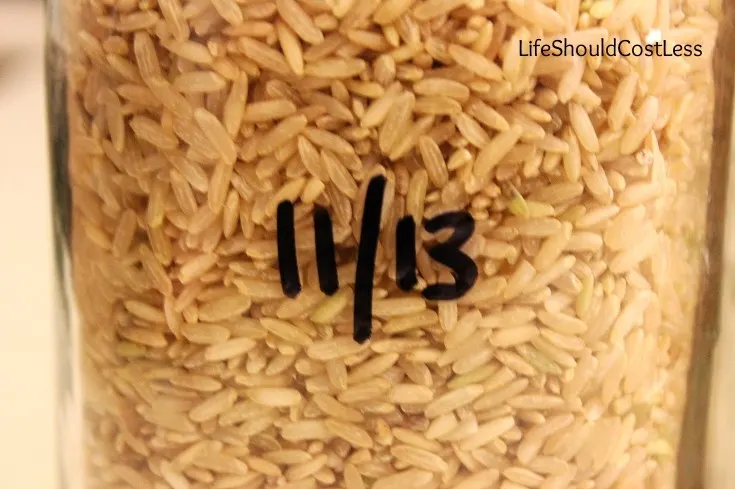 |
| I finished up by writing the month and year sealed on the jars. Remember, it doesn’t have to be fancy…it’s just going to be sitting in the dark so there’s no one to impress. I just use a sharpie and this time I didn’t need to write the contents, like I did in my Salt post, because it’s clear what is inside there;). |
This was a quick, easy project and now I have a little more peace of mind.
Maybe I’m a nerd, but if we don’t have much “extra” food, I sometimes can get feeling a little panicky thinking that if something happened (job loss, major inflation, food shortage, or worse) we wouldn’t be able to feed our kids.
At our current rate of consumption, this 25 lbs of rice should last us about 18+ months which makes me feel a lot better.
If you liked this post, make sure to subscribe to my rss feed to get future posts directly in your inbox.
Also, check out the categories page to see some of the older posts. Thanks for stopping by.

