

*Hey there, thanks for stopping by my website. This article is super old, so it has been archived as I no longer update it…so proceed if you wish…but it is definitely not my best work. Please stop by my home page, here, and see some of my better content. Thanks! ~Sarah*
Salt is definitely one of those food items that is often taken for granted, yet it is such an essential part of our diets.
Lately I have been trying to decide how I wanted to go about adding salt to our food storage. In the past I would usually just buy those pourable cylinders of Salt and I’d have a spare one hanging out in the pantry, but that’s just not going to cut it if there were a genuine emergency and we needed to live, for an extended period of time, on what we’ve already got on hand.
I thought about just buying a bunch of the pourable salt, but it didn’t make sense to me for long-term storage since it’s not protected from moisture.
I decided that I wanted to store it by using Quart jars and just buy a bunch of Salt in bulk, and then use my handheld vacuum sealer to make it airtight.
Read on if you would like to see how I stored our Salt:
I started out with a 25 lb bag of Iodized Salt. I found it at Winco in their food storage section. I tried looking at Costco but they didn’t have Iodized Salt(I have to use Iodized, otherwise I shake if I’m not getting enough Iodine in my diet).
I snipped the corner of the bag (a very small snip) and poured it all into ten,
Sterilized in the dishwasher,
wide-mouth Quart jars.

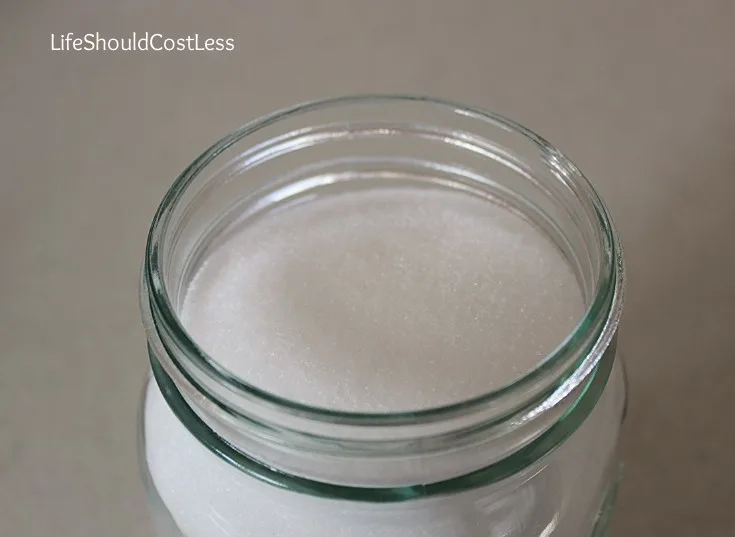
I filled the jars this much. I suppose you could fill them a little more, but I wanted to leave enough air for the vacuum sealer to do its job.
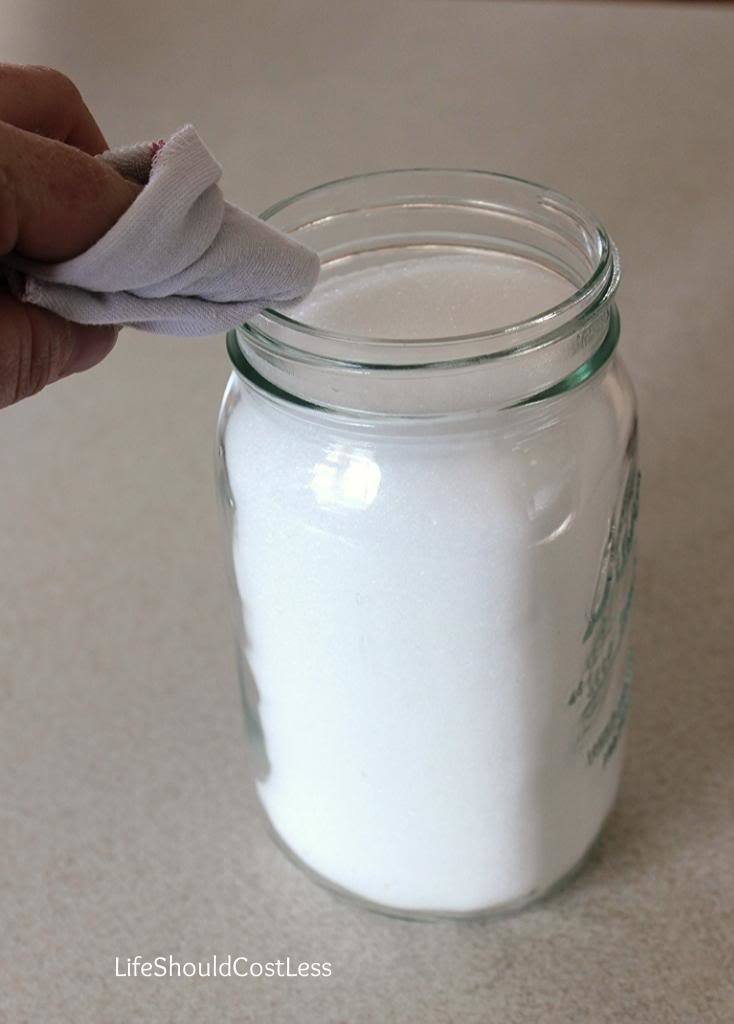
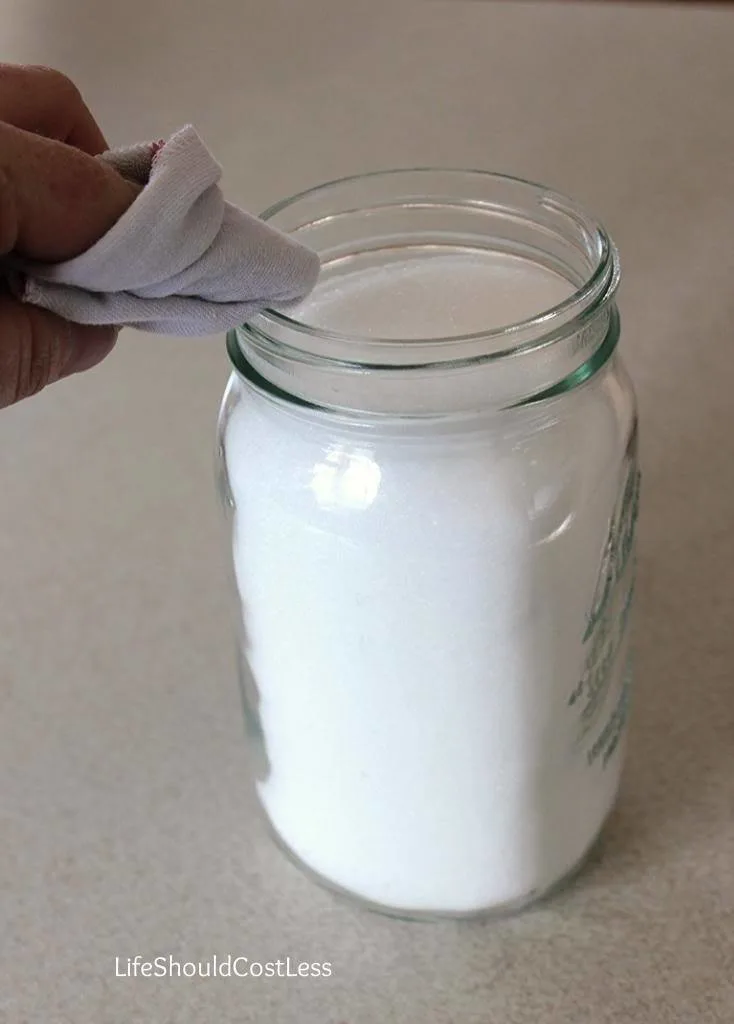
Next I used a clean rag and wiped the mouth of the jar to remove any salt that could get in the way of creating a seal.
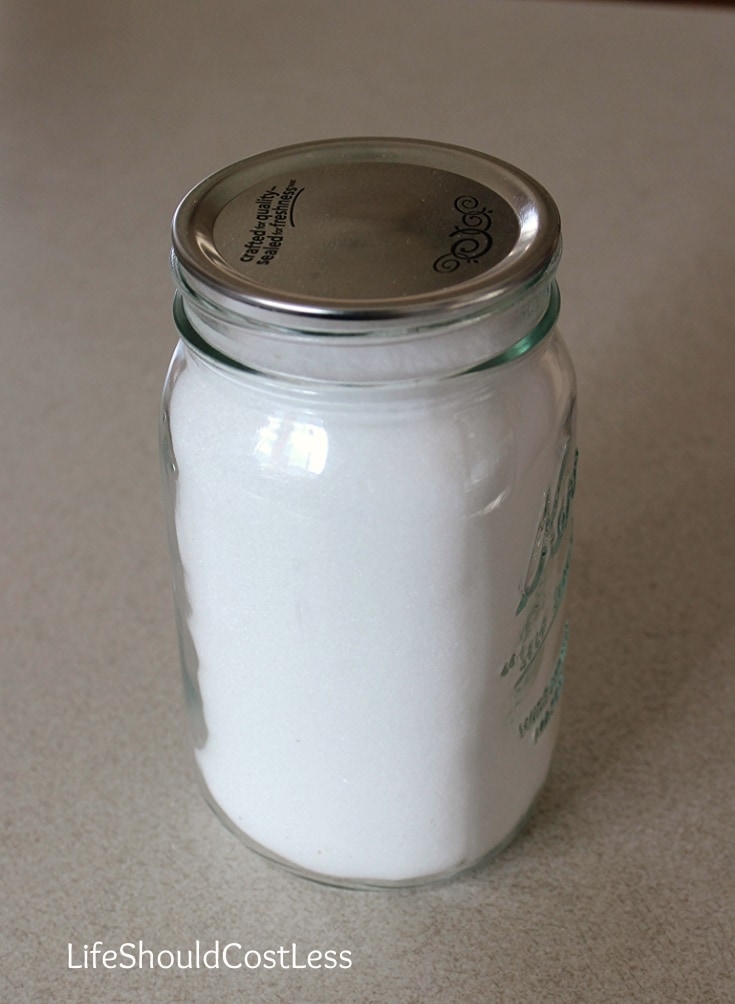
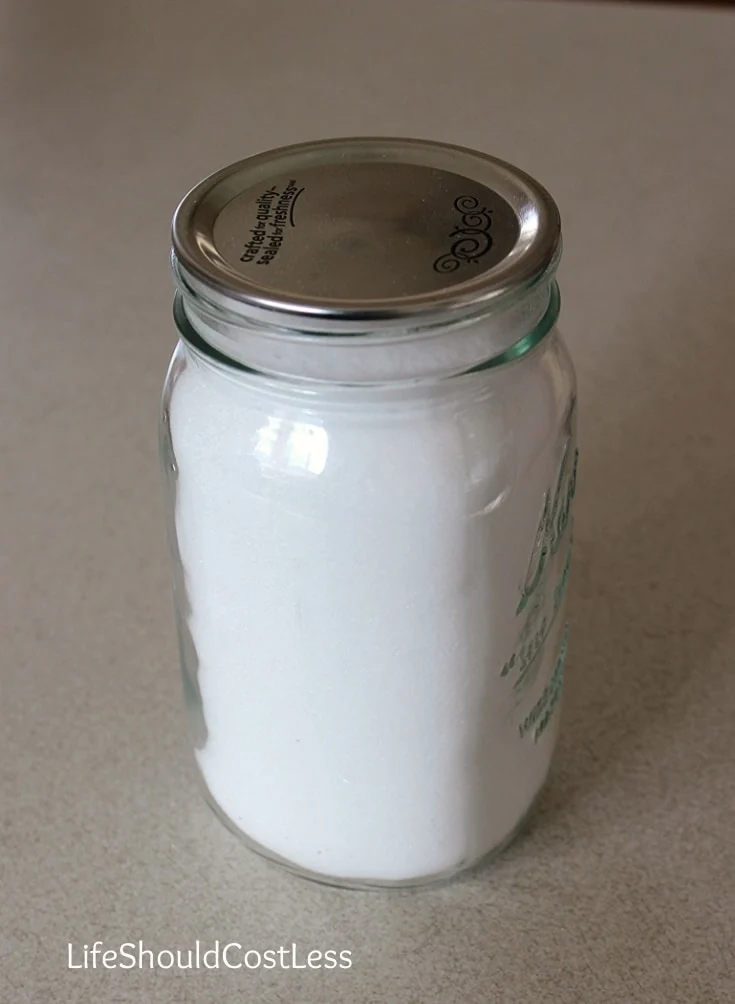
I placed a sterilized lid on. The lid needs to be centered on the jar as best you can.
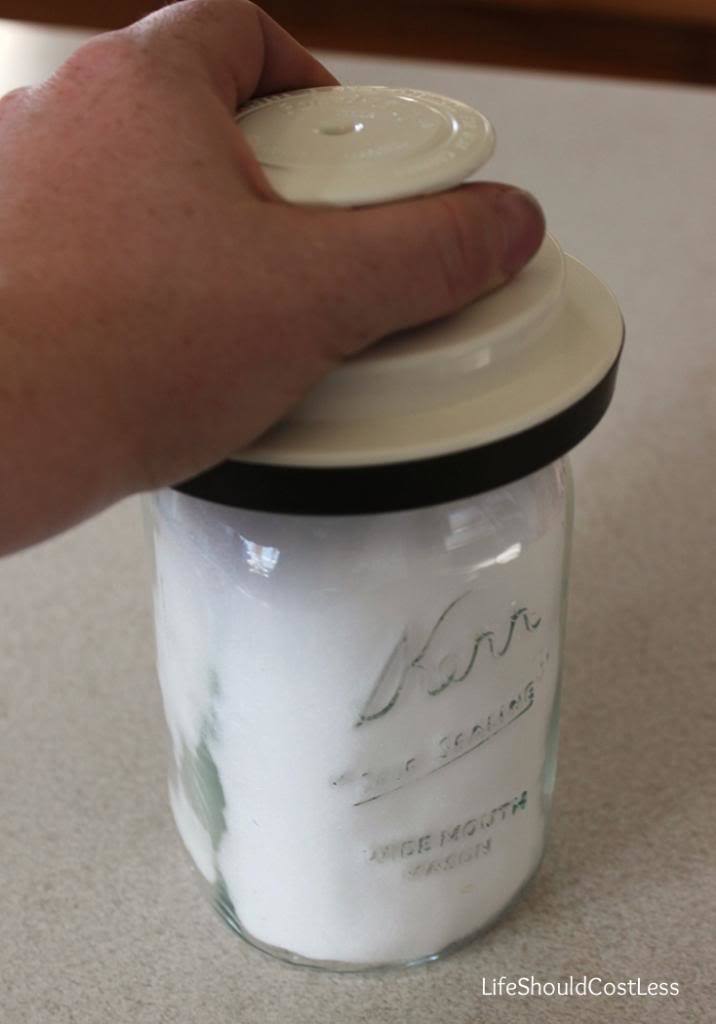


Made sure it was centered.
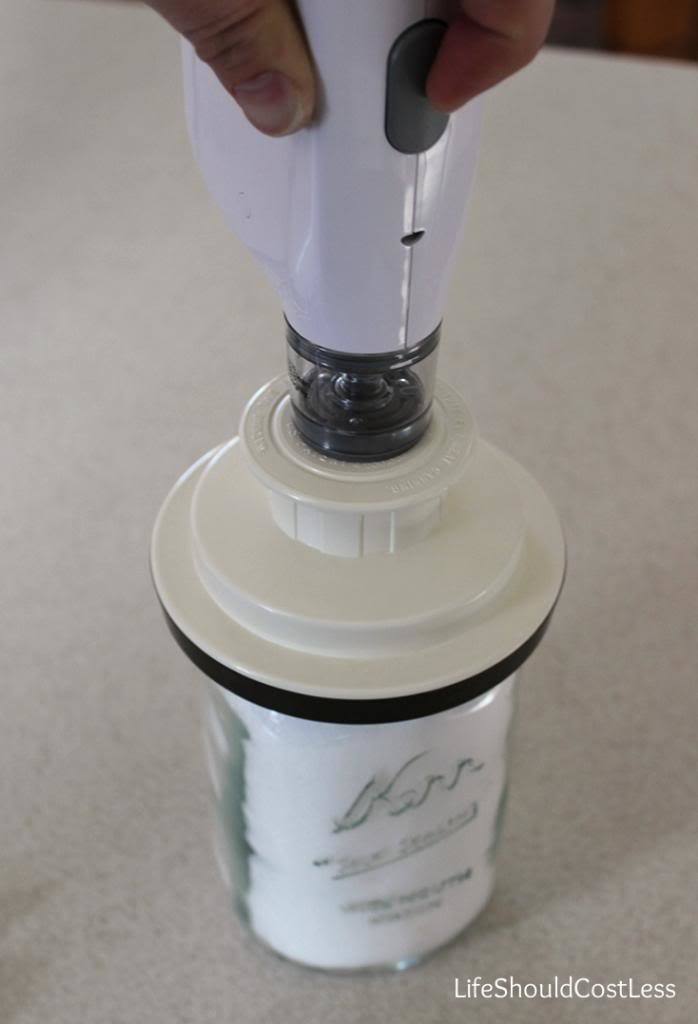
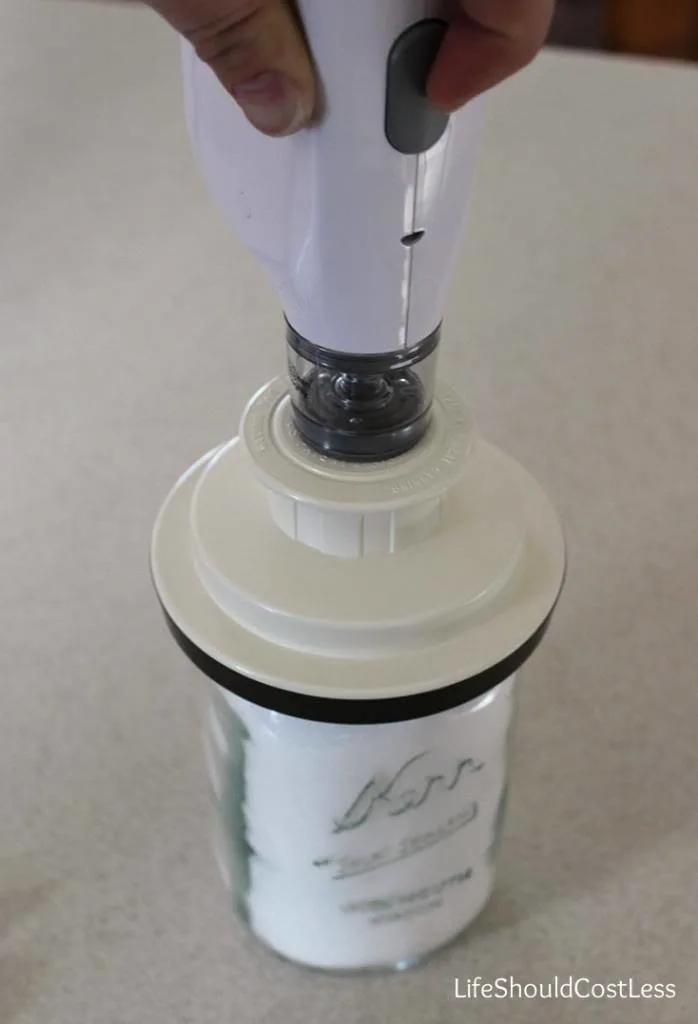
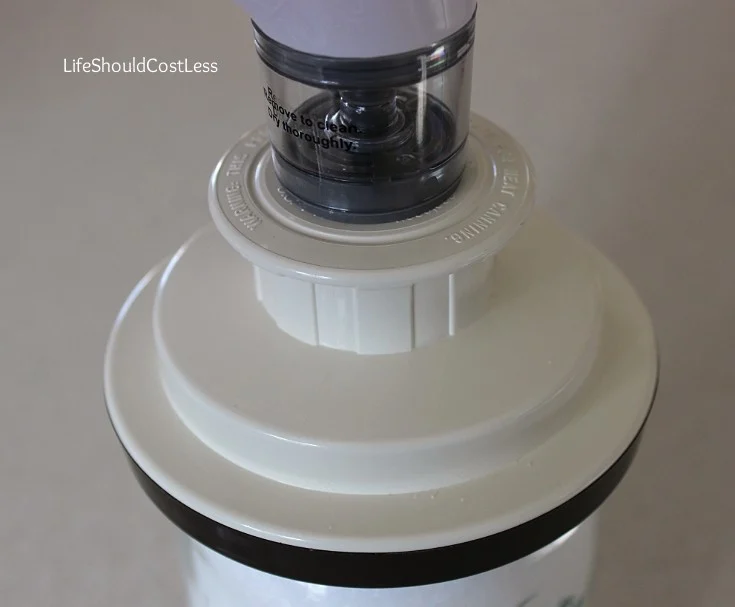
Then I pushed down hard enough that the rubber part of the sealer is snug and turned on the sealer for about 8 seconds.

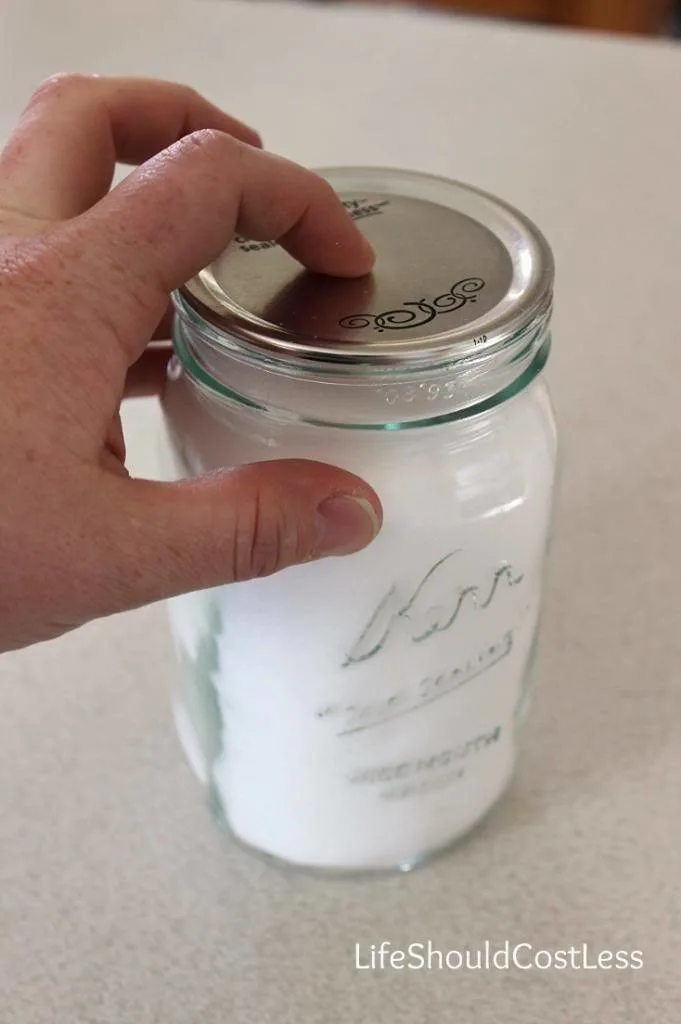
Next I took the jar sealer attachment off and checked to see if it had sealed. This can be done by trying to push the lid down. If it is already down and doesn’t make that bounce
(not sure how else to describe it…ha ha)
sound then I know it has a good seal on it.

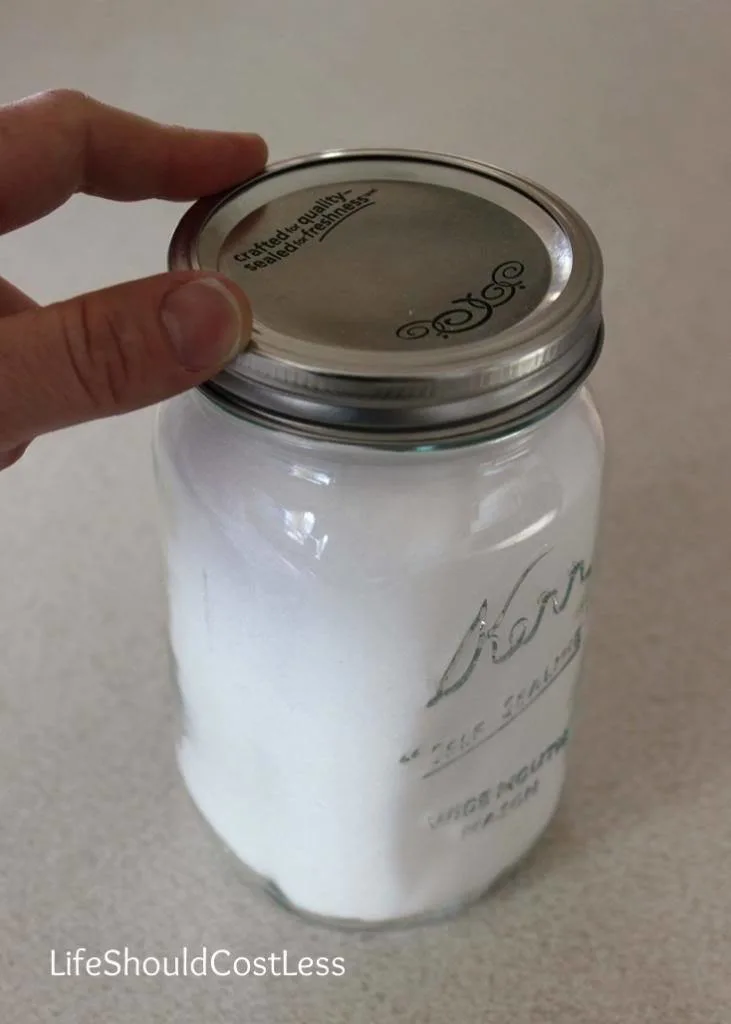
Next step is to add the collar for extra security. It helps the jar hold the seal by adding pressure to the lid.
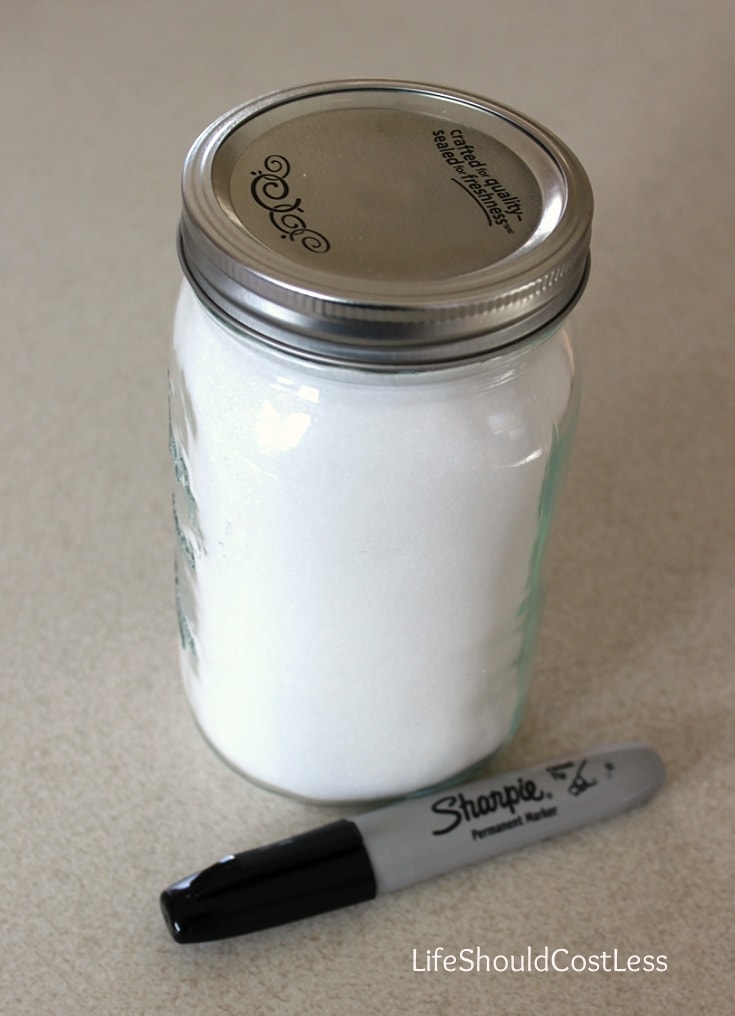
Then I take out my handy sharpie and write down what’s in the jar and the date that I sealed it… I know, a sharpie isn’t a cute little label.
Frankly, I don’t care. It washes off with warm soapy water and minimal elbow grease, but it stays on well enough that I don’t have to worry about a label falling off or the marker smudging.
Plus, it’s going to be sitting on shelf in the dark so who cares what it looks like as long as I can read the information on it.


So, here they are all lined up. Like I said earlier, the 25 lb bag fills ten quart jars. This supply should last us 6-8 years if we use it at the current pace we’ve been using it.
I cook and bake from scratch as much as possible so this estimate should be pretty accurate.
*** I was able to save a little money on this project by getting my jars at the DI for 25¢ each
(Thanks for that tip Jed).***