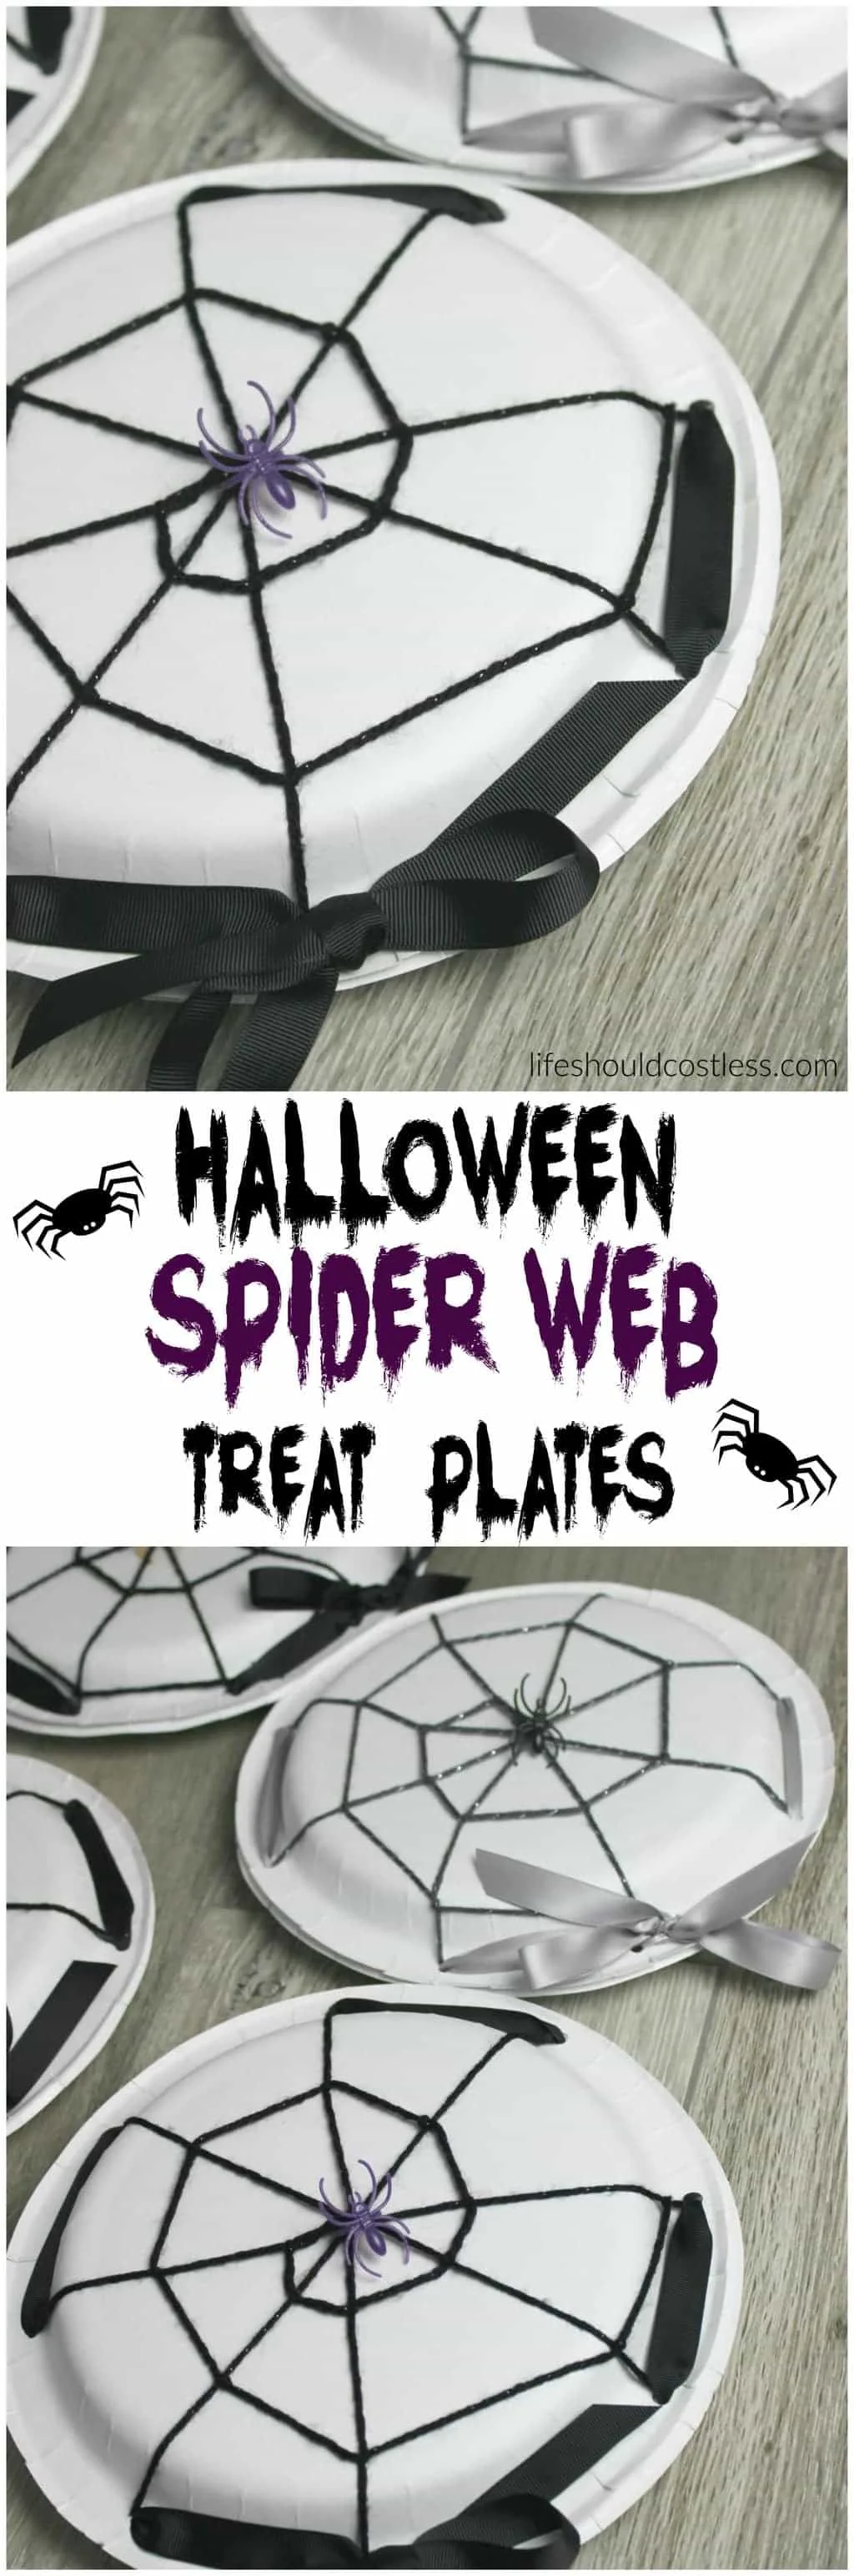
Procrastination always brings out a bit of creativity in me. So when I needed to get some last-minute treats out for a few people this week, I decided that I would try to make them fun and festive for Halloween. The best part is that since I fancied up the treat container, I was able to get away with not doing a fancy treat. The fact that they were really inexpensive to make is also an added bonus.
Anyway, I thought I’d show you the steps that I took and give you a little bit of direction in case any of you would like to make some too. They are a little bit time consuming, but making them is easy enough that you can do it while watching TV or have some older kids help out if you need to make a bunch of them.
*Hey there, thanks for stopping by my website. This article is super old, so it has been archived as I no longer update it…so proceed if you wish…but it is definitely not my best work. Please stop by my home page, here, and see some of my better content. Thanks! ~Sarah*

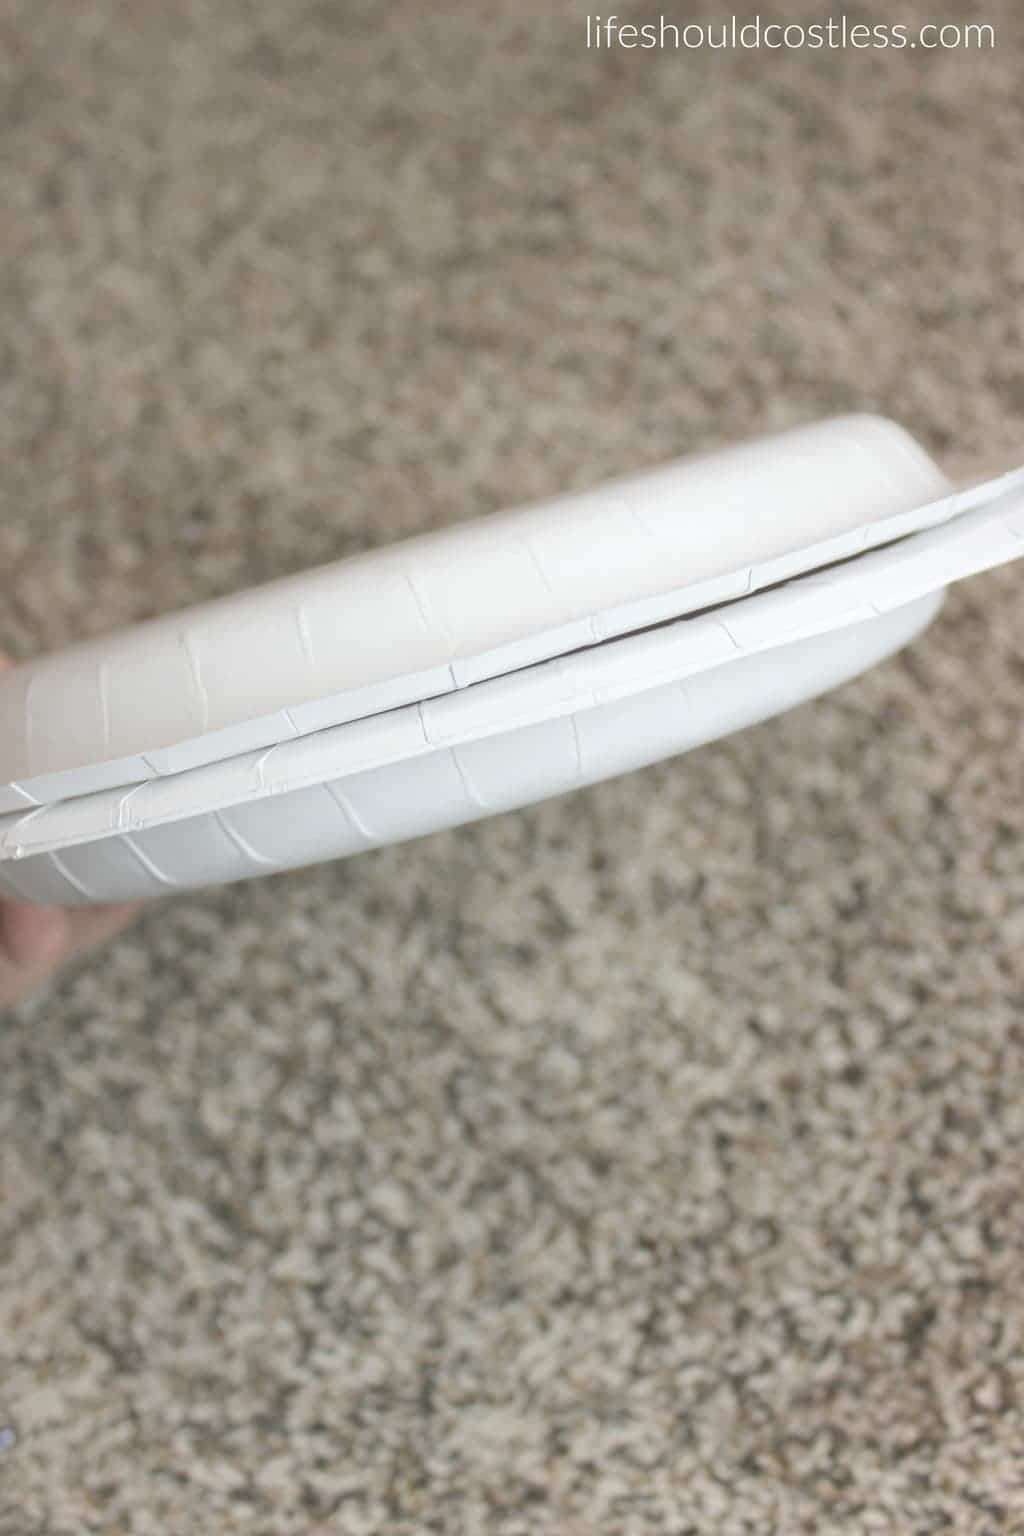
I started out with some run of the mill, deep paper plates.

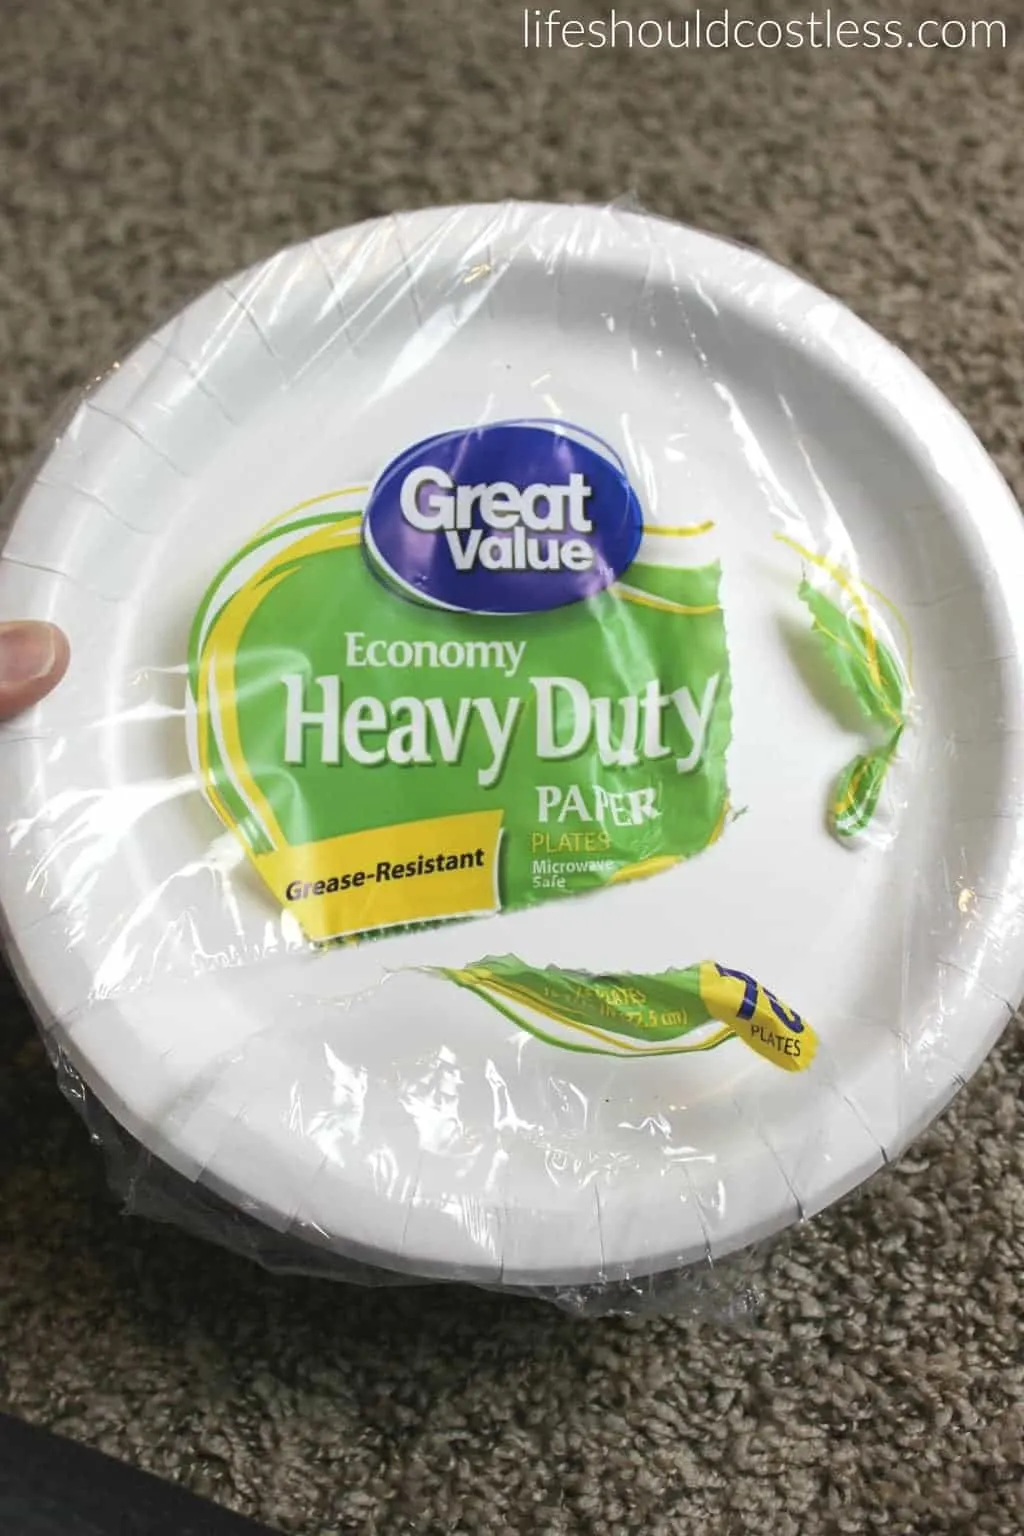
Made sure that they were big enough to hold a good amount of treats. The plates are meant to basically sandwich around the treat.
Got out the hole punch and went to work creating the holes (while holding the plates together) that are meant to feed the yarn through, which creates the web.
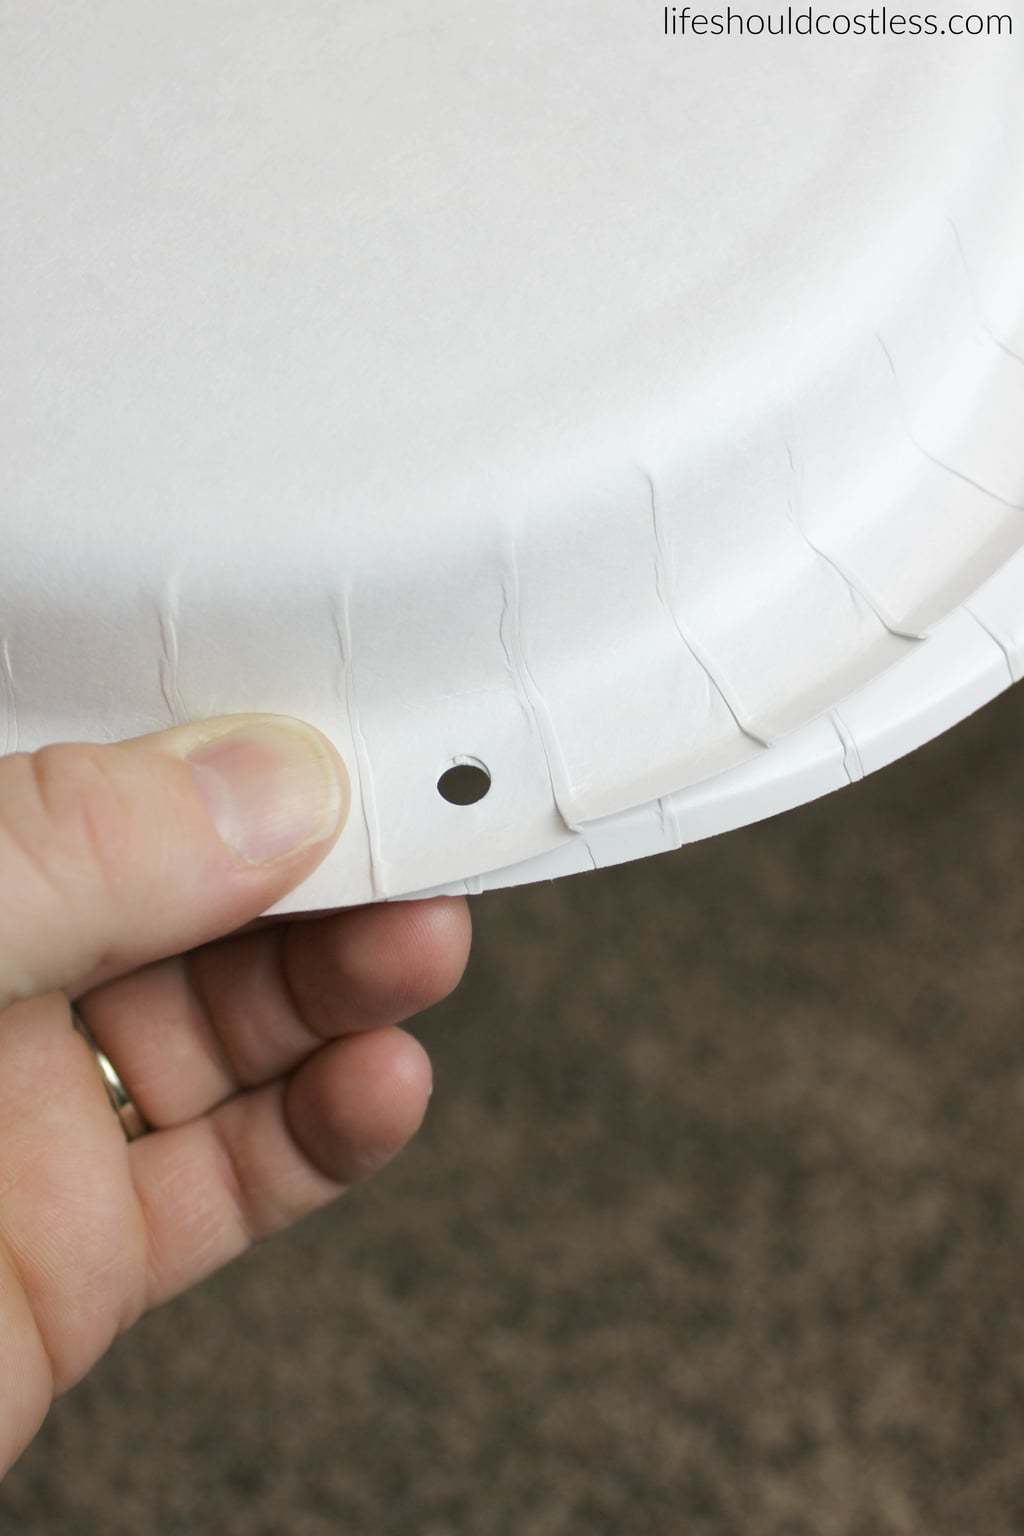
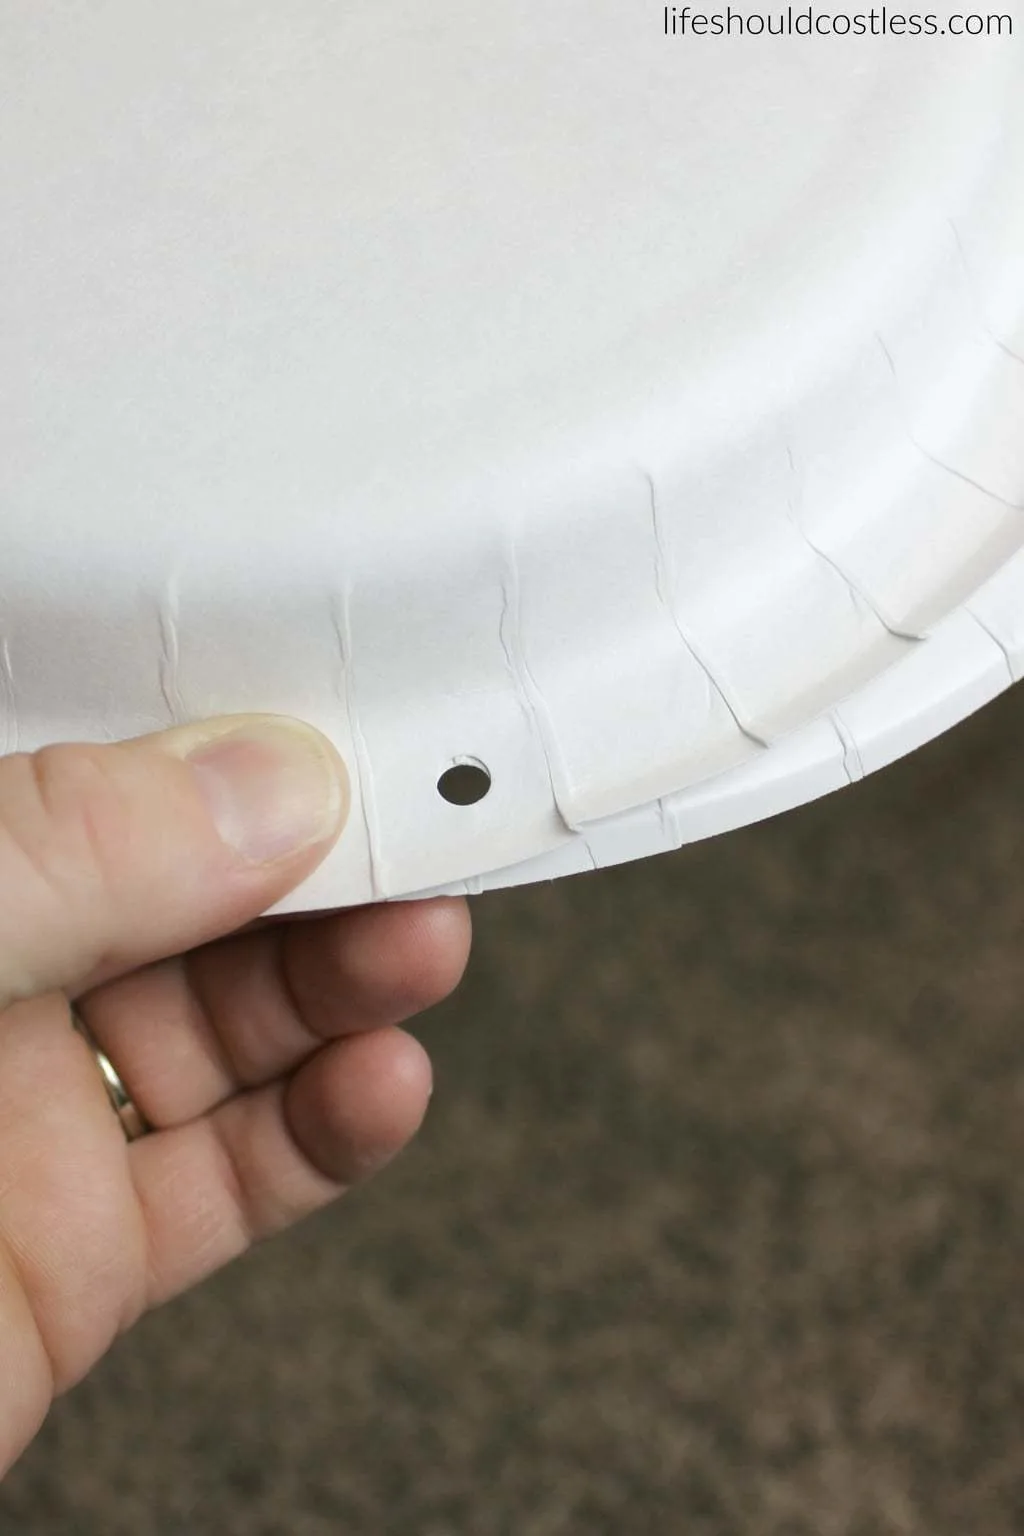
I found it best to temporarily tie together the plates with a little bit of yarn, so that I could easily make the other holes even. Cut that piece of yarn off when done punching holes.

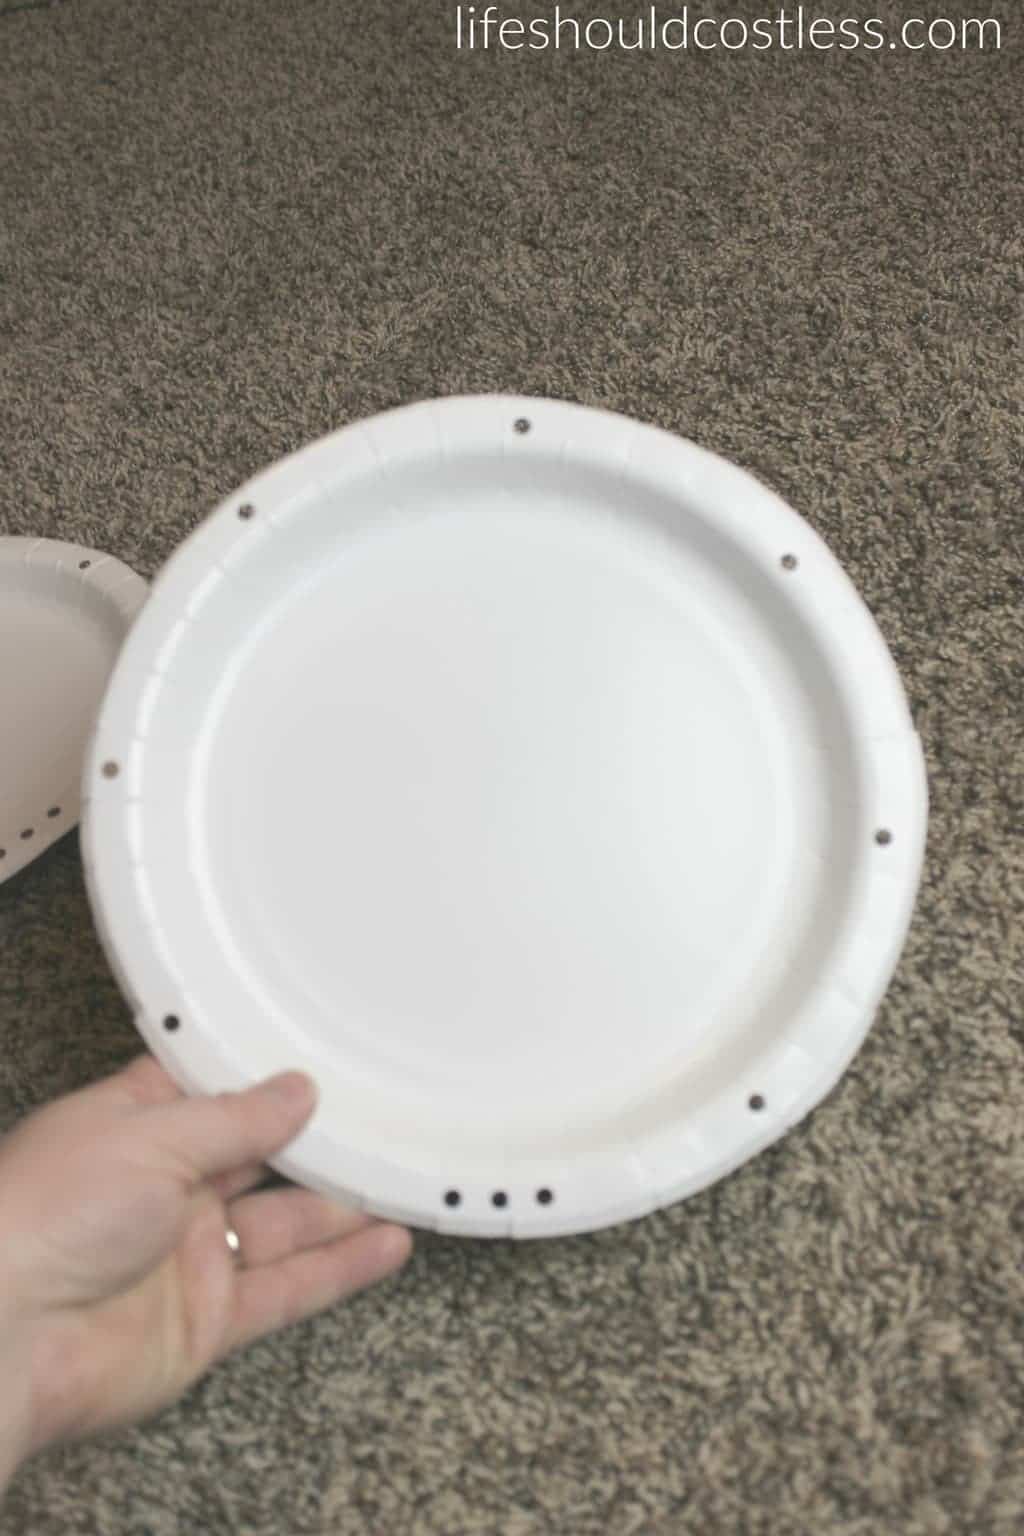
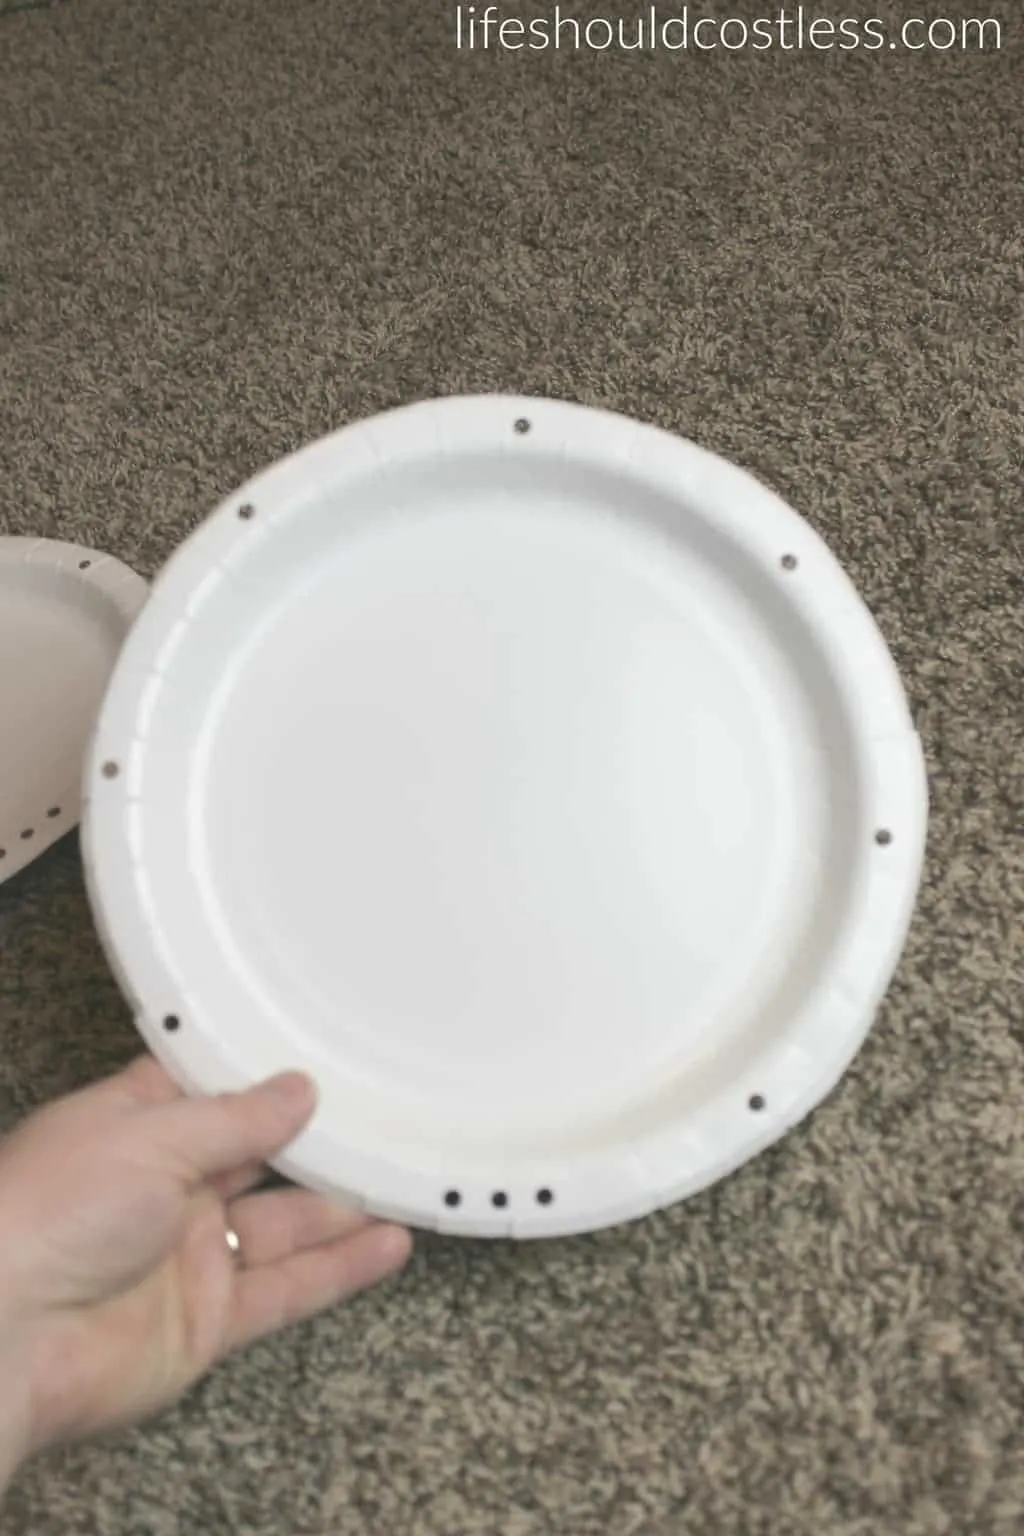
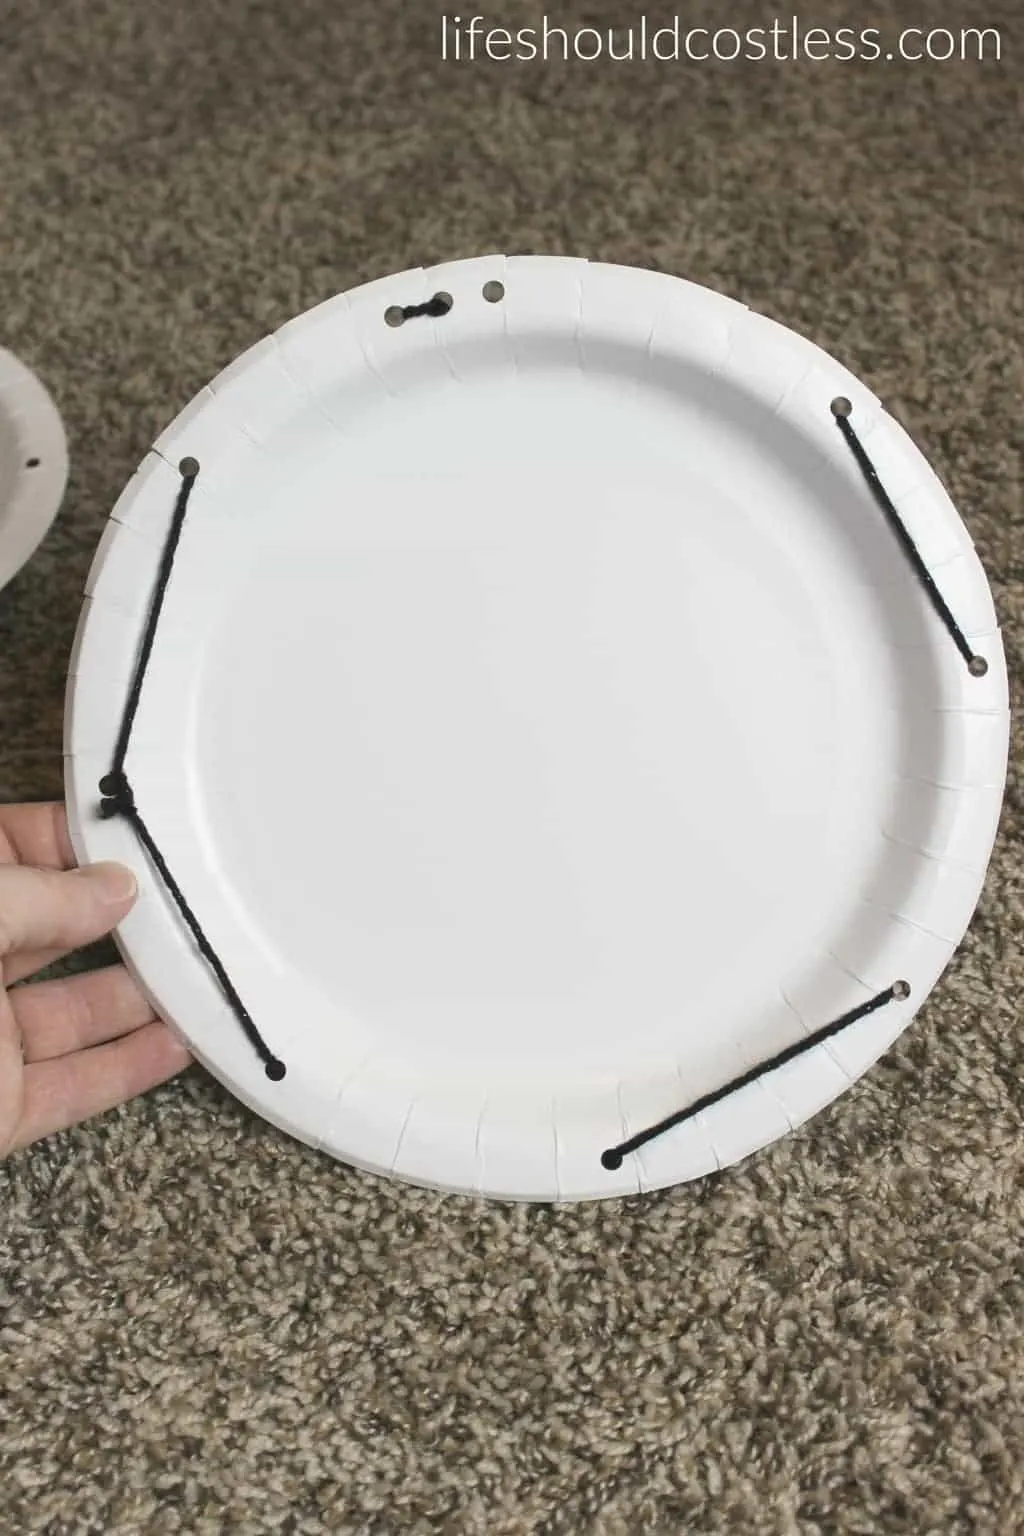
I’m just showing you the holes that I made for a reference. You can make more or less, but I did find that the more you do, the harder it is to create the web later on. The three holes close together were for tying the ribbon into a bow at the end.
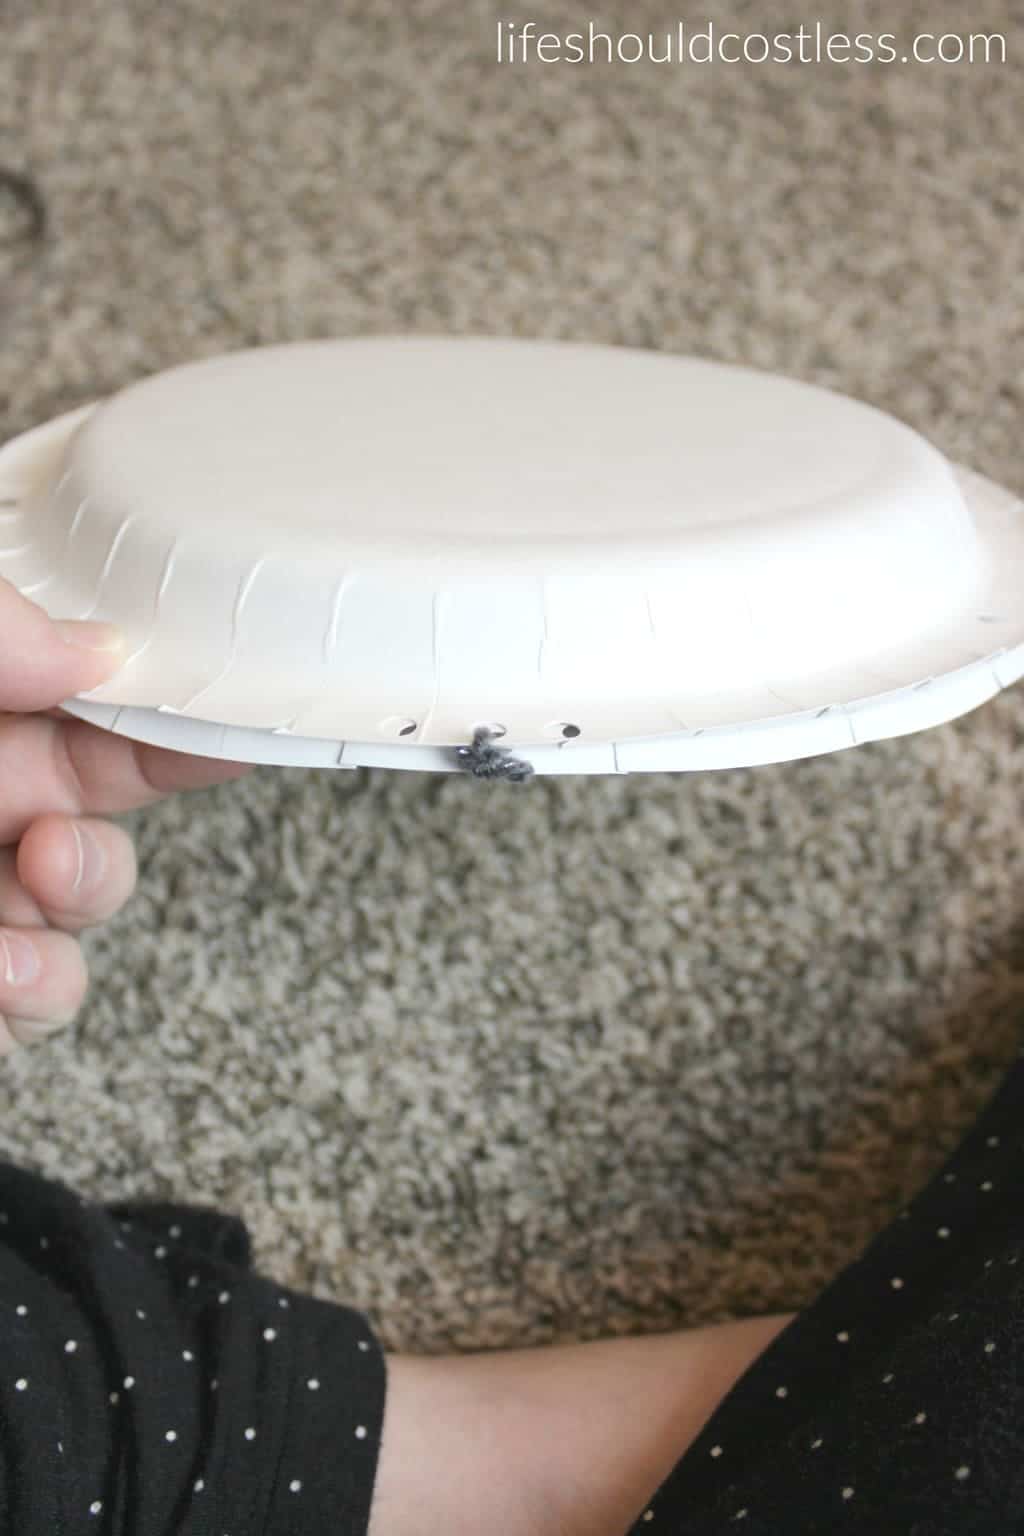
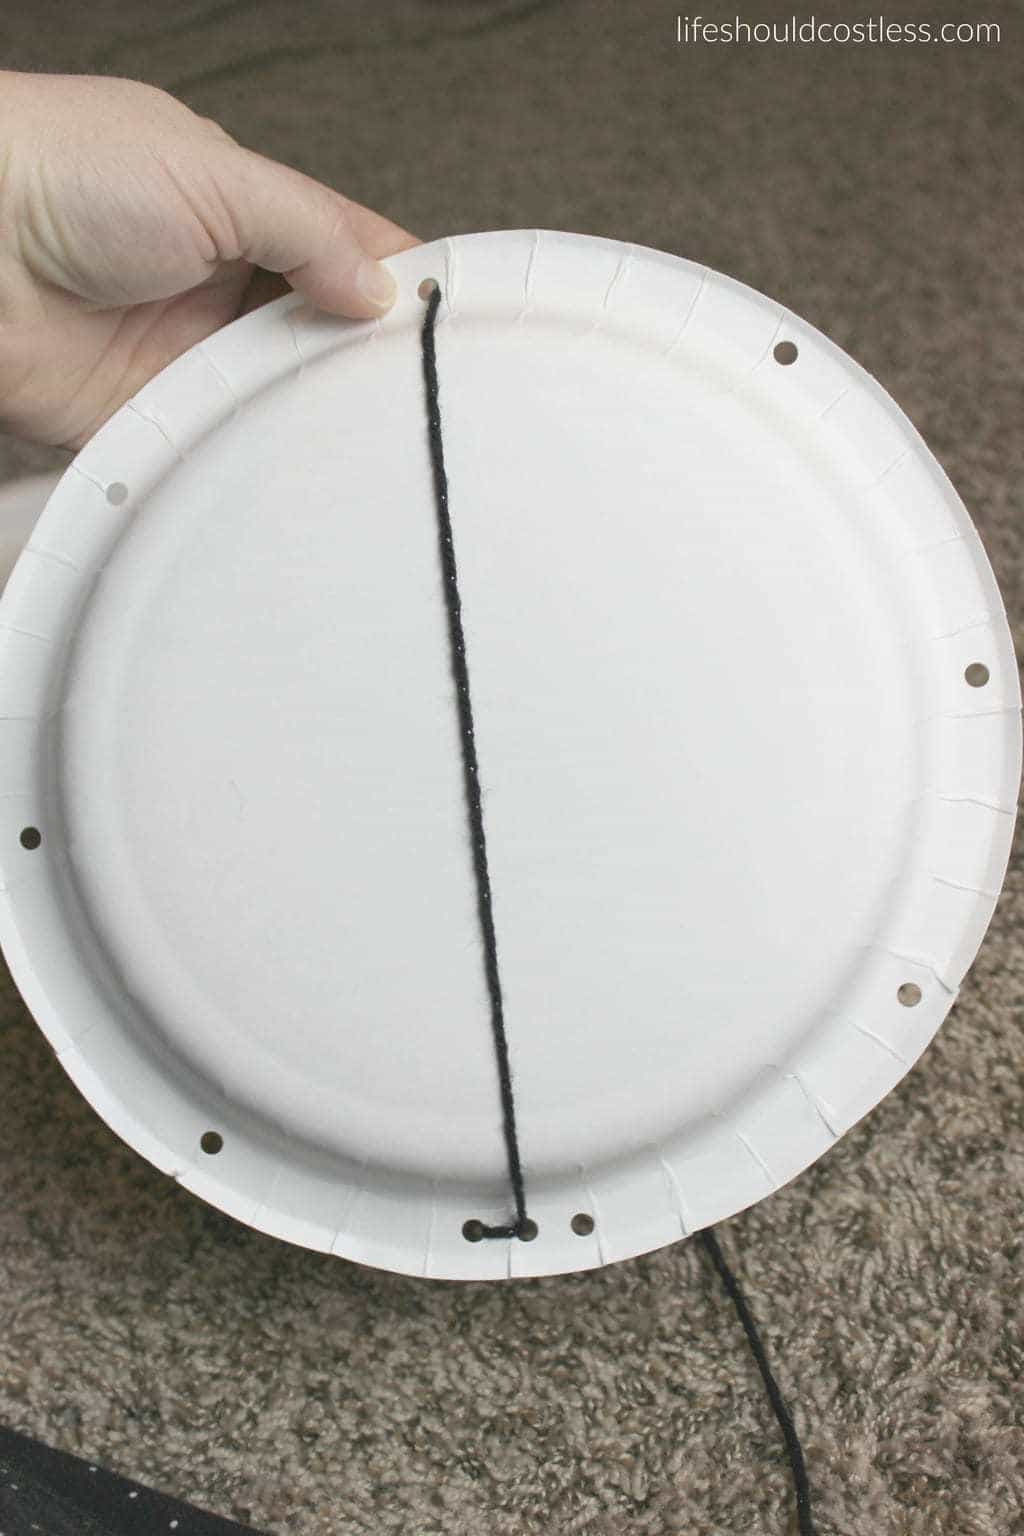
I tied some black yarn on the back and started weaving it through the holes. Yarn doesn’t like to stay put, so I recommend double knotting anything that needs to stay put.
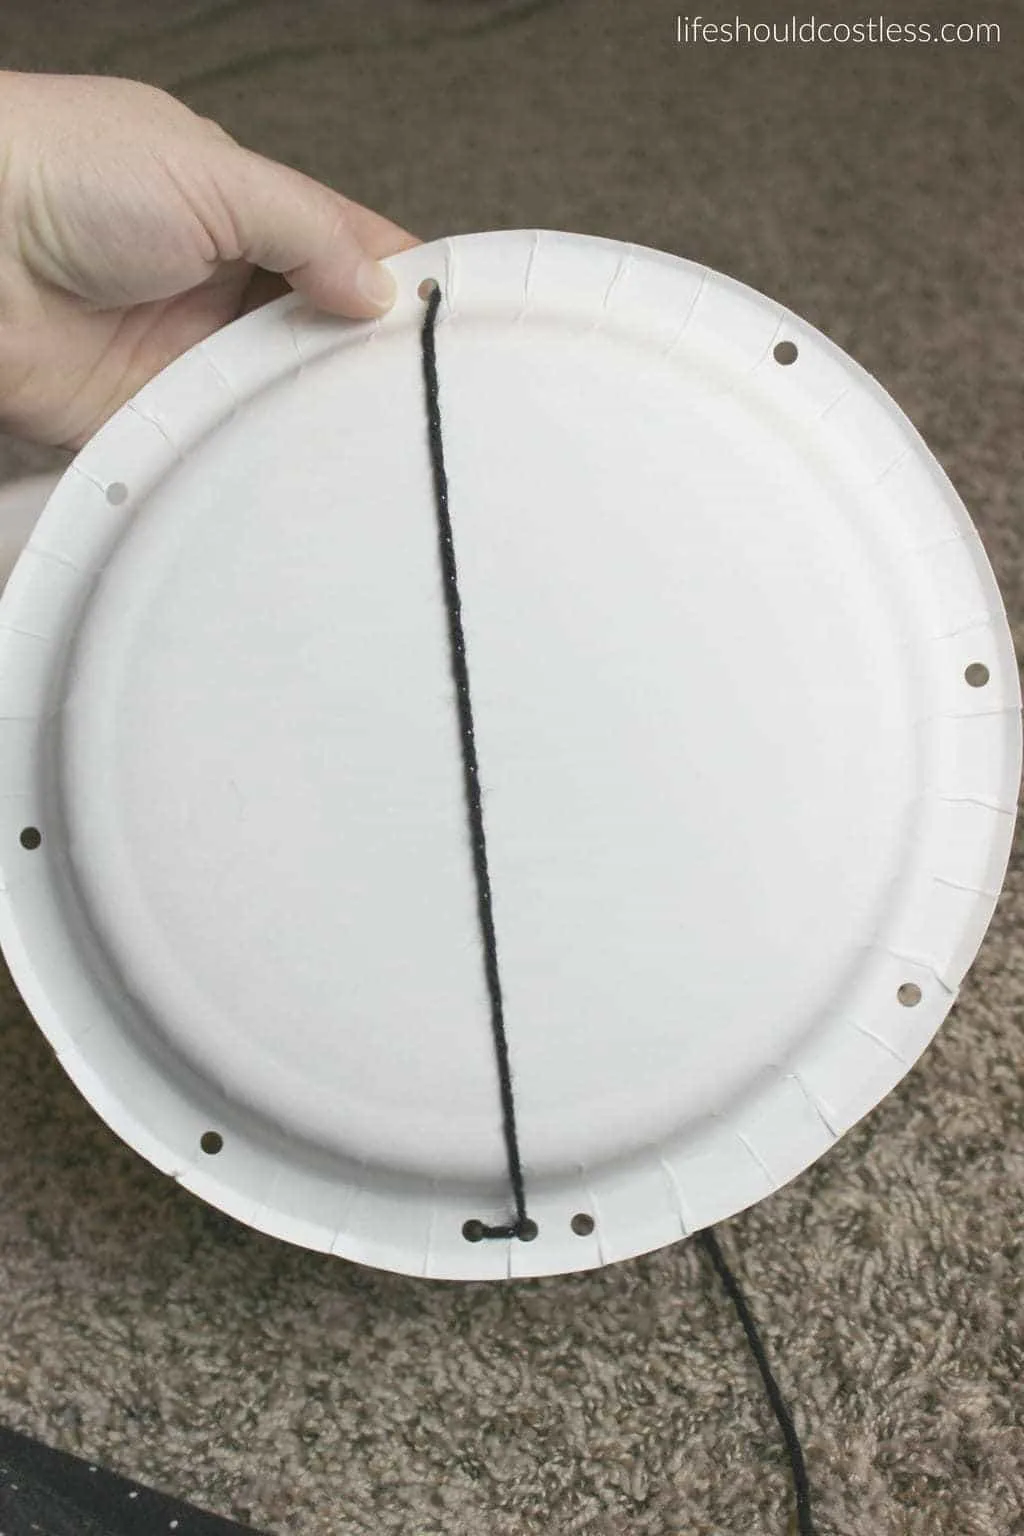
I kept weaving until it looked like this.

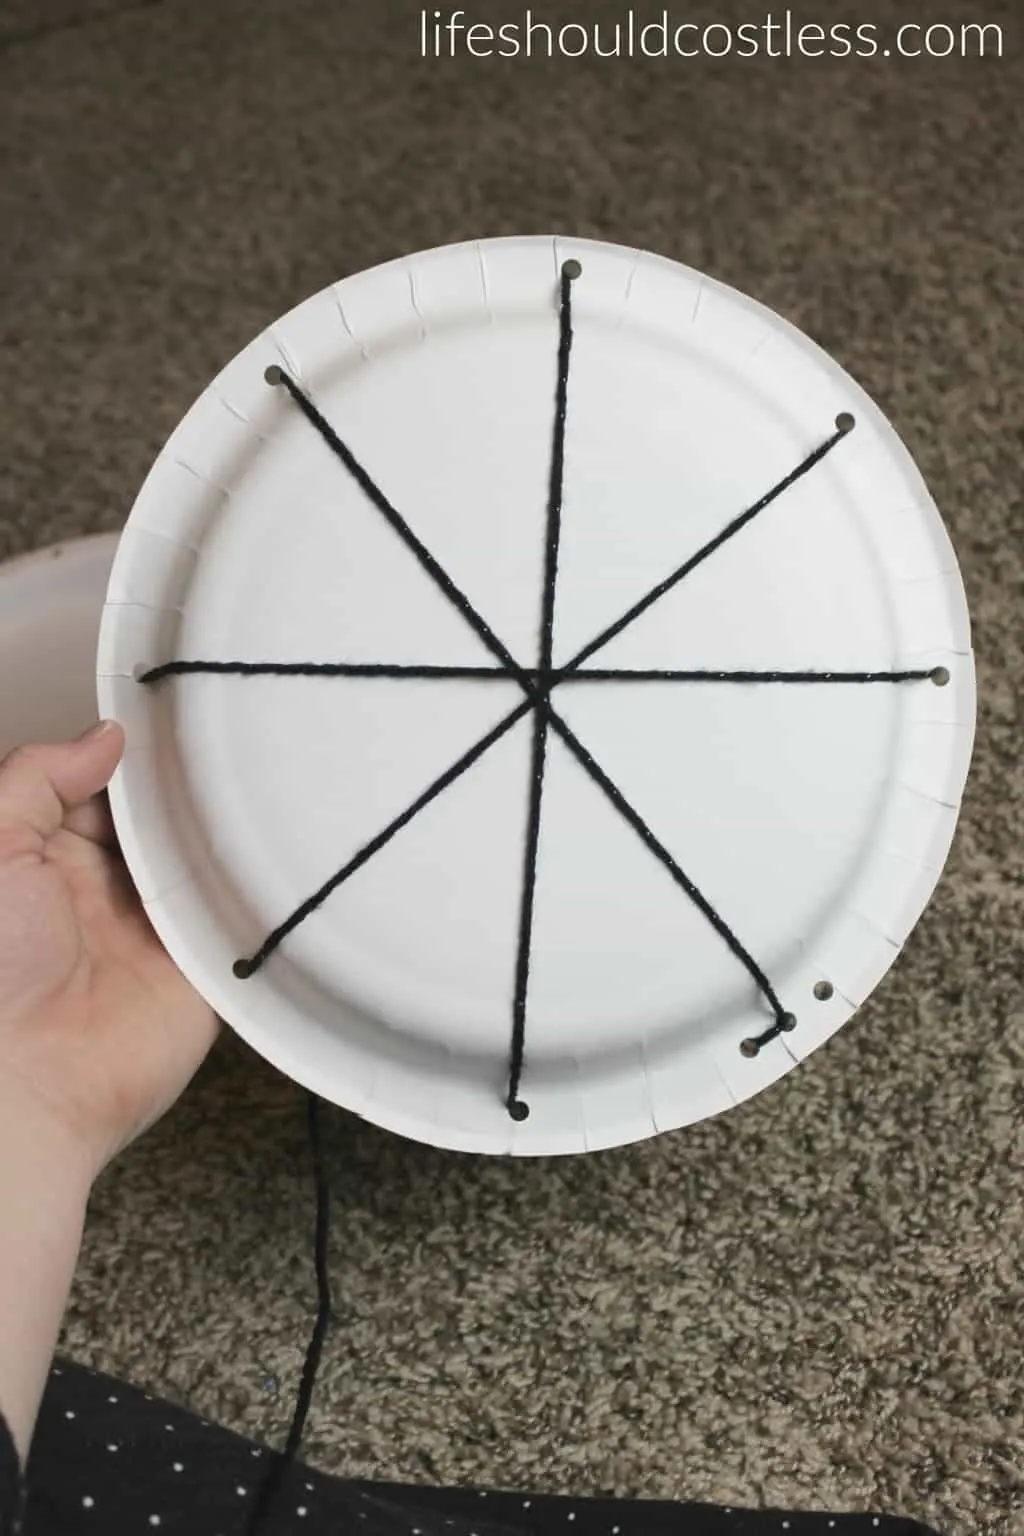
Then tied it off and cut the end of the yarn. The back looked like this. Not pretty but it was functional.

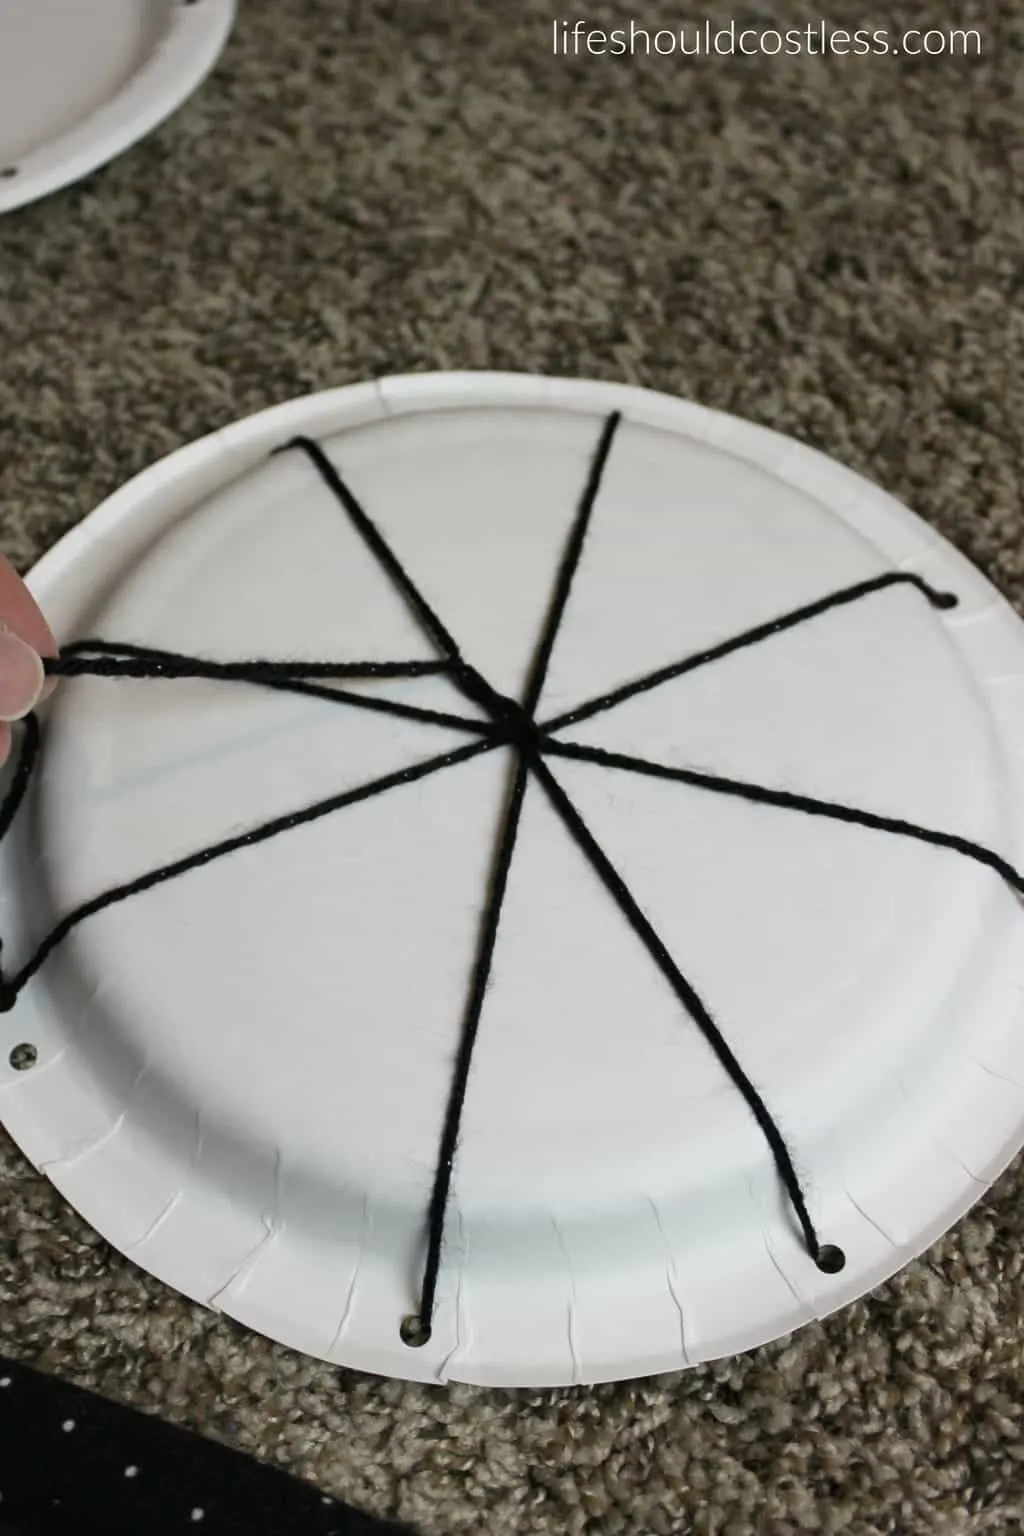
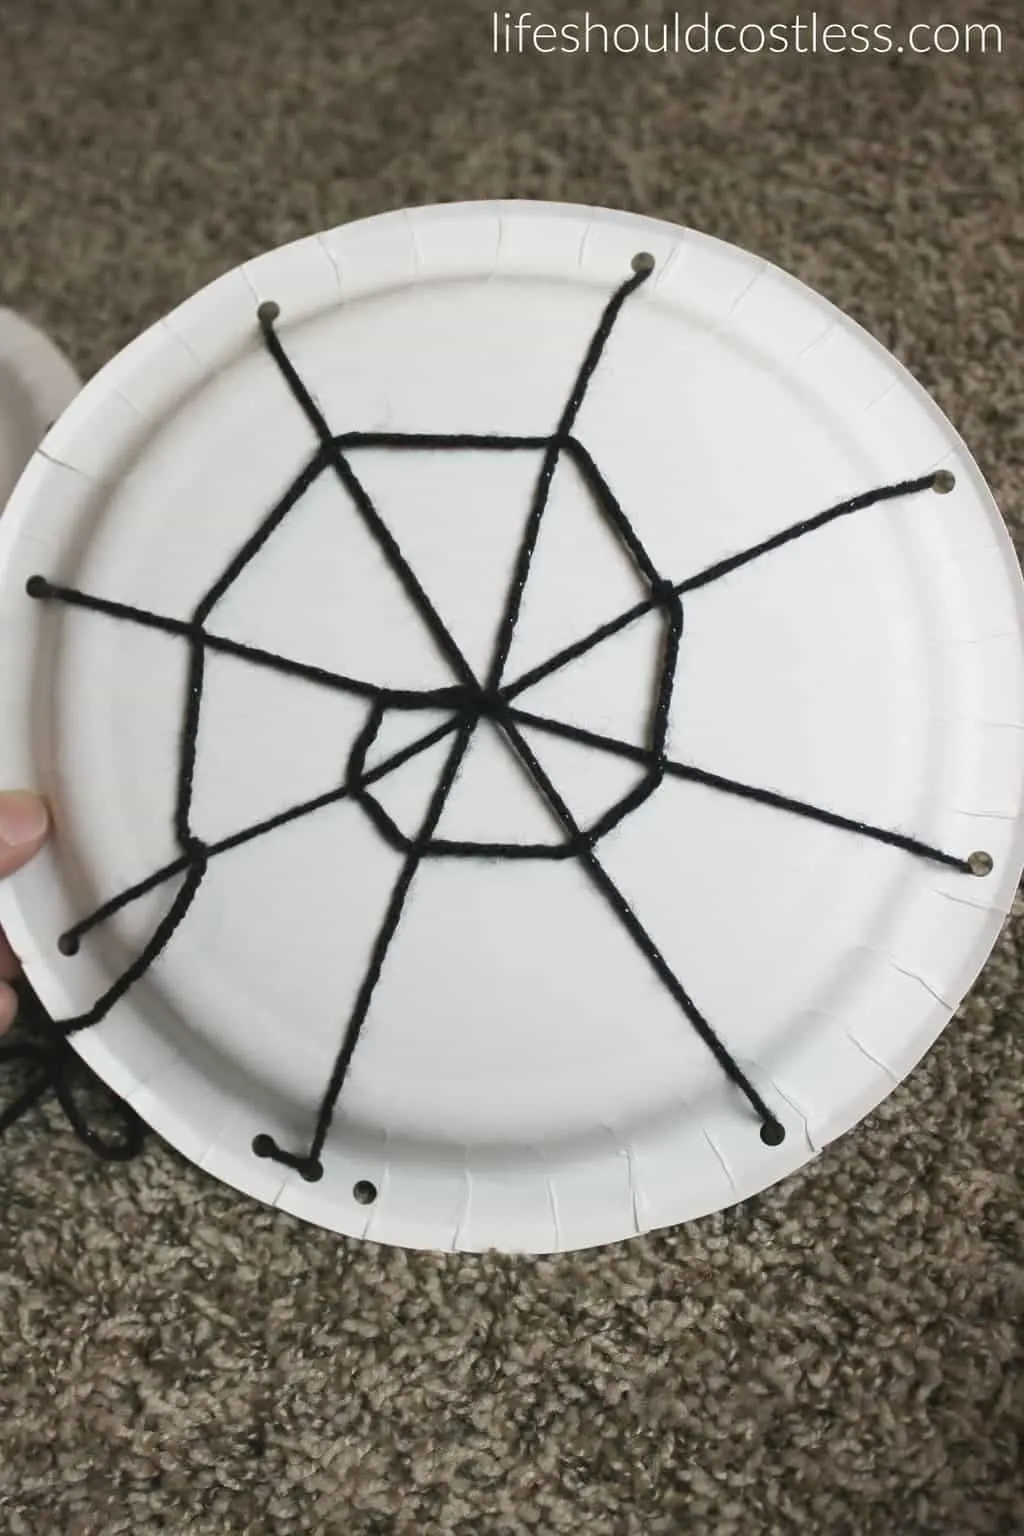
Now it’s time to create the web. I took a long piece of yarn and tied together the yarn where they cross. Then snipped off the short end.


To create the webbing I took the, now tied in place, yarn picked a string to start the web and tied a knot between 1/2 and 1 inch up.

Then pulled it across and tied it to the next string.
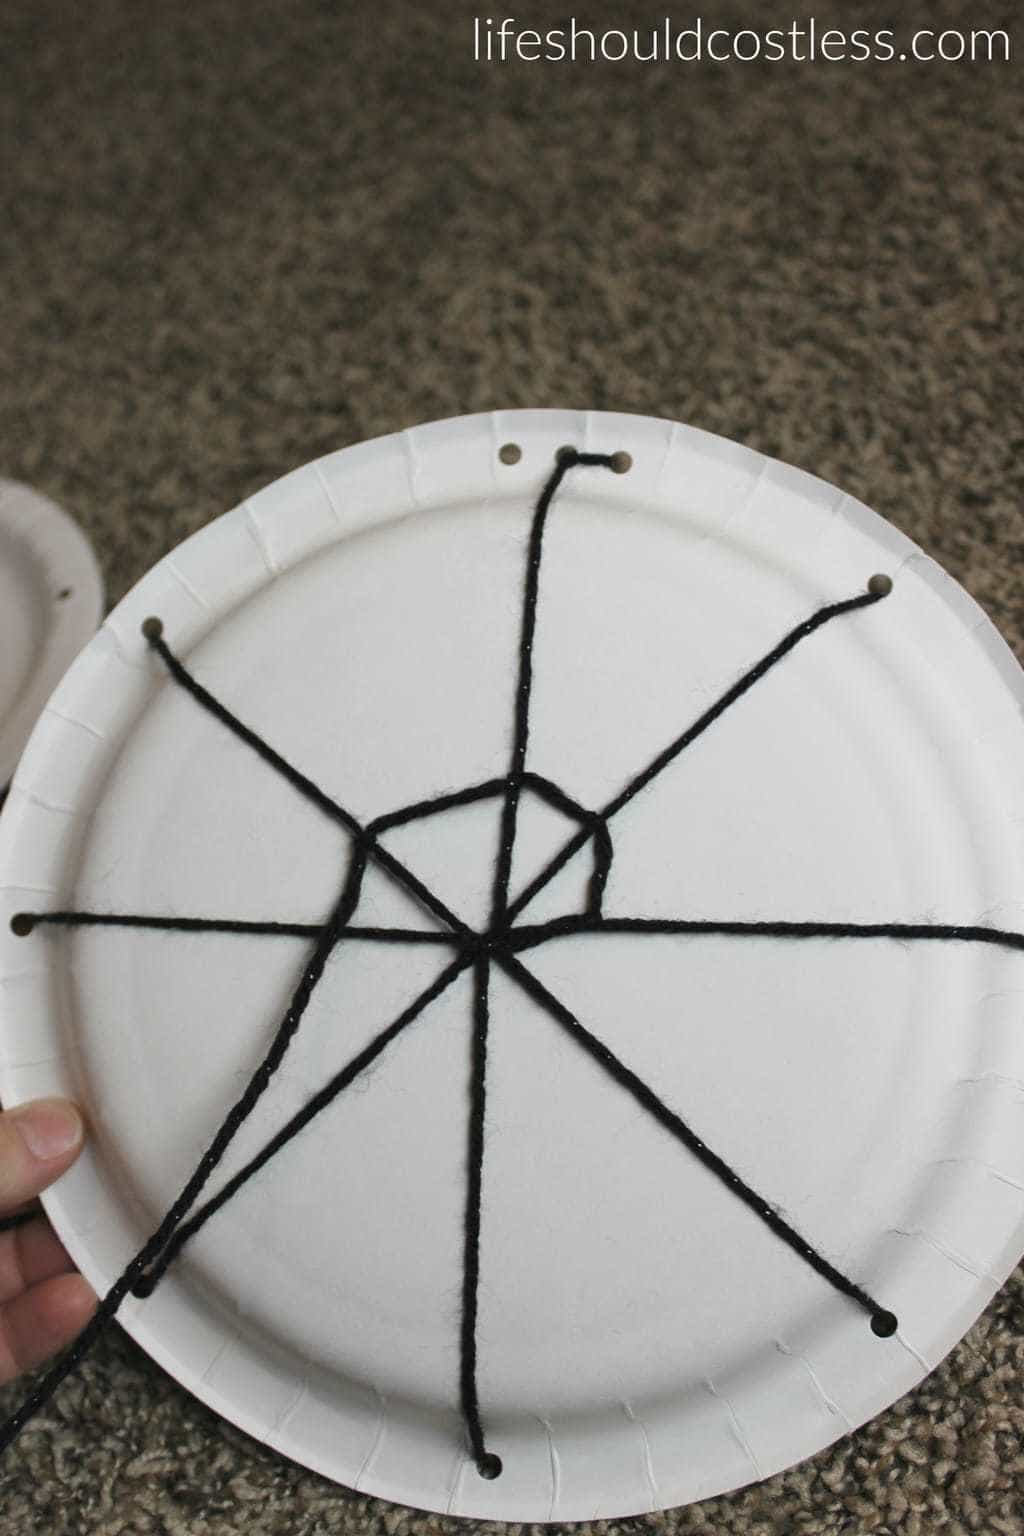
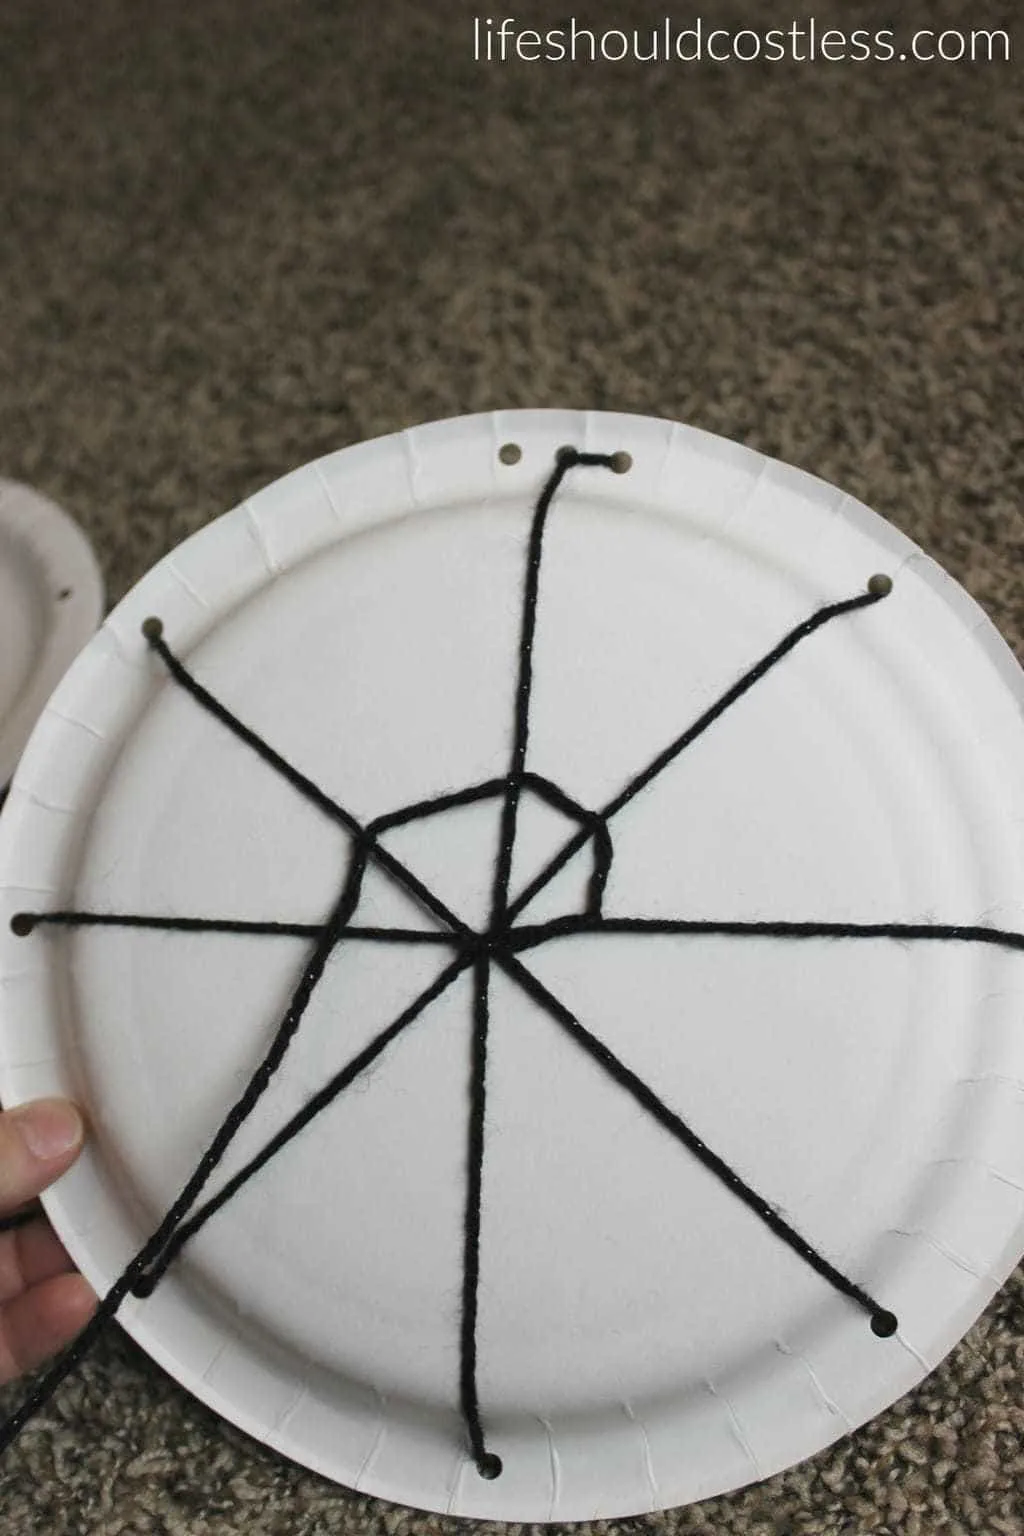
Kept working my way outward tying knots at each “cross road”.
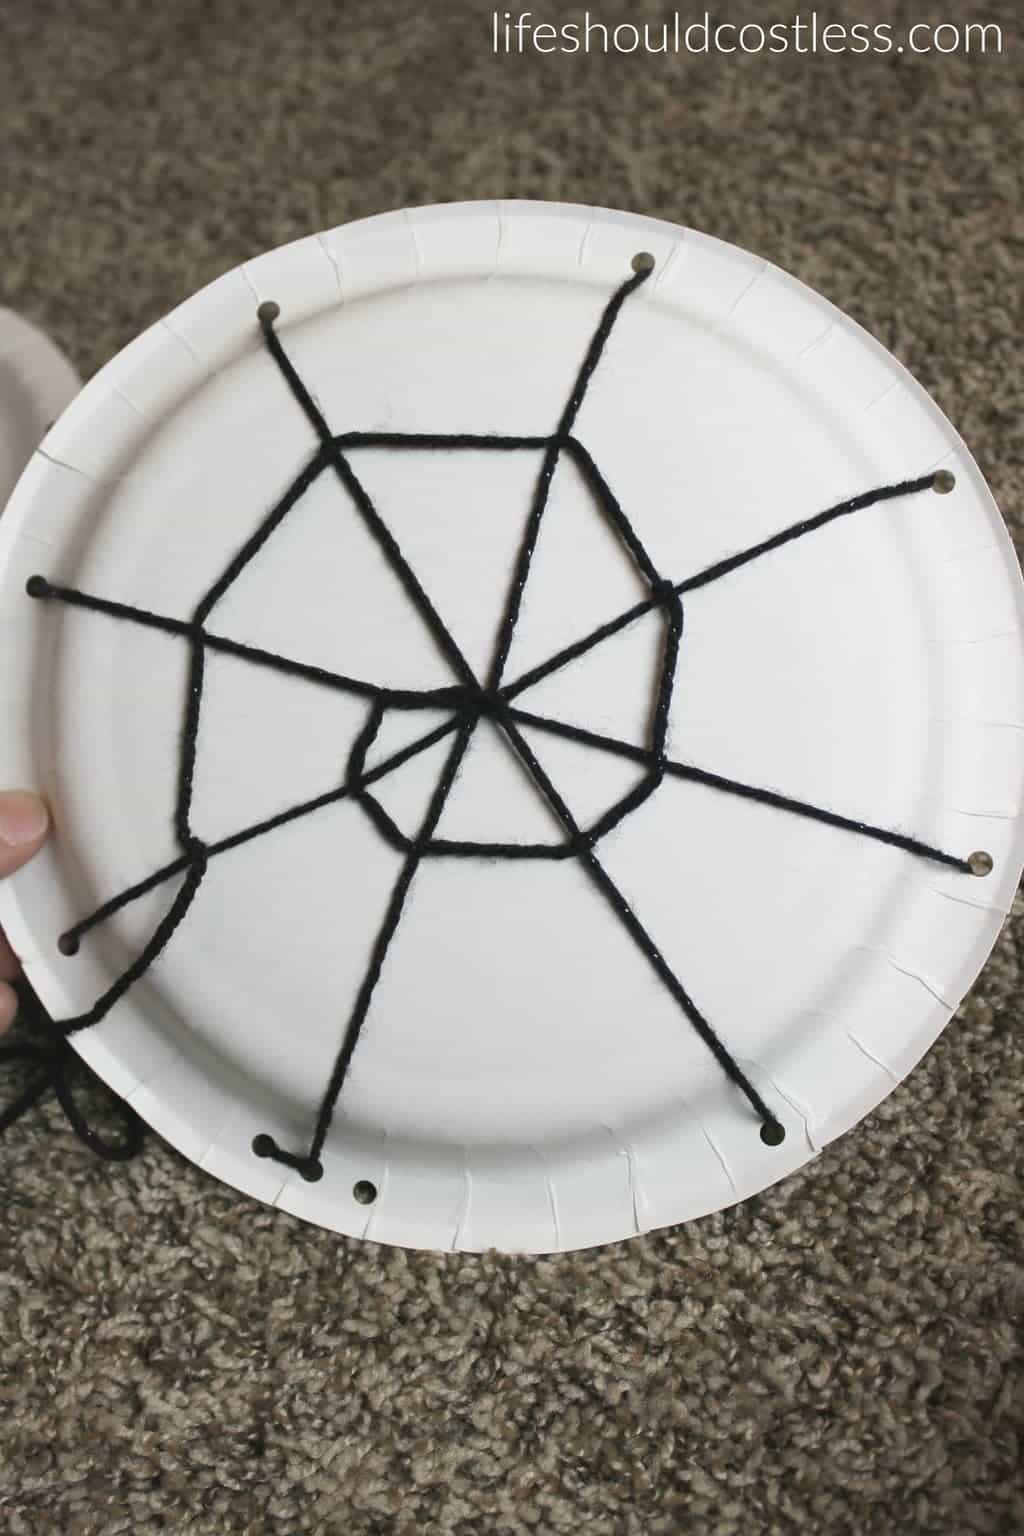
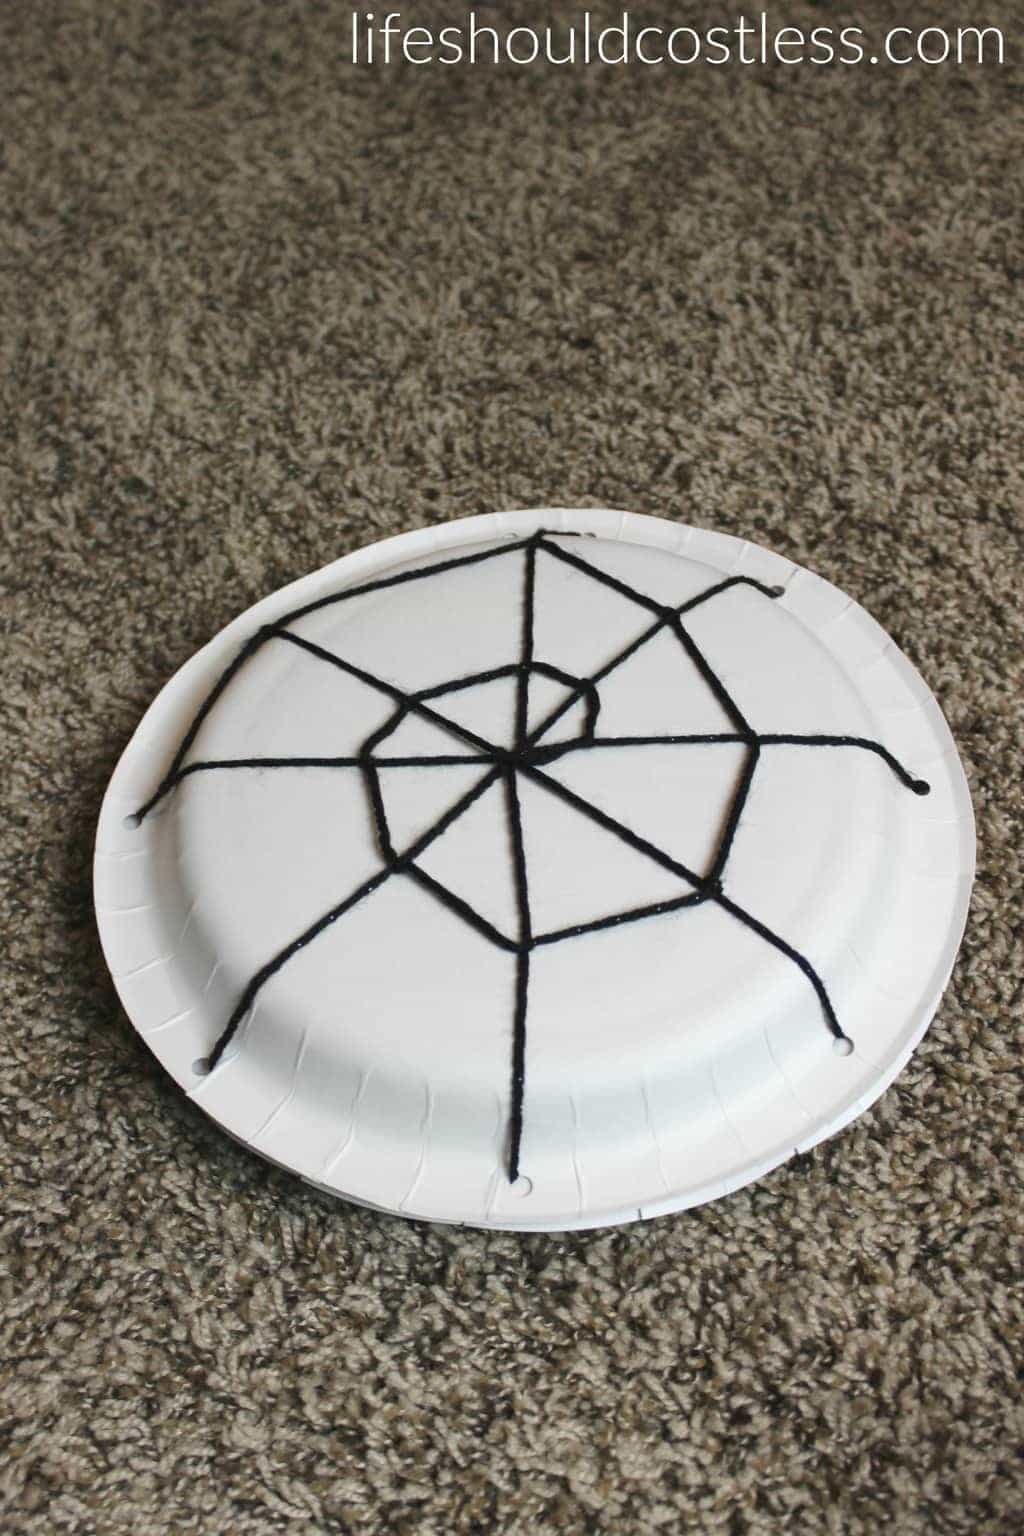
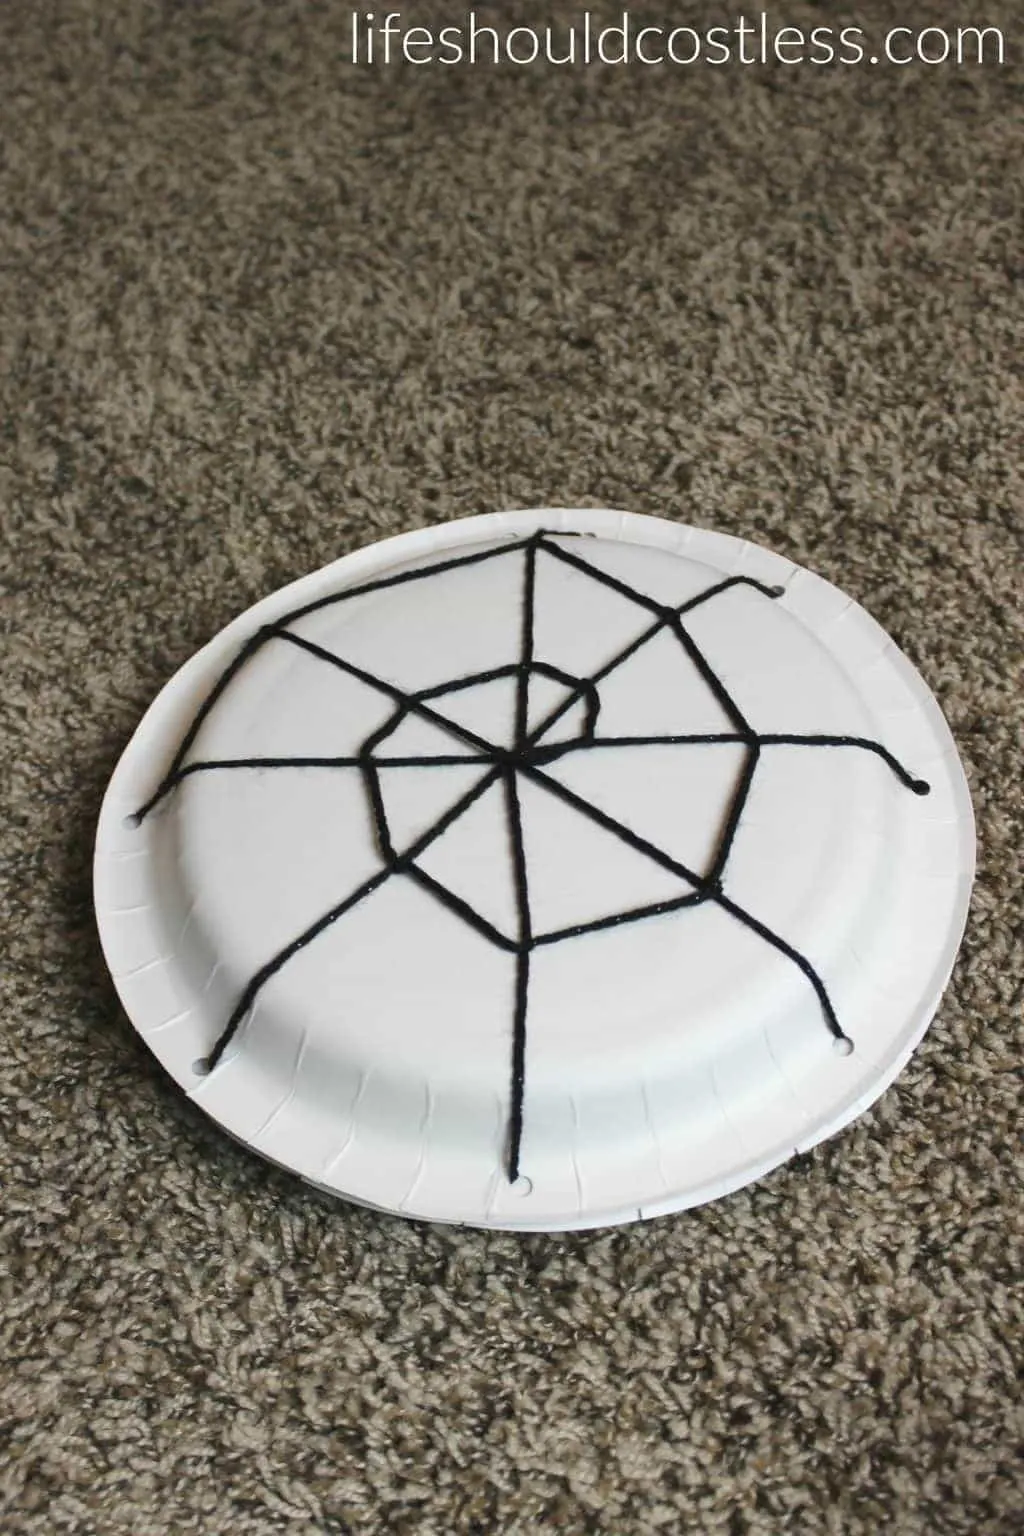
Here’s what it looked like at the end of creating the web.
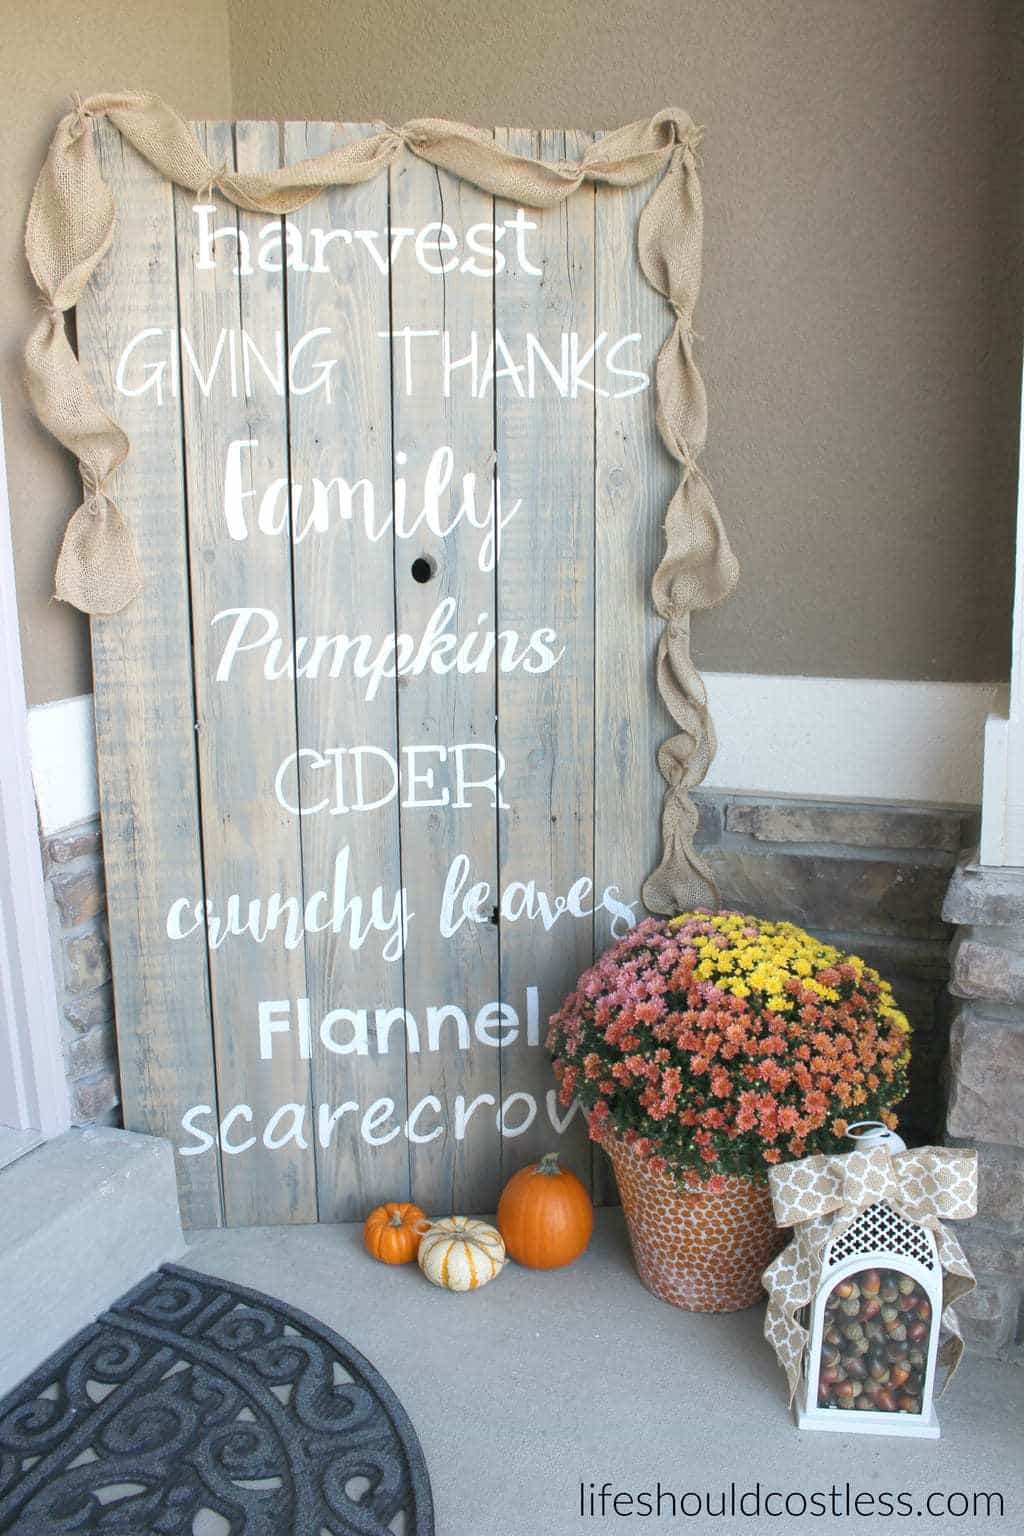
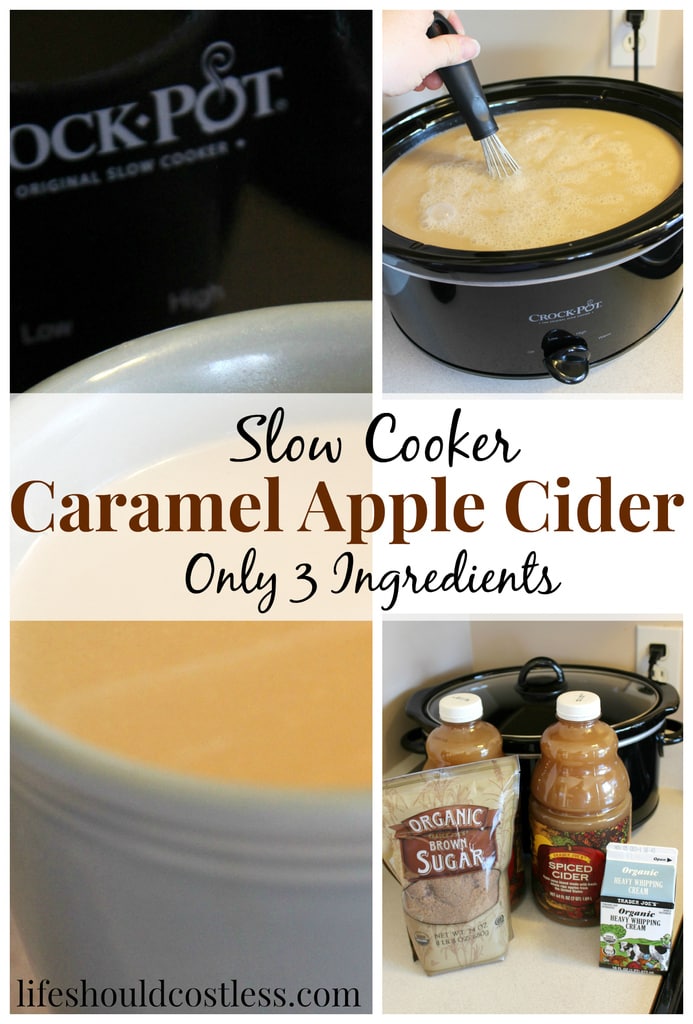
*I’ve got several other fall posts down at the bottom, so make sure to keep on scrolling!*
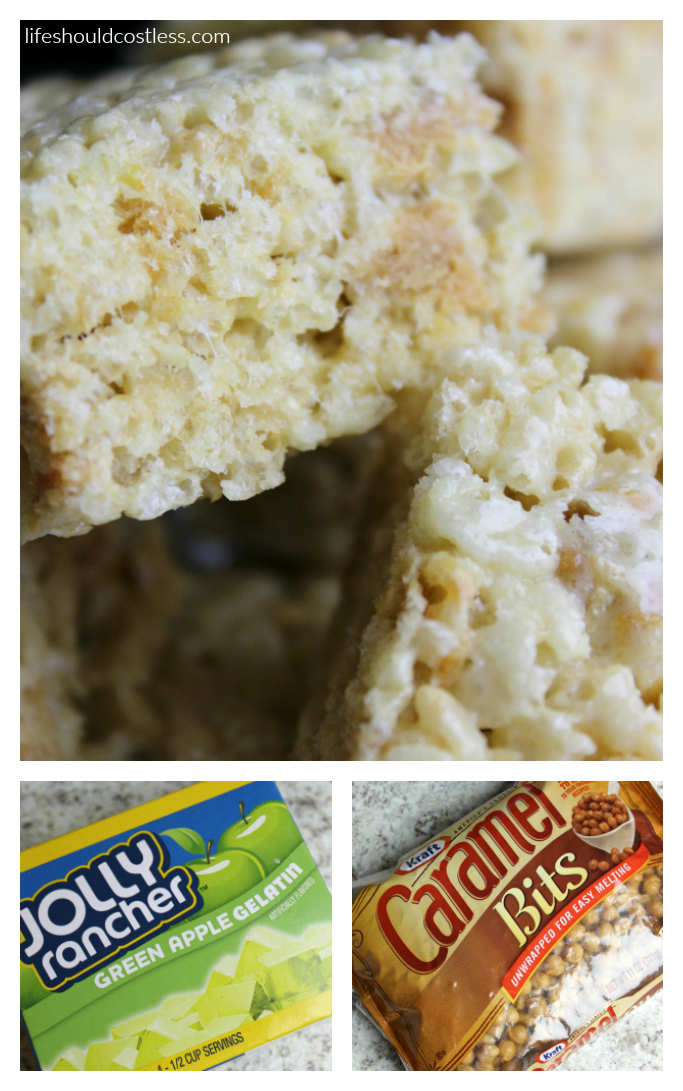
Now it was time to add the treats to the bottom plate. I suggest wrapping the treats since the plates get touched so much in the creating of the web. You know, cleanliness is important! Of course, I expect you to not make them on the carpet, I had to make this one on the floor so that I could get the pictures right. If you are wondering what perfect treat I made to fill the plates, I made some of my Caramel Apple Rice Crispy Treats. They are so good that I literally have to force myself to not make some every other day.
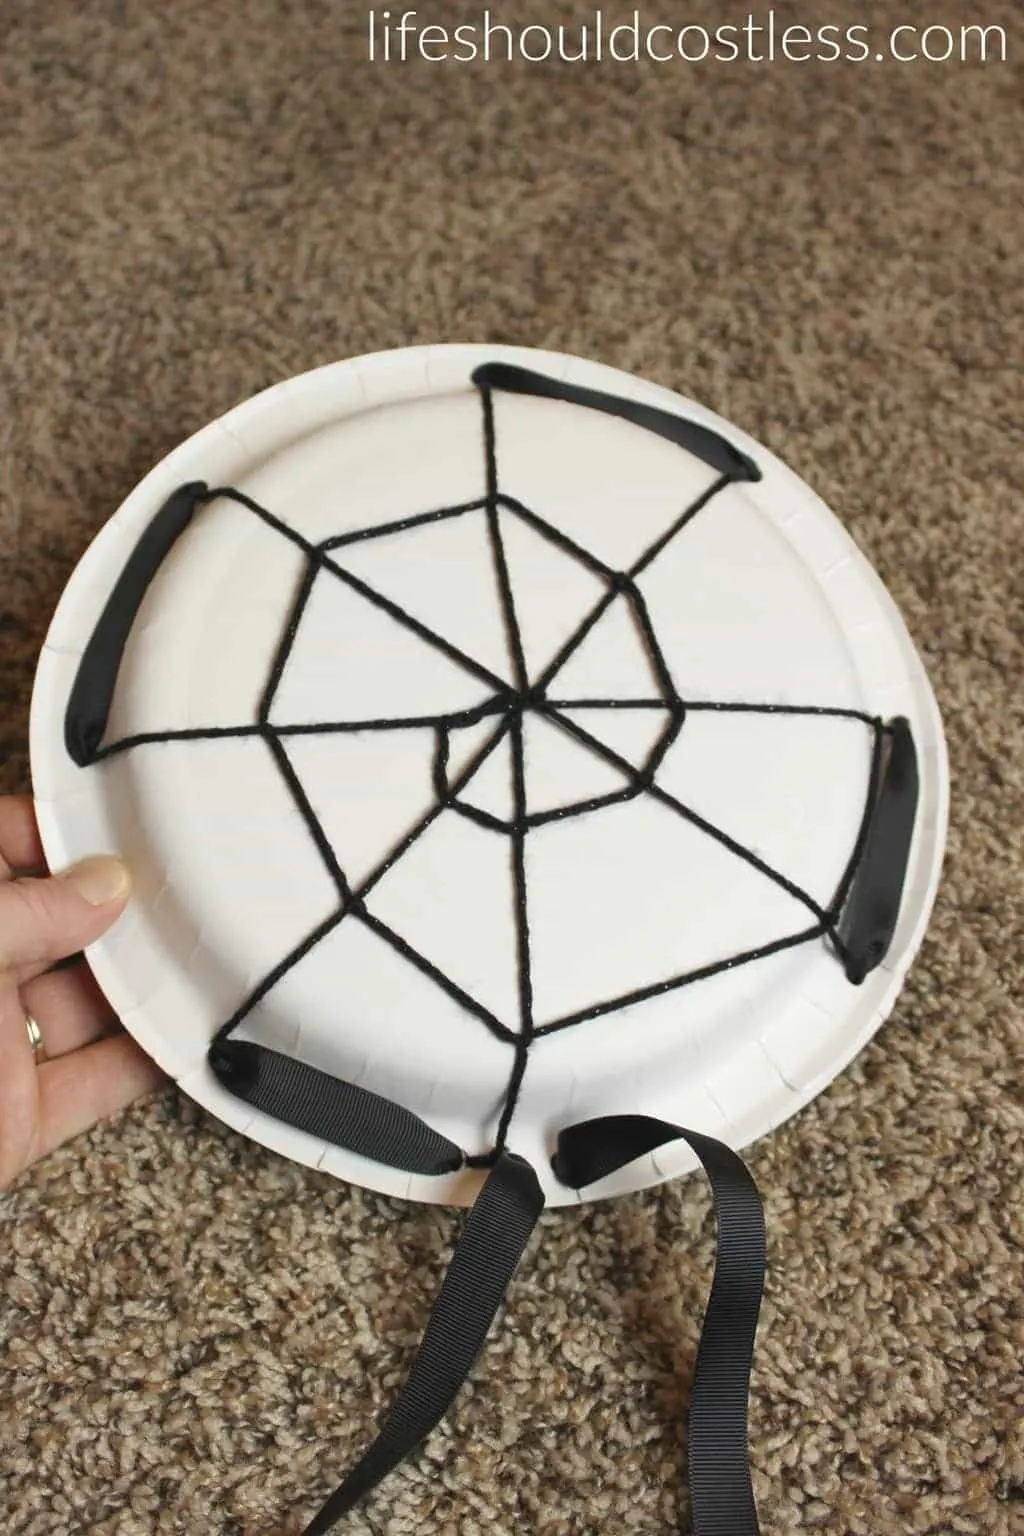
Anyway, the wrapped treats were added and it was time to tie the plates shut. I used a large needle to thread the ribbon and wove it through the holes. In hind-sight I would have moved the holes, that are meant for tying the ribbon ends, to a more symmetrical place (compared to where all the other ribbon weaves through the plates), but I guess I could always make another batch of these later on. 😉

Then I tied the ribbon.


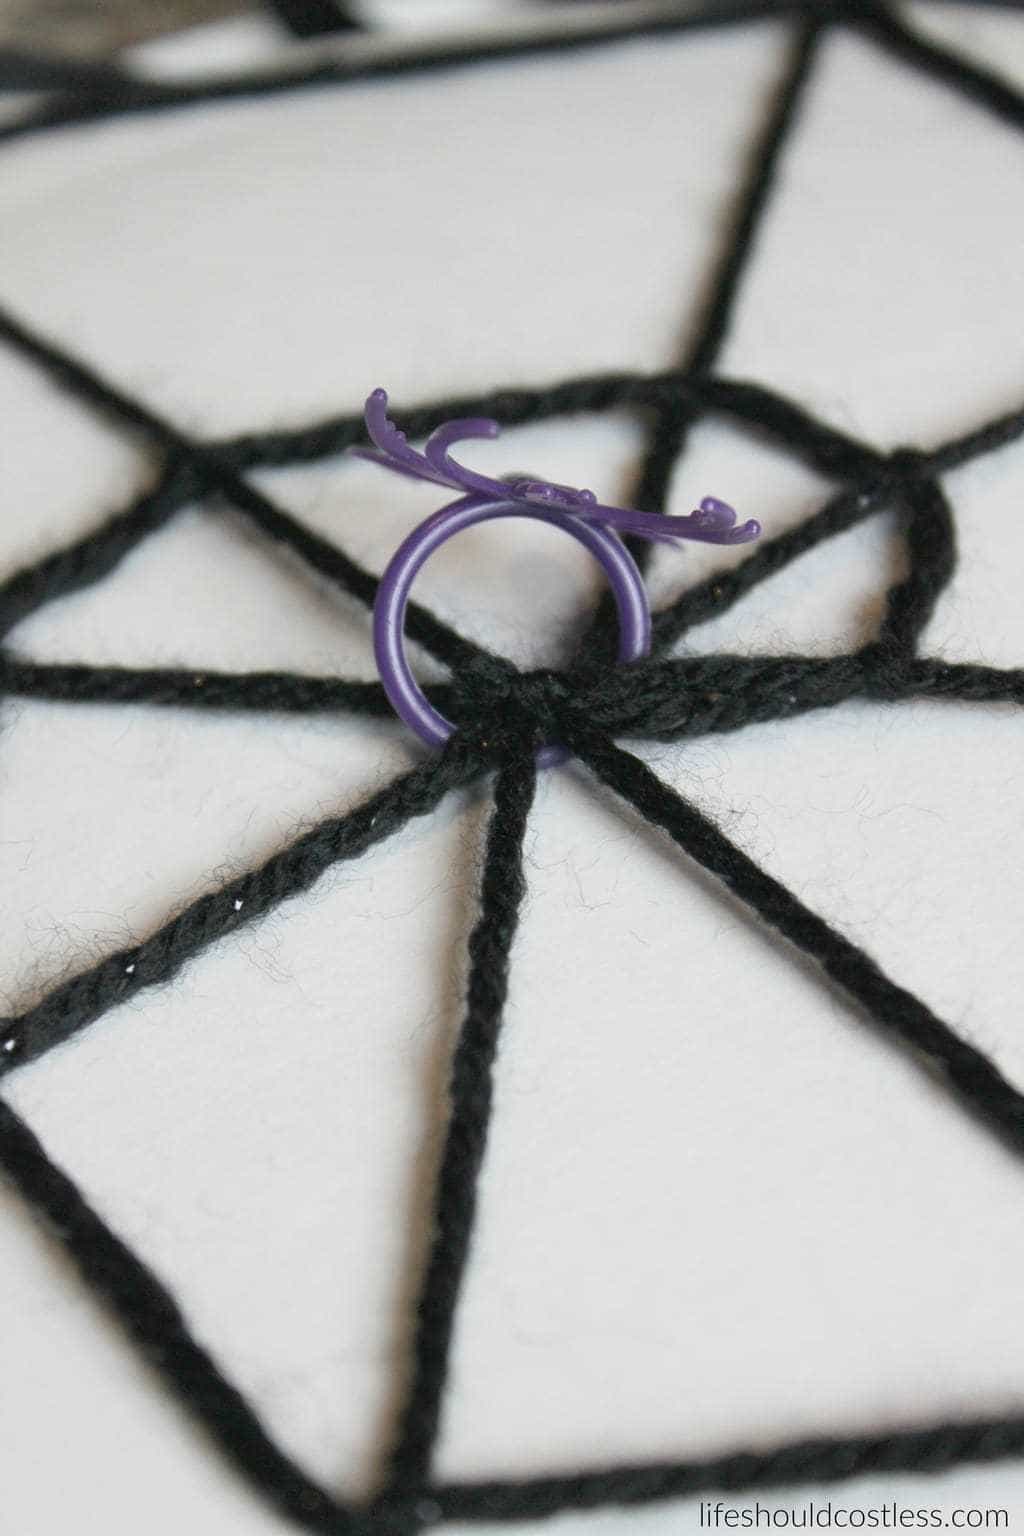
Next I used a standard spider ring and hooked it onto the yarn.

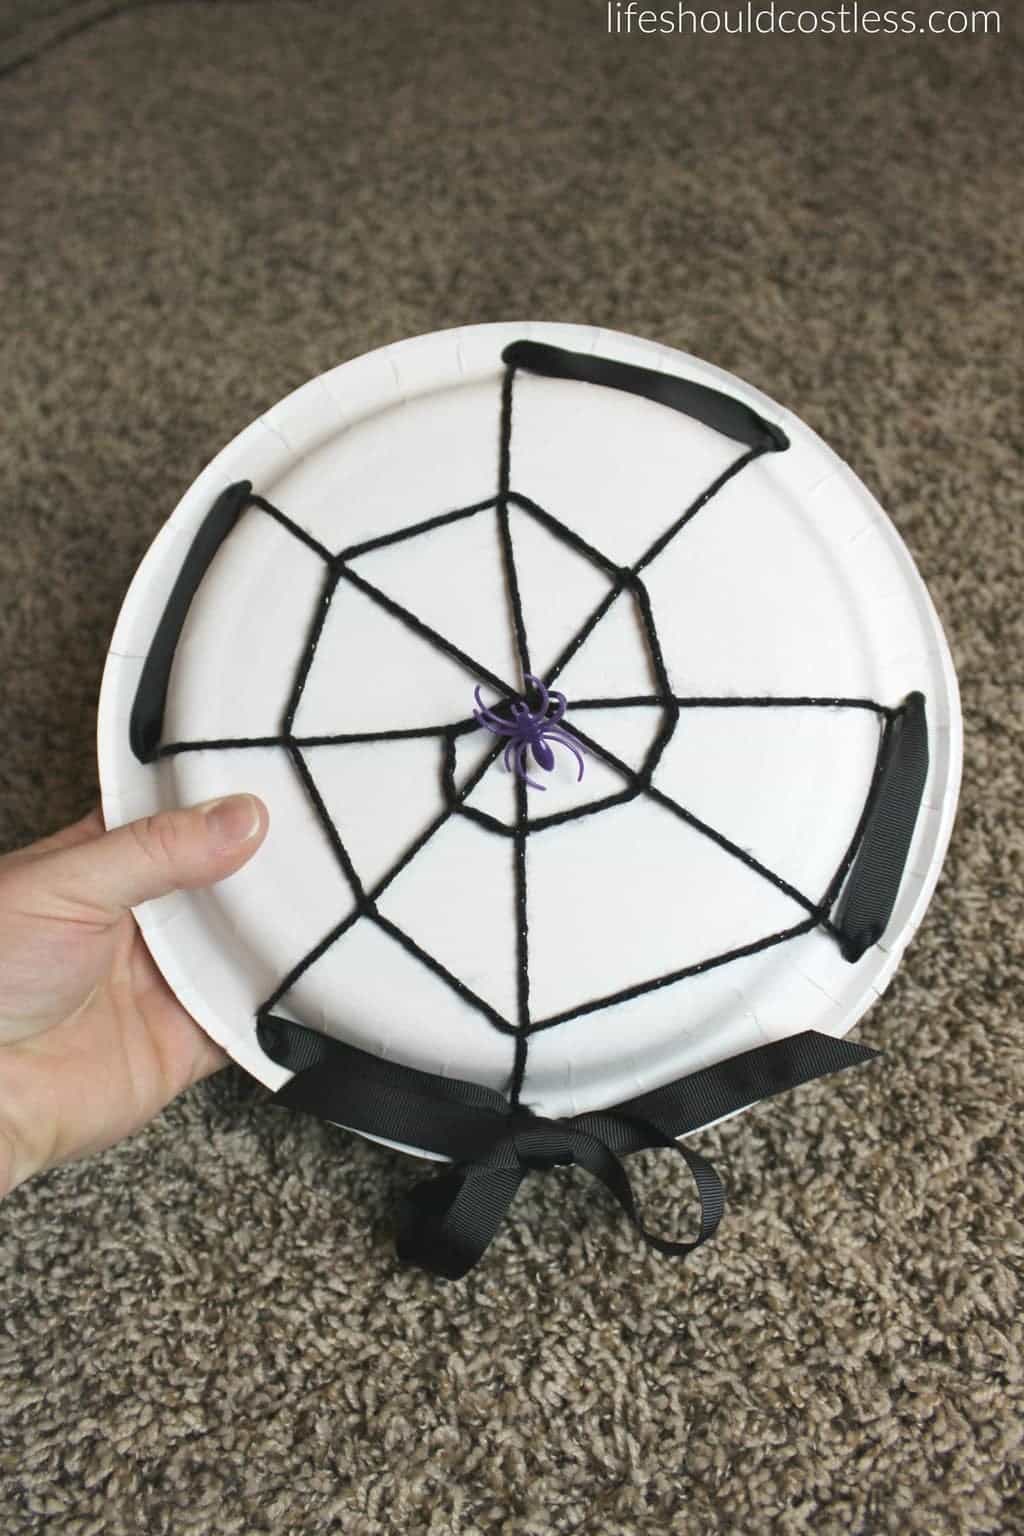
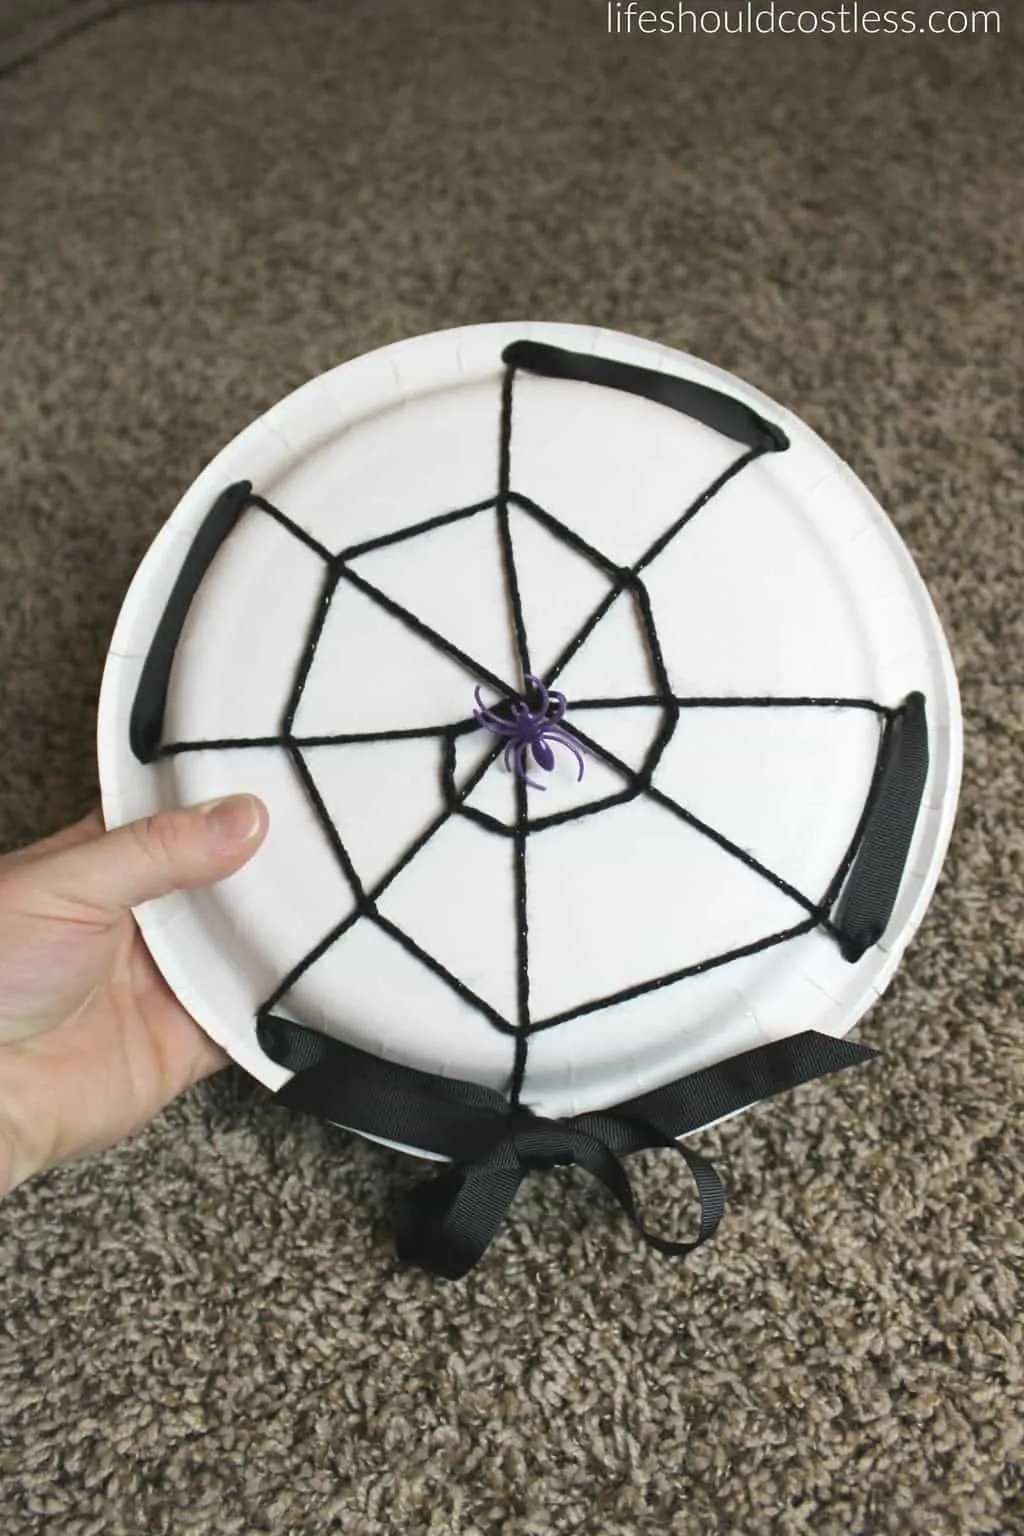
Now they’re done!

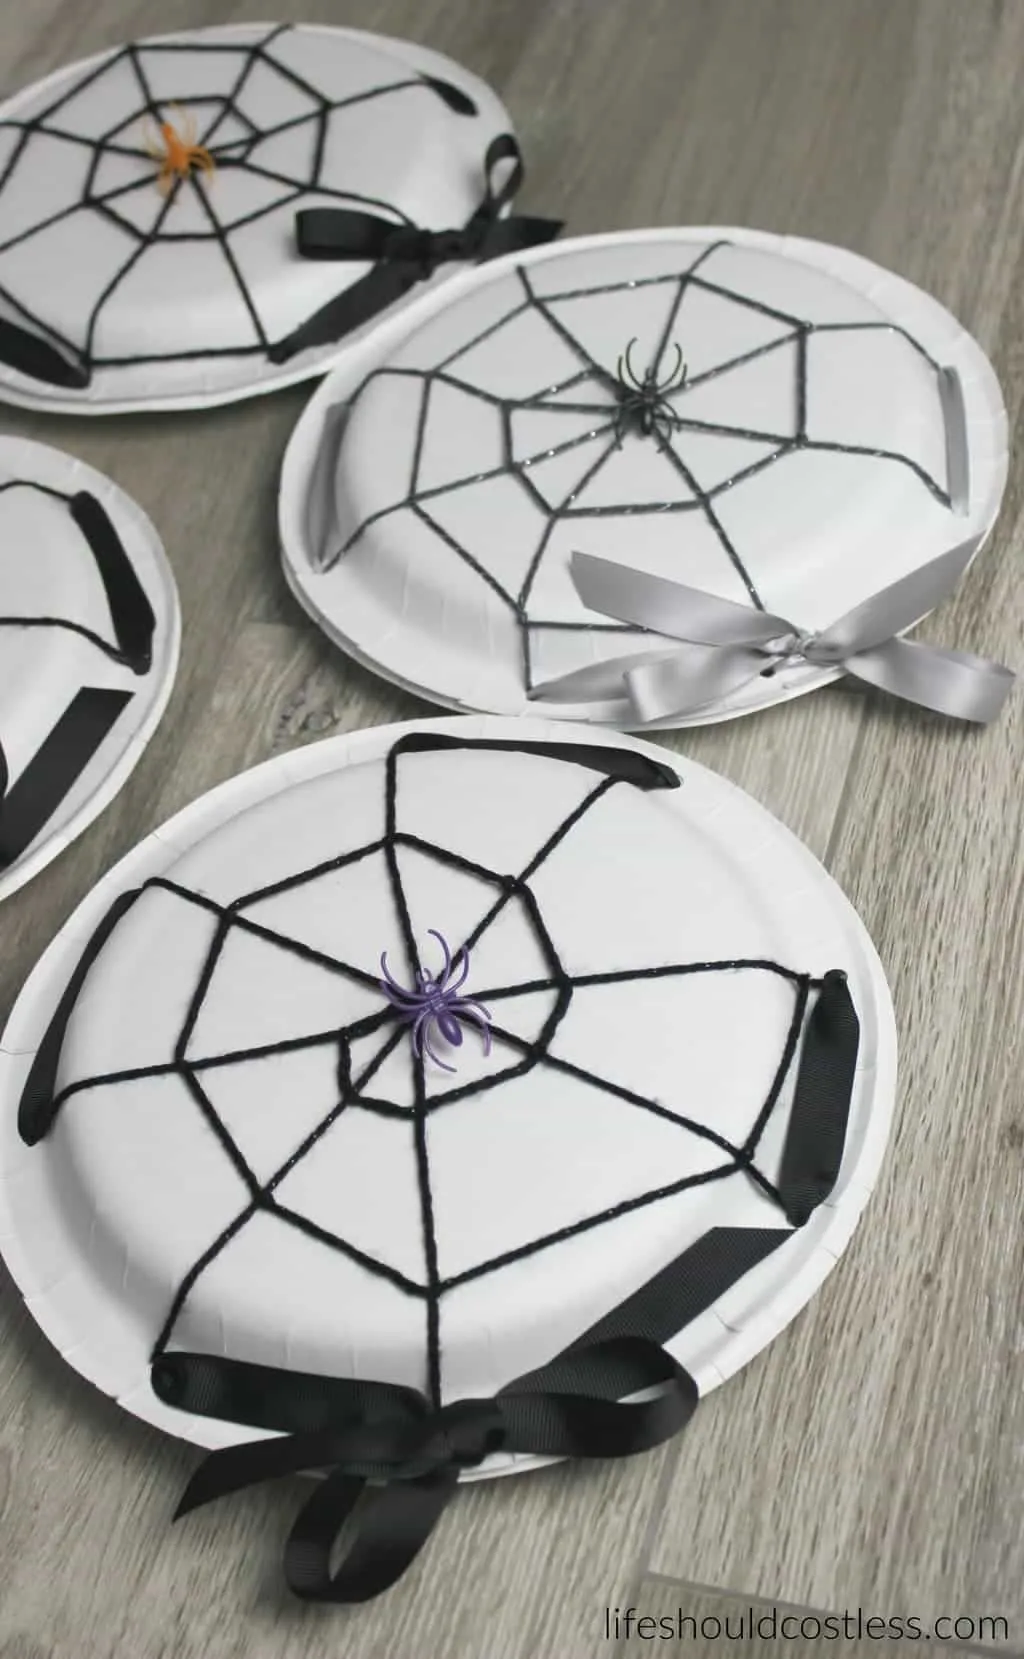
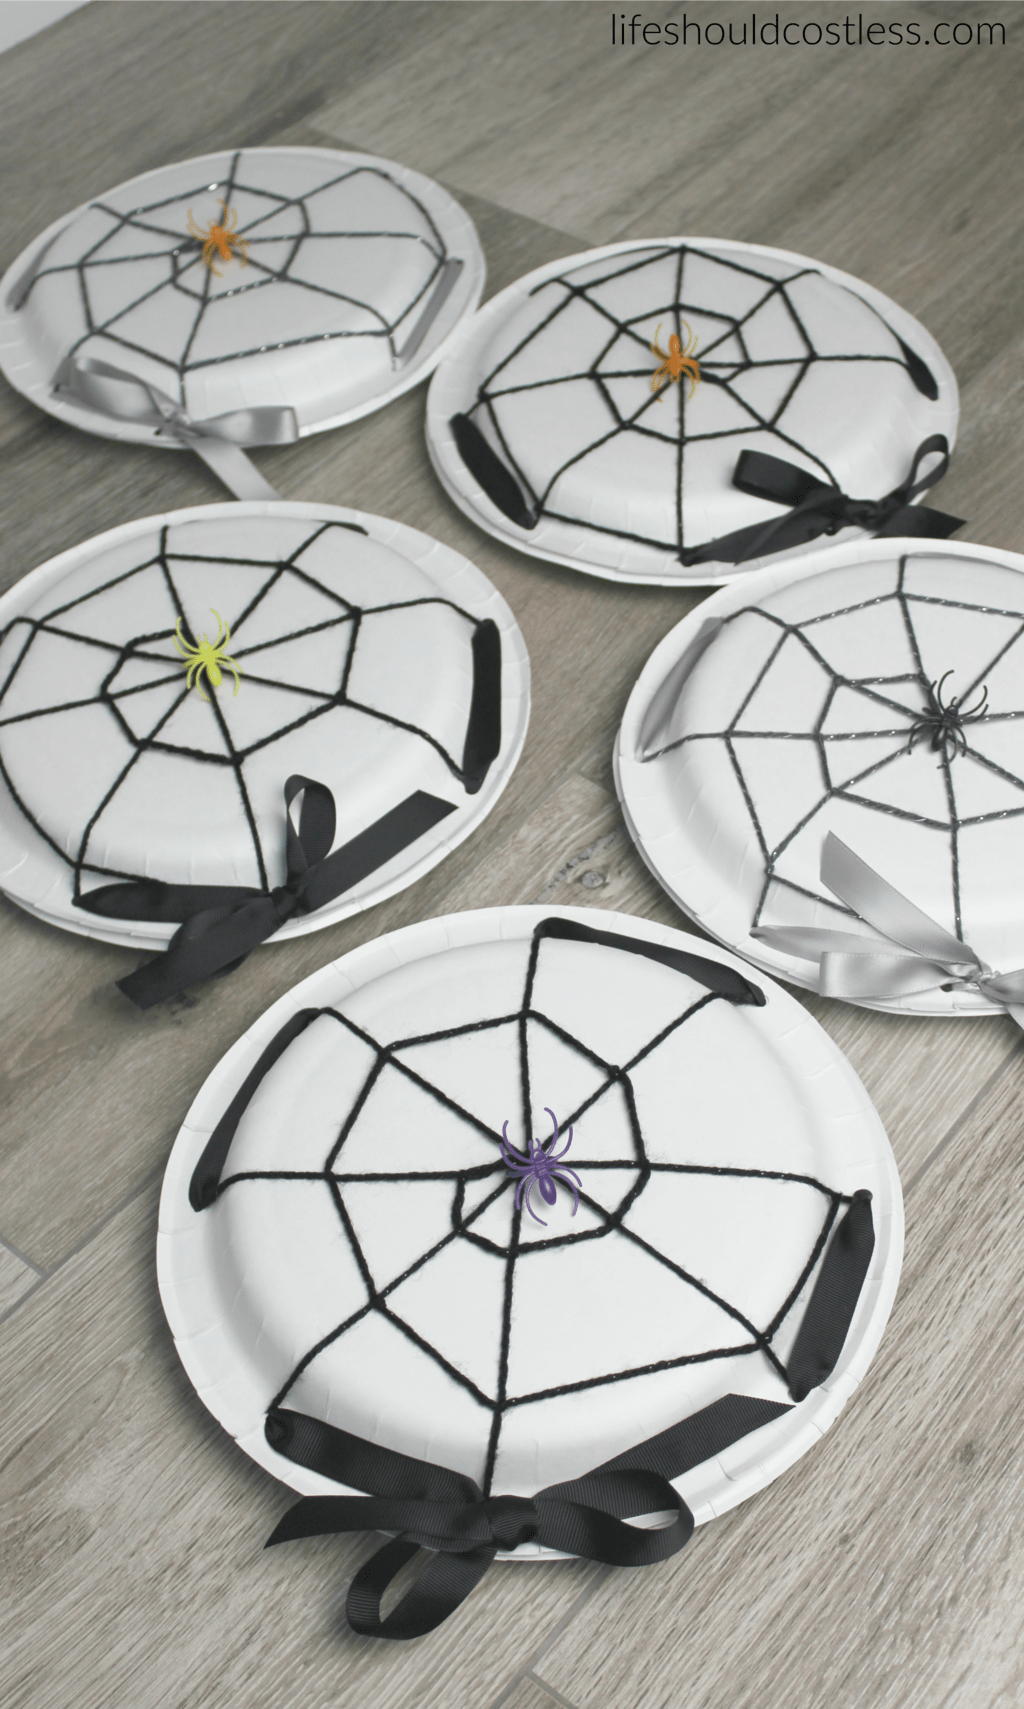
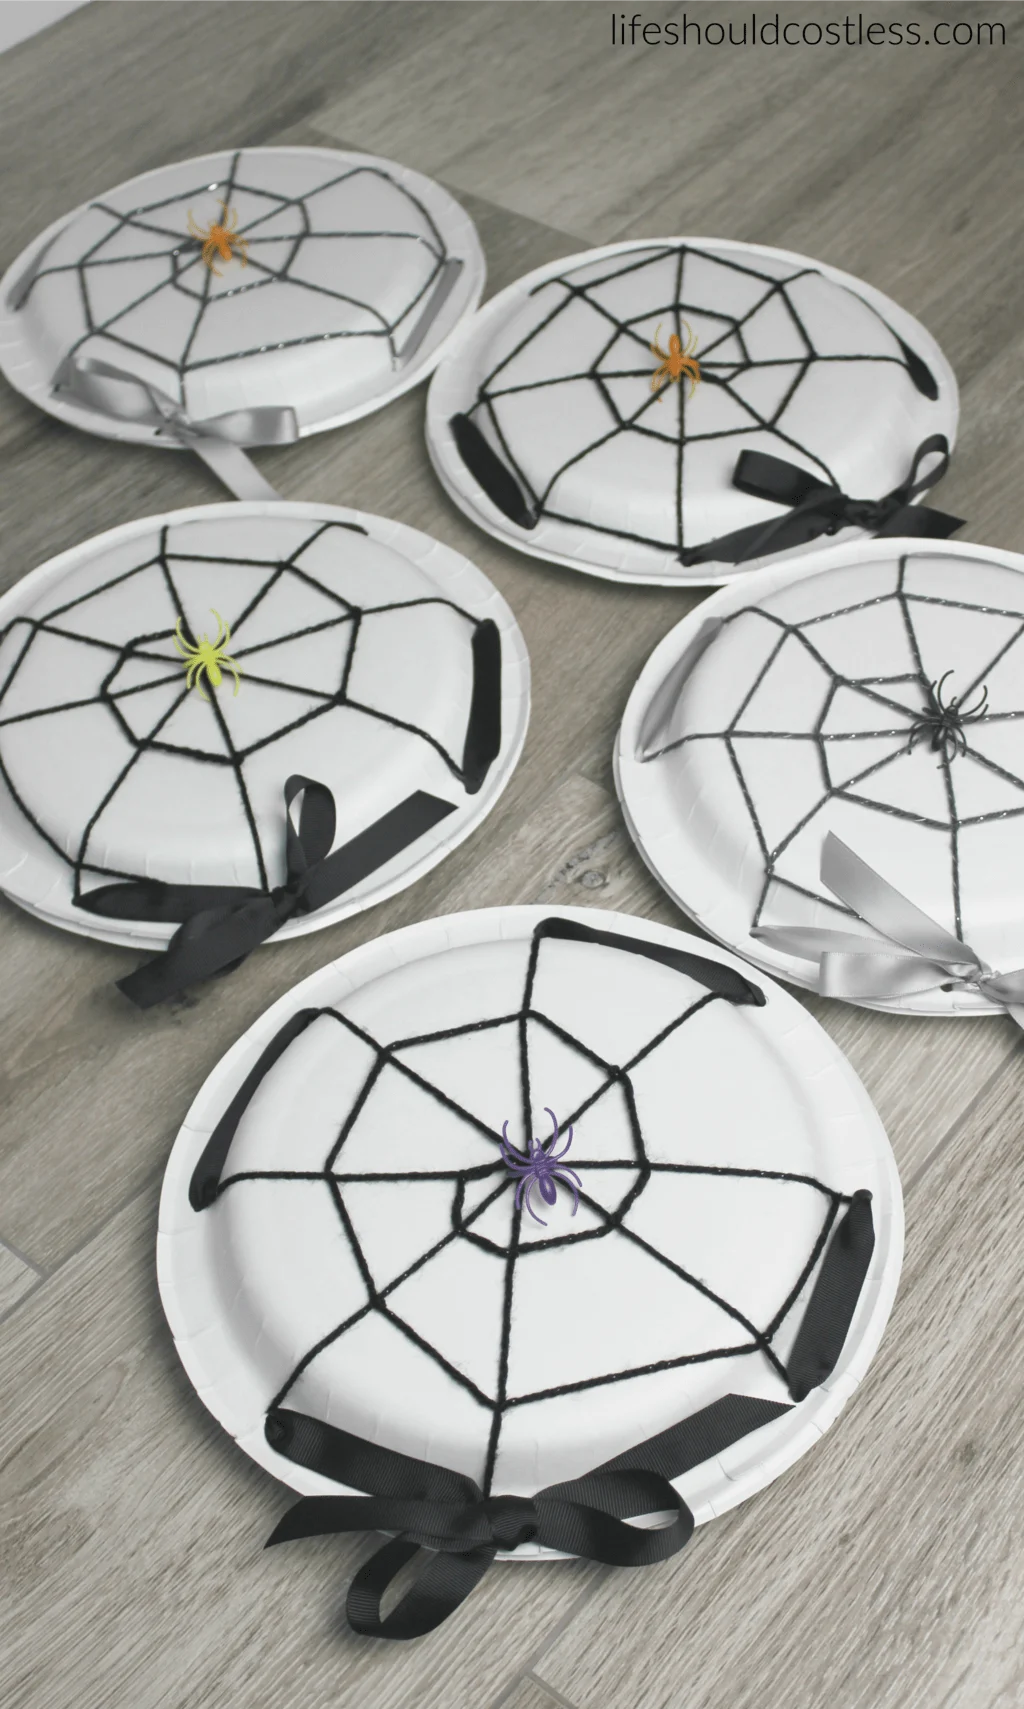
Like I said before, they are a little time consuming, but they are also kinda fun to make. They took me about 15-20 minutes each, the time got faster the more I did…as does anything with practice, I became more efficient with each one.
What do you think? I think they are kind of cute. My kids were sure excited about them! I hope I gave you enough detail to give you some direction. As always, if you like this post please make sure to share it and pin it! Thanks!~Sarah
P.S. It’s midnight and I’m totally blurry-eyed so sorry for any grammar issues.
You may also like (the pictures are links):