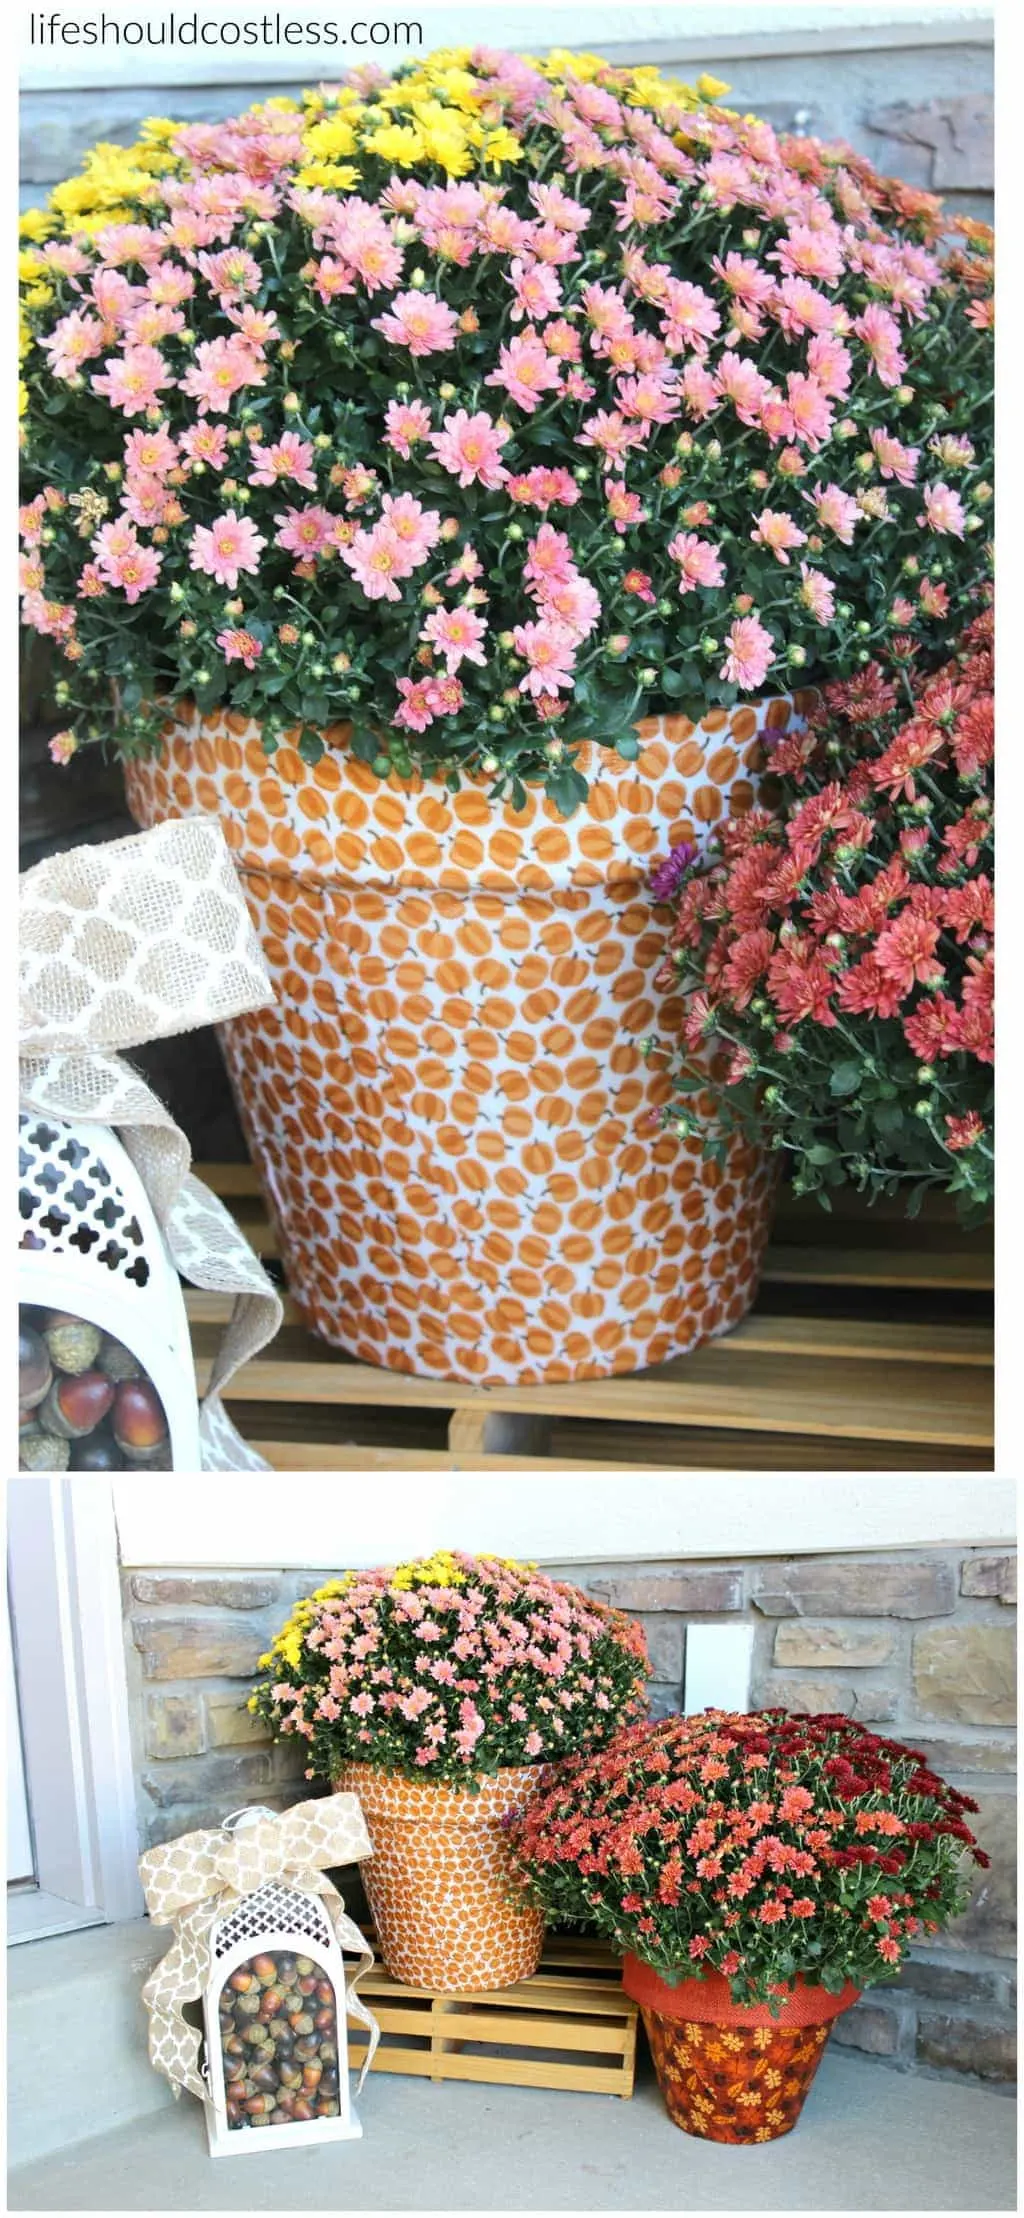
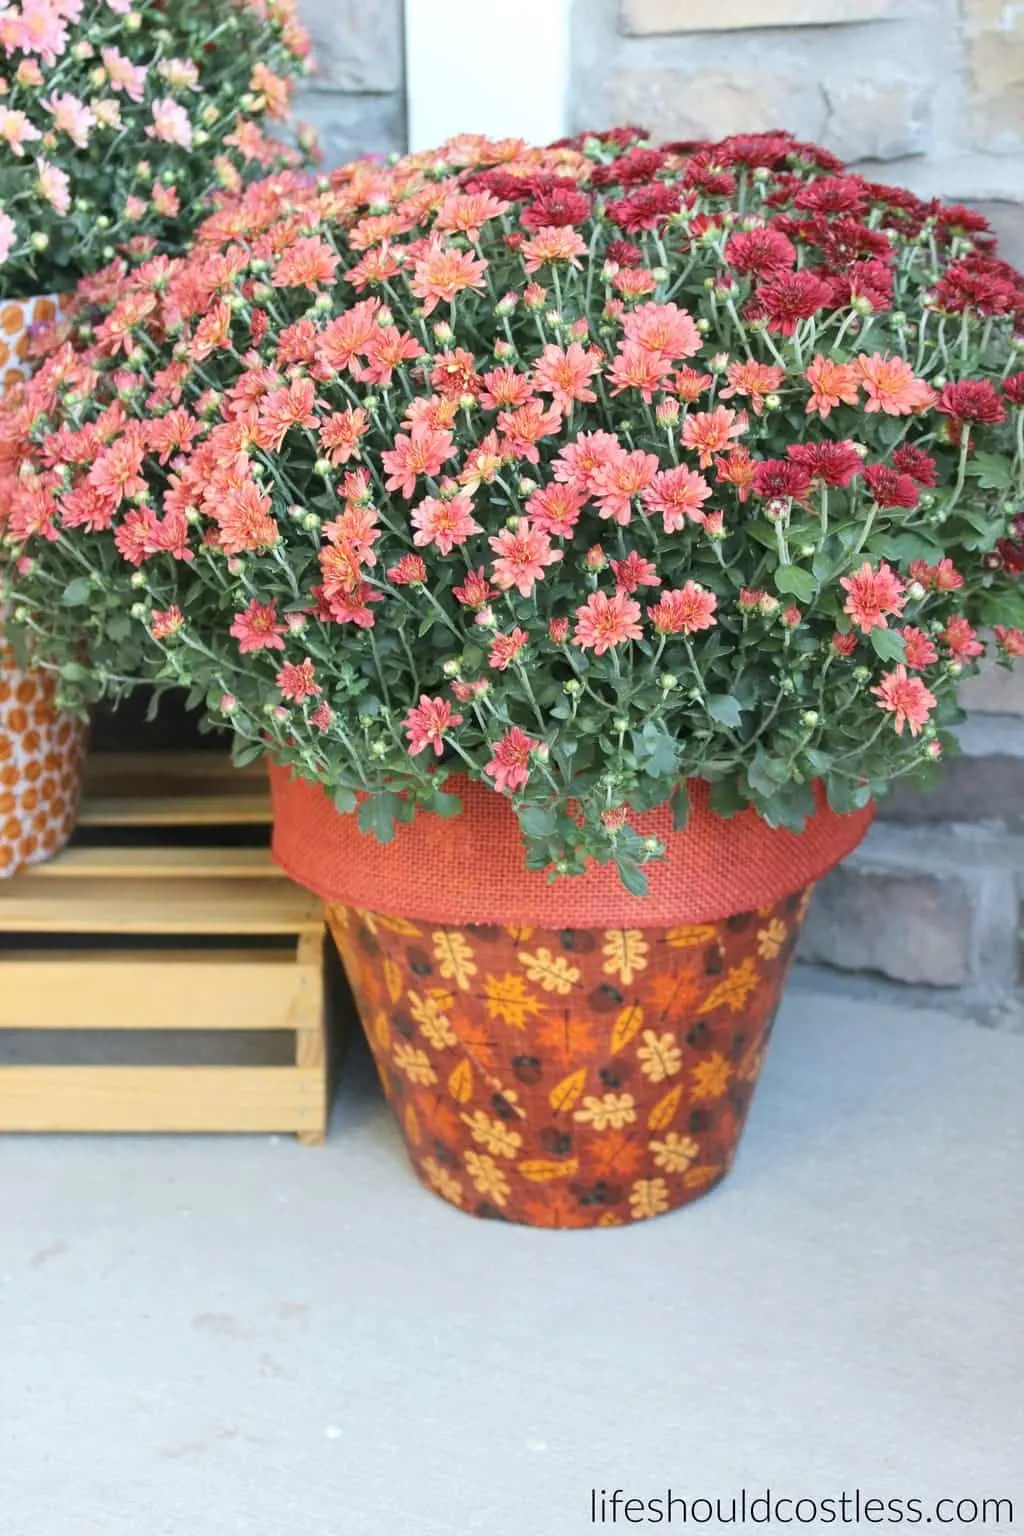
A couple of years back I saw these darling Mod Podge and fabric terra cotta pots and I was absolutely in LOVE with the idea and have been chomping at the bit waiting until I got to make some myself. I finally got to scratch that itch this week and I am so thrilled with how they turned out!
*Hey there, thanks for stopping by my website. This article is super old, so it has been archived as I no longer update it…so proceed if you wish…but it is definitely not my best work. Please stop by my home page, here, and see some of my better content. Thanks! ~Sarah*
I feel like a broken record of every fall-lover out there, but fall is my all-time-favorite of the four seasons so not only will you guys be getting this fall decor post, but I’ll be sharing my fall porch decor with you for my next one. My last post was a fall-ish recipe and I have been so addicted to that treat that I have already made it twice again since I posted it and have the ingredients in the pantry to make it again this weekend…I had to resist the urge to make them today even though I made some yesterday. If you need a new fall dessert recipe, you have got to try my Caramel Apple Rice Crispy Treats (they’re sour green apple and have caramel bits throughout)…TO DIE FOR!
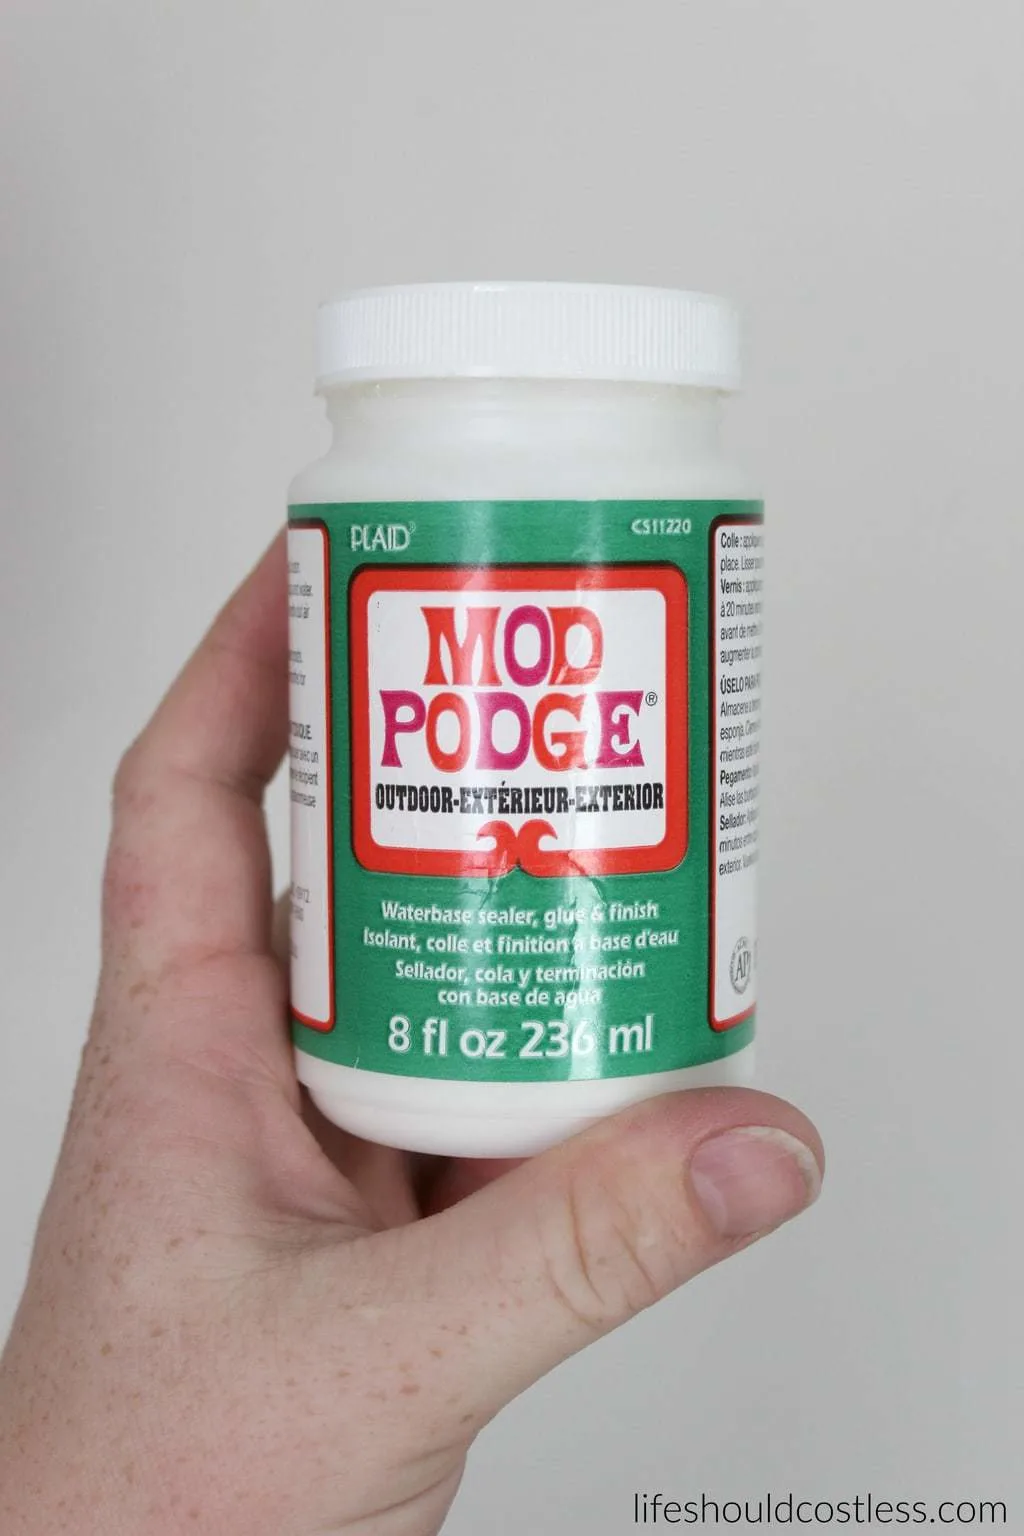
Anyway, back on topic. I don’t have a lot of things that I can put a potted flower on in my house, for displaying purposes I mean…I’m slowly trying to furnish this house, so I decided that I needed to try and see if I could maybe do some outdoor pots and add them to my fall porch decor. Luckily, as I was perusing Hobby Lobby I found some Outdoor Mod Podge which was just the ticket.
I started out doing three pots and had even painted them thinking that the ugly terra cotta color might peek through the fabric, but the fabric was thick enough that I totally could have skipped that step…at least now you all know. Anyway, I used a 4″ Mod Podge brush as well as a 2.25″ Mod Podge brush to apply the Mod Podge and did several coats. Basically I just kept going until I ran out using 16 oz of glue total.
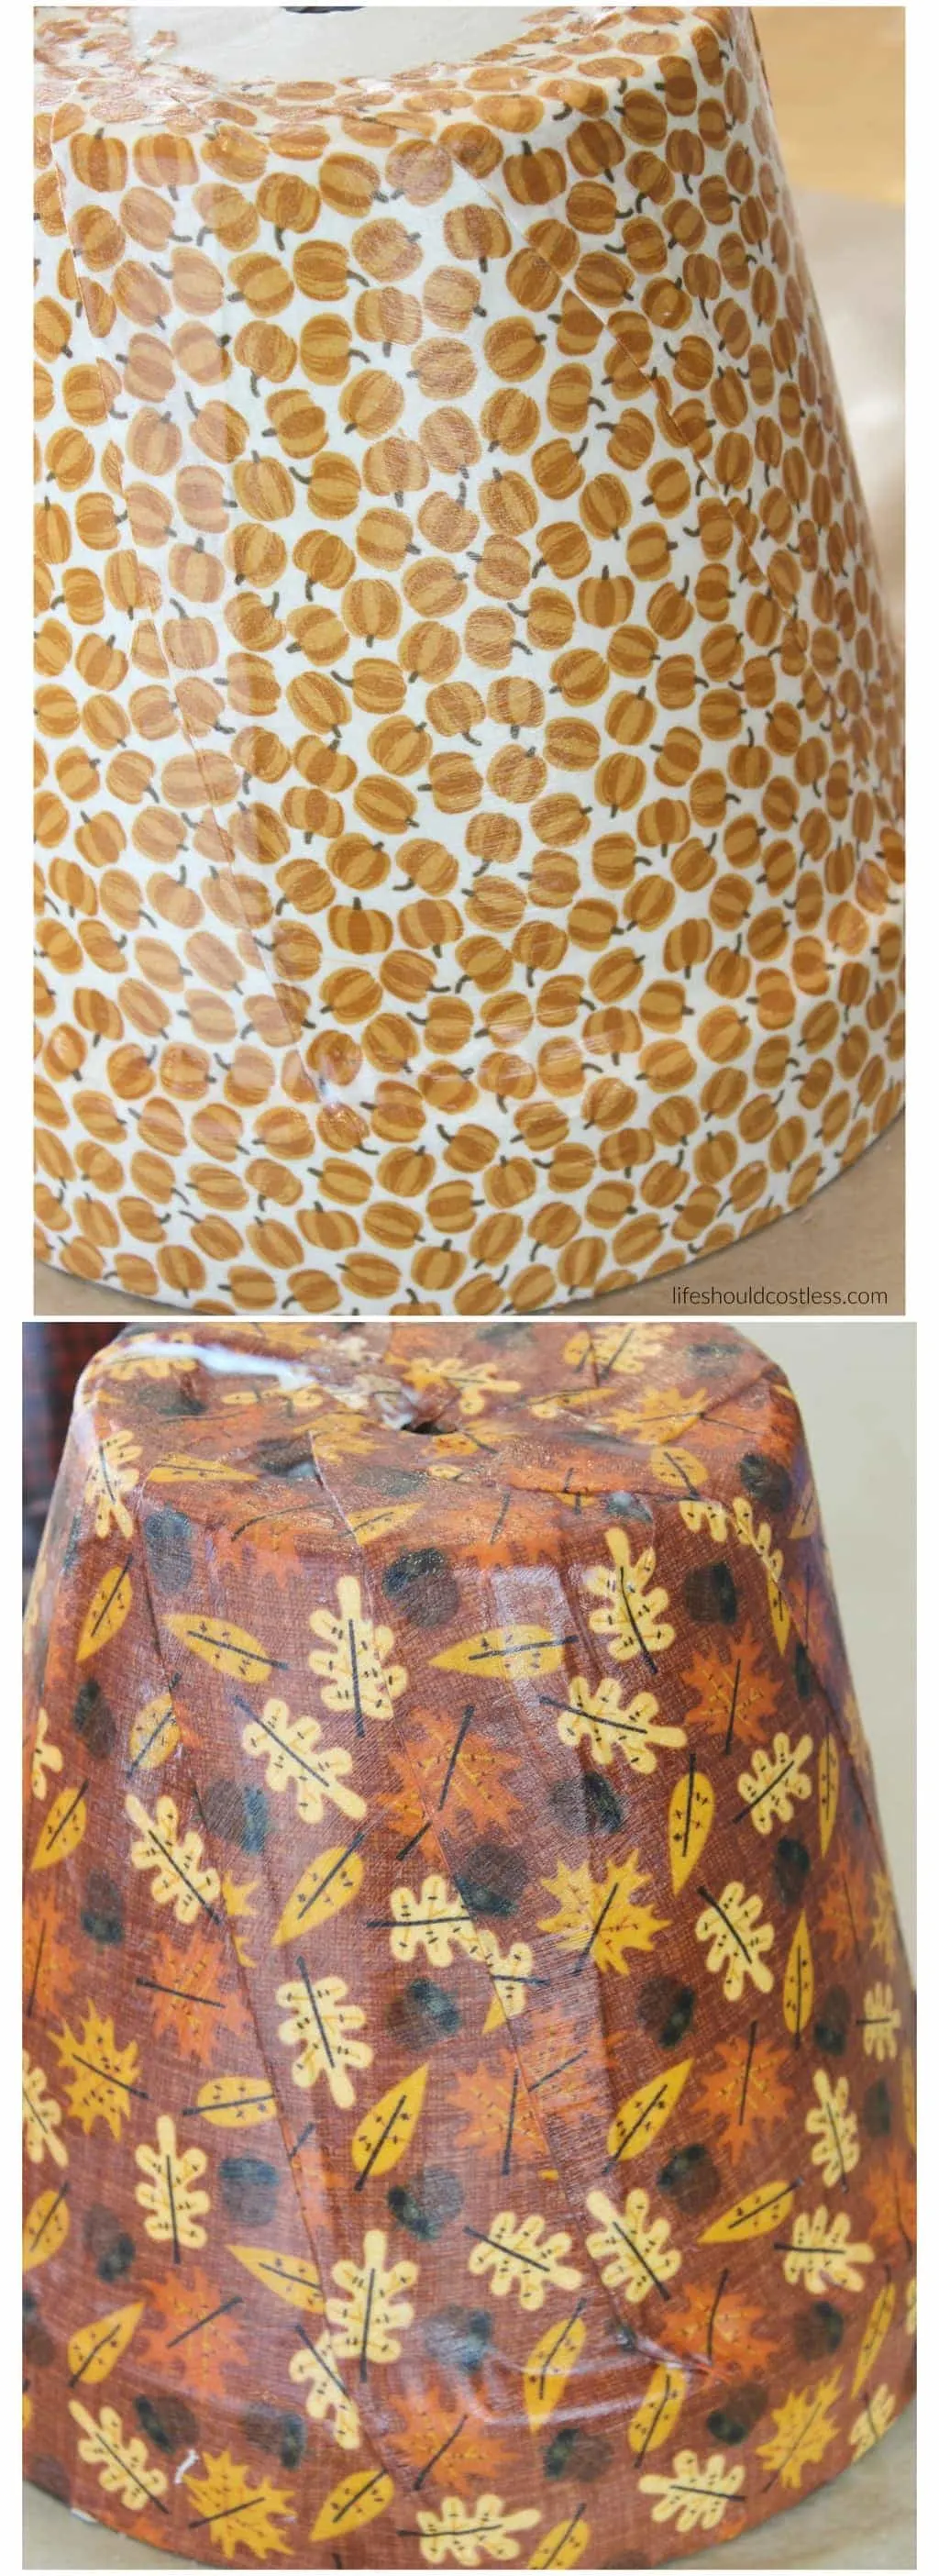
I found it best to let them dry upside down over night before I added the Mod Podge to the rim and inner lip. *It says right on the glue packaging to not leave it outside until it has cured for 72 hours, so plan your projects out accordingly.*
I’m not going to give you a full tutorial on this because you can see the full instructions here. I will however tell you that the outdoor Mod Podge does leave your project a glossy sheen and that I got my fabric at Joann’s (they had the best fall selection of the few stores I checked). Also, that I recommend not using a fabric with a lined pattern…that’s why I went from three pots to two. It’s too hard to get the pleats to look decent so you’re going to want a more scattered pattern. Here they are again and from a couple of different angles.
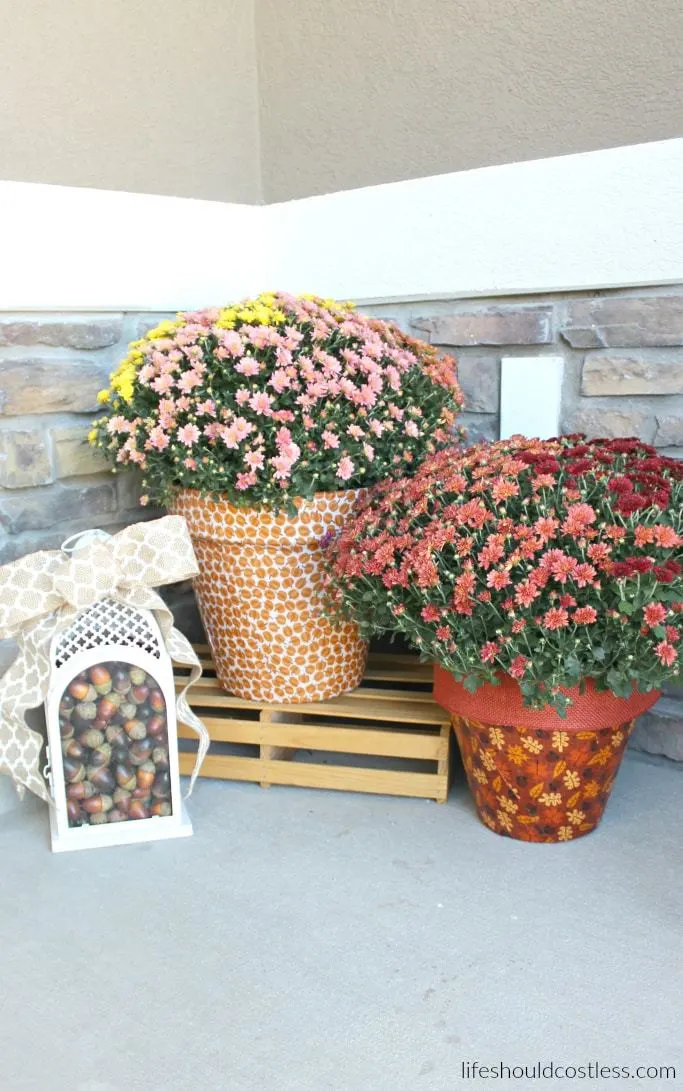
What better to put in a pretty fall pot than some beautiful fall mums? I wanted to use some colors that matched the pots a bit better, but finding the right size for the pots that were also in full bloom was a challenge. These multi-colored mums were found at Wal-Mart.
My favorite part of this post, funny enough, is my little acorn filled lantern. I found this particular lantern at Wal-Mart over in the candle section, it is Better Homes and Gardens brand, I seem to remember. I knew that I just had to add it to my fall porch. What better way than to fill it with than with acorns?
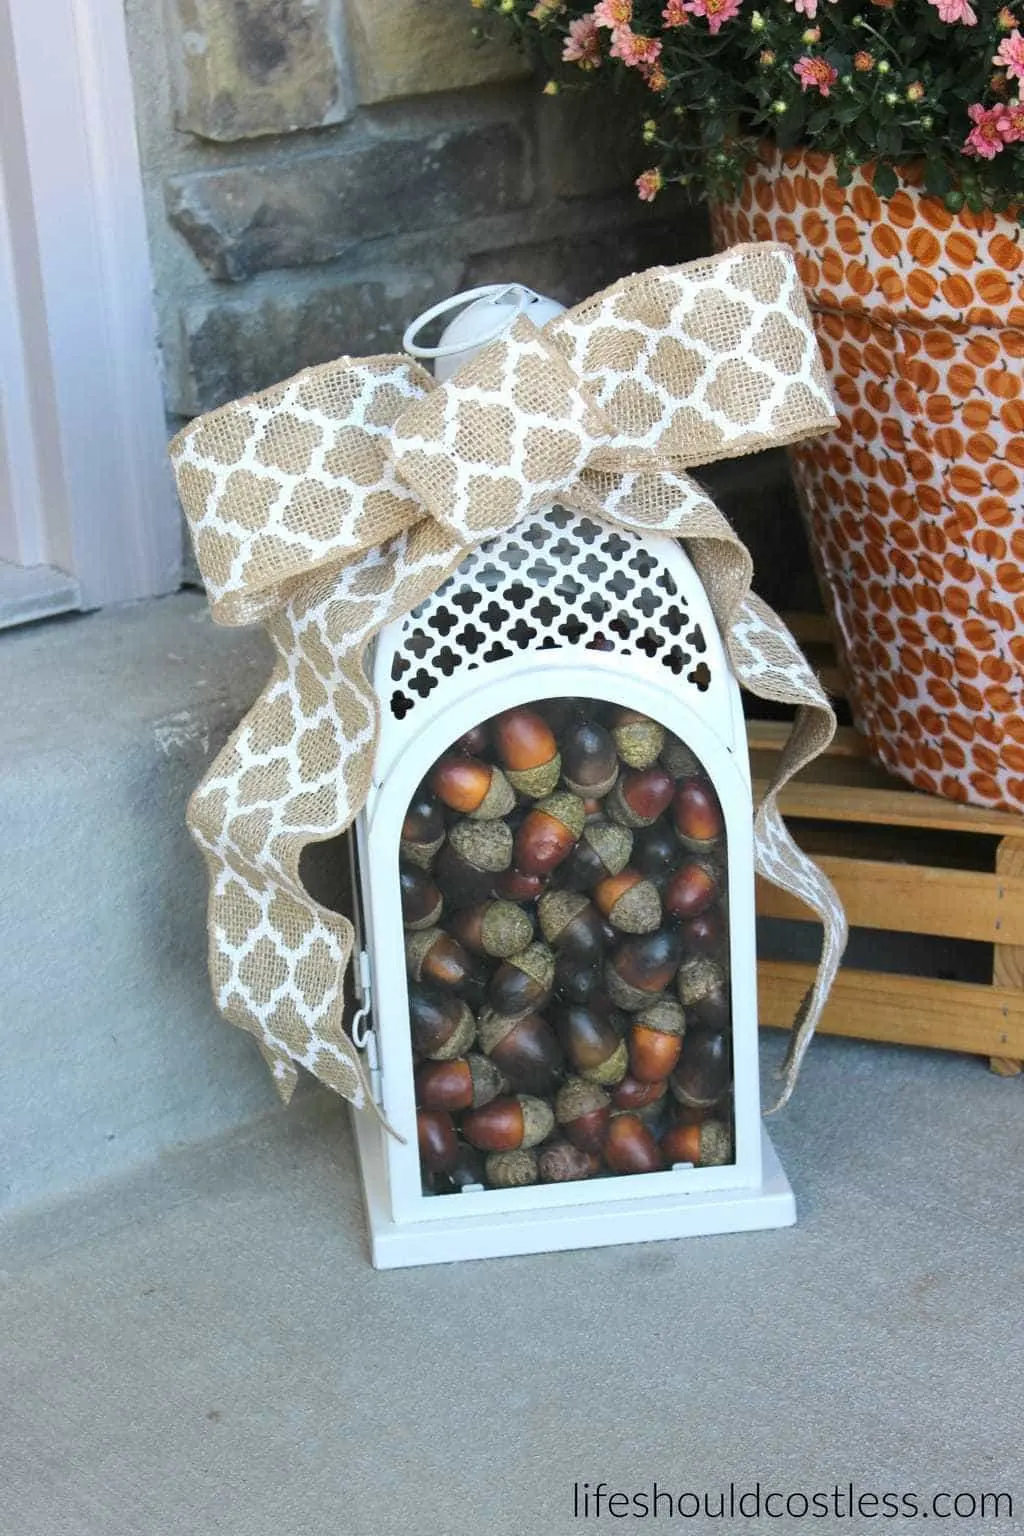
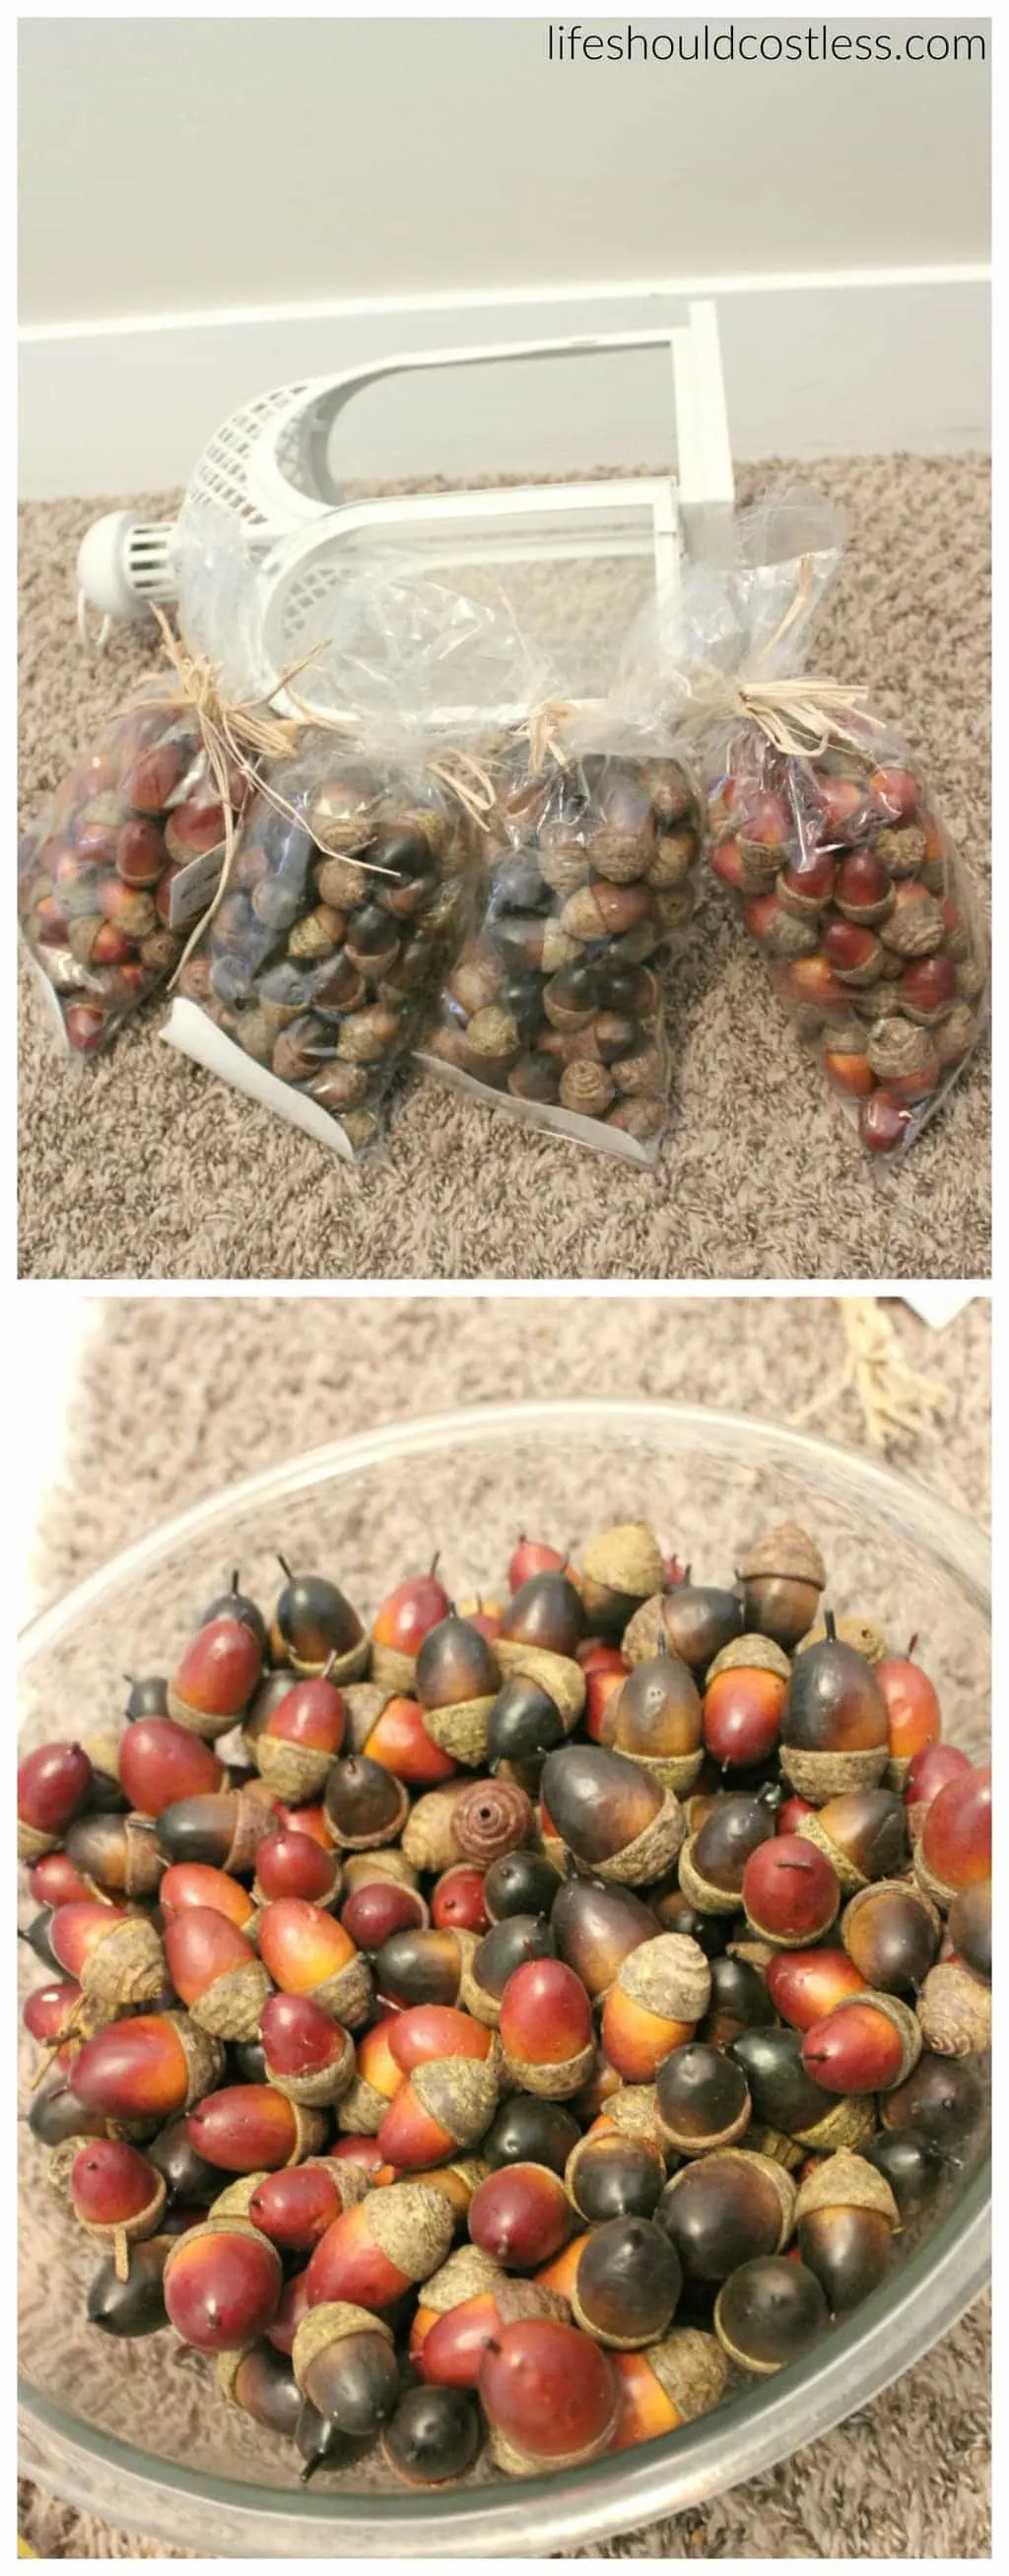
I found the artificial acorns at Hobby Lobby, on sale, and it took four packages to fill this lantern. They came in two different shades and so I bought two packages of each and then put them in a bowl and mixed them together before filling the lantern with them. Oh, the wired burlap ribbon I tied to the top of it…literally with a shoe lace because who knows what happened to my crafting wire in the move… I got it at Hobby Lobby as well. Their fall stuff has been on sale lately so I was pumped to be doing this post and finding what I needed there. Don’t forget to look up their coupons on your phone to save even more money at checkout.
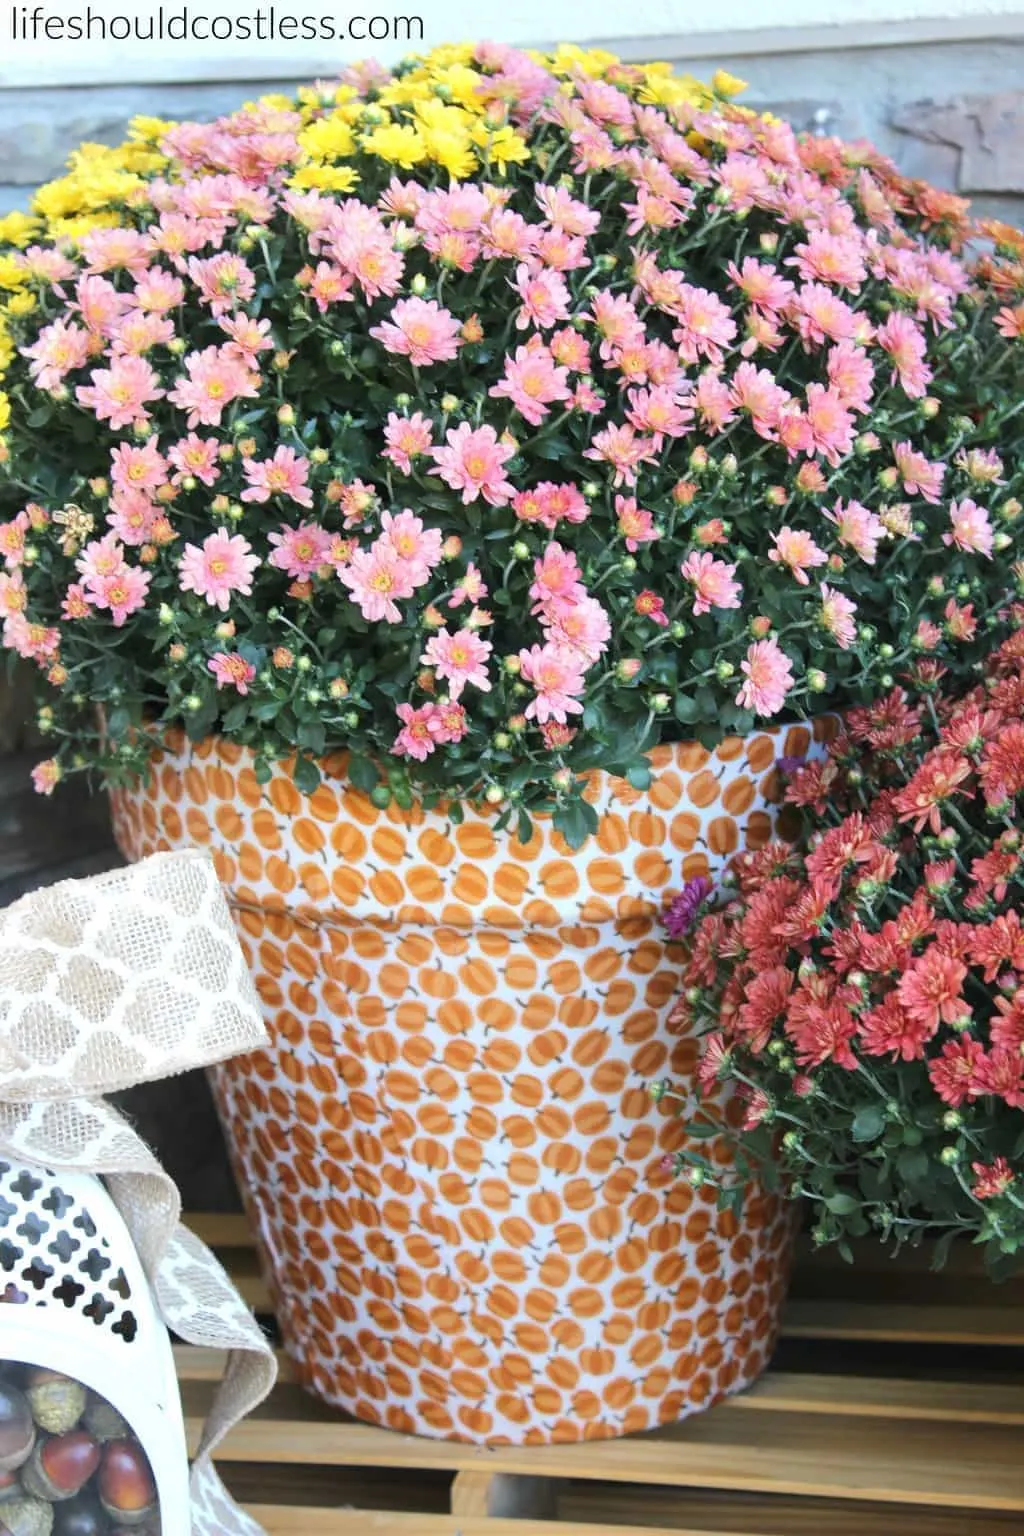
Here is one last view of that first image I showed you. I’m really loving them but am even more excited to see what they look like with my other porch decor. I found the little crates, that the pumpkin-patterned pot is sitting on, at a thrift shop a while ago so sorry I can give you much direction on where to get those. Oh, and I forgot to mention that the burlap ribbon on the rim of one of the pots was also found at Hobby Lobby.

That is all that I have for you all today! Remember to stay tuned for the full reveal of my fall porch. As usual, if you loved this post, please share it with your friends or on social media. Positive comments are always welcomed as well. Thanks for stopping by. ~Sarah
You may also like (the pictures are links):

