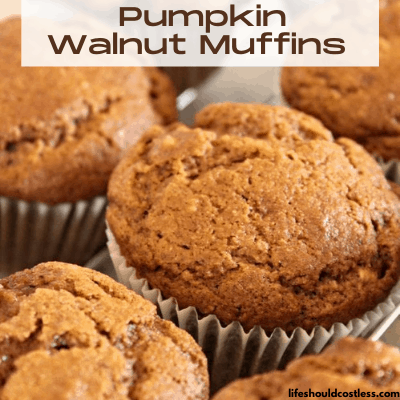

Learn how to make the easiest and tastiest Pumpkin Walnut Muffins. This one is a big batch, dump & mix recipe, that uses an entire can of pumpkin.
Sweet Tooth
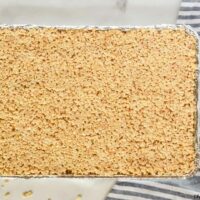
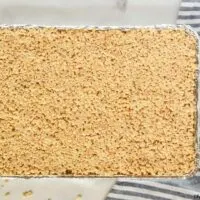
These Sheet Pan Rice Krispie Treats are the ultimate solution for making large, delicious batches that are perfect for bake sales, parties, or any occasion where you need a crowd-pleasing snack. Made on a half sheet pan, they’re easy to prepare and can be customized with your favorite mix-ins or toppings. Whether you want to …

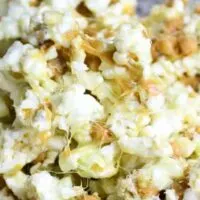
Bring the cozy vibes of fall right into your kitchen with our irresistible Caramel Apple Popcorn! This recipe combines the nostalgic flavors of a classic caramel apple with the satisfying crunch of popcorn, making it the perfect snack for movie nights or any autumn gathering. Quick to prepare and utterly delicious, this popcorn is a …

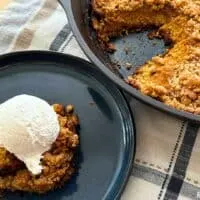
Indulge in the best of both worlds with this delicious Pumpkin Pie Cake Dessert recipe, combining the classic flavors of pumpkin pie with the moist, fluffy texture of a cake. This dessert is perfect for fall gatherings, holiday celebrations, or whenever you’re craving something warm and comforting. Whether you’re a pumpkin pie lover or …
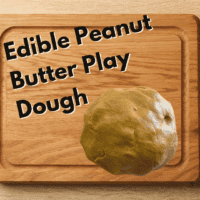
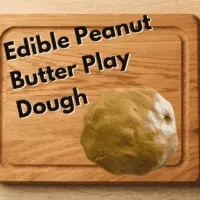
Looking for a fun and tasty activity that’s perfect for kids? This peanut butter edible playdough is a simple, no-cook recipe that combines creativity with snack time. With just a few ingredients you likely already have in your pantry, you can whip up a smooth, moldable dough that’s safe for little ones to taste while …
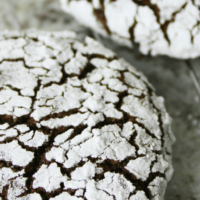
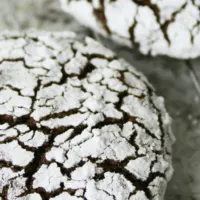
Looking for a twist on the classic crinkle cookie? These spicy chocolate crinkle cookies are not your grandma’s recipe! Infused with a hint of cayenne pepper and cinnamon, they bring a delightful kick that perfectly complements the rich chocolate flavor. Ideal for those who love a little heat with their sweet, these cookies will surprise …