I don’t like to pay other people to do the things that I should be able to do myself. However, I also don’t want it to look like I did it myself…silly me ;). I’ve read and researched various ways to get a crisp paint line and I have not been a fan of any of them. Most require way too much work and one even said to first paint the color that is already on the wall to create a seal, and then you paint it your desired color…who has time for that? Also, what do you do when you don’t have the previous color on hand? I knew that I needed to come up with a better solution and lucky for both you and I, I have!
*Hey there, thanks for stopping by my website. This article is super old, so it has been archived as I no longer update it…so proceed if you wish…but it is definitely not my best work. Please stop by my home page, here, and see some of my better content. Thanks! ~Sarah*
When we were getting our condo ready to put on the market last year, we painted the entire place. 1300 square feet of it!
This gave me plenty of time to figure out the solution that I had been looking for.
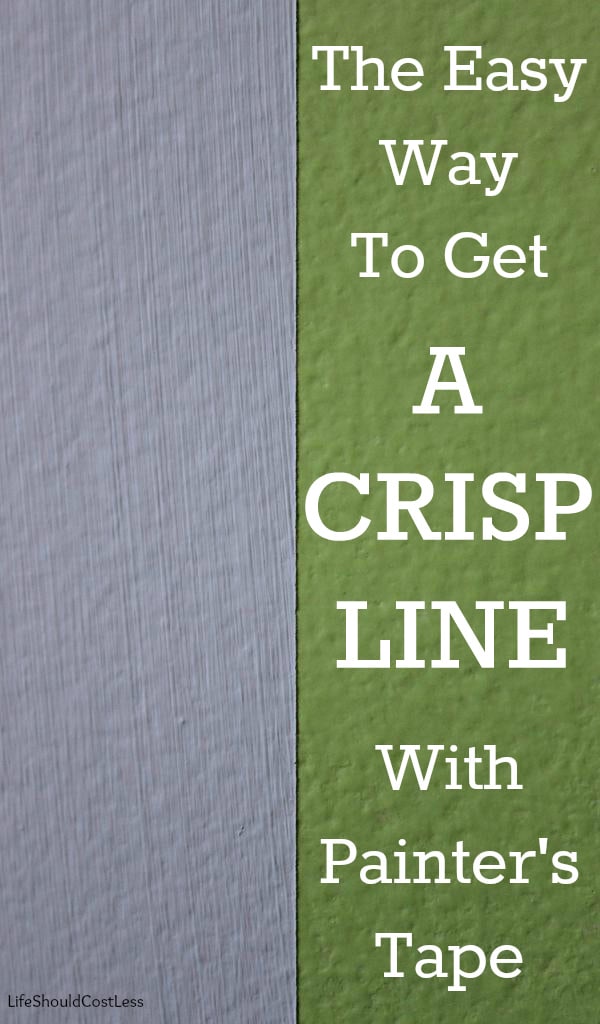
So, I thought that I’d share the technique that I came up with to get a crisp paint line, it has worked well for me thus far, even when there is a fair amount of texture on the wall.
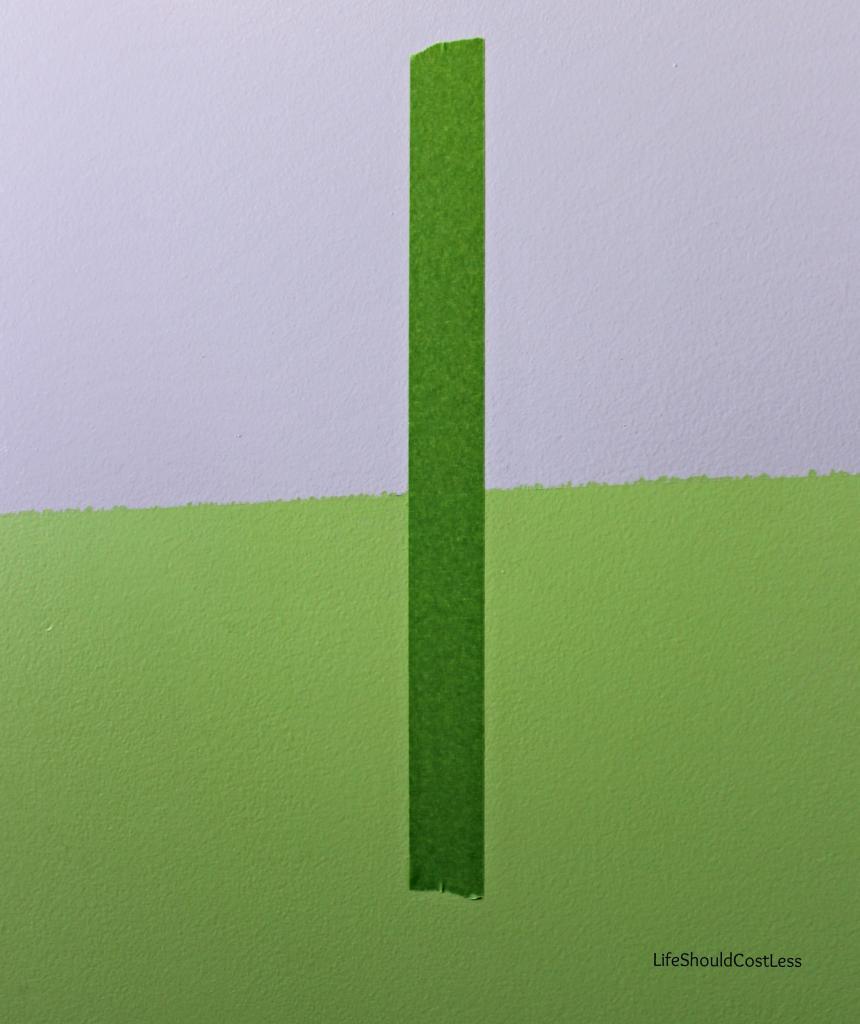
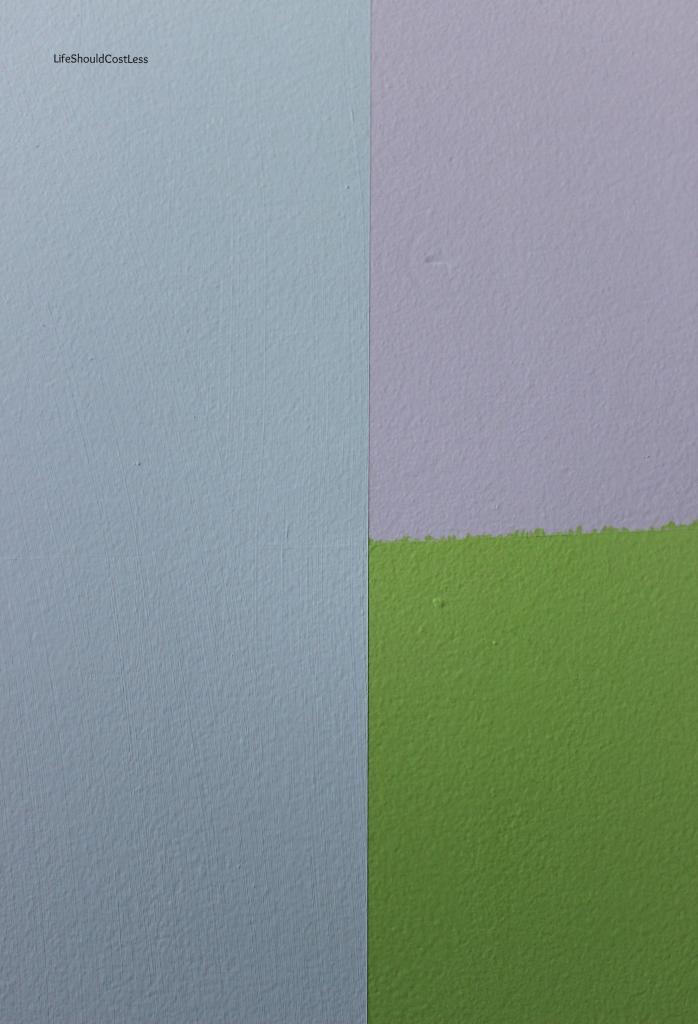
I just painted a portion of our wall (one in a room that needs totally gutted anyway) with some paint that I had on hand to show you what I was talking about.
- Wash the wall (where the tape will be going at the very least) with warm soapy water and let it dry. You can’t expect the tape to adhere properly when the wall is covered in dust, misc. goo from the kids, body oil from being touched, pet hair?…The list goes on and on of what could be on the wall that will need cleaned off before you start. I know it’s gross to think about, but it’s reality!
- Apply your painter’s tape as carefully and straight as you can. I love me some thick FrogTape, found here
! We use it every time and it works great!
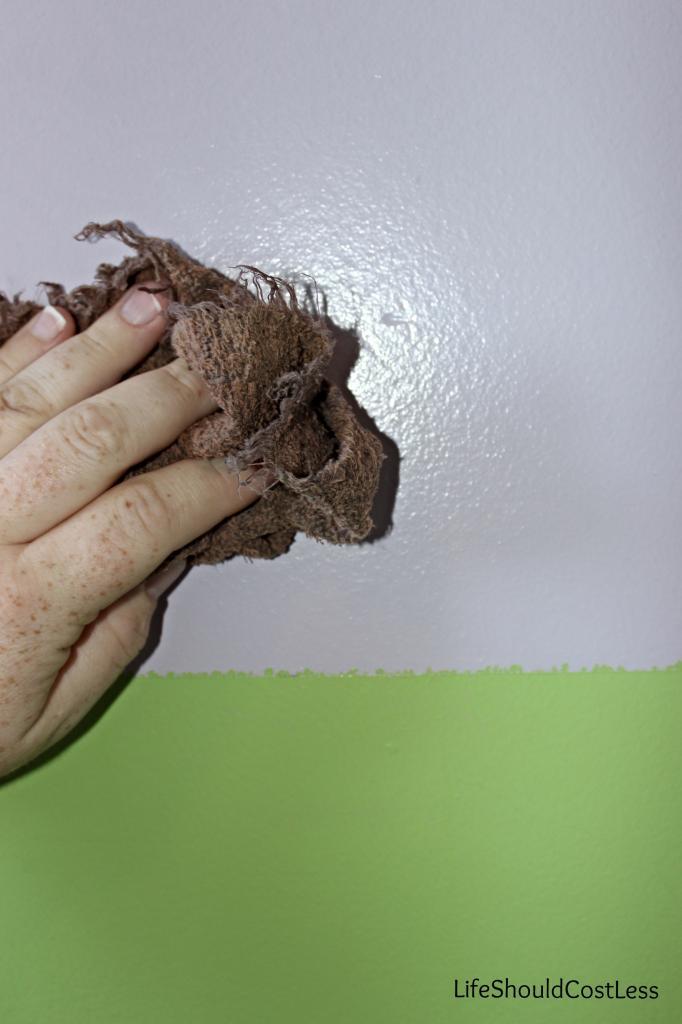
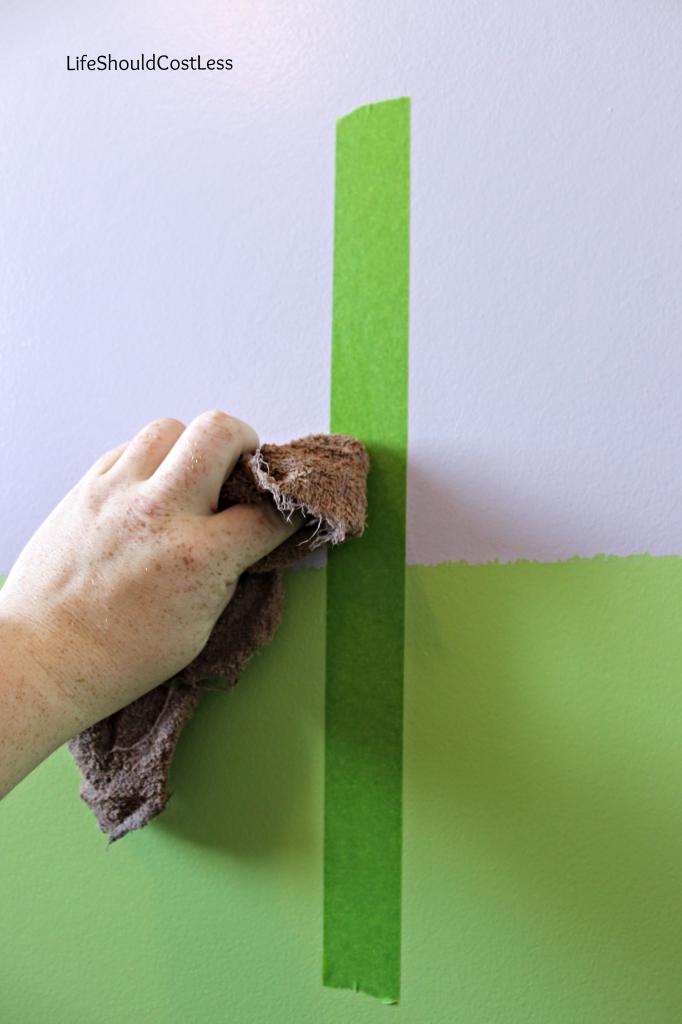
- Using a slightly damp wash cloth (a bit on the warm side is best), apply pressure and rub the entire edge of the tape where the line needs to be crisp. You can go over it several times or at least until you can see that there are no bubbles along the tape line. This part is crucial as it creates a good seal between the wall and the tape. Let this part dry completely too! If you’re in a ventilated room (like it should be already since you’re about to start painting), it usually only takes a few minutes for it to dry all the way.
- Paint as you normally would.
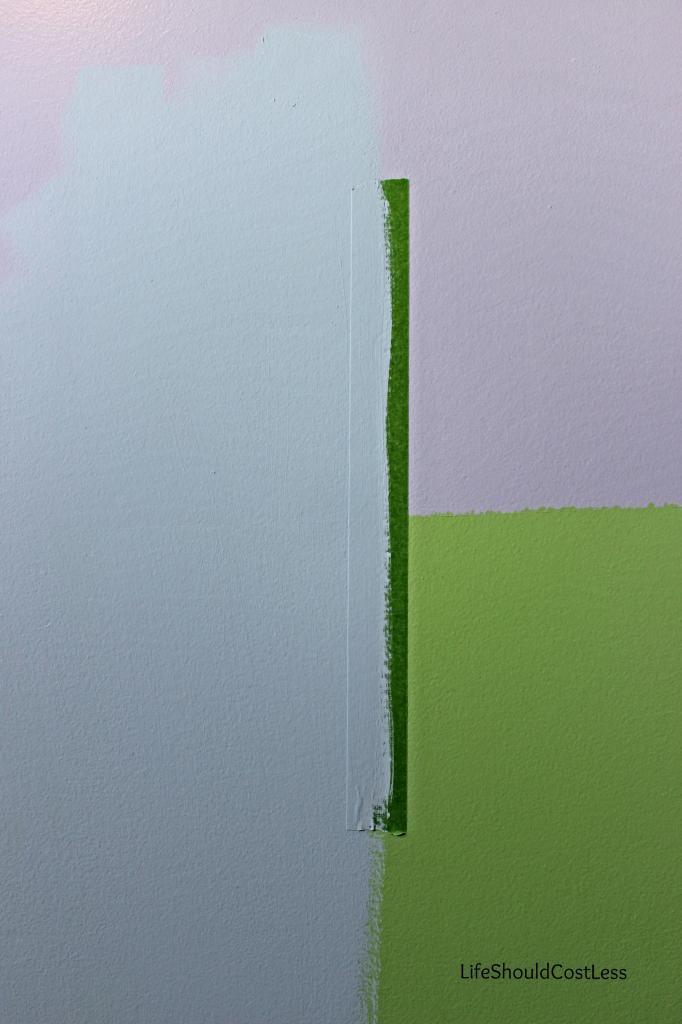
- When the final coat of paint has dried to the touch (not for several hours or over night), remove the tape at an angle, not straight up or down.
- Enjoy your crisp paint line!
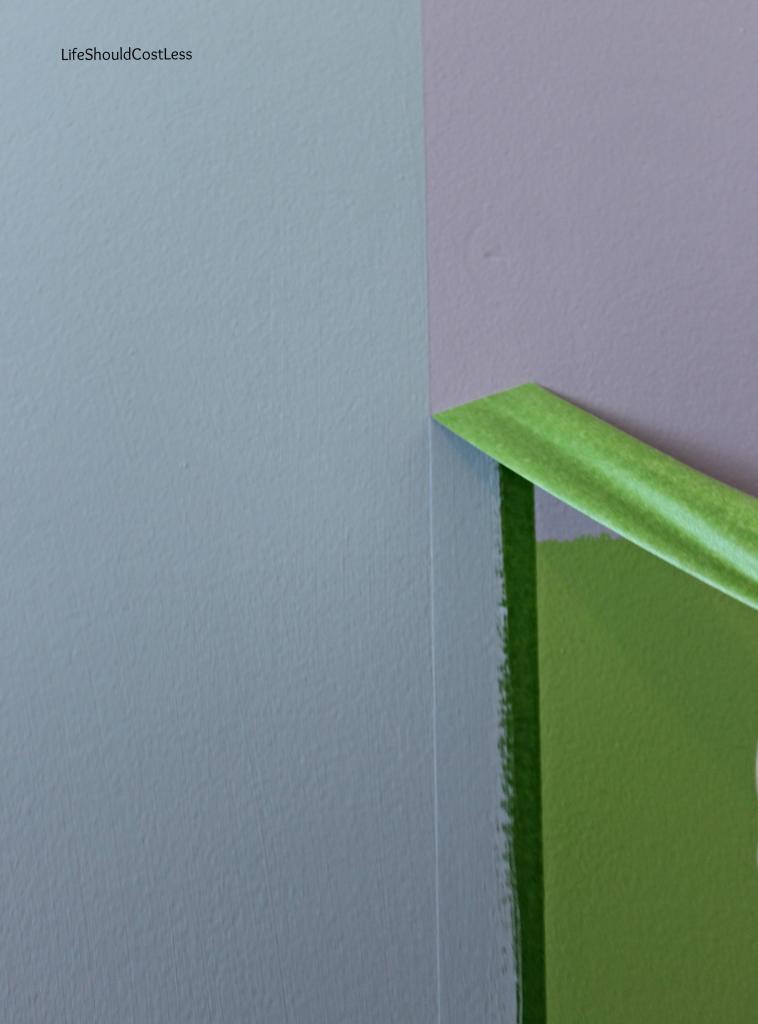
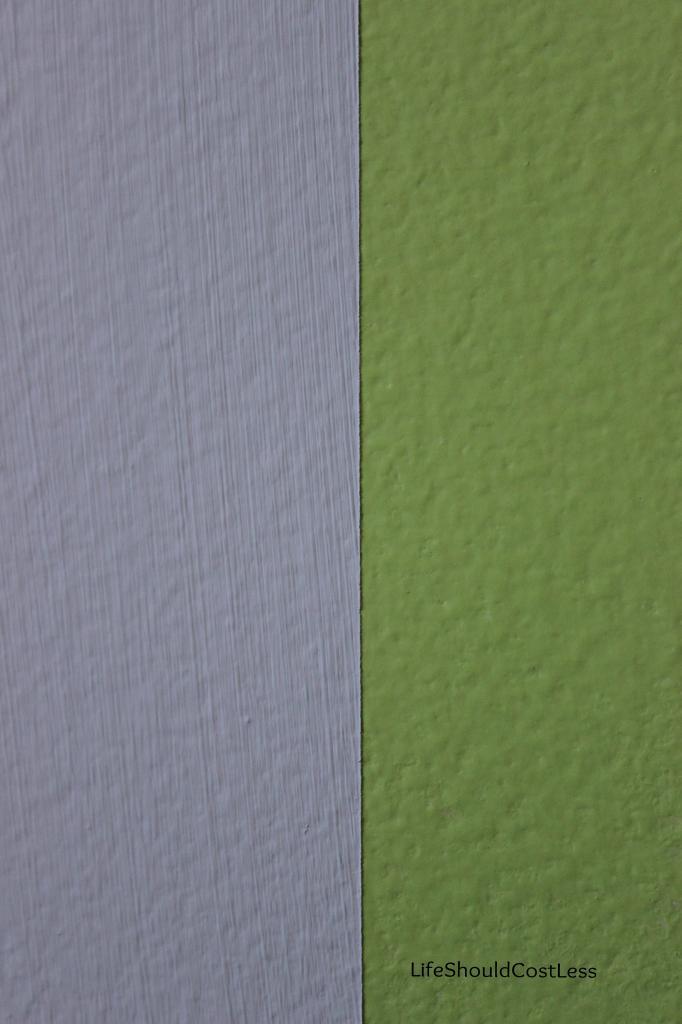 |
| Look at that close-up!!!! |
Wasn’t just a few minutes of prep totally worth it? Knowing how to do this can save a ton of HEADACHE and MONEY when there’s only enough cash to do an accent wall and you don’t have the paint to touch up the other walls.
You may also like: