A couple of weeks ago I had purchased a new bag of pecans from Costco (the cheapest store I’ve found so far to buy nuts for baking) and I’ve been a little slow at getting them vacuum sealed this time. However, since my dad also gave me a gallon bag of them when I was down for my brothers wedding last weekend (woot woot, you can’t beat pecans off of grandma’s tree, so I’m pretty excited about it!), I’m kind of glad I hadn’t gotten to it yet so I could do them all at once.

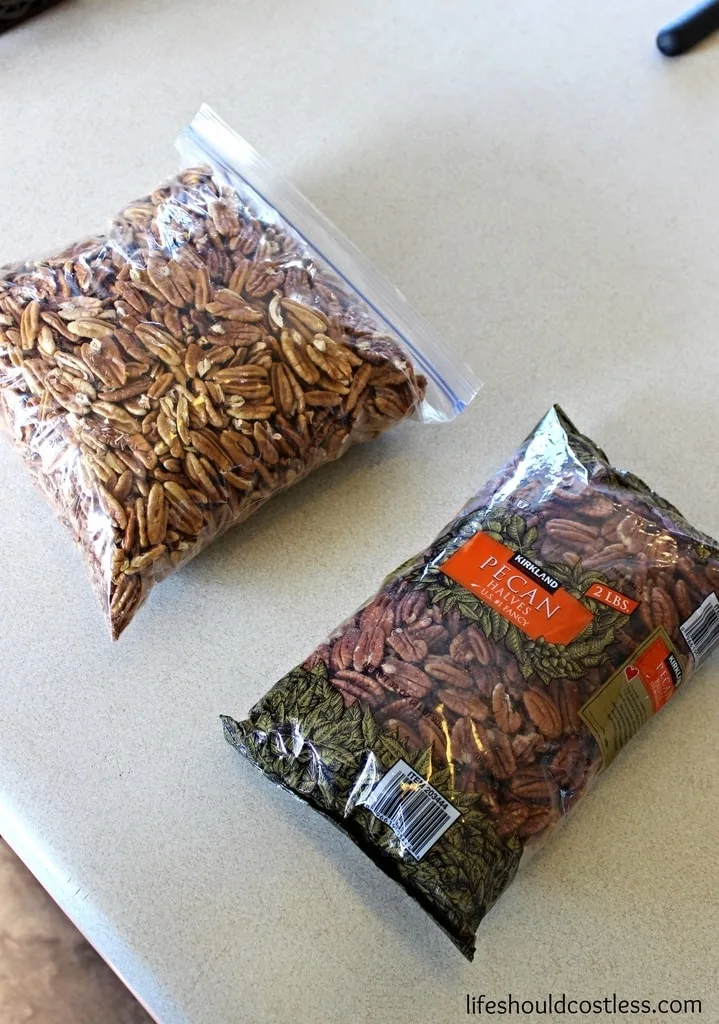
I wanted to show you what a gallon bag (16 cups) vs. the package from Costco looks like (8 cups).

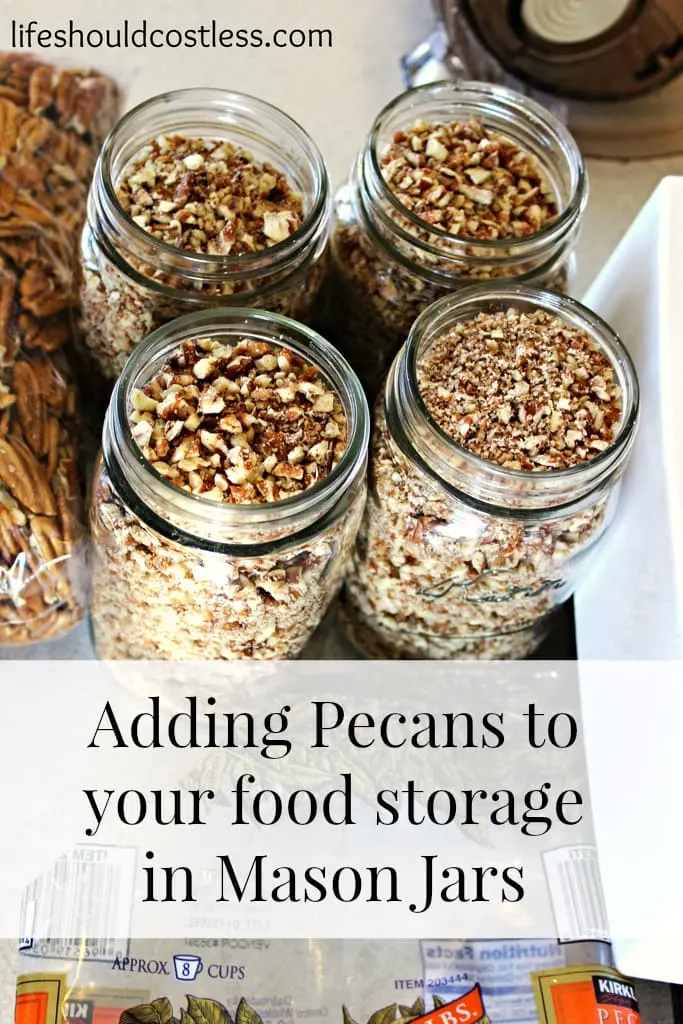
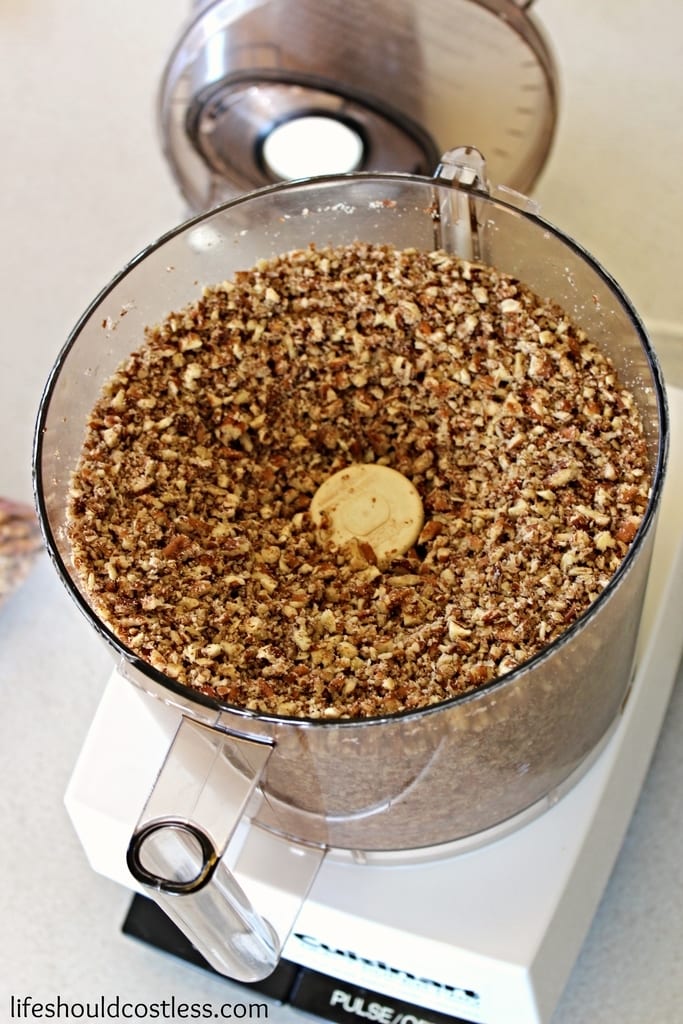
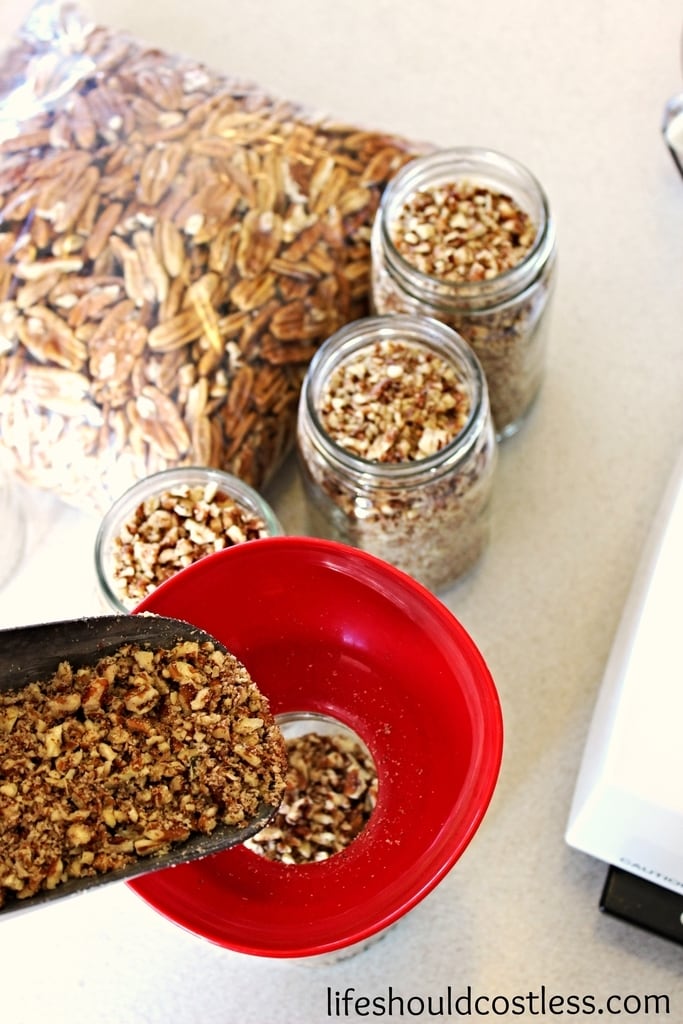
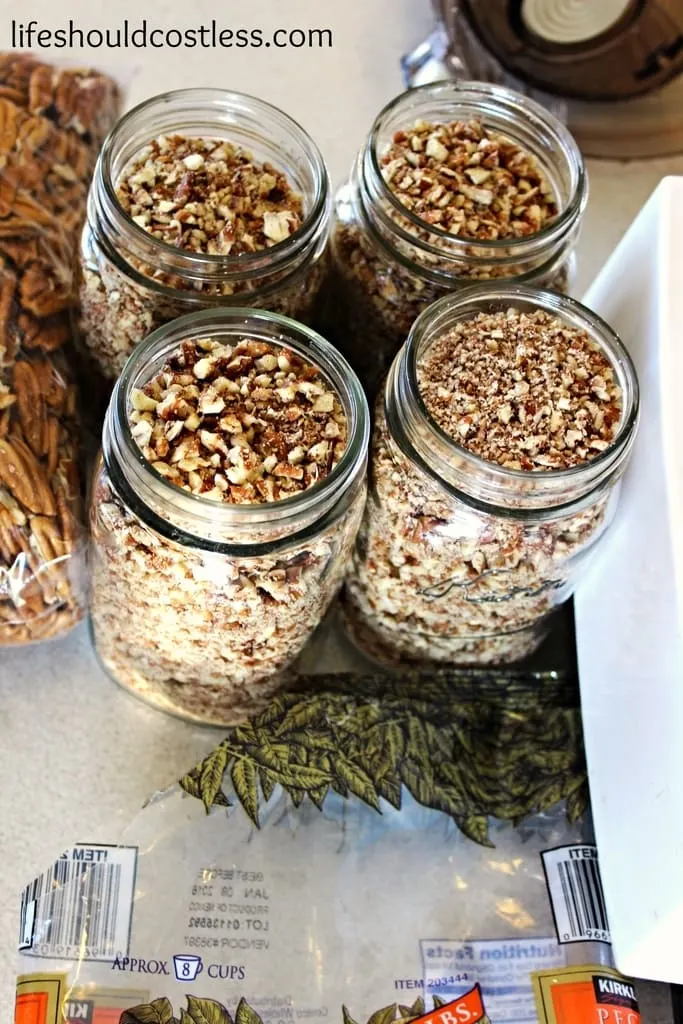
I don’t have space to store these all in my freezer, so I decided that vacuum sealing them would be the best option. My plan with these pecans was to chop most of them and then save some whole ones just in case I wanted to make some pecan logs. I really only use chopped pecans for baking banana bread and cookies so I decided that I wanted to store these in pint jars. A pint is just enough for a super big batch of either, or just enough so that if I only need one cup of something the rest of the nuts won’t go bad before we get to them. I took the smart/lazy route and used the blade on my food processor to chop them. It’s old but still working well, when it dies I’m going to be buying this one that’s way bigger to more easily work in bulk.


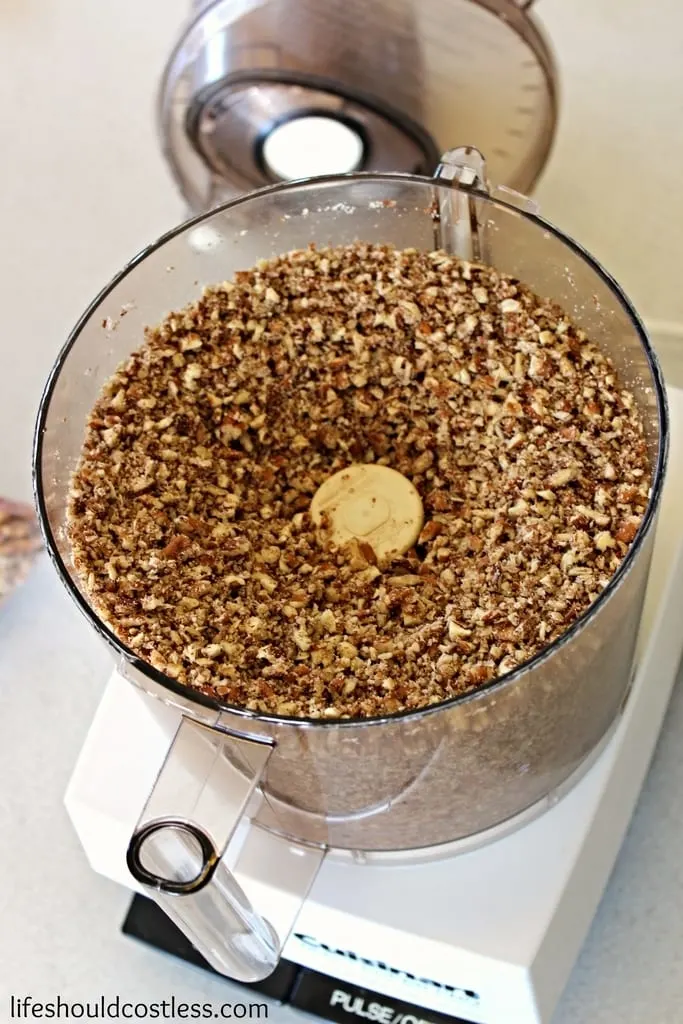
I had to pulse it like 30 times to get them just the way I wanted them.
I used my Canning Funnel and a Scoop
 to make it less messy transferring them to my pint jars.

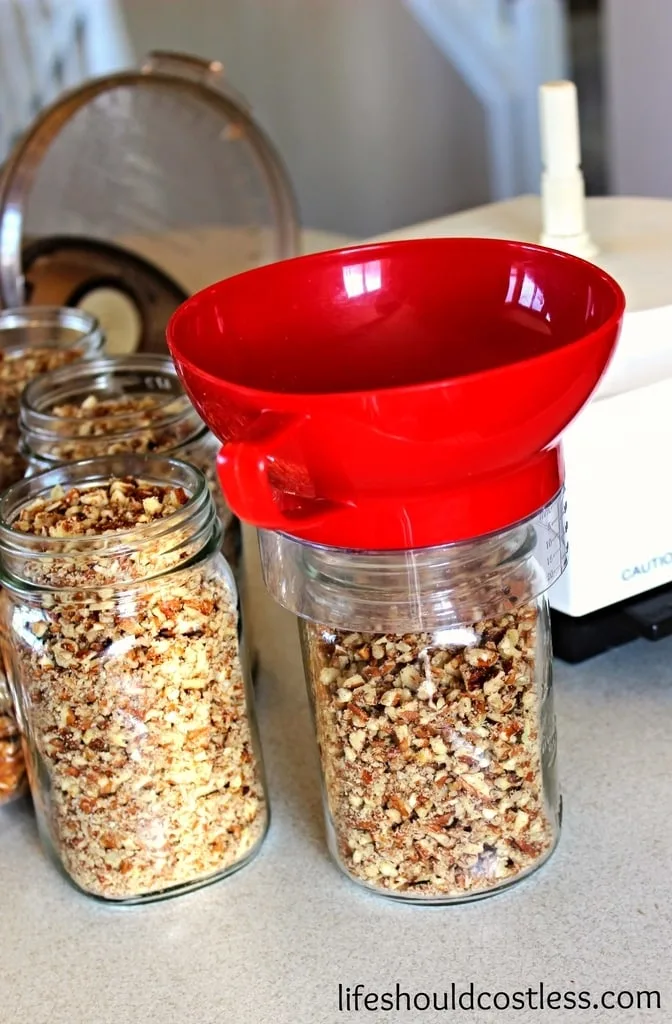

Next I wiped the rims of the jars with a clean, dry rag.

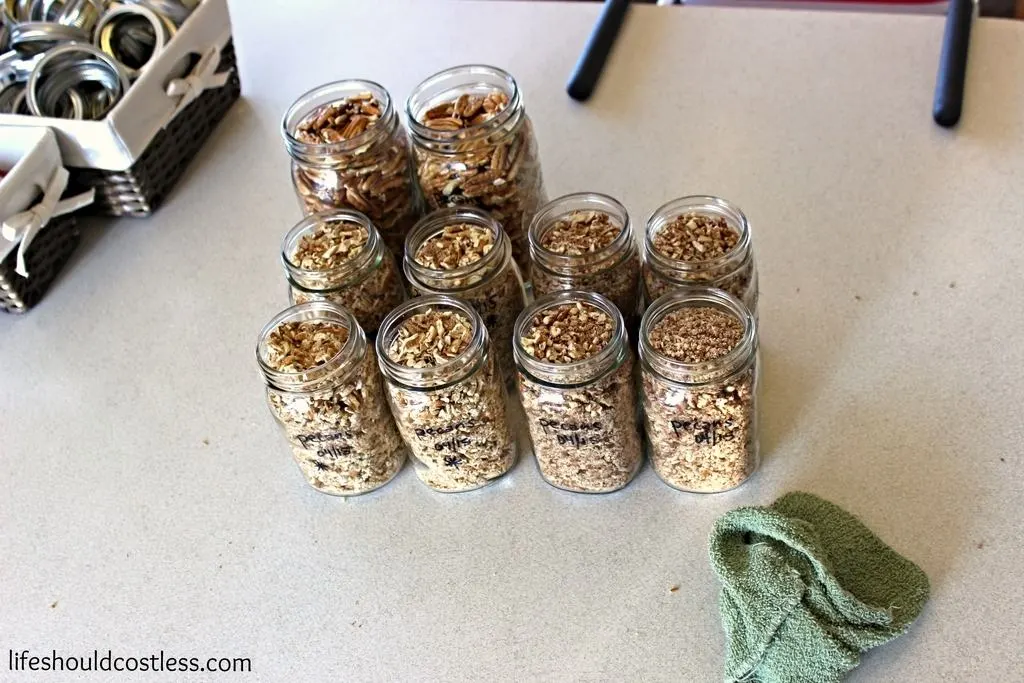
This is the gallon bag. It filled two quarts with the whole nuts and four pints with the chopped. That actually equals out to be the exact amount of cups that the gallon bag was. Which is info I like to keep handy (by writing this post), so that I know exactly how many jars to prepare the next time I need to do pecans.
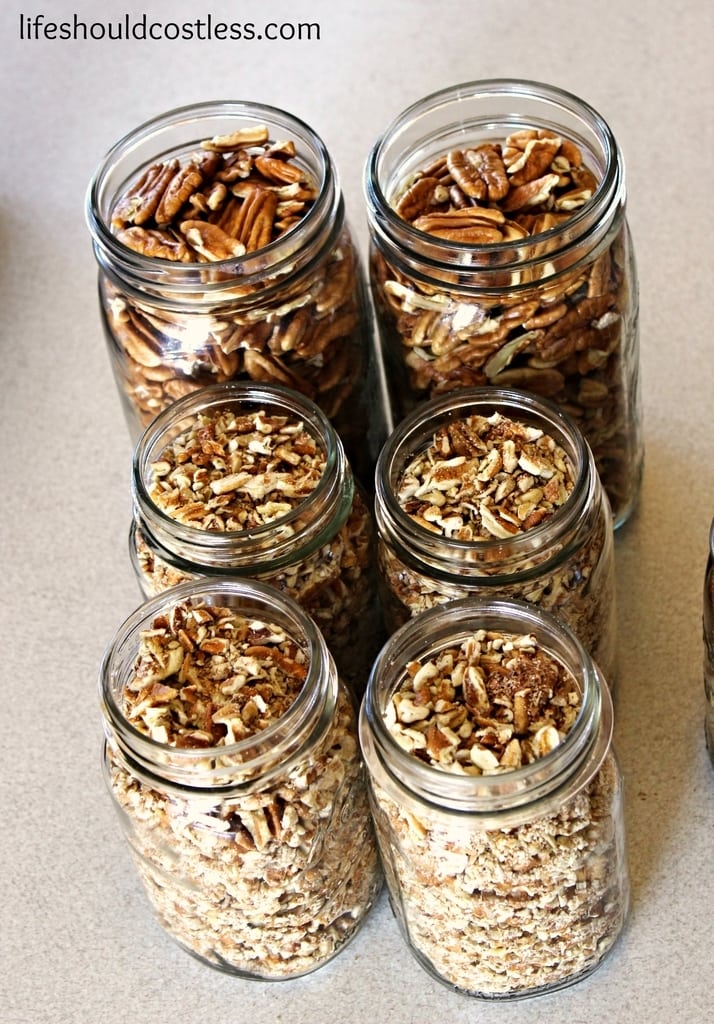

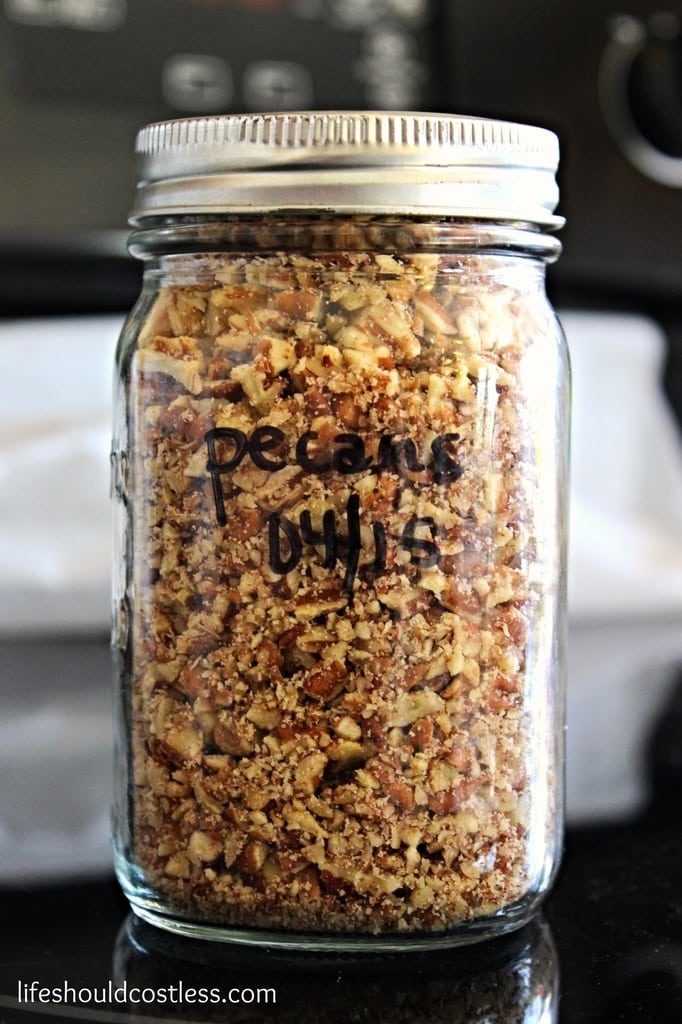
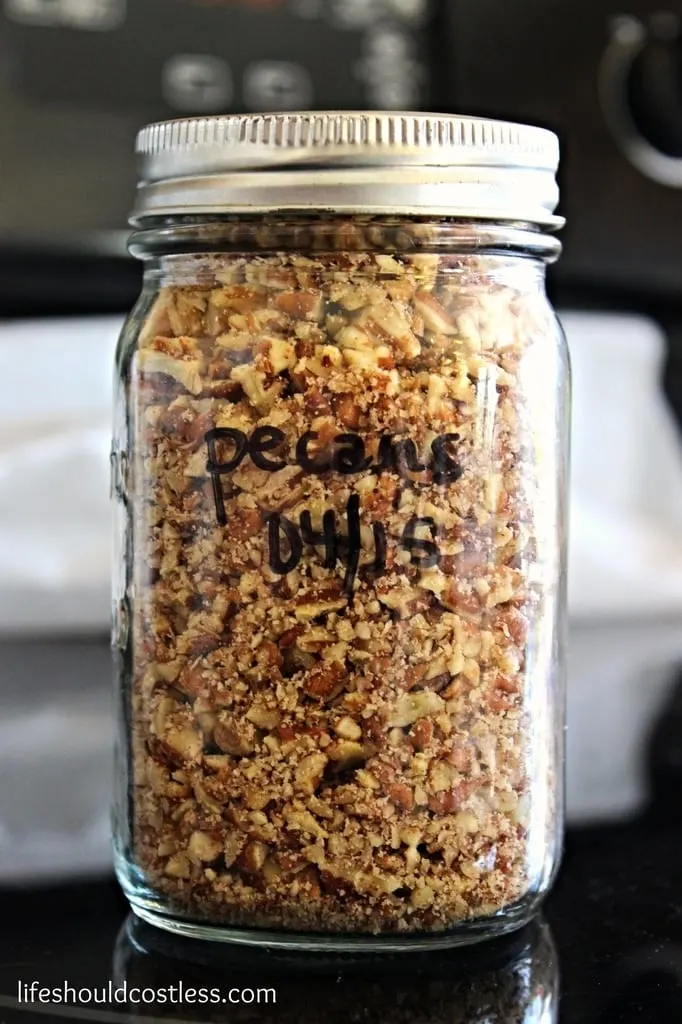
See, here is the Costco bag’s worth of chopped pecans and it is equal to the 8 cups it said on the package even though I chopped them.

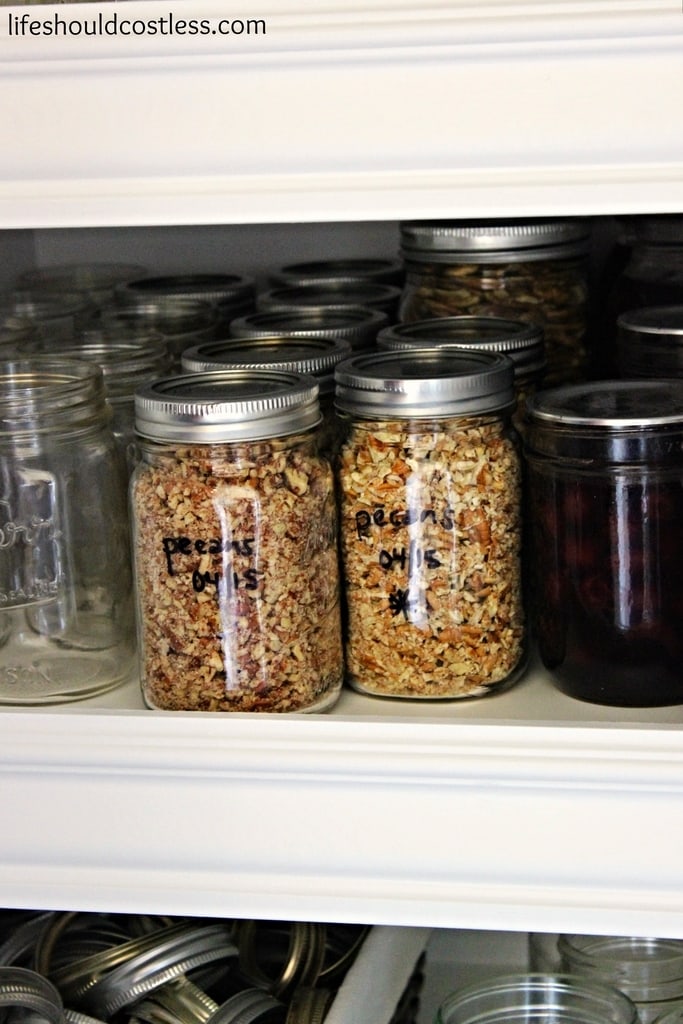
Next, I just added lids and vacuum sealed them with my handheld vacuum sealer and jar sealer attachments
 . You can see the tutorial I did on that here. *If you are just starting out with vacuum sealing jars, they are so much easier to seal when you use wide-mouth jars, so buy Wide-Mouth and you won’t be sorry!*

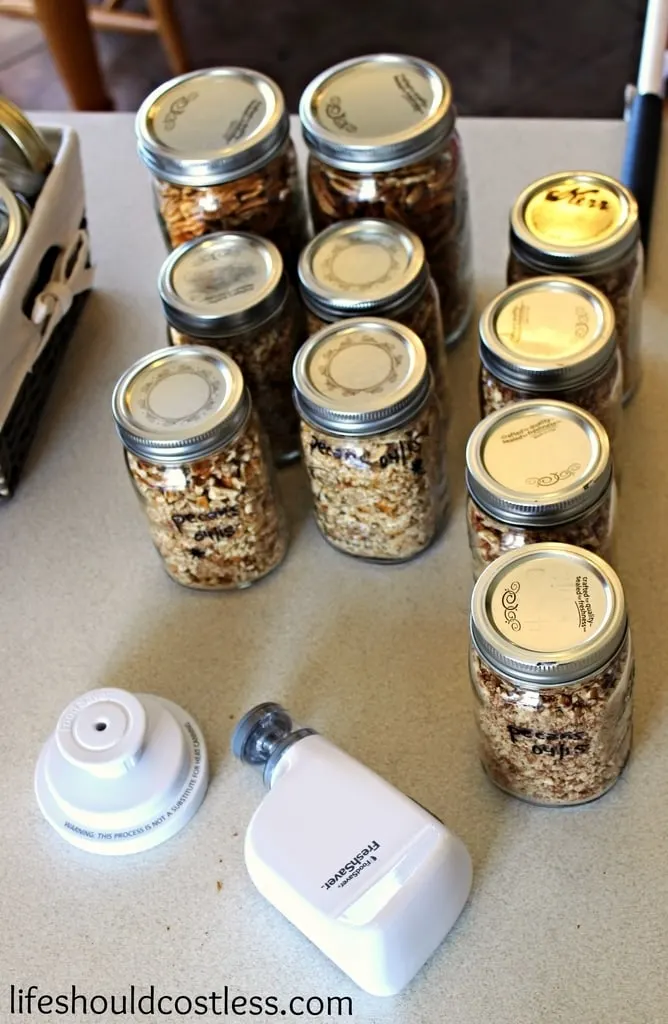
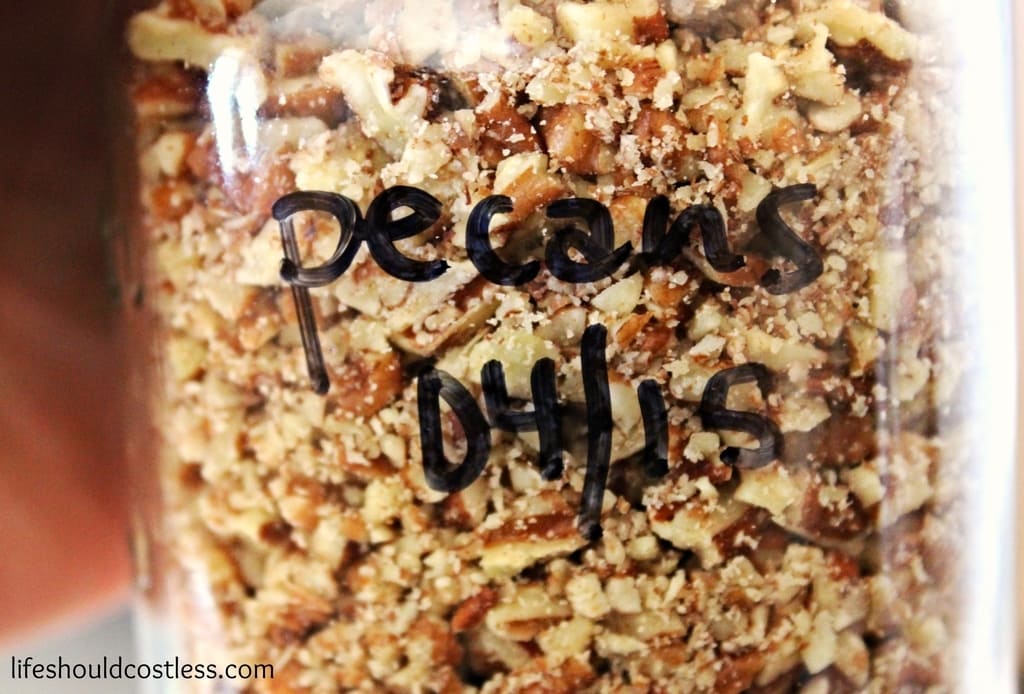
I always write on them with a sharpie. It comes off with soapy water and a rag…really easy!

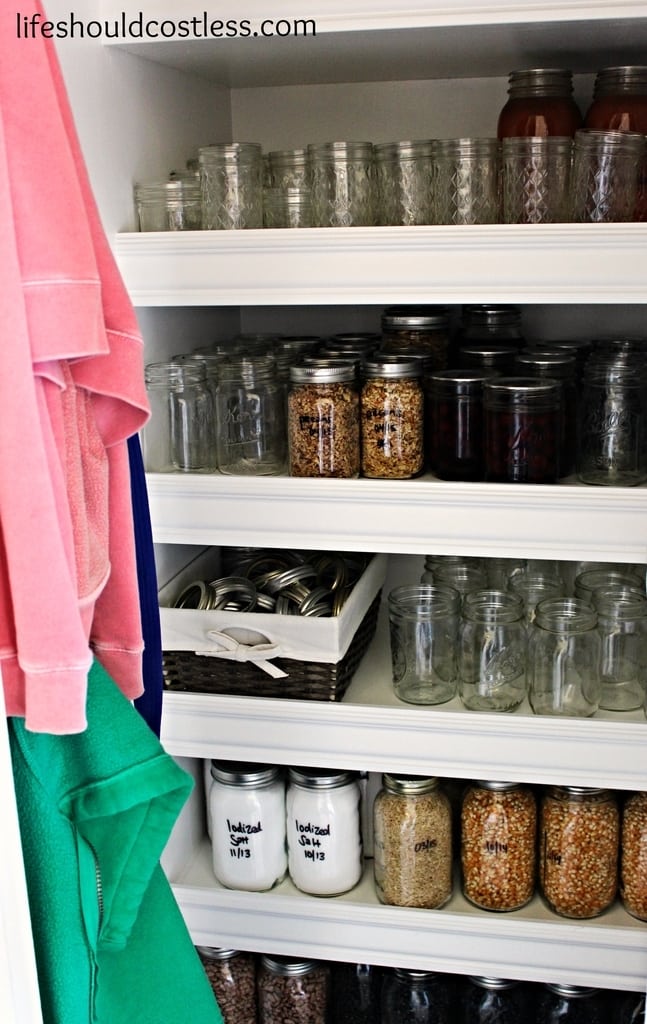
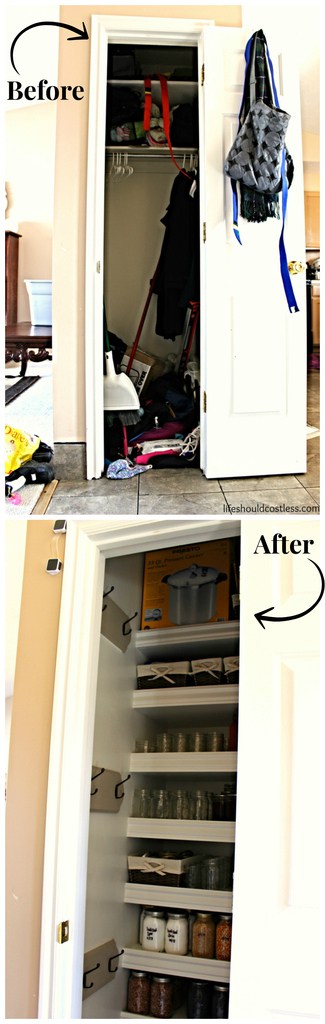
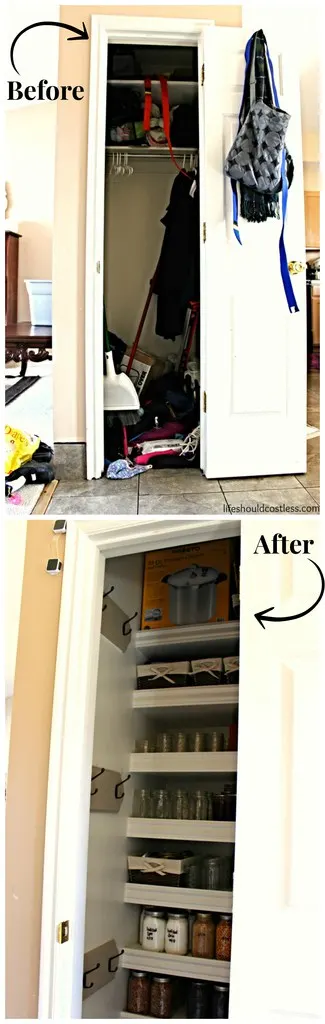
Then I put them in my new canning pantry/coat closet! I’m so excited to actually have a place to store all my jars. That’s why I haven’t been canning as much as I’d like, I didn’t have any place to put it unless we used the garage and I don’t think that food should be stored in a garage unless it is ultra insulated and ours isn’t. Problem solved! Guess who’s going to be doing lots of canning this summer through fall…this girl!


This amount should last us at least a year. However, I have noticed that if we have a lot of something we tend to eat it way more often than we should. So now that I know that, we are going to be better about not being spoiled and kind of rationing things out a bit. Self-awareness is a huge part of planning your food storage, so start paying attention to your needs and plan accordingly! ~Sarah
You may also like:


*Hey there, thanks for stopping by my website. This article is super old, so it has been archived as I no longer update it…so proceed if you wish…but it is definitely not my best work. Please stop by my home page, here, and see some of my better content. Thanks! ~Sarah*