*This can make 3 loaves if using smaller/skinnier bread pans, may need to reduce bake time if so.
*Hey there, thanks for stopping by my website. This article is super old, so it has been archived as I no longer update it…so proceed if you wish…but it is definitely not my best work. Please stop by my home page, here, and see some of my better content. Thanks! ~Sarah*
I got the base recipe for this bread from my friend Courtney (thank you Courtney), it’s her grandma’s yummy bread. As with every recipe that I come across, I’ve altered it to suit my needs. It is a pretty easy recipe and the end product is a whole grain bread that has just the right density and texture. It even slices really well with my bread knife that I got at the DI, this knife has definitely seen better days…just trying to get my point across that it is easy to cut this bread. I’ve made oodles of different bread recipes in the past and most crumble when you try to cut into them. That is not the case with this bread…I finally found one that doesn’t crumble, Yay! Anyway, here it is:
In a large glass bowl add the following:
2 T Yeast
1 C + 2 T Powdered Milk
3 C Warm Water
¼ C Raw Honey
Mix these ingredients well until all the milk powder and yeast are completely mixed in. (I like to use a whisk). Set the bowl on an electric heating pad that is turned on to the medium or high setting and let it rest for 15 minutes.
*(during this 15 minutes it’s a good idea to mill your wheat if you are using fresh flour)*
After the fifteen minutes is up add:
1 T Sea Salt (I prefer Iodized)
1 T Safflower Oil
¼ C Flax Meal
Mix well, then add:
7 to 8 Cups of Whole Grain White Flour
I like to add the first 5 cups all at once and then gradually add the rest. It usually takes 7 & ½ cups for me. Knead this until all the flour is mixed in properly. Then add oil to your bowl, I use Safflower, and grease up the sides of the bowl. Create your dough ball and make sure that it gets a fair amount of oil on it. Place the bowl back on the heating pad, cover with a clean dish towel and let raise for 20-30 minutes. While I’m waiting for the dough to rise I get out two glass loaf pans and grease and flour them. Once the timer goes off I punch down the dough ball, divide it into two separate balls (as evenly as I can), grease a clean counter top and roll the balls into loaves. Place the shaped dough in the prepared bread pans.
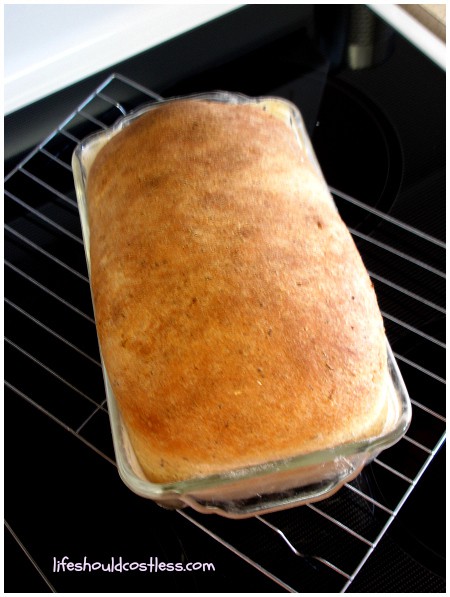
Place the bread pans on the heating pad and cover for 30 minutes or so, they need to double. This is when I preheat my oven to 375°F. When the 30 minutes is up, or the dough has doubled, I put the pans in the oven for 20-25 minutes (It should be fairly hard to the touch when done). Remove the pans from the oven and immediately remove the loaves and let them cool on a cooling rack. And there you have it. Healthy, delicious sandwich bread just ready to slice. I store my cooled loaves in gallon Ziploc bags and it stays nice and yummy for 5-7 days.
For those of you out there that are visual learners here are some photo’s of the steps (click on pics for larger image):
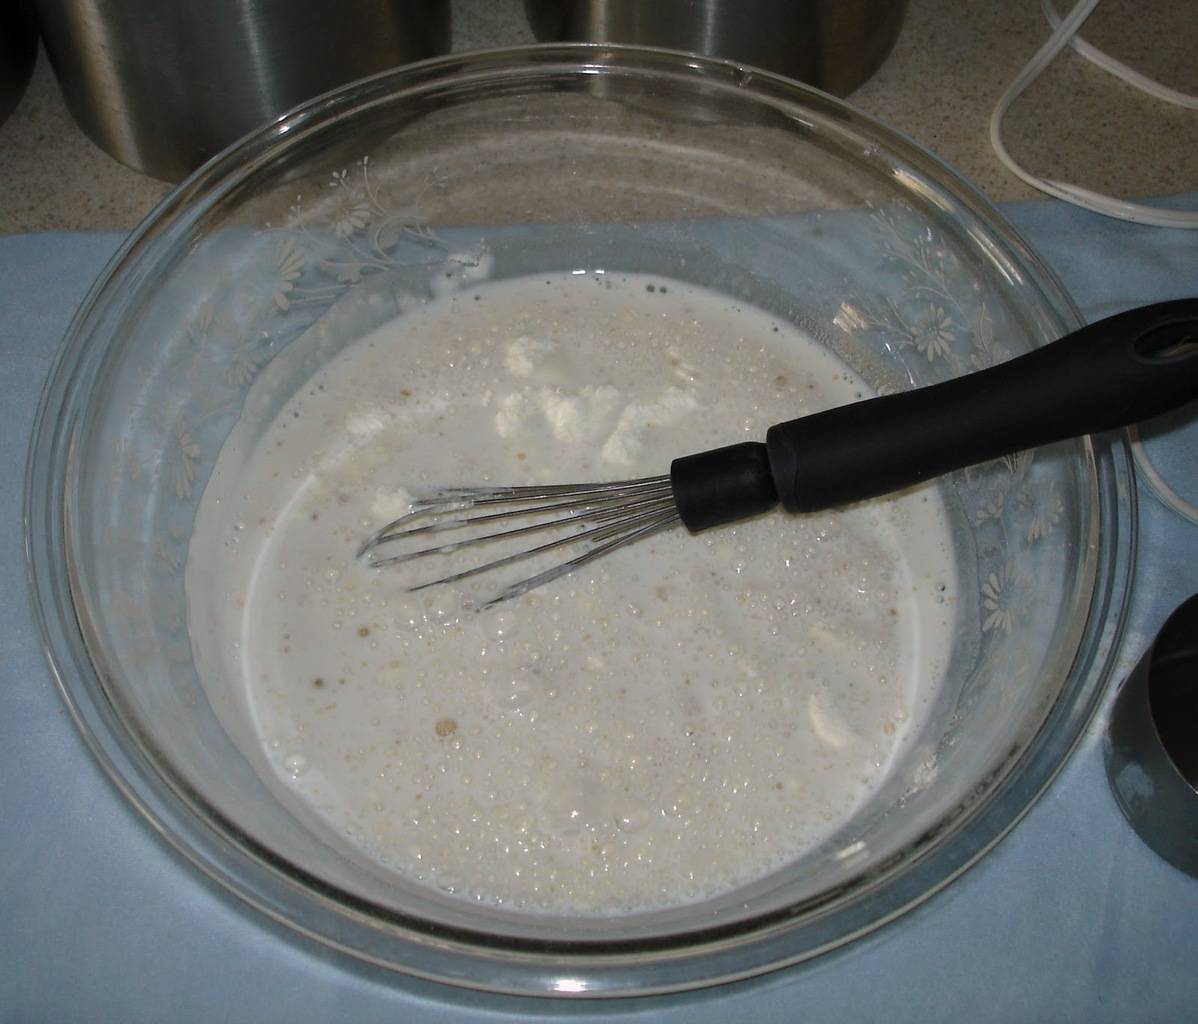 |
| Use a whisk to break up the balls of yeast and powdered milk. |
 |
| What it should look like after whisking all the ingredients together. |
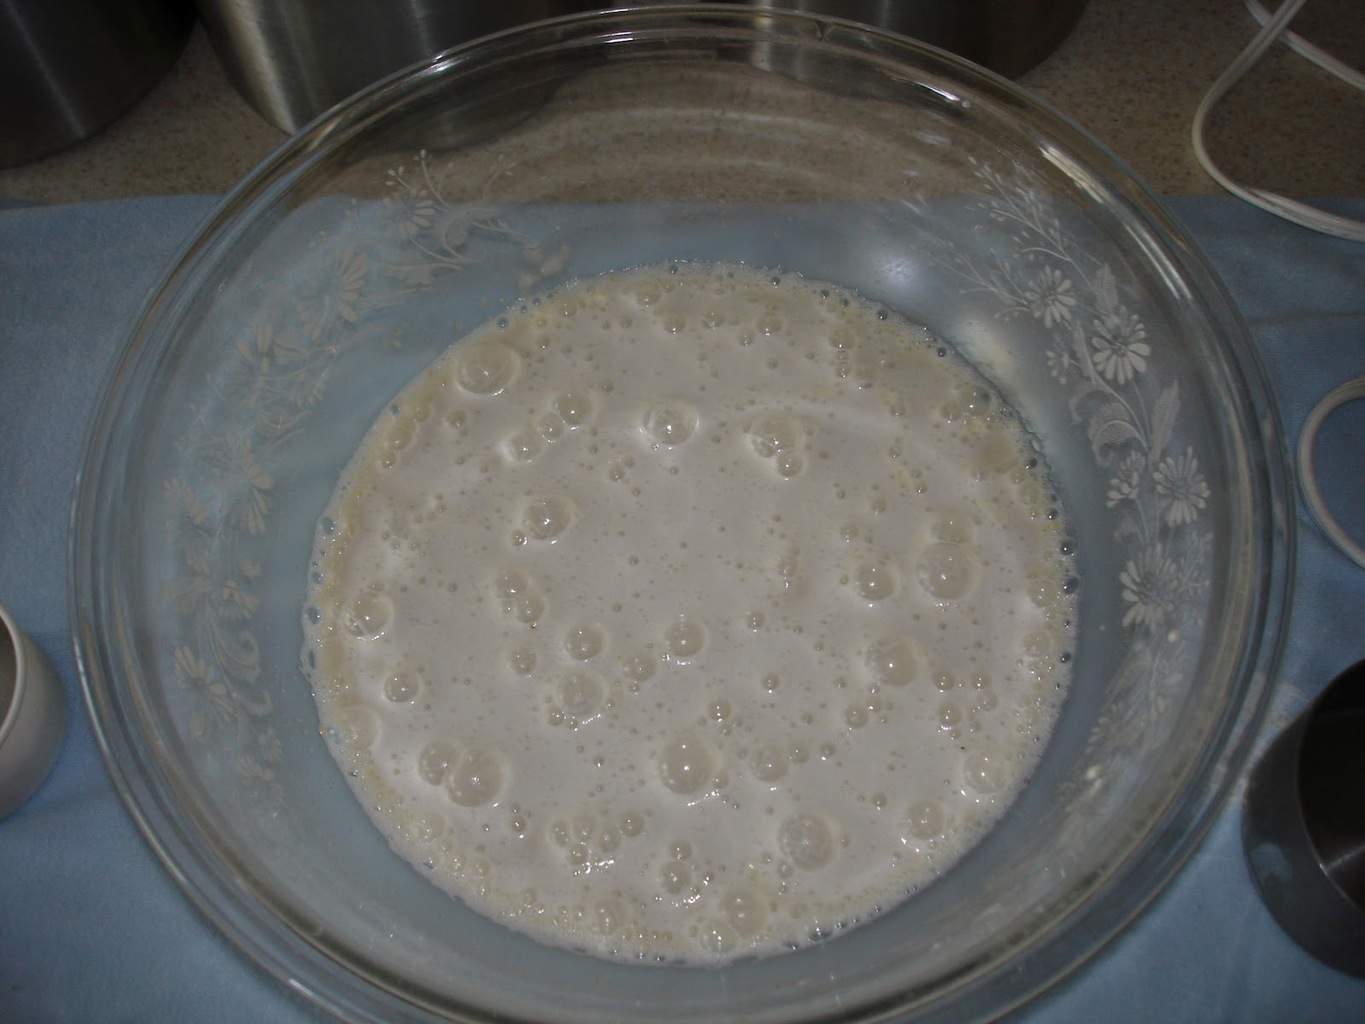 |
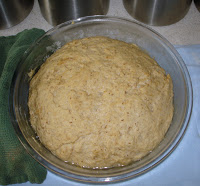
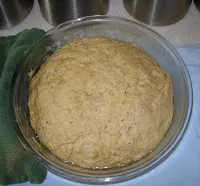
| This is how it should look after the 15 minutes it has been resting. |
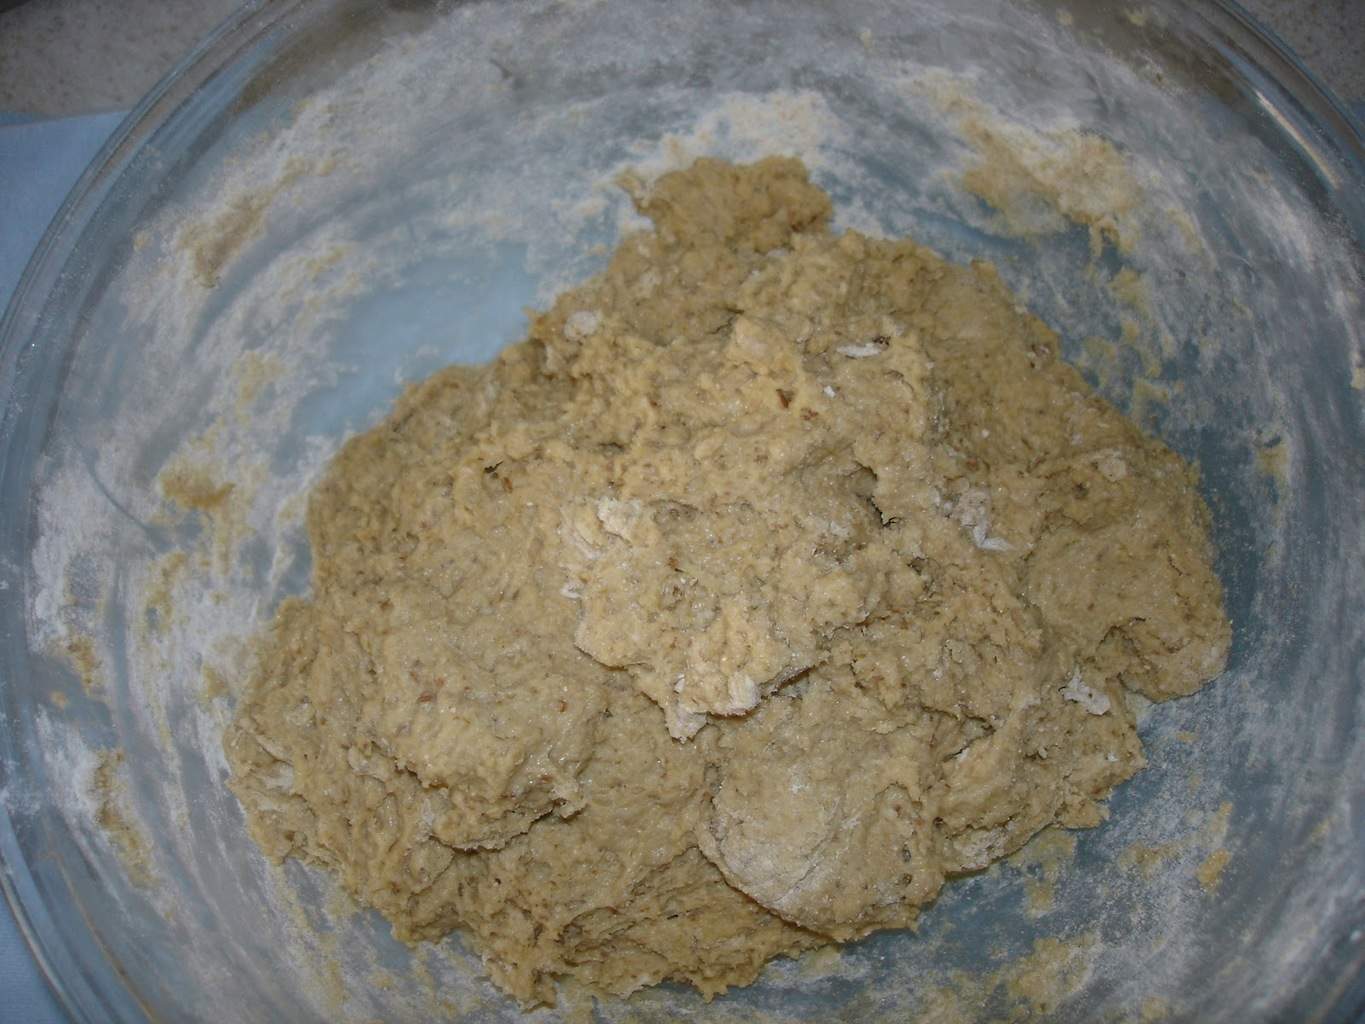 |
| How it should look once all the flour is mixed in, ready to become a dough ball. |
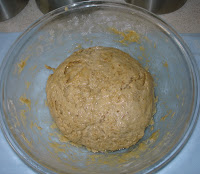  |
| Lovely dough ball with the bowl greased up the sides |
  |
| Covered to let rise. |
  |
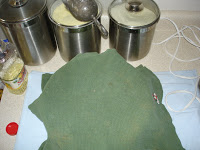
| While it’s rising I like to grease and flour my loaf pans. |
  |
| This is after a 30 minute rise. |
  |
| Punch it down |
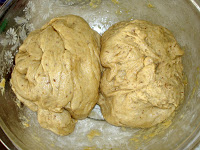 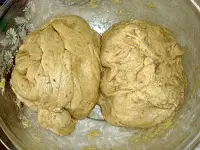 |
| Divide into two dough balls. Form into loaves on a clean, greased flat surface. Place into loaf pans. |
  |
| Loaf pans set back on the heating pad. |
  |
| Loaves are covered and let raise. |
 |
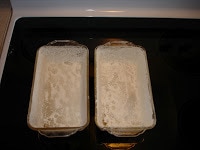
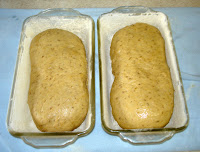
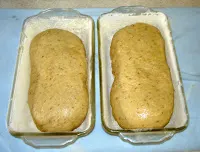
| What they should look like after they have risen. |
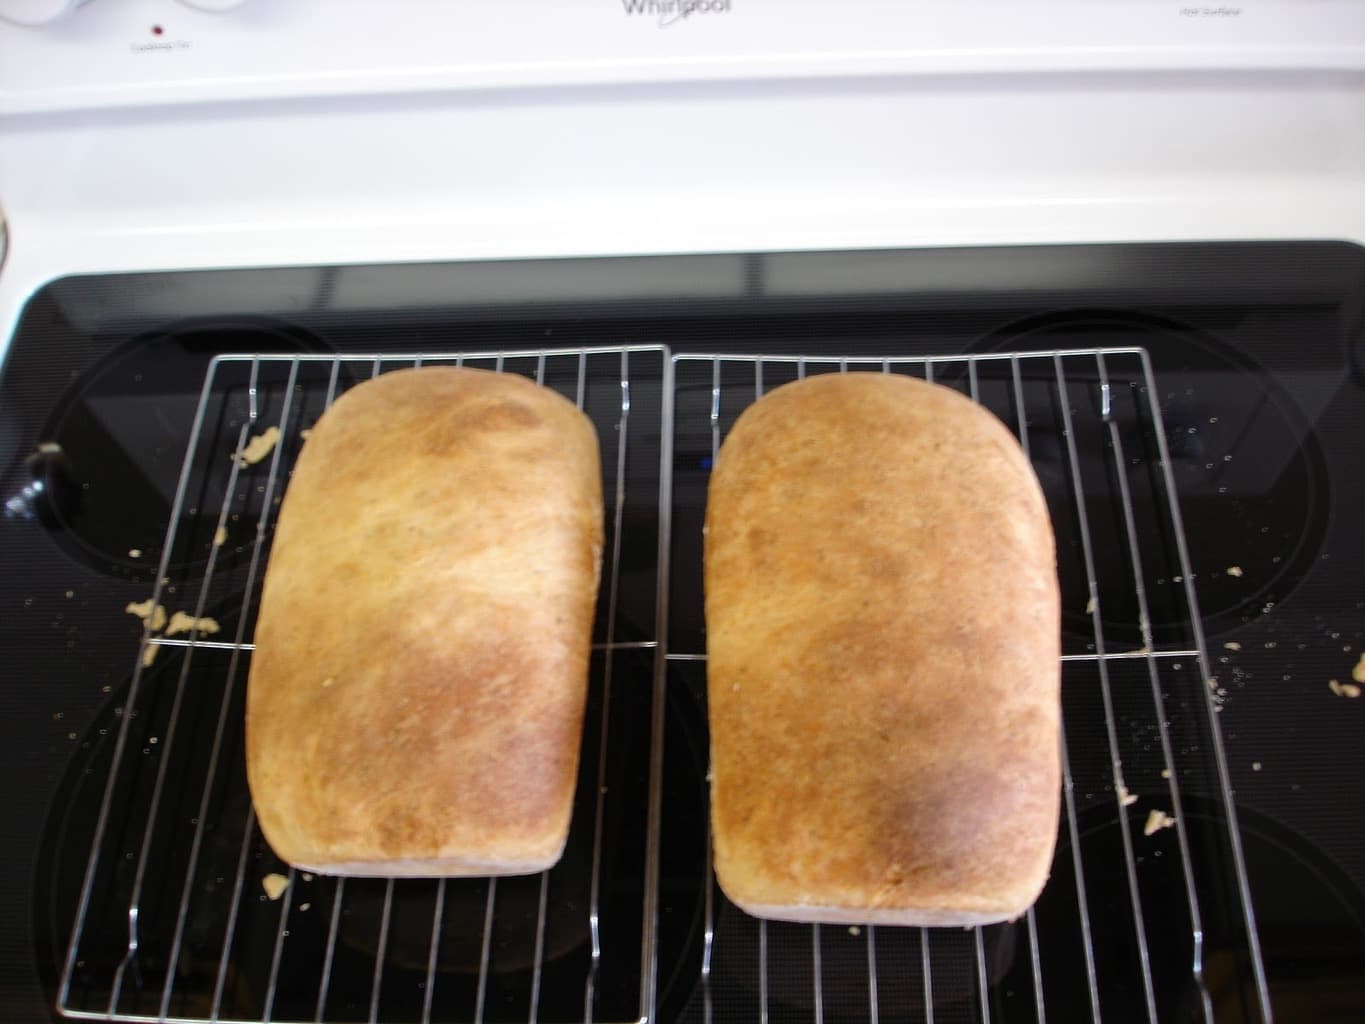 |
| End result just cooling. |
*I use a King Size Heating Pad which is wonderful for getting yeast to rise! It’s the kind that is long enough to cover your whole back. It should be able to fit four loaf pans on at a time. I saw the idea for using a heating pad to help your dough rise faster here and it really speeds the process along.