
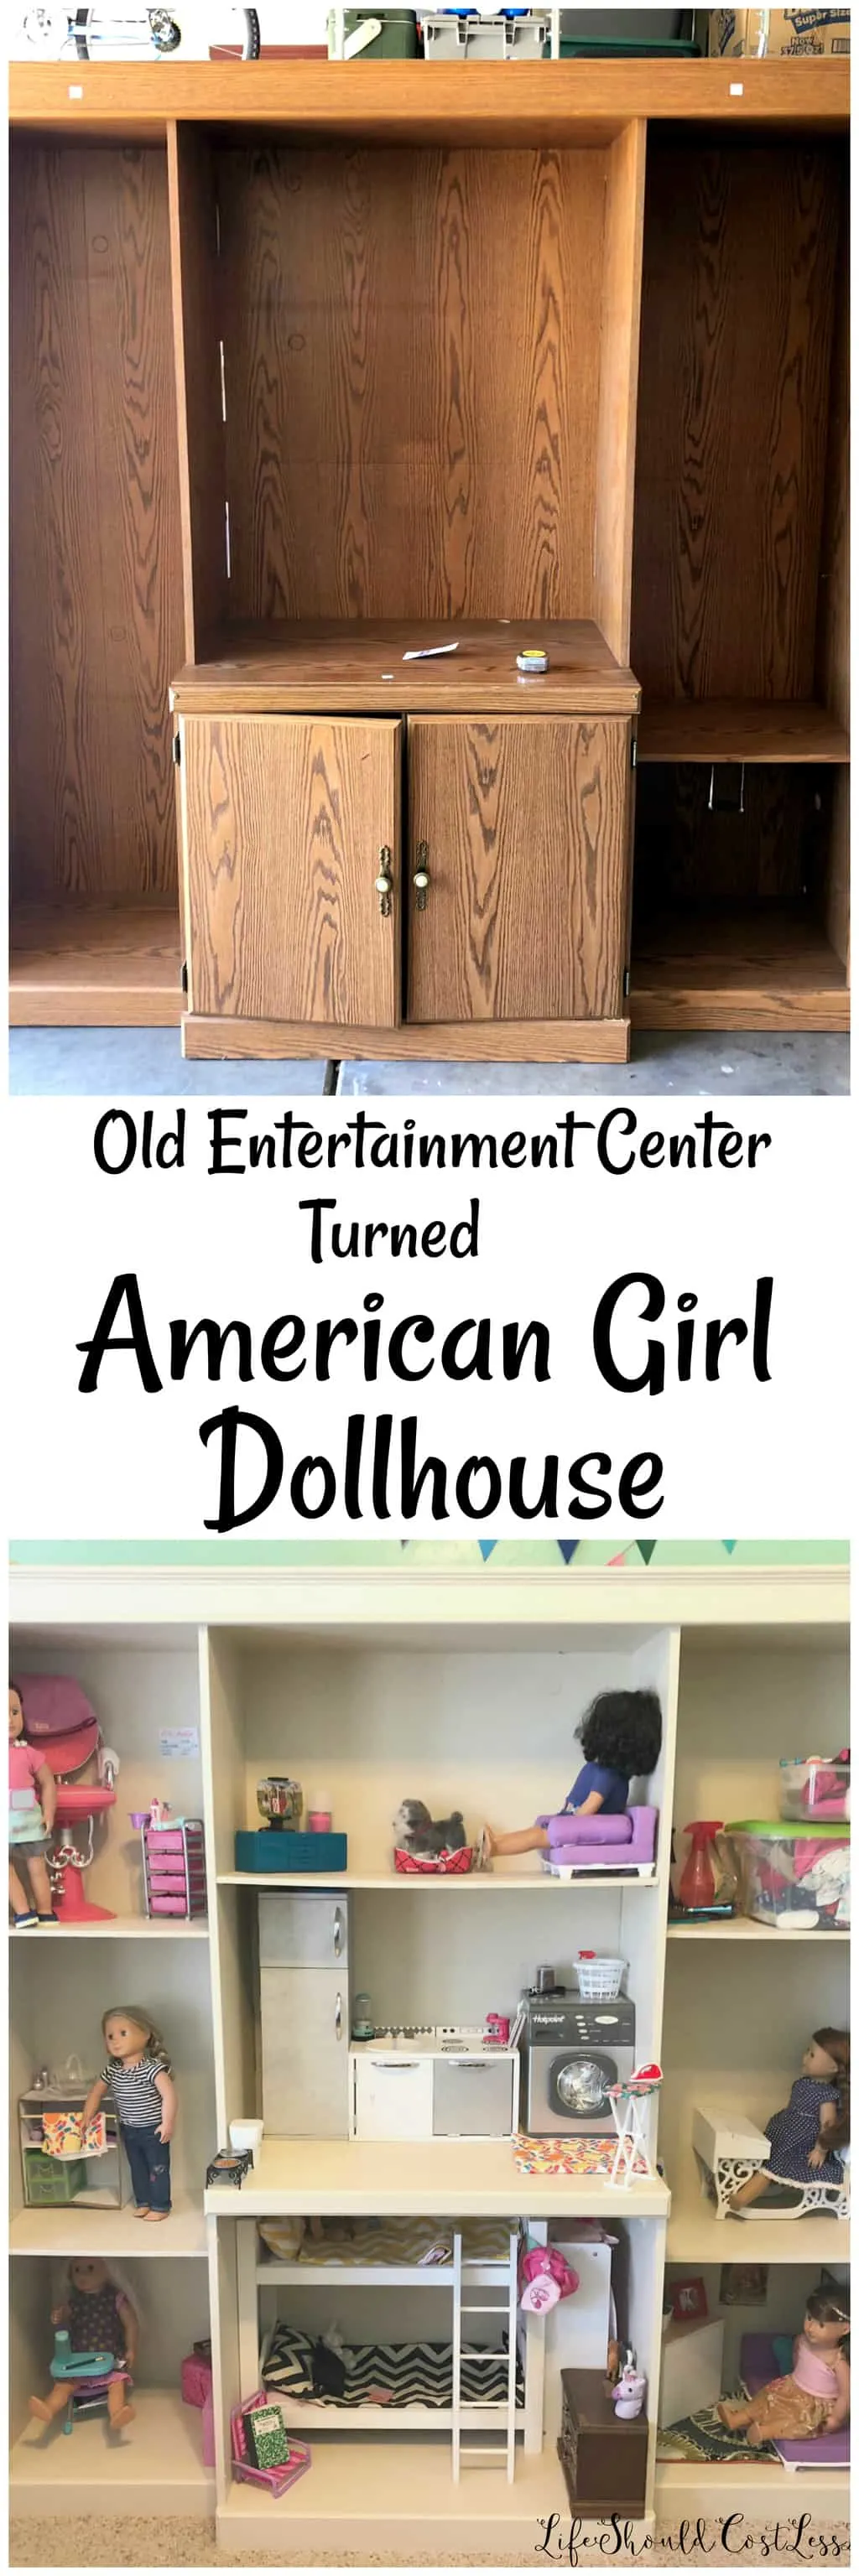
If you have one of those big bulky old entertainment centers hanging around, then I have a fantastic idea on just what you can do with it! Who knew that you could inexpensively transform one into a dollhouse for any of your eighteen inch dolls? Whether you buy name brand dolls or not, the cost of dollies can really add up so today I’m showing you how my cousin, and her husband, were able to build their girls a cute and functional dollhouse for a fraction of what it would have cost them to try to buy something similar and it turned out so cute!

Angie, my cousin, said this about the project:
We were looking for a better storage option for the endless Doll items we had.
I wanted something that could always be set up though instead of the girls having to set it up and put it away each time they wanted to play with their Dolls.
I searched on Pinterest for ideas and came across a few plans to build your own but I was looking for the most inexpensive route.
Wa la, I finally found one using an old tv cabinet (which can be found here).
You can find old entertainment centers either free, if you’re lucky, or for pretty cheap.
We needed something a bit bigger though.
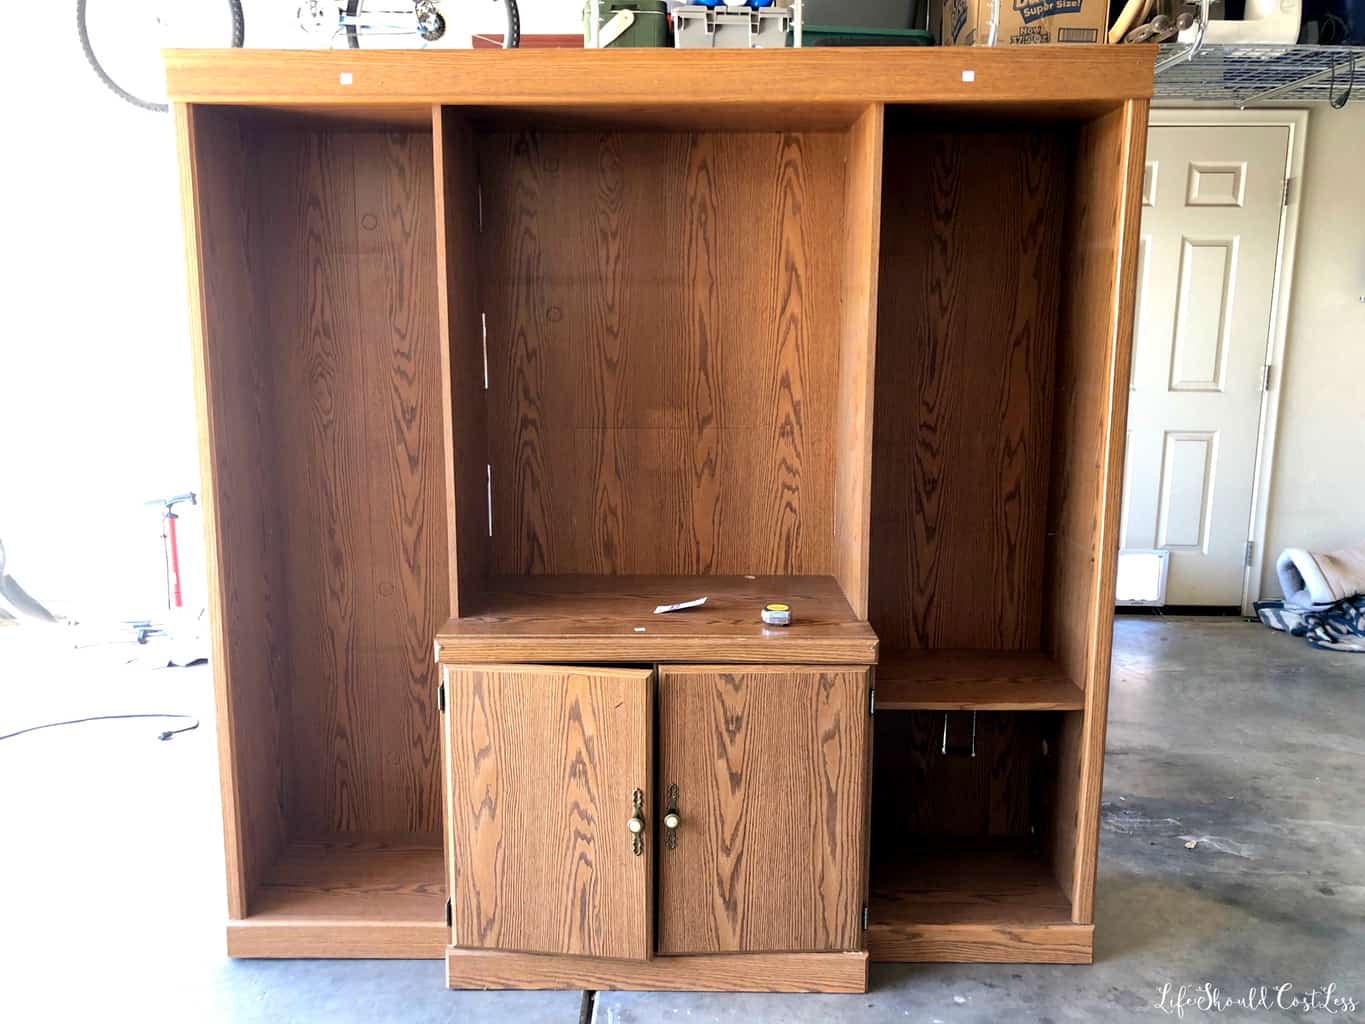
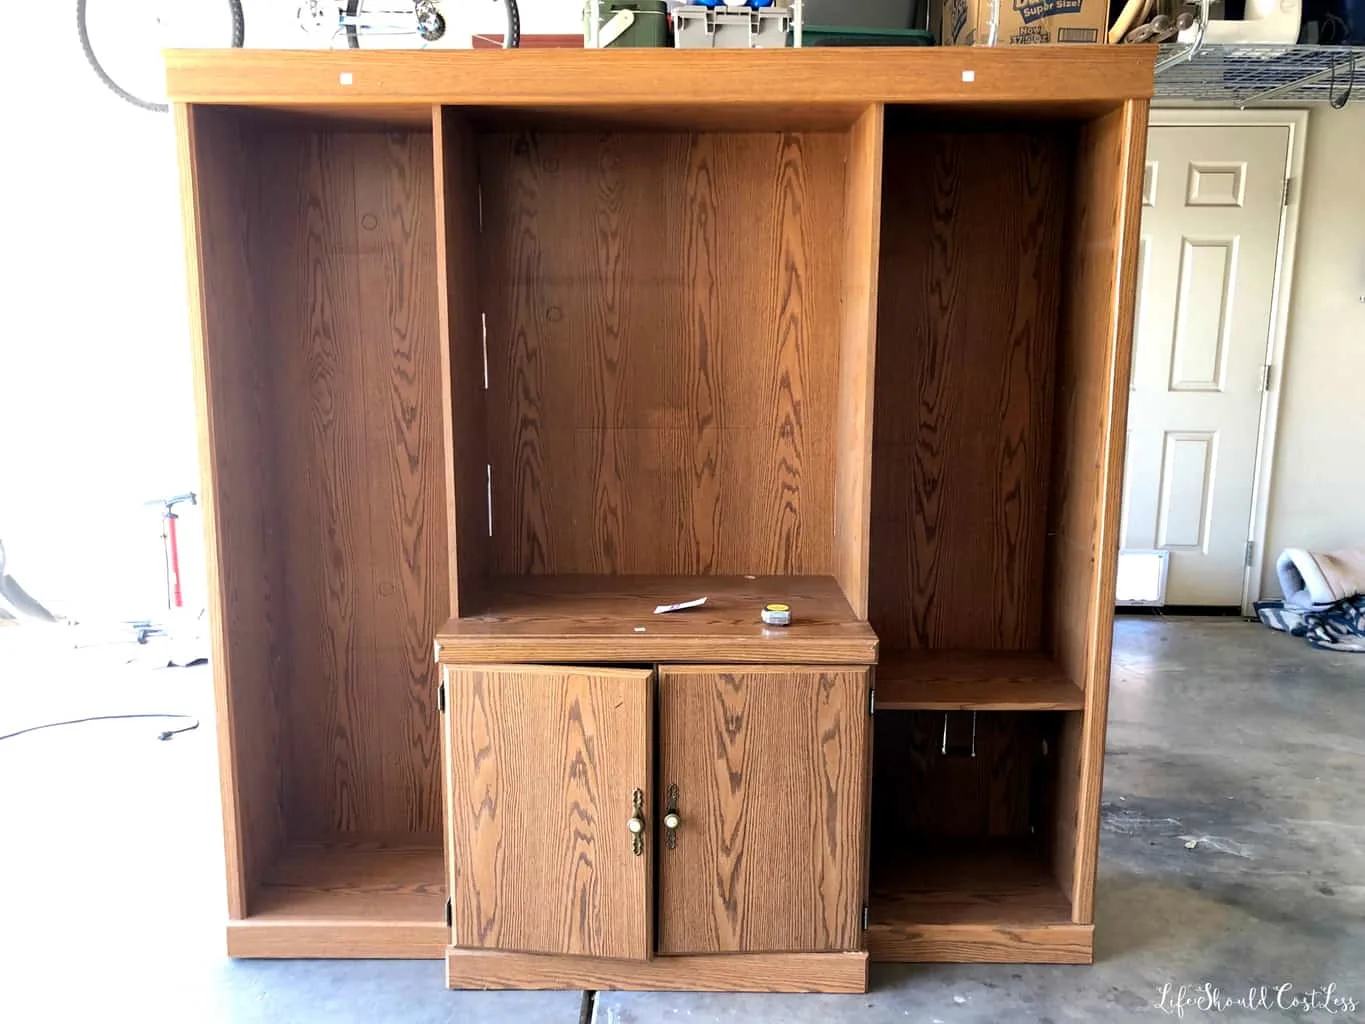
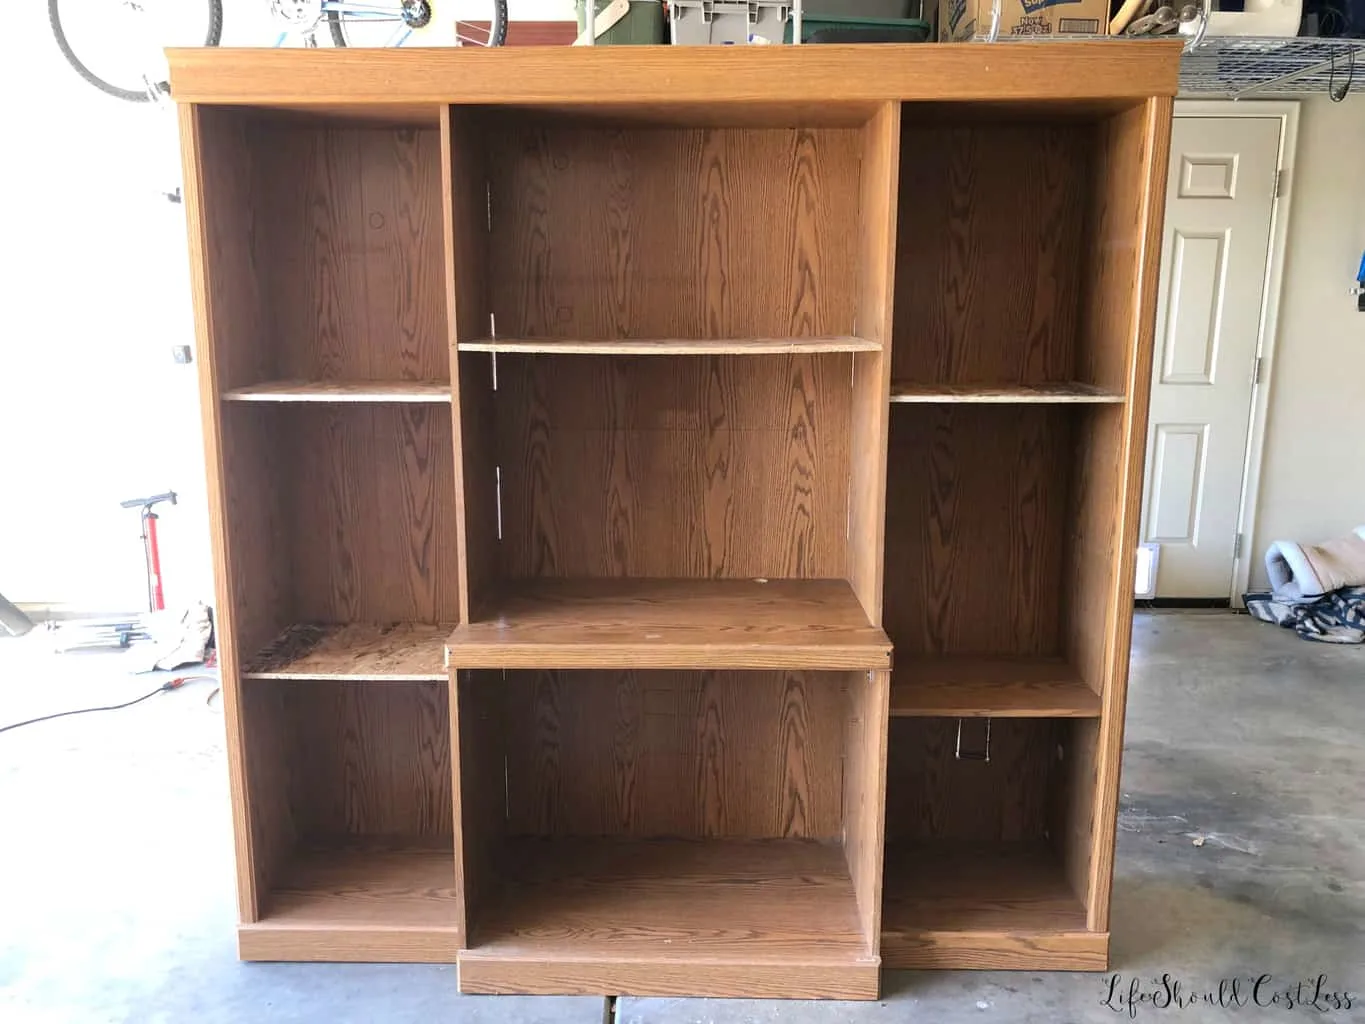
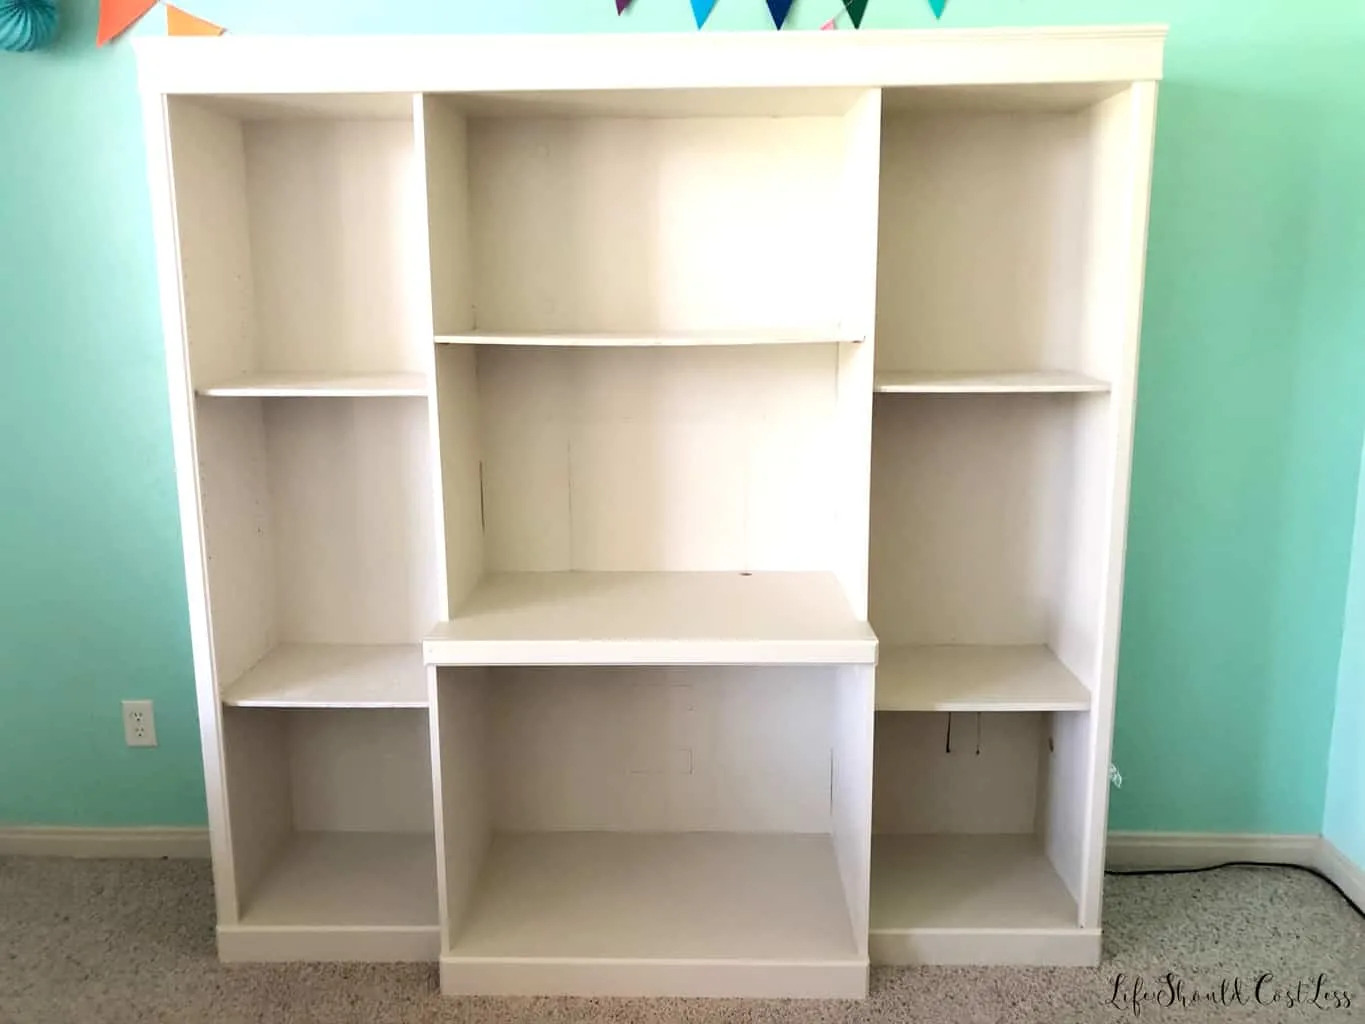
So, off to the thrift store we went. We found this entertainment center for $30 but it was missing most of the shelves.
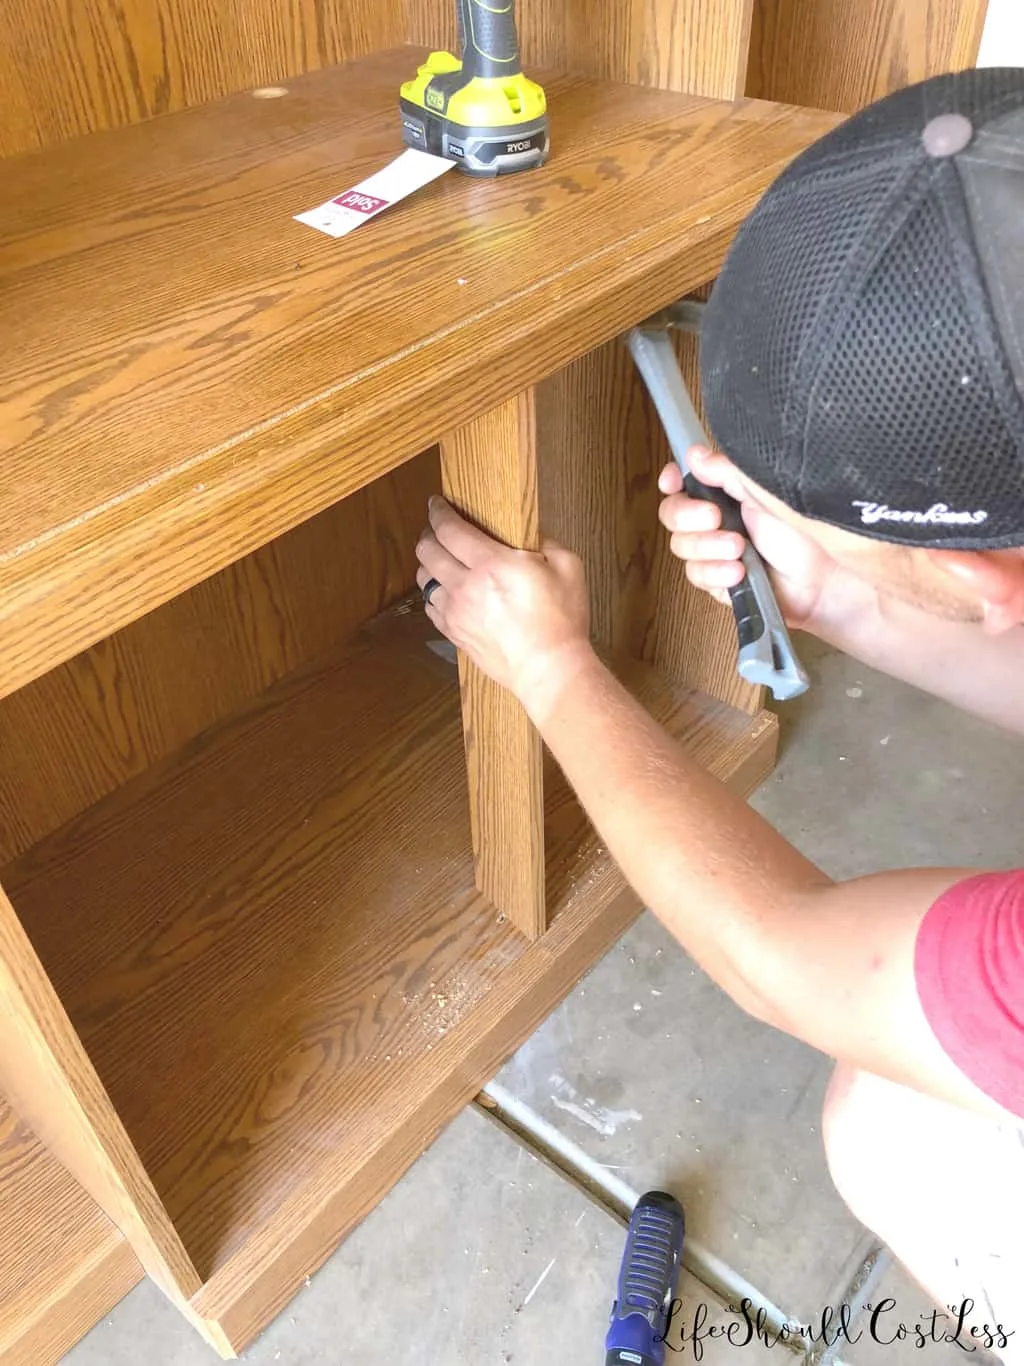
Let’s dive right in to what they did to make this cute dollhouse transformation. To start they removed the hardware to the doors,
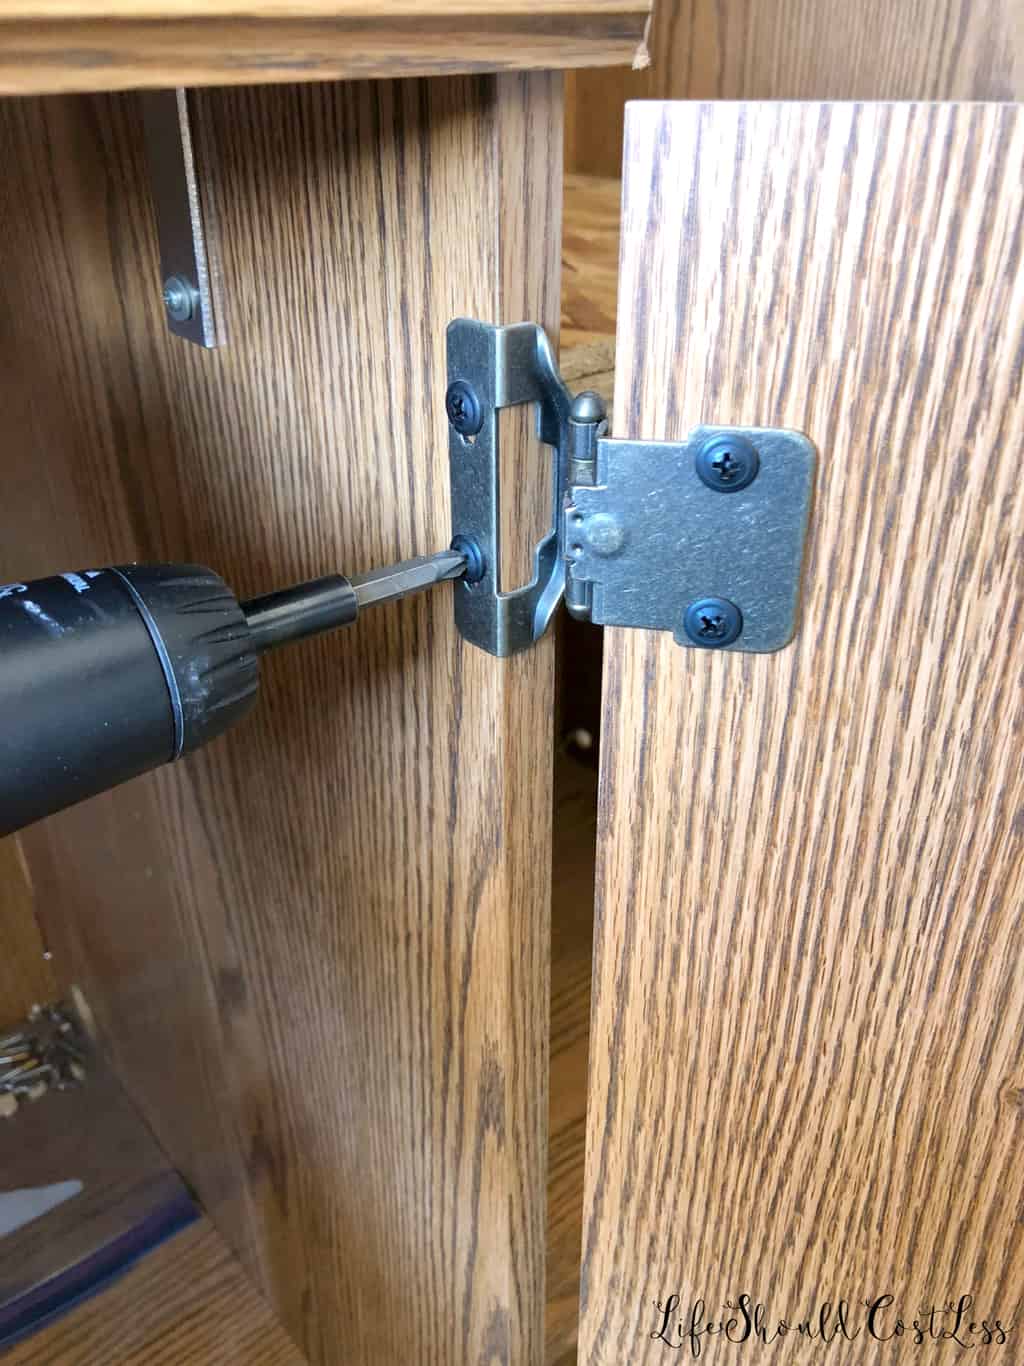

and the support beam…it is no longer going to be meant for supporting a 50+lb tv so the support could go.

To solve the issues of the missing shelves, they used plywood and cut it down to fit their needs.

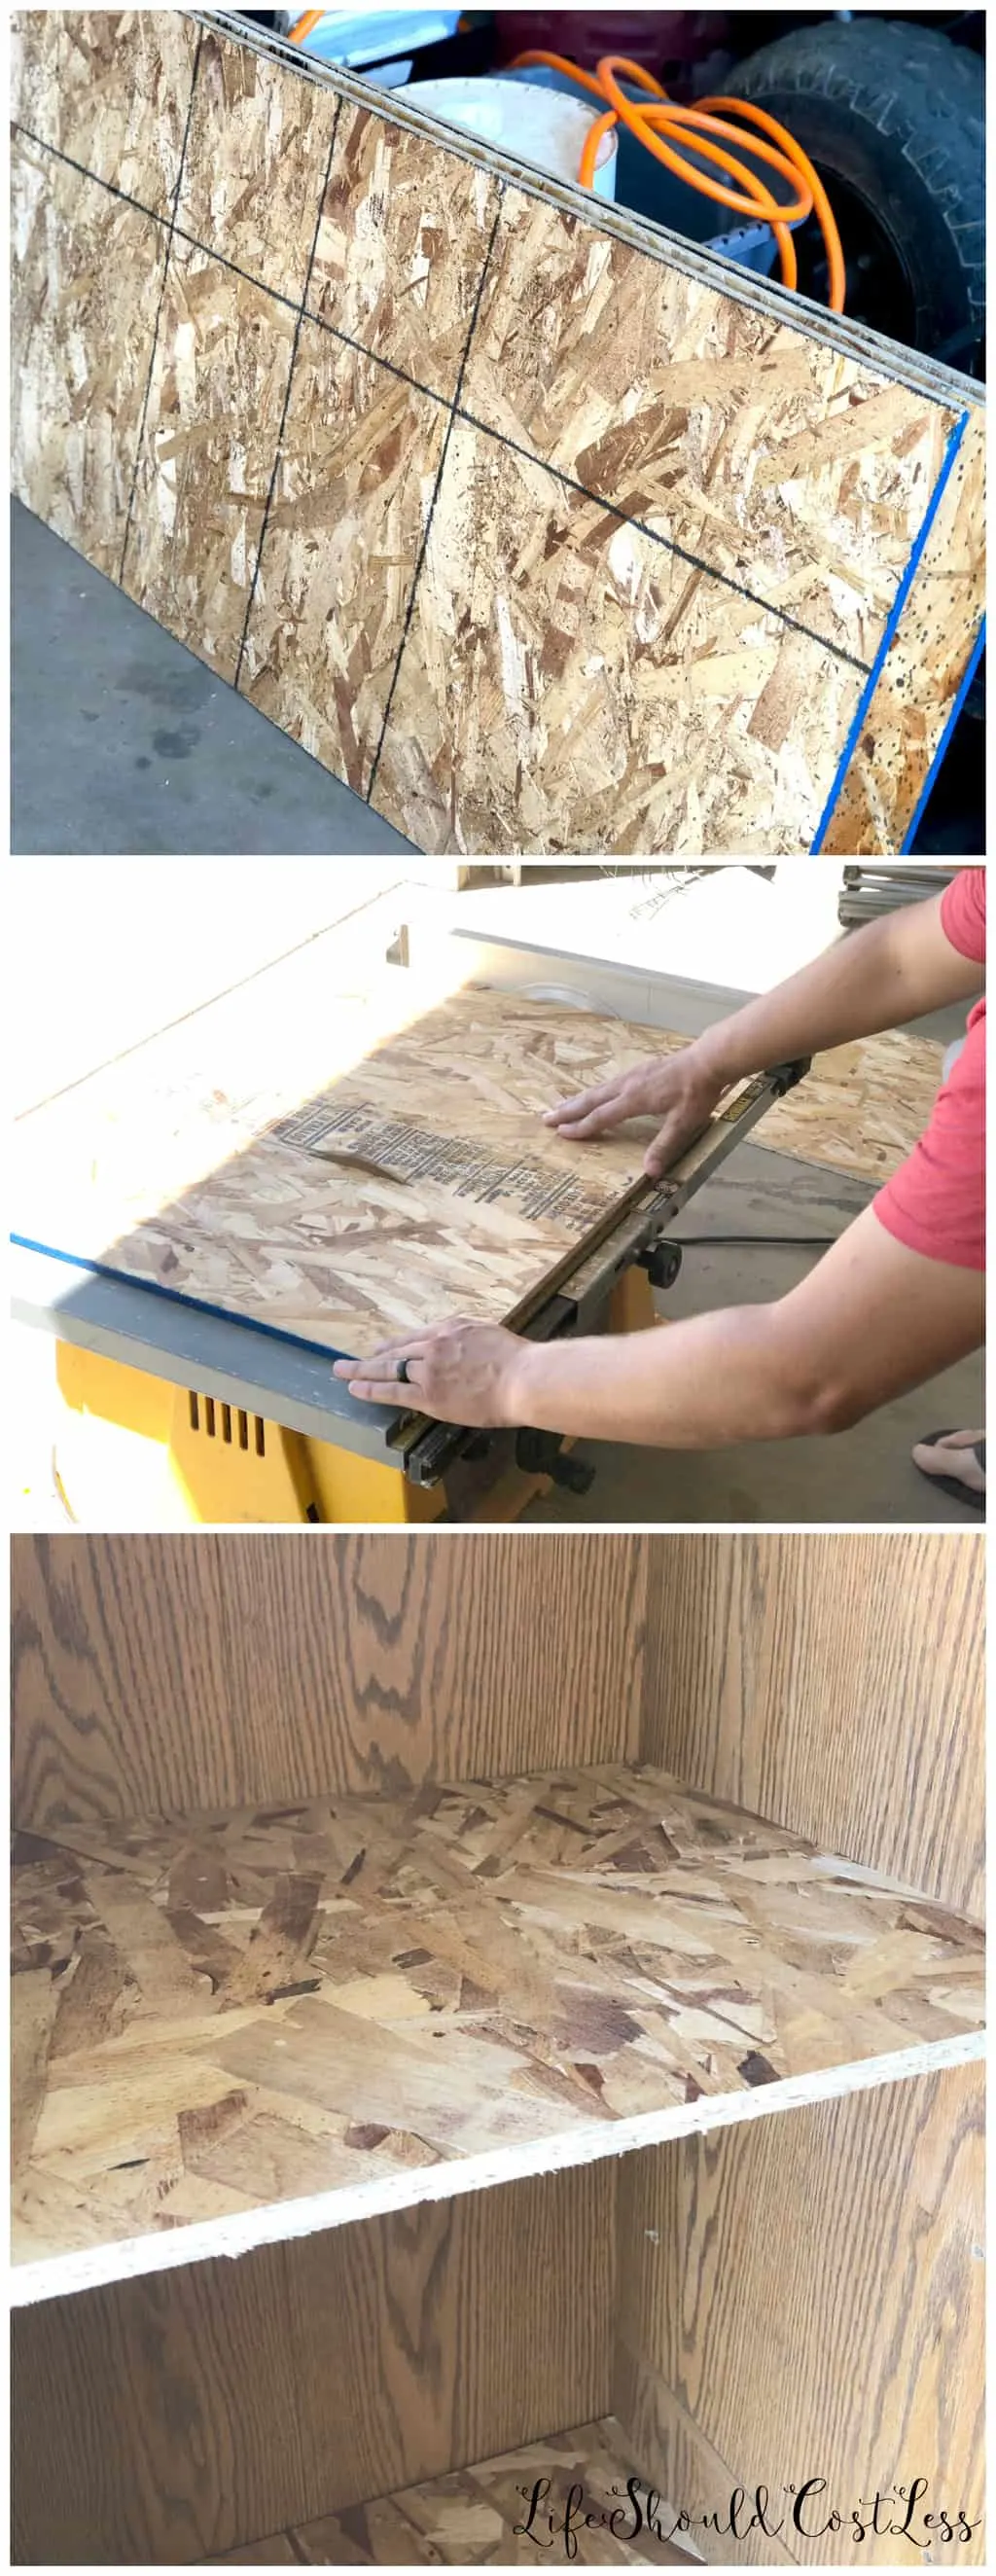
When you are measuring to make yours, make sure that you measure out all your toys and accessories so that you can put your shelving in accordingly…giving everything plenty of room.

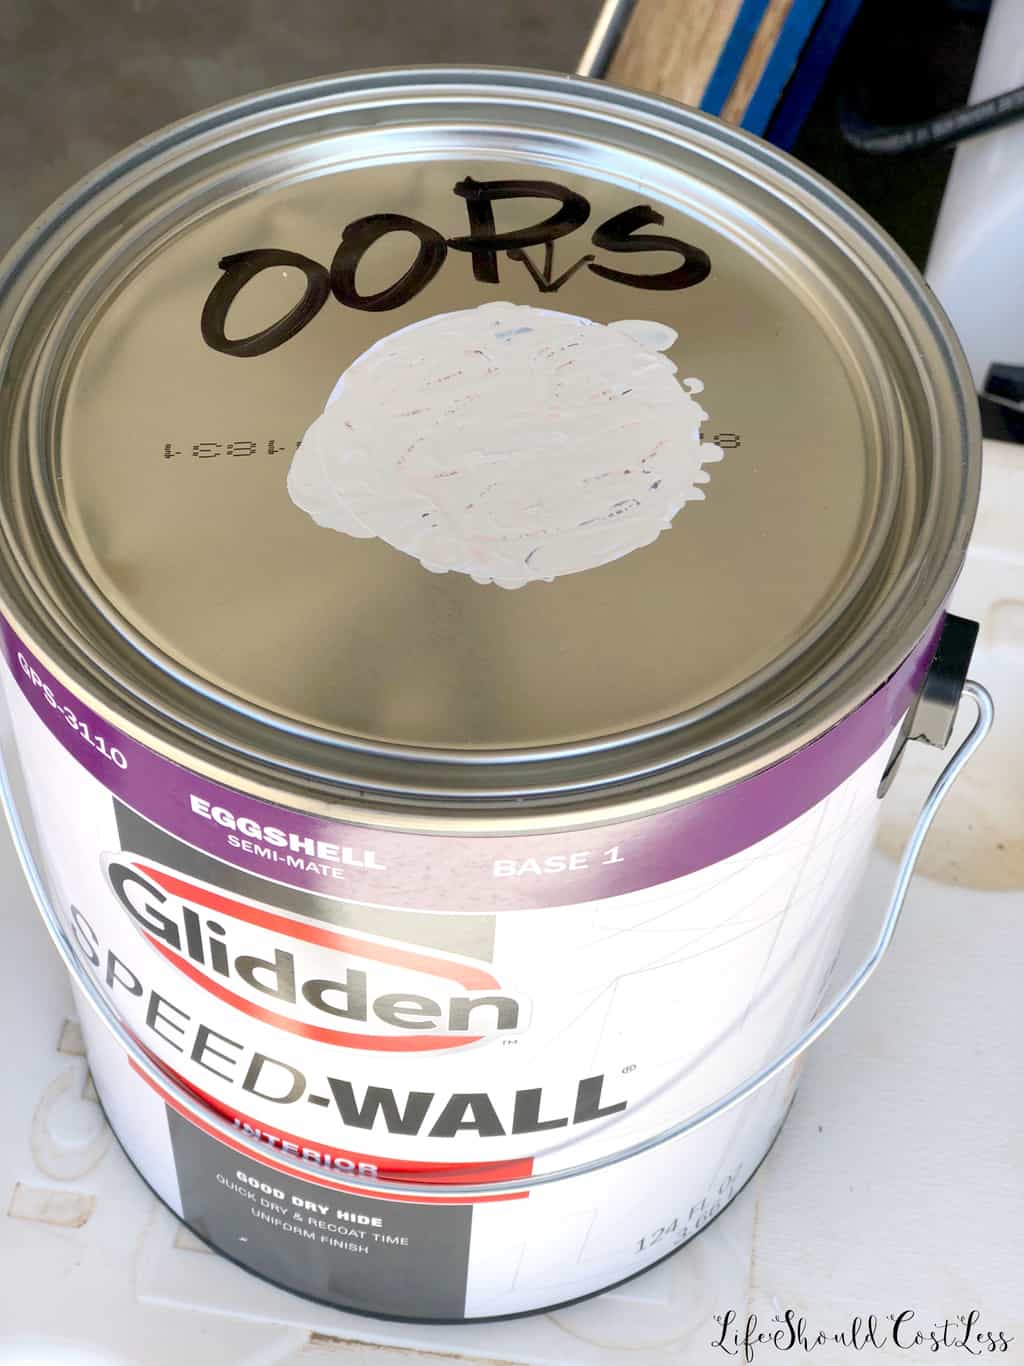
They saved even more money buy buying some oops paint to paint it with (it was $9). If you’re unfamiliar with what oops paint is…
It is basically paint that someone bought at a hardware or paint store that ended up being the wrong color, “oops”, so the store deeply discounts it and has a little section of oops paint for sale.
Just ask the person at the paint counter where it is if you can’t find it… I have had great success in the past tinting oops paint with some acrylic paint to get it just the right color that I wanted.

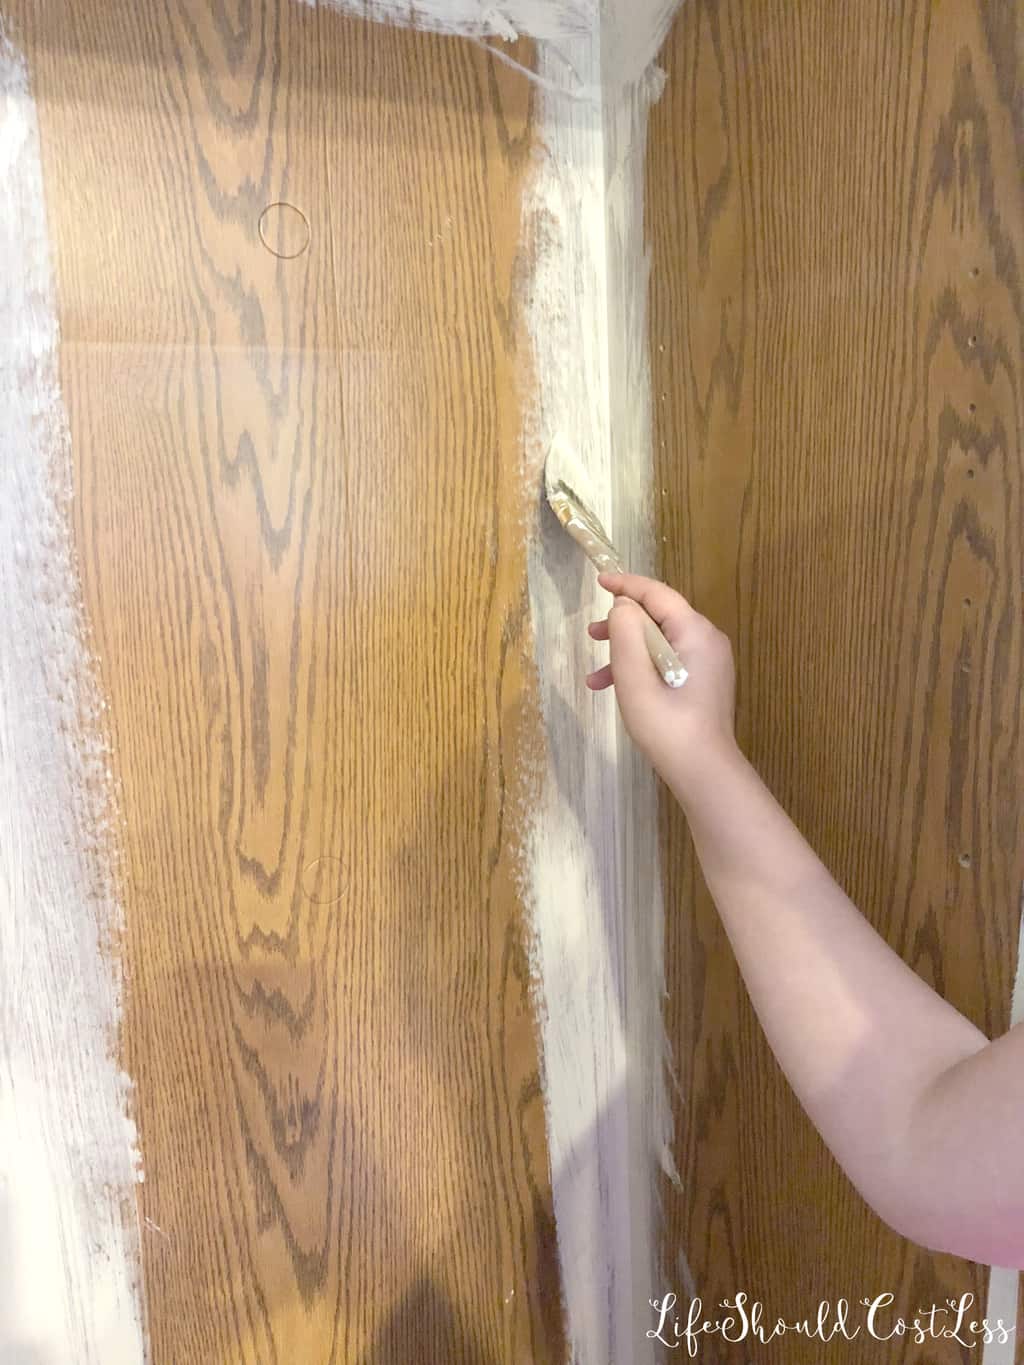
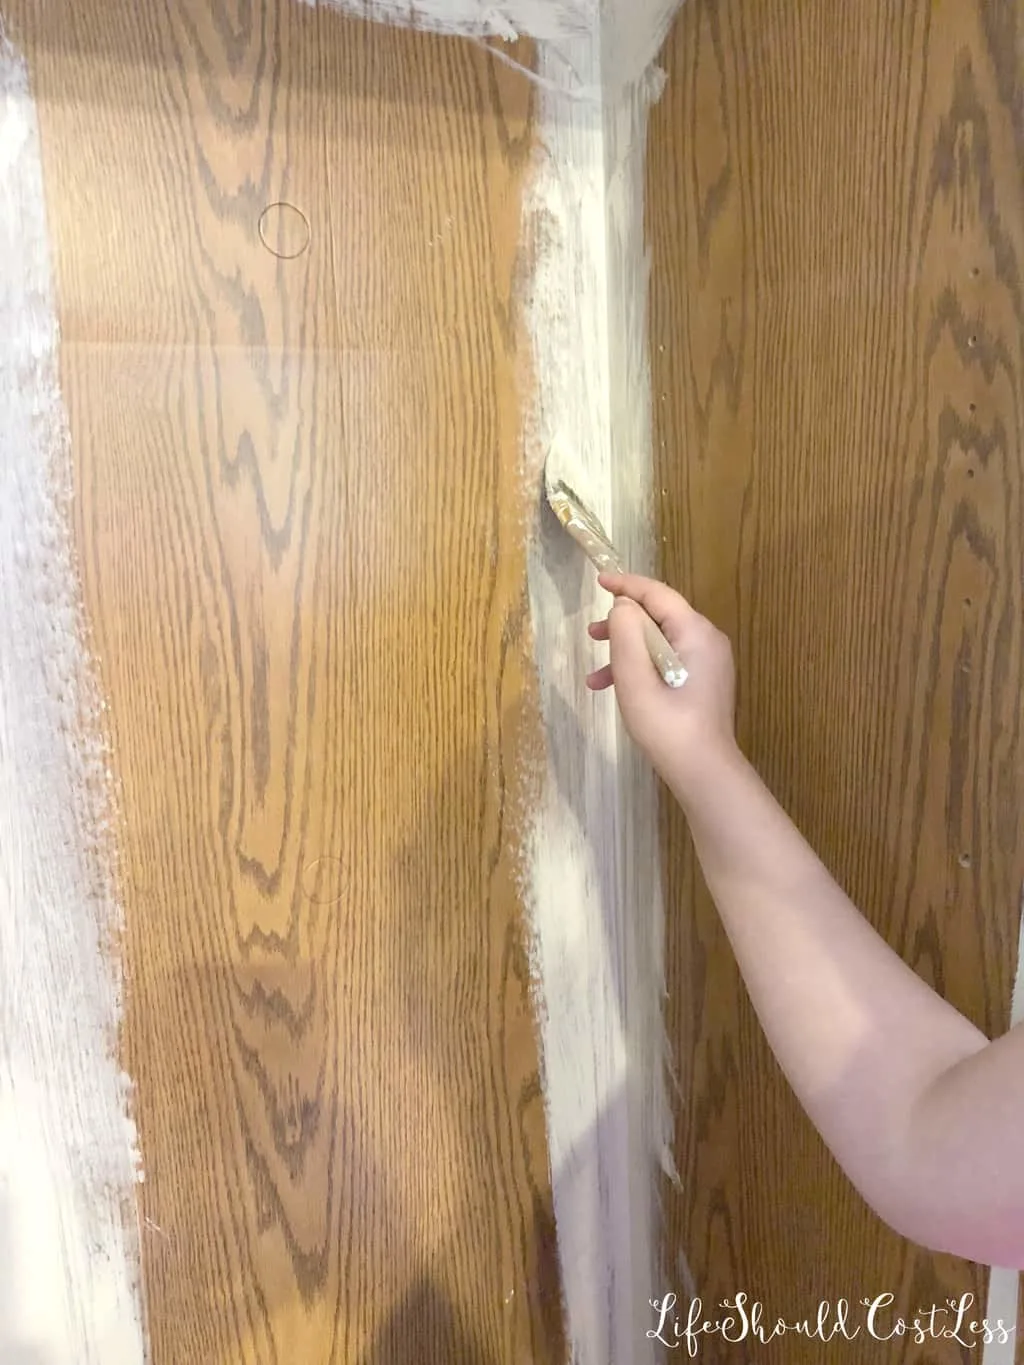
If your wood is clear coated at all you may want to lightly sand it and then dust it off to prep it for painting. If not, have at it! They painted in the edges and corners with a paint brush.
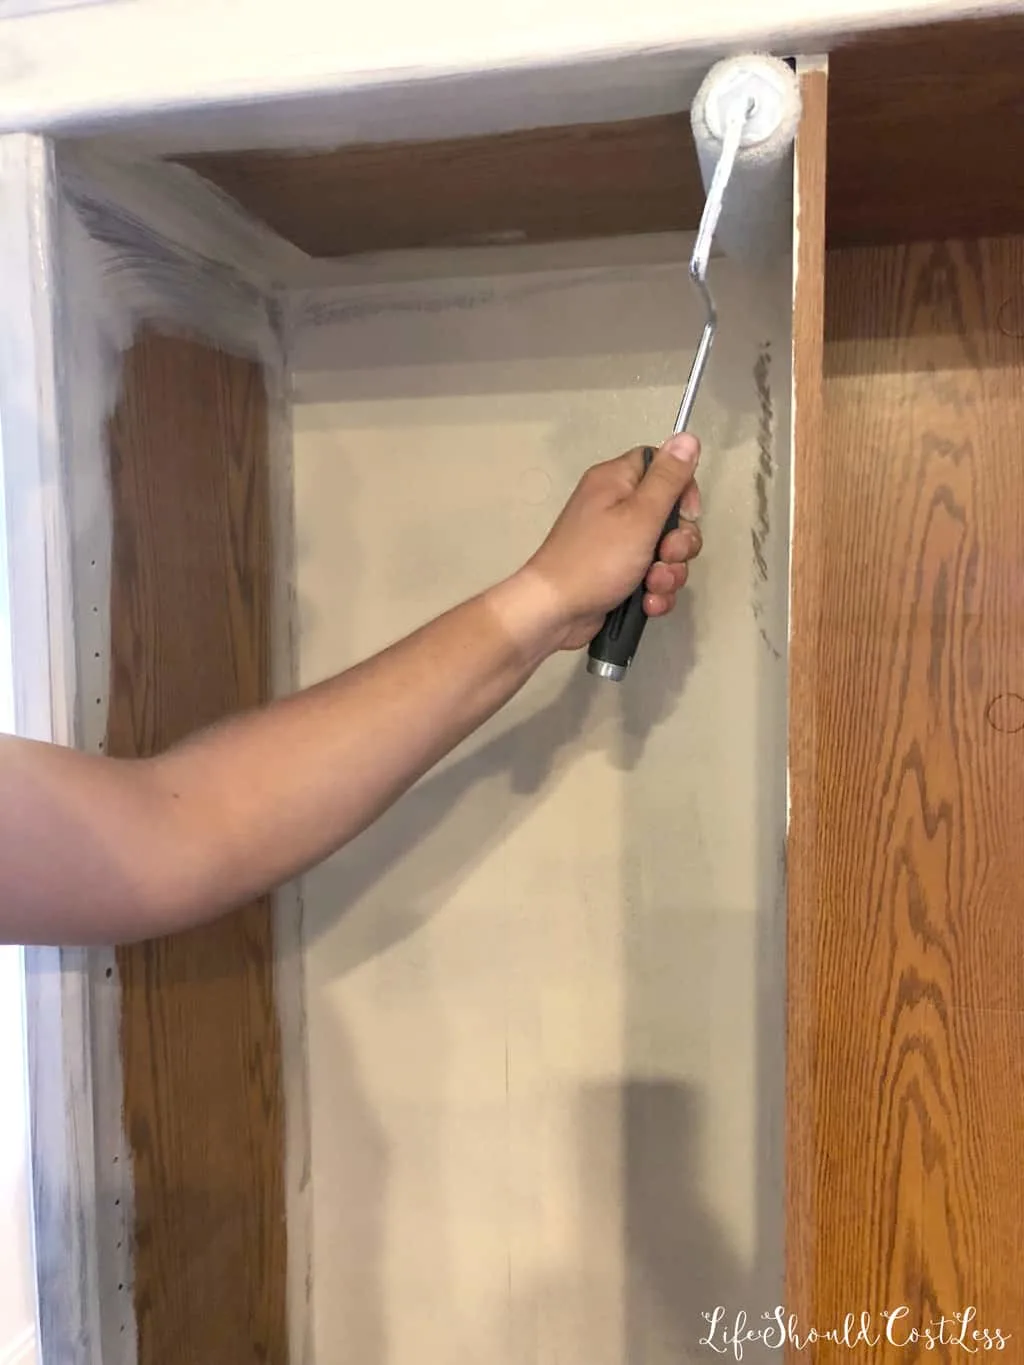
Then used a roller to cover all of larger areas.

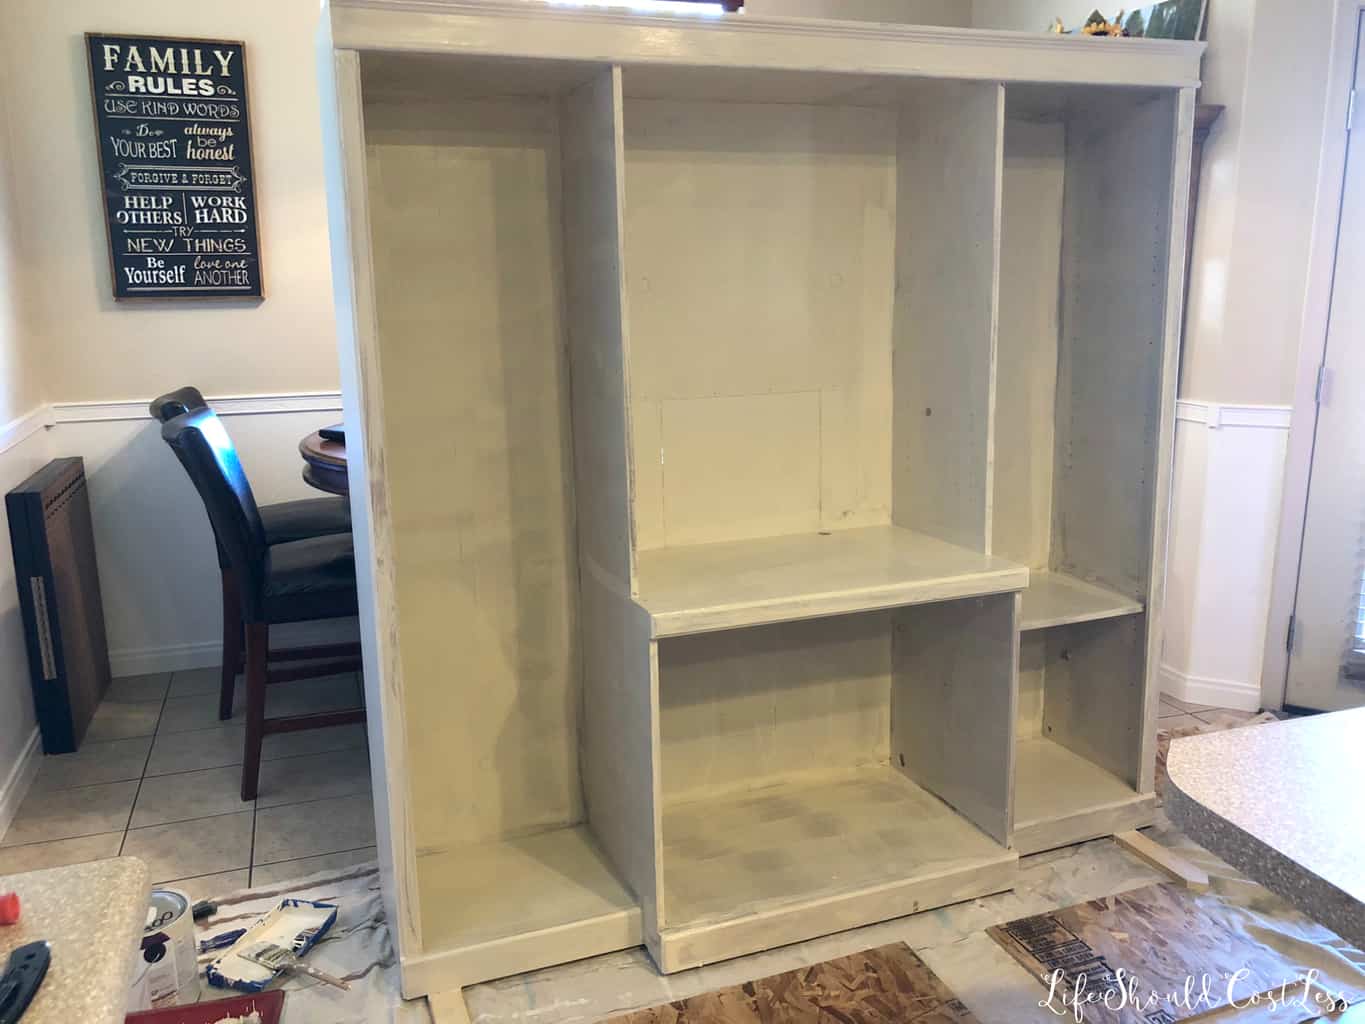
Then let it dry between coats of paint. This is what it looked like after the first coat.

Then it was done! Make sure you give the paint time to dry/cure properly before you put it to use so that it will chip less.

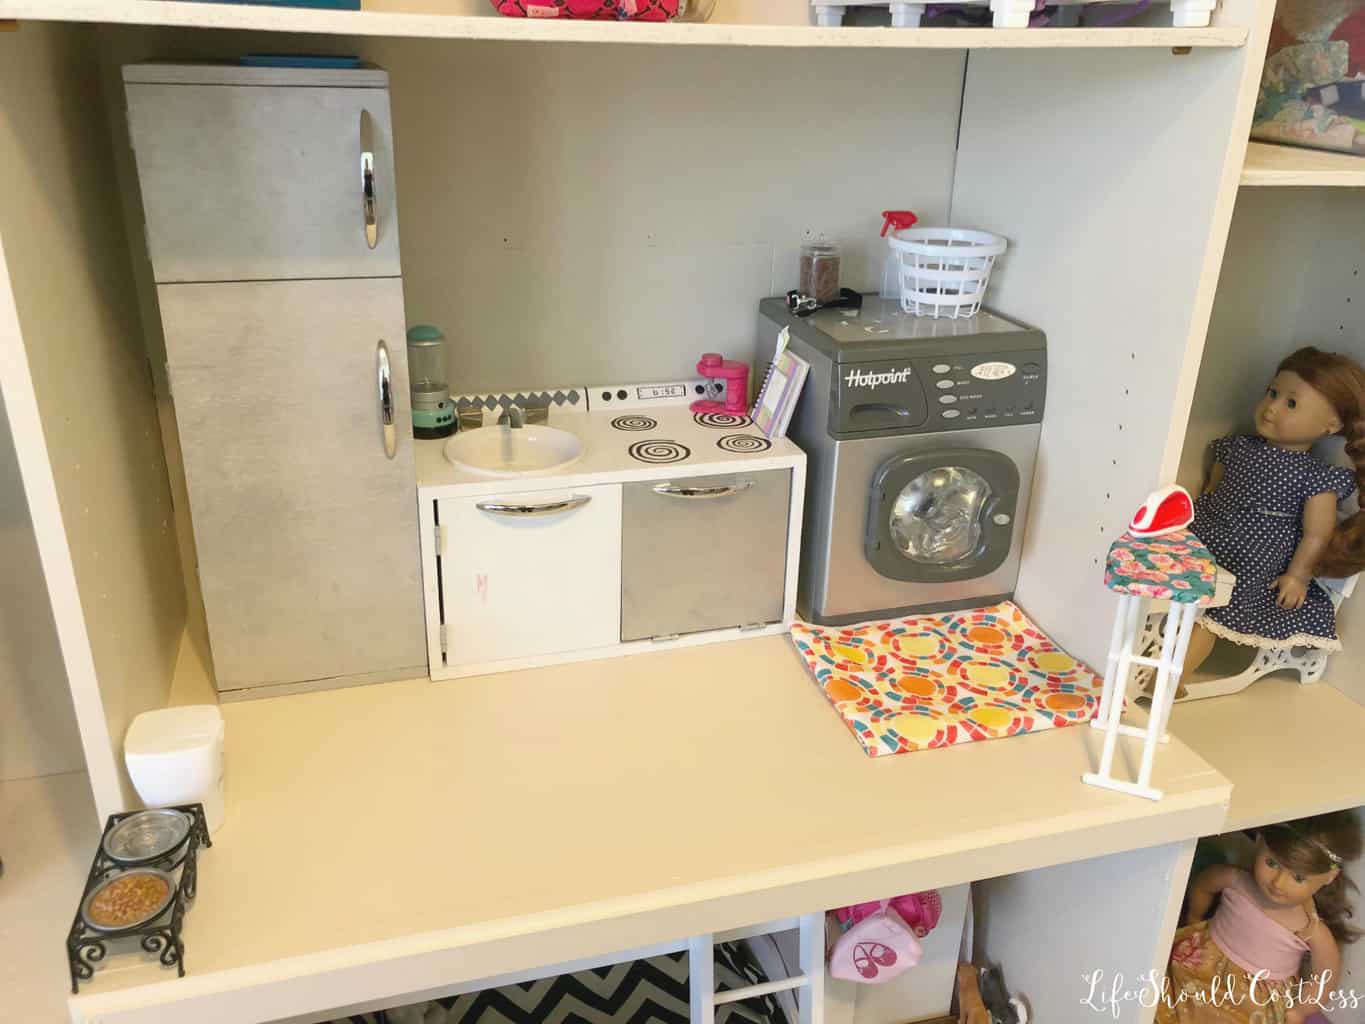
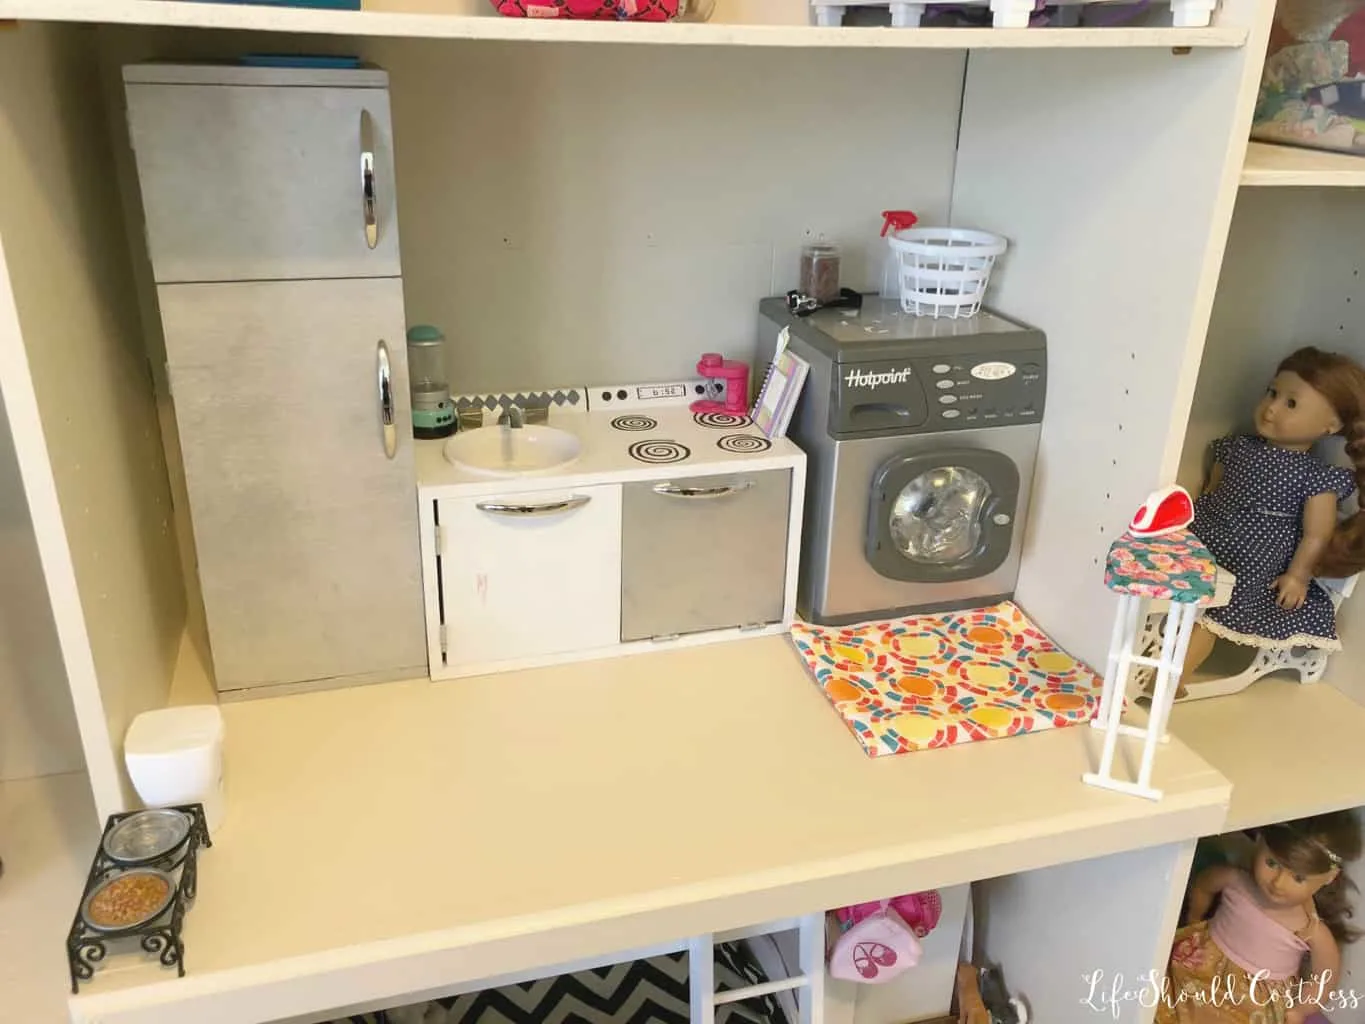
It was finally time to add the Dollies and all of their stuff and I think it turned out absolutely adorable!
It will certainly encourage their kids to keep it organized too, which is a big added bonus in my book.
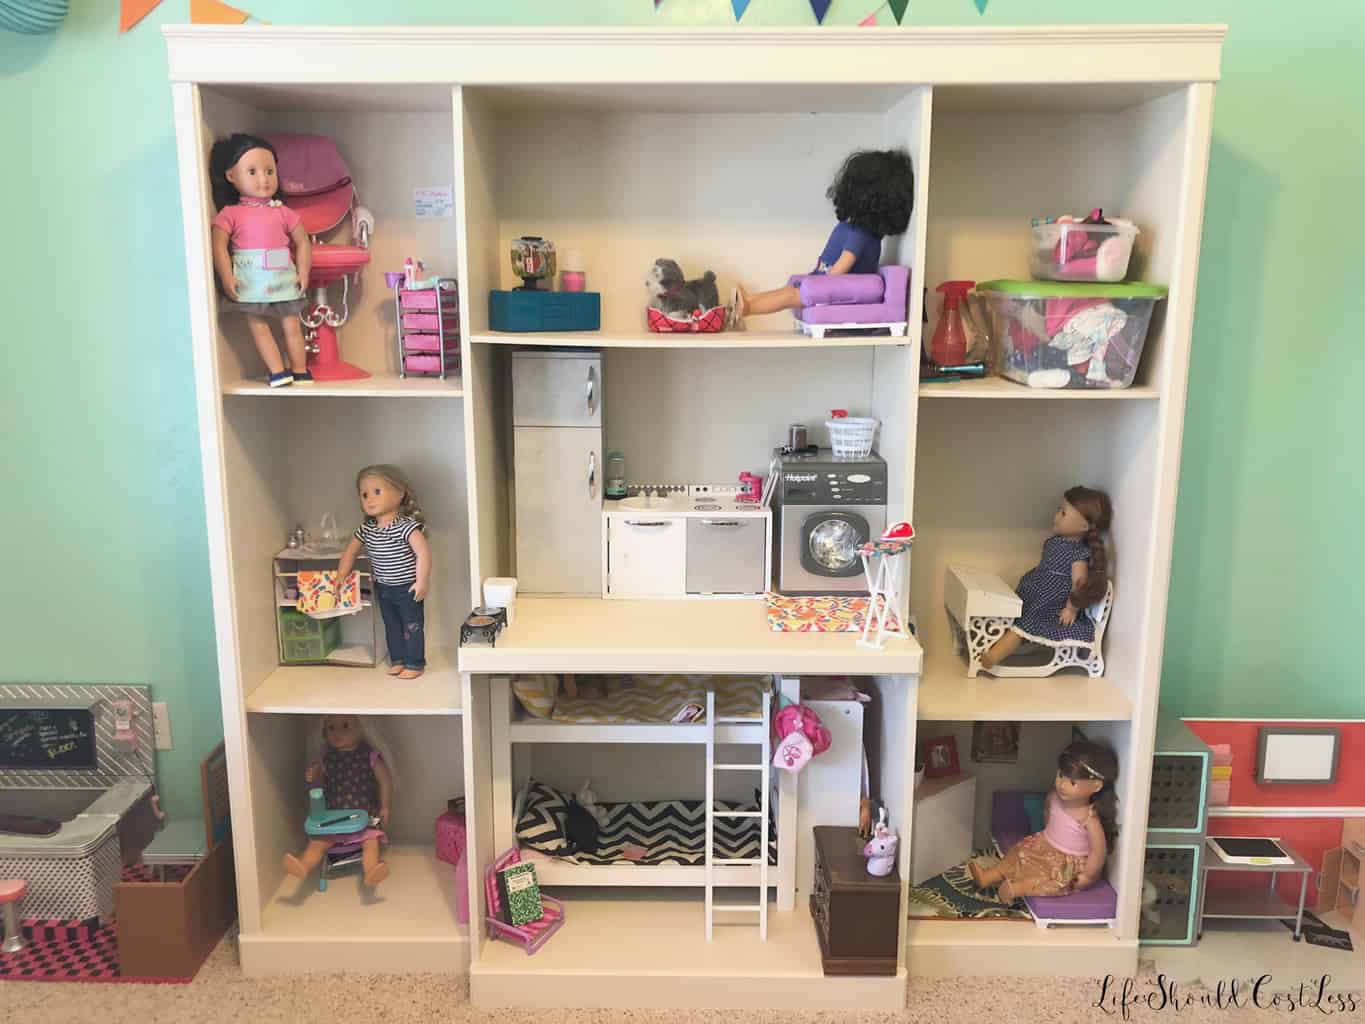

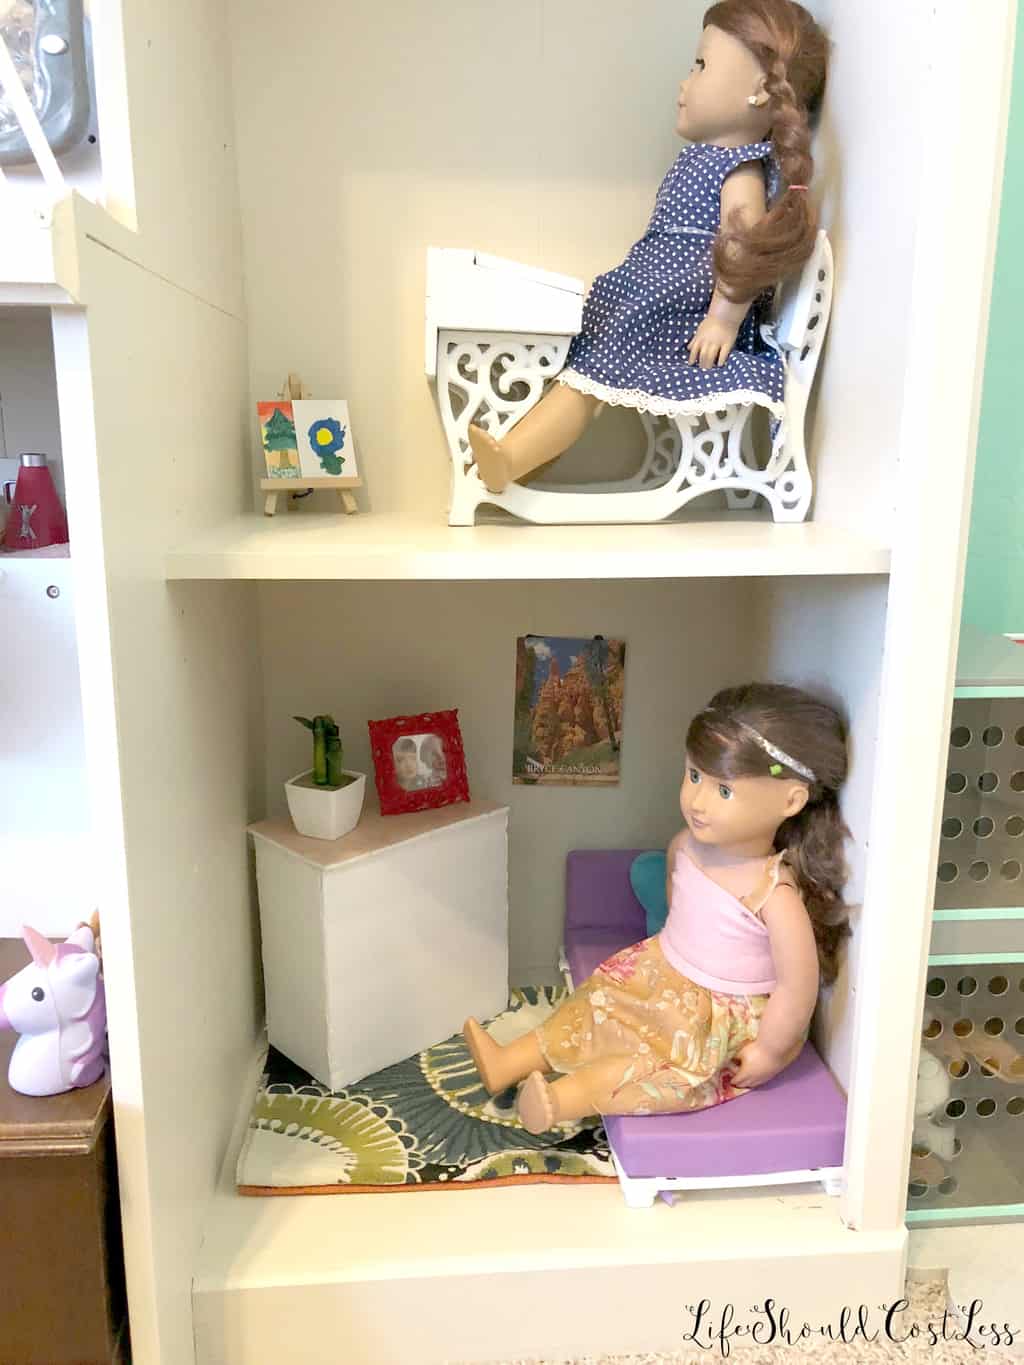

Angie said that all in all it was still cheaper than building something from scratch would have been. and that it takes up much less space than what they were using before did.
Plus it’s way cute & it gets their girls excited about playing with their Dolls. You can’t beat that!
I love that they were able to recycle an old entertainment center…I can only imagine how many of them have already ended up in the landfills because people didn’t know what to do with them.
The only problem that I personally had with this project is that now my girls are begging me to make them one…so maybe if Santa is in the mood to paint, will it happen sometime soon. lol.
What do y’all think? If you liked it please make sure to share it via social media. As well as commenting.
Please keep in mind that I support my kids through my blogging efforts so sharing is literally caring…or you can always donate to the site via my PayPal account, found here if you found something particularly helpful.
Thanks so much for stopping by and for the love! ~Sarah
P.S. if you want to check out all of the DIY projects on the site make sure to go here.
* This post was originally shared to this website on August, 30th 2018 and has since been updated.