
I think that at one point or another we have all opened a fridge, and gotten hit by a wall of stench so foul that it could almost knock your socks off… Yikes! I’m over here trying not to dry heave just thinking about how bad some of the fridges have been that I have smelled so far in my lifetime… But I have good news, it doesn’t have to be like that and it is much simpler to achieve a stink-less fridge than you might have originally thought.


This is one of those posts that I’m going to tell you my thoughts, and you’re probably going to say to yourself, duh! Of course it’s really that easy.
Really all it boils down to is just changing some of your habits and it will make all the difference in the world.
I realize that training your family to follow these habits is going to be a little bit more challenging, but if at least one person in the family is keeping up on it, then you will have a noticeable difference in the way that your fridge smells on a regular basis.
Before we get right into the steps, I wanted to share with you all links to five of my other posts that you’re also going to like:
- How To Make Your Slow Cooker Clean Itself
- How To Clean Grout With Water
- How To Clean A Stainless Steel Sink Like A Pro
- Quick Release Tip To Remove Stuck-On Food From Cast Iron
- The Painless Way To Wash Walls
Now back to learning How To Deodorize Your Fridge, Permanently. I’m just going to jump right in.
Step 1: Clean out your fridge!
It may seem like super common sense, but if you’re going to get to the root cause of your stinky fridge, and why it always smells so badly, you need to at least start out with a clean slate.
That means, go through your fridge and toss everything that is expired or old or that you know is part of the big stinky problem. Make sure to either use disinfectant wipes, or a solution of vinegar and water, if you prefer chemical-free, and give everything a good wipe down to kill all the bacteria and start fresh.
*Please note that it is easiest to do this particular step when you need to go grocery shopping so that there is hardly anything in there to begin with. Just plan to do it ahead of your shopping trip and you will want to thank me later…;)
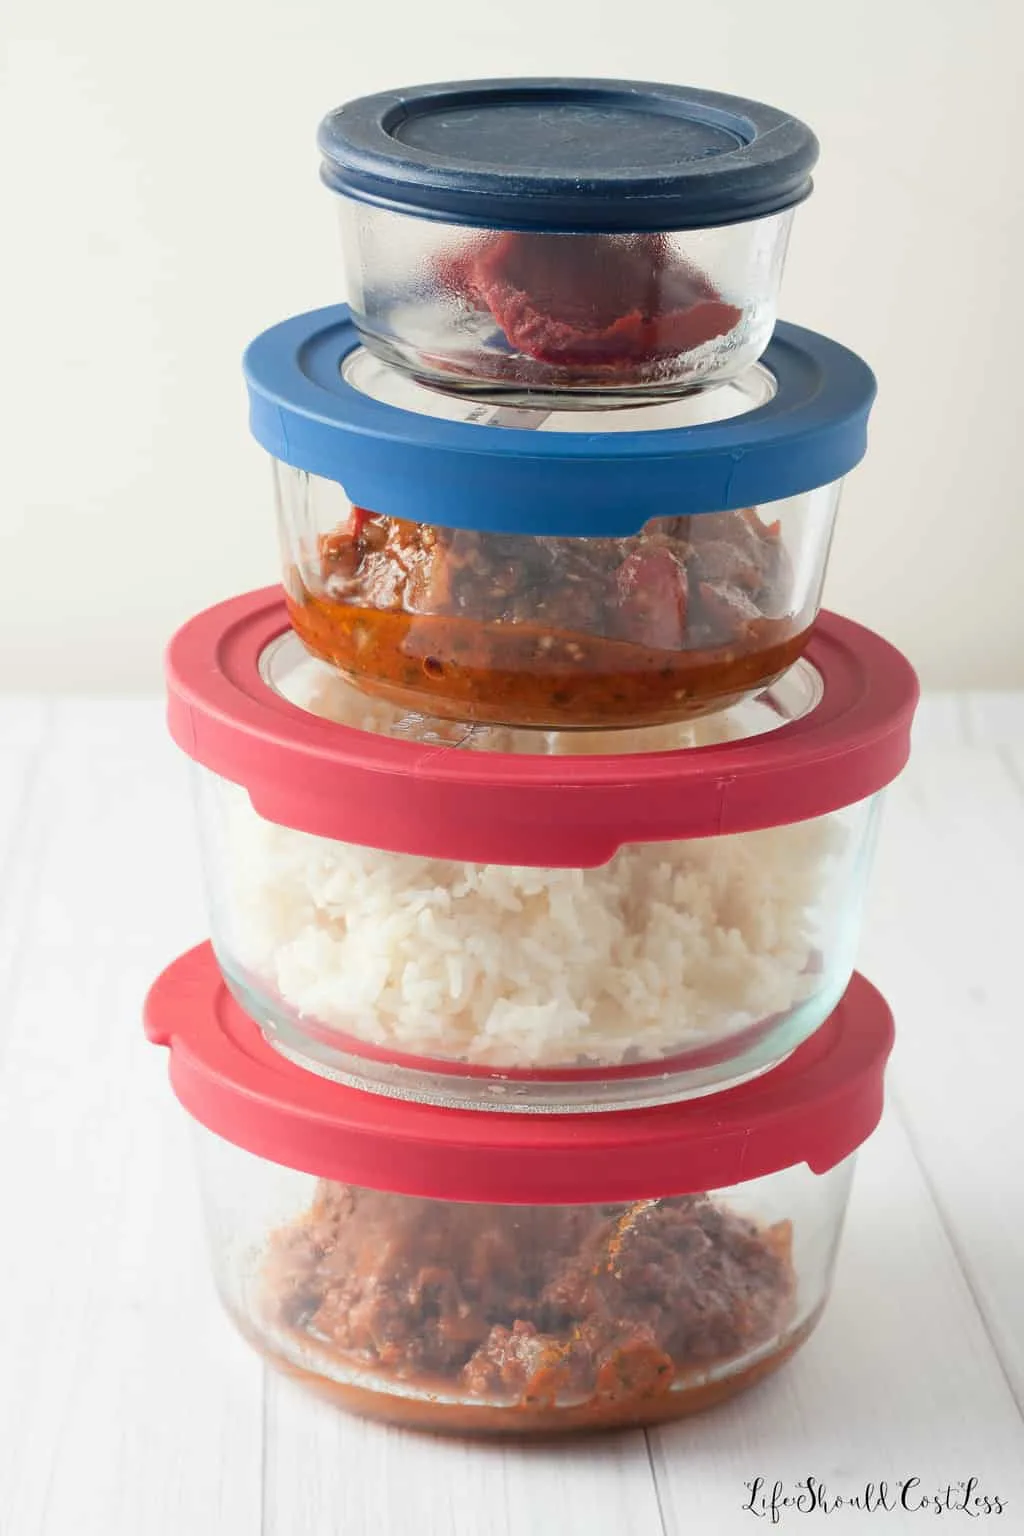
Step 2: Stop wrapping food in plastic wrap or just placing food in the fridge uncovered altogether.
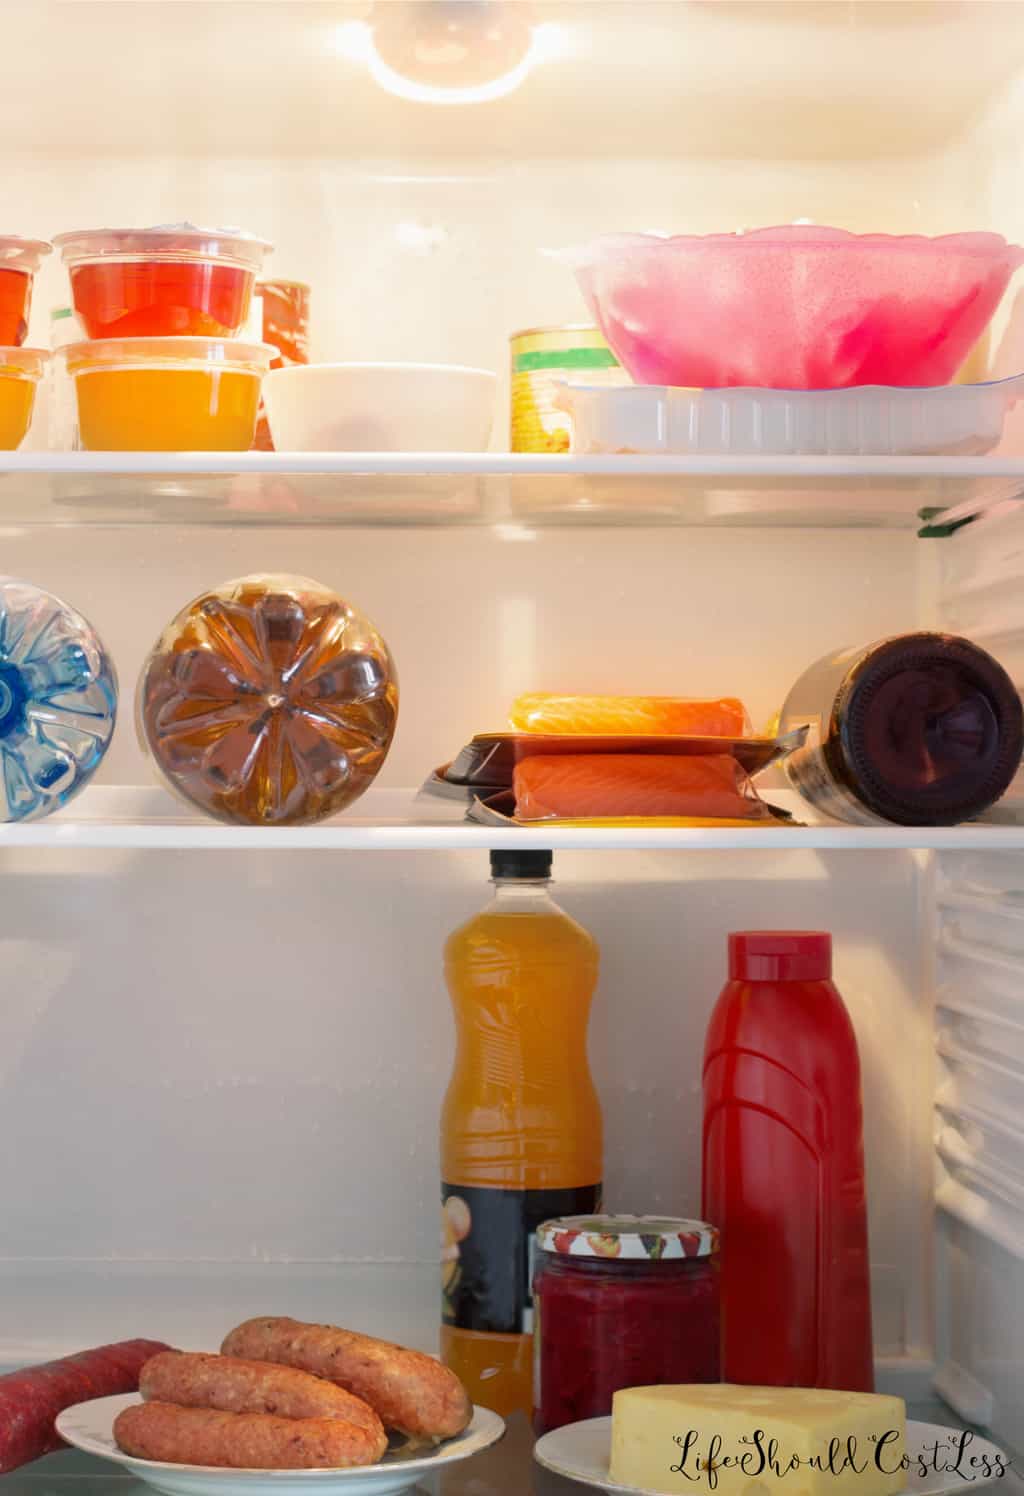

Food needs to be sealed in an airtight container of some sort. Because if you don’t, you are basically attempting to trap in any smells that normally permeate your fridge.
Some of the worst offenders are onions, anything super garlicky, Mexican food, Chinese takeout leftovers, just think about when your fridge smells really bad, what is it that you have in there that is stinking up the place.

Even if you’re just trying to thaw meat, it needs to be in a container so that it never drips and makes a mess all over the bottom of your fridge because that bloody mess turns into a bacteria party and will stink up the place too.
Step 3: Keep A Non-Airtight Container Of Baking Soda In Your Fridge!!!
When I was a kid, my grandma always kept a little plastic lemon in her fridge and it was filled with baking soda to eliminate odors in there. So, take a page from Grandma’s playbook and do it too.
Baking soda is wonderful natural deodorizer.
I love it because I am able to use it and never have to worry about chemicals leaching into our food.
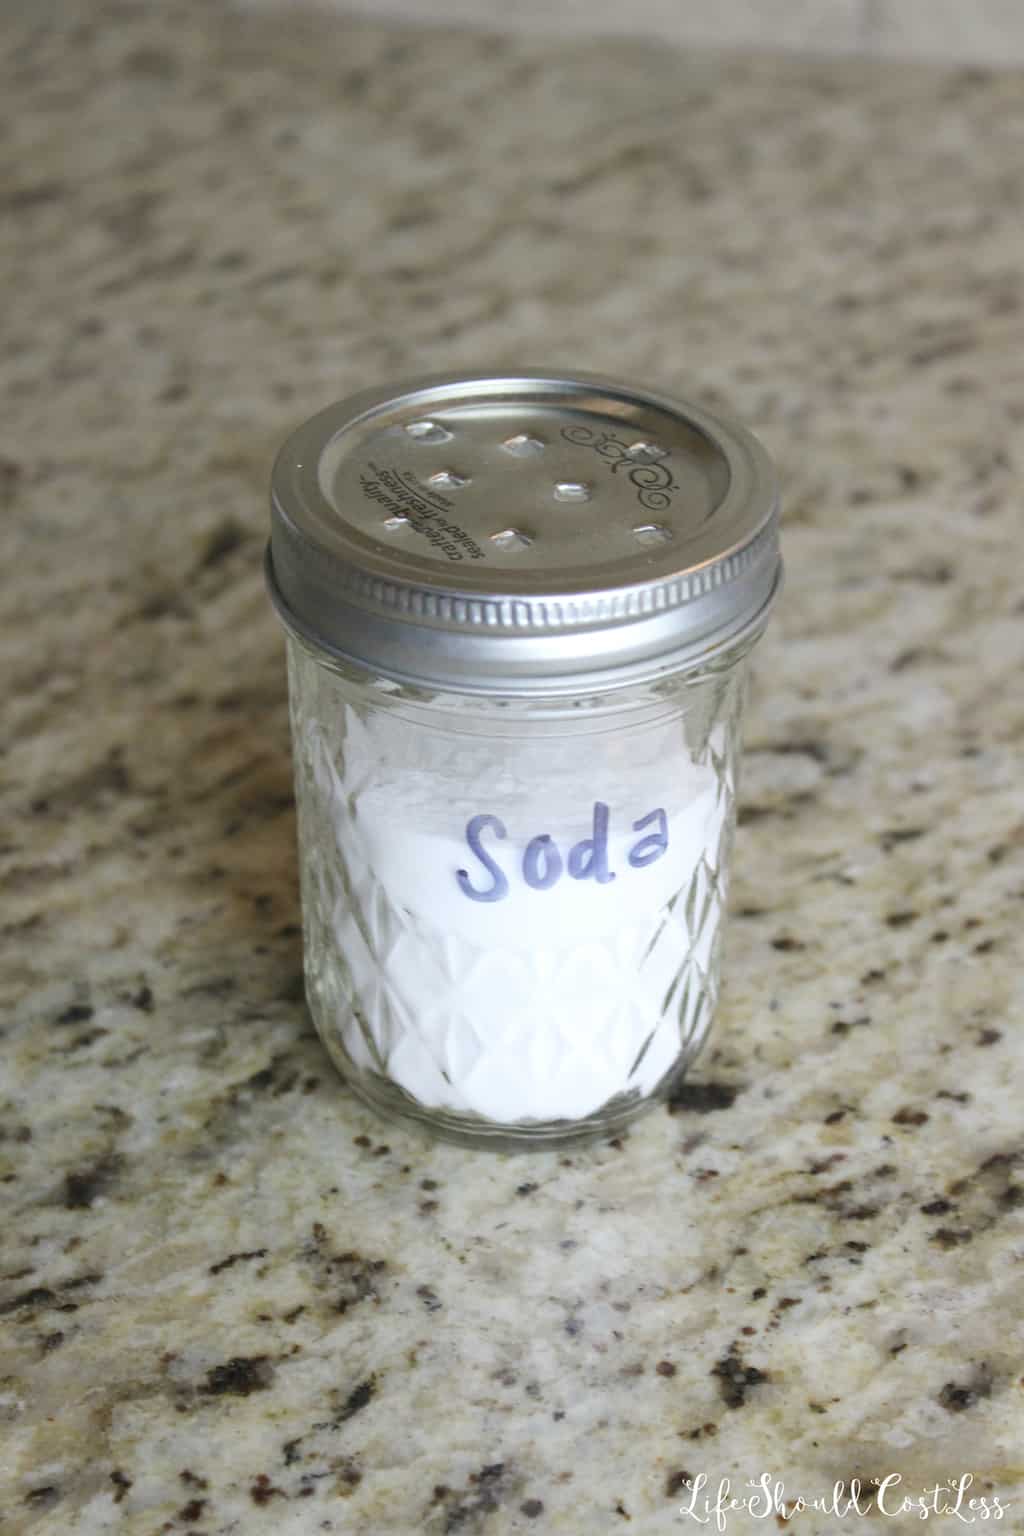
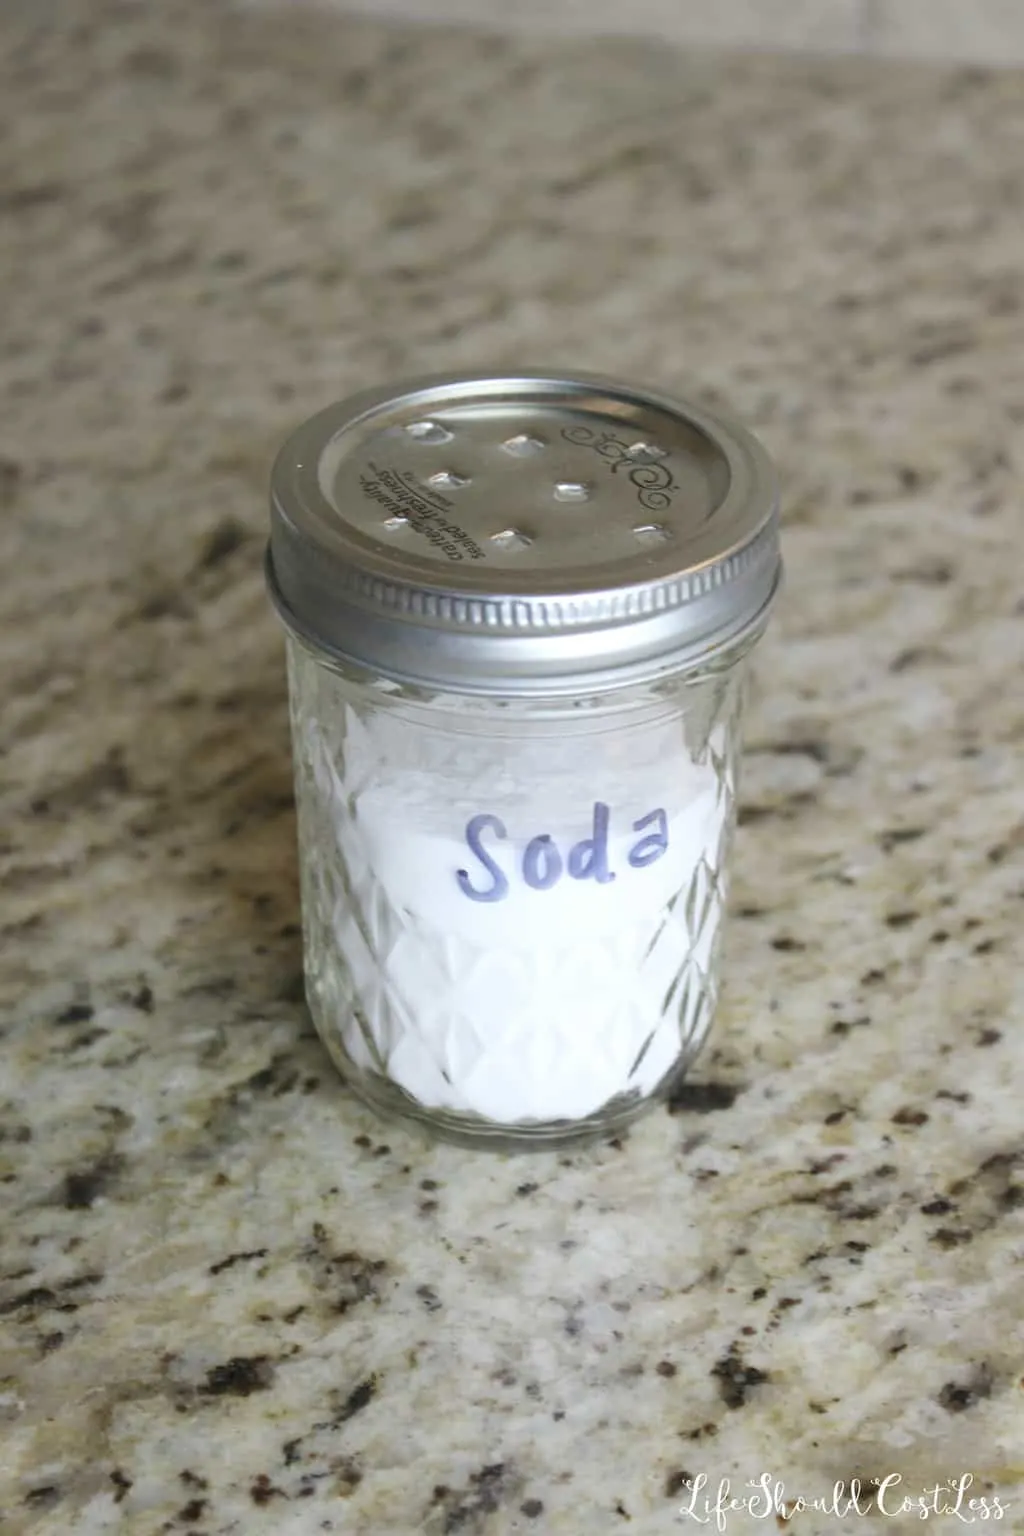
I like to constantly keep a little jar of baking soda (I use this size, but a pint would work too), with some holes punched into the lid, to maintain a stink-free or stink-less fridge, and it works like a charm.
If you decide to do this too I recommend swapping it out every four to six months just depending on when it needs some refreshing…and make sure to discard it, I’m sure it could be reused to do some cleaning with, but I would never use it to cook with.
Step 4: Maintain a semi-clean fridge.
This is another habit that you need to develop. At least once a week you need to go through and pull out anything that is old or looking fuzzy. If you are crazy busy or have a hard time remembering to do things, just put a little recurring reminder on your phone.
I personally like to clean my fridge out one shelf at a time and I only do it on an as-needed basis. I do this by moving everything that needs to stay cold to other shelves, tossing what needs to be tossed (always check expiration dates while you’re at it), and then I wipe down that shelf and organize everything else where it needs to be.
Now, when it comes to the shelves in the door, I also only do those one at a time, but I add one extra step and take the shelf out and put it in the top rack of the dishwasher to give it a really good cleaning. Then when the dishwasher is done I pop the shelf back in and re-organize everything that needs to go in that shelf and voila, it’s done, easy peasy.
Sometimes I only do one shelf a week, and my fridge is almost always pretty moderately clean because I have developed the habit to do so.
Can you believe that those four steps are all that it takes to get and maintain a fridge that doesn’t stink?
It’s really not hard and I realize that unless you get the whole family on board there may still be a little smell, but like I said earlier, it should be significantly less than before…even if the only step that you are following is keeping some baking soda in there to absorb all of the yucky smells you should notice a big difference.
However, if the baking soda is the only step that you follow, I suggest making sure to use a larger amount of it and make sure that you’ve got a pint jar in there.
That’s all I have for you all today folks! Some super simple steps to have a fridge that doesn’t smell like it would fit in right next to a pile of horse poop.
Here is a free printable card of the steps, for those of you that need a reminder. You could even put a copy of it on your fridge to remind you about what you need to keep working on.


How To Deodorize Your Fridge Permanently
Instructions
Step 1: Clean out your fridge!
Go through your fridge and toss everything that is expired or old or that you know is part of the big stinky problem. Make sure to either use disinfectant wipes, or a solution of vinegar and water (if you prefer chemical-free) and give everything a good wipe down to kill all the bacteria and start fresh.
*Please note that it is easiest to do this particular step when you need to go grocery shopping so that there is hardly anything in there to begin with. Just plan to do it ahead of your shopping trip and you will want to thank me later…;)
STEP 2: STOP WRAPPING FOOD IN PLASTIC WRAP OR JUST PLACING FOOD IN THE FRIDGE UNCOVERED ALTOGETHER.
Food needs to be sealed in an airtight container of some sort.
STEP 3: KEEP A NON-AIRTIGHT CONTAINER OF BAKING SODA IN YOUR FRIDGE!!!
STEP 4: MAINTAIN A SEMI-CLEAN FRIDGE.
This is another habit that you need to develop. At least once a week you need to go through and pull out anything that is old or looking fuzzy. If you are crazy busy or have a hard time remembering to do things, just put a little recurring reminder on your phone.
Thanks so much for stopping by my blog! If you liked what you saw, please make sure to share it via social media!


Other ways to show your support are to follow and/or interact with me on Pinterest, Instagram, Facebook, YouTube, or by Subscribing To My Email List. If you purchase suggested products through Amazon, the cost to you remains the same, but I make a small commission on everything in your cart.
If something was particularly helpful and you would like to donate directly to the blog, you can do so via PayPal, here. I’m a single mom of four, so every little bit helps. Thanks so much! ~Sarah
P.S. You may also like my entire Cleaning section as well as my DIY section.
Here are several of my other posts that you may also like(the pics are links):


*Reposts: Please note that this idea/post was originally posted to this website on 04/27/2018 but it was in great need of a refresh so it now is more user friendly/shareable.