
The last couple of weeks have been really tough for me, but rather than turning to my old usual remedy (food, I am currently recovering from binge eating disorder) I decided that a little project therapy was long overdo. There is just something about the feeling of a paint brush in my hand that soothes my soul in a way that I can’t even describe.
*Hey there, thanks for stopping by my website. This article is super old, so it has been archived as I no longer update it…so proceed if you wish…but it is definitely not my best work. Please stop by my home page, here, and see some of my better content. Thanks! ~Sarah*
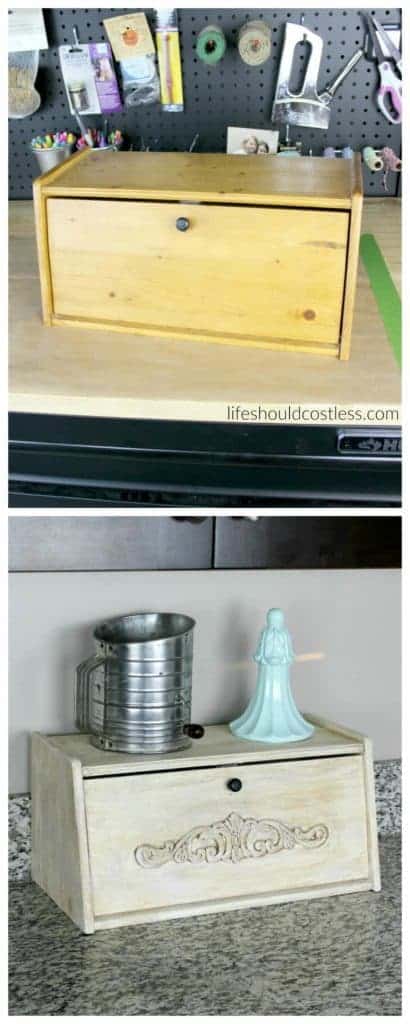
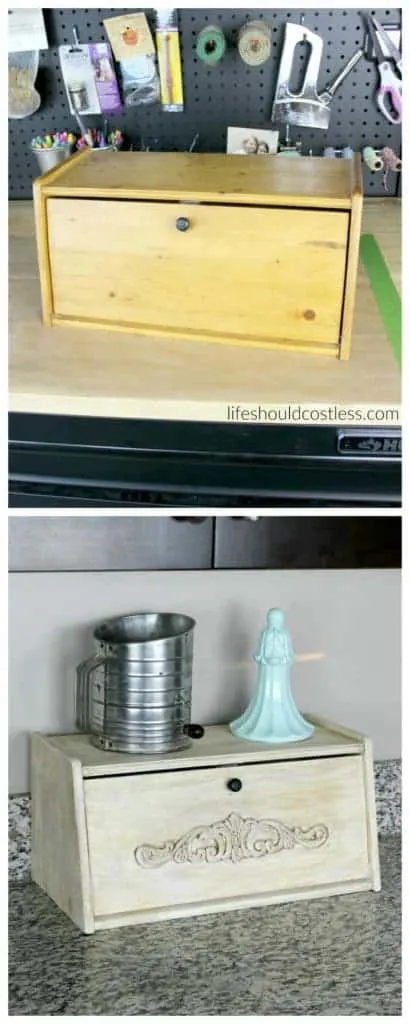
I’m just jumping right in to show you a little of the process of this breadbox makeover. Here is a shot of the breadbox before.
I bought this bread box at a thrift shop a couple of years ago, for $2, and it has just been sitting there, in my garage, waiting for me to turn it into something that I would actually put on my counter… you know, because I’m super picky about shades of wood matching in the same room and my cabinetry is dark brown.
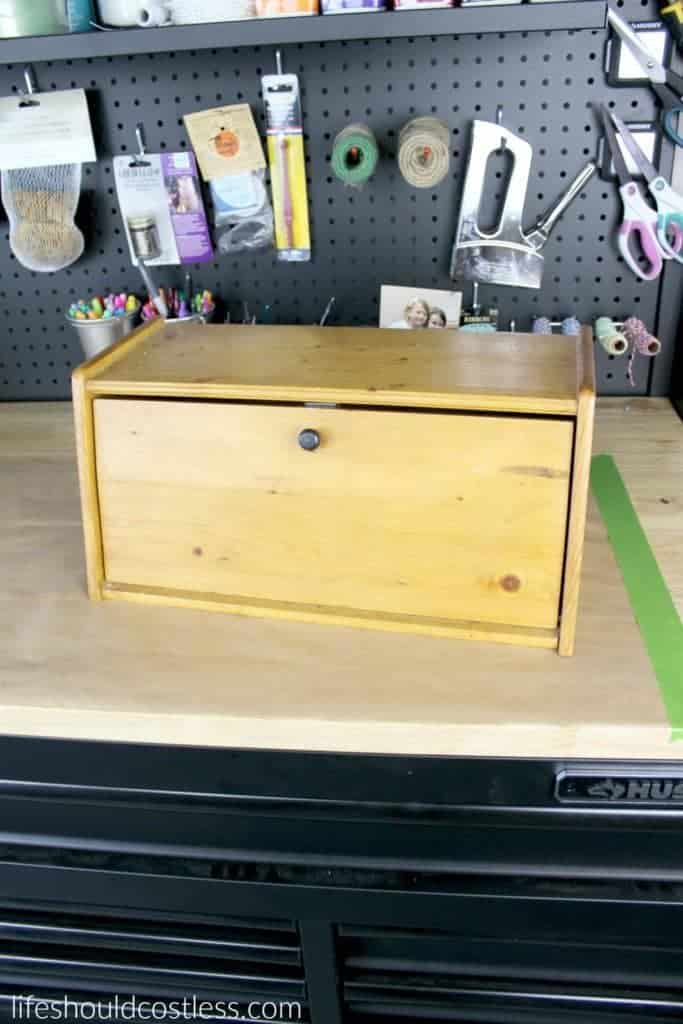
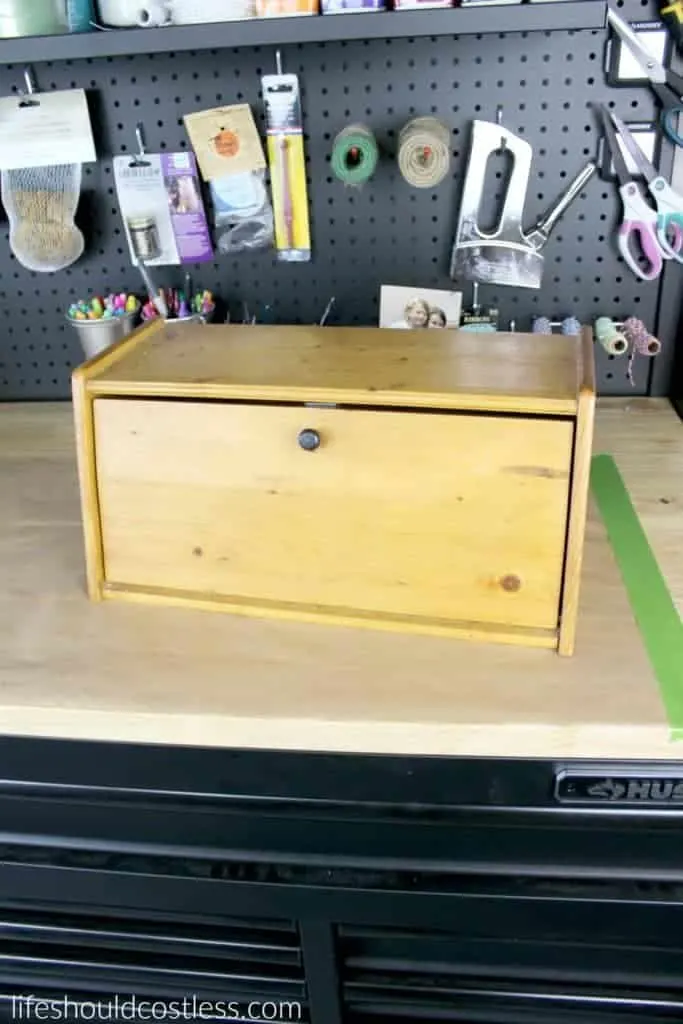
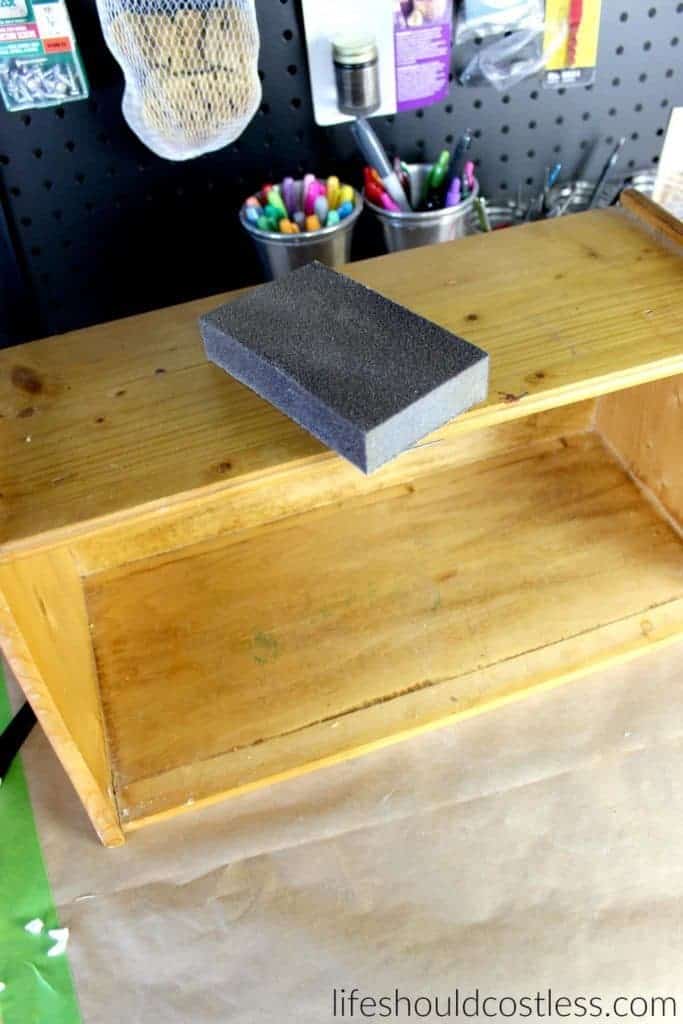
It was in decent shape, but I wanted something prettier for my kitchen that wouldn’t clash with my easy burlap and lace fruit basket or the cupboards…I just needed it to flow better. So the first couple of things that I did to start my transformation was to tape some brown paper down on my work bench, then I took the door and hardware off of the bread box, then lightly sanded it and wiped off all of the dust so that the glue and paint would actually stick. That part is actually pretty easy.

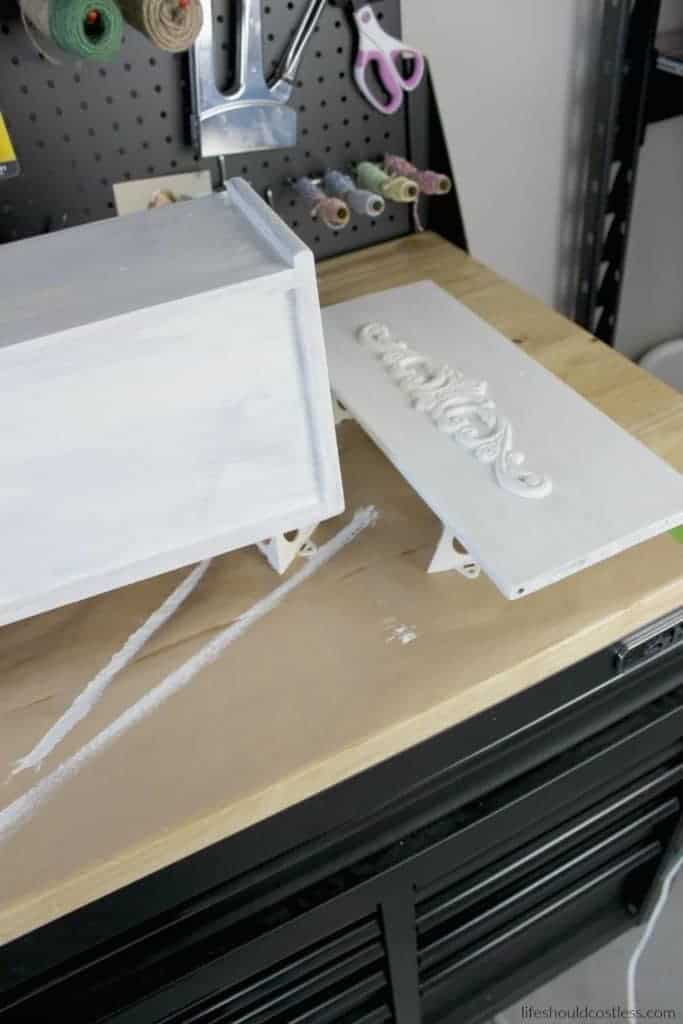
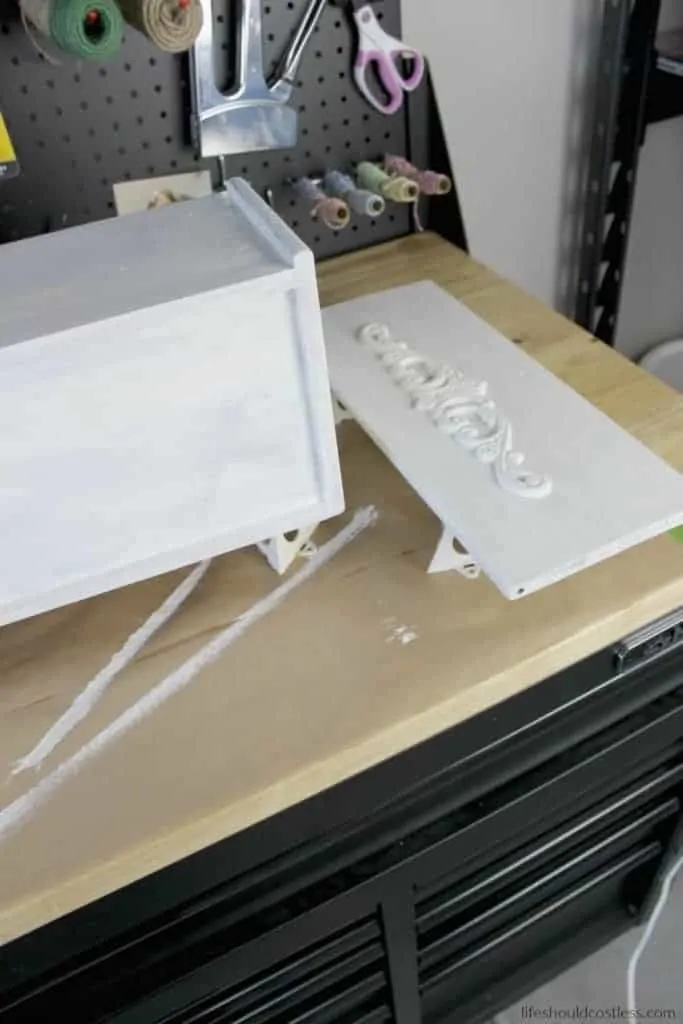
My end goal was to make the box look a bit fancier so, using some wood glue, I added a wood applique. I got this one at Hobby Lobby, but you can get something similar at Home Depot or Lowe’s.
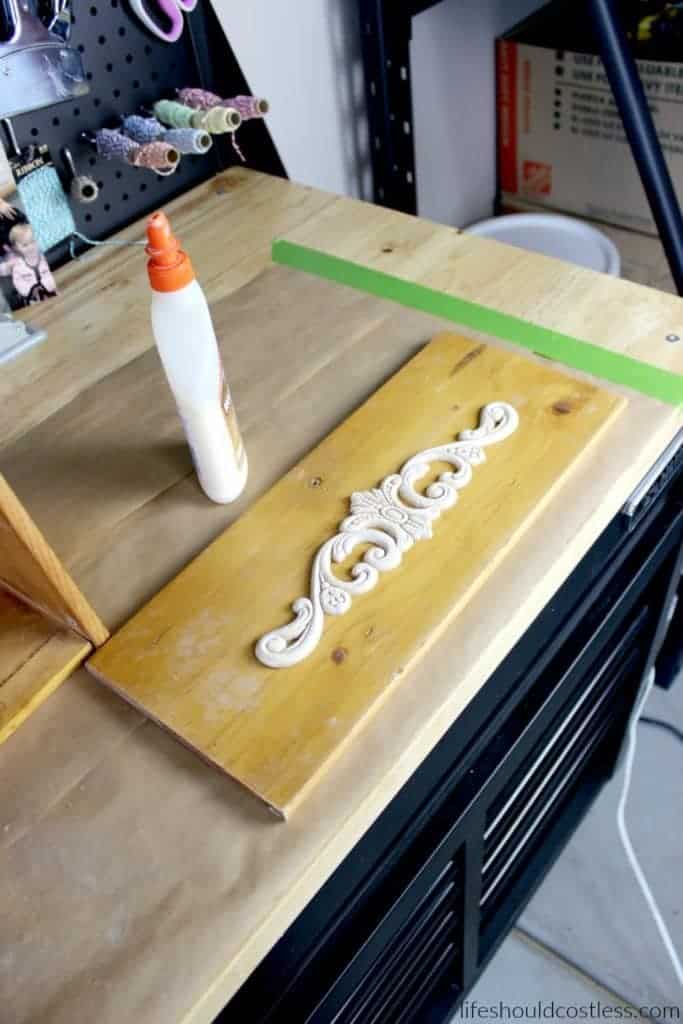
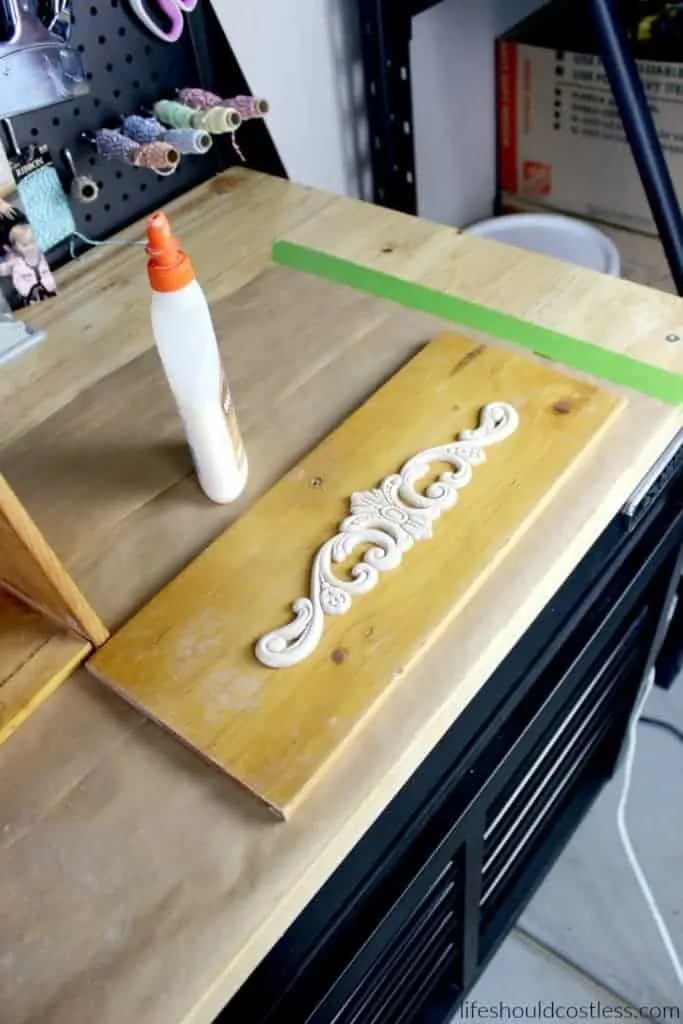
I eyeballed the placement, applied the wood glue, cleaned up the edges with some q-tips, and placed something heavy along the top of the applique to weigh it down while the glue dried.
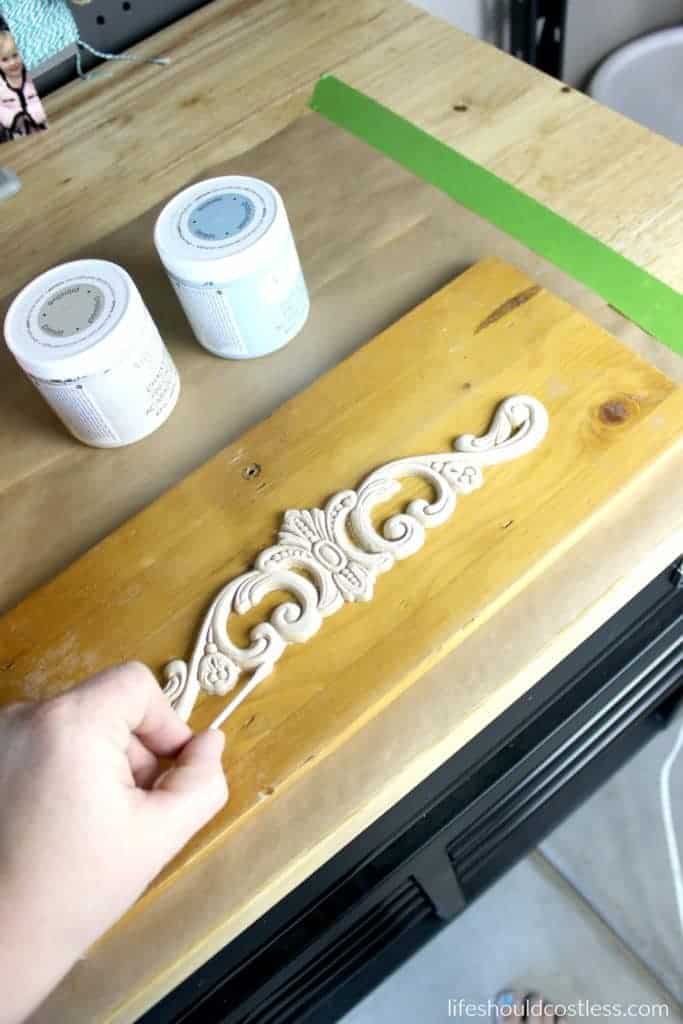

Next I applied two coats of Americana Decor chalky finish paint in Lace. I LOVE Americana Decor chalky paints because they are very durable, easy to work with, and are not super expensive (as far as chalk paint goes). I’ve been using these paints for years and they’re my fave! You can find them at Hobby Lobby, Home Depot, or on Amazon, here.
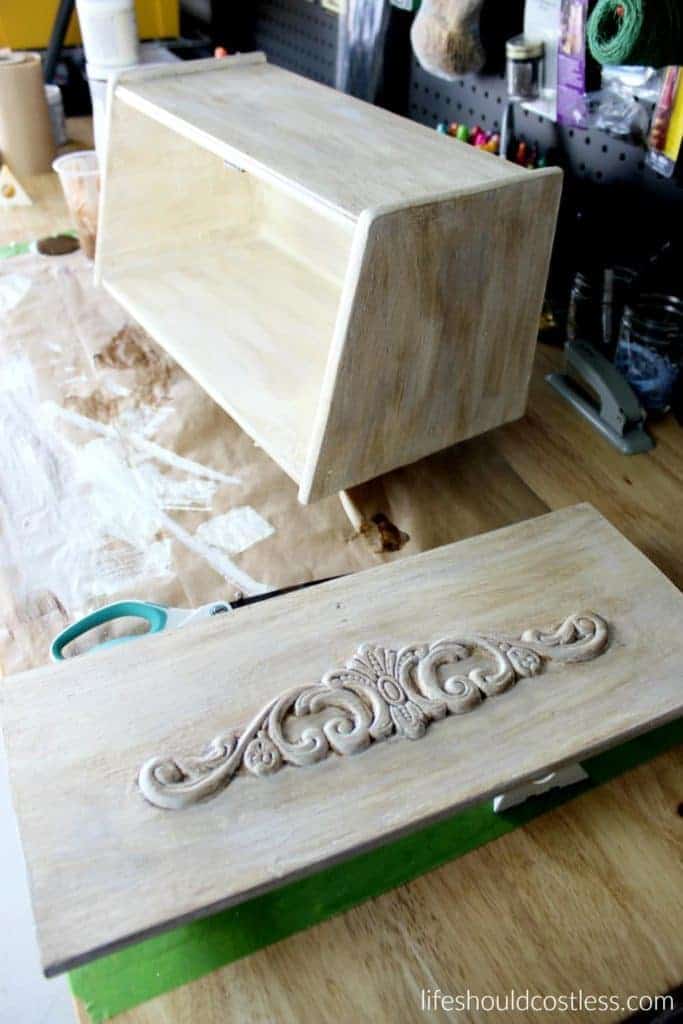
Next I glazed the whole thing starting out with some Clear Wax that was heavily tinted with Deep Brown and wiped off excess as needed. I am really into the shabby look so after it was glazed I then dry brushed it with Primitive, and more Lace, to give it some texture and make it look more aged. I just kept layering the colors (dry brushing), in no particular order until it looked the way that I wanted it to. Once that was done the whole thing got a thorough coat of clear wax. * If you’re confused at all about what I’m talking about, make sure to watch the video at the bottom so you can see what I did*.

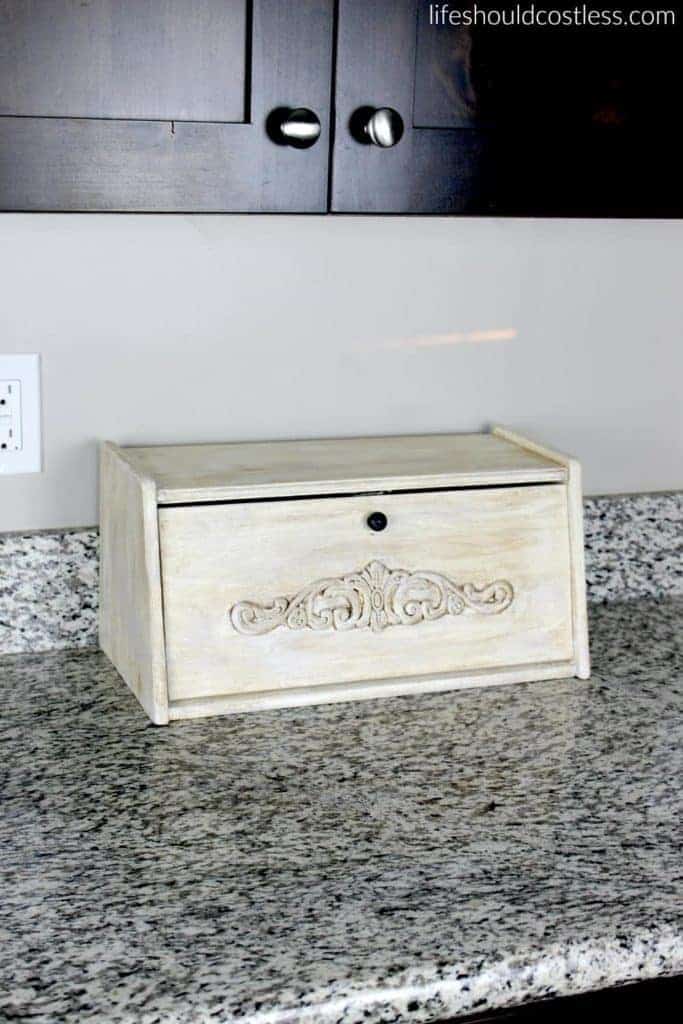
Most paints can take days to cure enough to add hardware back onto a project, but one thing that I love about the Americana Decor Chalky Paint is that it only takes a few hours before I dare add hardware and start daily use. Anyway, here is the after. I really like the Deep Brown glaze showing the detail work in the applique. I think that it complements the flow of the kitchen quite well. Sorry the lighting was horrible for my after shots…
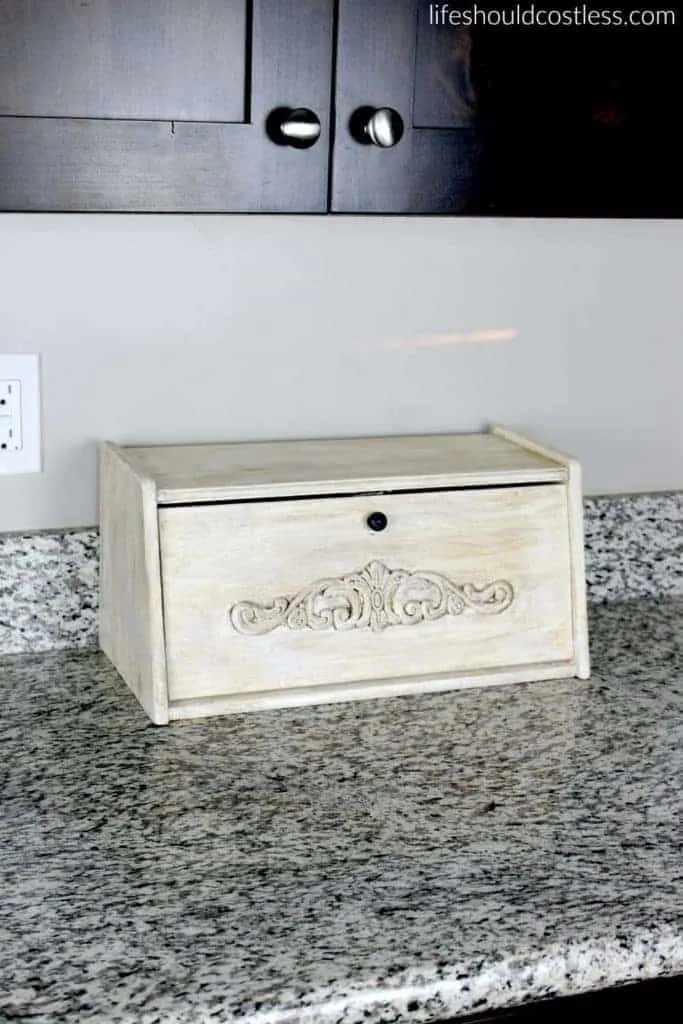
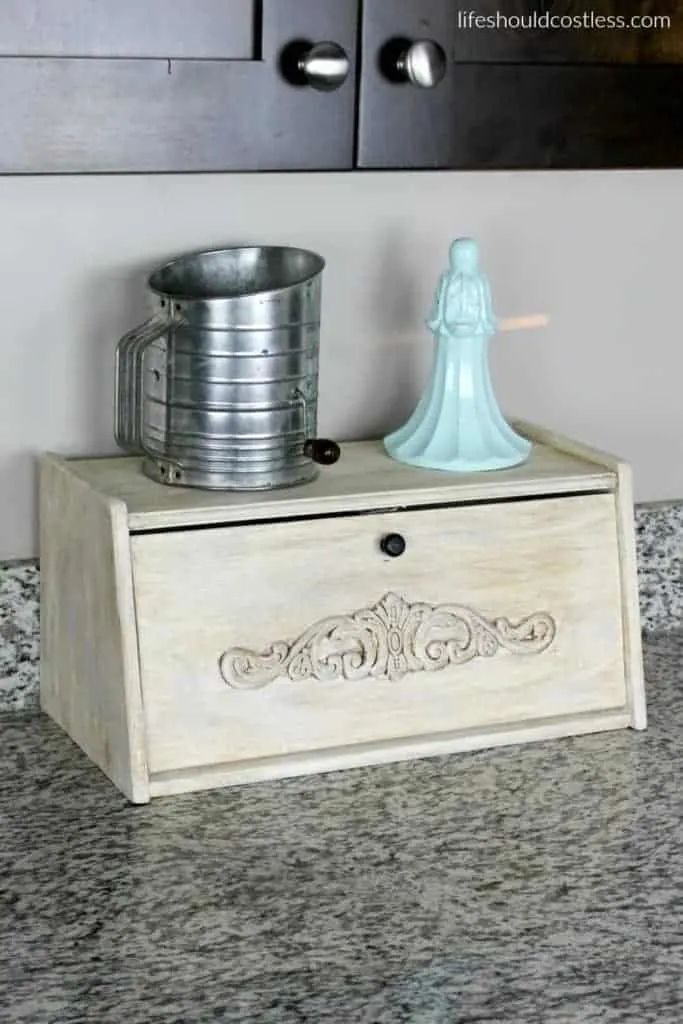
I love how it turned out…though I am a little rusty on my painting skills, while I was working on this I realized that it had been over a year since my last painting therapy session and that, my friends, is far too long. Normally I would just throw it on the counter as is, but I am fighting my inner minimalist to try to make my house look more like a home…so I went antiquing and found this old flour sifter (for cheap) and a pair of corbels, in my favorite color, that I turned upside down and there you go… I now have a whole one square foot of my house that is staged and decorated ;). I am hoping to tackle decorating my whole house this winter, so make sure to keep checking back to see what else I’m up to.

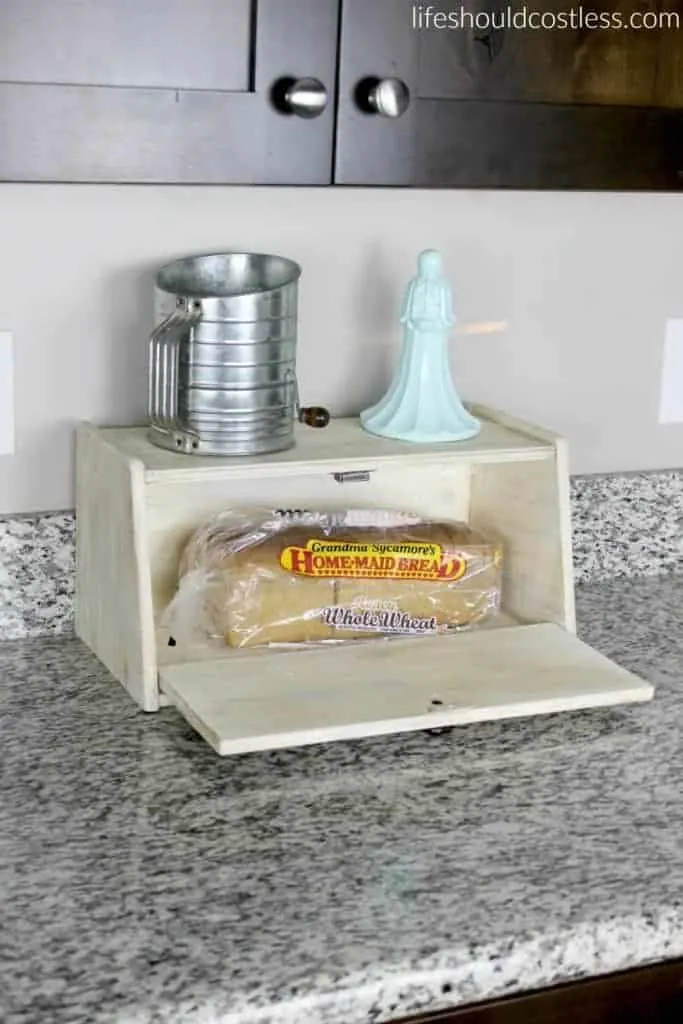
Here it is in use…

And of course I always like to show the before and after together so that you get the full effect of the transformation.
I wanted to show you guys this bread box update so that maybe you’ll get excited about refreshing something that you may already have at your house too. I bet that many of you have an old breadbox that could easily become a piece of decor that you will love having in your kitchen, or maybe you can find one second-hand like I did… either way, it was a super fun project. I had originally intended on making it into one of those bread box charging stations for all the electronic devices in the house, but since I really only have one device that would need it, it seemed silly to do that. Oh well…
And just for fun, I made you guys a sped up video of the whole process. I’m obsessed with watching those videos that show a project at warp speed, so I plan on making a bunch to share with you guys on most of my future projects as well. I was working on this bread box at 6 am so no, I’m not wearing makeup and yes, my piggy tails are hap-hazard and look silly…but how many work from home, stay at home moms do you know that are ready for the day that early?… Oh well. Enjoy the movie.
Don’t forget to check out my entire Decor and DIY sections on the blog! I hope you enjoyed this. Thanks for your support~Sarah
*Please note that this post was originally shared to this website on July 17, 2017.