
Since I can’t do much in the way of travel right now, we aren’t able to visit my family for Christmas this year. My in-laws celebrate on Christmas Eve, so that is going to leave the whole Christmas day for us to try to make special for the kids…which should be both fun and challenging (with no cousins around to entertain the kids).

I’ve been seeing CrockPot Cocoa recipes all over Pinterest for the last couple of months and they sound so delicious, but also like a major sugar binge. Not kidding, most recipes call for a couple different sweeteners whether it be sweetened condensed milk, chocolate chips, white chocolate chips, marshmallows, refined sugar, or a combination of several of them. I want something special for the kids to be able to enjoy all day, but since it’s going to be available to them to drink the entire day, it’s got to be much healthier than the aforementioned recipes I’ve come across.
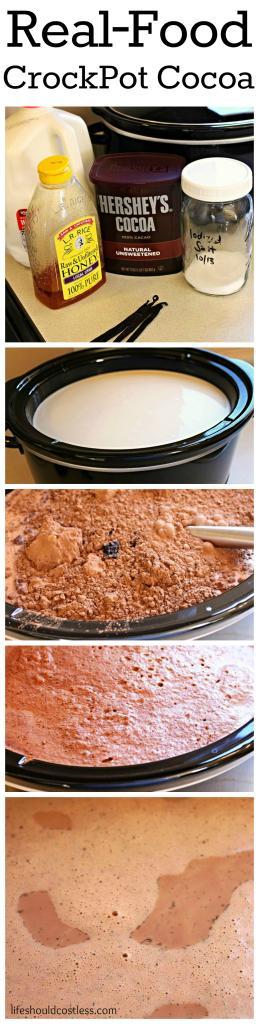
As luck would have it I was able to find a recipe for a Real-Food version of Cocoa and I was easily able to adapt it to both suit my needs and fill my largest CrockPot (which is 7 quarts). I decided that I’d mix mine up a couple days in advance so that I can share this post/recipe with anyone else that might also like the alternative recipe for Christmas day this year too. I’ll just re-heat it on Christmas morning and it should be just fine.
So, here it is:
Printable Version
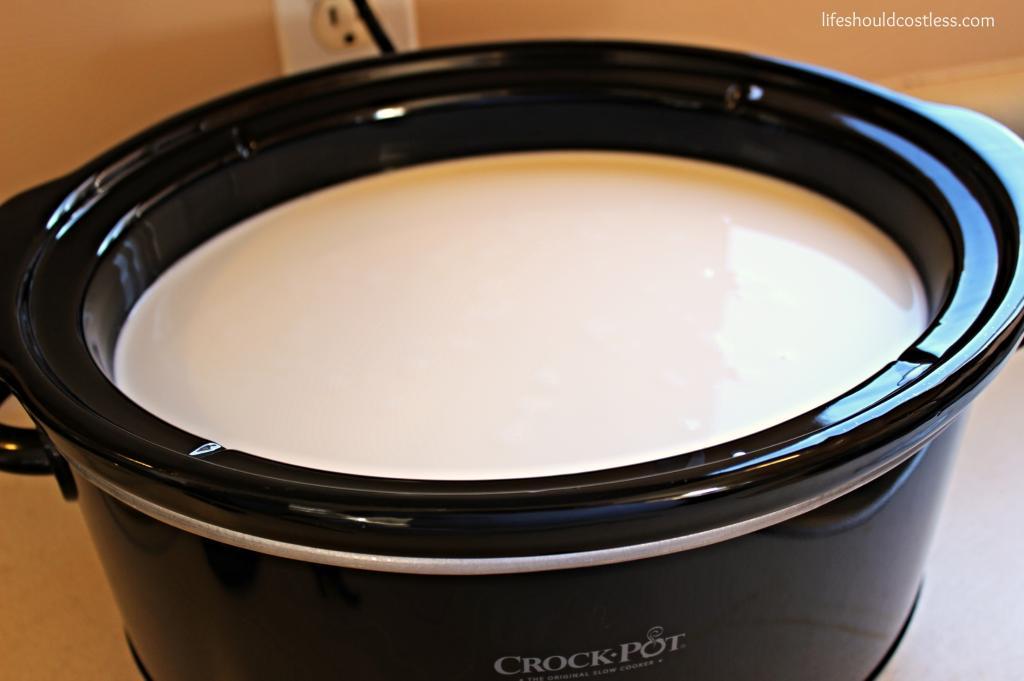
In a 7 Quart CrockPot, add the following:
1 Gallon Whole Milk
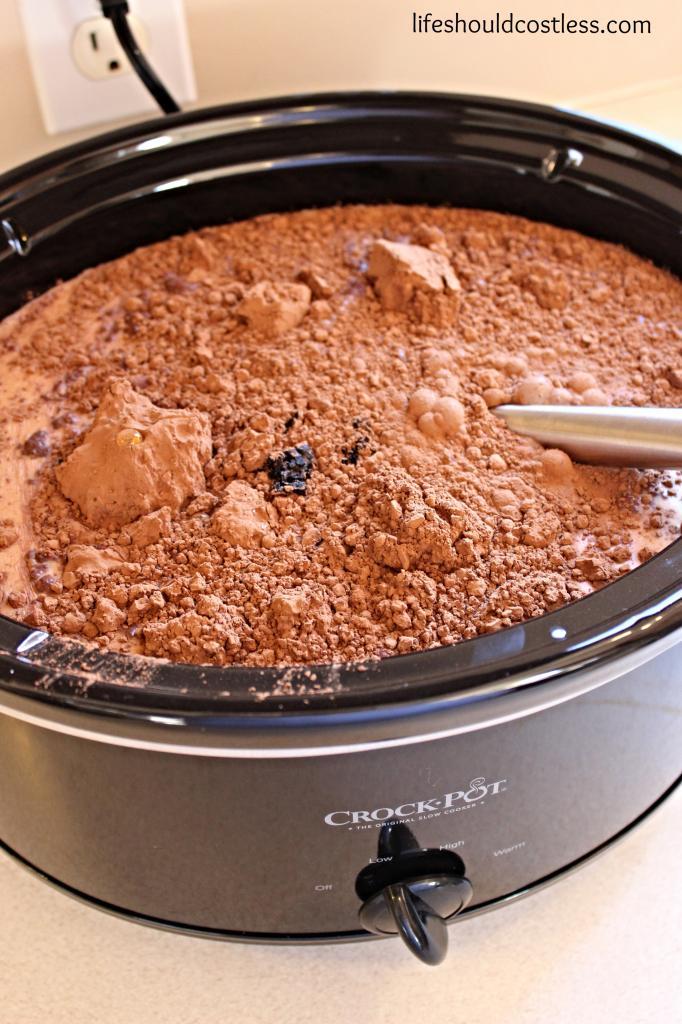
½ C to 2/3 Scant C Cocoa Powder
¾ C Agave, Raw Honey, or Maple Syrup
¼ tsp+ a dash or two Iodized Salt
*2 & ½ T Vanilla Extract or the scrapings of 3 Vanilla Beans
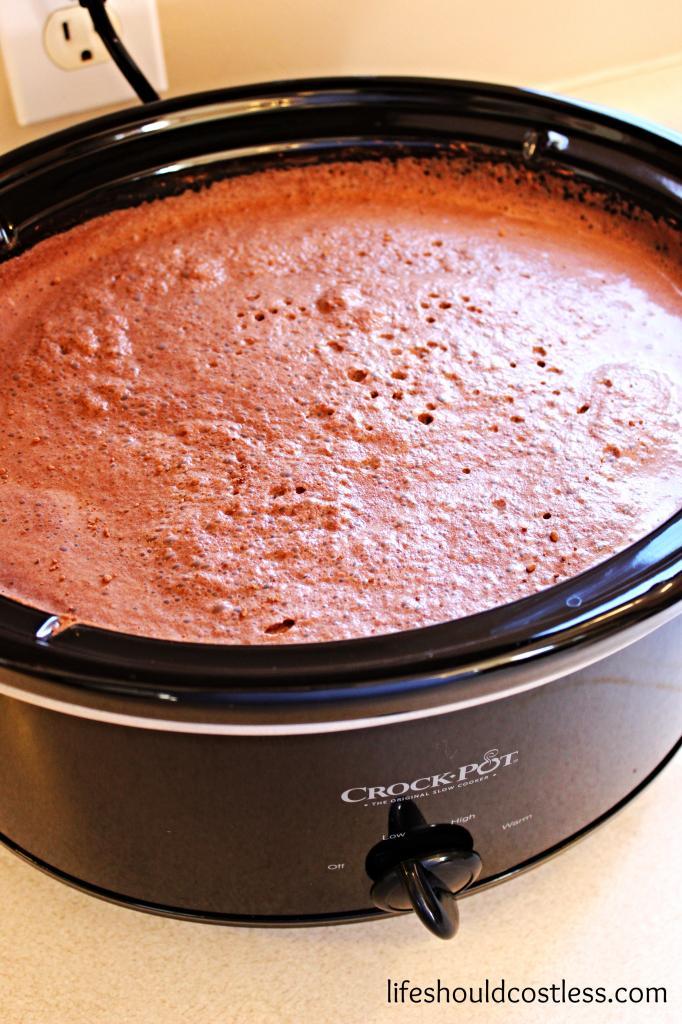
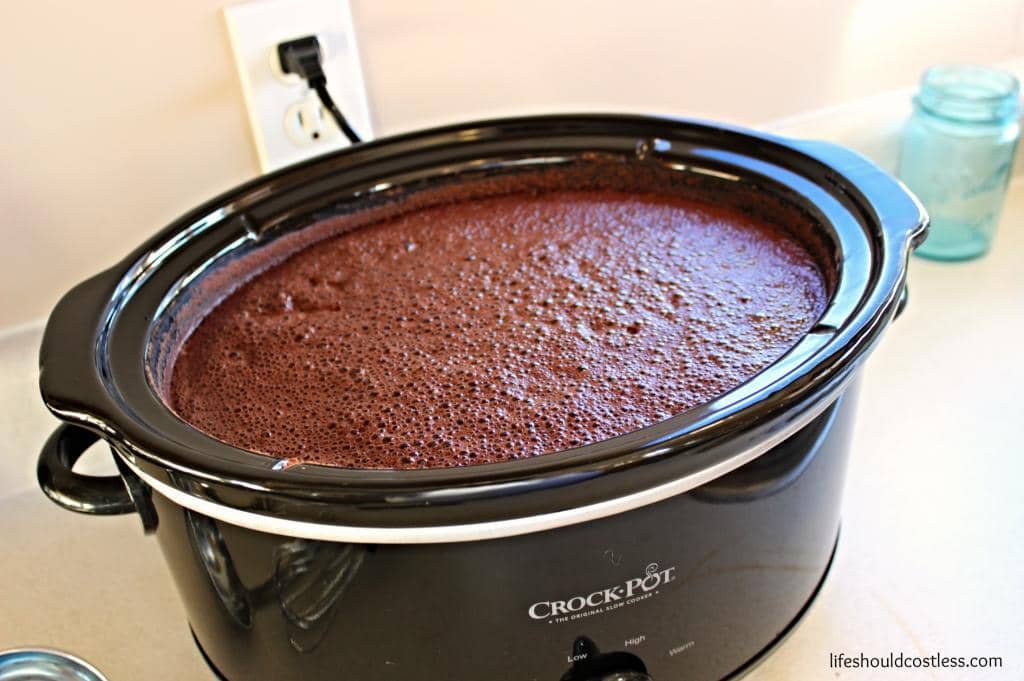
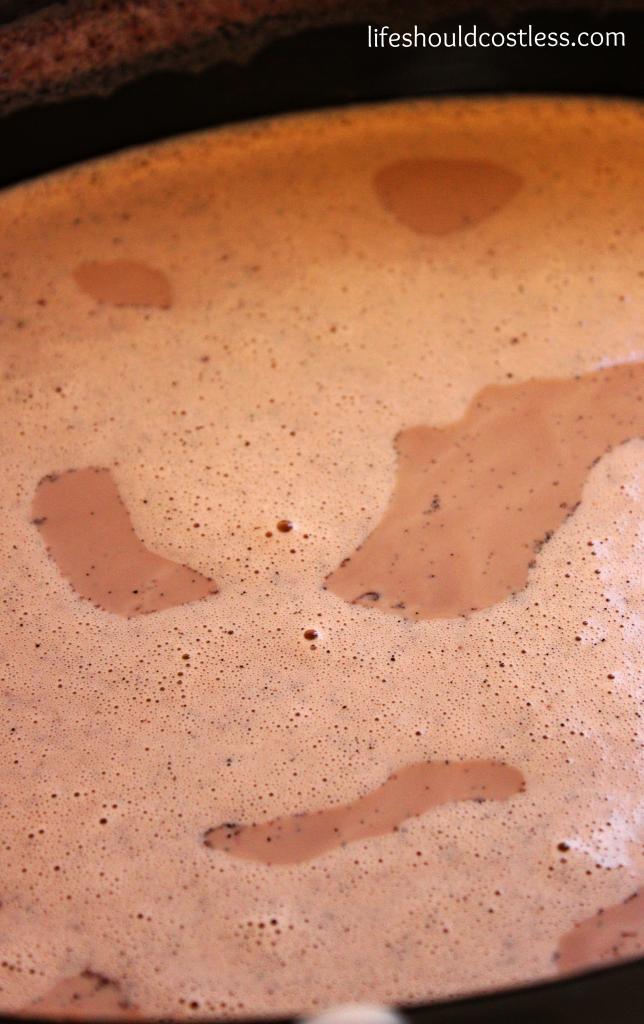
Whisk together well, cover, and turn CrockPot on LOW for 2 hours or so. Just keep it on warm all day and you should be good! Mix before each time you serve it.
*In future batches I’d like to swap out part of the Vanilla for Mint Extract or Orange… I just haven’t had a chance to yet. If you swap it out before I do, make sure to leave a comment and tell me how it turned out/you liked it.
Here are some pictures of the process and a couple of other notes:

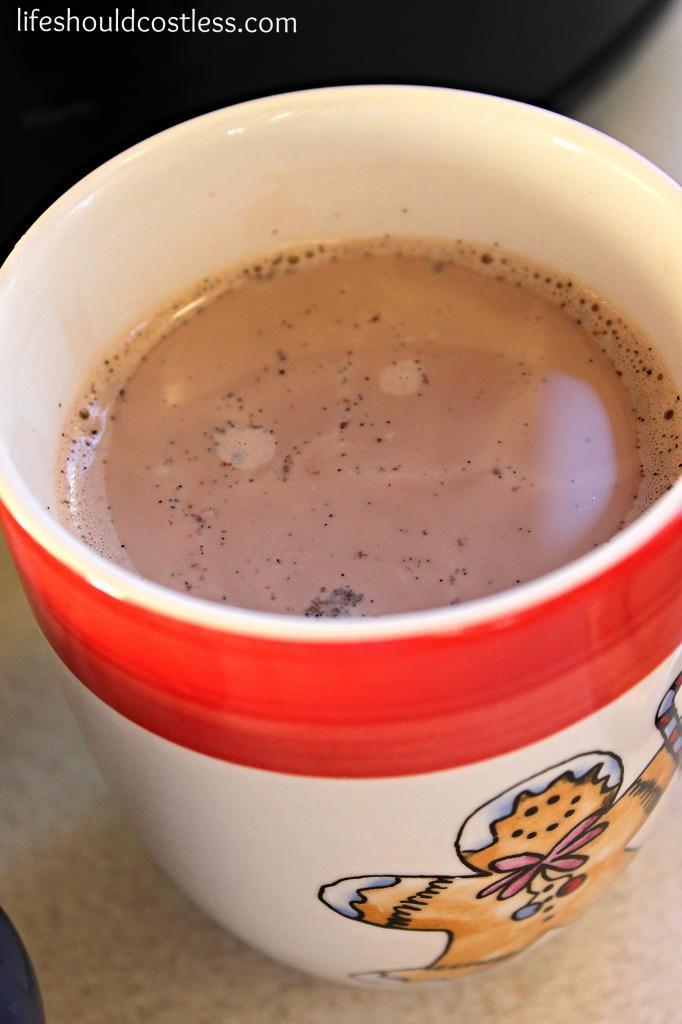

The girls are so excited about this which makes me just as excited! I love that since we don’t spoil them or do sweets all that often, that even something this simple will be exciting and memorable to them. Oh, and yes, I’m this cheap, but I let them each pick out a mug at the DI so it’ll be even more special to them. I figure that the likelihood of a kids mug getting broken is just about inevitable so I was not about to buy mugs at retail price…I may as well just burn the money if I were going to do that. 😉

Make sure to share this post with anyone that might enjoy it too!