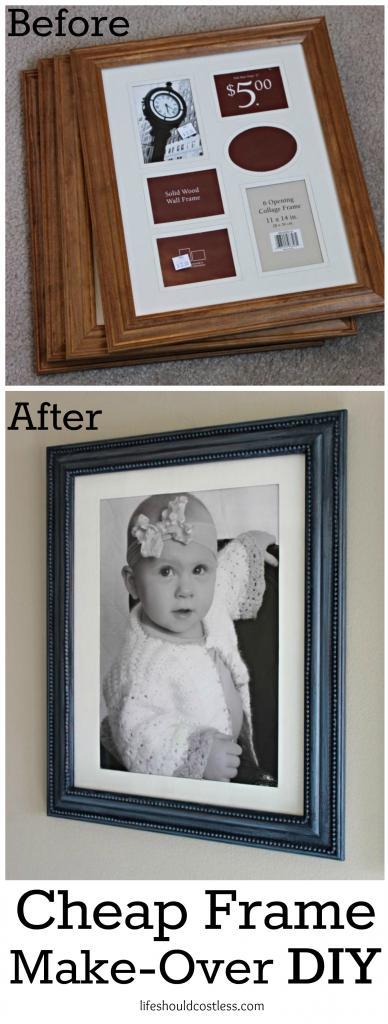
Cheap Picture Frame Make-Over And The One-Year-Old Wall
128shares
A couple of years ago I came across a website (I can’t remember where) that had the idea to dress up a frame with just a string of beads and some paint. It’s a simple fix and I think that they turned out quite pretty. That idea has been hiding in the back of my brain ever since and I finally got to put it into play when I decided it was time to work on my one-year-old wall. What is a one-year-old wall, you may ask? It’s just that, a wall of framed pictures of my children when they were all age one.
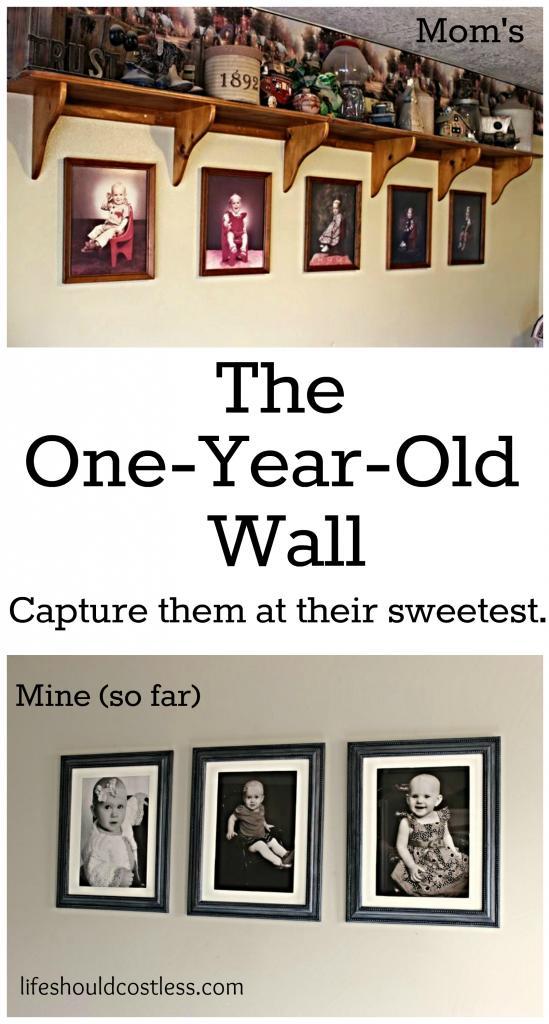
My mom has a one year old wall and she went through great lengths to take all five of us kids, over a ten year span, to the same photographer and have us all in the same exact chair. Well, so far I’ve been successfully able to take all three girls to the same place and use the same chair. Let’s just cross our fingers that by the time this newest baby, that is joining us within the next few weeks, will be able to as well so that I can keep it up and finish up my wall. Make sure to scroll down to the bottom to see both mine and my mom’s walls.
*Hey there, thanks for stopping by my website. This article is super old, so it has been archived as I no longer update it…so proceed if you wish…but it is definitely not my best work. Please stop by my home page, here, and see some of my better content. Thanks! ~Sarah*
I had all of the pictures already, but they have just been hanging out in my Cedar Chest (see my Cedar Chest make-over here), waiting to be framed.
I hate how expensive frames are so I’ve been waiting for spare cash and a good deal to align so I could buy several matching large frames. I wanted them all matted and the pictures are 10″x 13″ so I needed big frames and the bigger you go the more expensive they are.
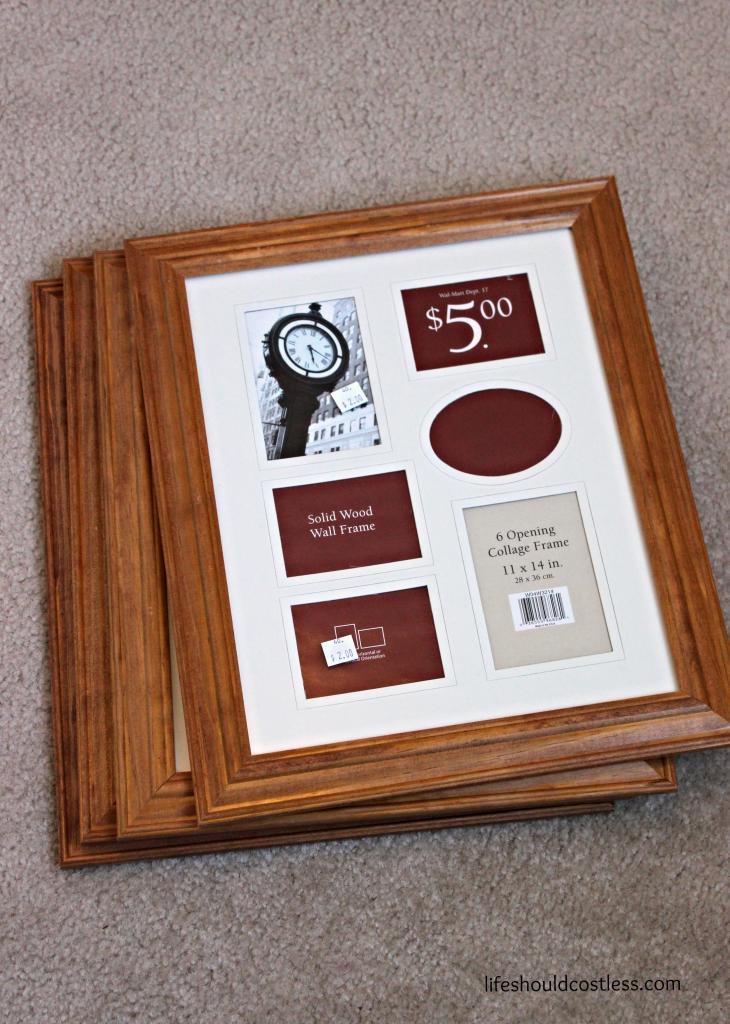
One day I was cruising the DI (a thrift store) and came across 4 large matching matted frames that just might work. They say on them that they are from Wal-Mart and they were originally $5/each, however, since it was a DI find, they were only $2/each (no tax). Score! Now to see how they would turn out…
As you can see they are completely different from before. I think that they look much less cheesy/crappy. I will take you through the steps that I took to get the look that I wanted/got. I also share some tips to make it easier, so make sure to read it all!
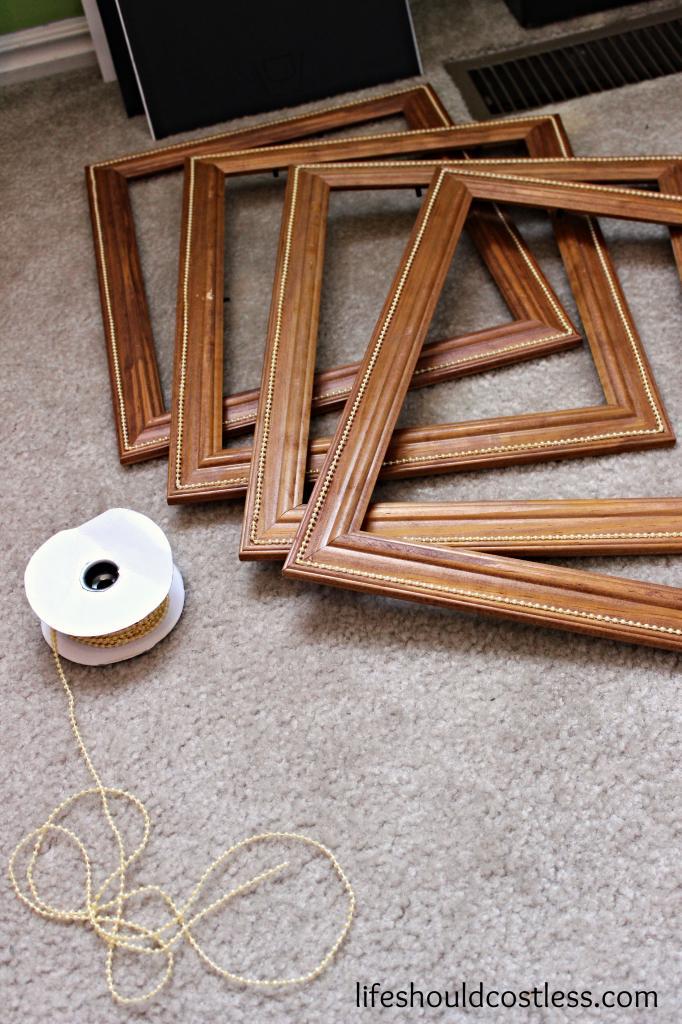
I started out with my cheap $2 frames. I bought four because we are done having kids after baby #4 arrives. If you want to do this and aren’t done having kids, it may be a good idea to buy a couple of extra frames so that you don’t have to re-do your whole wall later on if your frames don’t match.
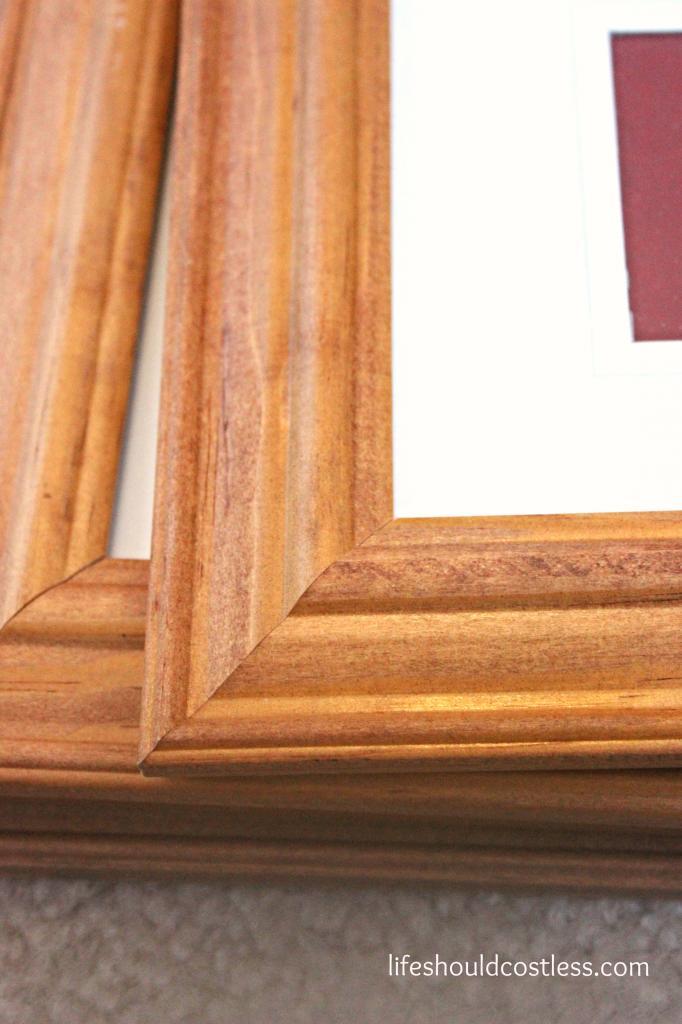
I just wanted to show you a close-up here so that you can really see how plain the frames were before.
I started by taking out the glass, matting, and backing and putting them somewhere that no little ones could get a hold of during this process. I had to take this project 15 minutes at a time so that I don’t go into pre-term labor…dang contractions. Make sure to leave the metal pieces, that hold the glass, matting, and backing in, sticking out so that they make it so the frame is a little less than a half an inch off the ground. This will give you a much better result when you’re done painting so it doesn’t stick to the paper/drop-cloth.
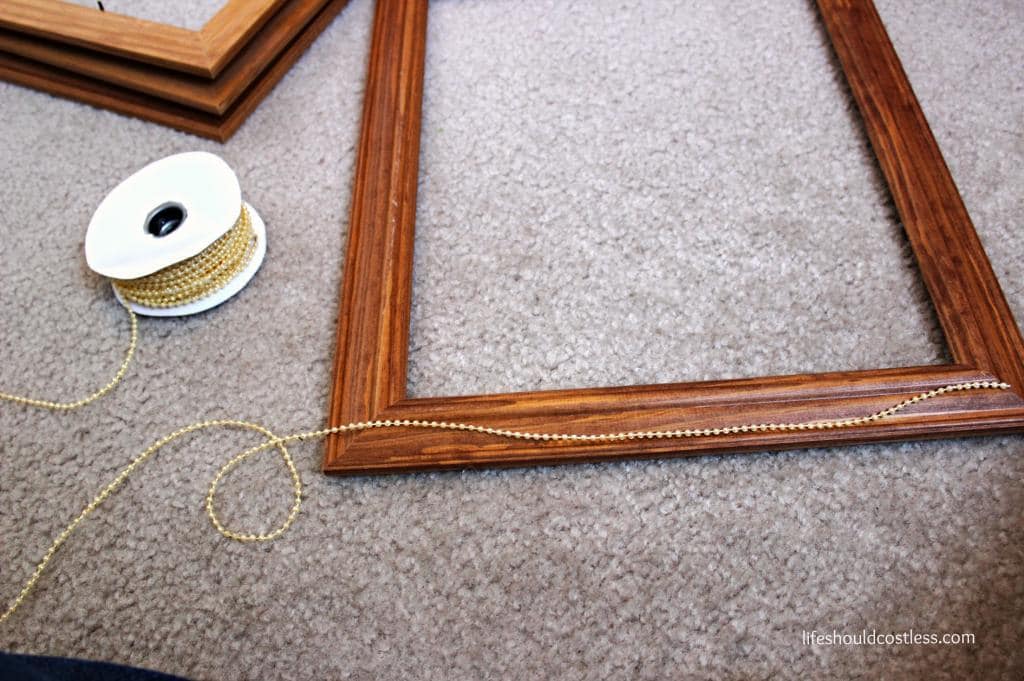
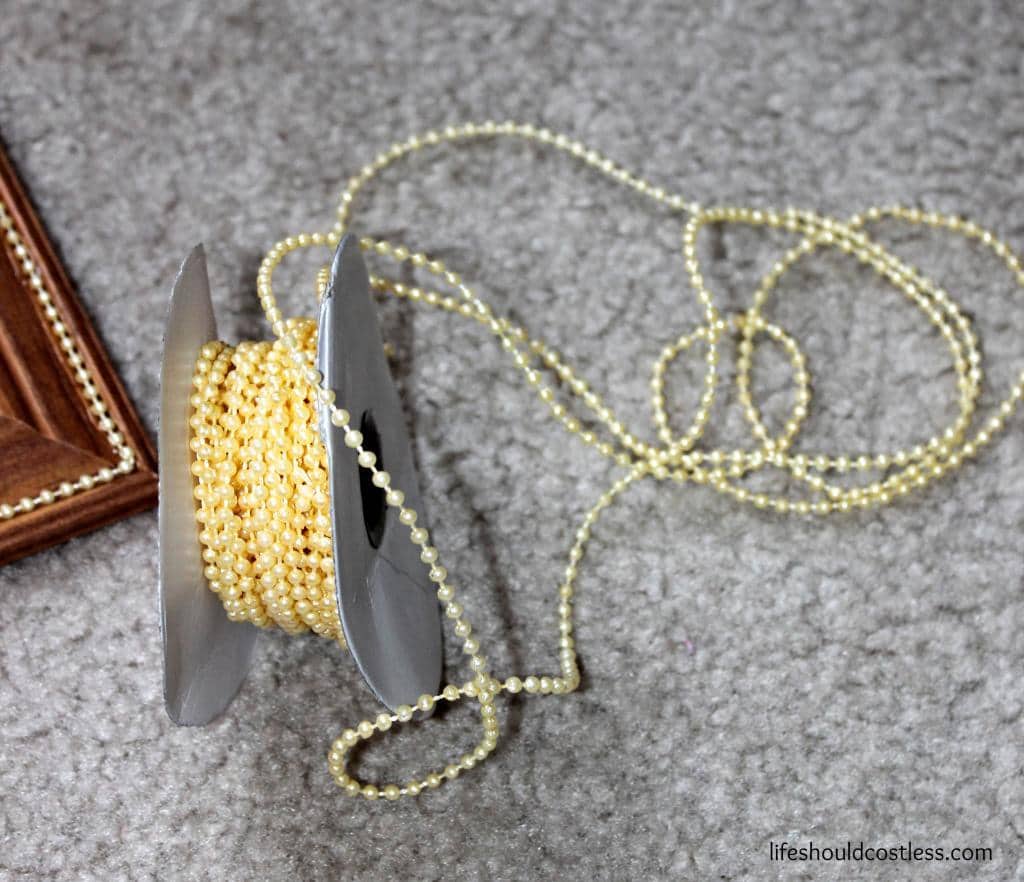
Next, I just decided where on the frames I would like the beads to go. I could not find a good deal on beads in any craft store (even with a coupon). I ended up buying my beads here, and I have been REALLY happy with them. Best bang for your buck, by far…plus, I have a ton left over for future projects.
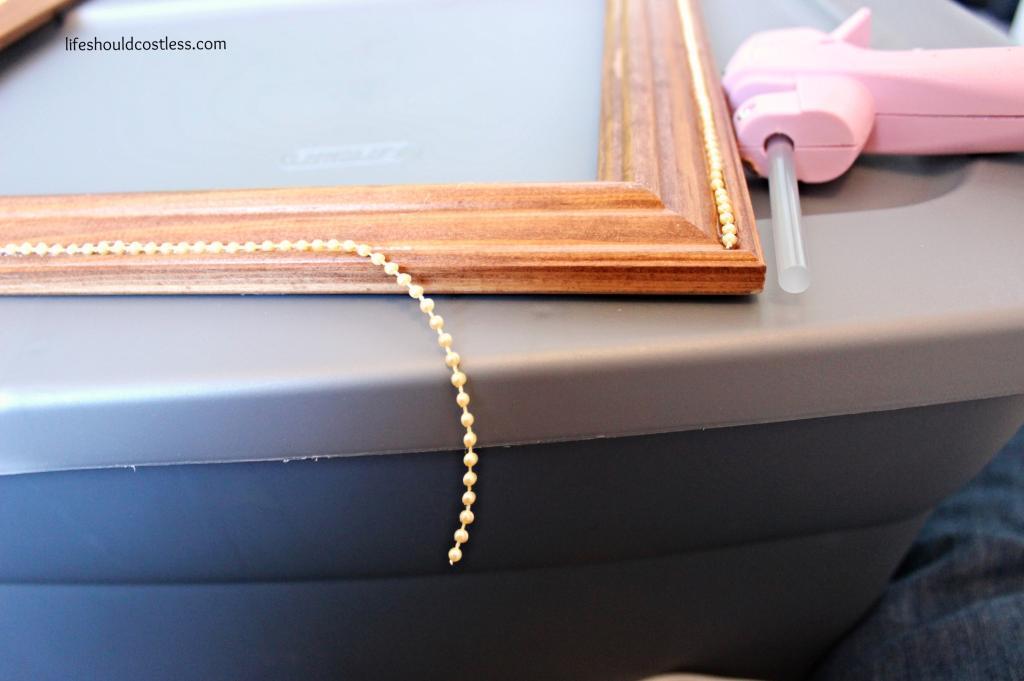
I had decided on the outer edge for bead placement, and found after much trial an error that it’s easiest to do a small strip of hot glue (no longer than 6″) at a time and then place your beads as quickly as you can. Any more than that and the glue tends to harden before you can get that far.
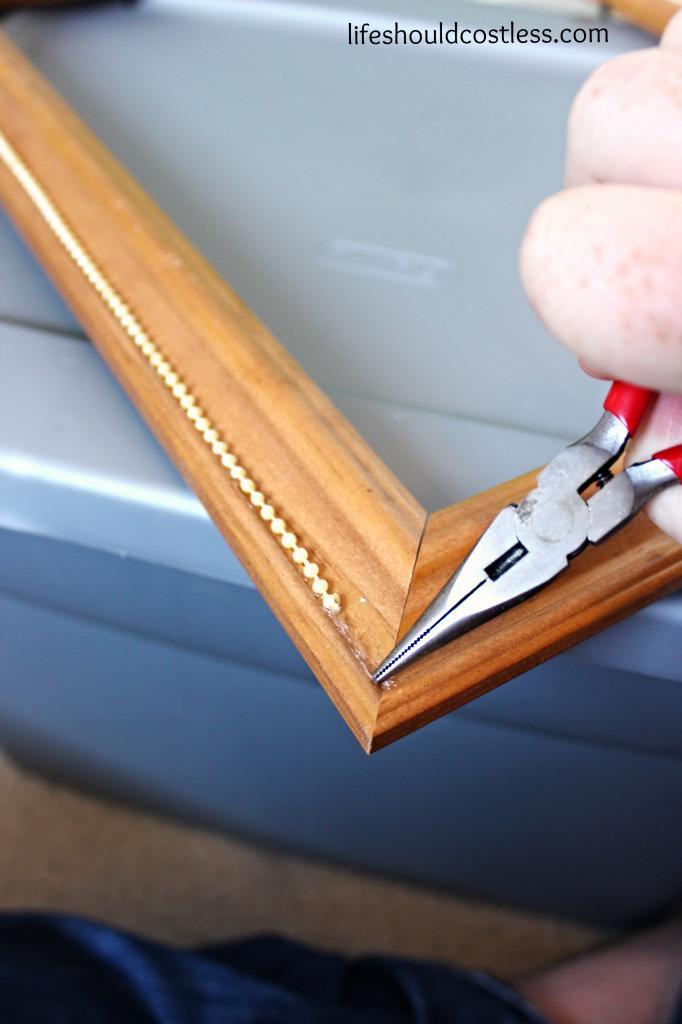
If you do have an oopsy, it helps to remove the hardened glue with some needle-nosed pliers. They can reach into the crevices much easier than fingers can.
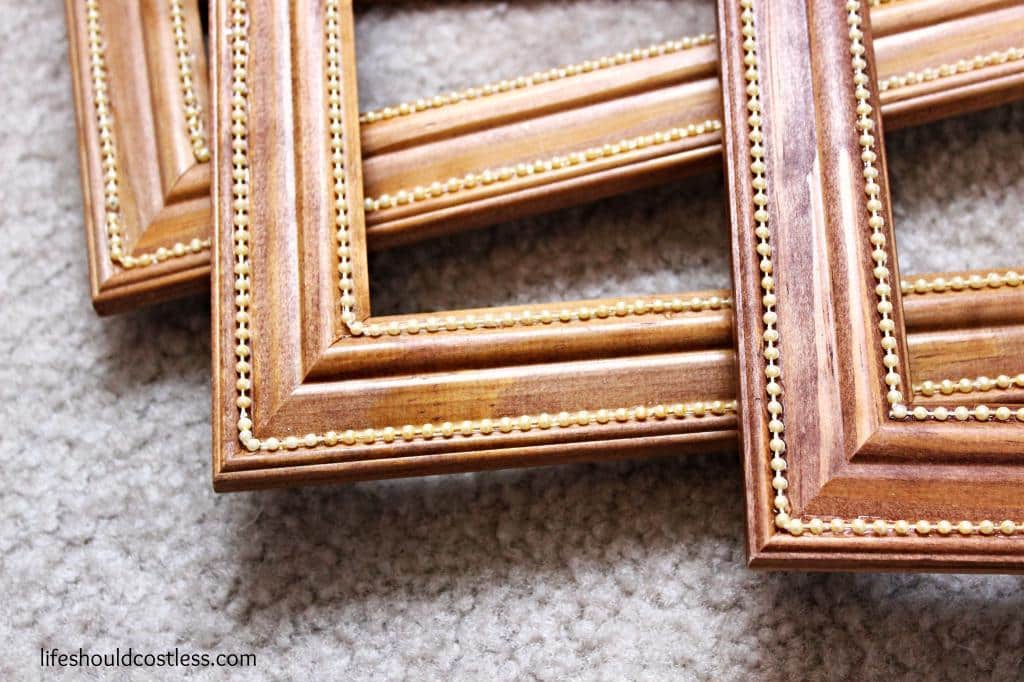
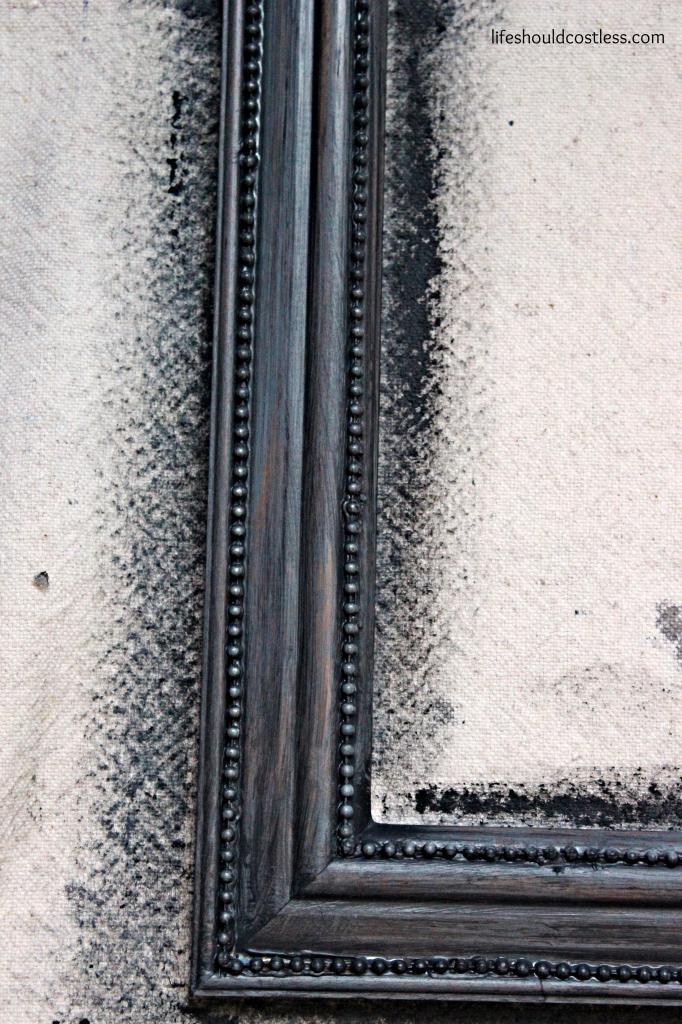
One thing that I really like about the size of these beadsis that they are spaced close enough together that getting the ends to match up was a breeze.
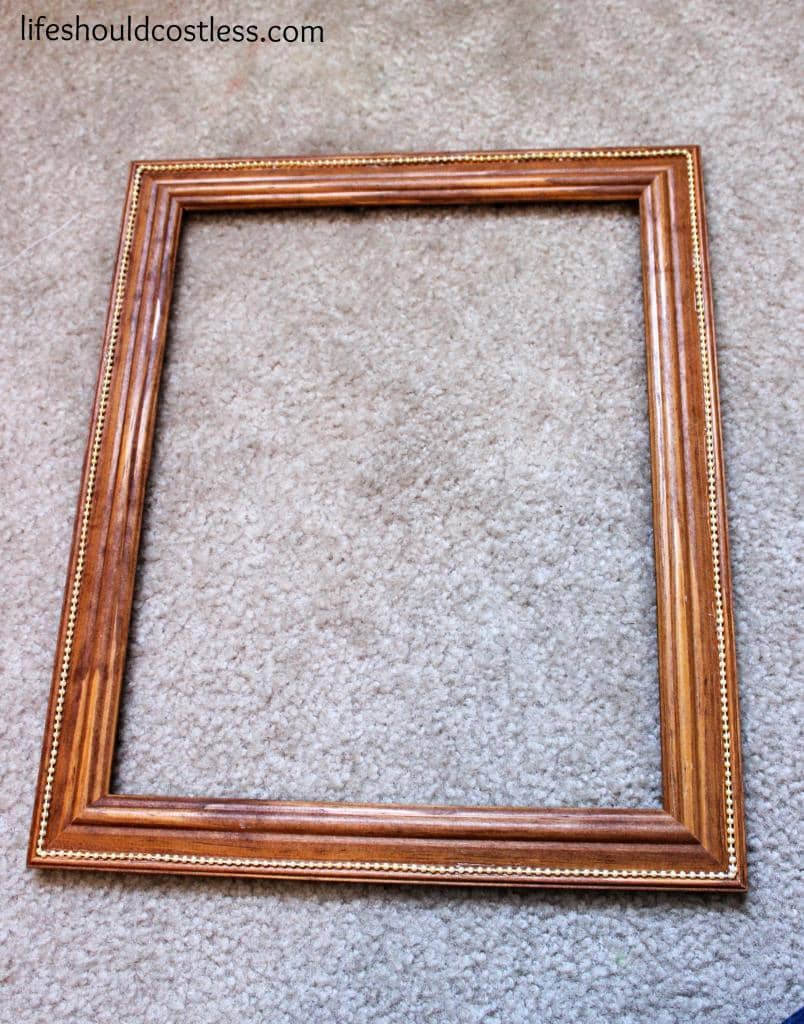
What it looked like all with the beads along the outer edge of the frames. I was pleasantly surprised to find that I still had a ton of beads left ( I started with a new roll) so I decided to do another line on beads on one of the inner edges.
Here is what that looked like.
I could not believe that I still had a ton of beads left. WOOT WOOT! I know, I’m a total nerd but if I buy something thinking that it’s only going to be enough for one project and there turns out being much more than needed…it gets me pretty excited!!!
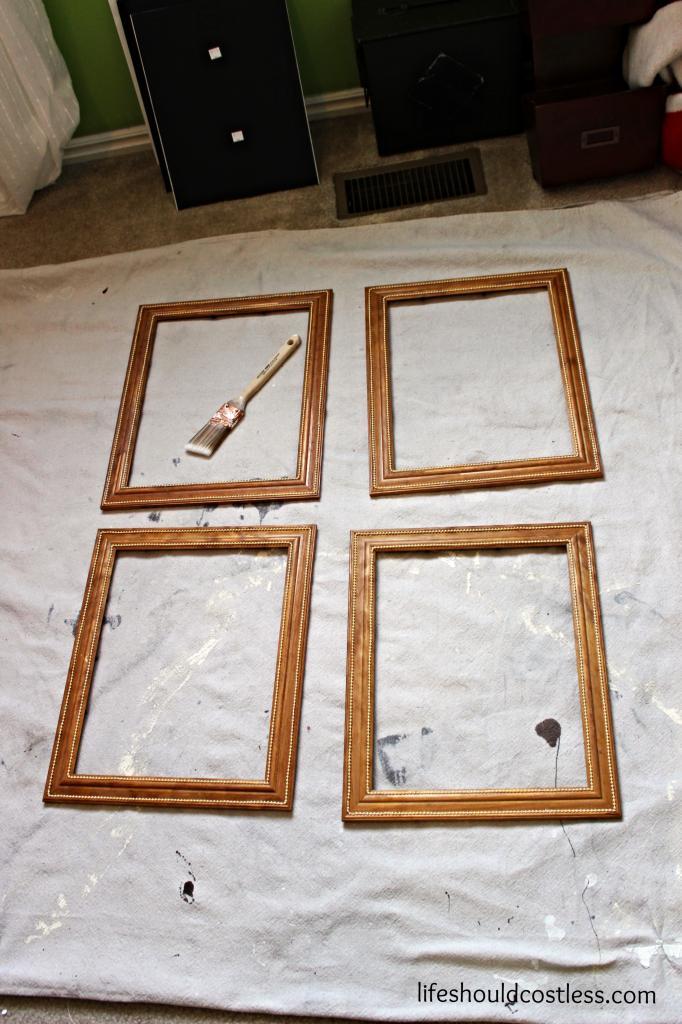
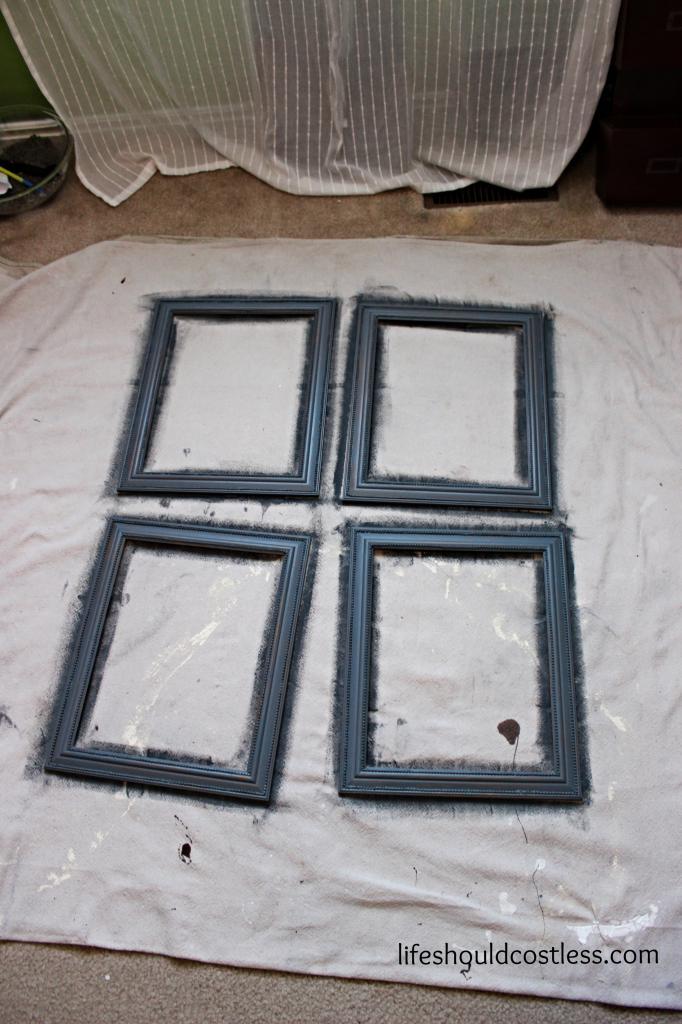
I laid out my canvas drop cloth and frames, on my office floor, and got to work.
The paint I used was found last week at Home Depot in the “oopsy” section of their paint counter (another $2 find). I used an old (Costco) chicken base glass jar to make a little of that paint into chalk paint (those little glass jars that the chicken base comes in are perfect to re-use for small paint projects). I used 2 cups paint, 2 tsp plaster of paris, and 2 tsp warm water and then just shook to mix. These ratios were found here.
I did one coat of paint and decided that I was happy with the way it looked…which NEVER happens when I paint things. It always takes several coats. However, for this particular project, I decided that I really like the look of some of the original wood color peeking out. One good thing about chalky paint is that it dries super fast so it was ready for the next step in just an hour or so.
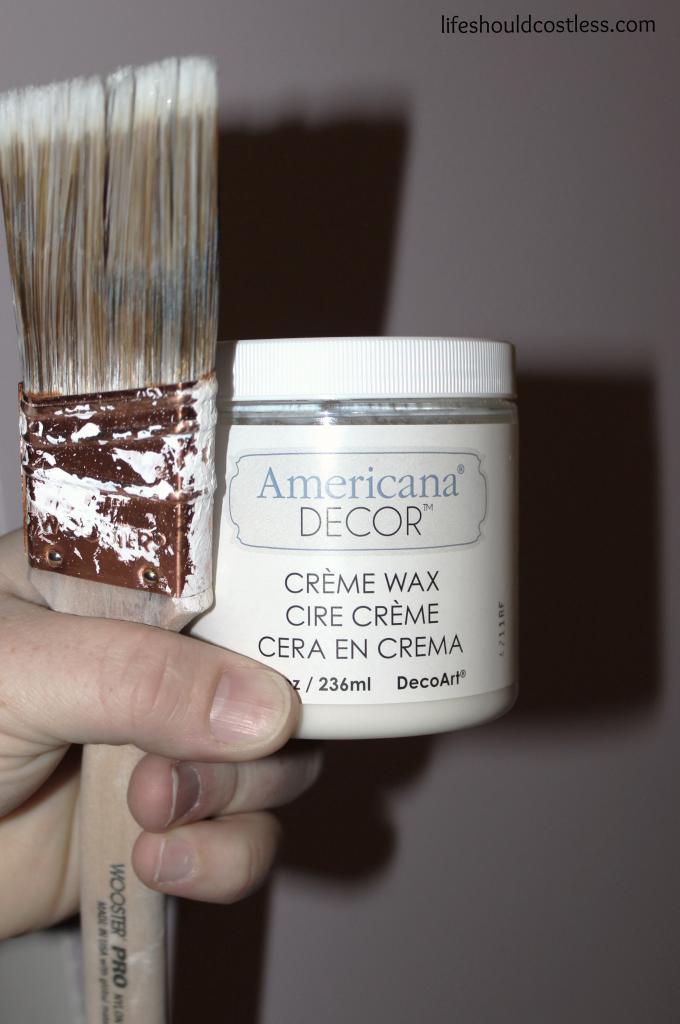
Next, I did one coat of clear creme wax.
And they look exactly the same as before the clear wax…go figure 😉 . The clear wax was a preparation for the next color that I wanted to do so that the original paint color would stay put…not sure if it was entirely necessary, but it took 15 minutes so I’m not too worried about it. I let this cure over night.
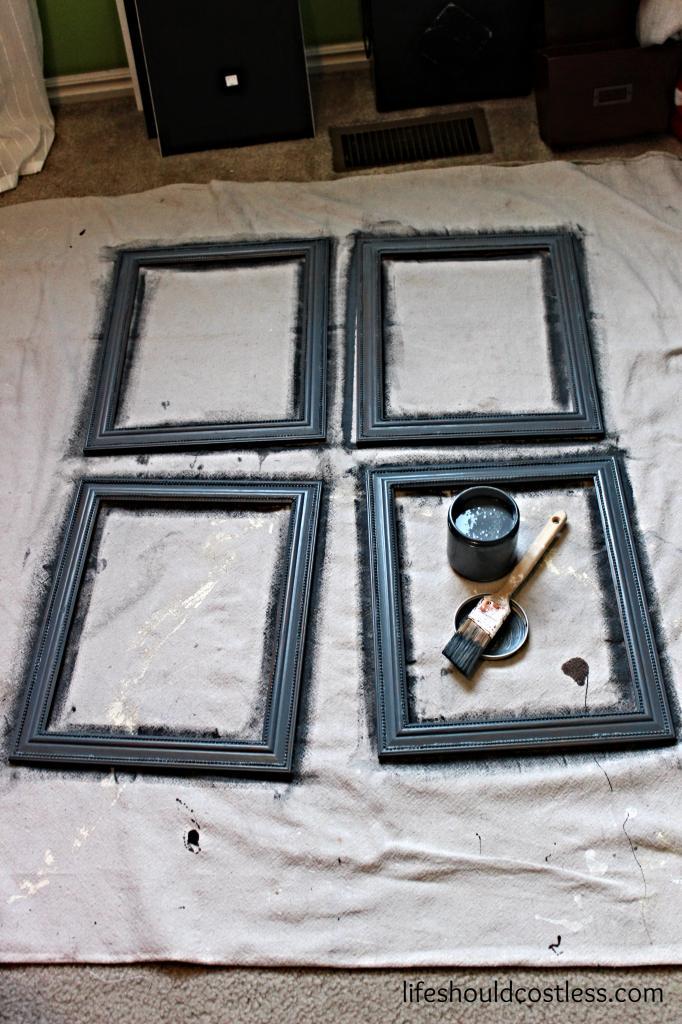
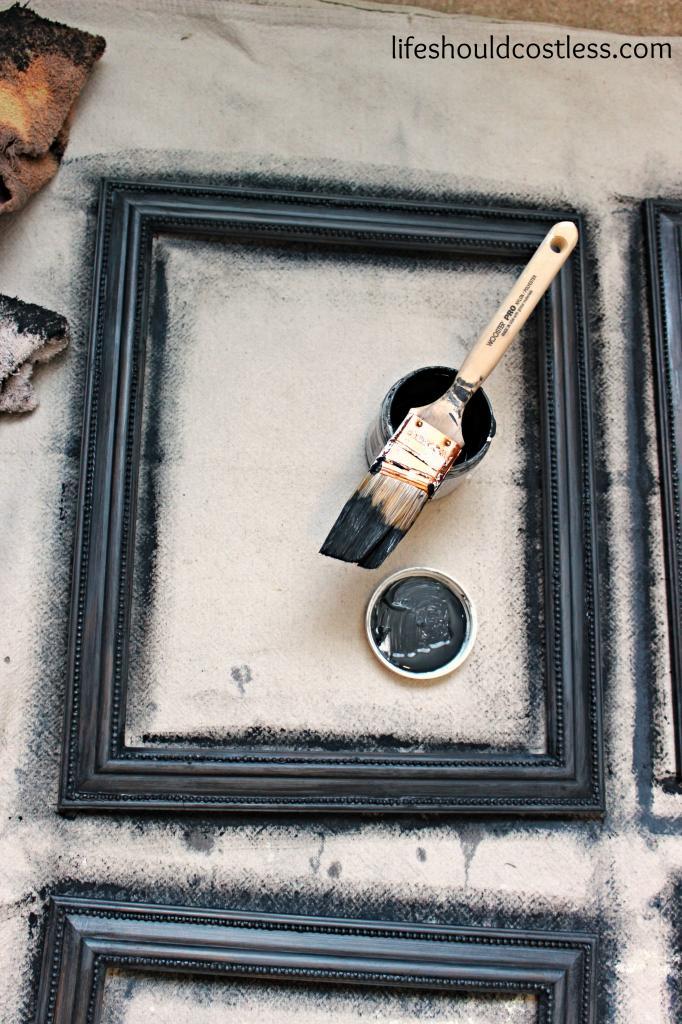
Next, I wanted to go for more of a glazed look (darker in the cracks and crevices and around the beads) so I used that same clear wax (found at the paint counter of Home Depot, I think Hobby Lobby carries it too), added a bit of the previous paint color and a fair amount of black acrylic paint to darken it.
I painted that darker wax mixture on and used a rag to wipe away any excess so that the previous paint color and a little of the wood would still be peeking out. I let this dry/cure for several hours.
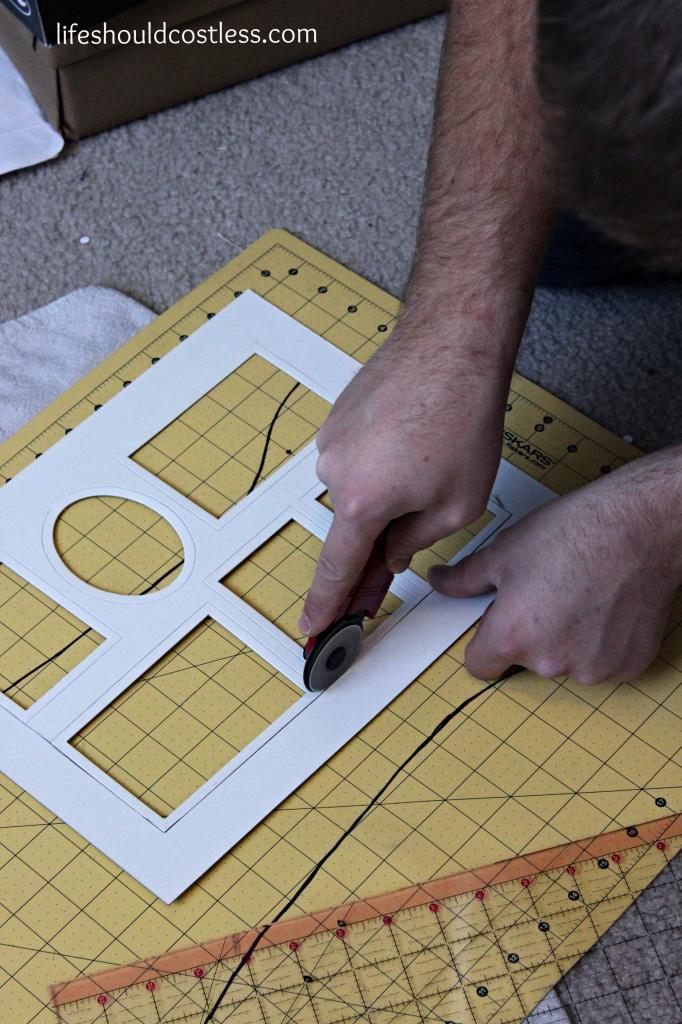
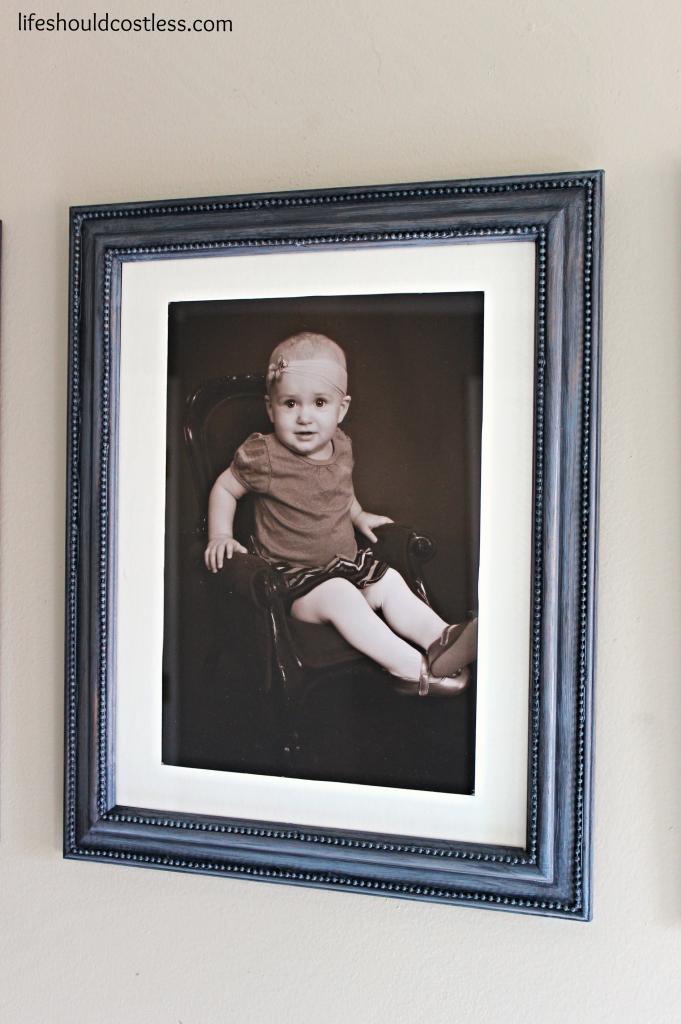
In the meantime, I had my husband cut the existing matting down to the size that we needed for our girls pictures. No, those are not my manly/hairy arms in the shot… Once everything was dried and ready to go we put them together and here is how they turned out.
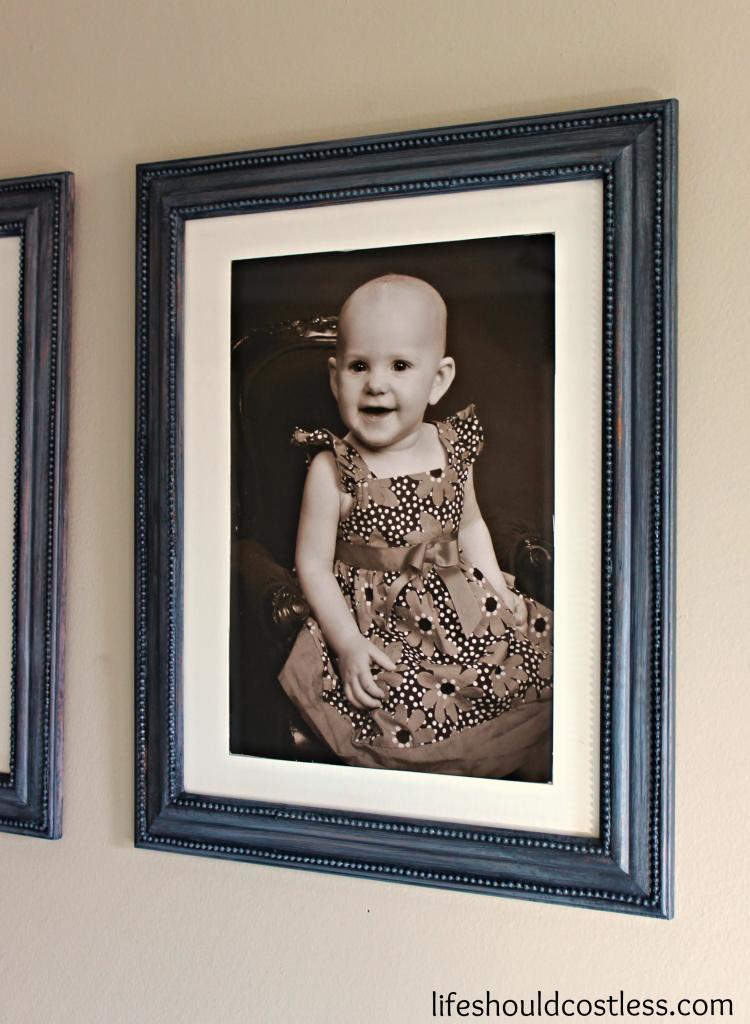
The 4th frame is just hanging out in my office waiting until we have the next photo to fill it. I’m pretty happy with how they turned out. Especially, when you consider how much of each supply I used. I think I spent between $15-$18 total for all four frames. When you consider that a single/one matted frame this large usually costs more than that, I’d say that this project was 100% a success in the frugality department!
Just for fun I thought I’d show you both mine and my mom’s one-year-old walls. My mom was so funny when I told her that I was doing one. She said, “oh, are you going to do the shelf above it and everything too”…I just chuckled and said “I’m a bit of a minimalist Mom, so that’s not very likely”. Love her!
Well, what do you think? I hope that some of my tips can save you some headache if you decide to refinish some frames. Especially if you’ve already got some lying around that could use re-freshening.
That’s all I have to share with you all for today. Thank you so much for supporting my blog by stopping by. If you really want to show your support please make sure to like and share it via social media. There is also always the option of donating directly to my PayPal account if you come across anything particularly helpful. Thanks so much for helping me support my kids(update 01/25/19, I’m a single mom of four these days so every little bit helps)! ~Sarah